🔥 Would you like to save this?
Recessed Lighting Buying Guide
Recessed lighting is a popular style of home lighting characterized by lights set inside of a ceiling or wall.
In order to come up with the very specific design ideas, we create most designs with the assistance of state-of-the-art AI interior design software. Also, assume links that take you off the site are affiliate links such as links to Amazon. this means we may earn a commission if you buy something.
Also known as “can lighting,” people love it for its low-profile design. Aside from a small amount of trim, the rest of the light is concealed within the wall or ceiling.
Select from a wide range of housing types, trim types, and styles for the best fit for your home.
Other decisions you must make include light bulb type, additional design options like color/finish and size, and extra features like a control panel.
Our detailed buyer’s guide makes buying recessed lighting for your home simple and straightforward.
Related: Lighting Types for Your Home
A. Recessed Lighting Housing Types
Type of housing is the first factor you need to look at when it comes to buying can lighting.
The housing is the piece of the light fixture that’s mounted on the wall or the ceiling. The light bulb is mounted in this fixture. Then the trim is installed on the outside of the housing.
Your main options are new construction, remodel, insulation contact (IC), non-IC, airtight, shallow ceiling, and slope ceiling housing.
1. New Construction Recessed Lighting

Source: Home Depot
New construction housing is created specifically for newly constructed homes.
This type of housing is installed before the ceiling is complete. In other words, it’s built into your home.
New construction housing is also used when adding a new room onto an existing home.
2. Remodel Recessed Lighting

Source: Home Depot
Remodel housing is specially designed for installation in a pre-built ceiling.
If you have an existing room that’s just perfect for this type of lighting, then remodel housing is the option that’s right for you.
Remodel housing is easily installed into nearly any ceiling, including those that weren’t built with can lighting in mind.
3. Insulation Contact Recessed Lighting

Source: Home Depot
Every type of light bulb and light fixture creates a lot of heat.
Recessed lighting, in particular, is known to generate a lot of heat since the housing is set inside of a ceiling or wall.
Because of the recessed design, the housing often comes into contact with insulation. Housing not intended for contact with insulation is at high risk for causing a fire.
That’s where insulation contact housing comes into the picture. It’s designed to eliminate the transfer of heat from your housing to your insulation. Your insulation can have direct contact with your housing with no safety issues.
Insulation contact housing is available in both new construction and remodel varieties.
4. Non-Insulation Contact Recessed Lighting

Source: Home Depot
As the name implies, non-insulation contact housing isn’t designed to prevent the transfer of heat from housing to insulation.
This type of recessed lighting housing should never come into direct contact with your insulation. Instead, you must leave at least 3 three inches (if not double that) between the lighting housing and insulation.
5. Airtight Recessed Lighting

Source: Home Depot
Unlike other types of light fixtures, recessed lighting is created by making holes in your ceiling or walls for the housing to sit inside.
Naturally, these holes can cause problems. Even when there’s a tight fit between the hole and the housing, the air still escapes.
Airtight housing fixes that problem. It ensures that no air can escape from your new lighting fixture.
Airtight housing creates the best insulation. Neither hot nor cold air can escape when this type of housing is installed.
Not only does this increase your comfort level, but it also improves the overall energy efficiency of your home (thereby lowering monthly utility costs).
6. Shallow Recessed Lighting

Source:
Not all ceilings have enough space behind them for normal can lighting.
Shallow ceilings, such as those built with 2-inch by 6-inch joists, require special shallow ceiling housing.
For ceilings with even less space, extra low-profile housing is available.
7. Sloped Ceiling Recessed Lighting

Source:
Buying and installing recessed lighting for flat ceilings and walls is simple. Things get much more difficult if your ceiling or wall is sloped.
Sloped ceiling housing helps solve this problem. It’s specifically designed for angled ceilings where space is at a premium.
Check your angles (or have a professional check them) before ordering.
B. Recessed Lighting Trim Types

Now that you know which type of housing is right for your home, it’s time to think about trim. Aside from the light bulb itself, trim is the only part of the fixture you’ll see from inside your house. The rest of the fixture is hidden away behind the ceiling or wall.
Some types of trim include a fixture that can be adjusted to shine directly on different areas of a room. Others have a protective outer cover.
Select your trim based on the light’s function and the overall style/décor of the room.
1. Baffle Trim Recessed Lighting

Source:
Baffle trim is the most common type of can lighting trim.
It’s notable for its ribbed interior. These ridges are specifically designed to reduce glare from the light bulb.
Thanks to the gentle light it provides, baffle trim is common in home offices where concentration is essential.
Select a dark colored baffle trim (such as black or dark brown) to further reduce glare.
2. Open Trim Recessed Lighting

Source: Home Depot
Open trim looks very similar to baffle trim. The main difference is that it doesn’t have a ribbed interior.
The lack of ridges means that open trim doesn’t prevent glare like baffle trim. The benefit to this type of trim is brighter lighting.
Open trim tends to provide much brighter lighting, to a much larger area, than other types of trim.
Select a light color open trim (such as white) to further enhance the brightness.
3. Eyeball Trim

Source: Home Depot
Eyeball trim utilizes the same exterior trim as baffle trim and open trim, but pairs it with an adjustable interior light fixture.
Adjust the interior light fixture to aim the light where you want it to shine. This type of trim is perfect for accent lighting.
Some forms of eyeball trim look tacky because so much trim is visible. Select a color that compliments the rest of the room for the utmost in style.
4. Wall Wash Trim

Source:
Wall wash trim is a mashup between baffle/open trim and eyeball trim.
Though it doesn’t utilize interior ridges, it does have the same exterior trim design as a baffle and open trim. Inside is an adjustable light fixture that’s similar to eyeball trim.
The big difference is the half shield that partially covers the opening. The shield helps evenly focus the light on a certain item or feature in your home.
For example, wall wash trim is perfect when you want accent lighting to highlight a painting.
5. Shower Recessed Lighting Trim

Source:
Shower trim is perfect for showers, bathrooms, and other areas with high humidity.
It’s a special lighting for wet and damp conditions. This type of trim utilizes a tempered glass fixture cover. Not only does the cover keep the light bulb safe, but it also keeps moisture out.
As the name implies, shower trim is an excellent way to light the interior of a walk-in shower.
C. Recessed Lighting Style

Once you’ve decided on the best type of housing and trim, it’s time to think about the overall style of the fixture.
The style of your fixture usually relates to the materials and colors uses. Any additional design elements also impact style.
Select the style that works best with the rest of your home décor and furnishings for a cohesive overall look.
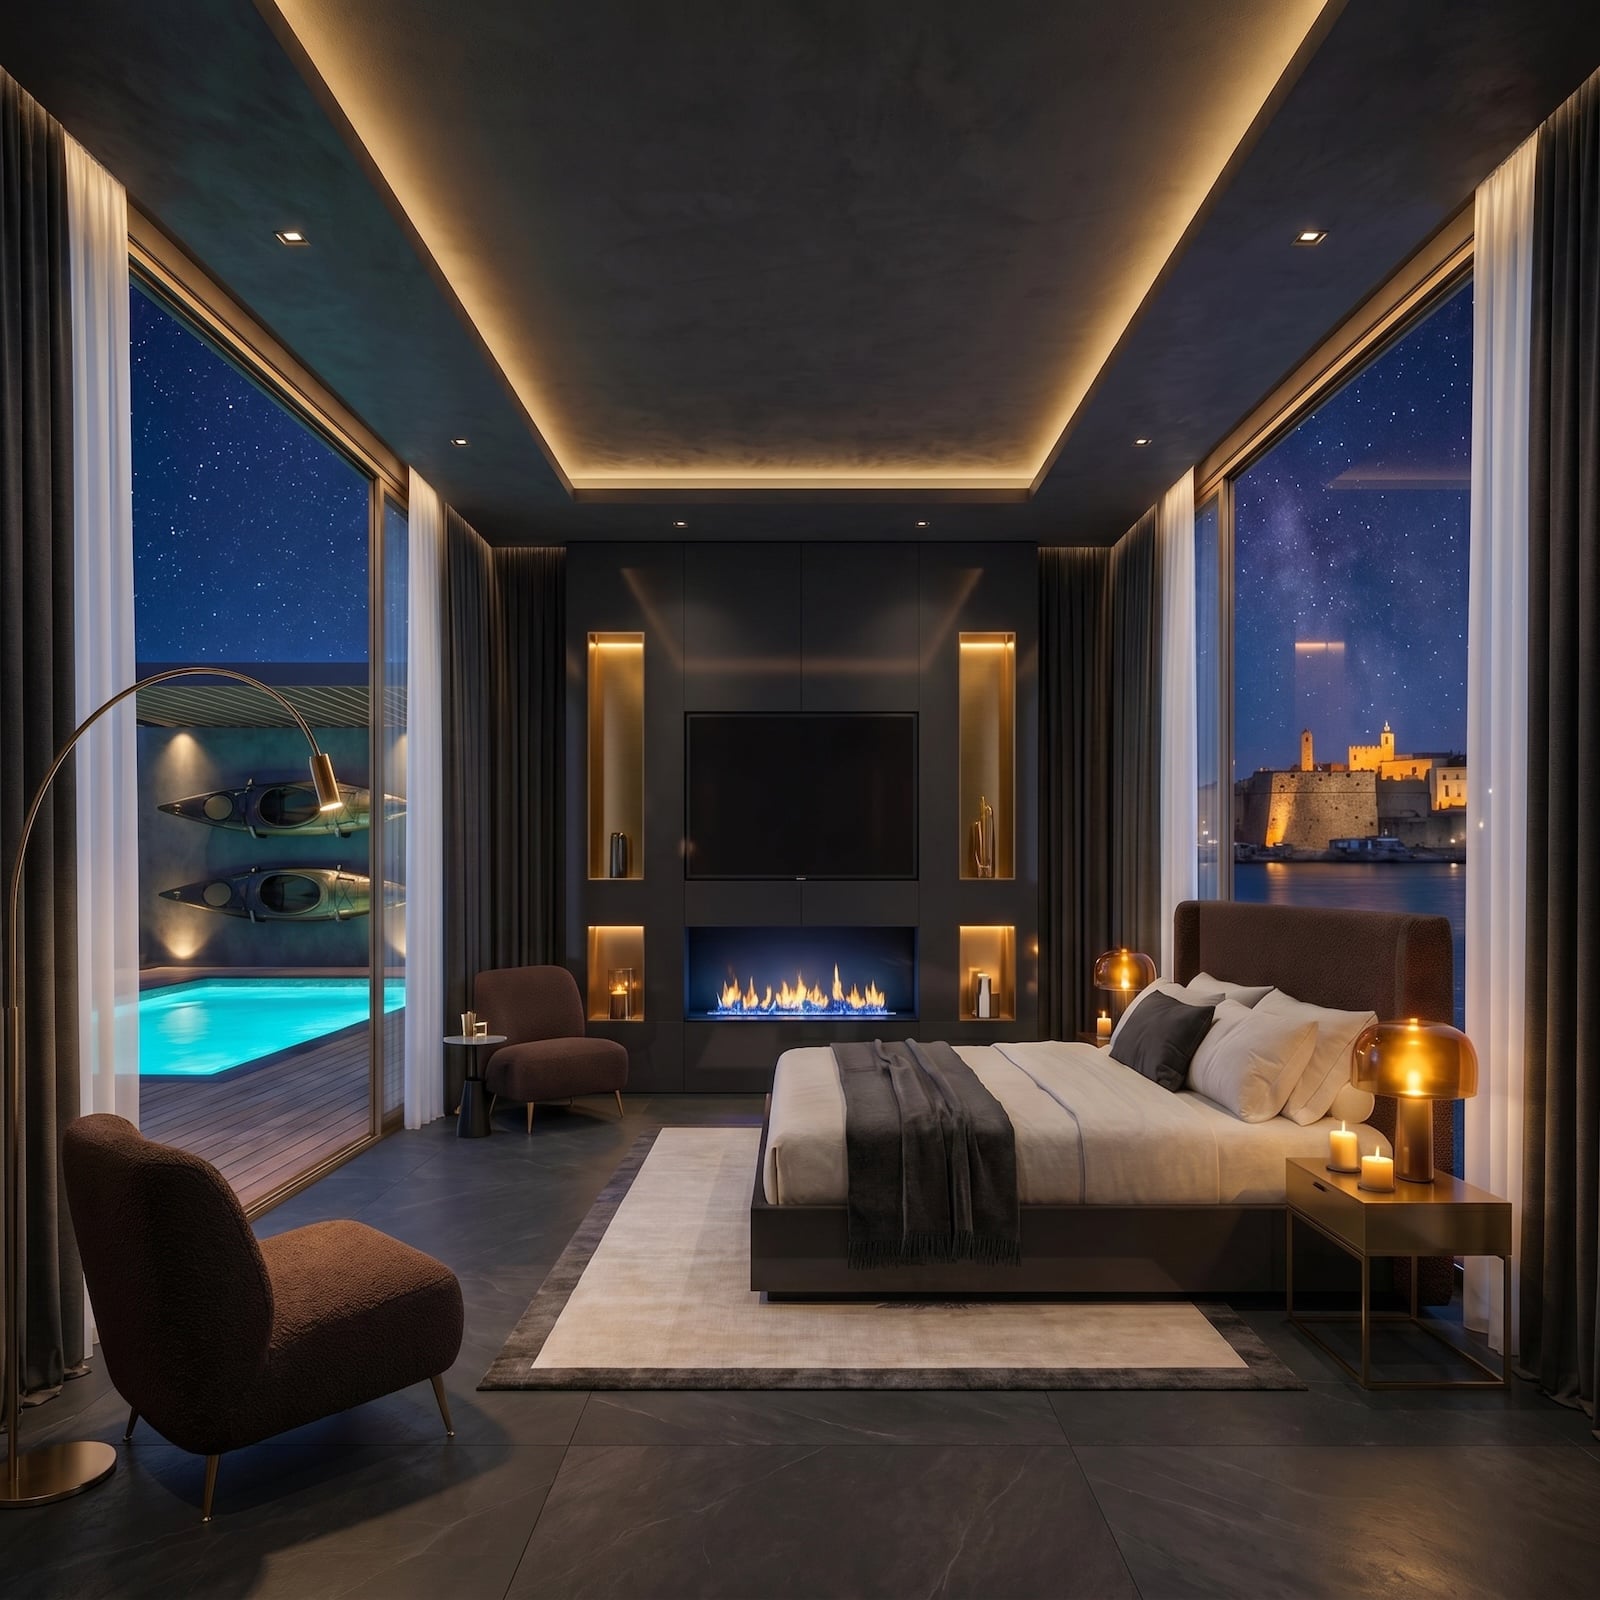
1. Modern Recessed Lighting

🔥 Would you like to save this?
Source: YLighting
Modern style lighting commonly utilizes a sleek and stylish trim design.
Neutral colors are another highlight of the modern style. Though round trim is common, trim with straight edges is also available. These modern designs tend to be low-profile, so it blends into a room.
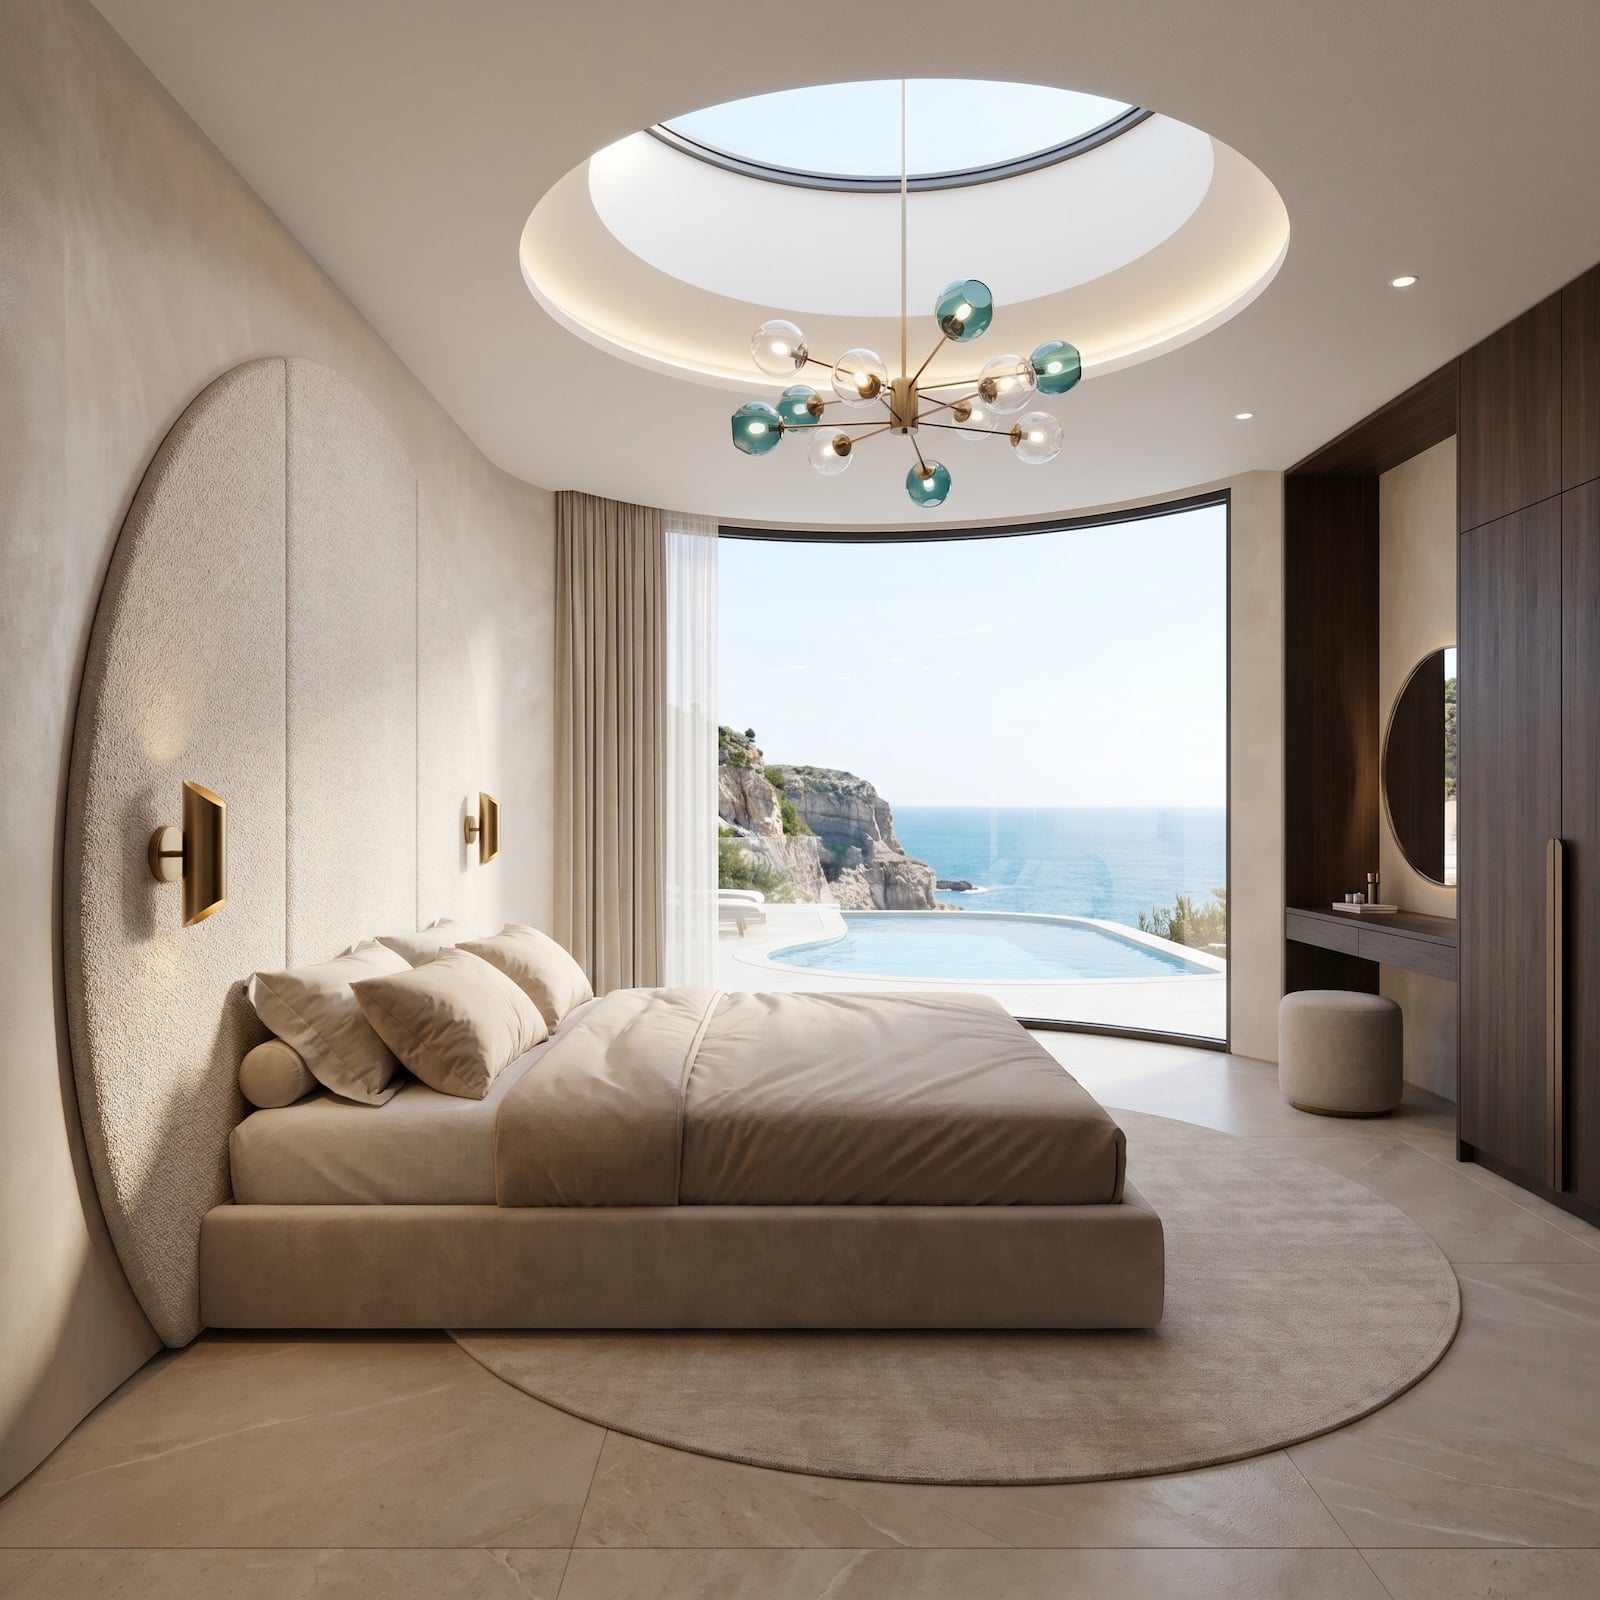
2. Contemporary Recessed Lighting

Source: Ephiphanots.com
Though similar to modern design, contemporary can lighting tends to be slightly smoother and more relaxed.
Straight edges and square trim are uncommon in contemporary design. One similarity this lighting style does share with modern lighting is the use of natural colors as well as high-end materials.
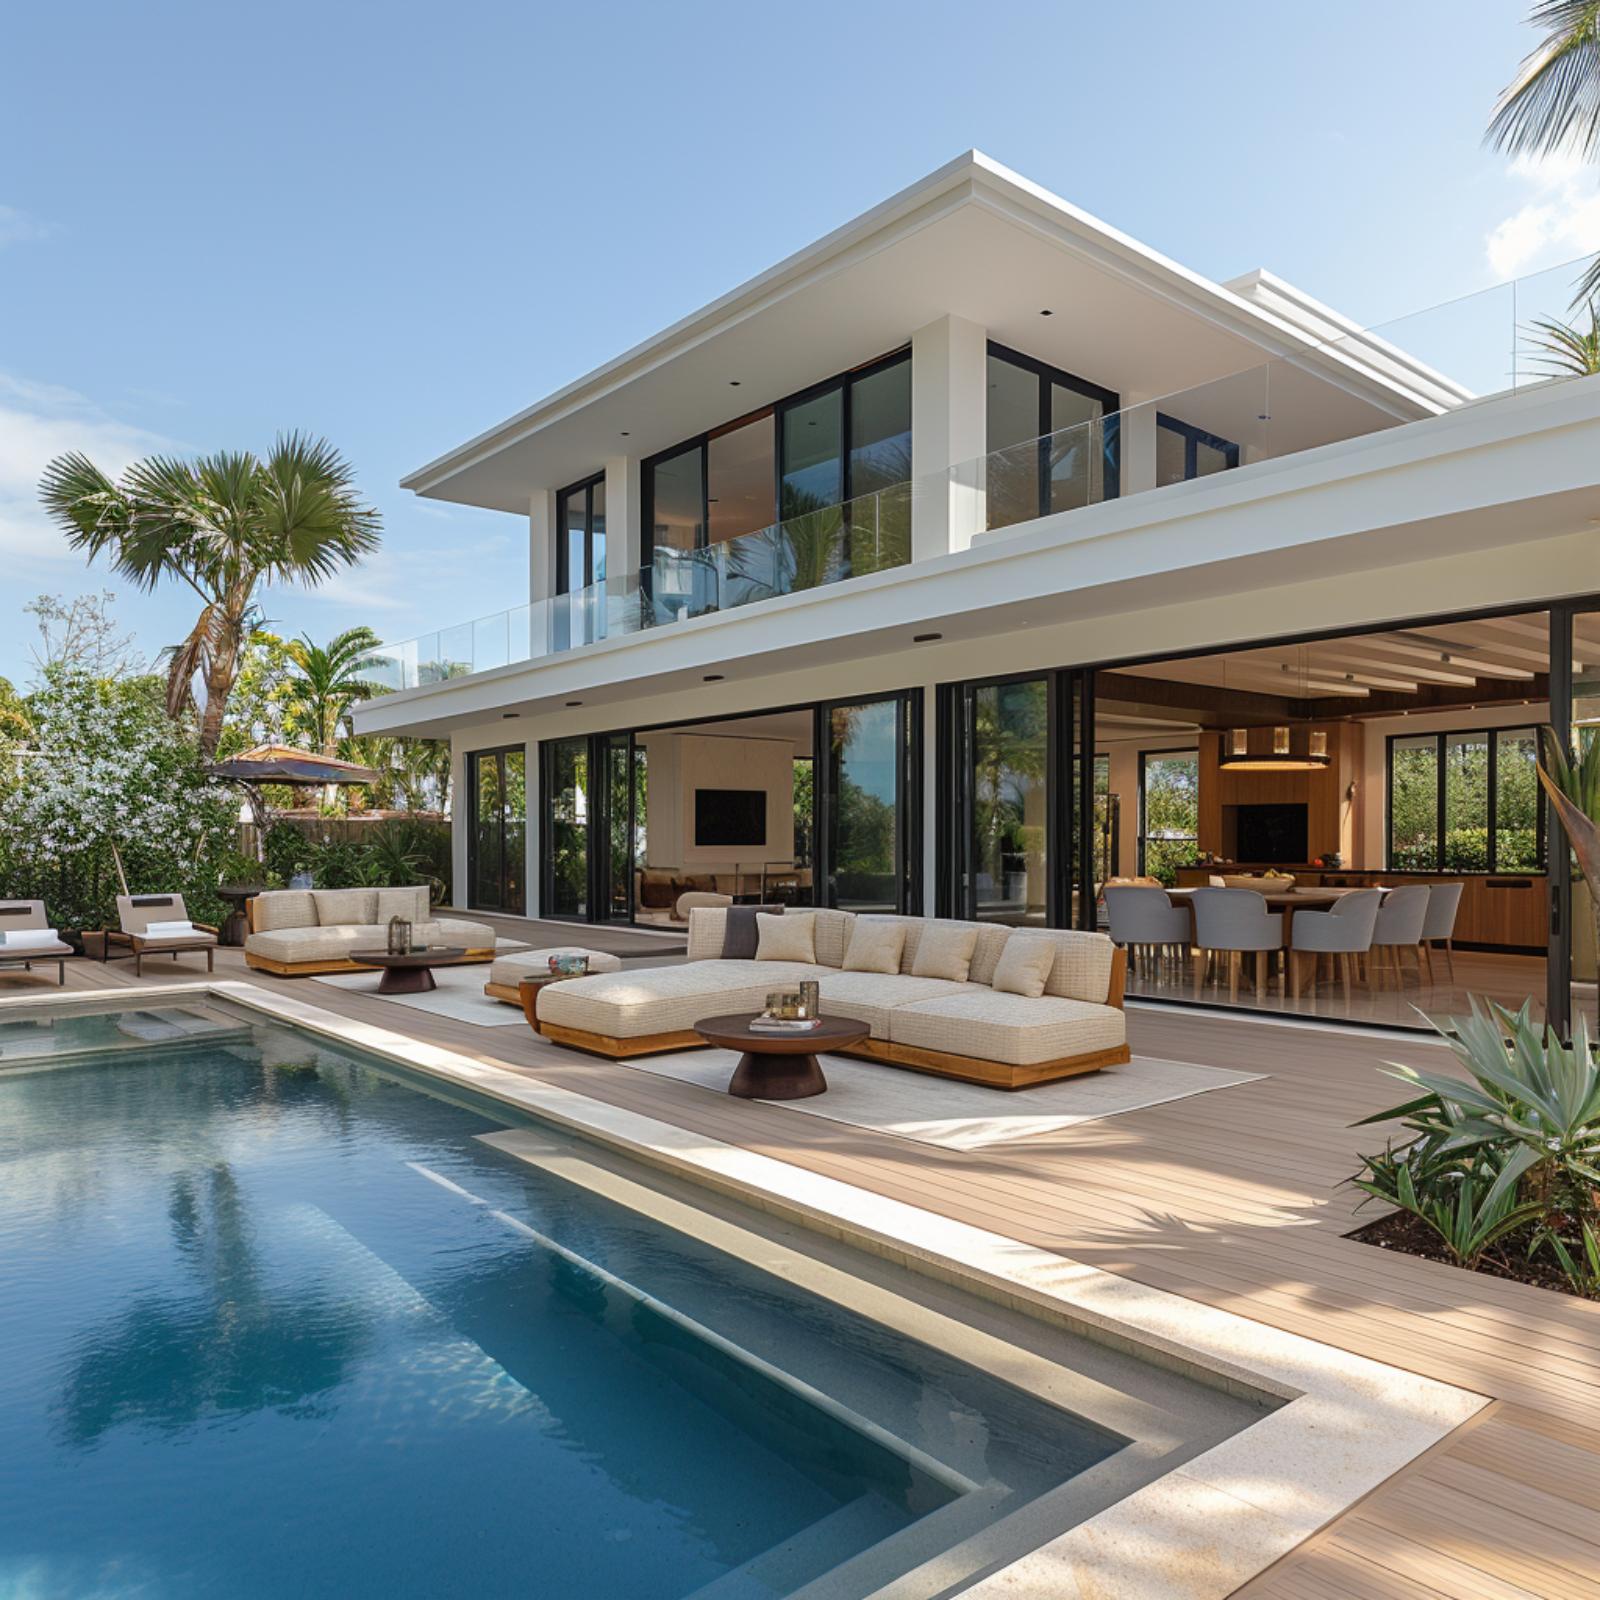
3. Traditional Recessed Lighting

Source: Houzz
Traditional style lighting is calming, relaxing, and welcoming.
It doesn’t try to be anything special. Instead, it utilizes the classic elements of traditional design to create an orderly and predictable atmosphere. Warm colors, as well as wood-look trim, are standard.
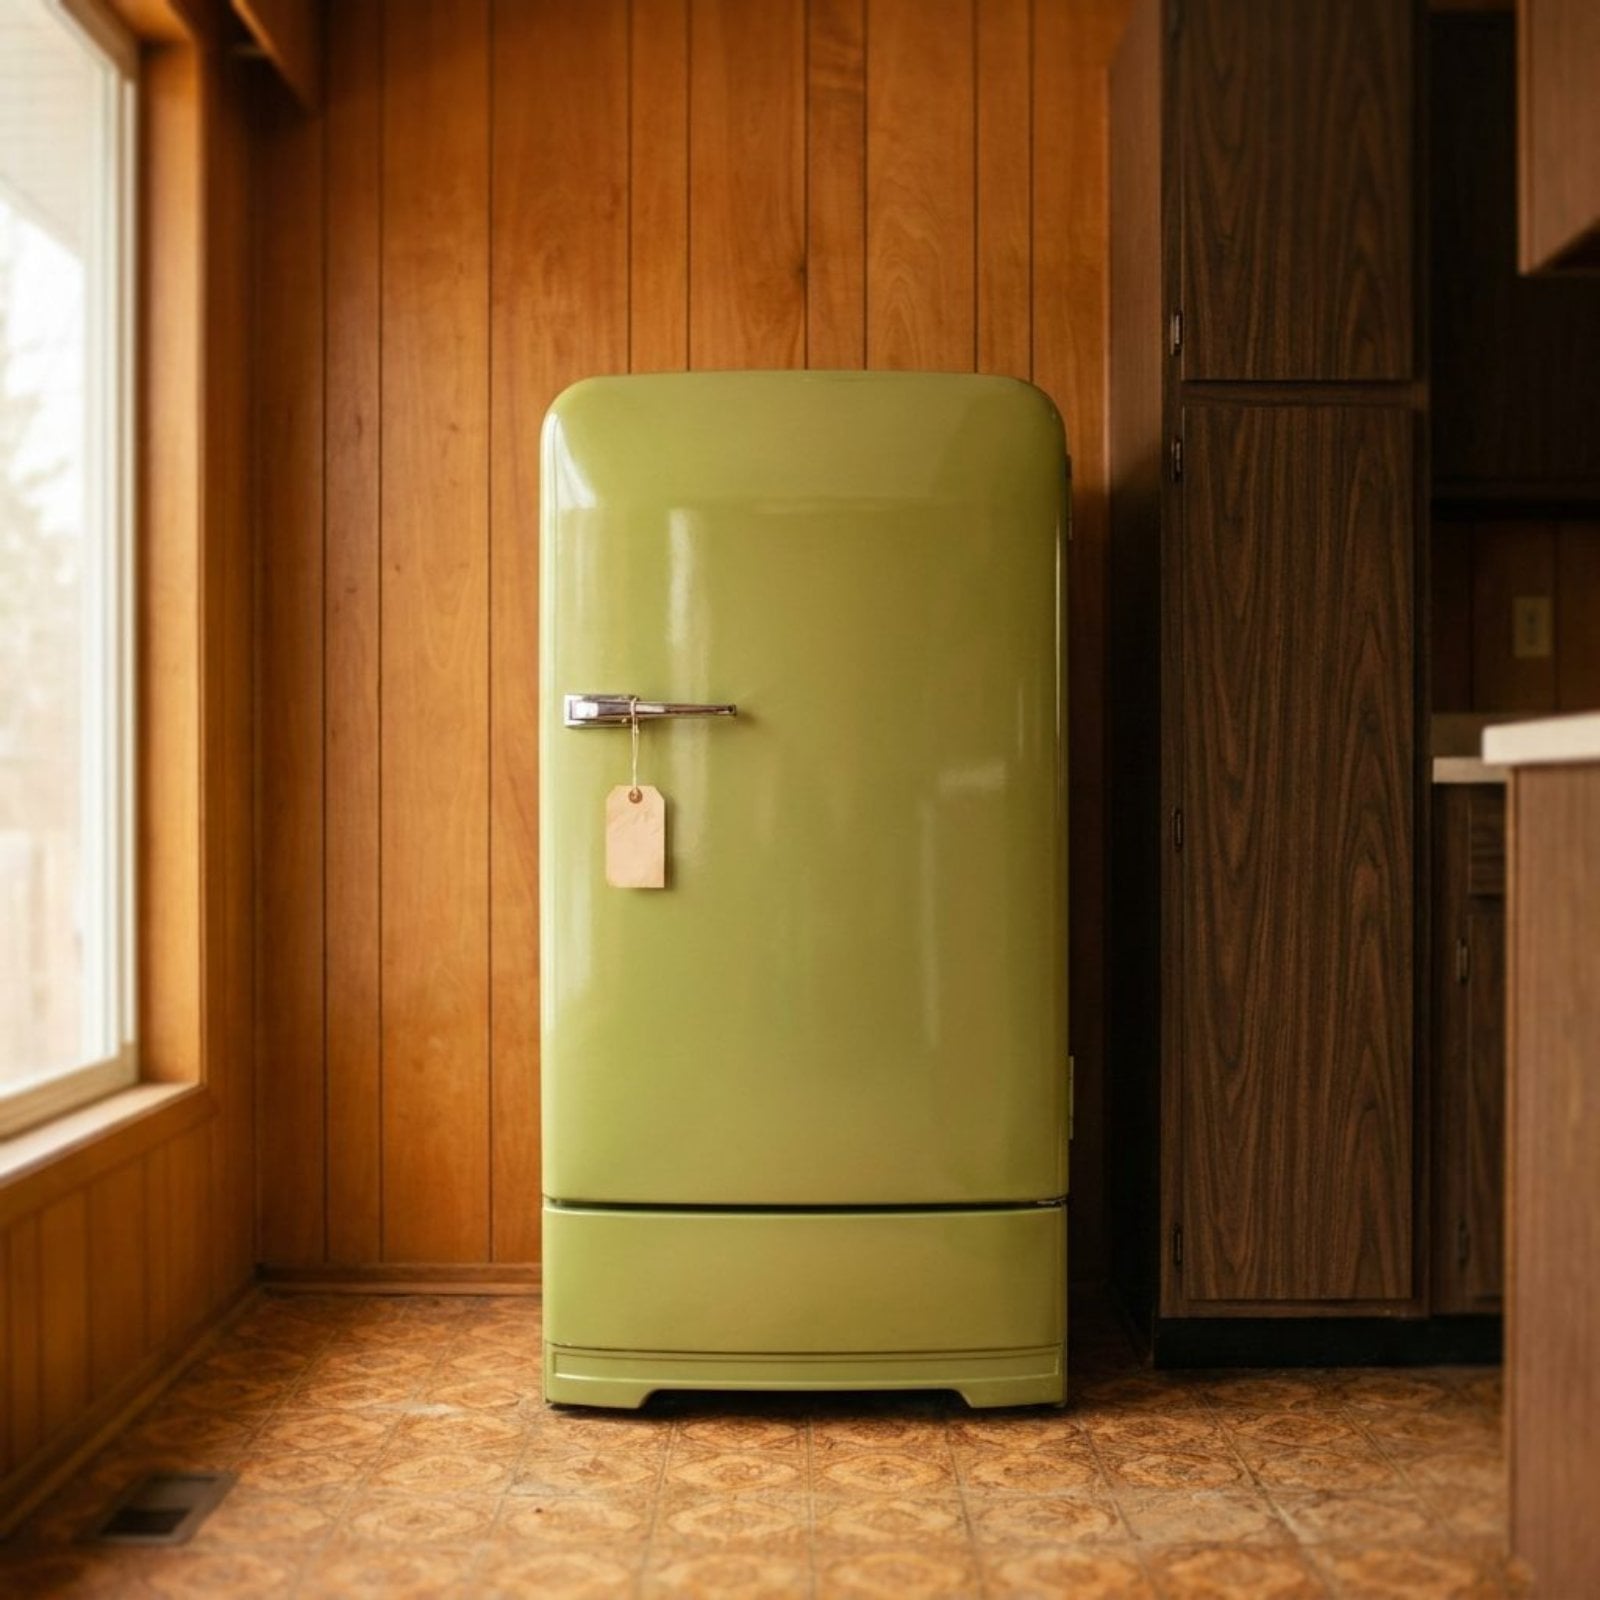
4. Rustic Recessed Lighting

Source: Waraby
Rustic style lighting is as straightforward and laid back as it gets.
This style looks perfect in a log cabin home. Rustic home design means that this lighting is nature-inspired and often utilizes earthy colors.
5. Victorian Recessed Lighting

Source: Pinterest
Victorian style lighting is undoubtedly the most elegant option.
It’s also the most complicated and often includes ornate design elements. Expect engraved trim with soft, ambient lighting from the Victorian style of design.
D. Recessed Lighting Light Bulbs

At this point, we’ve already covered all the main options for the design of your lighting fixture itself.
Just as important as the fixture itself is the bulb used on the inside. The light bulb accounts partially for the overall look, but even more so for the type and quality of light provided.
Your main light bulb options include CFL, incandescent, LED, halogen, and R-type light bulbs.
1. CFL Light Bulbs

Source:
CFL light bulbs are a popular option for recessed lighting.
Short for compact fluorescent light, these bulbs are among the most energy efficient options available.
Another benefit of CFLs is increased lifespan. Although they cost more upfront, these bulbs last ten times longer than traditional (incandescent) bulbs.
2. Incandescent Light Bulbs

Source:
Incandescent light bulbs are what most people think of when they image lightbulbs.
This style of the light bulb was the first invented. It’s long been a popular option for lighting fixtures of all kinds.
Though incandescent bulbs are quickly becoming outshined by more energy efficient options, they’re still a good choice. Their main benefit is their low initial cost.
3. LED Light Bulbs

Source: Home Depot
LED light bulbs are perhaps the most energy efficient lighting option available.
Compared to the 75% energy that CFLs save against incandescents, LEDs save up to 90% energy and sometimes even more.
LED light bulbs are also a great choice for can lighting thanks to their durability and longevity.
4. Halogen Light Bulbs

Source: Home Depot
Halogen light bulbs have many of the same energy-saving benefits of CFL and LED light bulbs.
This style of light bulb is also one of the most commonly used for can lightings, thanks not only to their energy efficiency, but also the bright, white light they produce.
Halogen light bulbs are available in a variety of sizes (as well as floodlight and spotlight models) to suit the needs of all types of lighting fixtures.
5. R-Type Light Bulbs

Source:
R-type bulbs are quickly becoming one of the most popular types of light bulbs used when a focused light is a must.
The reason for their popularity is the reflective surface at the back of the bulb. The reflective surface helps direct even more light out of the fixture.
R-type bulbs are a perfect choice for accent lighting.
E. Other Design Options

There are a handful of additional factors you can tweak to make your can lighting fixtures your own.
These include the materials used, the color and finish, and the size and shape. All of these design options dictate the overall style of new lighting.
1. Materials

Source: Pegasus Lighting
Because of their proximity to the hot light bulbs inside them, the housing is almost always made of heat resistant materials.
These commonly include treated plastic and metal. Materials with the lowest fire risk are most often used.
The same goes for trim. Though there’s more leeway here as far as materials go, you can bet that any material that’s used is heat resistant.
2. Recessed Light Color and Finish

Source: Green Lighting Supply
Customize the look of your fixture by choosing your favorite color and finish.
Though black and white are the most common trim colors, you can request just about any color imaginable.
Wood range trim, as well as ornate Victorian-style trim, is also available.
3. Shape and Sizes of Recessed Lights

🔥 Would you like to save this?
Source: Green Building Advisor
Fixtures are available in a variety of sizes and shapes.
The most common shape is undeniably a circle or round shape. However, square and rectangle fixtures are also available.
Sizes are likewise flexible. The most common are 4-inch, 5-inch, and 6-inch diameter fixtures.
Use a larger 6-inch fixture for larger rooms or rooms with vaulted ceilings. Smaller 4-inch fixtures are much better for accent lighting or use in small rooms.
Once again, the best size and shape light fixtures boil down to your personal preferences.
F. Additional Features/Options

There are several additional features and options that you should at least consider when buying can lighting.
Recessed lighting kits, a lighting dimmer switch, and your light controls are the most important.
1. Recessed Lighting Kits

Source: Home Depot
A kit makes installing this type of lighting that much easier. These kits come with every component you need, including the housing, trim, and electrical wiring parts.
These kits come with every component you need, including the housing, trim, and electrical wiring parts.
Some kits even come with an integrated light bulb!
2. Dimmer Switch

Source: Tested
A dimmer switch allows you to adjust the intensity of the light.
Though they can be used on all types of lighting fixtures, dimmer switches are possibly most common for recessed lighting.
Install one on your fixture and adjust the mood no matter the occasion.
3. Controls

Source: JALUD Embedded
Most can lighting is controlled by a standard wall panel with a light switch.
However, wireless options are also available. Chief among your choices of these is a remote control or even a smartphone control.
Voice controlled control is another, though less popular, option.
II. More Details
Here are some other important factors to consider when buying recessed lighting.
A. Installing Recessed Lighting
You have two main options to consider when it comes to installing recessed lighting.
Depending upon the scope of your project, installing the lighting yourself is a doable DIY project for most people.
If you’re set on the DIY route, we suggest you buy a pre-made kit. The kit comes with everything you need to install the new lighting yourself.
It’s important to note that installing this form of lighting requires cutting holes (unless you’re simply swapping out old fixtures with new models).
Drilling these holes incorrectly can cause a lot of damage to your ceiling or walls if you’re not careful. If you’re uncomfortable cutting these holes yourself, you’re better off hiring a professional.
Another cause of concern is wiring. You must be able to safely work with electrical wiring to complete this project without incident. Once again, if you’re not comfortable working with electricity, it’s best to hire a professional.
Those set on installing light themselves should check out The Family Handyman’s excellent resource on how to install recessed lighting for dramatic effect.
Their thorough guide shows you how to install can lighting with minimal tear-out of your ceiling.
Those not comfortable cutting holes in their ceiling or working with electrical wiring should hire a professional.
Professional installation is also the smartest choice for those that simply don’t want to try to install this type of lighting themselves.
It also makes sense to have your contractor install your lighting from the get-go if you’re building a new home or room from scratch.
B. Room and Location
The functionality and style of your lighting depend largely on its location.
The first decision to make is which room to install it in. Though can lighting is most common in kitchens, living rooms, and offices, it can also be effective in bedrooms and even bathrooms.
Next up is the location with the room itself. For general lighting, it’s best to locate your fixtures near the center of the room.
For task lighting, on the other hand, locate them near the area the task is taking place. For accent lighting, located them nearby the plant, painting, or another object you want the light to focus on.
Refrain from installing too many recessed lights in one room to prevent the ceiling from looking like Swiss cheese.
The fact that can lighting is usually made up of multiple lights means you’ll get unsightly shadows if installed incorrectly.
For a standard 8-foot ceiling, install each recessed light about 4 feet away from each other. The lights should also be at least 3 feet away from any wall.
The Spruce offers an excellent guide on finding the best placement and arrangement for recessed lighting.
C. Cost and Budget
The exact cost of installing recessed lighting depends on a variety of factors.
For the most accurate estimate for your project, price out the specific lighting kit you plan on buying and seek out an installation estimate from your contractor.
Factors that impact the cost of this type of lighting most are installation costs as well as the cost of the lighting components themselves.
With that said, HomeAdvisor estimates the cost of installing a single recessed light at around $150.
There’s not much fluctuation from that cost. HomeAdvisor goes on to state that the low average for installing one recessed light is $100 and the high average is $200.
Fixr.com gives a similar cost estimate. They state that it costs roughly $600 on average to install six recessed lights at once.
Like HomeAdvisor, Fixr.com recommends forking over the extra money to hire a contractor rather than attempting to install the lighting yourself.
Another factor that greatly affects the cost of installing any type of lighting is what is above the lighting.
If your home has an attic above the place you want to install the lighting, the job will be much easier and cheaper.
Installing these lighting fixtures on a ceiling with a floor above it, however, will likely add several hours to labor (and thus increase the cost of installation).
Installing recessed lighting, or any electrical project for that matter is also made more difficult in an old house. You’ll likely encounter other electrical issues while you install your recessed lights.
Remember that the type of light bulbs you use for your project also has a big impact on overall cost.
Though the upfront cost of installing high-efficiency bulbs might be slightly more expensive, doing so pays off big time in the long run.
High-efficiency CFL, LED, or halogen bulbs can save hundreds of dollars each year on energy costs.
III. Where to Buy Recessed Lighting Online
Knowing which types of lighting fixtures is right for your home is only the beginning. You must also buy all of your lighting components from a reputable provider.
Here are a few of our favorite places to buy recessed lighting online:
Frequently Asked Questions
How much to install recessed lighting?
An electrician would typically charge $200-$250 per light to set up can or canless recessed LED lighting. Each installation takes between two and two and a half hours, at which point you can expect to pay between $85 and $105 an hour for the labor of a professional.
Can a handyman install recessed lighting?
We can get the services of a handyman to install our recessed light system, but a professional electrician is always recommended. Because it is installed within a ceiling or wall opening, recessed lighting poses a greater fire threat than other types of lighting.
Your home’s recessed lighting, electrical outlets, and security systems will all benefit from the expertise of a licensed electrician.
Where to place recessed lighting in the living room?
Lights should be positioned between two and three feet out from the walls for maximum effect.
Cons: Recessed lighting requires more space than other types of lighting to look its best in a given room.
Consider a chandelier, table, accent lamps, or wall sconces if your ceiling is too low to accommodate the proper spacing for hanging pendant lights.
Where to place recessed lighting in the kitchen?
Lights directed toward the counter’s perimeter will shed light where it’s needed (on countertops or at the sink) without casting shadows on those doing work there. For optimal counter lighting, install recessed downlights 12 inches apart and 12 to 18 inches from any nearby cabinets.
Recessed lighting for wet locations?
The term “wet rating” is used to describe areas where water, rain, or other liquids might splash, flow, or drip onto or against an exterior LED light fixture.
Is recessed lighting outdated? Does recessed lighting add value?
When it comes time to sell your home, recessed lighting could be an excellent buy. The average sale-to-list value ratio for properties with this addition is over 100%. That makes it not just one of the most lucrative home renovation trends in the US, but also among the most valuable trends worldwide.
Can LED bulbs be used in recessed lighting?
LED bulbs are used in most remodeled recessed lighting because of their low energy consumption and simple installation. LED light bulbs have a substantially longer lifespan than traditional light bulbs. After making the move, you’ll not have to replace them as frequently. LED bulbs can keep burning for up to 50,000 hours.
How many recessed lights per room?
Any new recessed lighting we add must function with our old lighting. Measure the room to discover how many fittings you will need. A basic rule of thumb is that we utilize a single hidden light for every four to six sq ft of ceiling area. Doing so creates even, general illumination.
What is retrofit recessed lighting?
Simply put, a retrofit is the installation of a new part or accessory onto an already-existing device. Updating the lamp resources, typically to a current tech such as LED, while keeping the original fixture as well as lighting pattern in place is what is meant by the term “retrofit” when it comes to recessed downlighting.
What is canless recessed lighting?
LED disks having a thin casing plus push hangers are all that goes into a canless recessed light, which is a type of ceiling lighting. It’s a standalone device that plugs straight into the wall. You can plug in wires straight to these.