🔥 Would you like to save this?
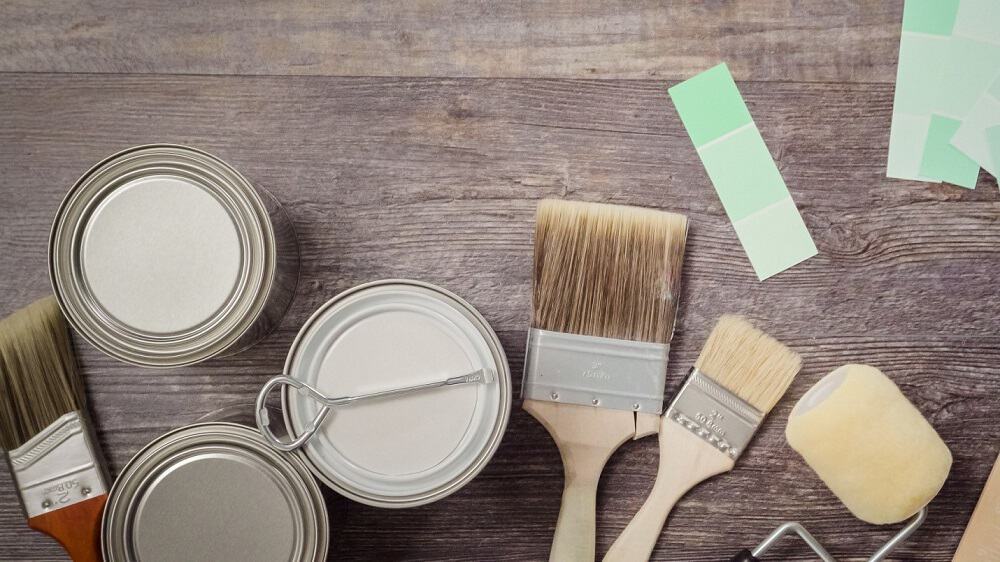
Whether you are a lover of DIY projects or not, there are certain home repairs that you are bound to do by yourself at one point or another – for instance, painting.
In order to come up with the very specific design ideas, we create most designs with the assistance of state-of-the-art AI interior design software. Also, assume links that take you off the site are affiliate links such as links to Amazon. this means we may earn a commission if you buy something.
Painting is one of those activities that you must have already done at least once or are about to do it soon. Be it a minor patch that needs to be revamped or the entire house that needs a refreshed look, painting is quite an easy job. In fact, it’s rather fun and exciting to play around with different colors and mix and match the different shades. However, what becomes a mood-spoiler is the aftermath of painting.
Storing the leftover paint once you are done with the required task can be a real nightmare for many homeowners as well as professional painters. But just like painting is not a big deal, storing the leftover paint is no rocket science either.
Here’s all that you need to know about storing paint the right way.
Related: Home Storage Ideas | Backyard Storage Ideas | Patio and Deck Storage | Types of Garage Storage | Garage Storage Ideas | Backyard Sheds
Issues with Storing Paint
Large quantities
 Paint usually comes in large quantities, so you will be definitely left with some no matter how elaborate your painting job was. And since it is quite expensive and you might need it in the future again, discarding the excess paint is not an option.
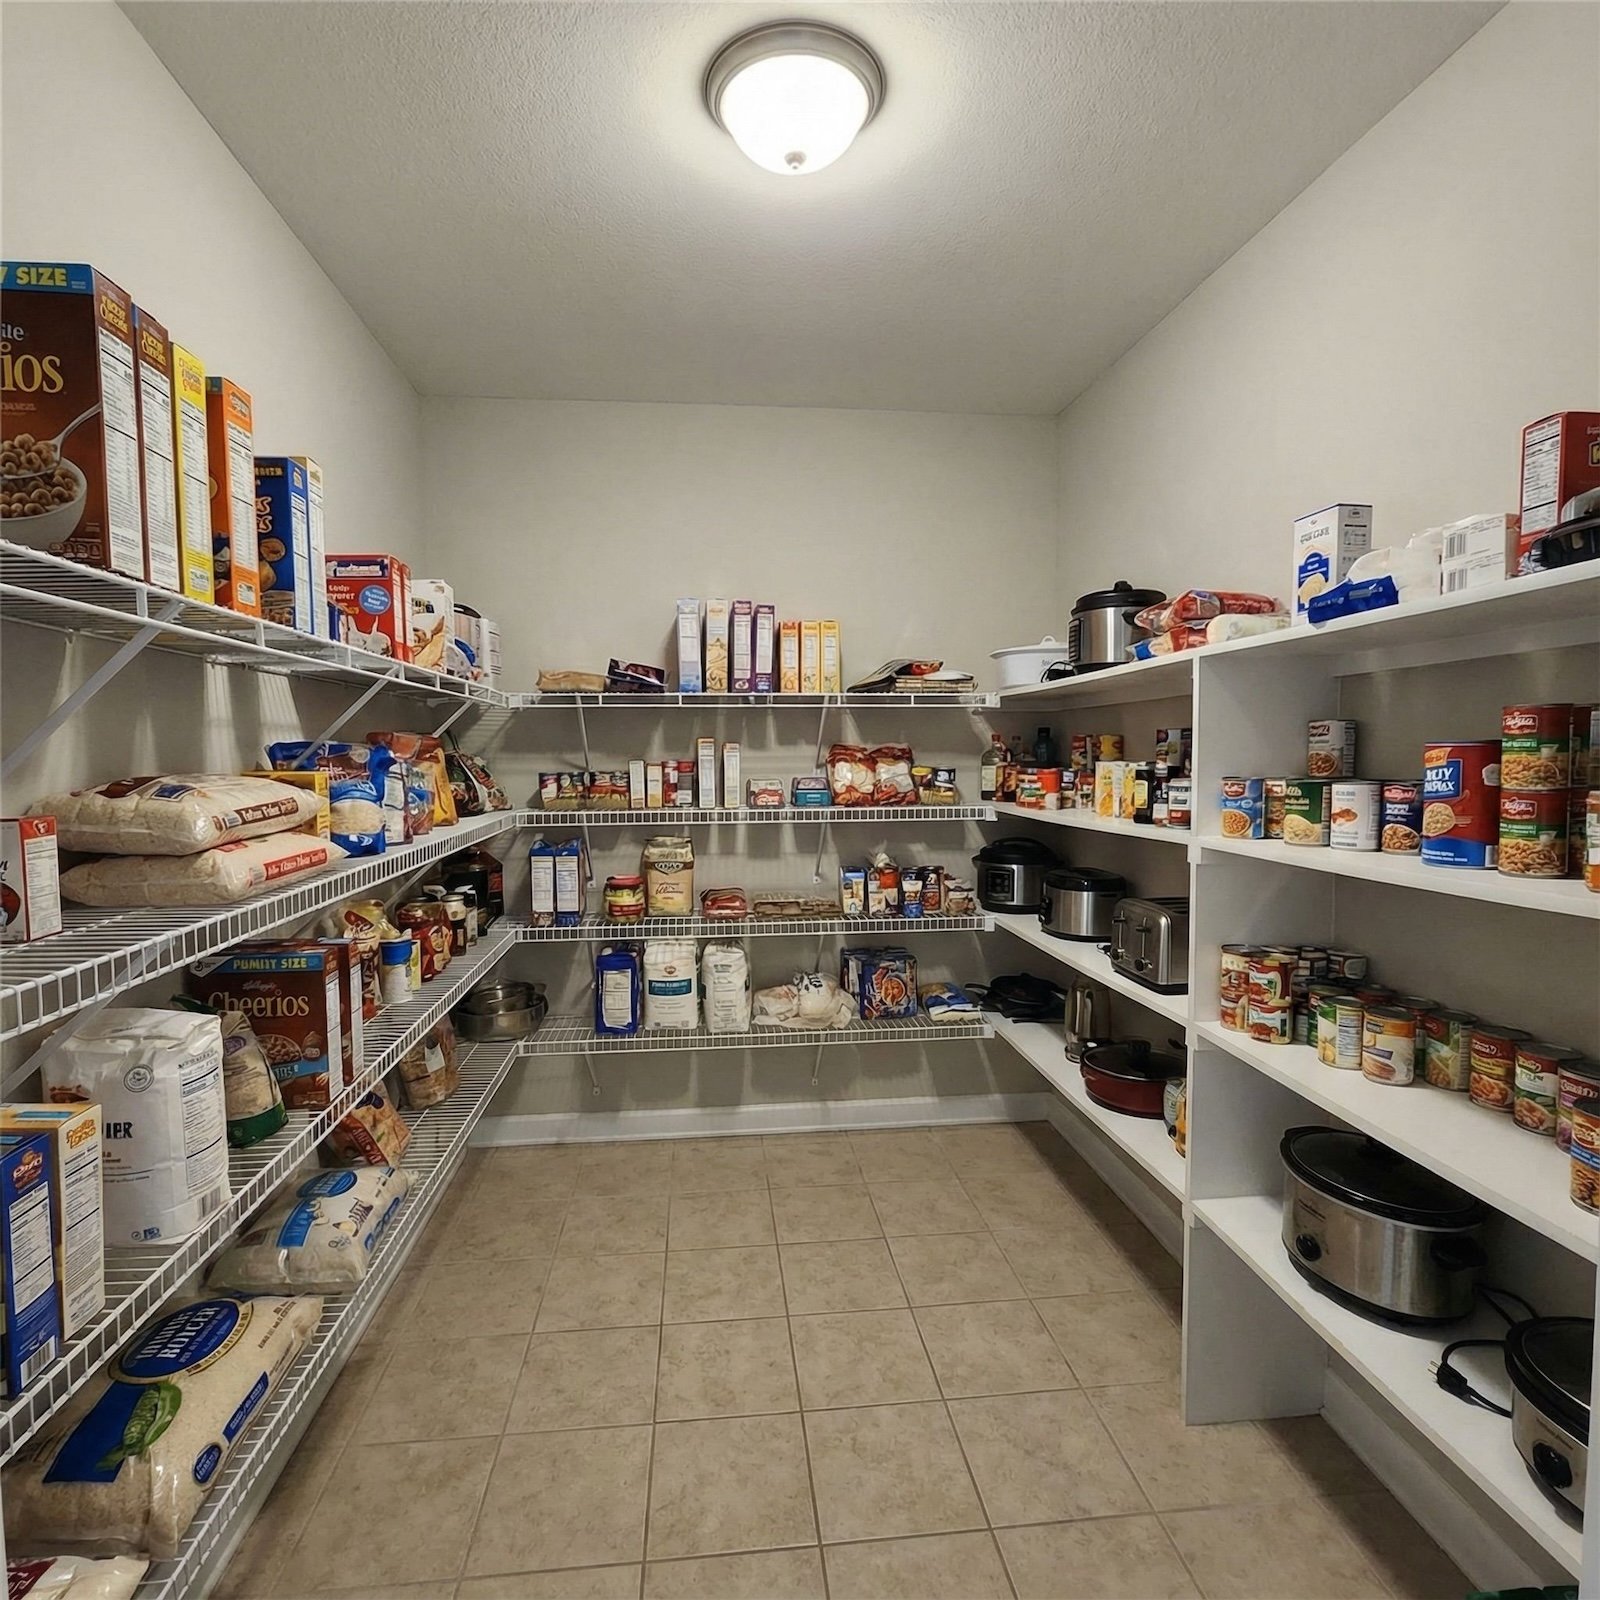
Takes up a lot of space

The large cans and buckets take up a significant amount of space in your garage or storage room. Not only could this space have been used for storing other useful items, but the large paint cans also look messy.
Not knowing what is inside
You need to paint a certain wall or something else, so you go to your garage to check whether you have that particular paint from last time. But the problem is that the cans are not transparent and the labels have probably come off by now. So you have to open each can one by one and check for the quality and quantity of contents inside.
How inconvenient and time consuming is that?
Paint that has gone bad

You might head out to buy home improvement supplies but deliberately leave out paint because you know you have it already. But when you come back home and are all set to begin the renovation, you open the paint can, only to realize that it has gone bad.
Has it ever happened to you?
Well, you aren’t alone. These are all common problems that people face when they are engaging in a painting chore. However, since you are here, rest assured that you will not face this headache that others have gone through.
How to Store Paint Correctly
Follow this step by step guide to make sure that your painting experience goes smoothly from the beginning to the end.
Open with Care

Believe it when we say that proper paint storage begins from the moment you open the paint container. It is highly important that you do not bend the lid or damage the rim. Maintaining the can’s integrity is essential if you want to prevent its contents from going bad anytime soon.
Many people open the containers using a knife or any other sharp object. This is what damages the lid of the paint bucket.
Buy a paint can opener that is available at most paint and hardware stores. It will cost you only a few dollars but is worth the investment as it will save you from huge losses such as the paint being spoiled.
Cleanliness is the key

A major reason why leftover paint often goes bad is that it wasn’t properly covered. The lid doesn’t close properly because the groove near the can’s lid becomes clogged with dried paint.
If you drip paint on the sides of the paint bucket, then it will eventually dry up and the hardened paint will prevent the lid from closing. If a paint container is not airtight, then air and moisture will enter, and this is something that you don’t want to happen.
The best way to keep the lid clean is to never wipe the brush on the edge of the can. After you dip the brush into the paint, give it two or three taps before pulling it out. This way any excess paint will be shaken off.
You may also find it helpful to tie a large rubber band or a piece of string across the can’s opening. You can wipe the brush against it and simply remove the string when you are finished painting.
If there are still any spills around the lid, then clean it with a damp cloth before putting the can away.
Say no to hammers
Paint lids can be hard to close. But you must avoid using a hammer for the job because it will damage the lid.
Instead, use a rubber mallet as it will not form any dents on the can. Rather than applying all the force at the center of the lid, place the cover on the opening and then hammer your way around its circumference. In case you don’t have a rubber mallet, place a small block of wood on the lid and then hammer the wooden piece to close the can.
Reduce contact with air

Air is the enemy of leftover paint. The moisture and other air molecules react with the chemicals in the paint to form lumps. This hardens the paint rendering it unusable altogether.
While following the above steps will ensure that no air enters the container, an important factor to consider is the amount of air already present inside.
New or half-used paint cans will store up just fine. But if there is only a small amount of paint remaining in a very large container, then transfer it to a smaller one such as a plastic bottle or any similar small jar.
For additional insulation, you can place a thin layer of plastic wrap or a polythene bag before closing the lid.
Keep the can away from extreme conditions

After ensuring that the lid is properly sealed, you must also make sure that you store the can in an appropriate place.
Given its chemical composition, paint must not be kept in extreme weather conditions. This includes places that are too hot, too cold, too humid or too dry.
For instance, the garage is not always the best place to store your paint cans, especially if you live in an area that experiences severely hot and humid summers. This is because high temperatures will evaporate the moisture from the paint even if it’s sealed thoroughly. As a result, the paint dries and hardens up.
On the other hand, a cold environment can cause the paint to become curdled and lumpy. High humidity can lead to rust forming on the metal cans.
Basically, you need to store your paint in a cool, dry place. If your house has a utility room closet, then that is the ideal place you are looking for.
Being organized helps
You might roll your eyes and think what does being organized have to do with paint lasting for a longer time.
Well, it does. Even if not in a very direct way.
Paint cans are large and bulky and take up a lot of space. Also, different cans contain different colors and are usually specific for certain uses. For instance, some paints are matte, some matte enamel, some glossed and some semi-glossed.
It is better to label each can properly if their original labels are torn or no longer readable.After all, you don’t want to finish painting an entire wall, only to realize that you used matte finish when you had to use a glossed one.
Also, transferring smaller quantities of leftover paint into appropriate jars will not just save space but will also make it more manageable to handle all the extra stuff. This will also make it easier to clean the storage room.
It is essential to keep the cans clean in order to prevent them from rusting. Dust the cans every now and then. If the container is well kept, the contents will last longer too.
How to Know If Paint Has Gone Bad

If you didn’t follow all of the above steps on storing the paint properly or if you have some cans lying around from earlier use, you might be wondering whether they are still fit to use or not.
A curdled paint, formation of lumps or dry cracked paint is the absolute sign to throw it away.
However, even if it looks fine, do these additional tests before you start using it for your next paint job.
Sniff the container gently. If it doesn’t smell like what fresh paint cans normally smell like, then it has probably gone bad.
Next, try to mix it slowly with a clean brush (or better yet, use a stirring stick). Brush a little amount of the paint on a test surface to see how it spreads.
A paint that doesn’t mix smoothly or is rough, lumpy and inconsistent when you spread itis paint that has been spoiled from improper storage.
Bonus: Genius Hacks for Storing Paint
- Before stashing that leftover paint container into the cabinet, throw in a couple of marbles. This will help with the mixing when it’s time to use the paint again.
- Before opening up a paint can (be it new or old), always clean the lid and the edges with a damp cloth. This will remove any rust and/ or dust particles that would otherwise fall inside as soon as you open the container.
Ways to Use Leftover Paint

If a small quantity of the paint is leftover, which won’t be enough for the next home improvement, you can still put it to other uses.
Paint is expensive, so it is justified if you want to make use of every last drop.
Here is what you can use it for.
Restore old jars
Give your household containers a new look. Paint any glass or plastic containers or bottles that might be lying around your house.
Make candle holders
Apply a thin coat of paint to the inner surfaces of a crystal glass. Place a candle or a small bulb inside it to form a creative, colored night lamp.
Abstract art
Grab a canvas, some brushes and any additional craft items such as a sponge, ribbons, glitter and so on. Spread a plastic sheet to protect the surface and then splash the paint randomly on the canvas. Or you can give more thoughtful strokes if you want. Get your primarypiece framed and hang it proudly in your house.
Return to all home storage ideas.