🔥 Would you like to save this?
Seventy-two thousand dollars to finish a basement stops most people cold, and for most homeowners there is no lump of cash sitting around to cover it. What works is a mix: shrink the project where it won’t hurt, phase the parts that can wait, and finance only what’s left against the house, with the retirement account left alone. These 27 moves show how, and the whole thing is more doable than the sticker suggests.
This article contains affiliate links. If you sign up or buy through them, Home Stratosphere may earn a commission at no extra cost to you.
In order to come up with the very specific design ideas, we create most designs with the assistance of state-of-the-art AI interior design software. Also, assume links that take you off the site are affiliate links such as links to Amazon. this means we may earn a commission if you buy something.
27. Rent Out Part of the Finished Basement and Let It Pay Down the Loan
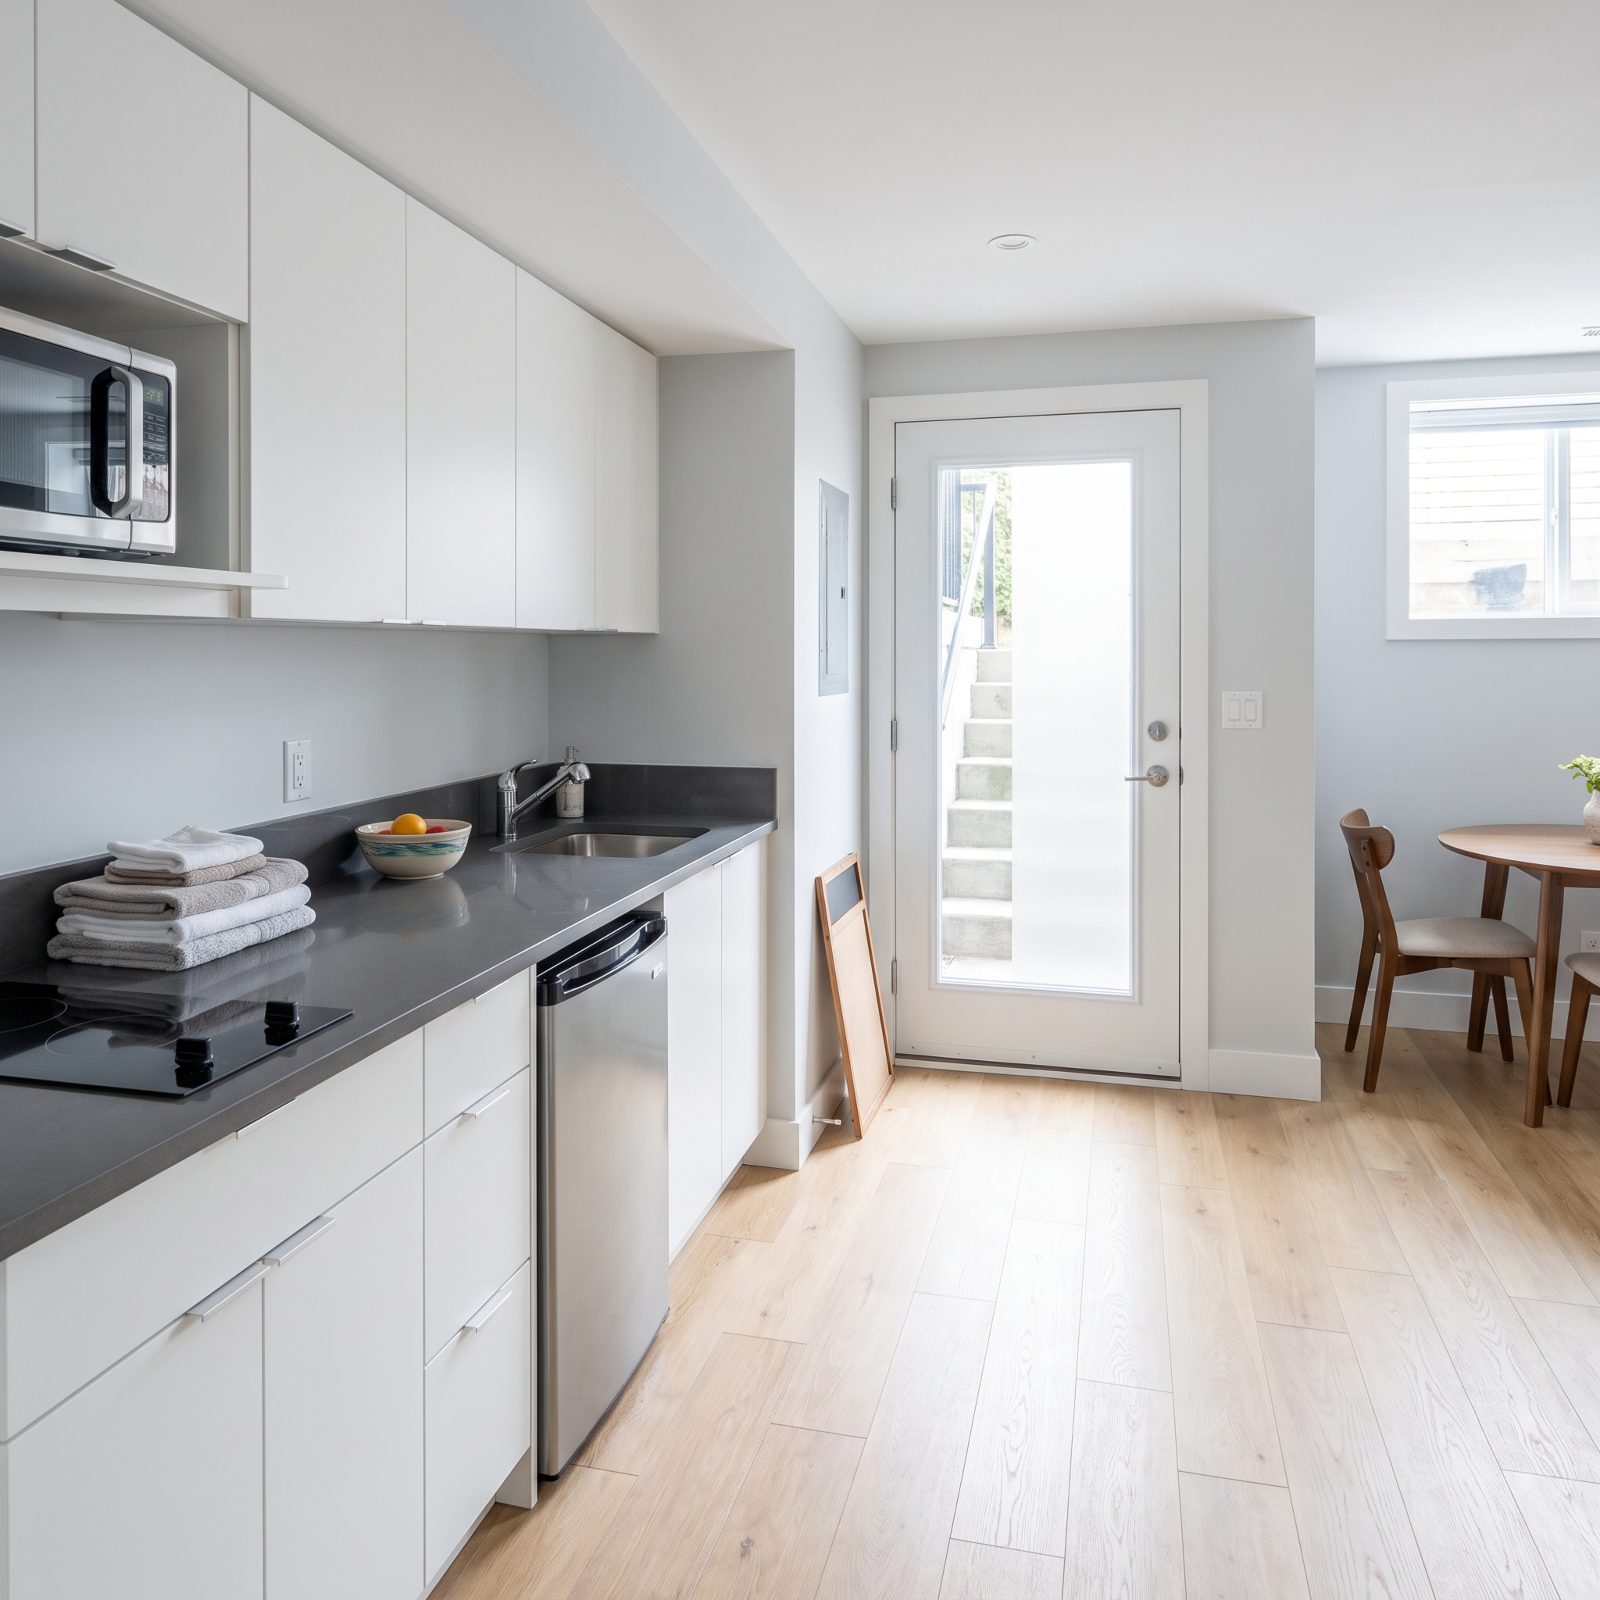
Finish the basement as a separate suite and the renovation can start earning. A legal basement apartment, with its own entrance and an egress window, brings in rent every month that goes straight at the loan balance.
Check local zoning and permit rules first, because an unpermitted rental is a problem waiting to happen. A kitchenette and a proper bathroom cost more up front, but a few hundred a month in rent reshapes the math on that $72,000 fast.
26. Compare Current HELOC Rates and Borrow Against the Space Itself
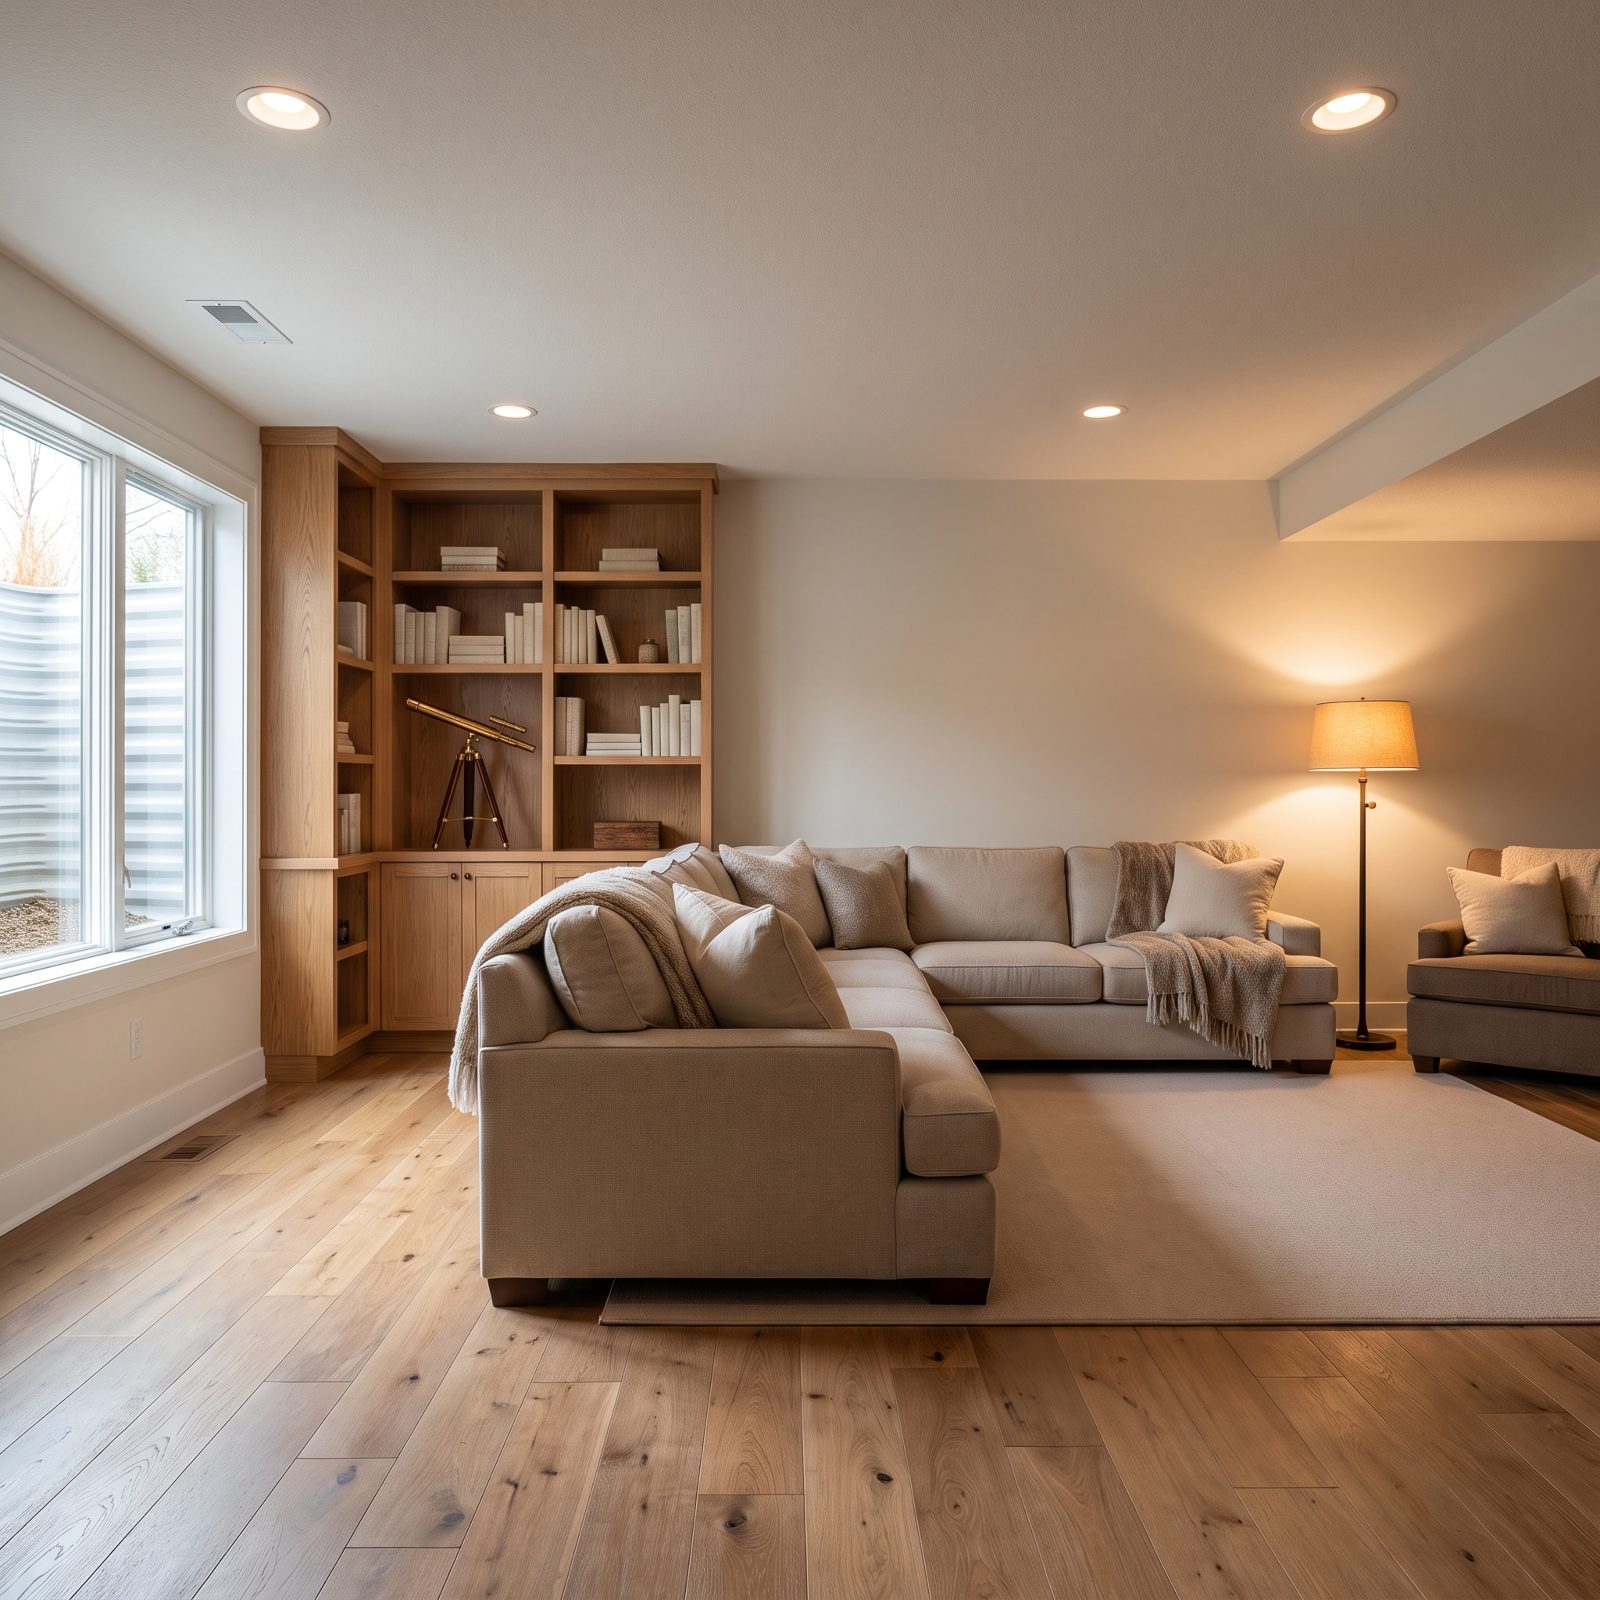
A basement adds square footage, and that finished square footage adds equity. A home equity line of credit lets you borrow against that value and draw only what you spend, week to week, instead of taking the full $72,000 up front.
Rates move, and approval depends on your equity, credit, and lender. Shop at least three before you sign anything. The line uses your home as collateral, so borrow only what the project actually needs. Phasing the work? A line you draw against in pieces can cost less in interest than one big lump sitting mostly unspent.
25. Frame Around the Mechanicals Instead of Moving Them
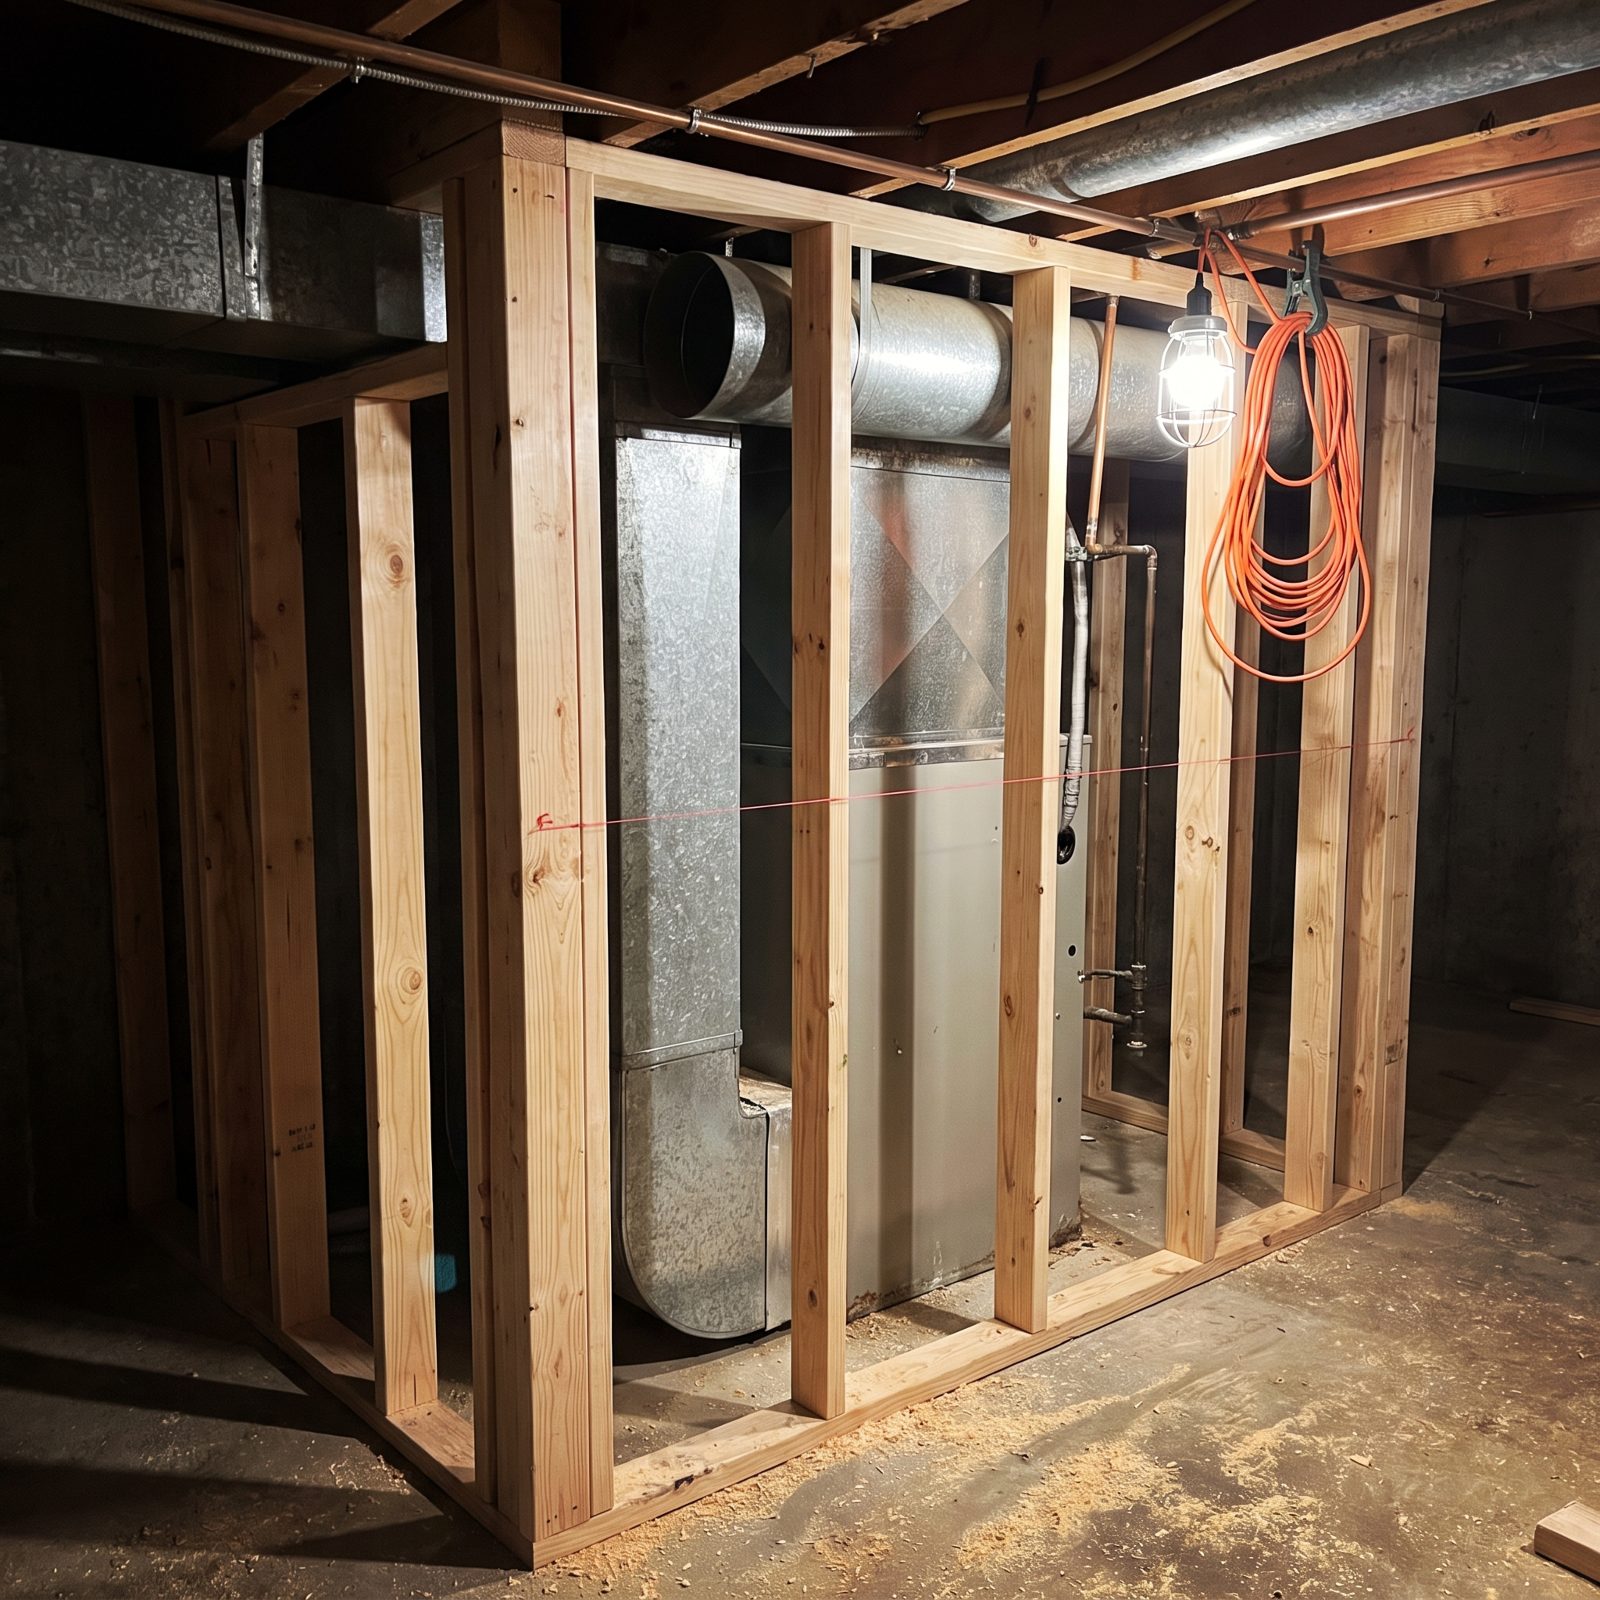
Moving a furnace, water heater, or main drain line is where basement budgets go to die. Relocating mechanicals can swallow several thousand dollars and weeks of schedule, all for a slightly cleaner floor plan.
Frame around them instead. Build a tidy utility closet with an access panel, box in the ductwork with a soffit, and design the layout to live with where the pipes already sit. A dropped soffit along one wall reads as intentional, not apologetic. The money you don’t spend chasing a perfect rectangle is money you don’t have to borrow.
24. Charge Only the Materials You Can Pay Off in a Few Months
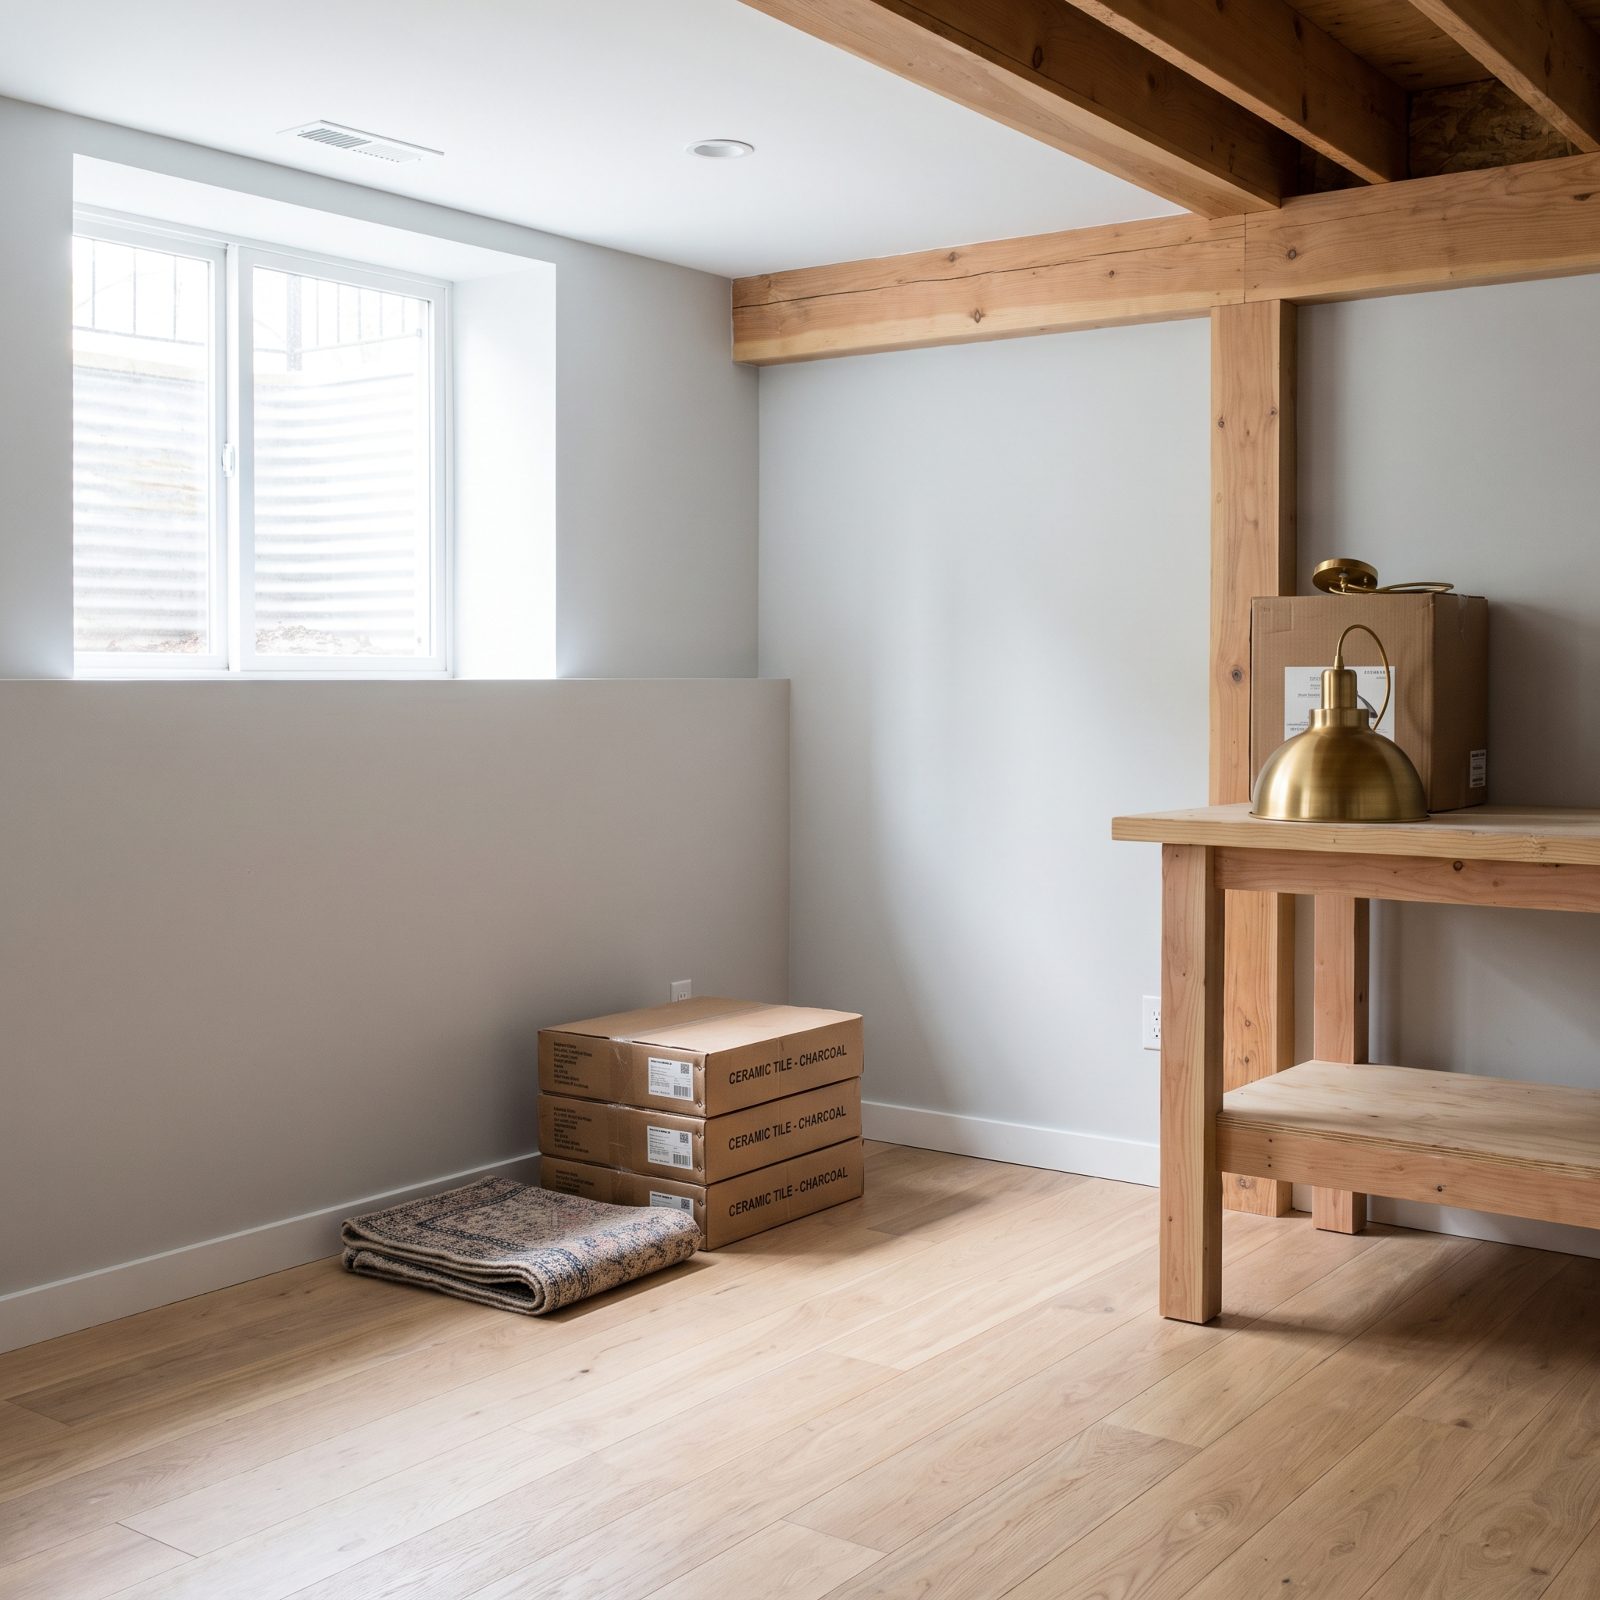
Flooring, paint, trim, lighting. These are the things you buy in bursts, and they’re worth charging only if you can clear the balance before interest kicks in.
A short, disciplined window works for a batch of materials you’ve already budgeted. It falls apart the second the balance rolls past the promotional period, where the interest can erase every dollar you thought you saved. Put only what you can pay off on it. And keep the labor, which is the biggest line item on a $72,000 job, out of this bucket entirely.
If you need a card for that small, fixed slice, you can see if you pre-qualify for a Yendo card, which uses your car to secure the line.
See If You Pre-Qualify for Yendo →
23. Leave Your 401(k) Out of It and See What a Withdrawal Really Costs

A retirement account feels like free money sitting right there. It isn’t.
Pull from a 401(k) or IRA early and the cost stacks up: income tax on the amount, usually a penalty on top, and the growth that money would have earned for the next twenty or thirty years, gone. A withdrawal to cover part of a basement can end up being the most expensive way to pay for anything you’ll ever do. A loan against the account isn’t a clean workaround either, since leaving a job can force fast repayment. Finance the basement against the house, the asset the basement actually improves, and let the retirement money keep compounding where it belongs.
22. Ask About a Renovation Loan That Lends on the Finished Value
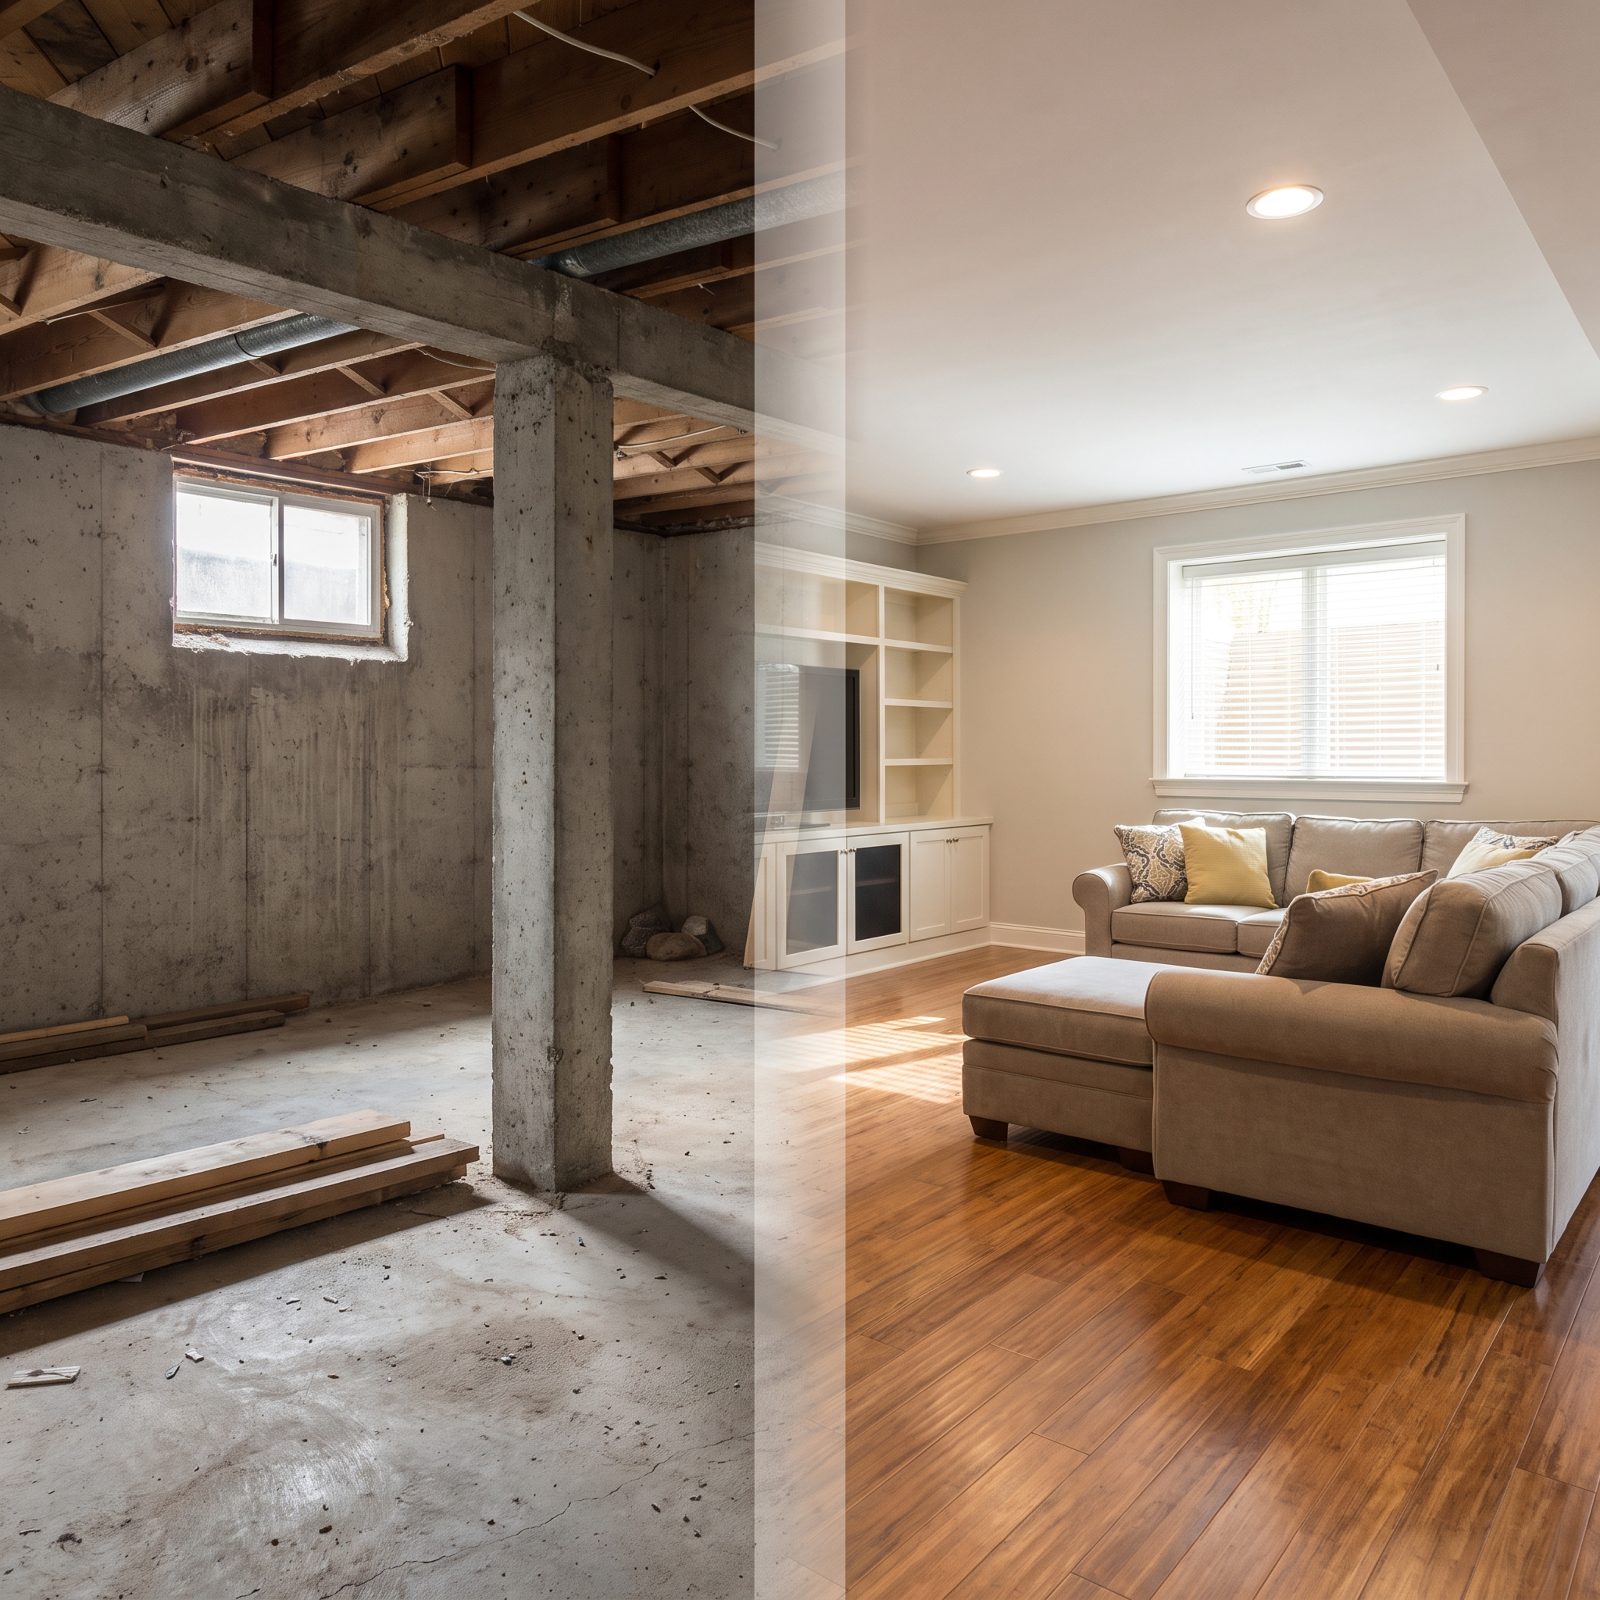
No equity yet? There are loan products built for exactly this. A renovation loan can lend based on what the home will be worth after the basement is done, not what it’s worth today.
That opens the door for people who bought recently or whose homes haven’t appreciated much. It comes with more paperwork, draw inspections, and approval that varies by lender and project scope. Compare the total cost against a cash-out refinance before you commit. Both use the home as collateral, and both deserve a close read.
21. Finish 60 Percent of the Basement Now and the Rest Later
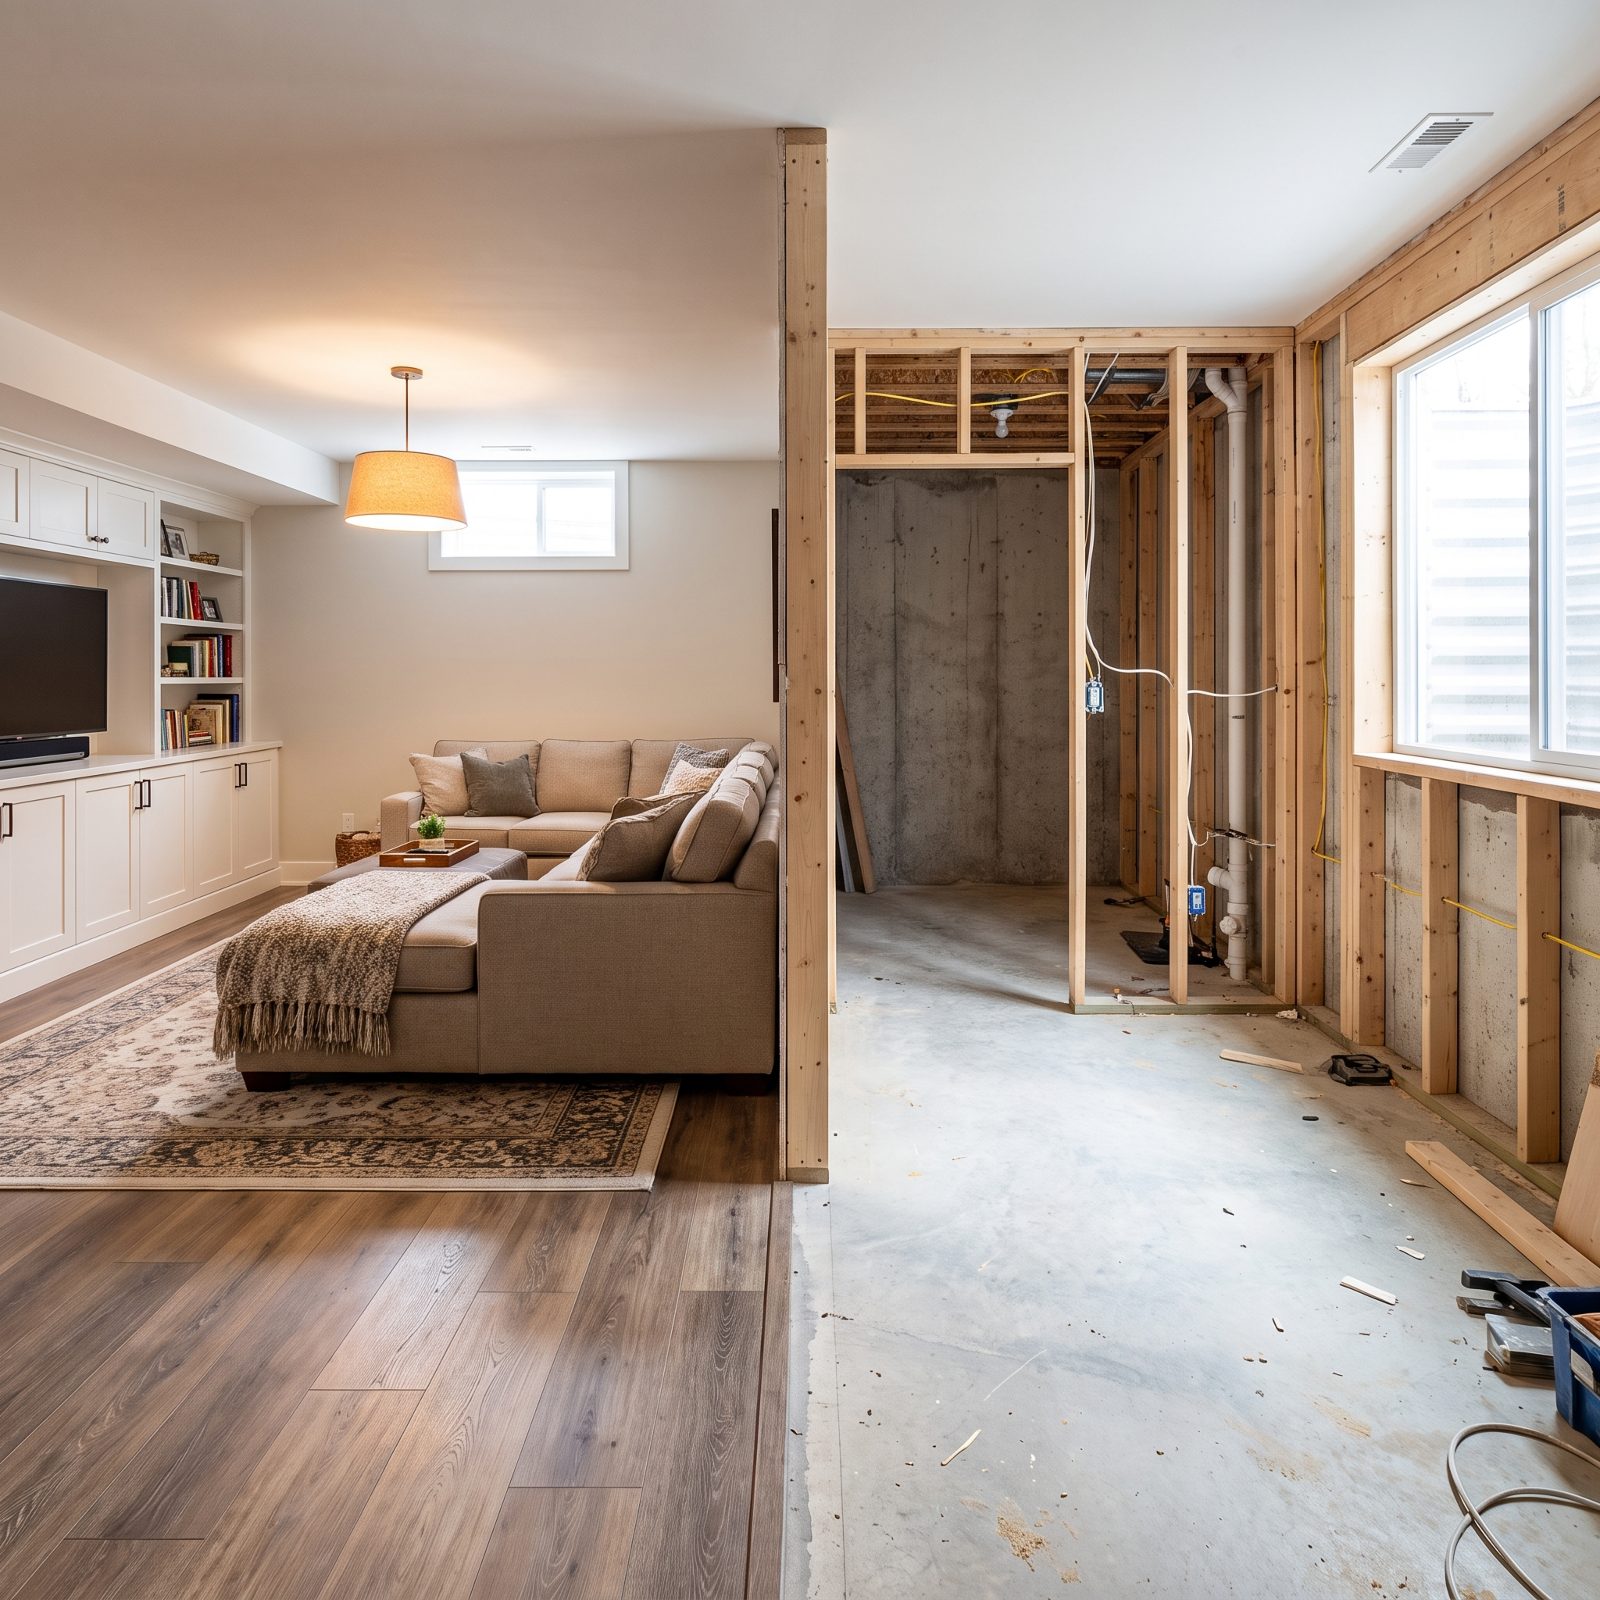
Nobody said the whole basement has to happen at once. Finish the family room and the bathroom now, the two spaces you’ll actually use, and leave the future gym or guest room as a clean framed-out shell.
Phasing lets you spread the $72,000 across two budget years and borrow against the smaller chunk. Rough in the plumbing and electrical for the unfinished zone while the walls are open, since doing that later means tearing back into finished space. A partial wall between done and not-done keeps the live area feeling complete.
20. Use Rigid Foam and Drywall Instead of a Pricey Panel System
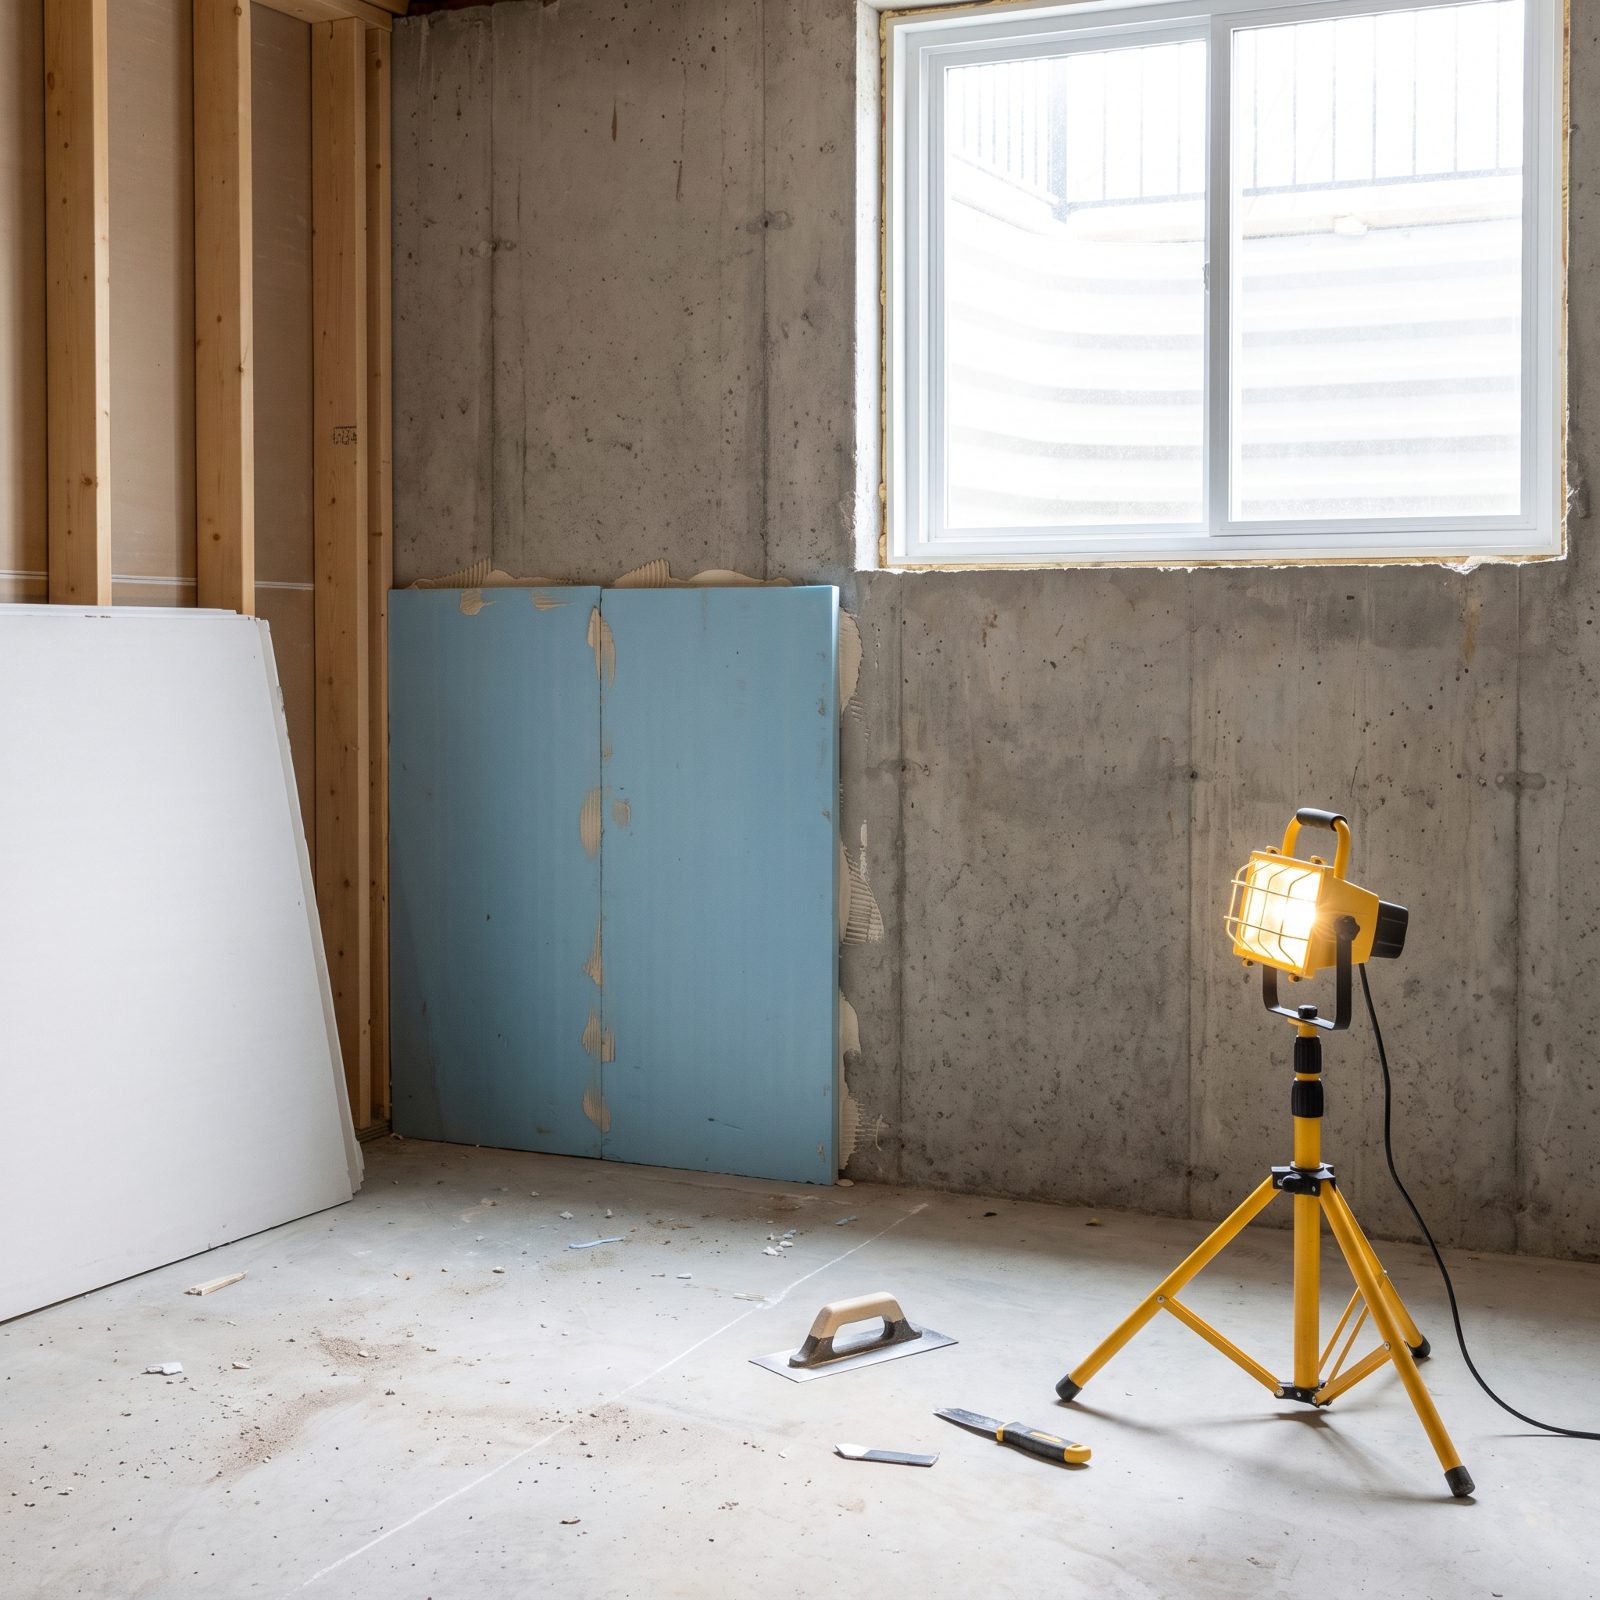
Branded basement wall systems promise a tidy one-stop finish. They also carry a premium, and on a budget that premium is hard to justify.
Rigid foam board against the foundation, furring strips, then standard drywall gives you an insulated, finished wall for a fraction of the panel-system cost. Installed right, it handles basement moisture well, and drywall takes paint like any other wall upstairs. Once it’s finished, the look is identical. The savings go toward the parts of the basement people actually notice.
19. Pick Up Survey Cash for Paint, Lighting and Furniture

This one won’t finish your basement. But it can quietly cover the fun stuff. Small side income, online surveys, cash-back on purchases you were making anyway, it adds up to a slush fund for the finishing touches.
Funnel it toward a statement chair, a floor lamp, a couple gallons of paint, and the decor line that always gets cut when the budget tightens. Keep these off the loan and you’re not paying interest for years on a lamp. Slow money, sure. But money that never touched the house or the retirement account.
You can earn with Branded Surveys in spare minutes and send every payout to the paint-and-lighting fund.
Start Earning With Branded Surveys →
18. Skip the Full Wet Bar and Rough In the Plumbing for Later
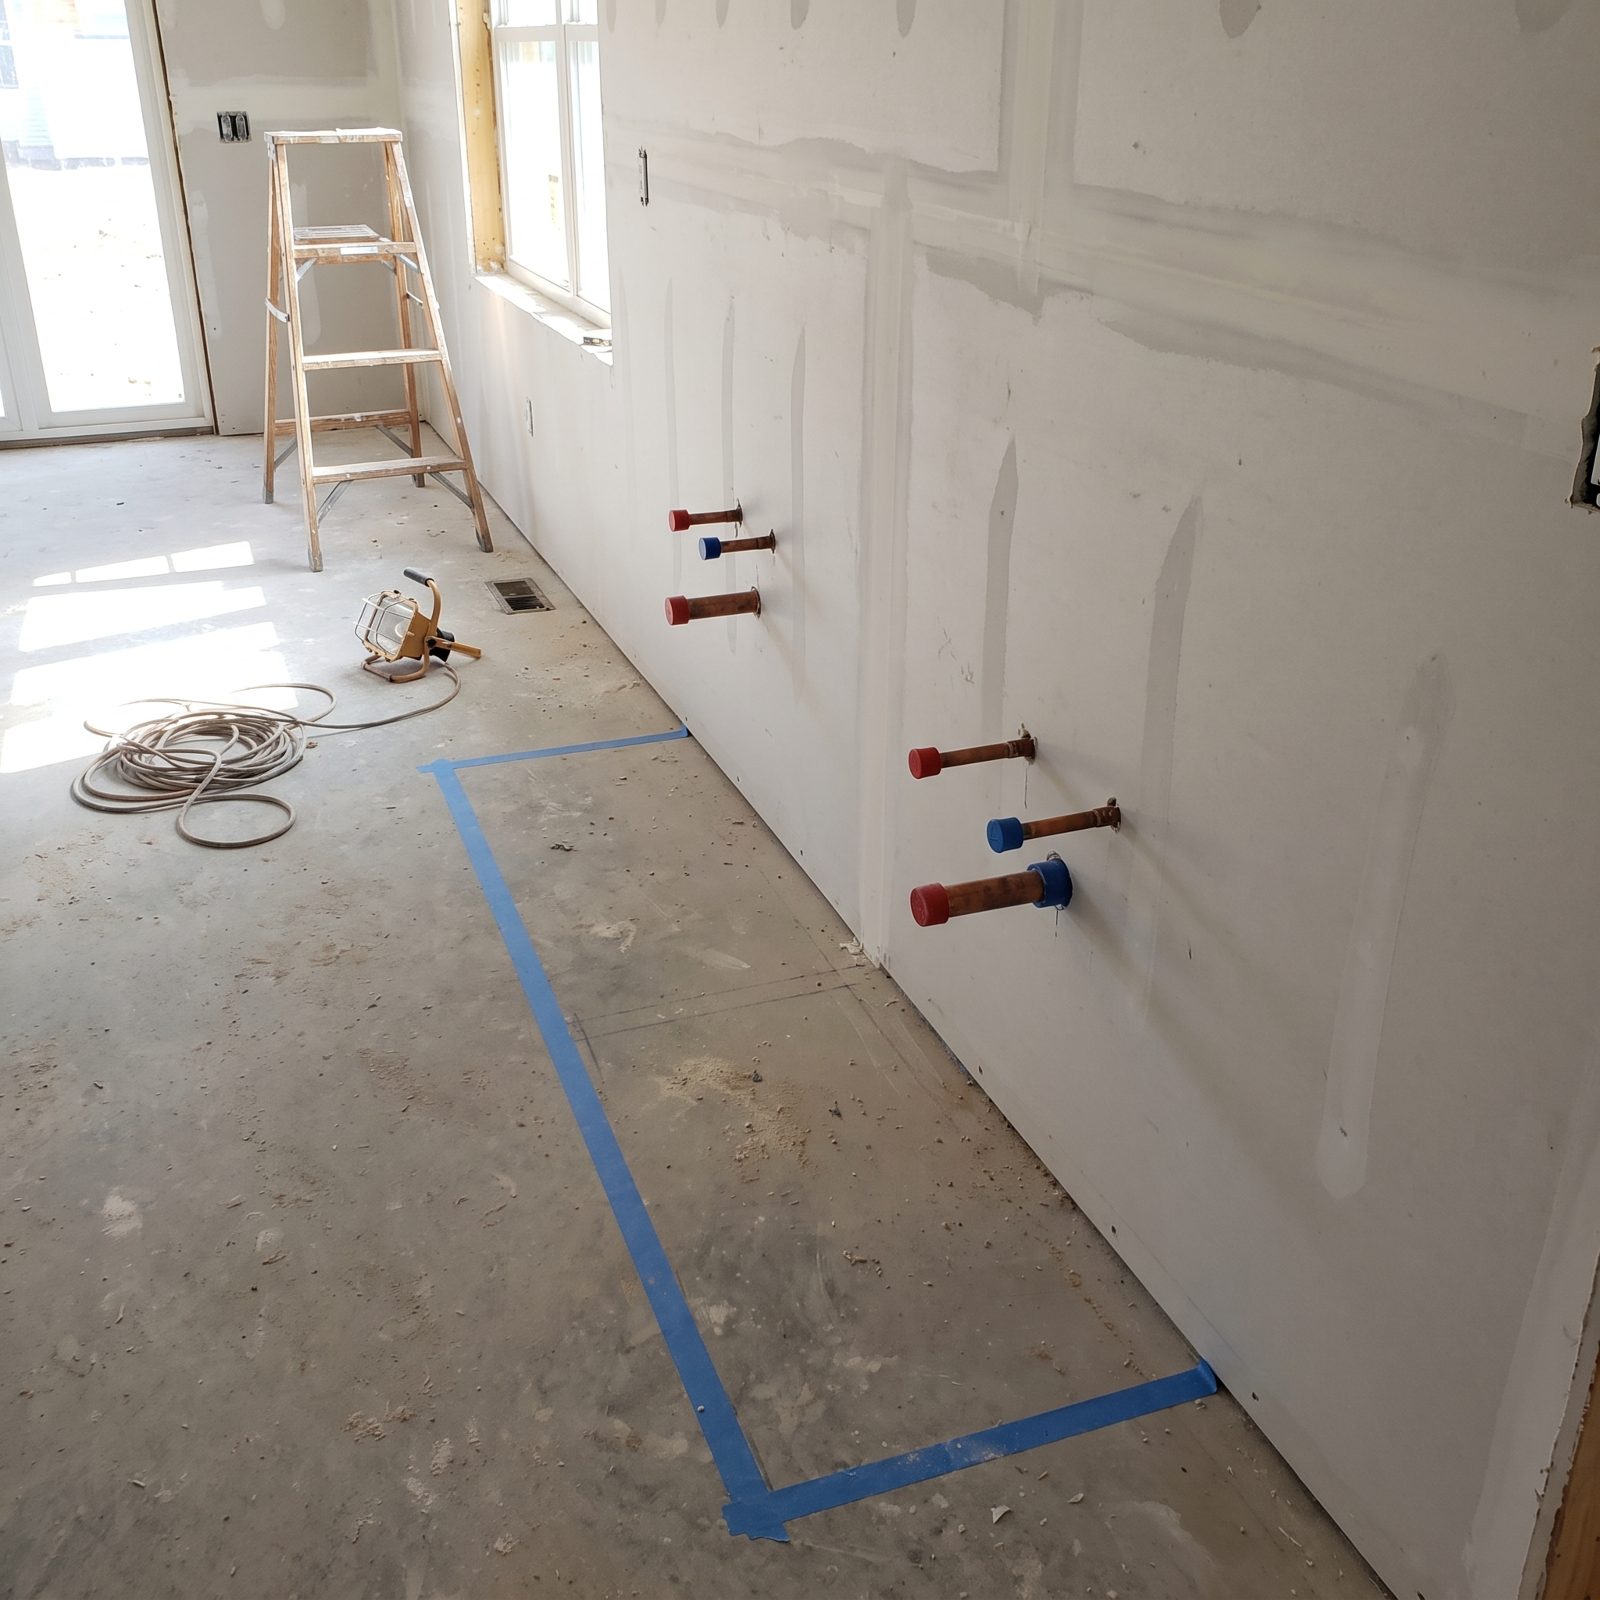
A full wet bar is one of the first things people sketch in, and one of the easiest to cut. Cabinetry, a sink, a bar fridge, plumbing, counters, it all stacks into a real number fast.
Rough in the water supply, drain, and an outlet on that wall now, while the framing is open, then cap it and walk away. You get a clean finished wall today and a bar you can add in a year or five without opening anything back up. The rough-in costs little. The full build can wait until the basement has paid for itself.
17. Leave the Ceiling Open and Paint It
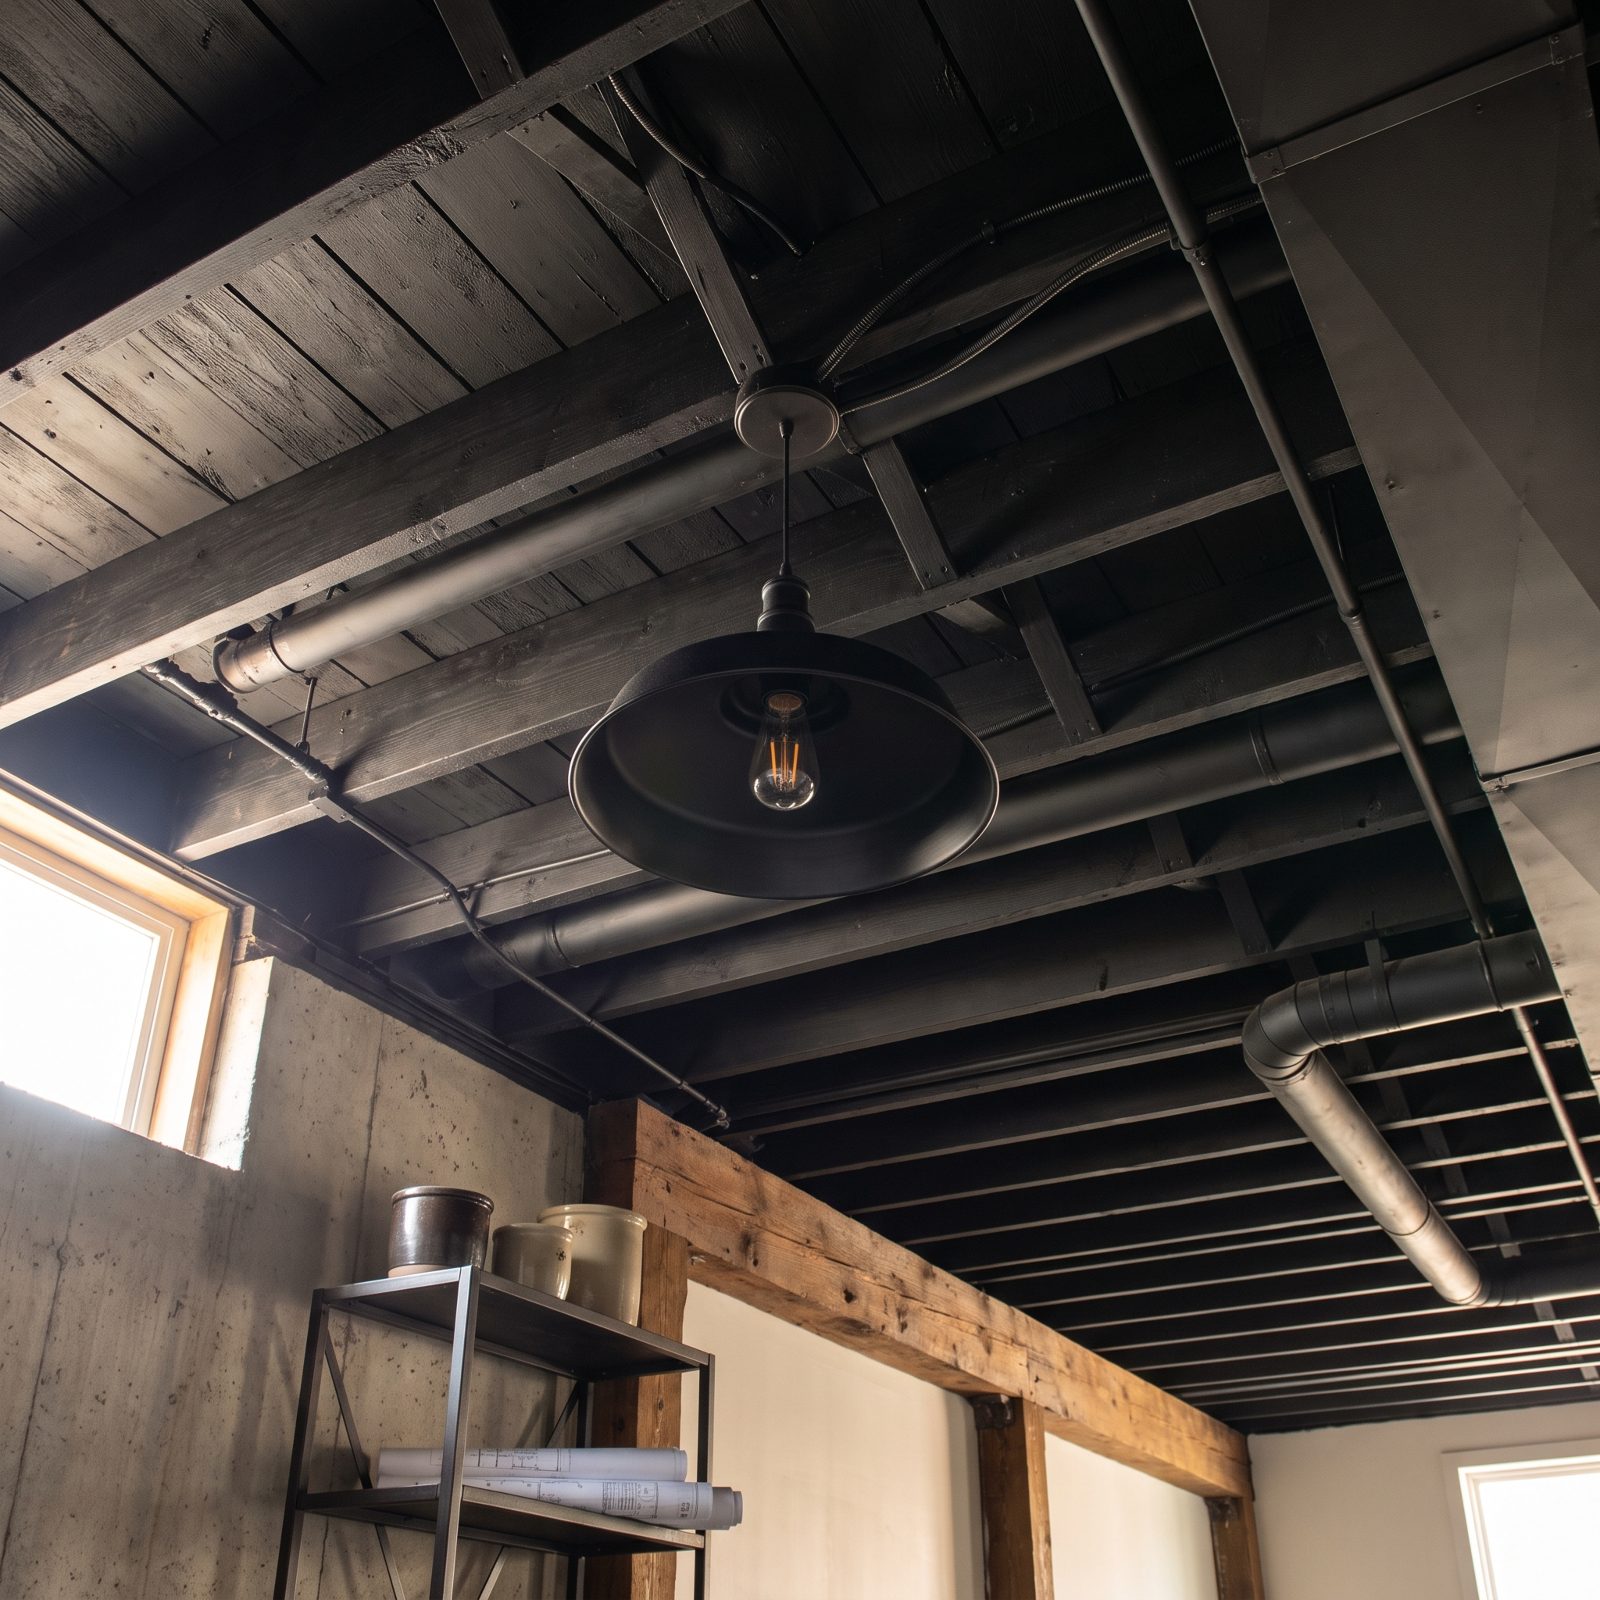
A dropped ceiling eats money and headroom at the same time. Grid, tiles, labor, and the clearance you lose can run a surprising amount of money you don’t need to spend.
Paint the joists and ducts a single dark color instead, and the whole mess reads as one quiet surface so your eye stops picking out the pipes. You keep full ceiling height, which matters in a basement more than almost anywhere else in the house.
Budget a few hundred for a paint sprayer rental and primer against what a suspended ceiling adds. On a big finish job, that’s real money moved back to the parts people actually touch.
16. Price the Permit and Egress Window Before Anything Else
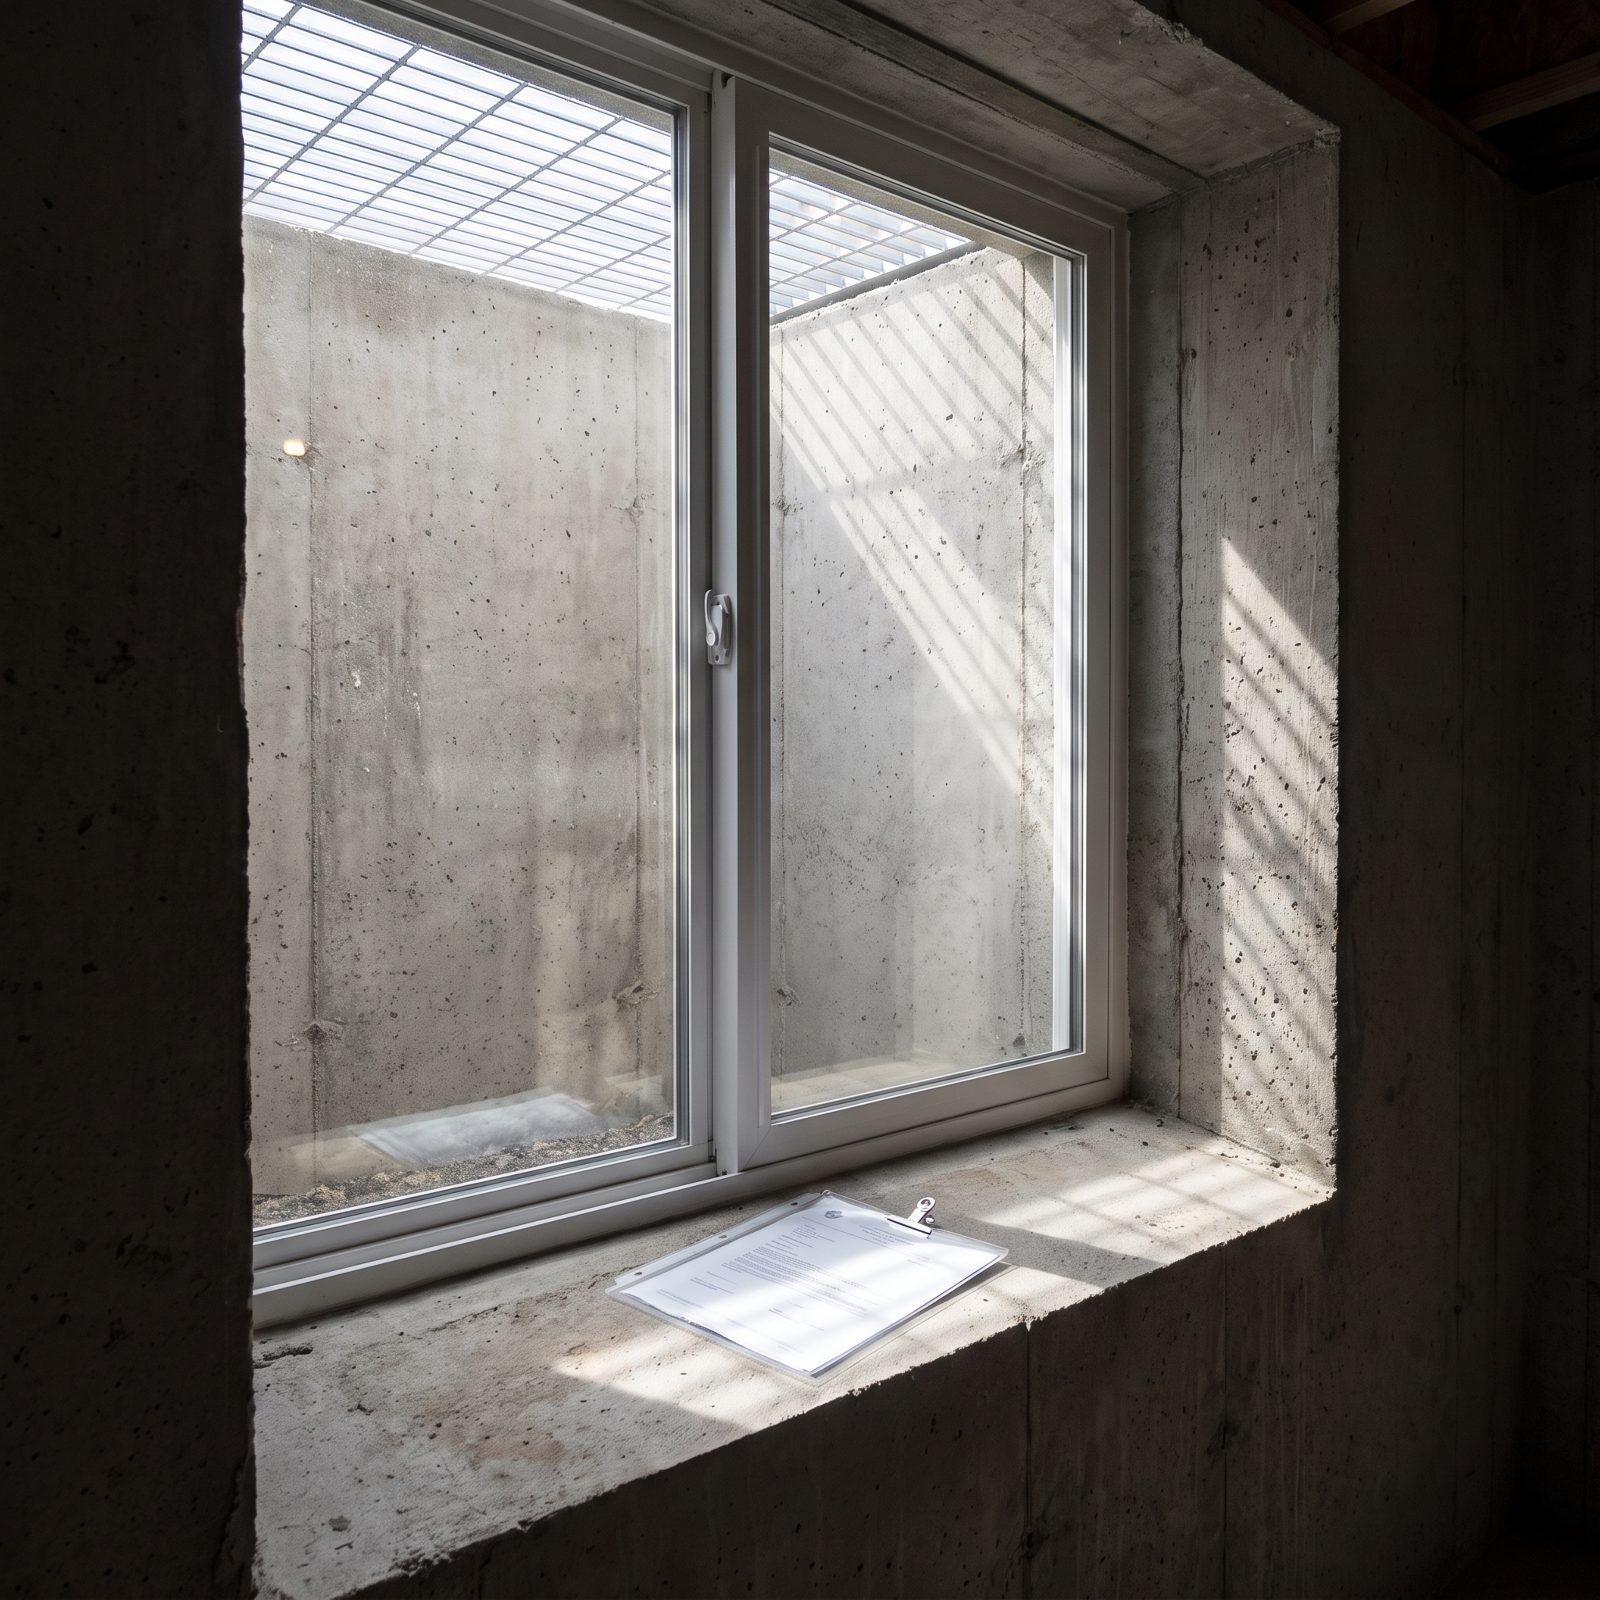
Legally speaking, the window is the line between a finished basement and a glorified storage room. A bedroom down there needs an egress window big enough to climb out of in a fire, and cutting one into a poured foundation is not cheap.
Price the permit and the egress cut first, before you fall in love with a floor plan. Foundation cutting, the window well, drainage, and the window itself can land anywhere from a few thousand to five figures depending on your wall. That one number reshapes everything after it.
If you’re planning a true bedroom down there, this is the item that makes it legal.
15. Have a Remodeling Expert Spot the Padding in the $72,000 Quote
🔥 Would you like to save this?
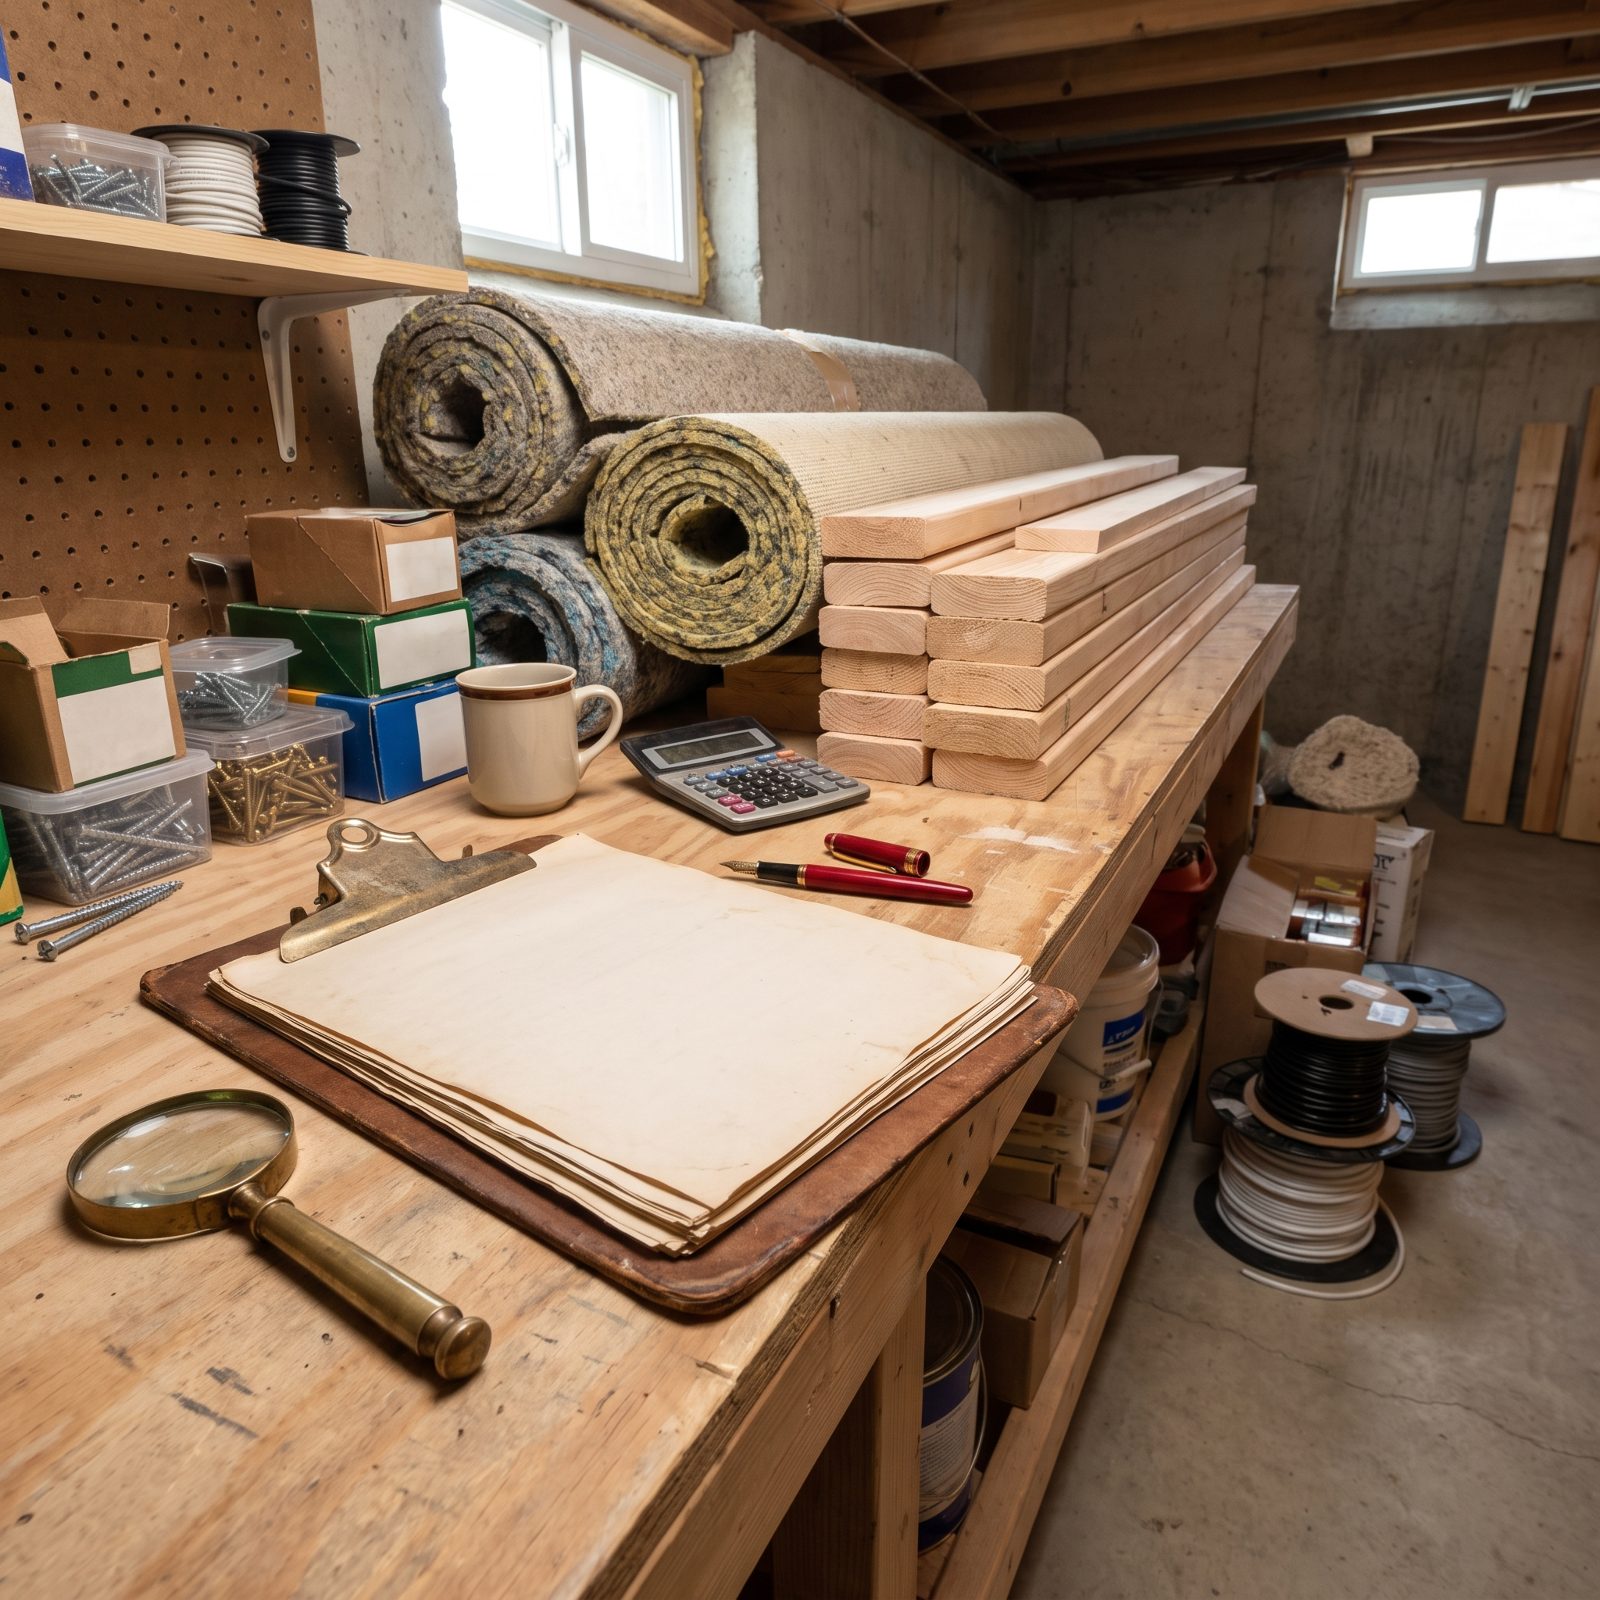
A fat quote hides its padding in vague line items. “Finishing package.” “Site prep.” “Allowance for fixtures.” These are the rooms where extra money goes to live.
Pay a remodeling consultant or an independent estimator for an hour of their time to read the bid line by line. A few hundred dollars spent here routinely finds much more in soft pricing, duplicated markup, or materials marked up twice.
Ask for unit costs. How much per outlet, per linear foot of trim, per sheet of drywall? A quote that can’t break itself down is a quote hiding something, and on a big project the hiding is where the overpaying happens.
With the quote in hand, you can ask a home improvement expert on JustAnswer which line items are padded or optional.
Ask a Basement Remodeling Expert Now →
14. Choose Luxury Vinyl Plank Over Carpet and Hardwood
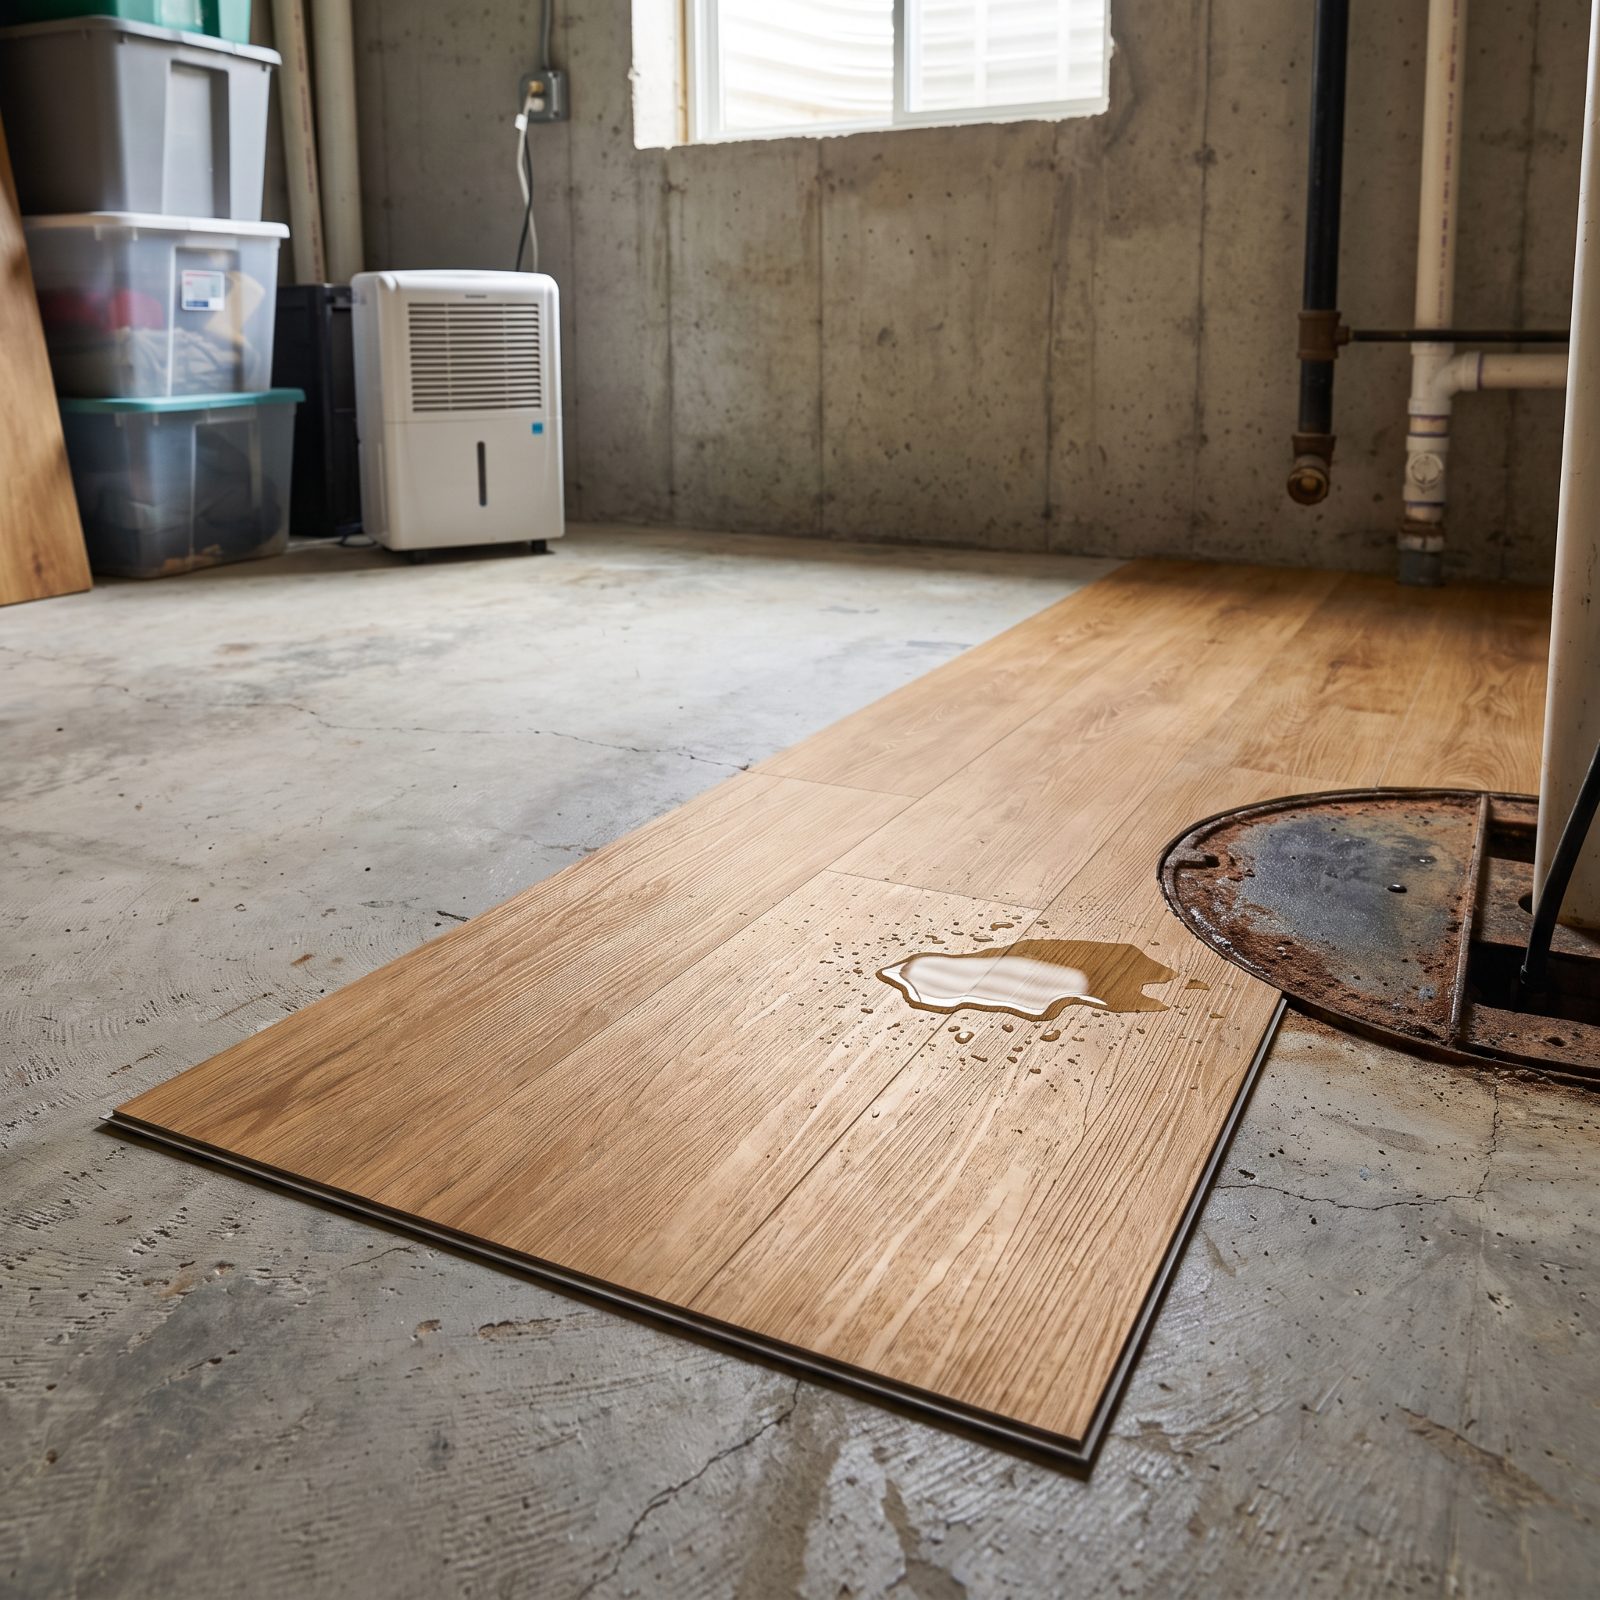
Basements flood. Not always dramatically, sometimes just a damp week and a cranky sump pump. Hardwood hates that, and carpet turns it into a smell you’ll chase for a year.
Luxury vinyl plank doesn’t care. It floats over concrete, shrugs off moisture, and reads like wood from standing height. If you’re even mildly handy, you click it down yourself over a weekend.
Against real hardwood plus the subfloor a basement demands, the savings are large and the product fits the room better anyway. Want the look pushed further? Navy or deep-green walls read beautifully against a pale plank floor.
13. Shop Your Home Insurance Before You Add Finished Square Footage
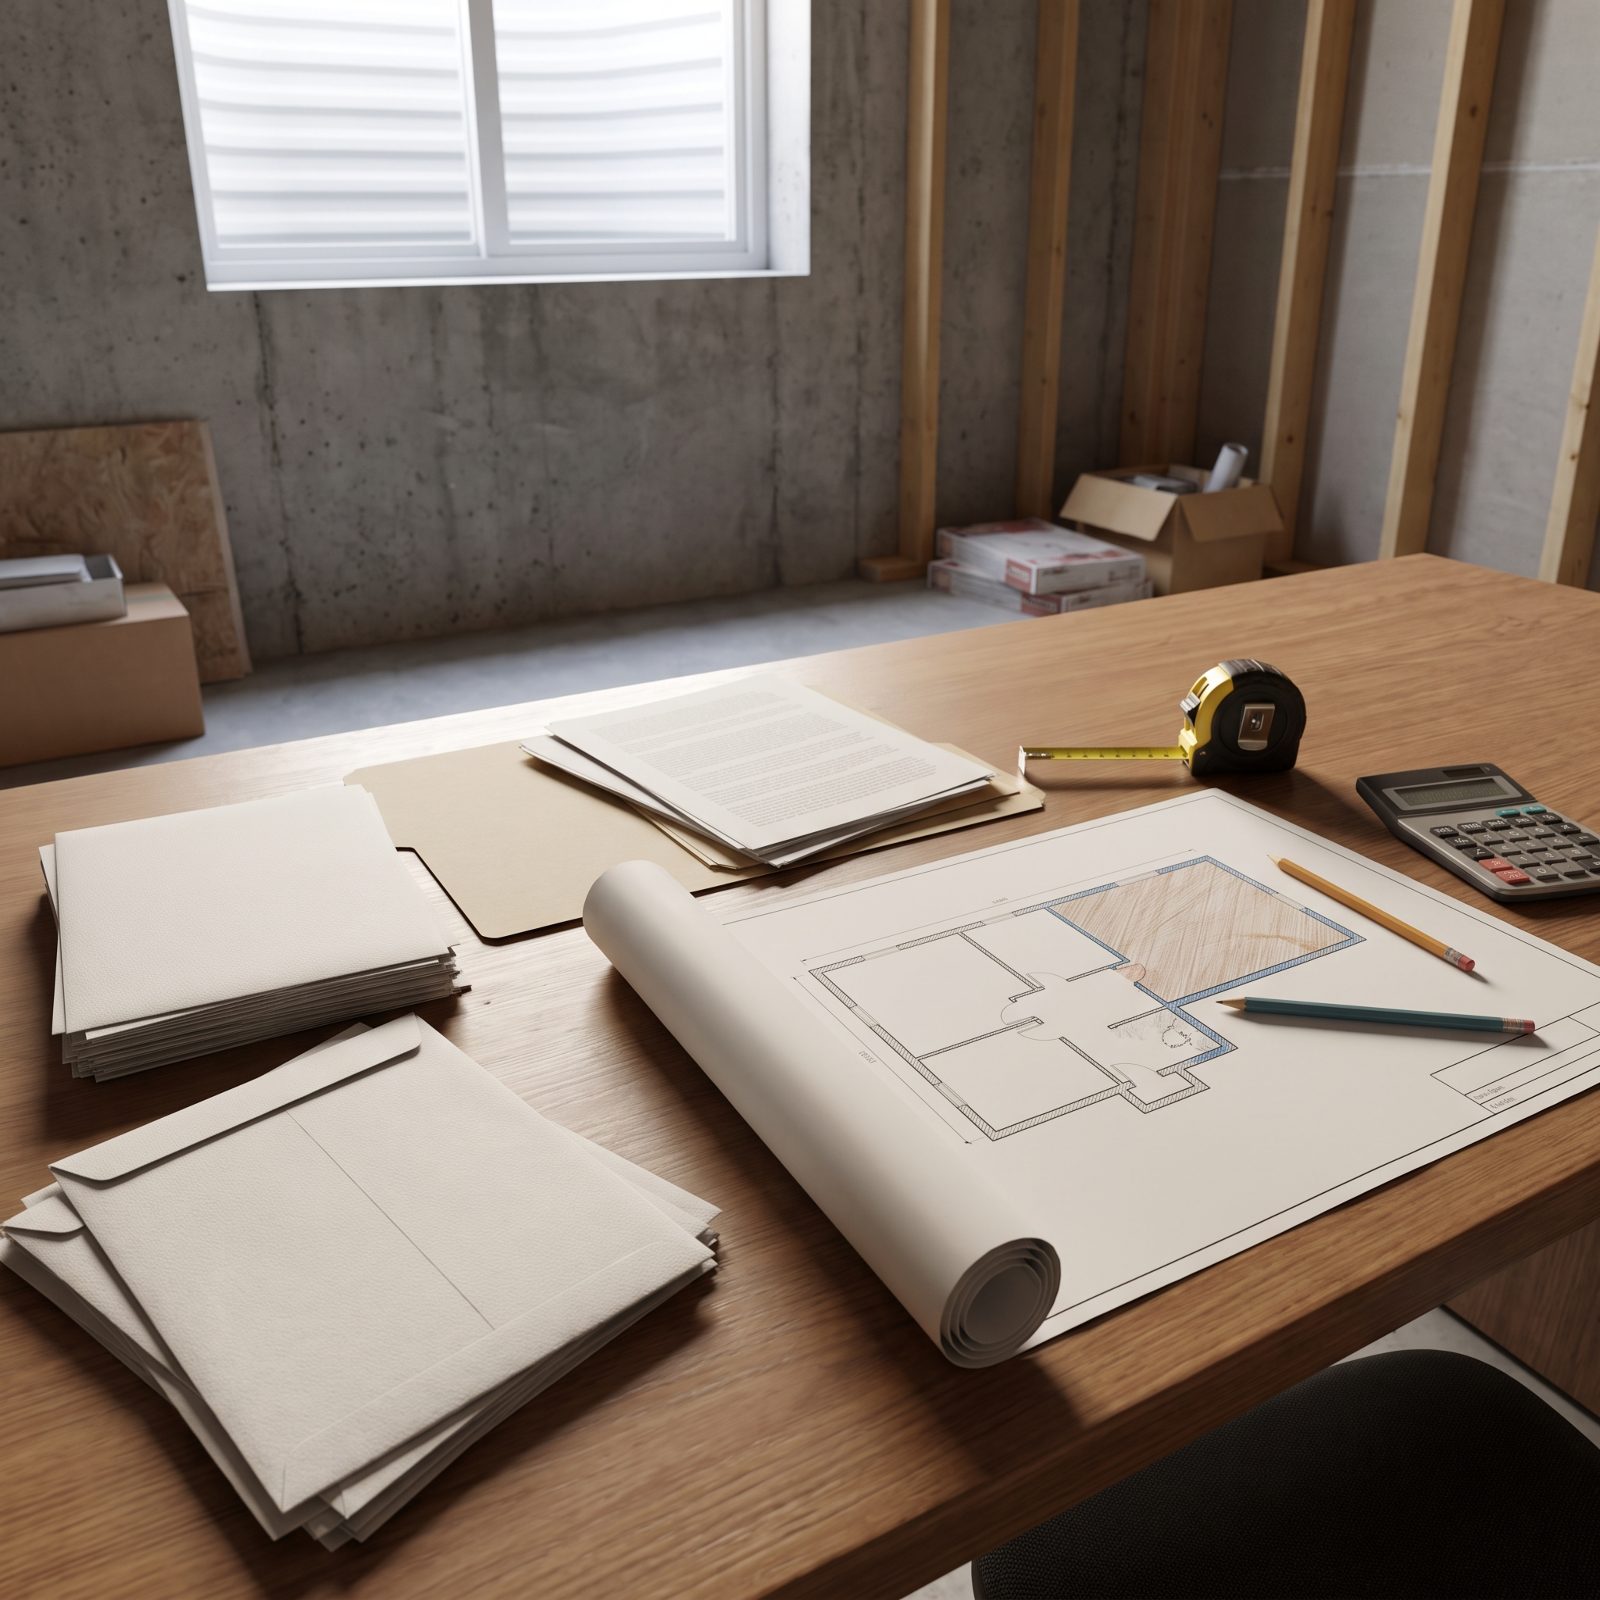
Finishing a basement adds livable square footage, and that square footage changes what your home costs to rebuild. Your policy needs to know before a claim, not during one.
Call your insurer and shop a few competing quotes at the same time. Adding finished space is exactly the moment carriers compete hardest, and the gap between the cheapest and priciest renewal for identical coverage is often wider than people expect.
This isn’t a line in the construction budget. It’s the quiet carrying cost that follows the project home, and shopping it once can pay for a chunk of the flooring.
Before the inspector signs off, compare home insurance quotes with GetYourInsurance so the new square footage doesn’t come with an inflated premium.
Compare Home Insurance Quotes →
12. Do the Painting, Trim and Flooring Yourself
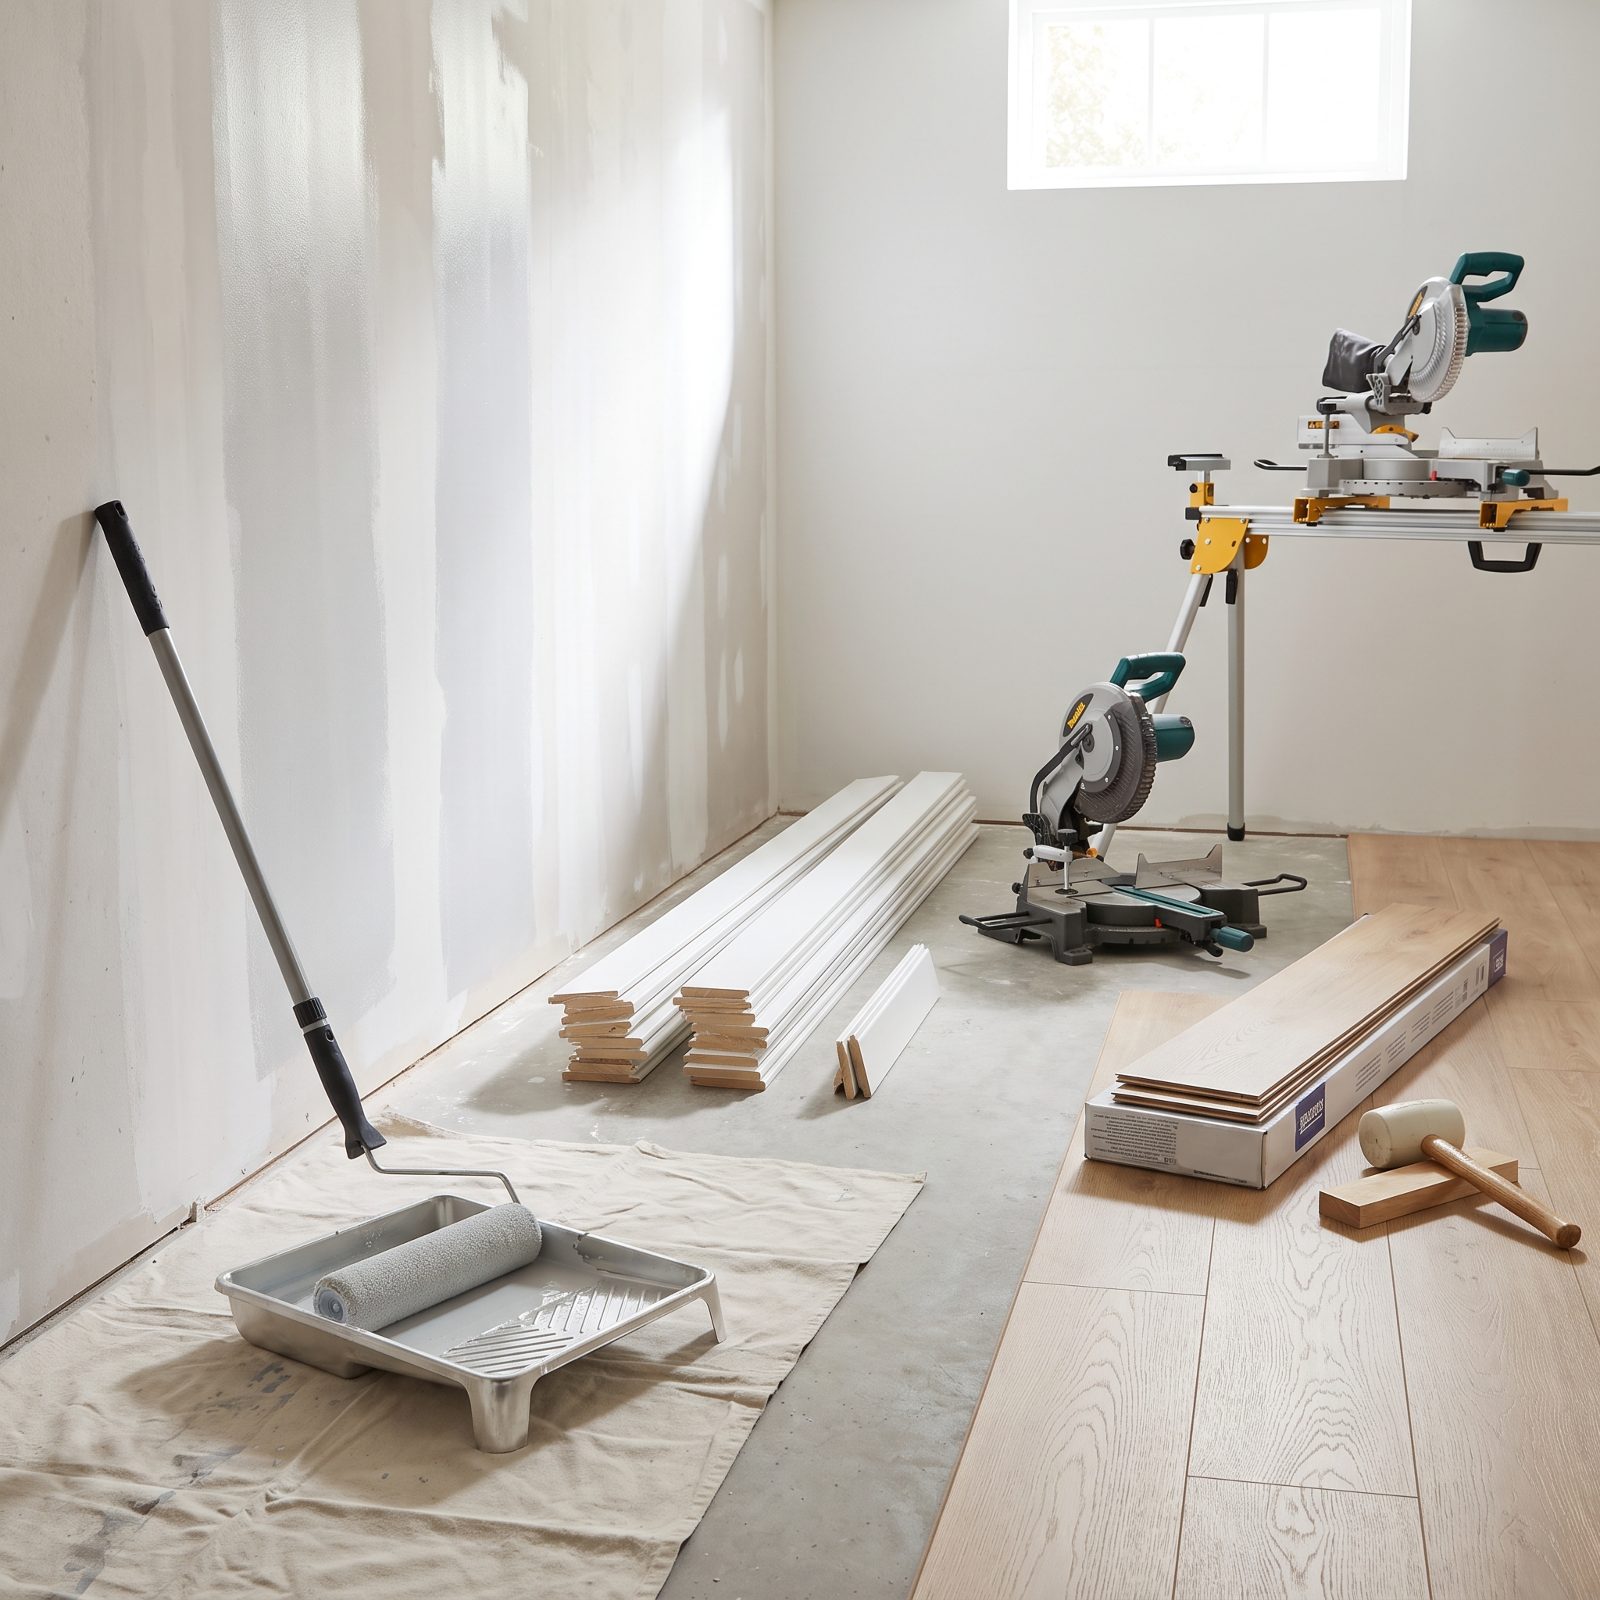
Labor is most of the bill. Materials are cheap compared to the hands that install them.
Paint, trim, and click-together flooring are the three jobs where a careful homeowner matches professional results with time and patience instead of a check. A gallon of paint is twenty-odd dollars. A painter’s day is not.
Rushed trim corners can wipe out the savings, so be honest about your patience level. But if you’ll measure twice and caulk your gaps, these three tasks shave a serious chunk off the finish work. That money is the difference between financing the whole thing and financing only the half you can’t do yourself.
11. Put a Fixed-Rate Home Equity Loan on the Structural Work
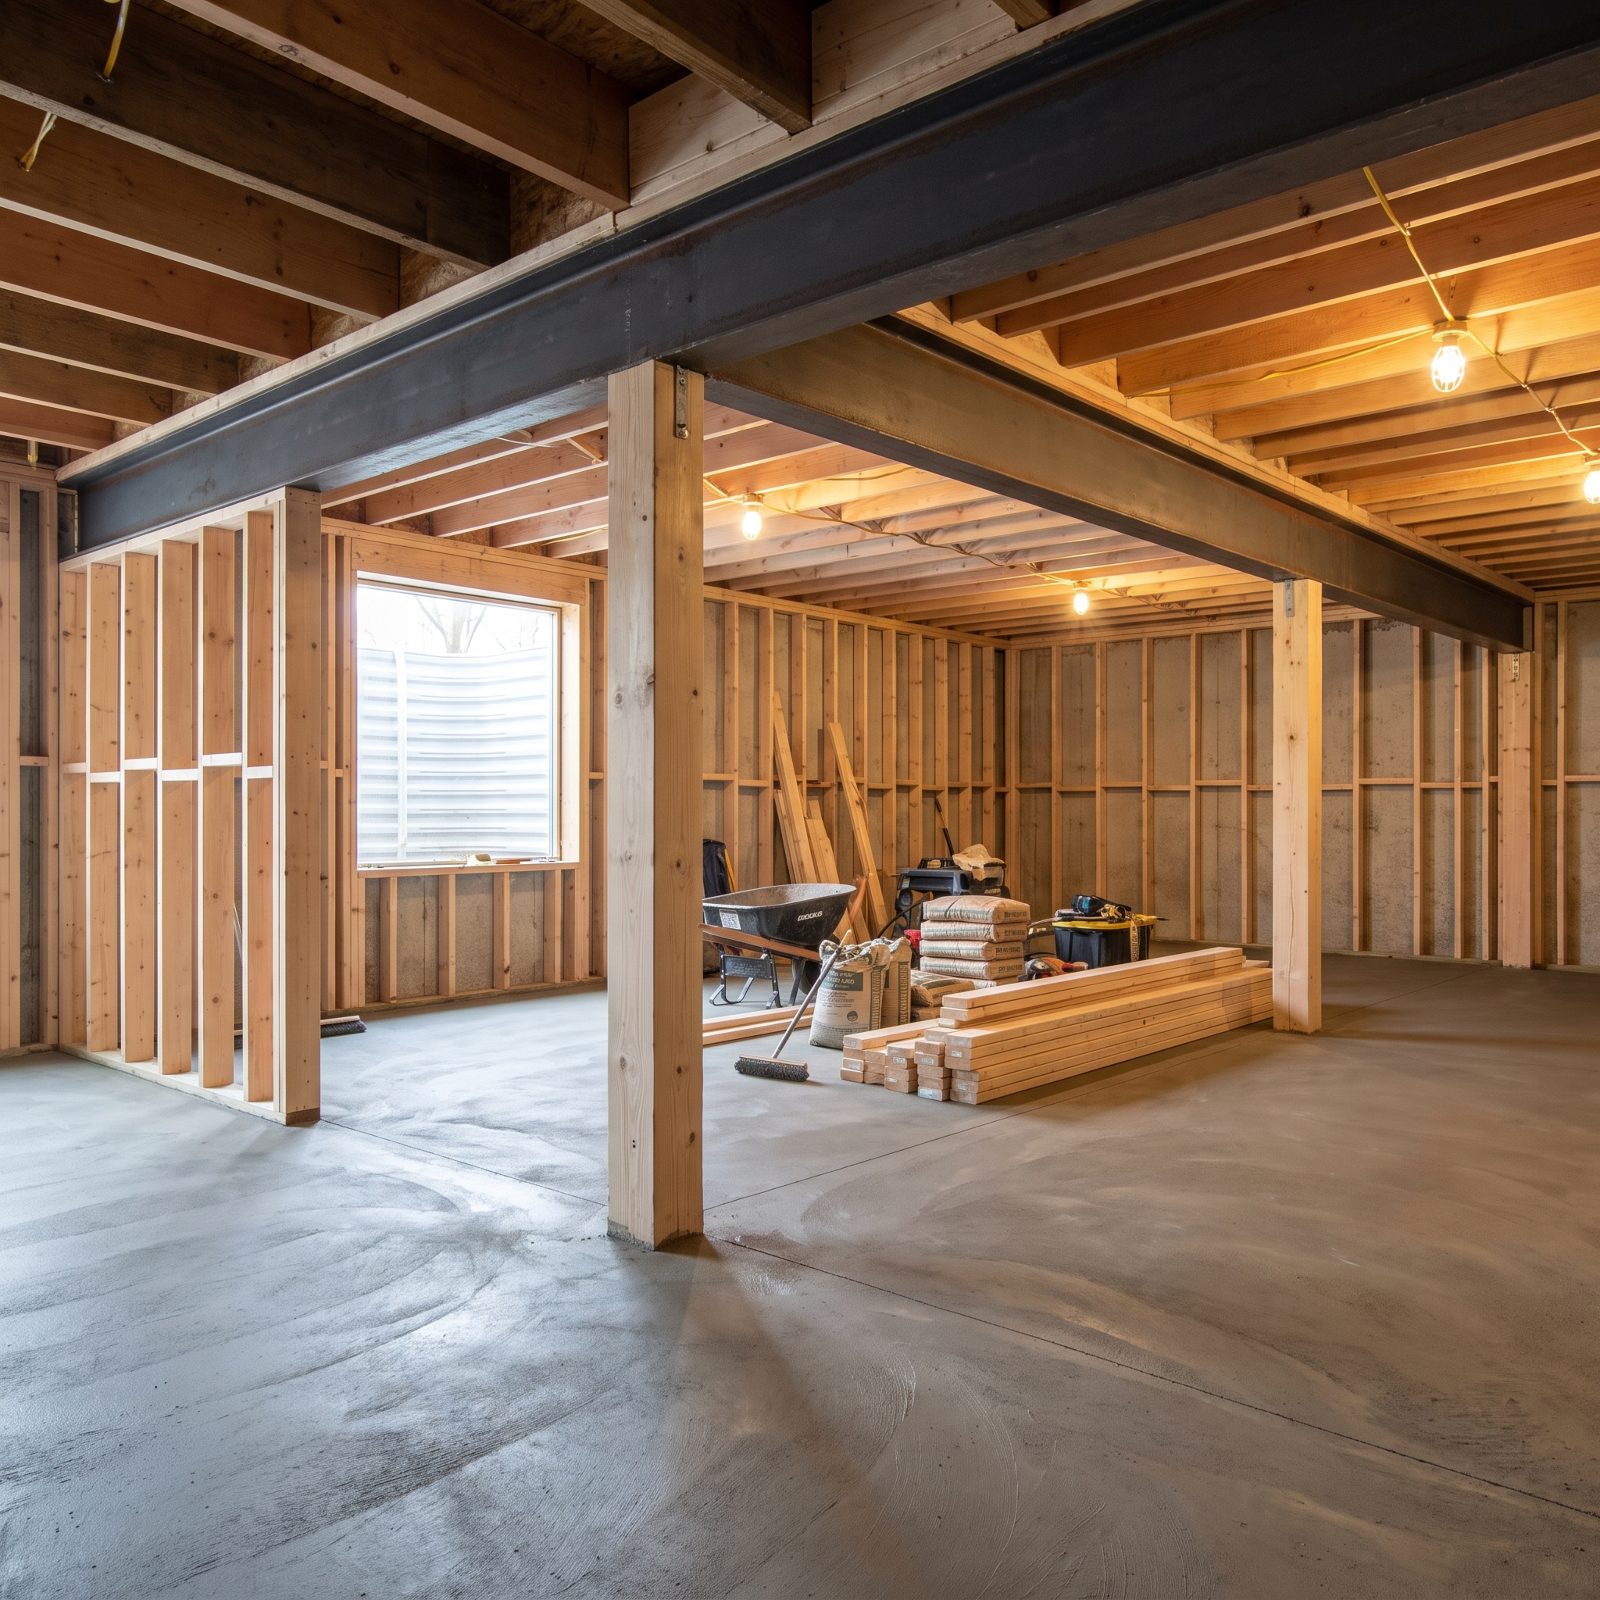
The expensive, permanent parts of this project (framing, electrical, plumbing, the egress cut) are the ones worth financing on a fixed, predictable term. These improvements stay with the house.
A fixed-rate home equity loan lends you a lump sum at a rate that doesn’t move, repaid over years. Rates and approval vary by lender and by your credit, so borrow only what the structural work actually costs and compare a few offers before you sign.
Something to sit with: a home equity loan uses your house as collateral. That’s why the rate beats a credit card, and also why you treat the number with respect.
10. Use a Cash-Out Refinance Only If Your Current Rate Is Already High
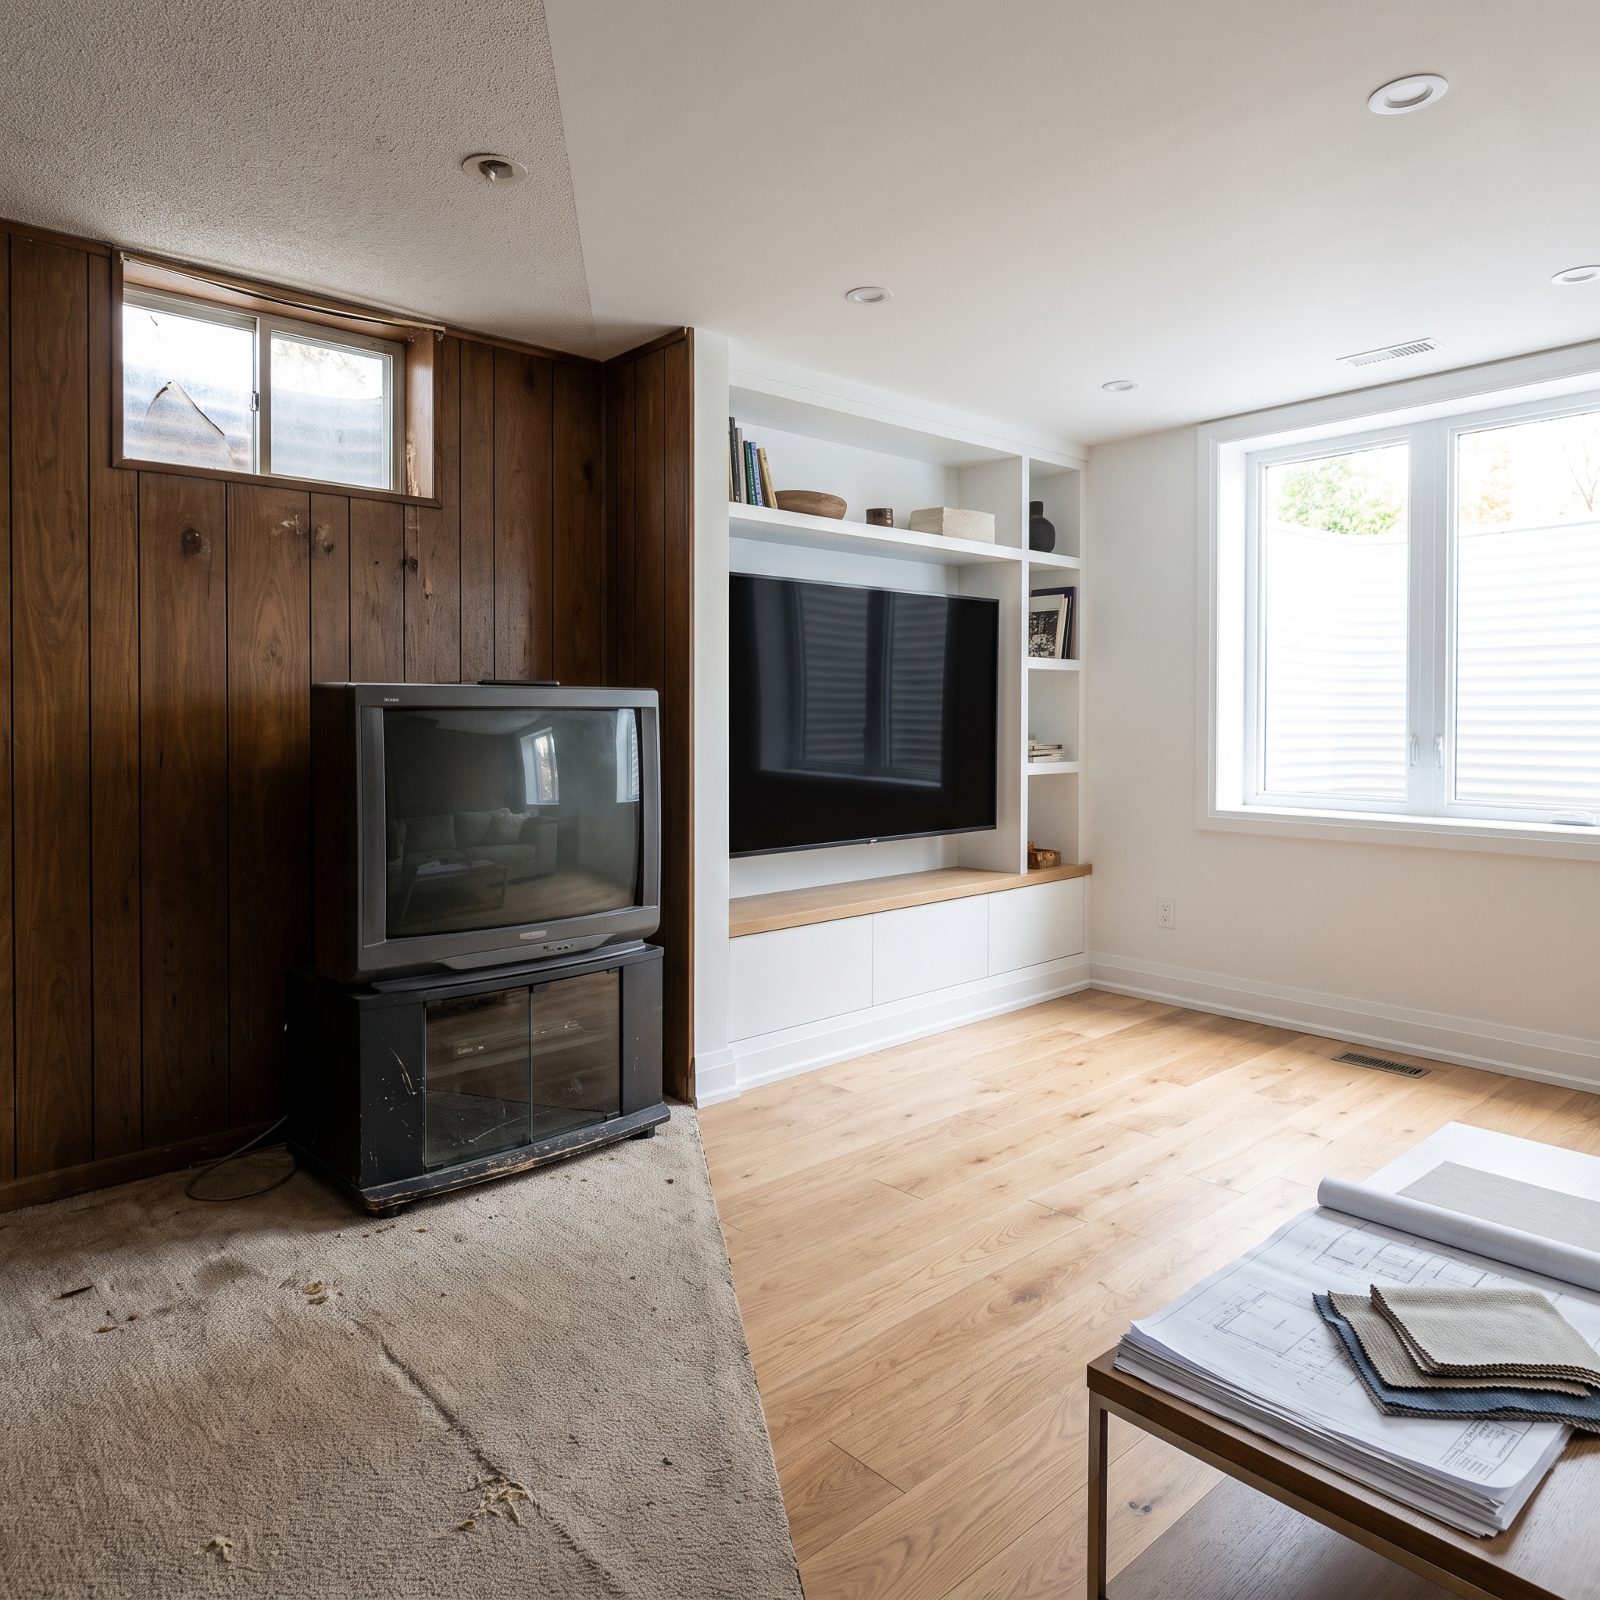
A cash-out refinance replaces your whole mortgage with a bigger one and hands you the difference in cash. It only makes sense in a narrow case: when the rate you already carry is high enough that refinancing it would help you anyway.
Got a low mortgage rate? This move drags your entire loan up to today’s rate just to fund a basement. That’s an expensive way to buy drywall.
Run the full cost, closing fees included, against a home equity loan that leaves your first mortgage alone. Rates, fees, and approval differ by lender, so compare carefully. And remember the house is on the line either way.
9. Hire the Licensed Trades Directly
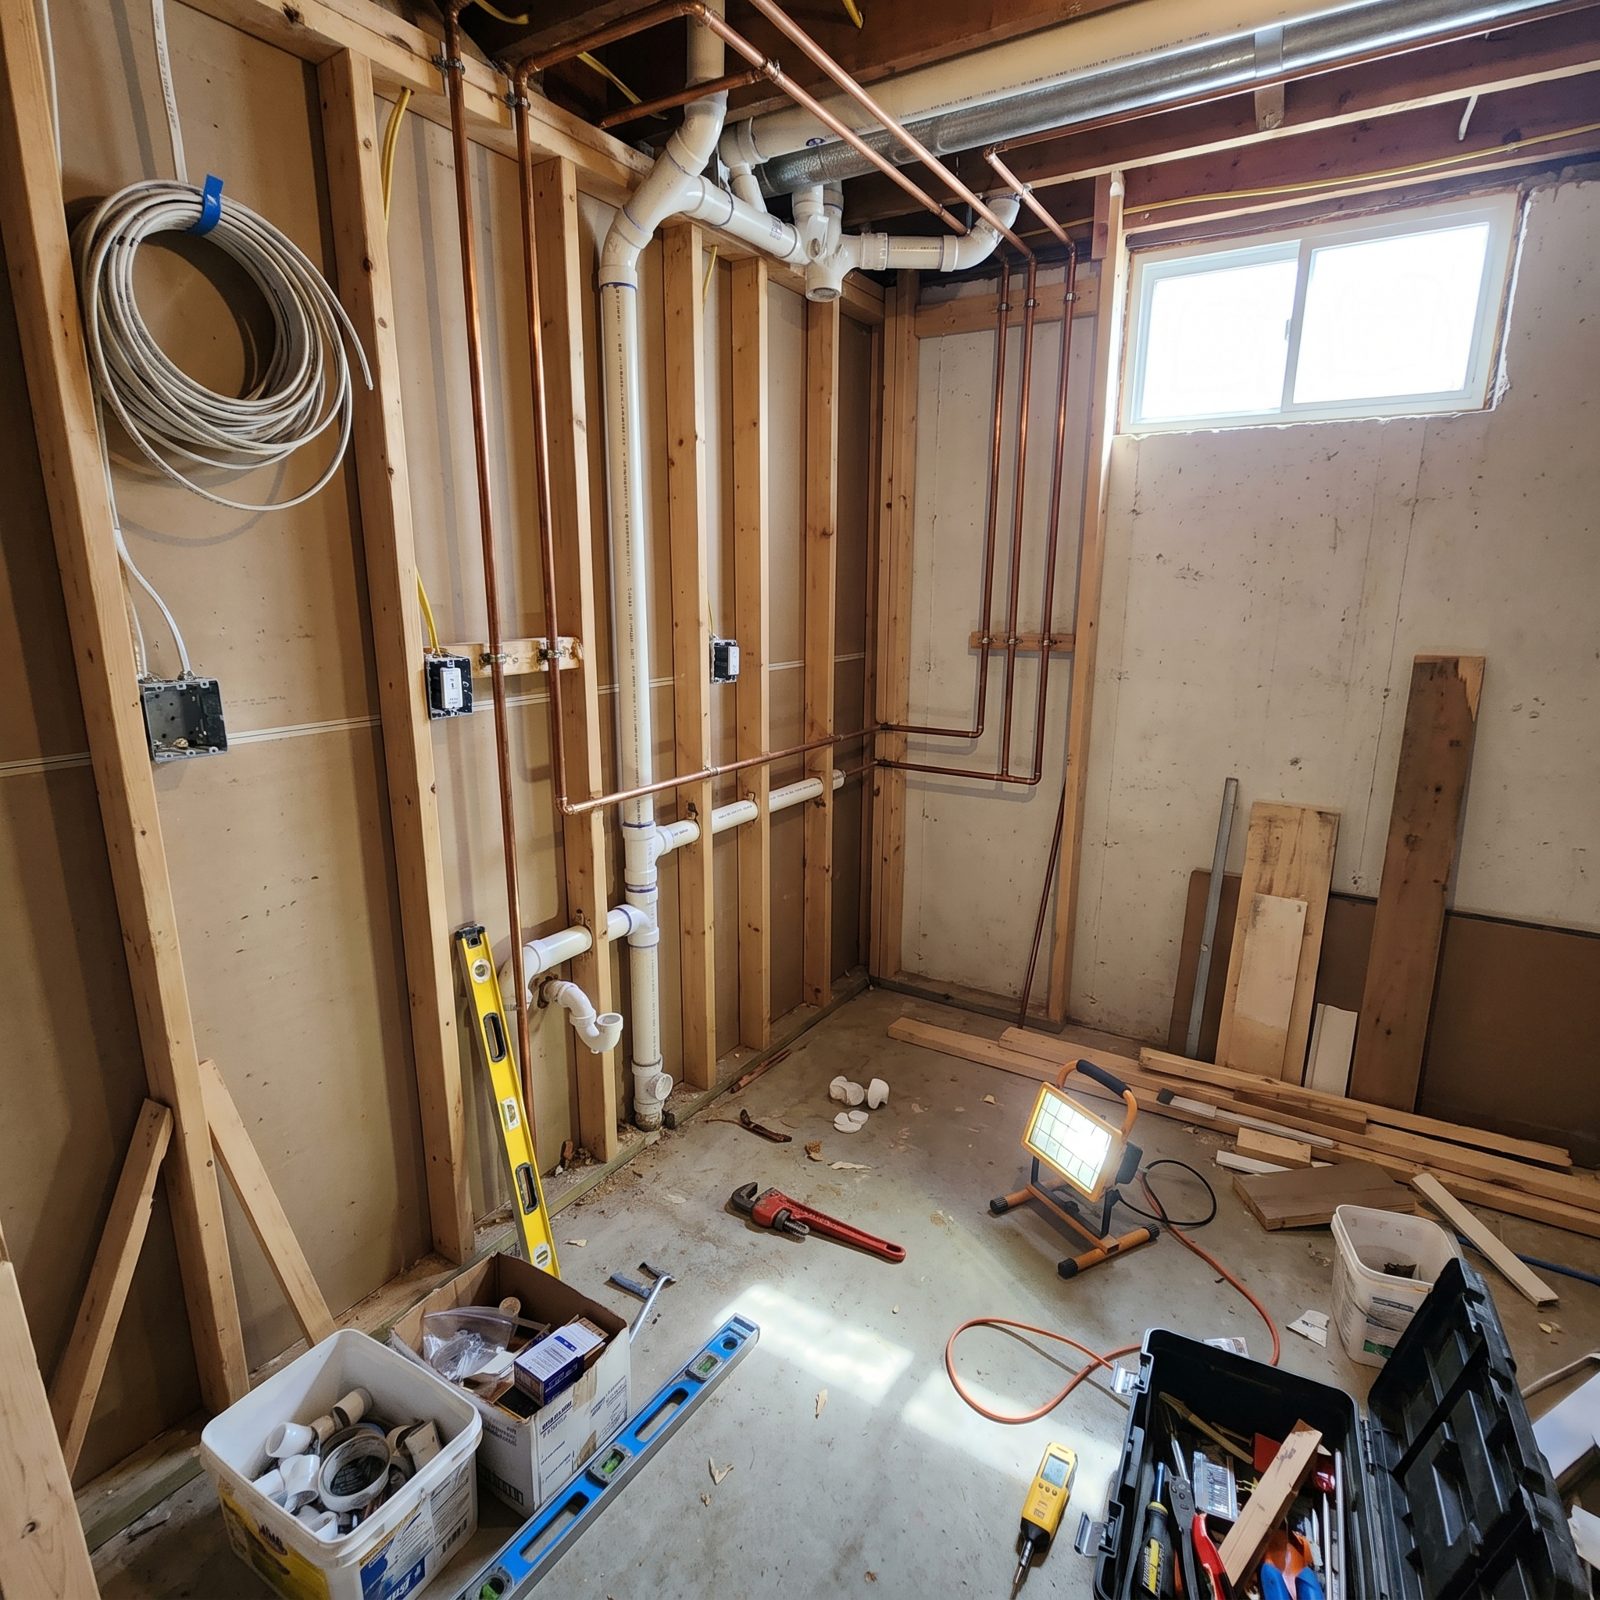
A general contractor’s main value is coordination, and coordination carries a markup on every sub they bring in. On a straightforward basement, you can often be your own coordinator.
Hire the licensed electrician, plumber, and framer directly, and you pay their actual rate instead of their rate plus someone’s percentage on top. On a project this size, the savings add up fast.
The catch? You’re now the one scheduling them in order and making sure inspections pass. If you can read a calendar and answer your phone, that’s a trade worth making. If chaos follows you around, pay the GC and sleep well.
8. Raise Your Credit Score Before You Lock a Rate
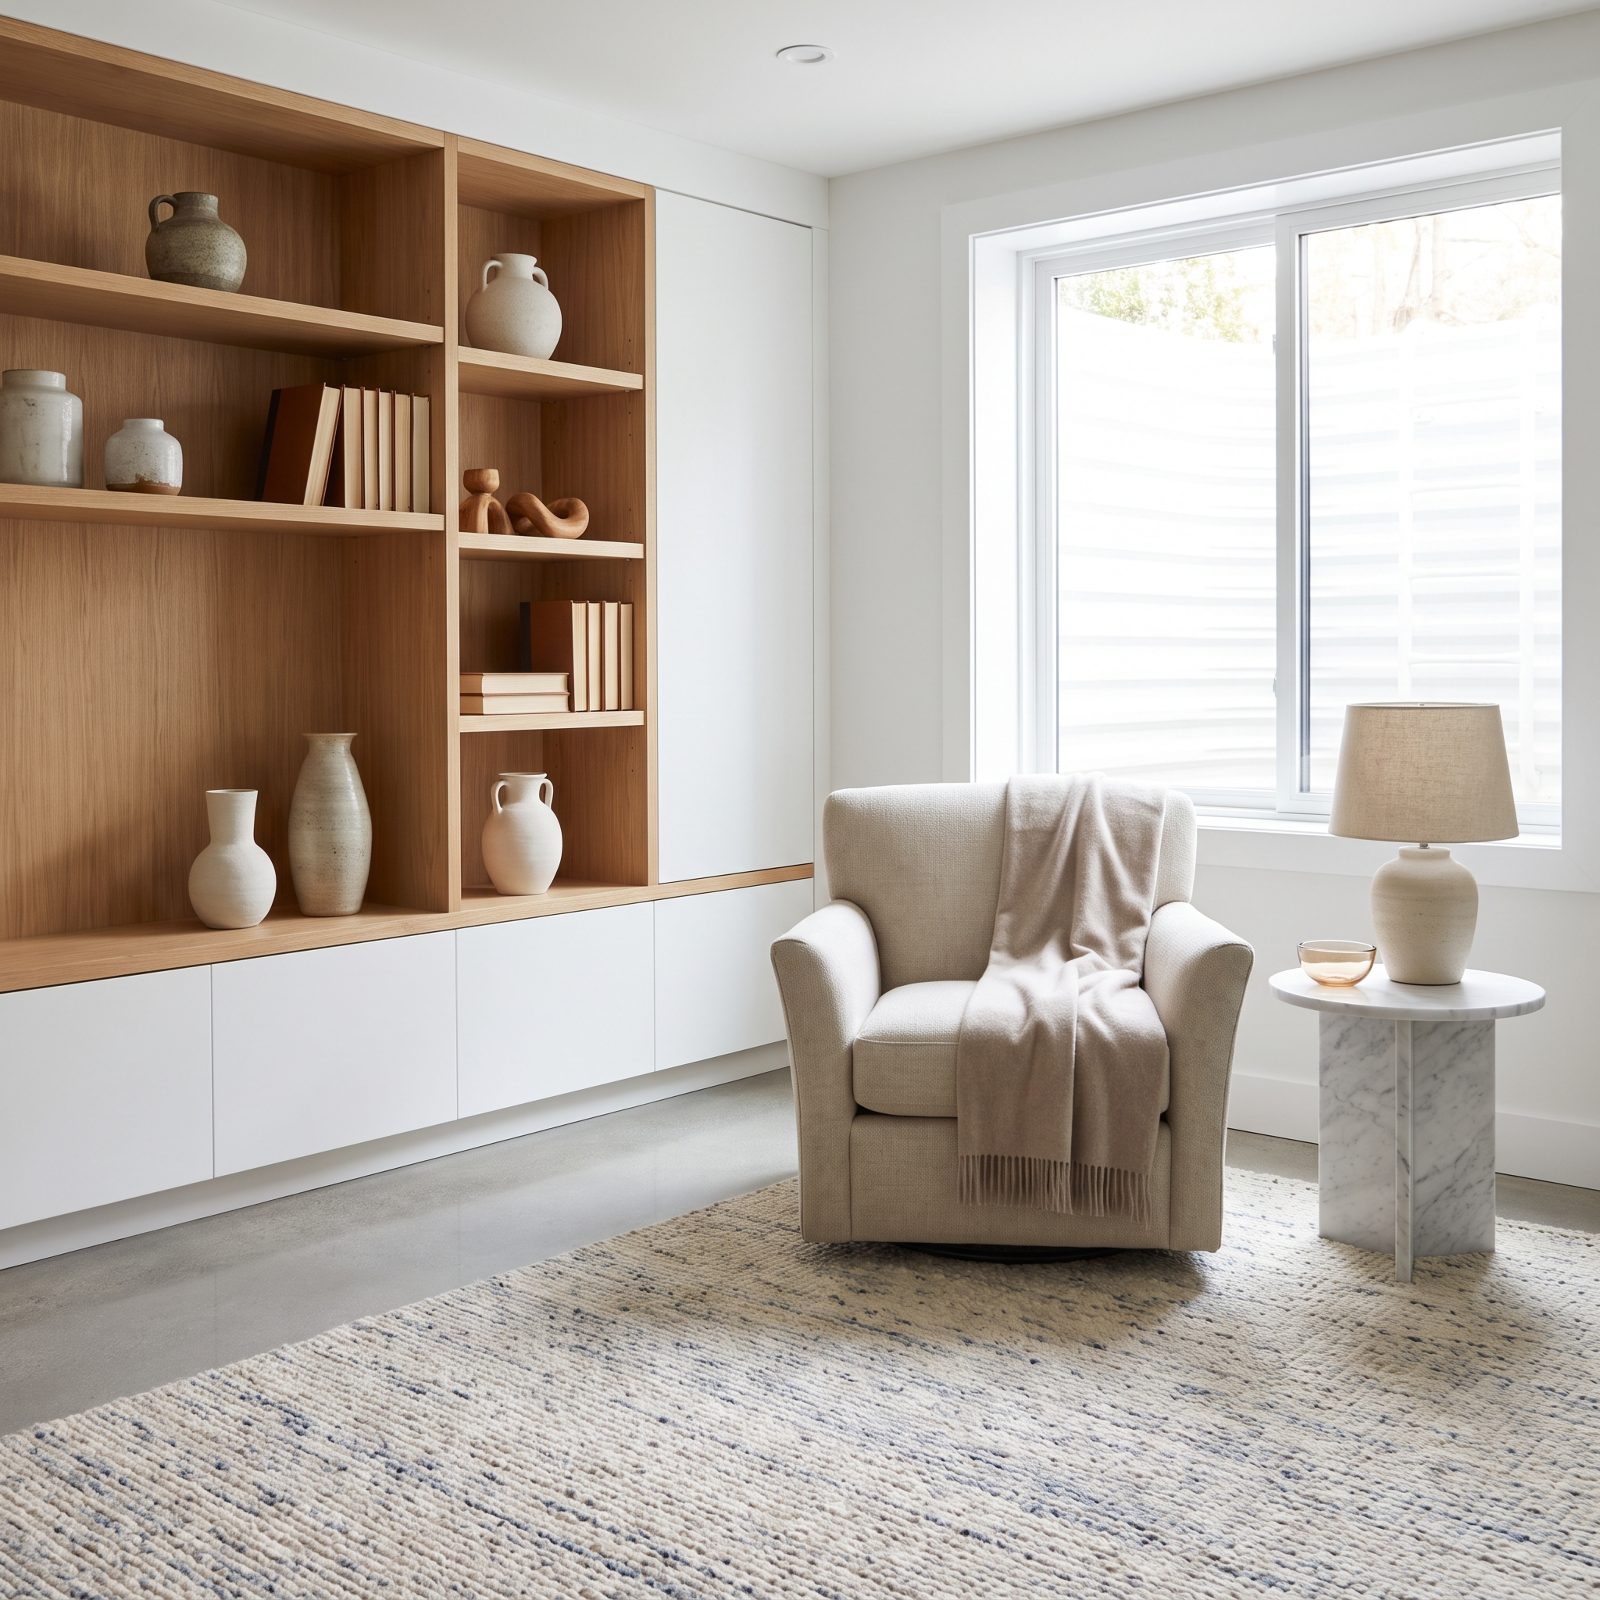
The rate you get is partly about the market and largely about your credit. The same loan costs noticeably more over its life for a lower score than a higher one, which is a lot of money for a few months of attention.
Before you apply, pull your credit, dispute errors, pay balances down below a third of their limits, and don’t open new accounts. A few months of clean behavior often nudges a score up a tier, and a tier can move your rate.
No lender promises a rate or an outcome. But showing up with a stronger file is the cheapest leverage you have, and it costs only patience.
The cheapest money you’ll ever borrow is the money you qualified harder for before you asked.
Tools like Brigit’s credit-building features can help you nudge your score up before you lock a rate.
7. Buy Doors, Lights and Fixtures During Holiday Sales

Lighting, interior doors and bath fixtures hit their deepest discounts twice a year, around the late-fall holiday weekends and again at winter’s tail end. If your project breaks ground in spring, you’ve got months to stockpile the boring stuff on the cheap.
Say you need six recessed cans, two flush mounts, a vanity light, three interior doors and a handful of matte black door handles. Buy those pieces full-price mid-project and they eat a chunk of your budget. Catch them on sale and you shave a real amount off the same list, sometimes more on the lighting alone. Stash everything in a dry closet and hand it to your crew on install day. That’s it.
6. Make the Bathroom Phase Two
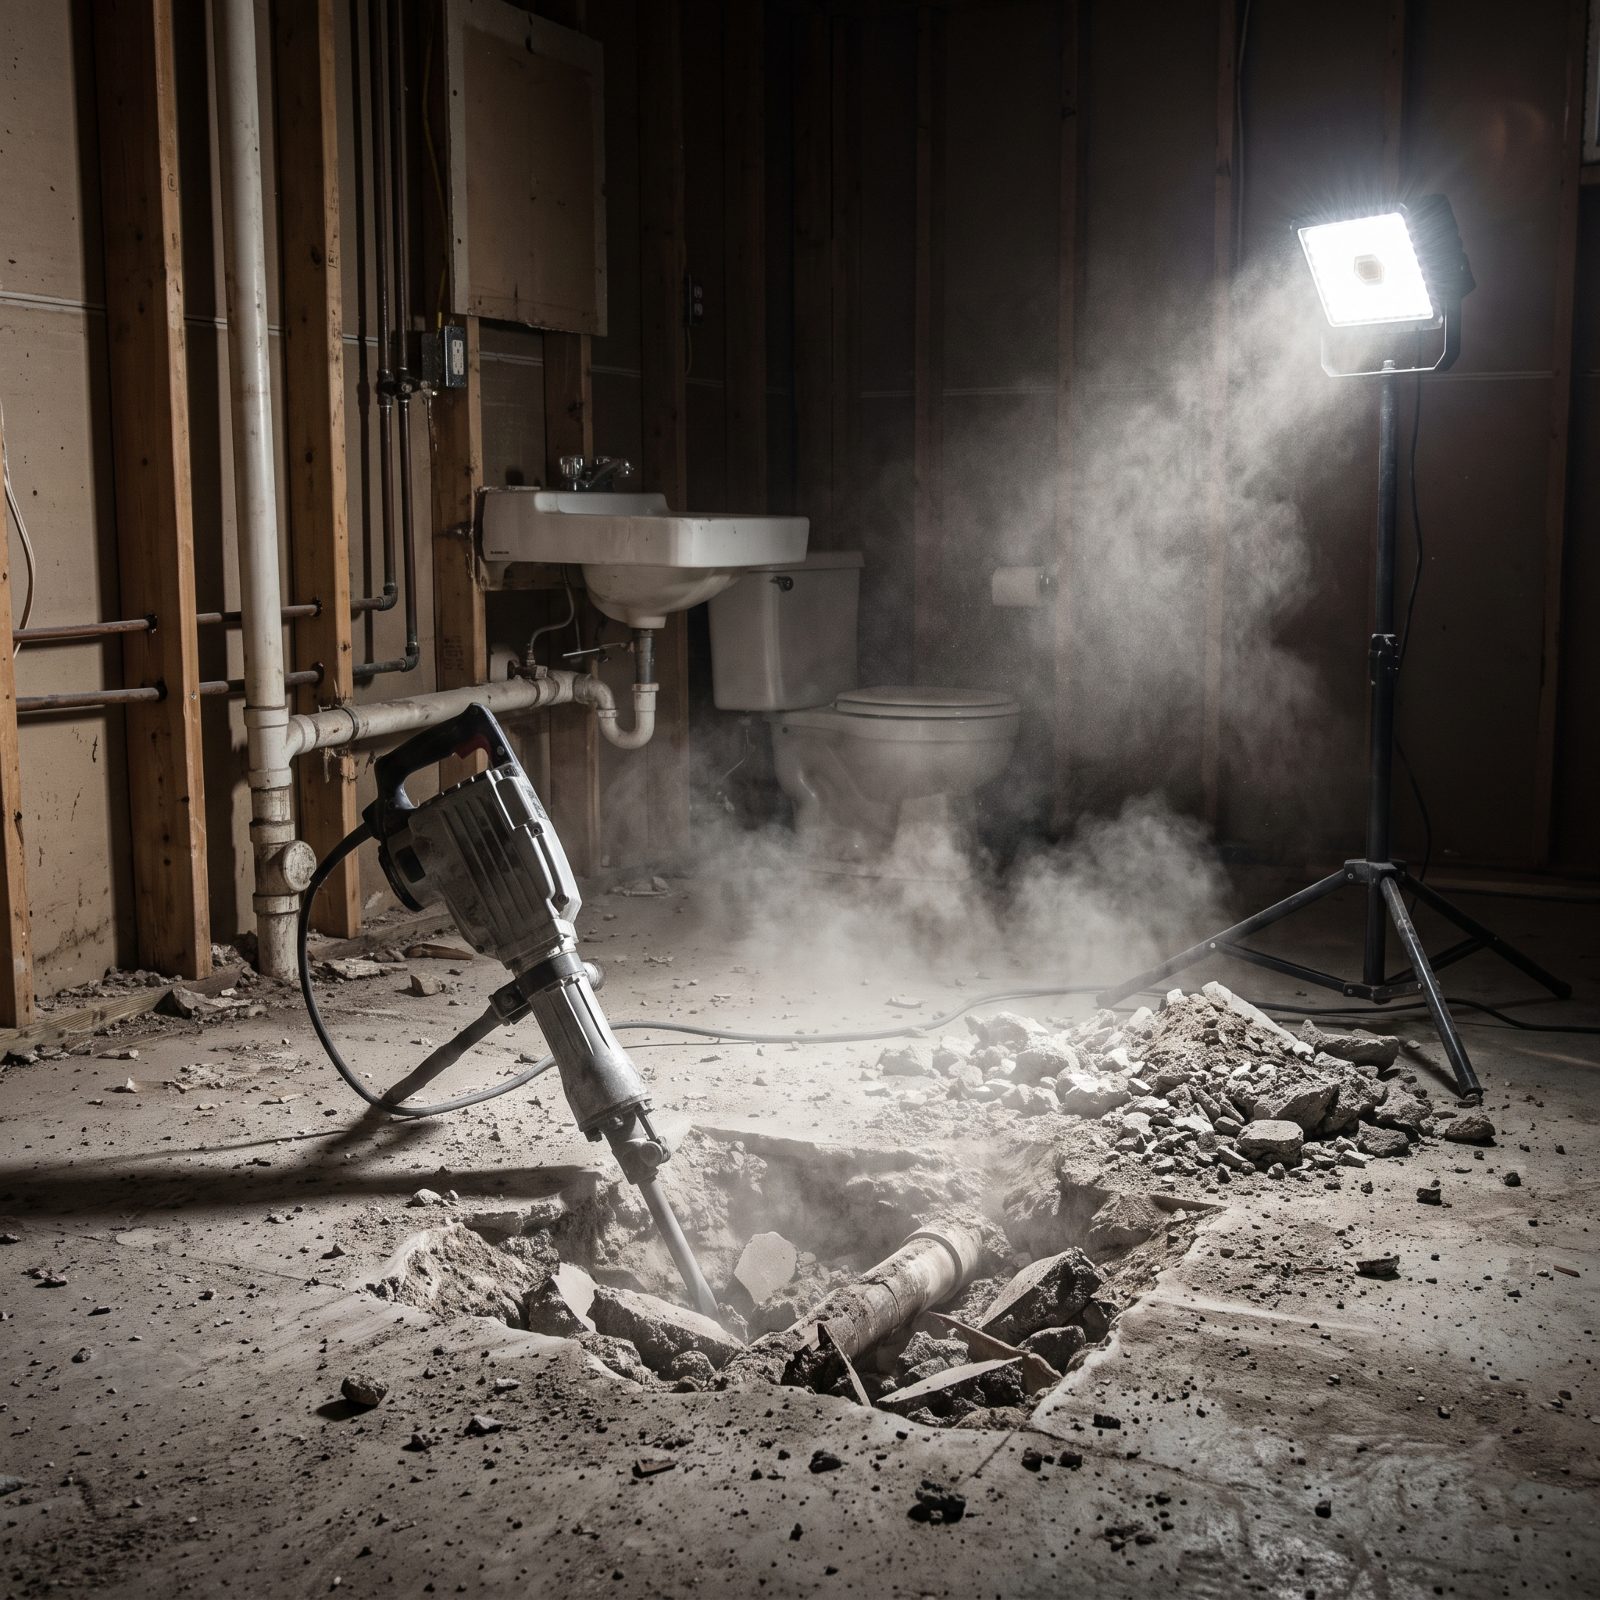
A below-grade bathroom is the single most expensive square footage in the whole basement. You’re cutting concrete, running drain lines, maybe adding a sewage ejector pump, and that corner alone can swallow a huge slice of your budget.
Here’s the move. Have the crew rough in the plumbing now, while the floor is open and the walls are framed, then stop. Cap the lines, frame the room, close the ceiling around it. Finish the family room, the flooring, the lighting. Come back in a year or two with cash for the fixtures, tile and vanity when the pressure’s off. The expensive, disruptive part is already done, so phase two costs a fraction of starting cold.
5. Use Contractor Financing Only With a Clear Promo End Date
Plenty of contractors offer financing right on the estimate. Sometimes it’s a genuinely fair deal. Sometimes the deferred-interest clock is a trap wearing a nice suit.
What matters most is the promotional end date. A zero-percent window only helps if you’ve actually paid the balance off before it closes. Miss it, and some plans charge you back-interest from day one, retroactively, on the whole amount. Borrow only the slice you can’t cover another way, confirm exactly when the promo ends in writing, and compare the real cost against a home equity option before you sign. Rates and approval vary by lender and by you, so nobody can promise you a number sight unseen.
4. See Whether a Tax Pro Can Find Money for the Project

Some of what you spend finishing a basement can quietly reduce what you owe elsewhere, and most homeowners never ask. Energy-efficient upgrades, better insulation, certain heating and cooling improvements, some efficient windows: these sometimes qualify for credits or utility rebates.
The catch is that eligibility changes, and it hinges on the exact product and your situation. A good tax professional earns their fee just by telling you which parts of this project might count and which don’t. Confirm eligibility before you spend. Keep the receipts and spec sheets, and don’t assume anything qualifies until someone who does this for a living says so. Plenty of homeowners leave real money on the table simply because they never ask.
You can talk to a tax expert online through Tax Expert Now before you finalize the budget.
3. Track Every Cost If Part of It Becomes a Rental or Home Office

🔥 Would you like to save this?
The second any part of that basement becomes a rental suite, a dedicated home office or a space you lease out, the accounting changes completely.
Keep a running record of every invoice, every material receipt, every permit from day one. Finishing that space may be treated differently for tax purposes than a plain family room, and the only way to benefit is to have the paper to prove what you spent. A compact rental kitchenette with its own fridge, stove and dishwasher is a different financial animal than a rec room, even if the two share a stud wall. It’s worth planning before the first wall goes up, because retrofitting a code-legal suite later costs far more than building it in now. Confirm the tax treatment with a professional. The rules reward good bookkeeping and punish shoeboxes full of faded receipts.
2. Sell the Gym Equipment and Clutter You Were Storing Down There

That basement was already a landing strip for stuff you stopped using. The treadmill that became a coat rack. The spin bike, the weight bench, the bins of things you’ve opened twice in nine years.
You have to clear it all out to finish the space anyway, so sell it instead of hauling it to a storage unit, which is just paying rent to dodge a decision. A barely-used rowing machine, a decent set of dumbbells and a folding squat rack can quietly return a few hundred bucks toward your flooring. Not life-changing money. But it was sitting in the dark gathering dust, and every dollar of it shrinks the loan you carry.
1. Set a Hard Budget Cap and Design Backward From It
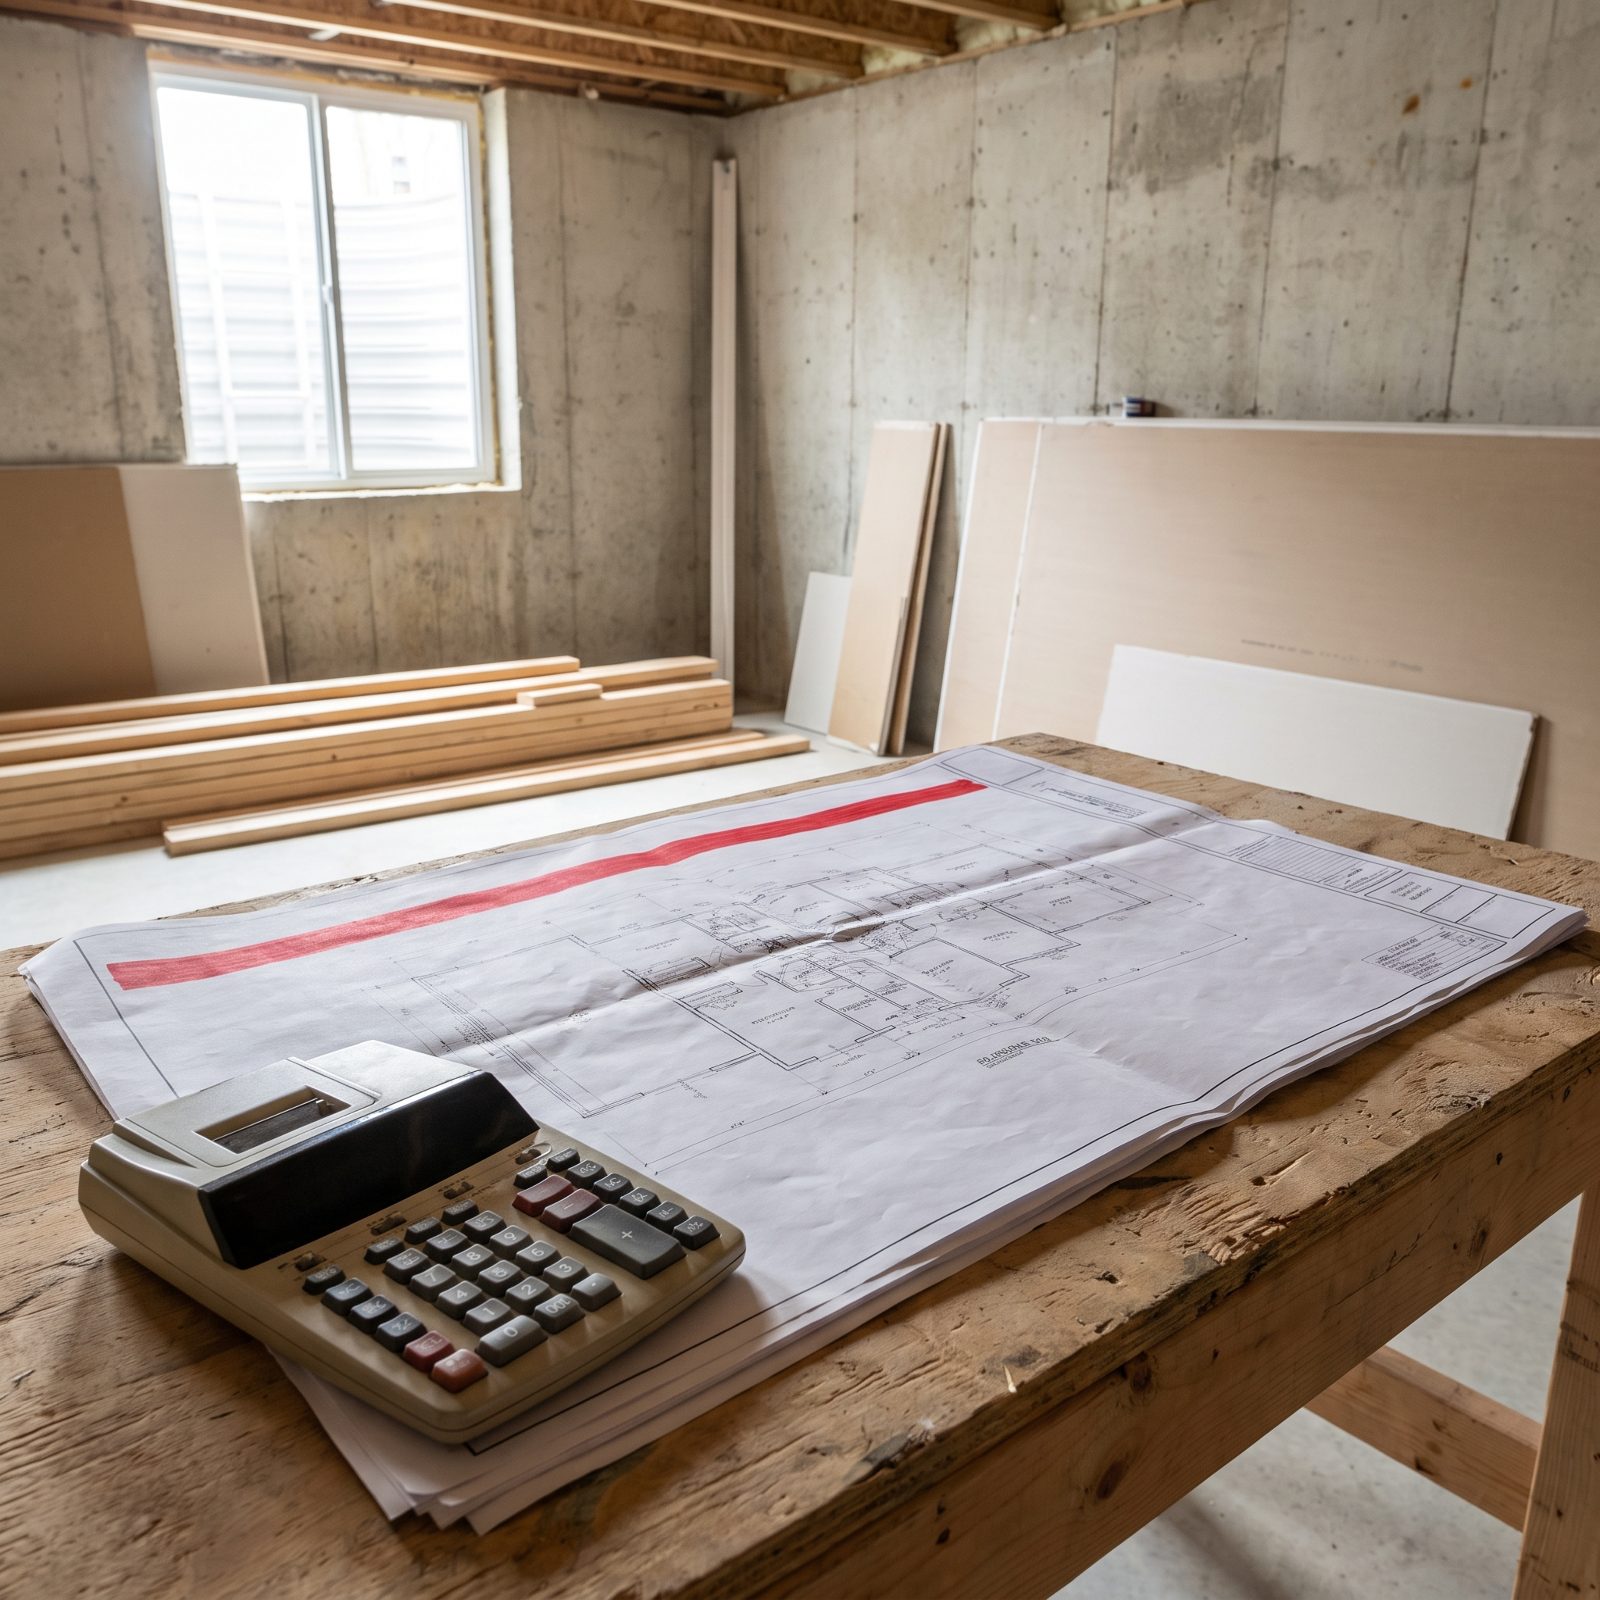
Most basement budgets don’t blow up at the drywall stage. They blow up at the little upgrades, the nicer tile, the custom built-ins, the fifty small yeses that each feel harmless.
Flip the whole process. Pick a ceiling number that does not move, then design down into it instead of adding up toward it. Give every room a dollar allotment and force the choices to live inside it.
A fixed cap turns “can we afford this?” into “what do we give up for this?” That second question is the one that keeps you solvent.
When the slate-blue sectional and the jute rug both want in and only one fits the number, the cap decides, not your mood on a Saturday. Finance only the gap you truly can’t cover with cash, cost-cutting and phasing. What you want at the end is a finished basement that didn’t cost you your retirement to get there.