🔥 Would you like to save this?
The contractor said pick one. Tub or shower. Not both, not in a room this size. That sounds reasonable right up until you start looking at what actually wastes space in a bathroom: an oversized vanity, a door swing nobody questions, six inches stranded behind a freestanding tub, a shower enclosure treated like a room within the room, or an awkward corner everyone has quietly surrendered to a laundry basket.
The answer isn’t simply squeezing two fixtures into the square footage and hoping nobody notices. Good bathrooms manipulate geometry. They share plumbing walls, borrow low headroom for bathing, run materials straight through glass, move storage out of prime real estate, and use sightlines so a shower can exist without visually chopping the room in half. Sometimes the breakthrough is architectural. Sometimes it’s a four-foot tub, one sheet of glass, or putting the shower valve where a human hand can actually reach it.
In order to come up with the very specific design ideas, we create most designs with the assistance of state-of-the-art AI interior design software. Also, assume links that take you off the site are affiliate links such as links to Amazon. this means we may earn a commission if you buy something.
These 33 bathrooms take both approaches seriously. Some completely rethink the floor plan; others save inches through fixture choice, waterproofing, drainage, doors, partitions, storage, or finishes. The point isn’t that every bathroom can hold everything. It’s that far more of them can hold a soaking tub and a proper walk-in shower than the first sketch usually suggests.
If borrowing is part of your home improvement plan, compare today’s home equity rates here.
33. Put the Tub and Walk-In Shower Side by Side Along One Wall
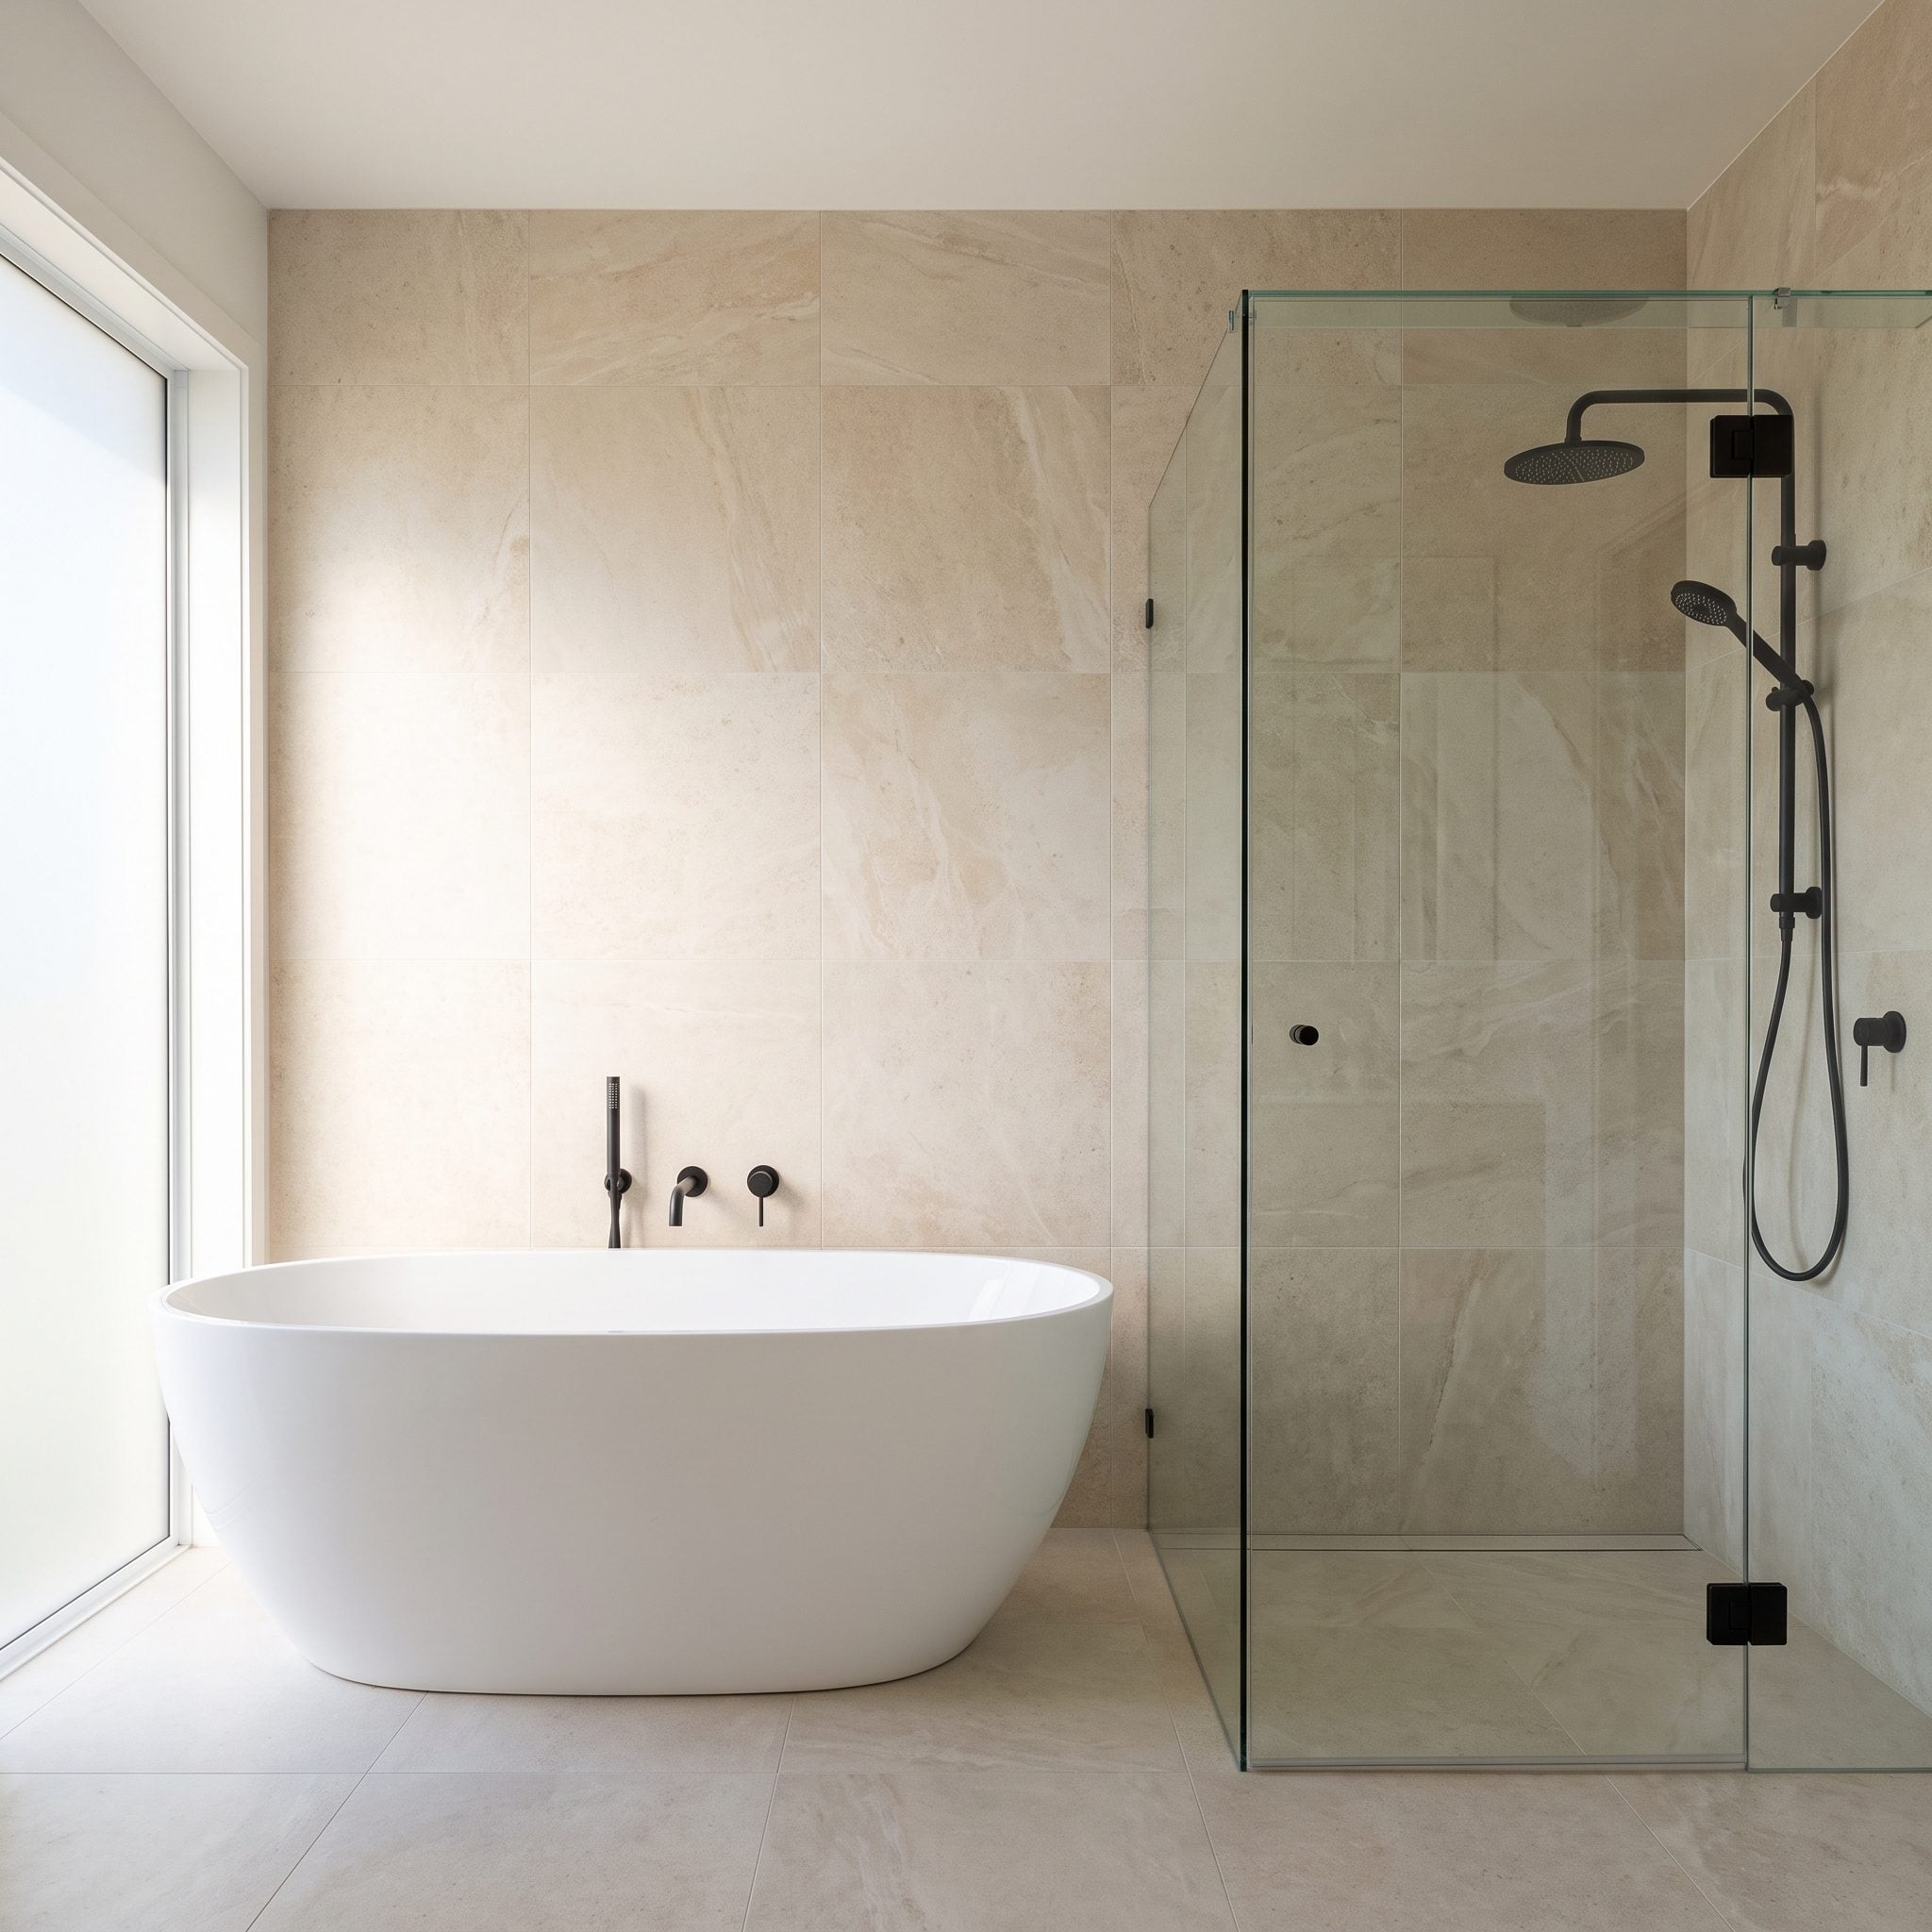
The simplest fix nobody considers first: stop treating the tub and shower as separate rooms fighting over floor space. Line them up on one wall and they read as a single bathing zone instead of two fixtures negotiating a ceasefire.
The vertical fluted tile behind both is what makes the composition hold together. One continuous surface connects tub and shower while matching matte-black fittings repeat the same visual language on either side of the glass.
This layout is primarily about geometry. The plumbing savings are a useful bonus, but the larger victory is that two substantial fixtures occupy one organized wall instead of colonizing opposite corners.
32. Use a Compact Freestanding Tub Instead of an Oversized Soaking Tub
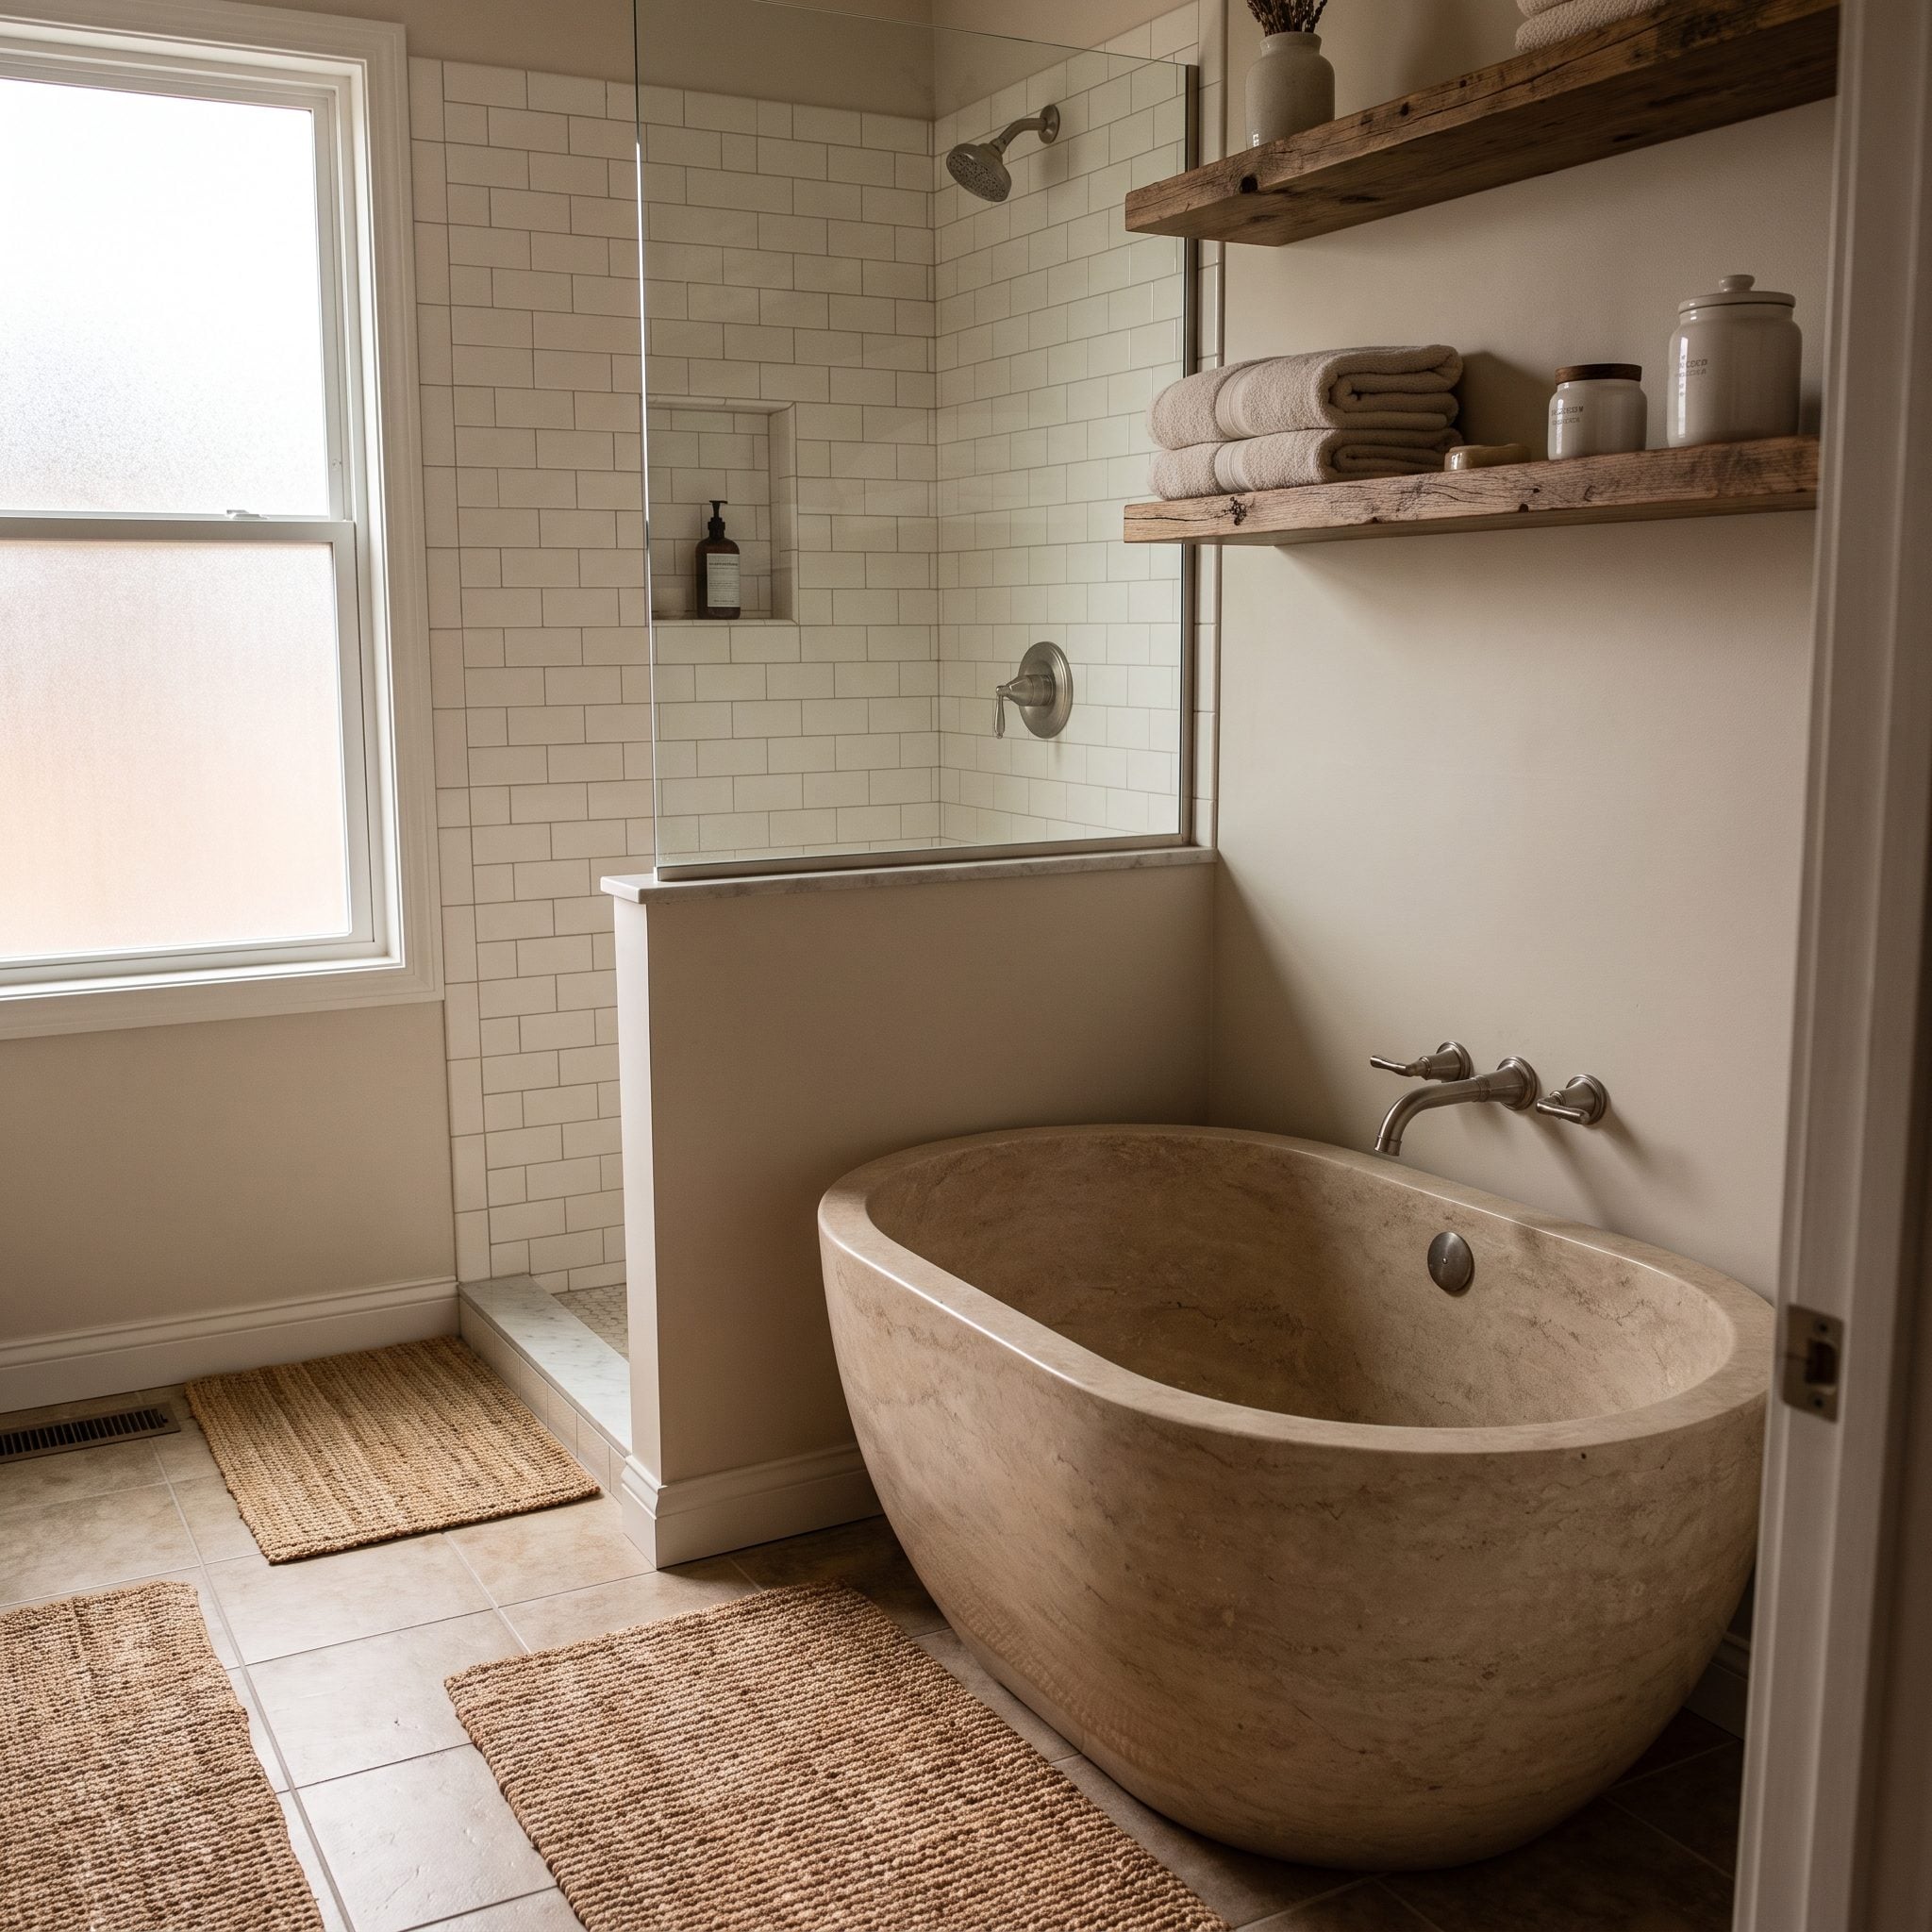
Nobody needs a six-foot tub simply because the room can technically swallow one. If the real goal is a deep soak, a shorter tub with greater depth can deliver the water level without consuming the entire floor plan.
That dusty-blue shiplap also helps the smaller fixture look deliberate rather than diminished. The tub isn’t apologizing for being compact; it has its own wall, color, and presence.
Swap an oversized model for something closer to four or five feet and the difference can be enough to release critical space for a separate shower.
31. Put the Tub Under the Window and the Shower Beside It
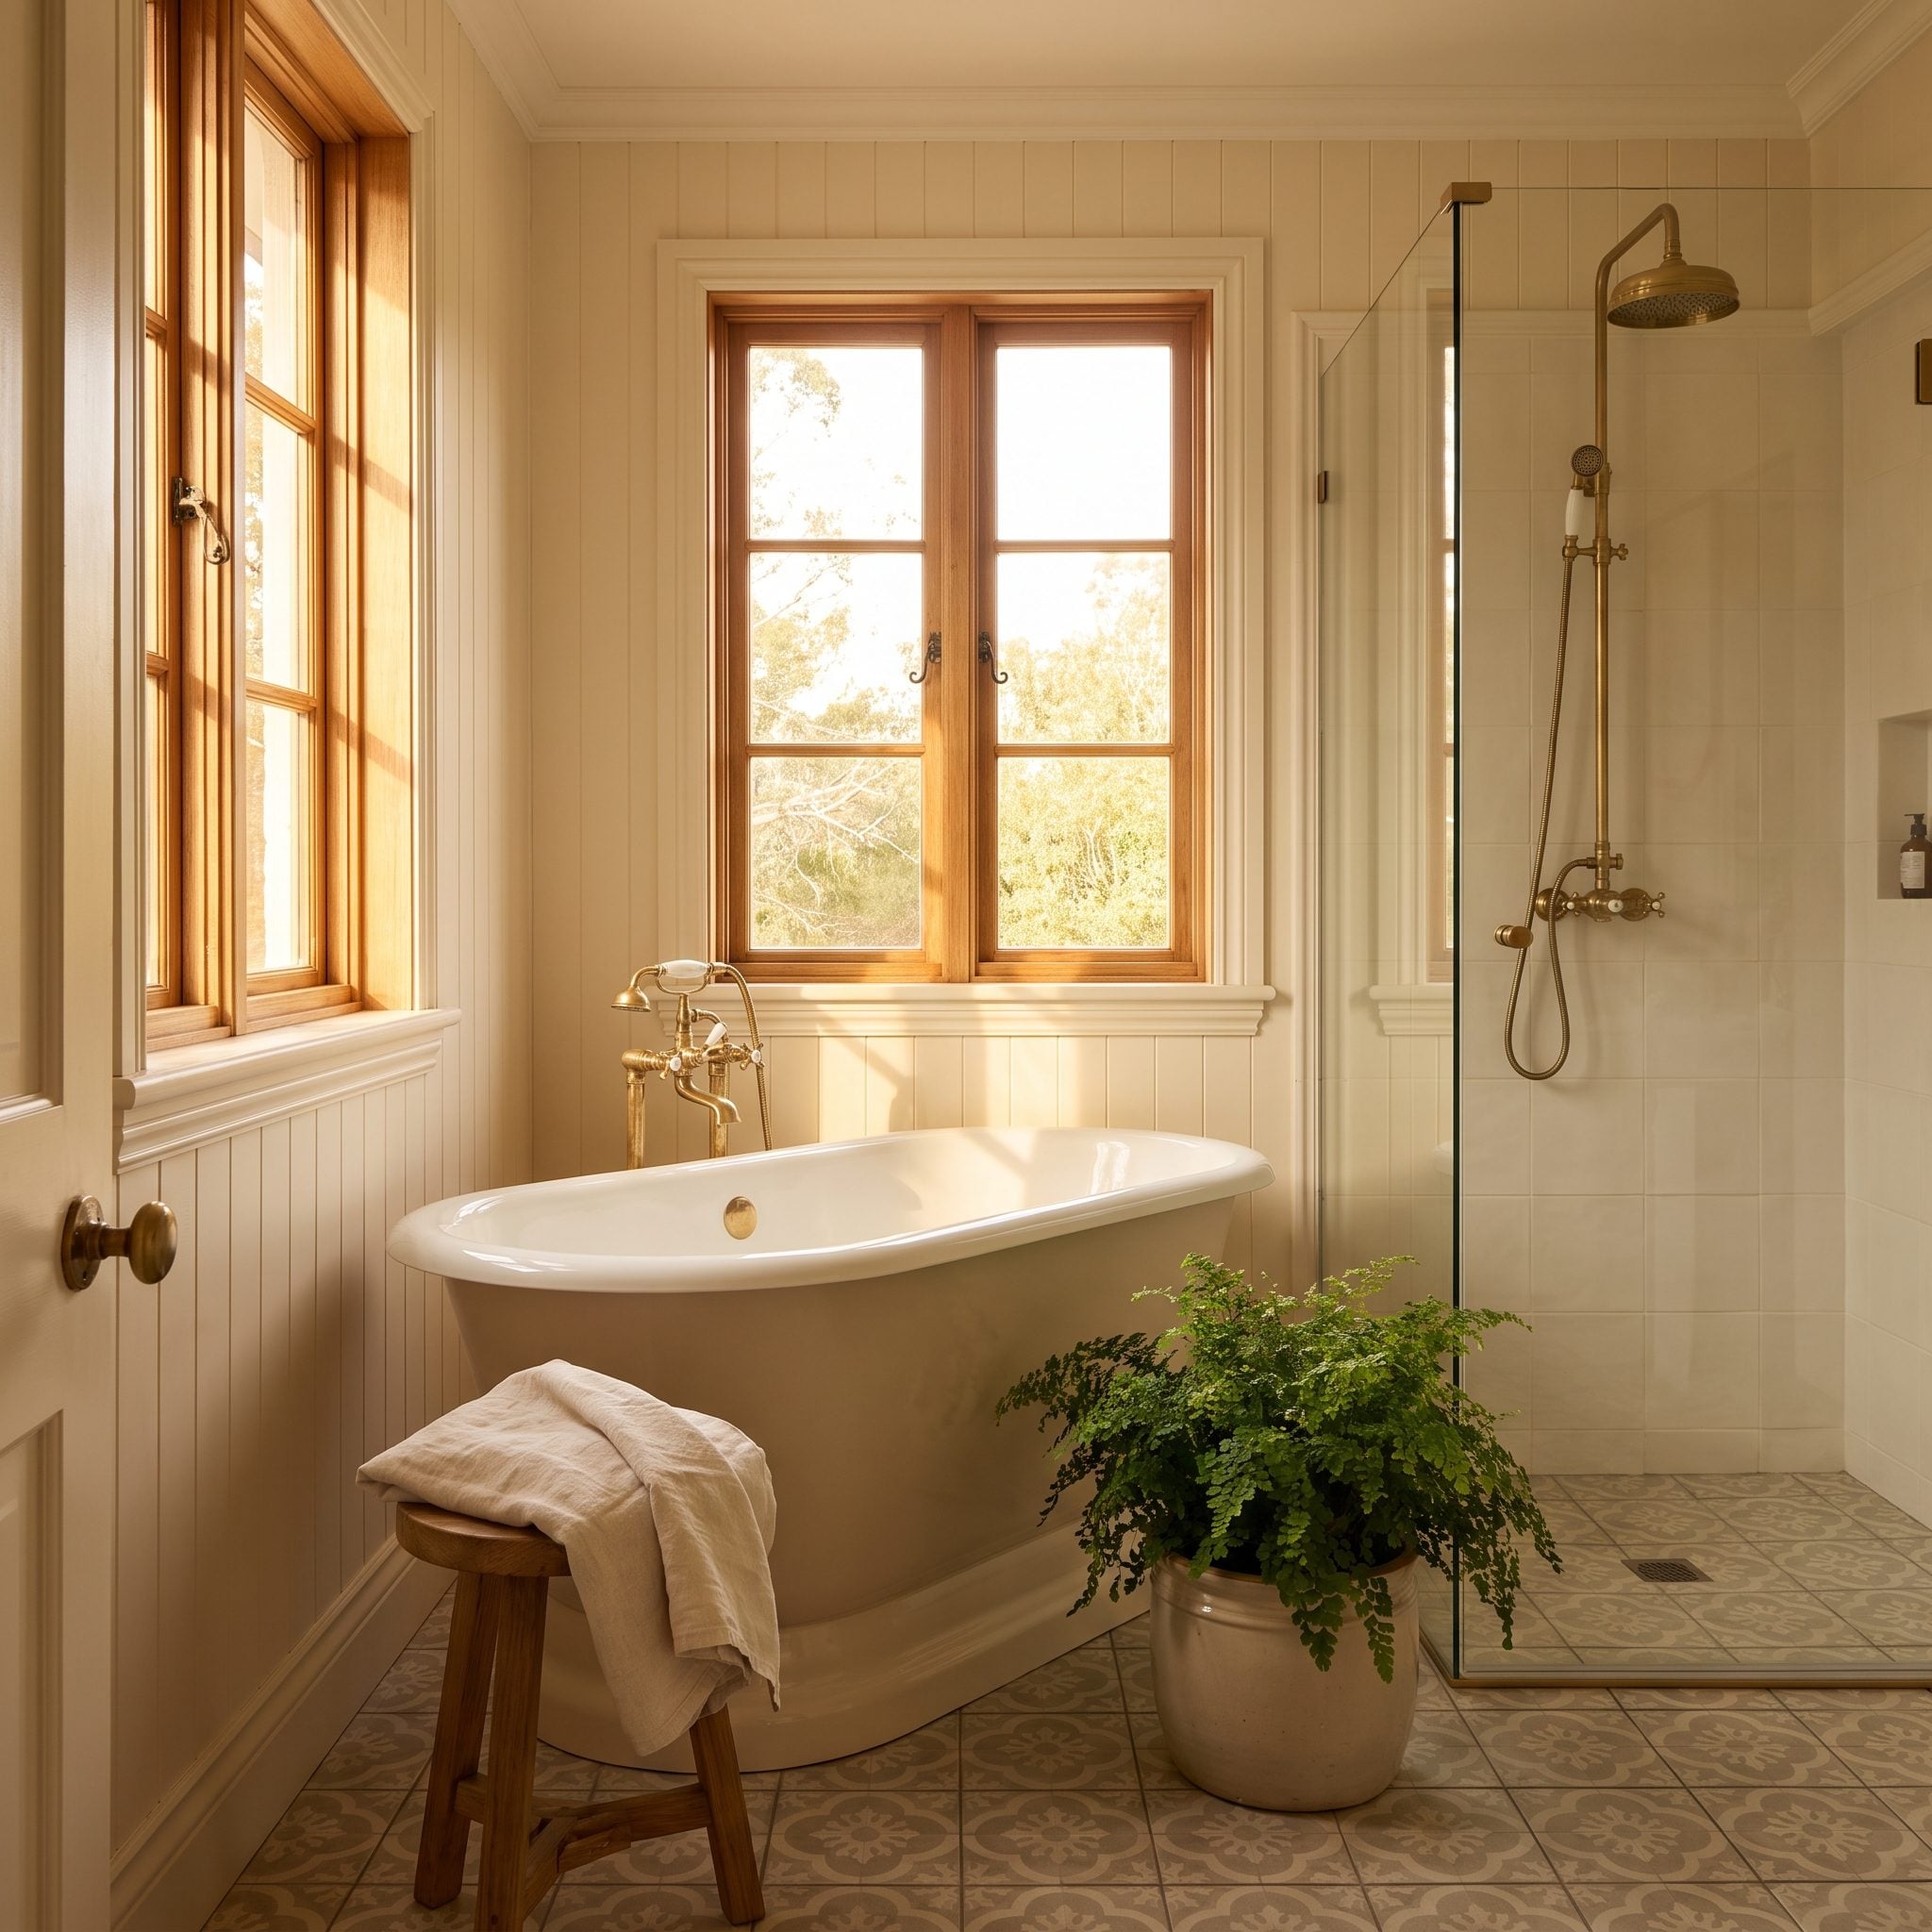
The tub under the window is a cliché for one honest reason: it’s the best seat in the house. Slide the shower beside it and the bath gets the view while the daily shower gets the full-height wall.
The arrangement also makes good use of differing needs. A tub can sit comfortably beneath glazing where shower hardware, tile, and standing headroom might complicate things.
Aged brass repeated at the tub filler and shower fittings ties both zones together. Warm metal against all that white tile keeps the daylight from turning clinical.
30. Create One Glass-Enclosed Wet Room With the Tub Inside
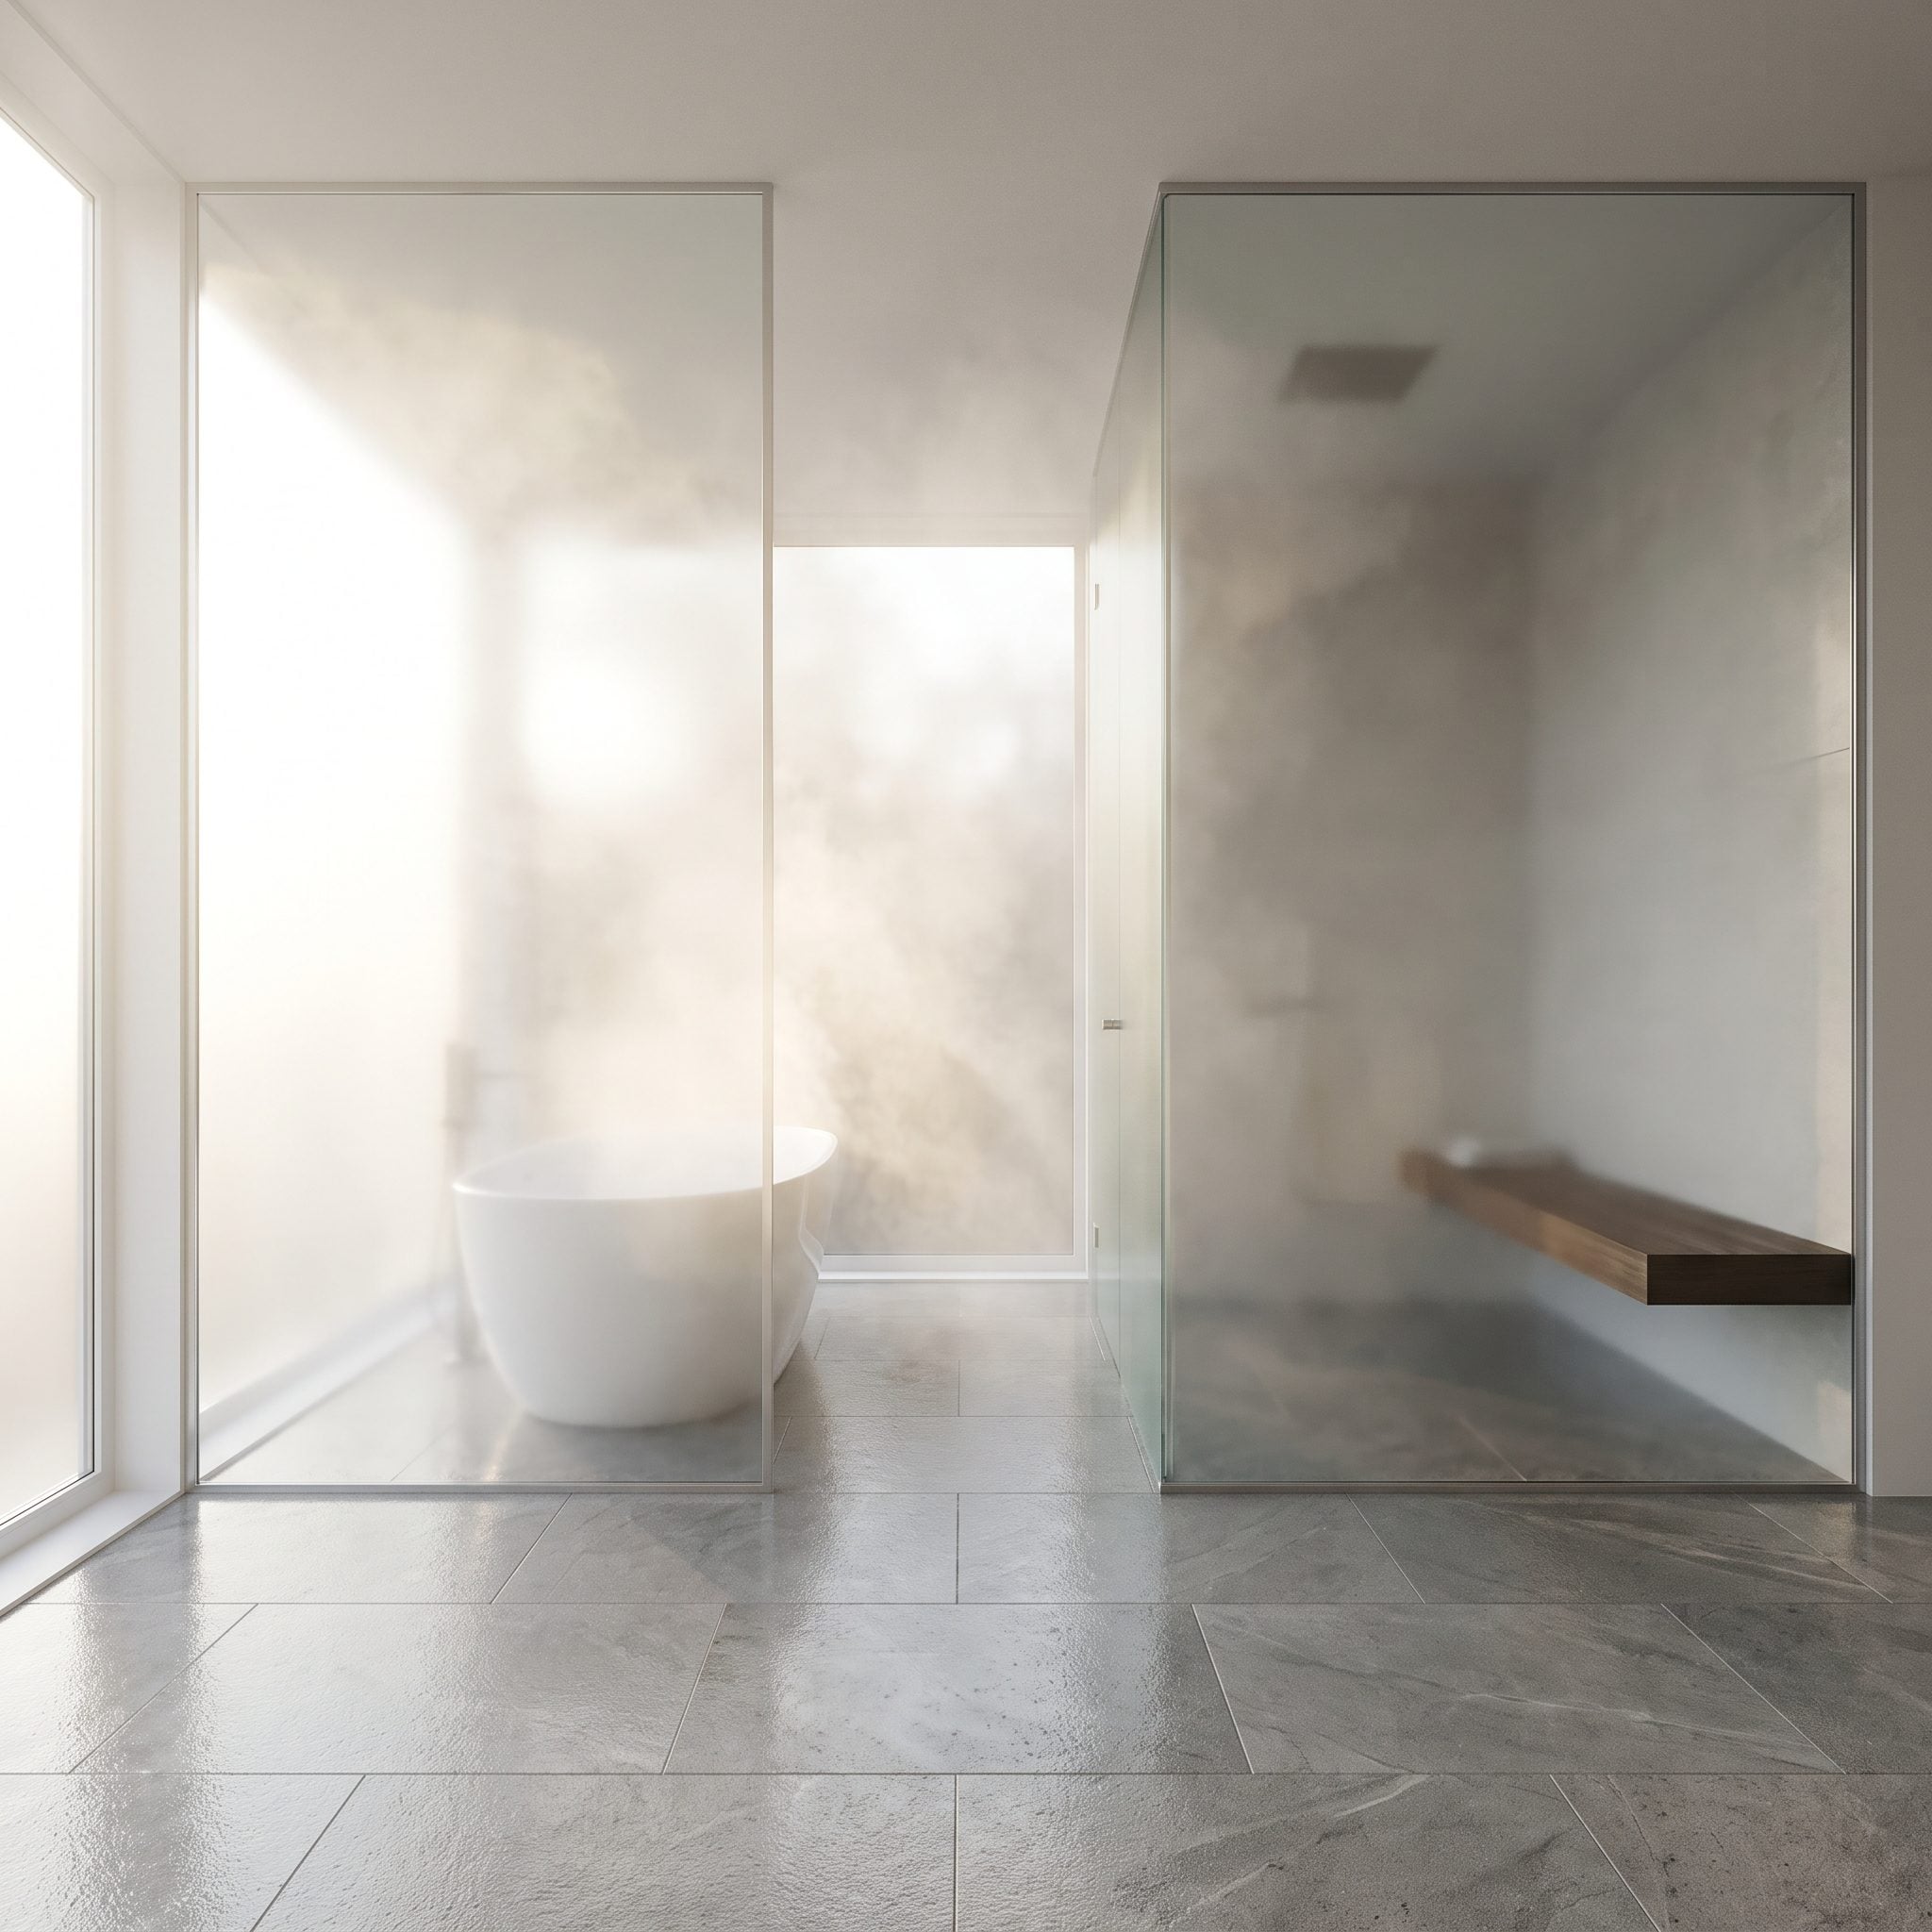
Want the layout that can completely change the arithmetic of a small bathroom? Stop giving the shower its own little box. Put the tub inside the same waterproofed wet zone and let both fixtures share the splash territory.
The terracotta zellige floor carries through the enclosure and around the tub, so the zone reads as one designed volume instead of a shower with something awkwardly parked beside it.
This does require real wet-room construction: correctly prepared substrates, continuous waterproofing, properly detailed penetrations, planned drainage, and floor slope where water needs to travel. It is not a conventional bathroom with extra silicone.
29. Choose a Back-to-Wall Tub That Needs Less Floor Space
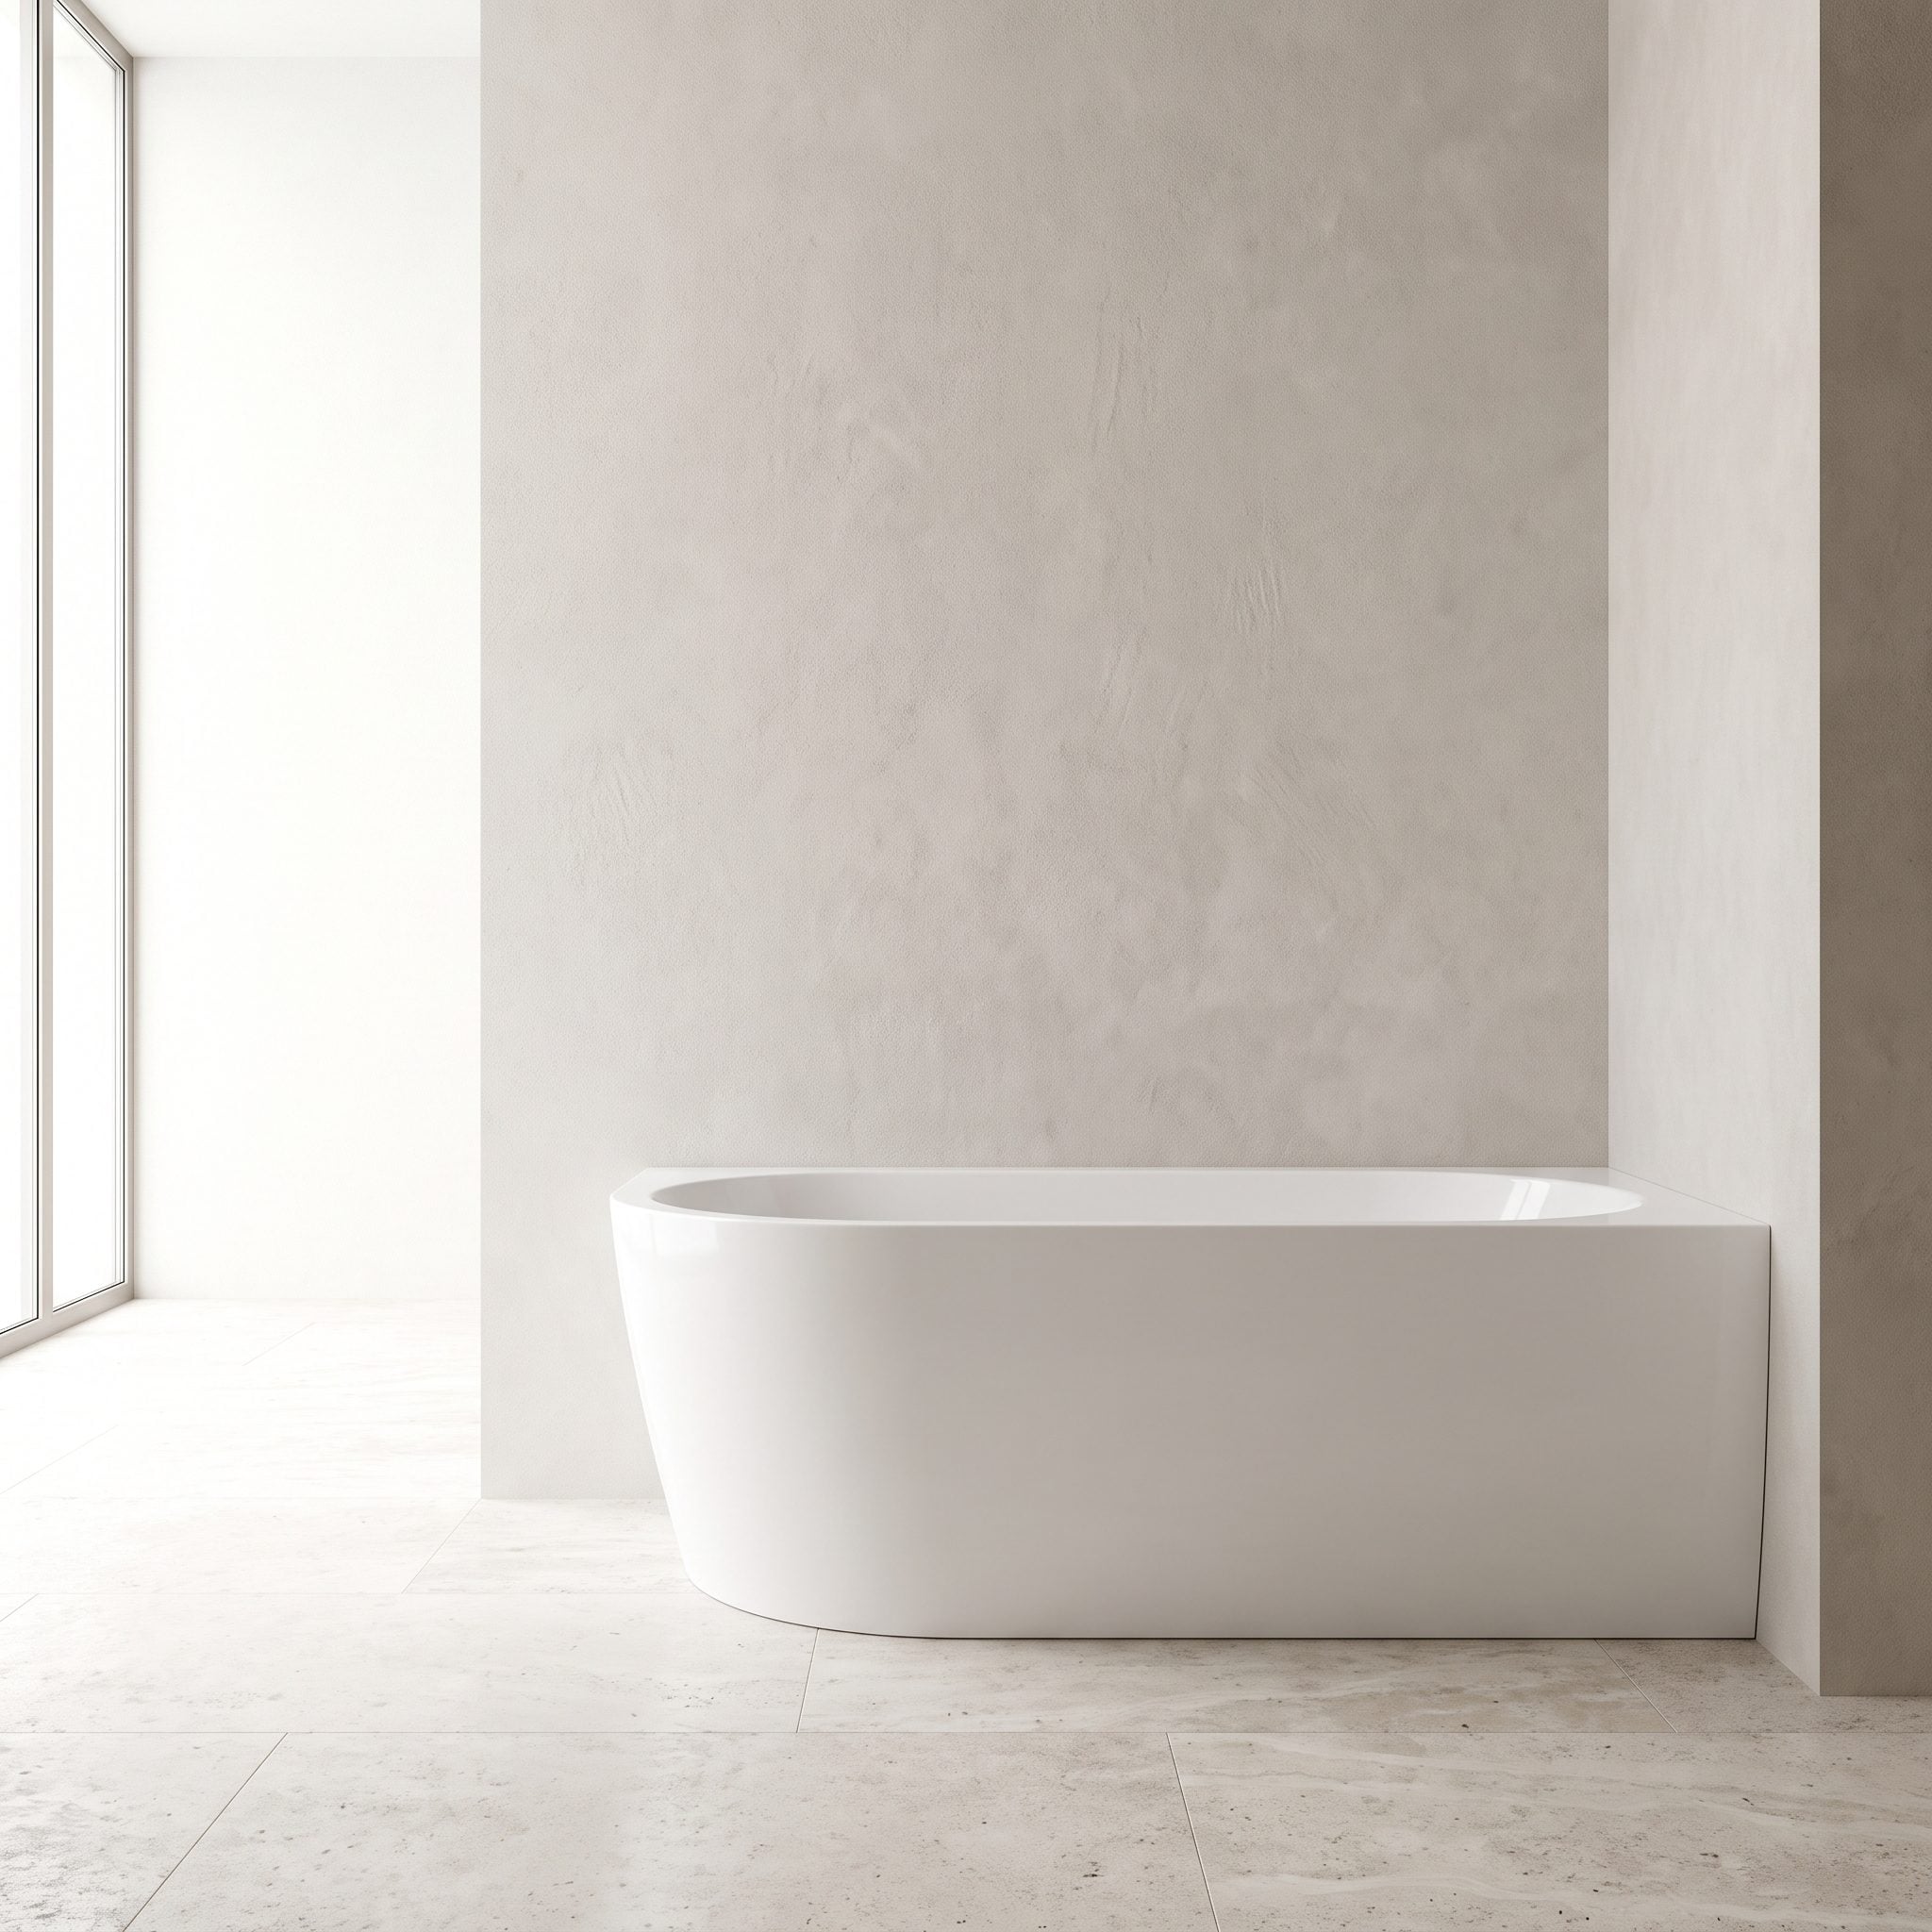
This is the freestanding look without quite so much freestanding appetite. A back-to-wall tub keeps the sculptural front while its flat rear edge sits directly against the wall.
How much space that saves depends on the model and installation, but it eliminates the otherwise awkward cleaning and clearance zone behind many freestanding tubs.
Here, sand-toned microcement moves almost seamlessly from the tub area toward the shower, while the wall-mounted brushed-gold filler keeps hardware off the floor. The room gains space without looking as though it was designed by subtraction.
28. Use a Corner Tub When the Floor Plan Makes It Earn Its Space
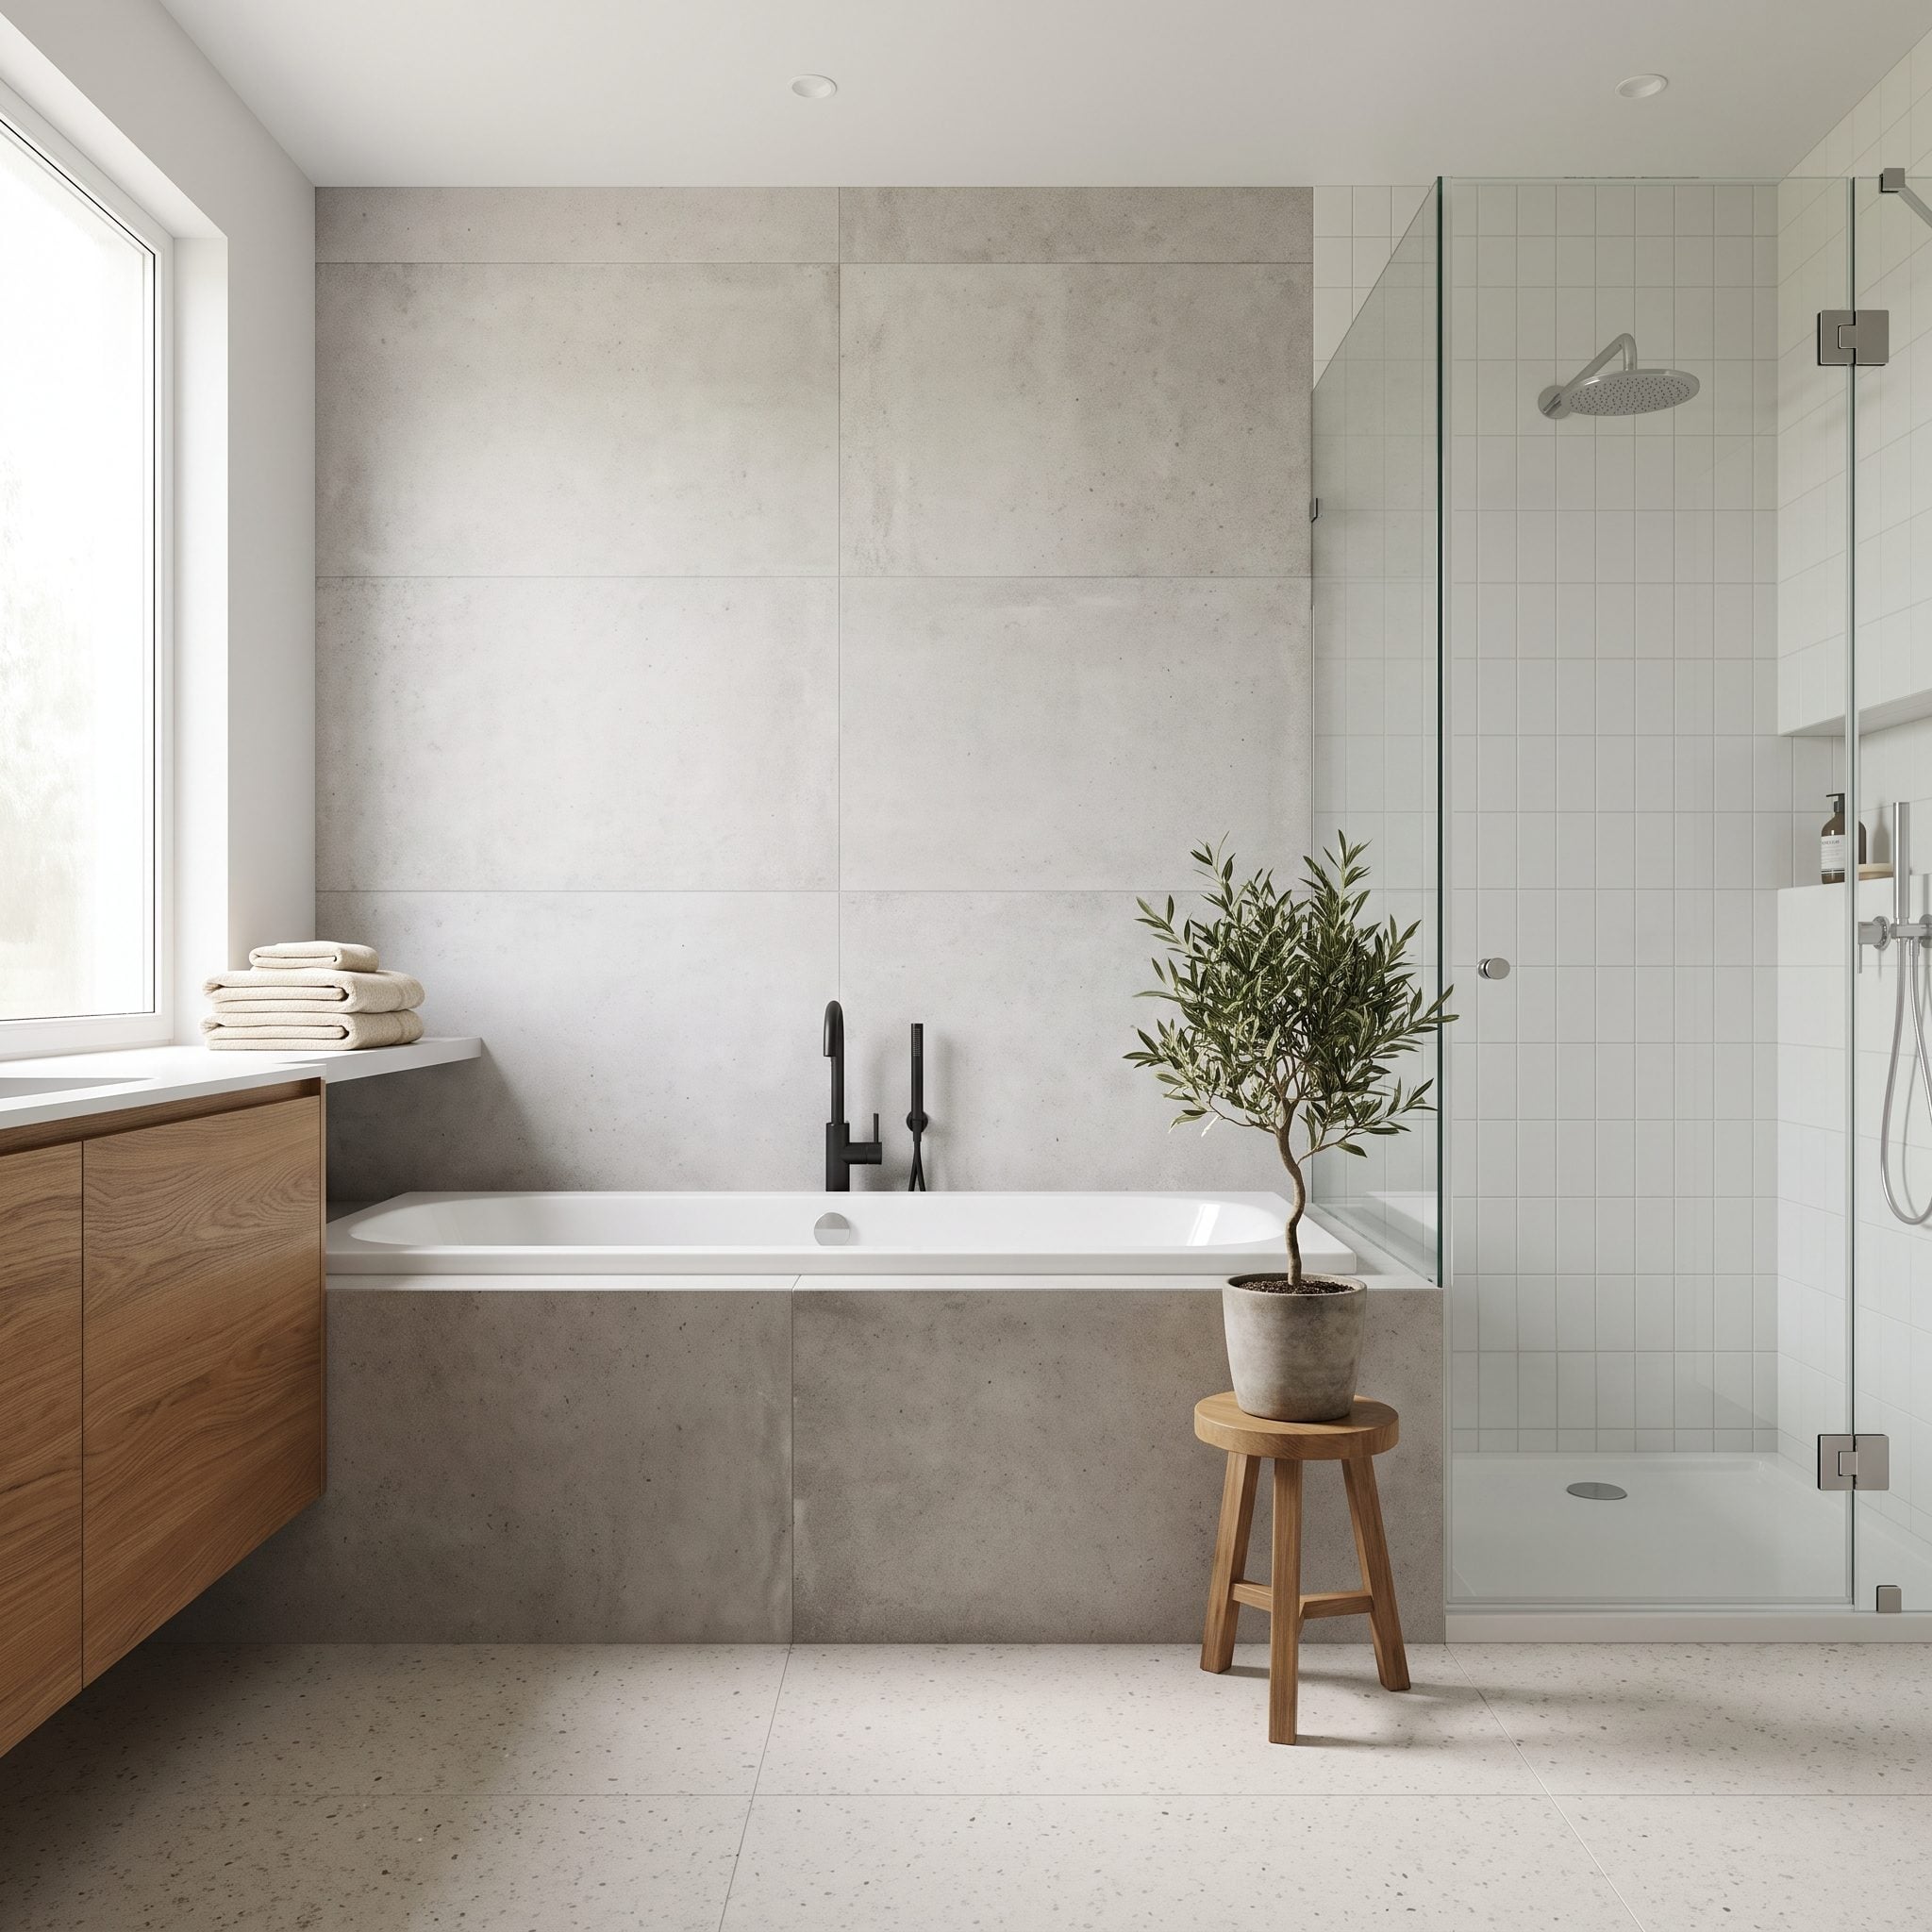
Corner tubs got a bad reputation in the ’90s. Beige, jetted, dusty, unused. But the corner wasn’t really the problem.
Put a clean-lined soaking tub diagonally where two windows meet and an otherwise difficult corner becomes useful without stealing the long uninterrupted walls that a shower and vanity need.
The diagonal also changes circulation through the middle of the room. Instead of marching around a rectangular tub deck, you move past one tapered edge.
I’d use this only when the architecture gives the corner something worthwhile — windows, a view, unusual geometry. Facing two blank walls at forty-five degrees doesn’t magically make a tub glamorous.
27. Tuck the Walk-In Shower Into an Existing Alcove
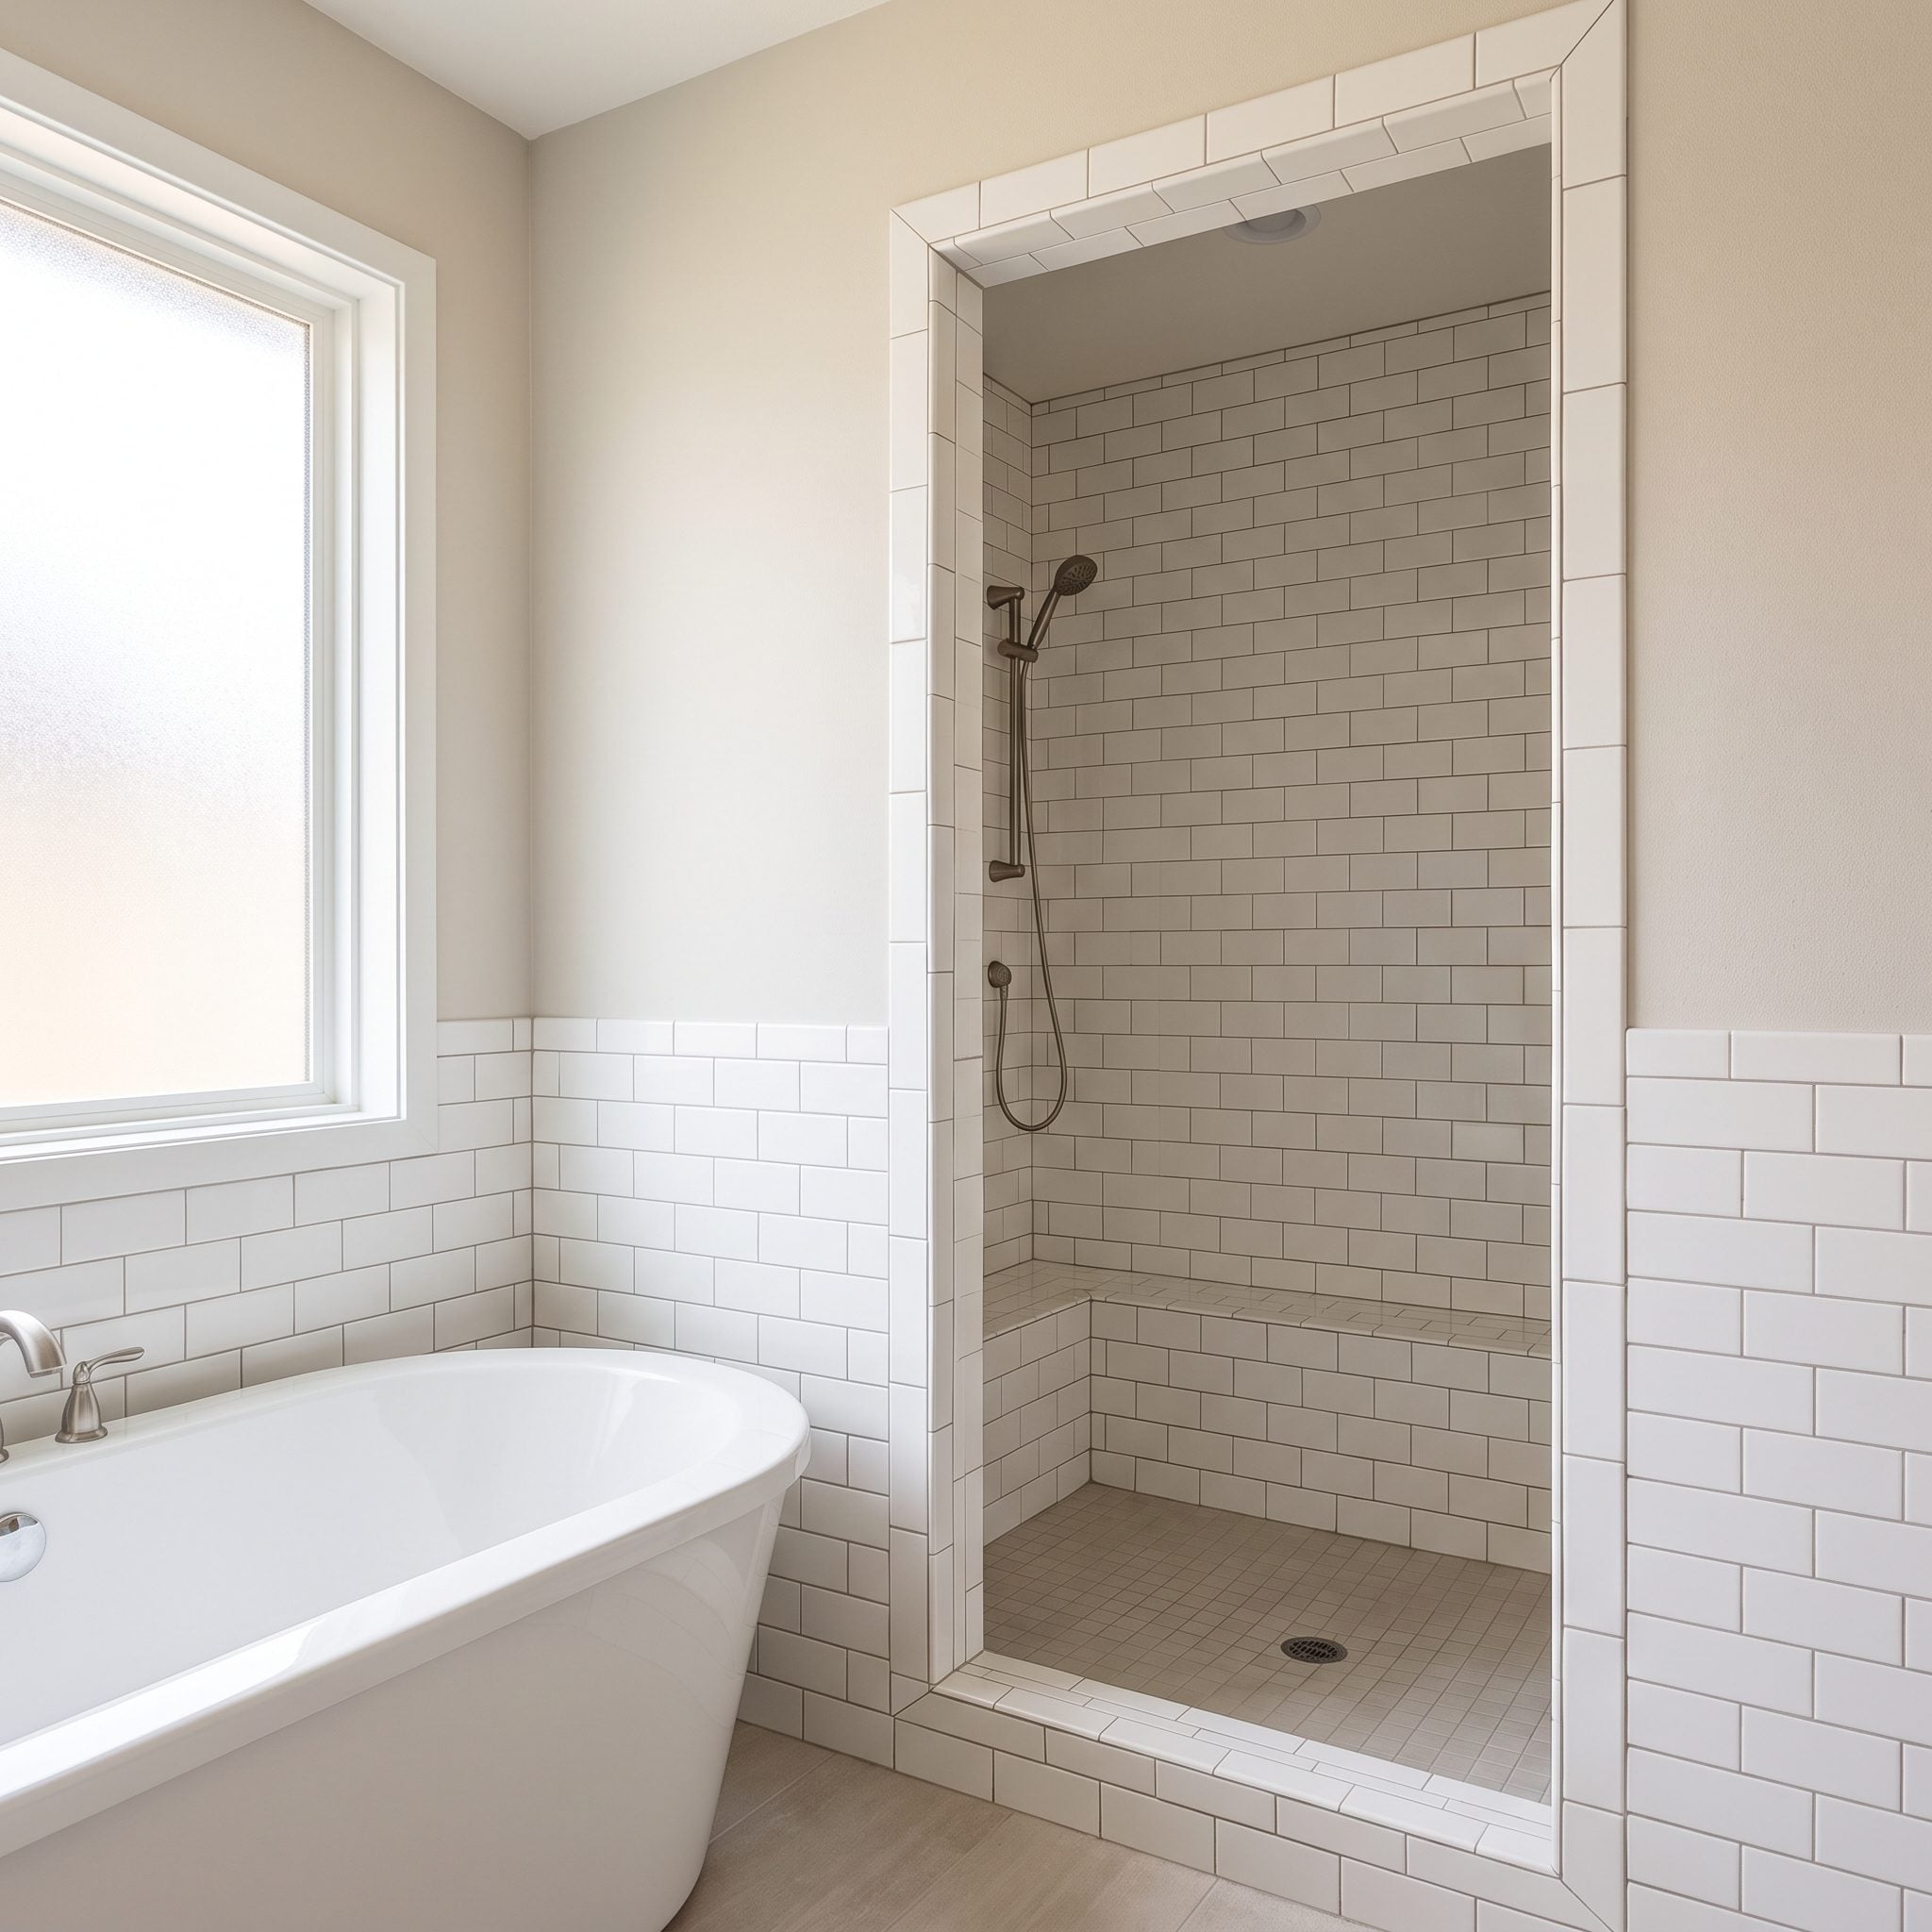
If the room already has a recess, let the shower disappear into it. The enclosure uses depth the architecture has already given you instead of pushing a glass box farther into the floor plan.
Limestone-look tile inside the alcove and warm clay plaster at the tub keep the palette earthy and restrained. Matte-black fixtures then land as punctuation instead of noise.
It’s close to the thinking behind a good compact bathroom renovation: stop asking every fixture to occupy prime open floor.
26. Move the Vanity Before Assuming the Bathtub Has to Go
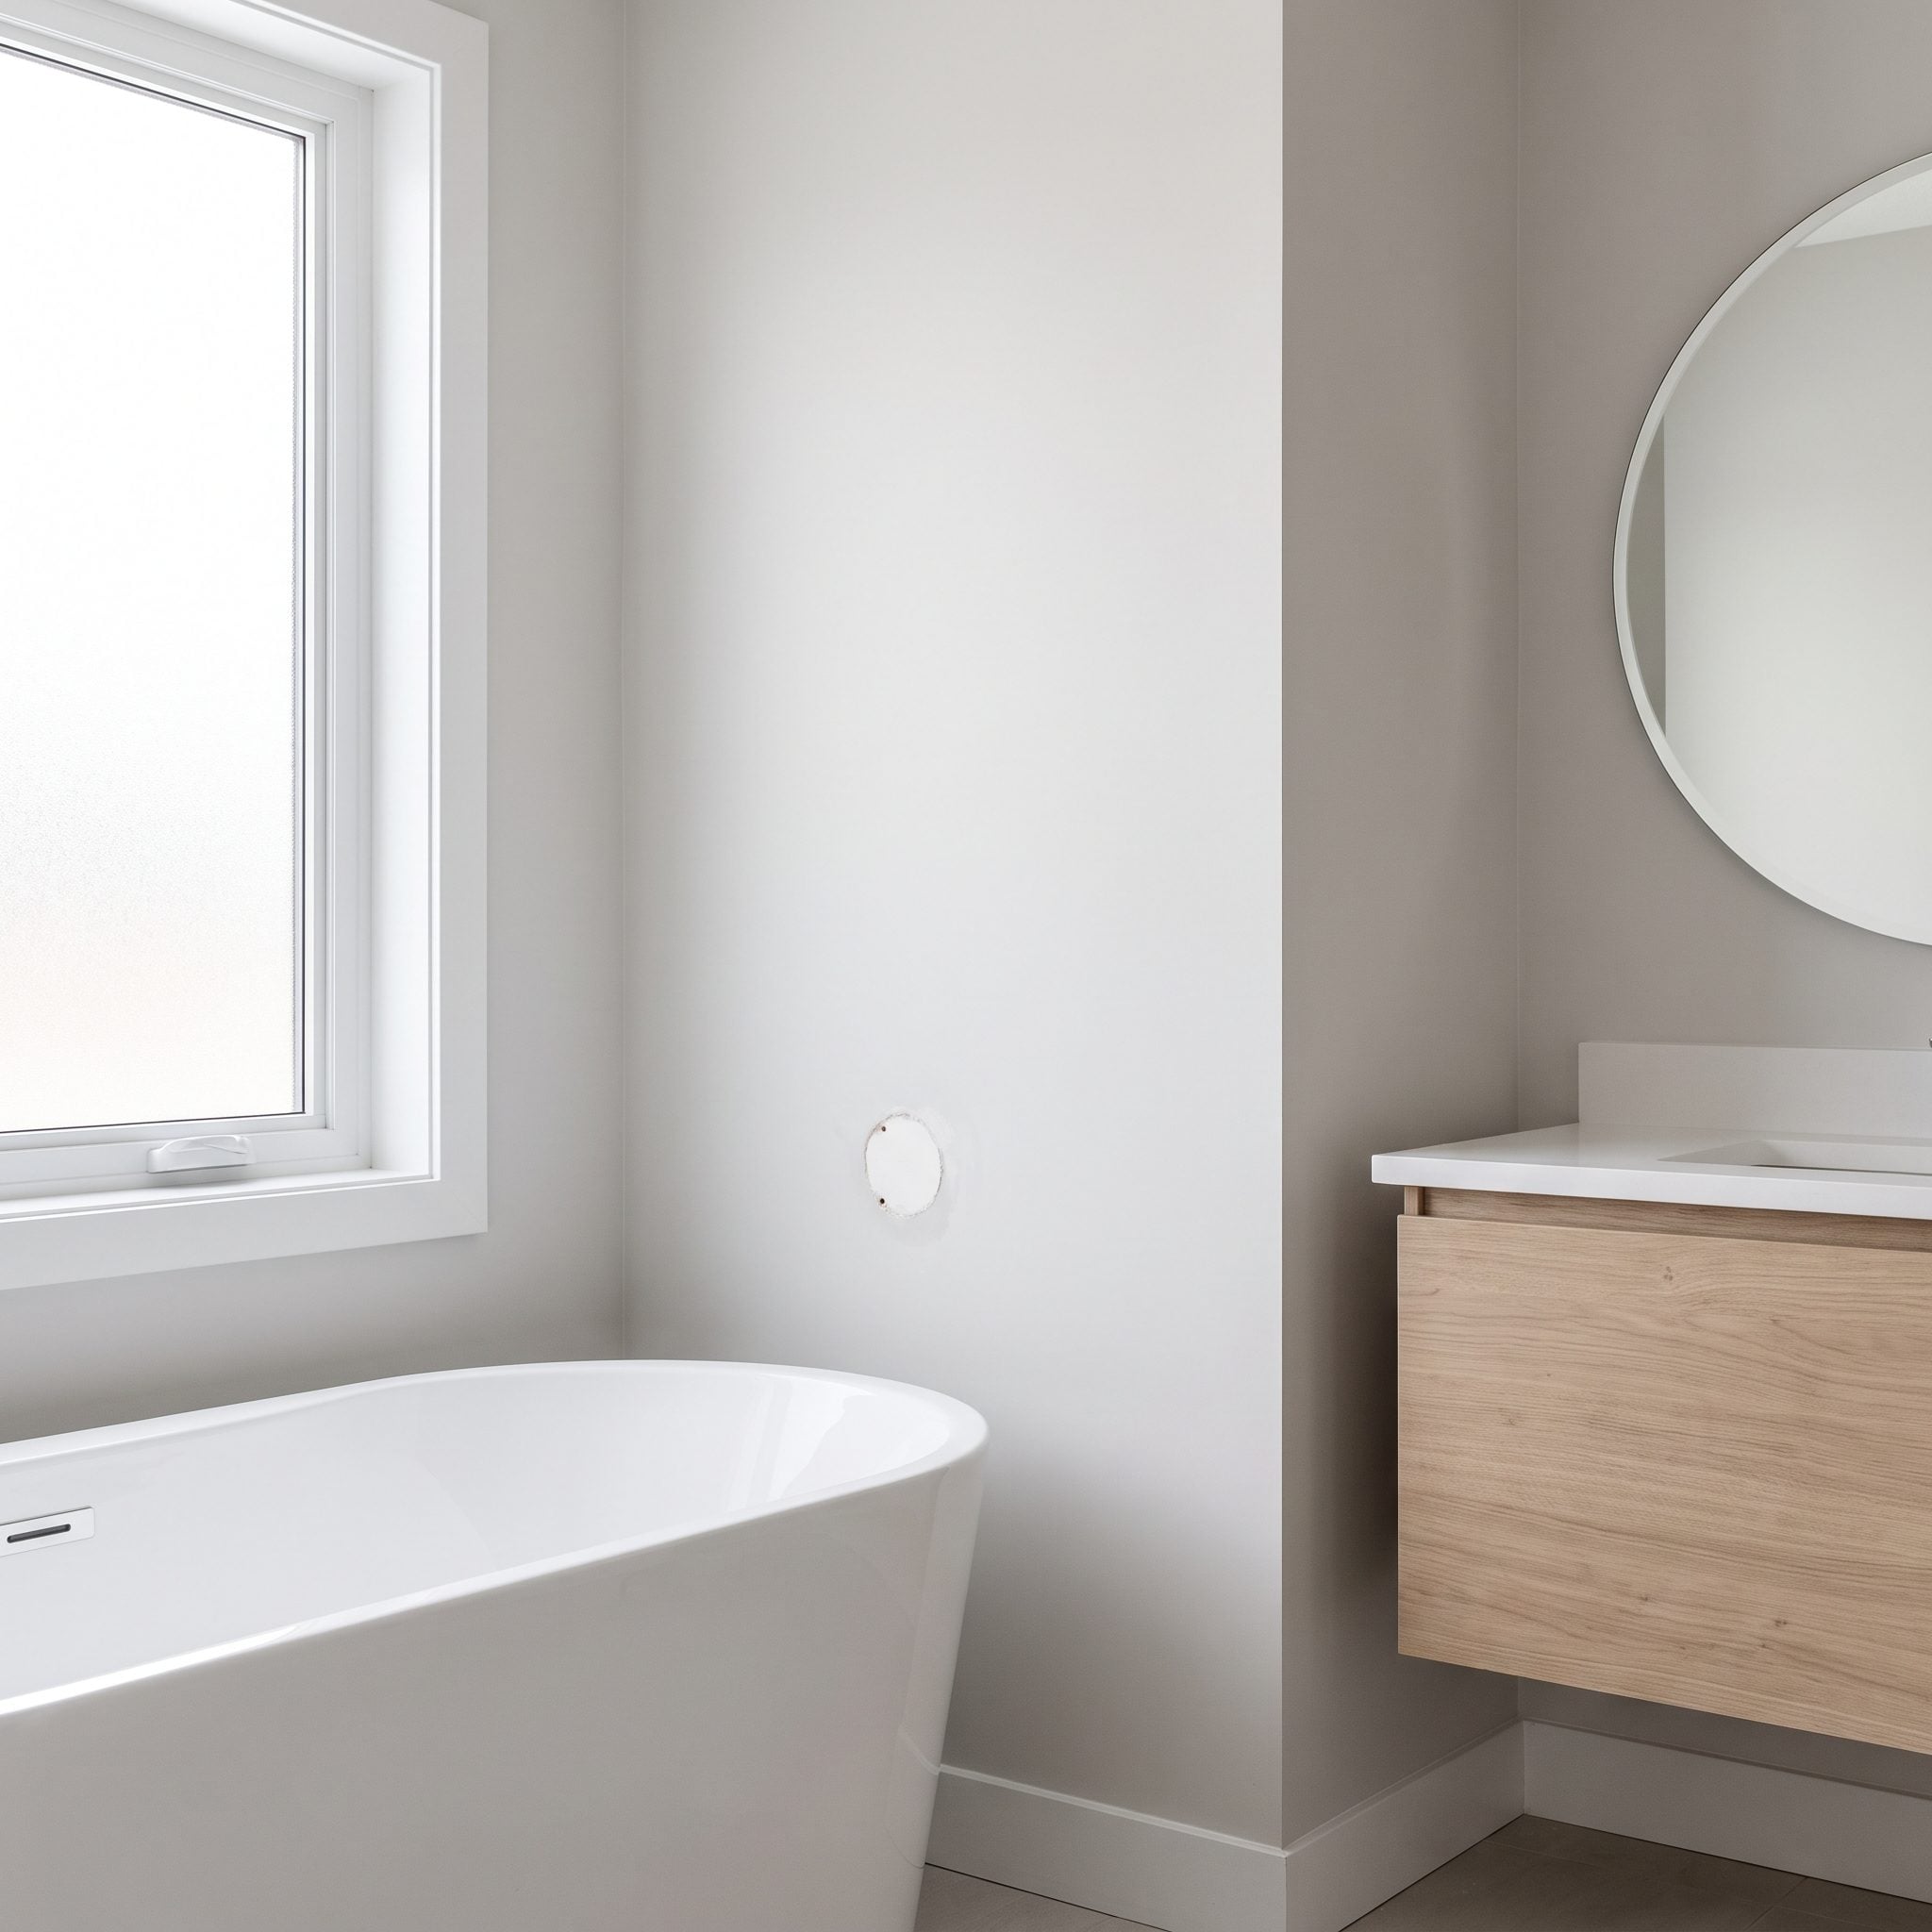
Before deciding the tub has to go, ask whether the vanity is simply standing in the wrong place. Often the room doesn’t have too many fixtures; it has too many fixtures competing for the same useful wall.
Move the vanity to a shorter wall near the entrance and a longer uninterrupted run can suddenly accept both a tub and shower.
A floating vanity helps visually too. More visible floor doesn’t physically enlarge the room, but it makes the cabinetry feel lighter and keeps the lower half from becoming one solid block.
25. Run the Shower Behind the Tub Across the Full Width of the Room
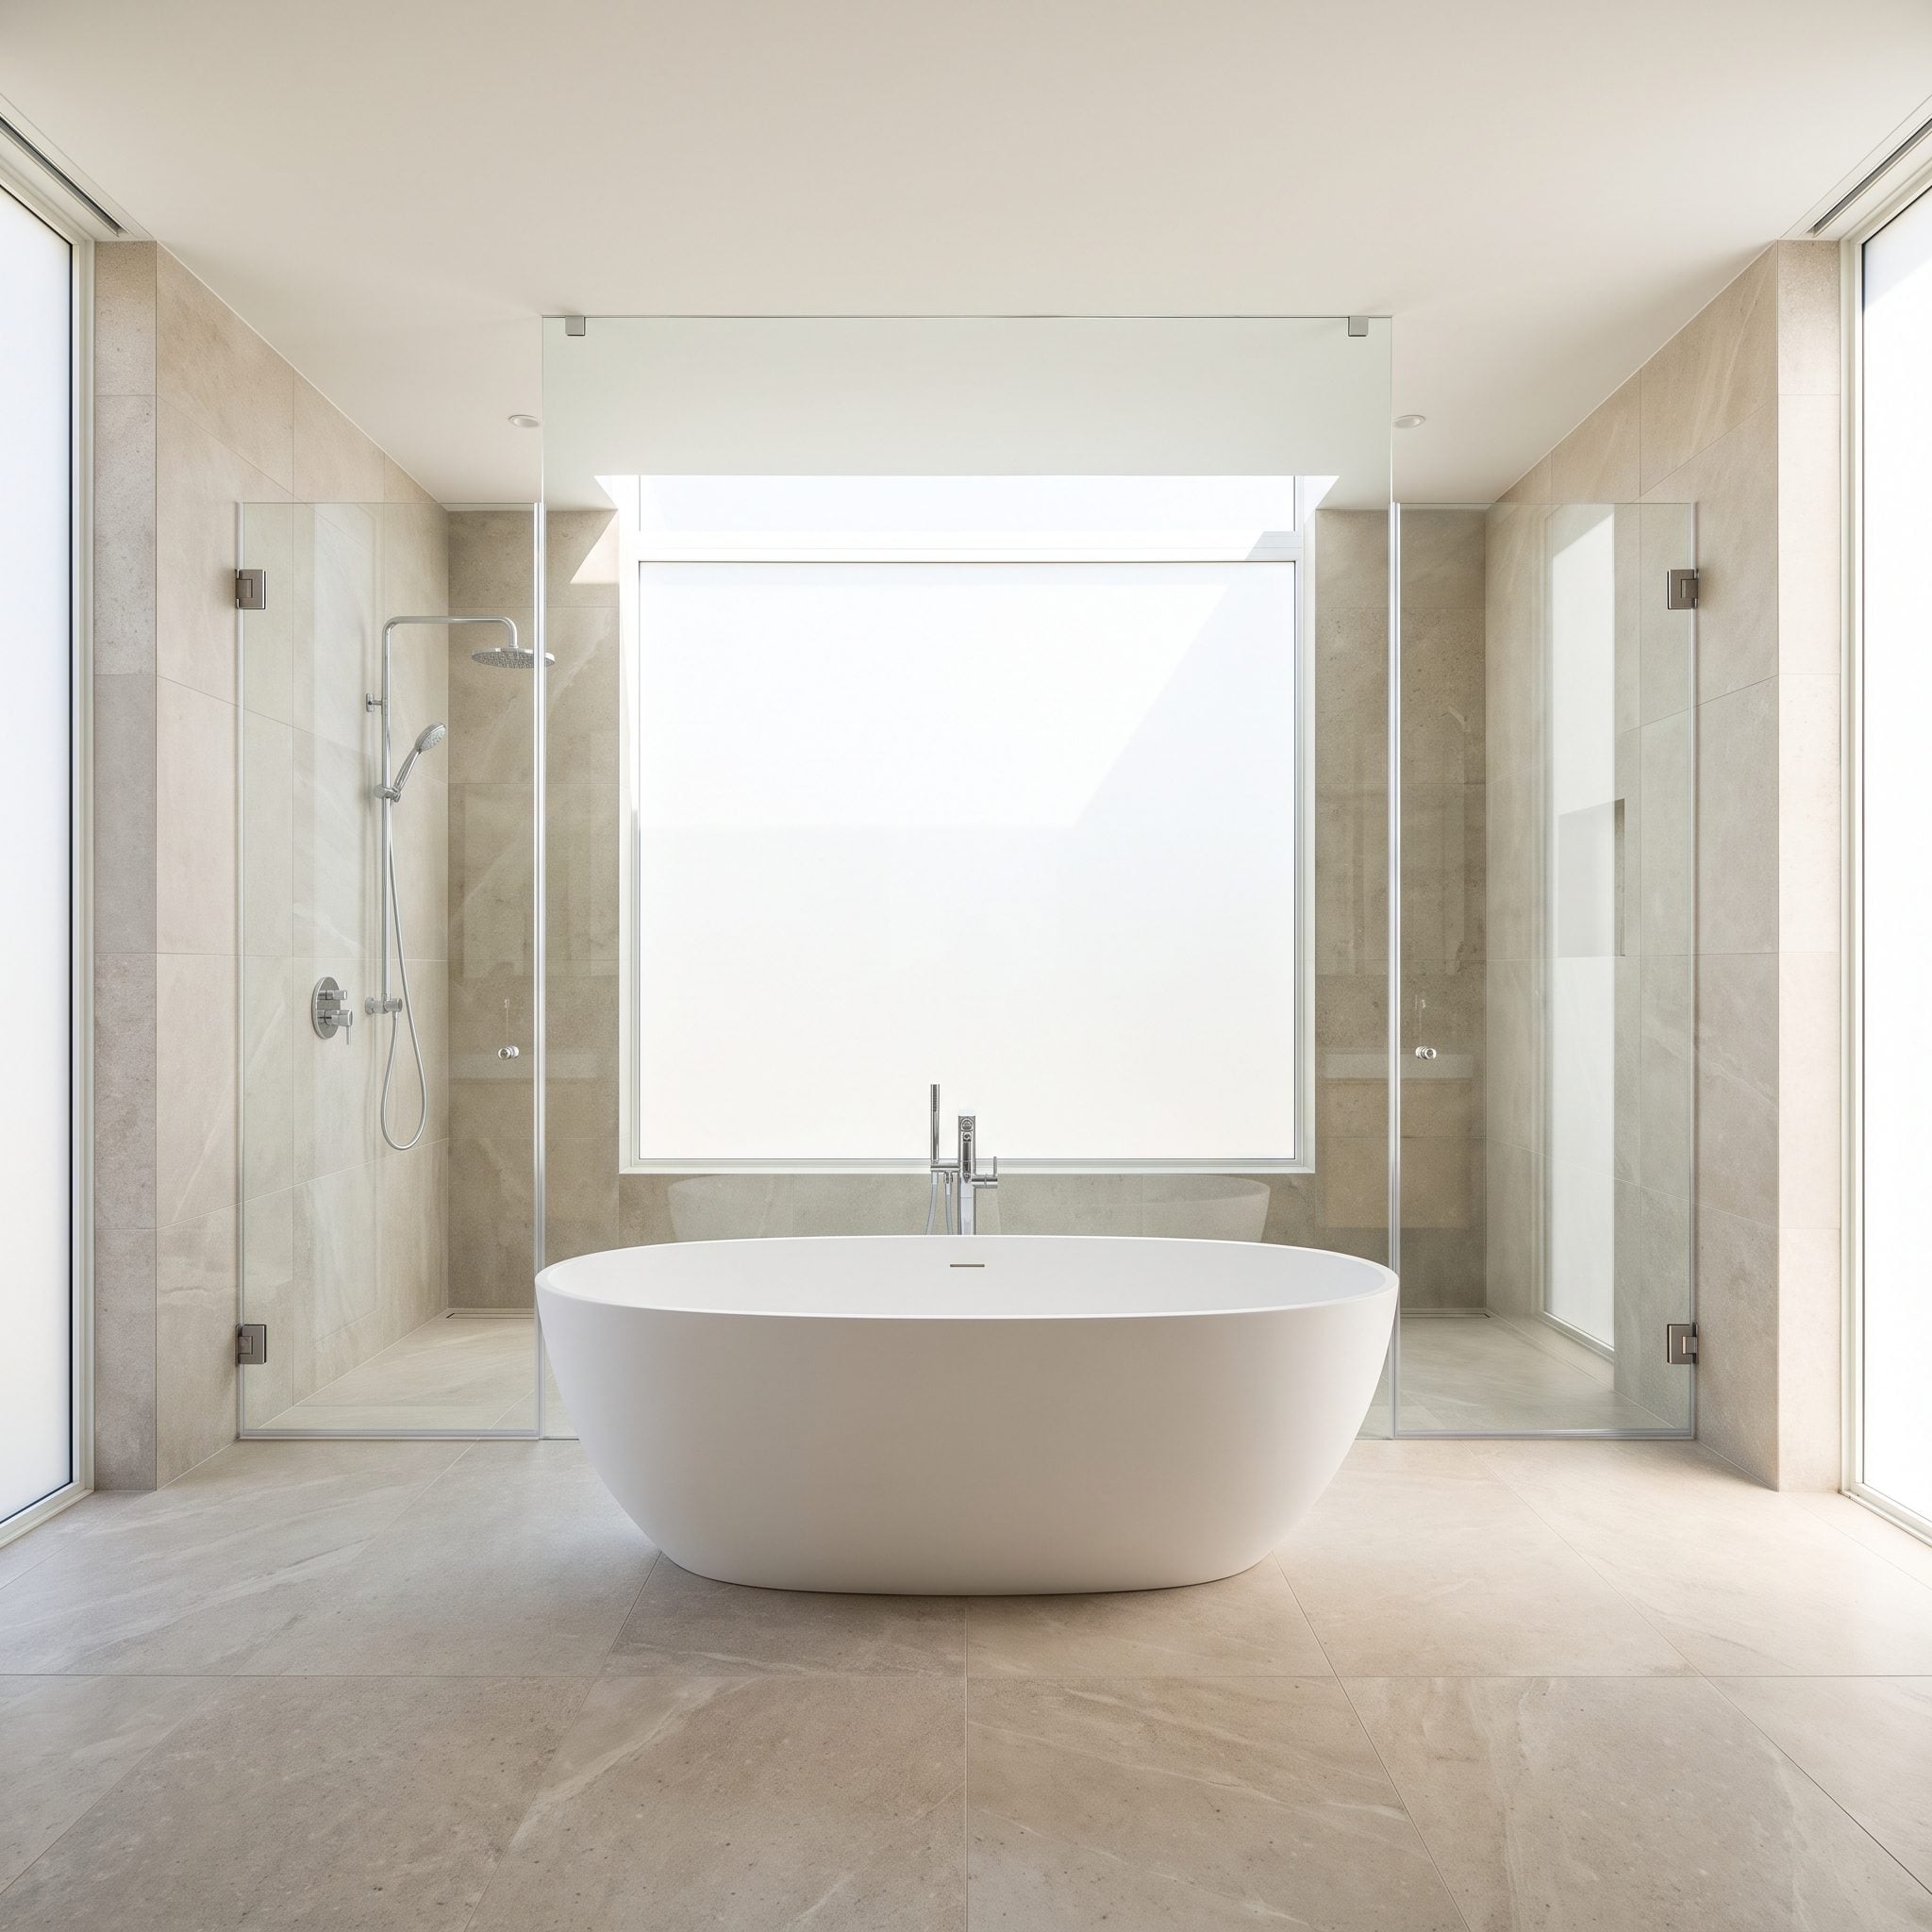
Stretch the shower across the back of the room and float the tub in front. Instead of two fixtures sitting shoulder to shoulder, you get depth: bath in the foreground, shower beyond.
That layered arrangement is particularly effective in long bathrooms where width is scarce but depth is available.
The travertine wall strengthens the far plane while the freestanding tub remains low enough to preserve it. A large shower can therefore occupy the entire rear wall without reading like a phone booth.
24. Replace a Swinging Bathroom Door With a Pocket or Sliding Door
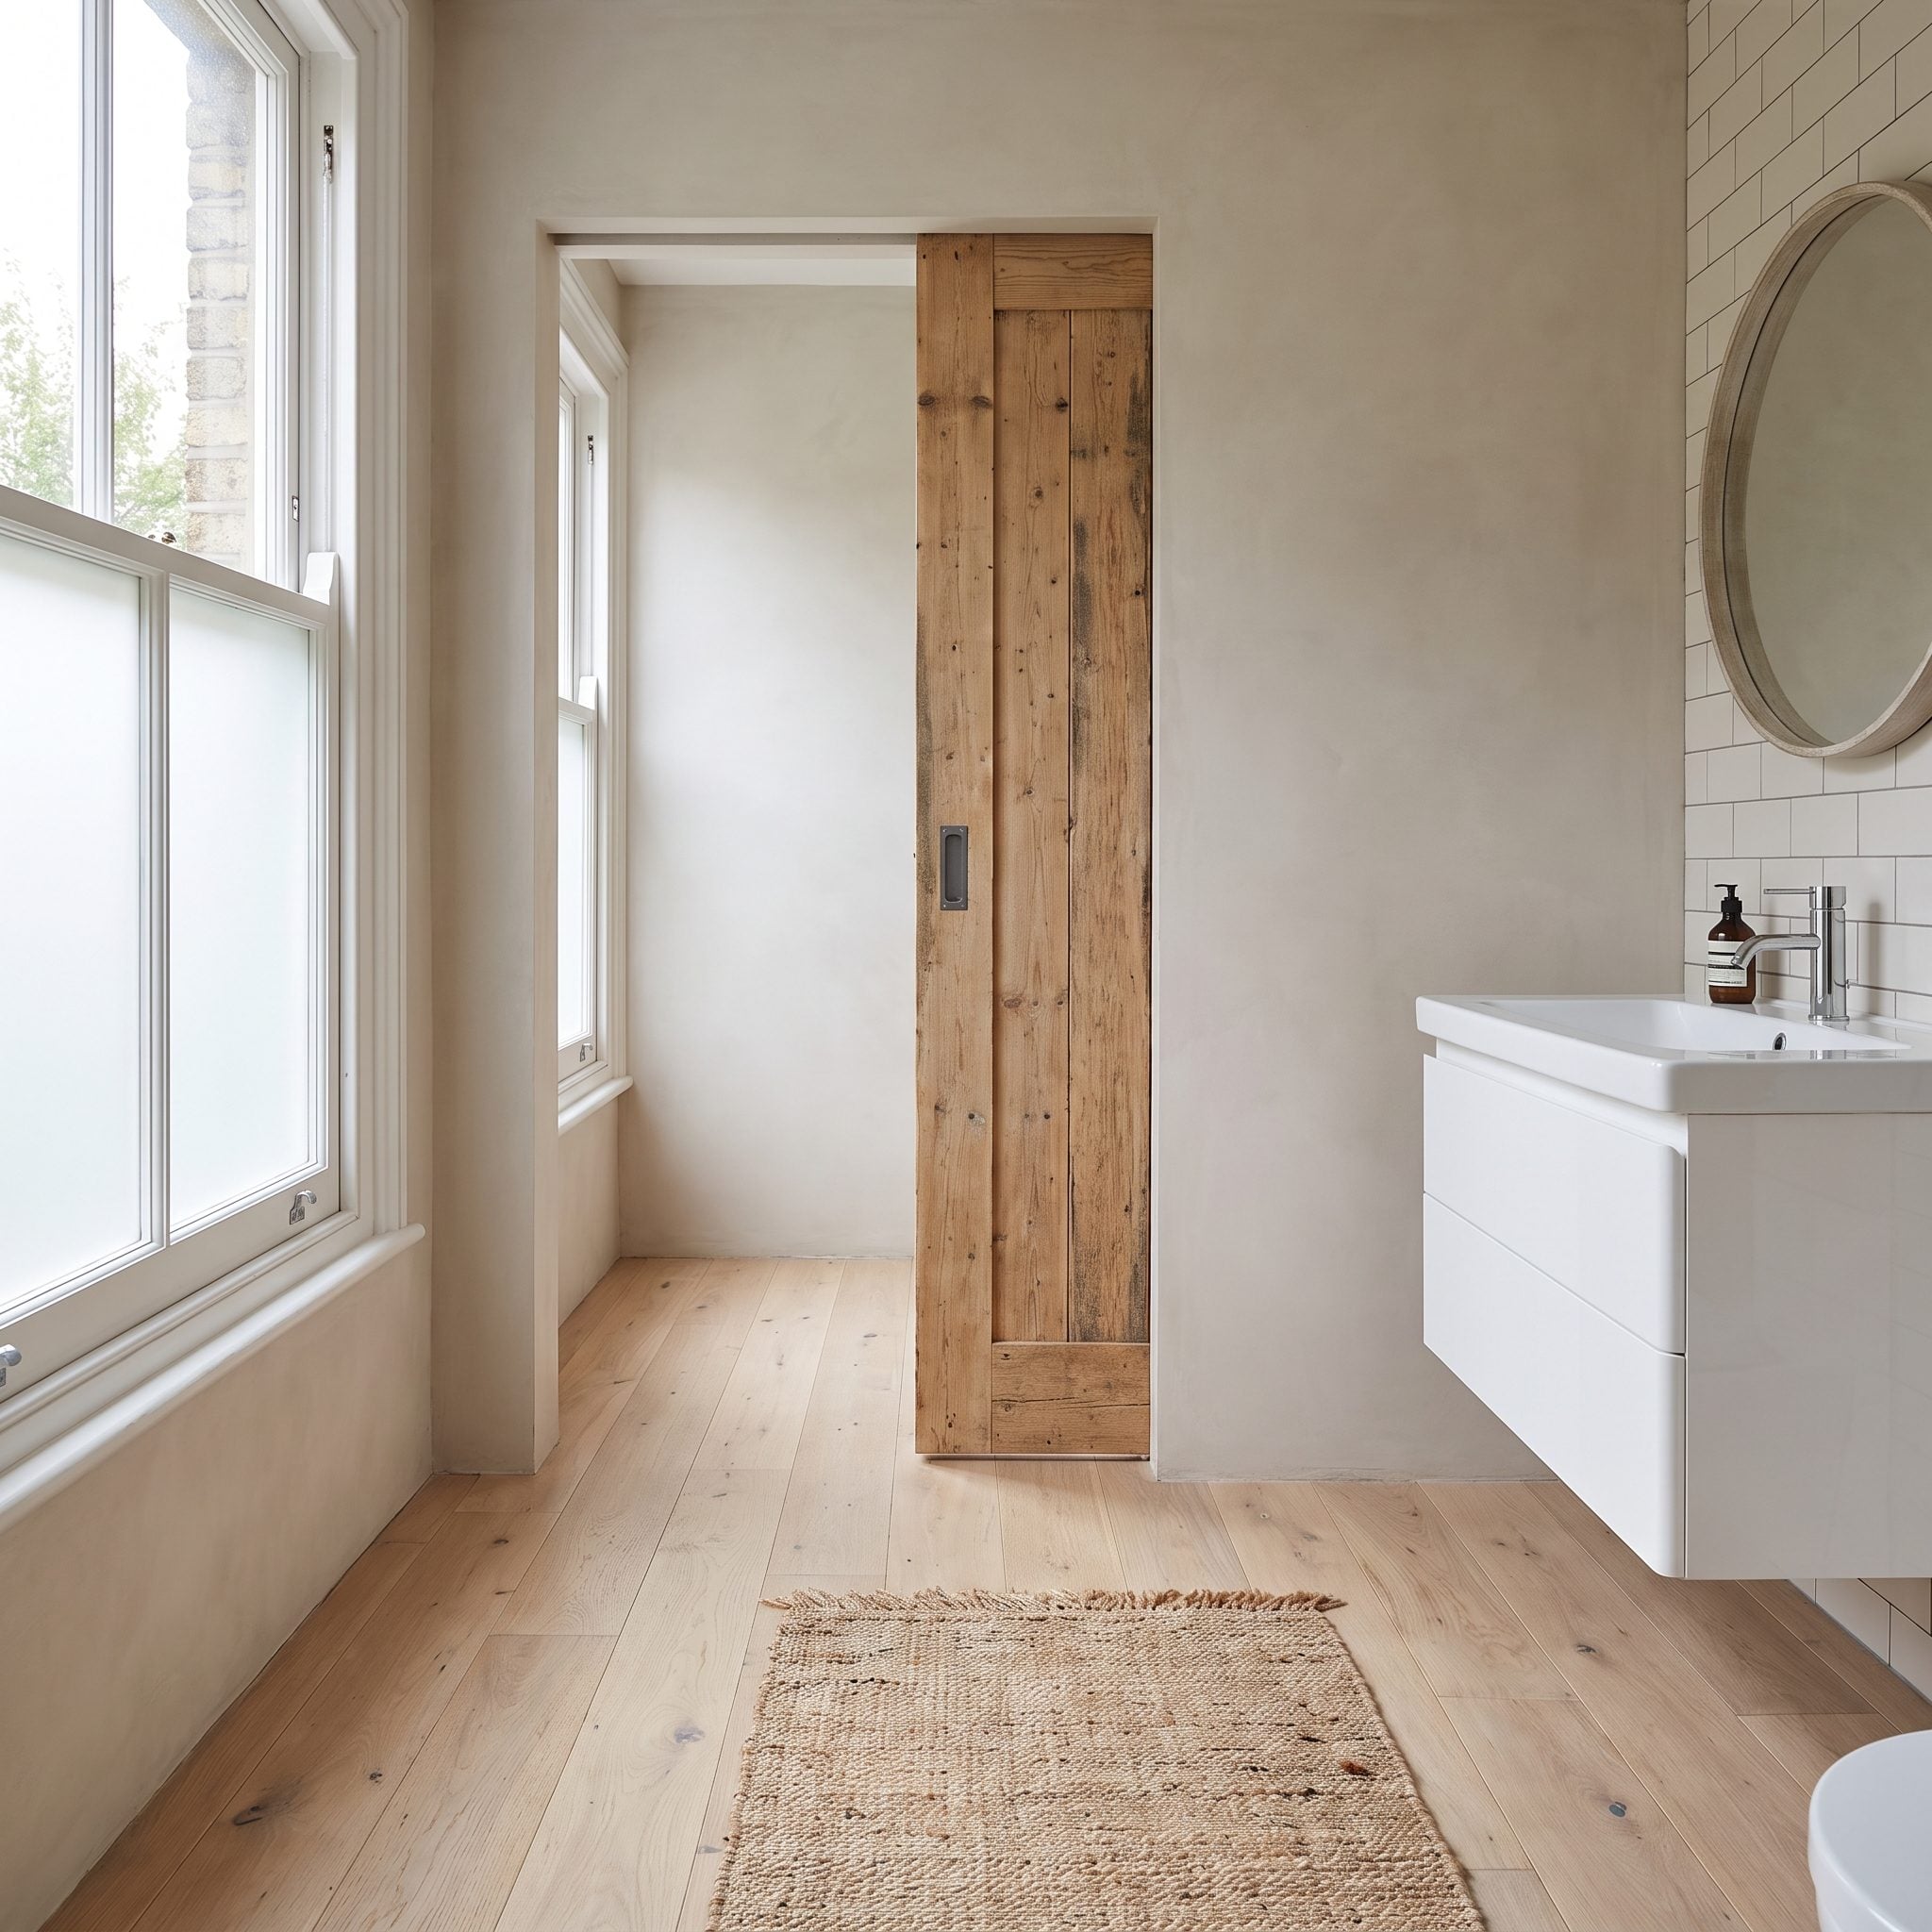
A hinged door doesn’t merely occupy the doorway. It reserves an entire sweep of floor every time it opens.
Replace that swing with a pocket door where the wall construction allows it, and the recovered corner can suddenly support cabinetry, circulation, or even part of the tub footprint.
An exterior sliding door can save the swing too, although privacy, sound control, hardware clearance, and wall space all deserve consideration.
23. Build a Tub Deck That Continues Into the Shower
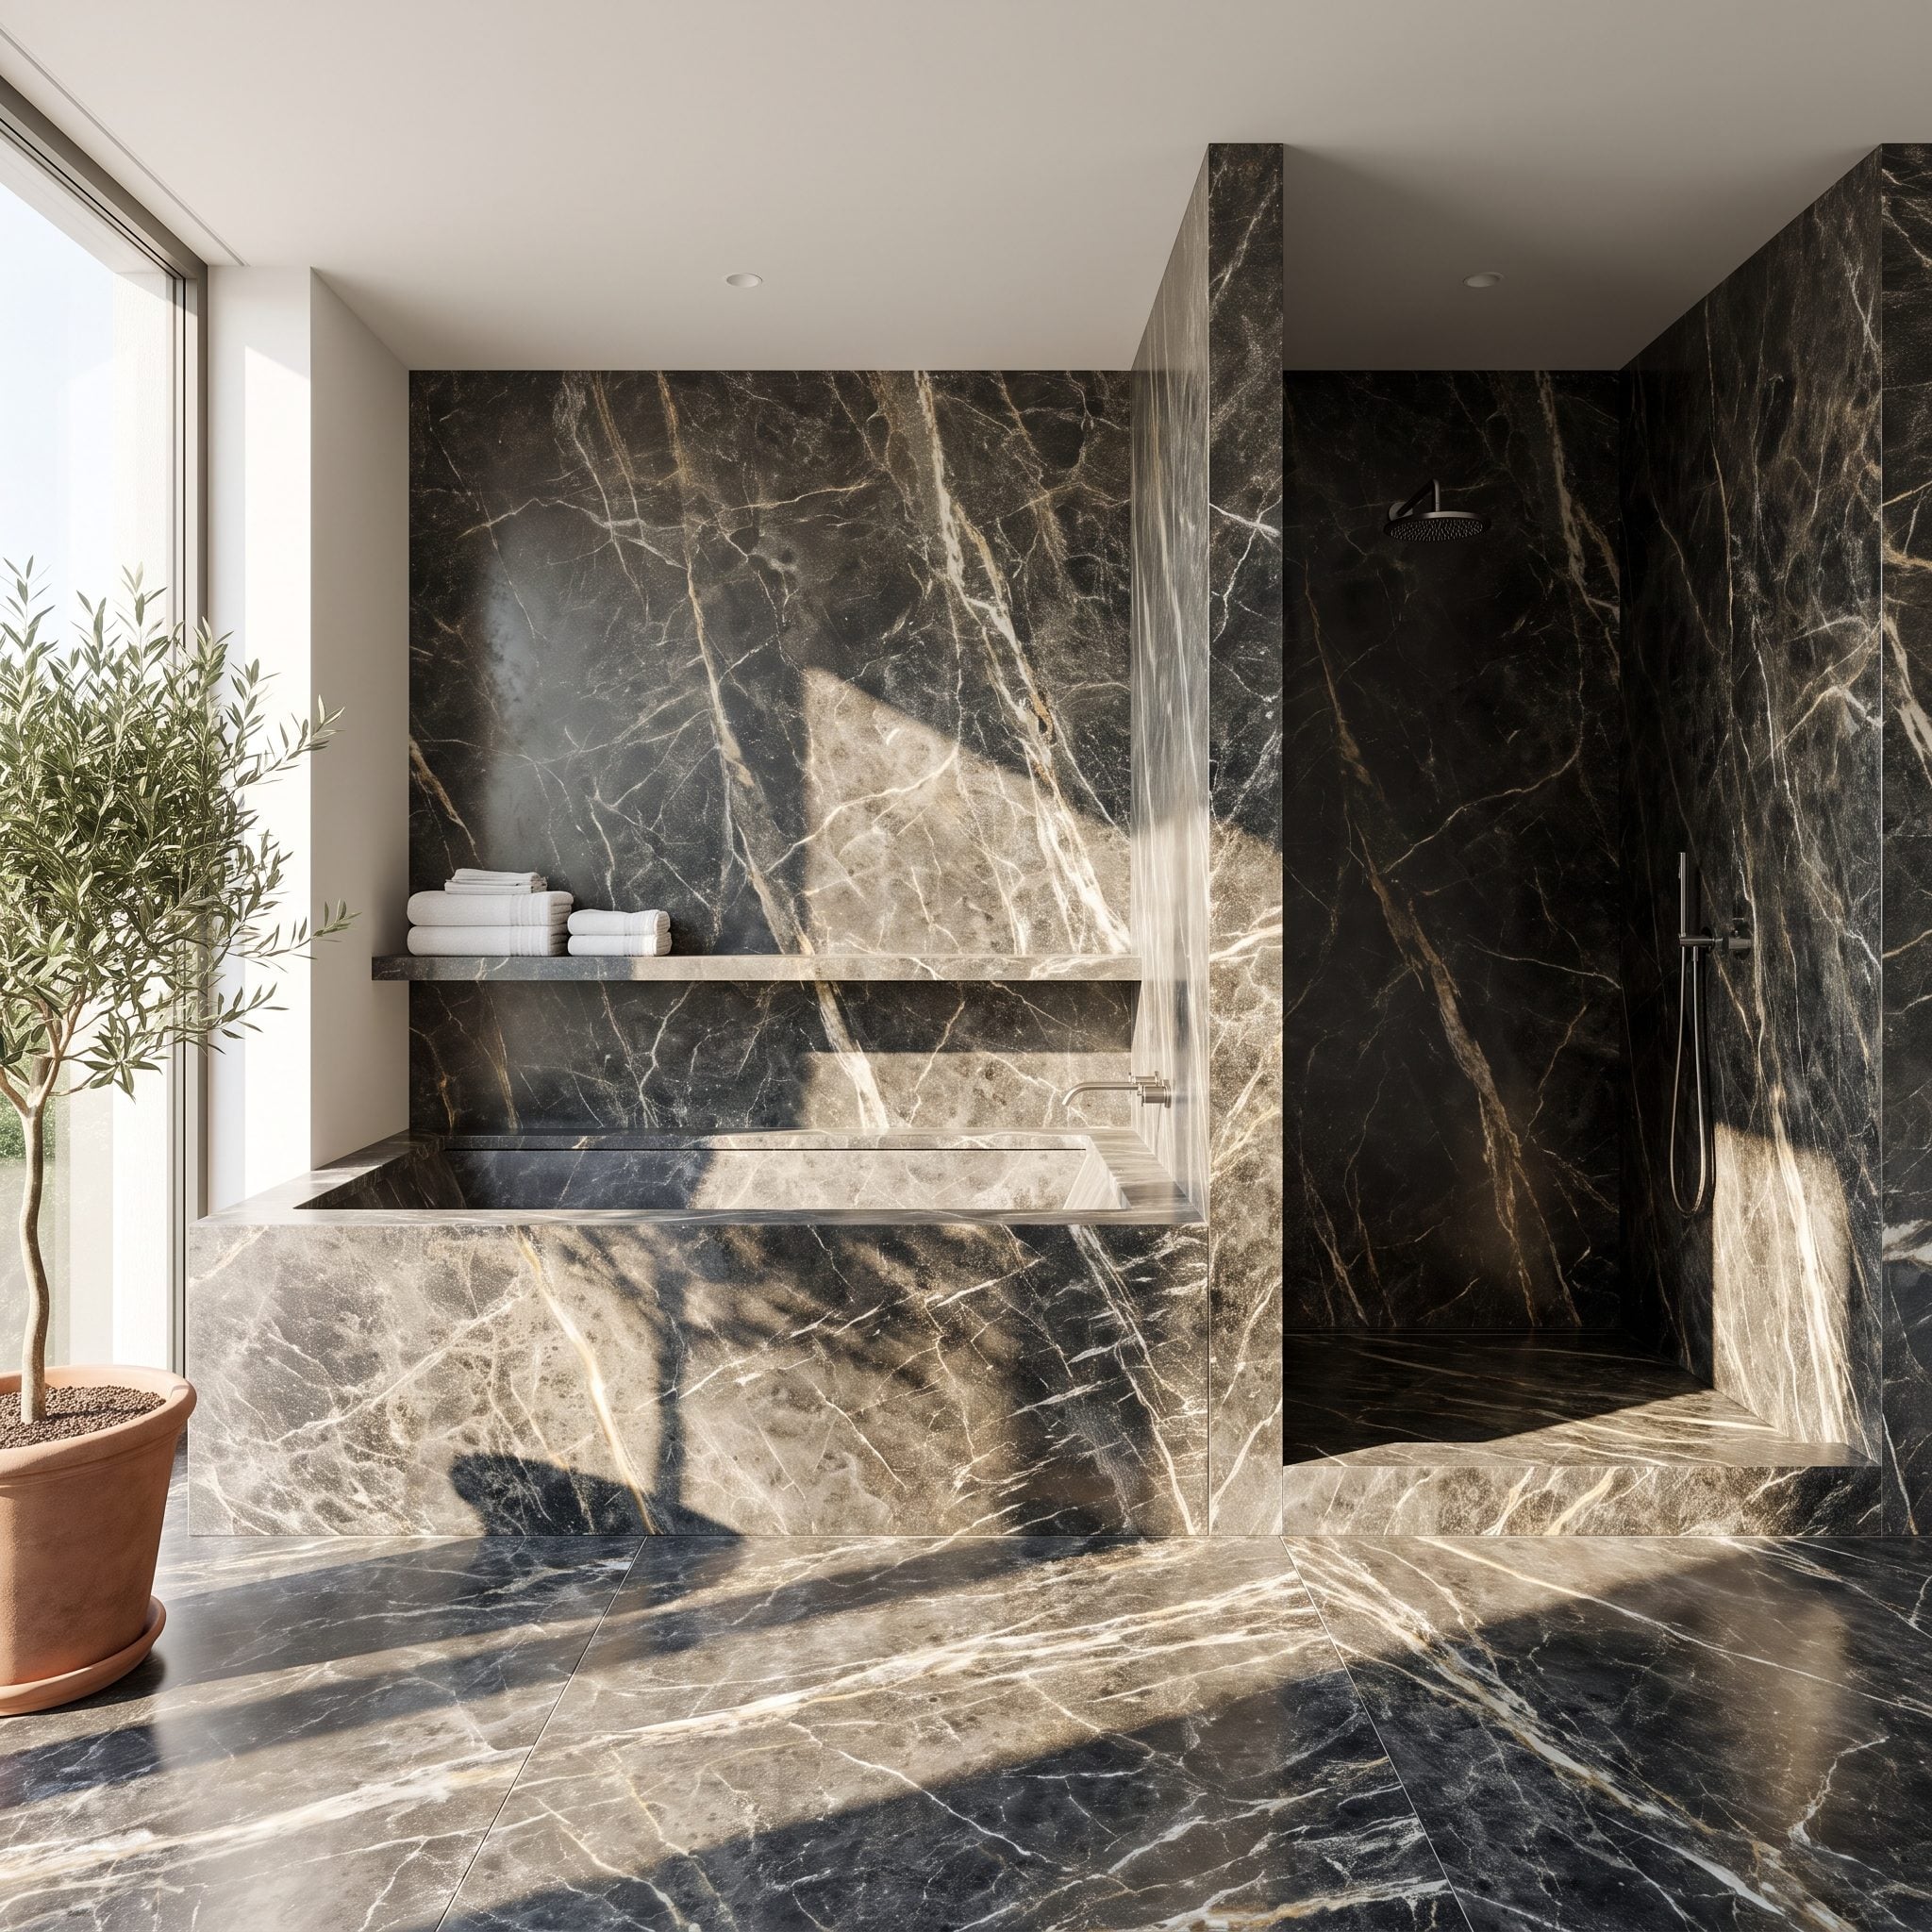
Here’s the difference between putting fixtures in a room and actually composing them. Build the tub deck in stone, then carry that same horizontal line through the glass as the shower bench.
Suddenly the glass is interrupting one continuous architectural element rather than dividing two unrelated fixtures.
Using pieces from the same slab can make the transition even better because color and veining can continue from bath to shower.
22. Turn the Old Tub Alcove Into a Shower and Relocate the Tub
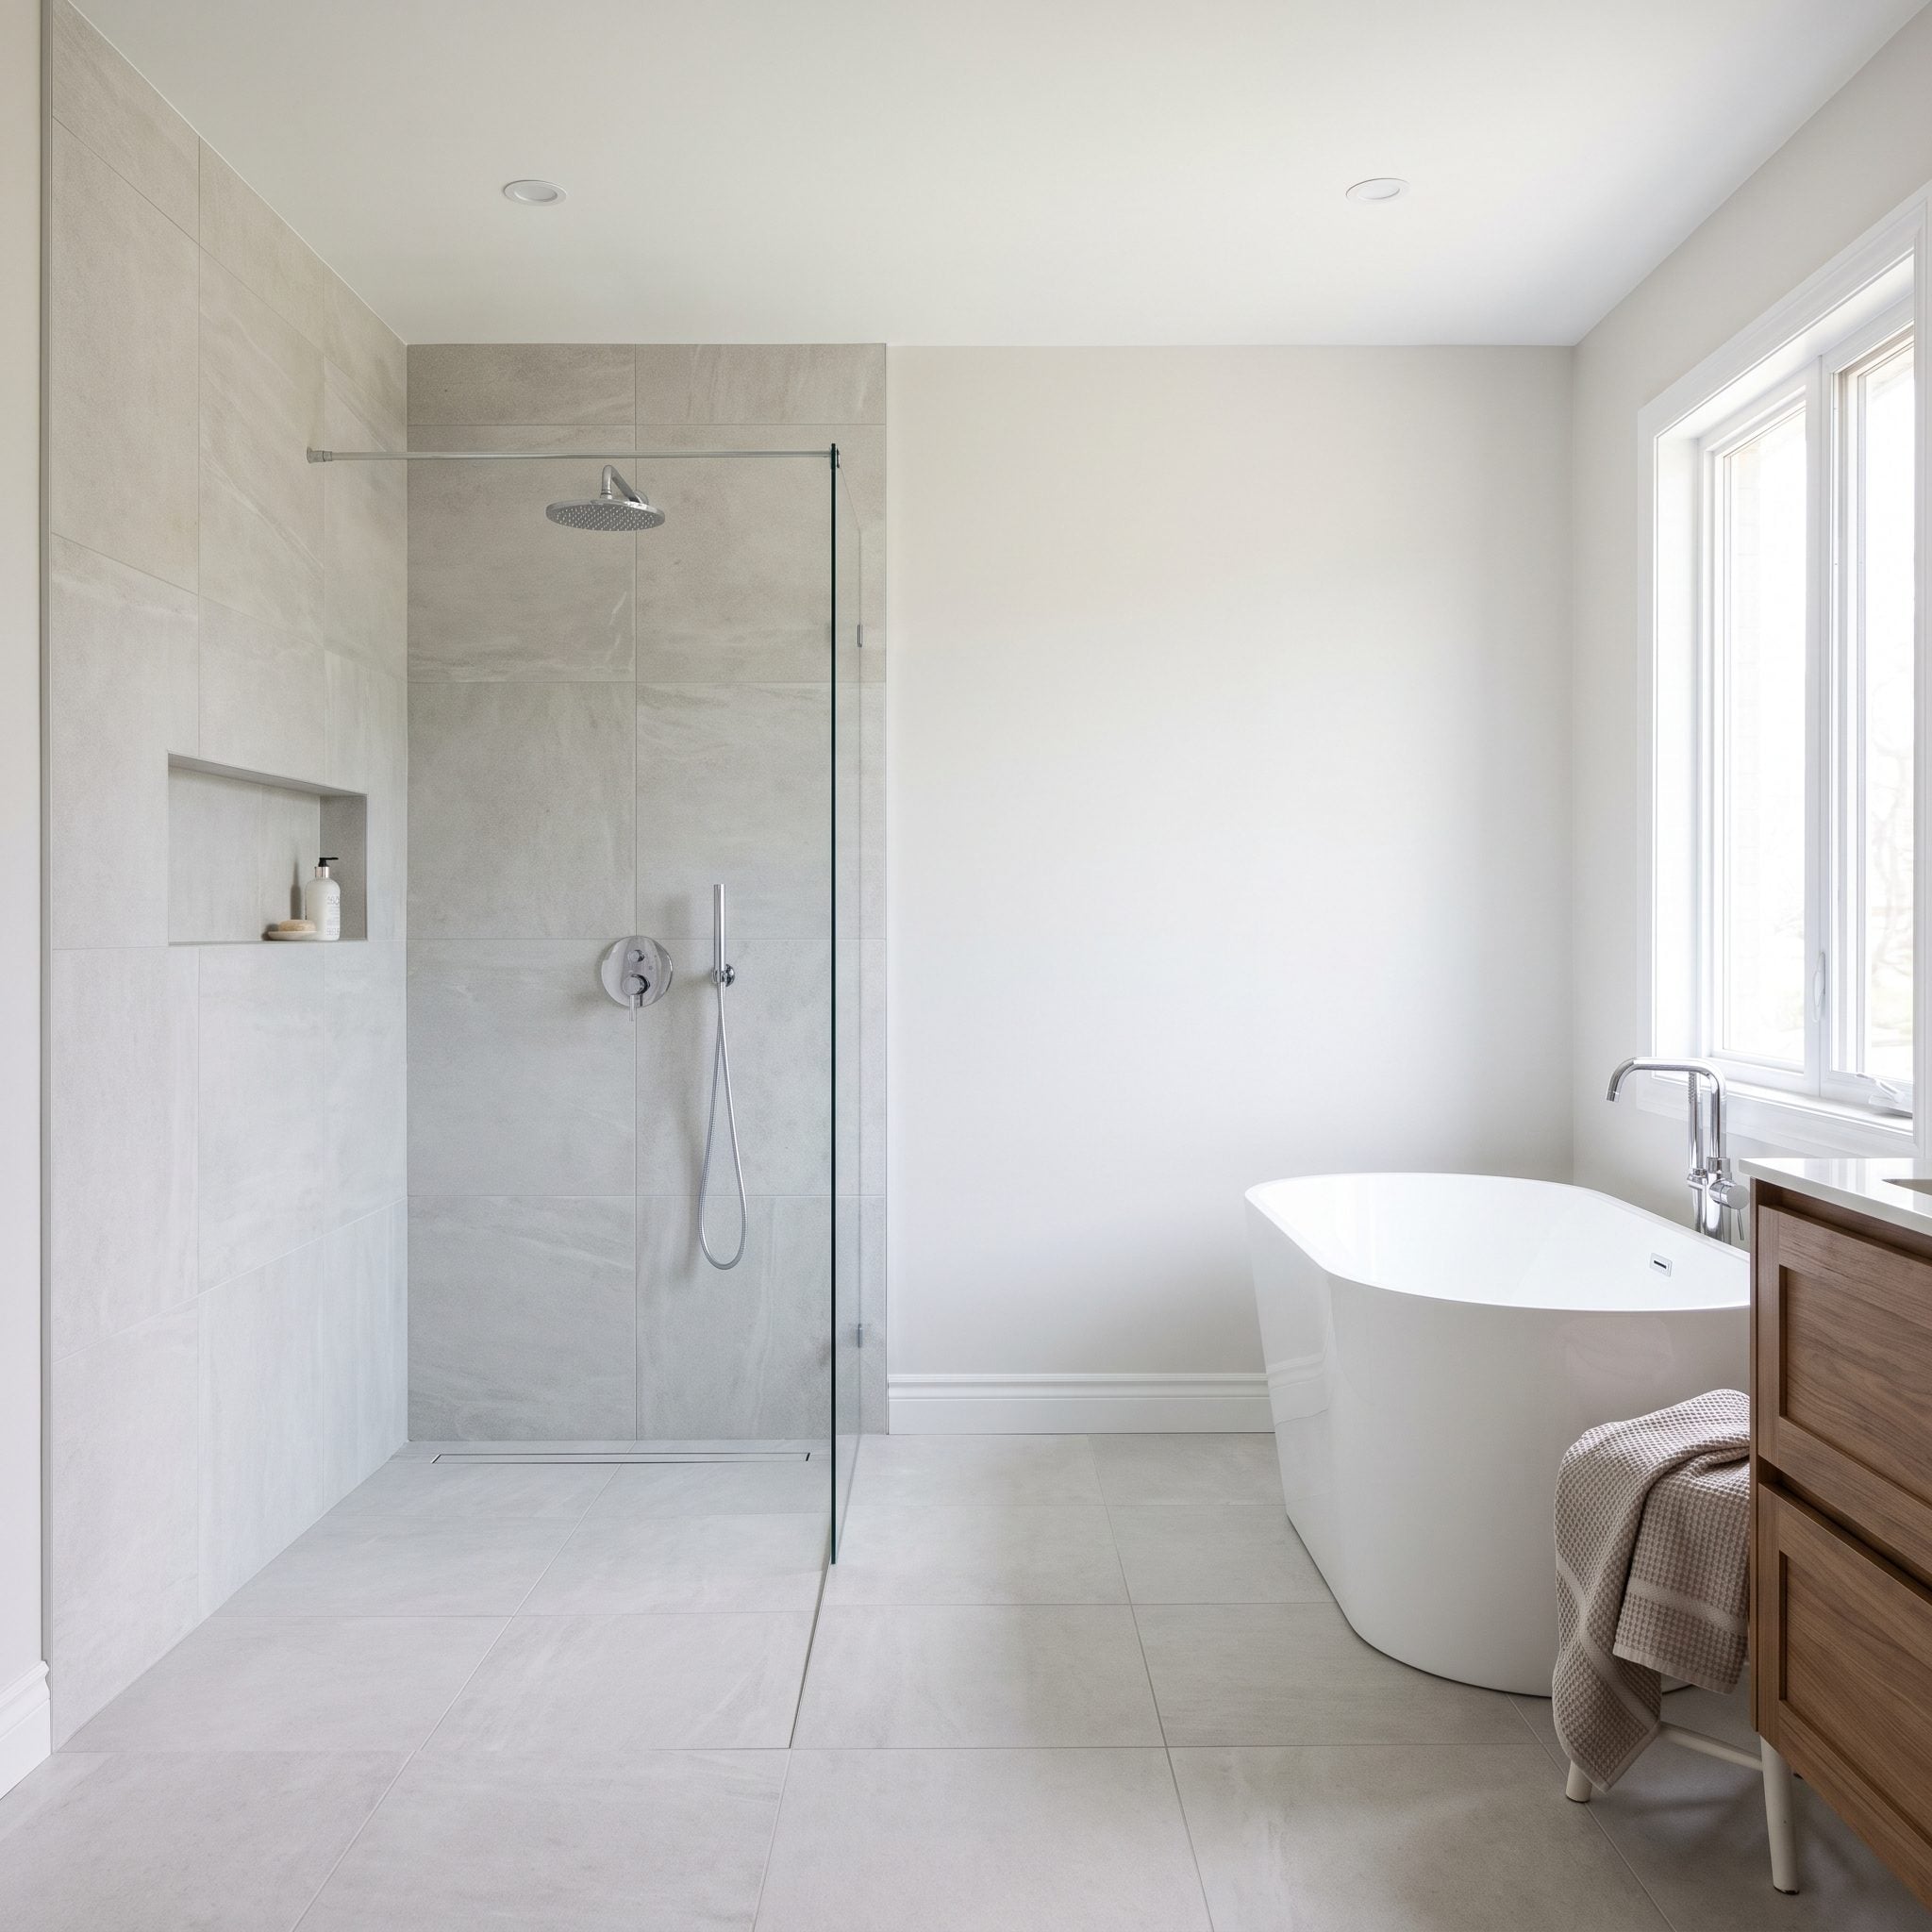
Counterintuitive, but stay with me. Keep the existing alcove in service, convert it to a shower, and let the replacement tub become the freestanding piece elsewhere in the room.
The shower benefits from the three walls and existing wet-zone location. Glossy emerald tile then turns what used to be a standard tub recess into a jewel box.
Moving the tub can still involve real plumbing work. Joists, slabs, drain slope, venting, access, and local requirements all affect where it can reasonably go. The useful strategy is not “a tub can go anywhere.” It’s keep the plumbing-intensive shower where the room already knows how to support one whenever that makes sense.
Deep green and brass bring the same saturated confidence you see in a strong emerald powder room.
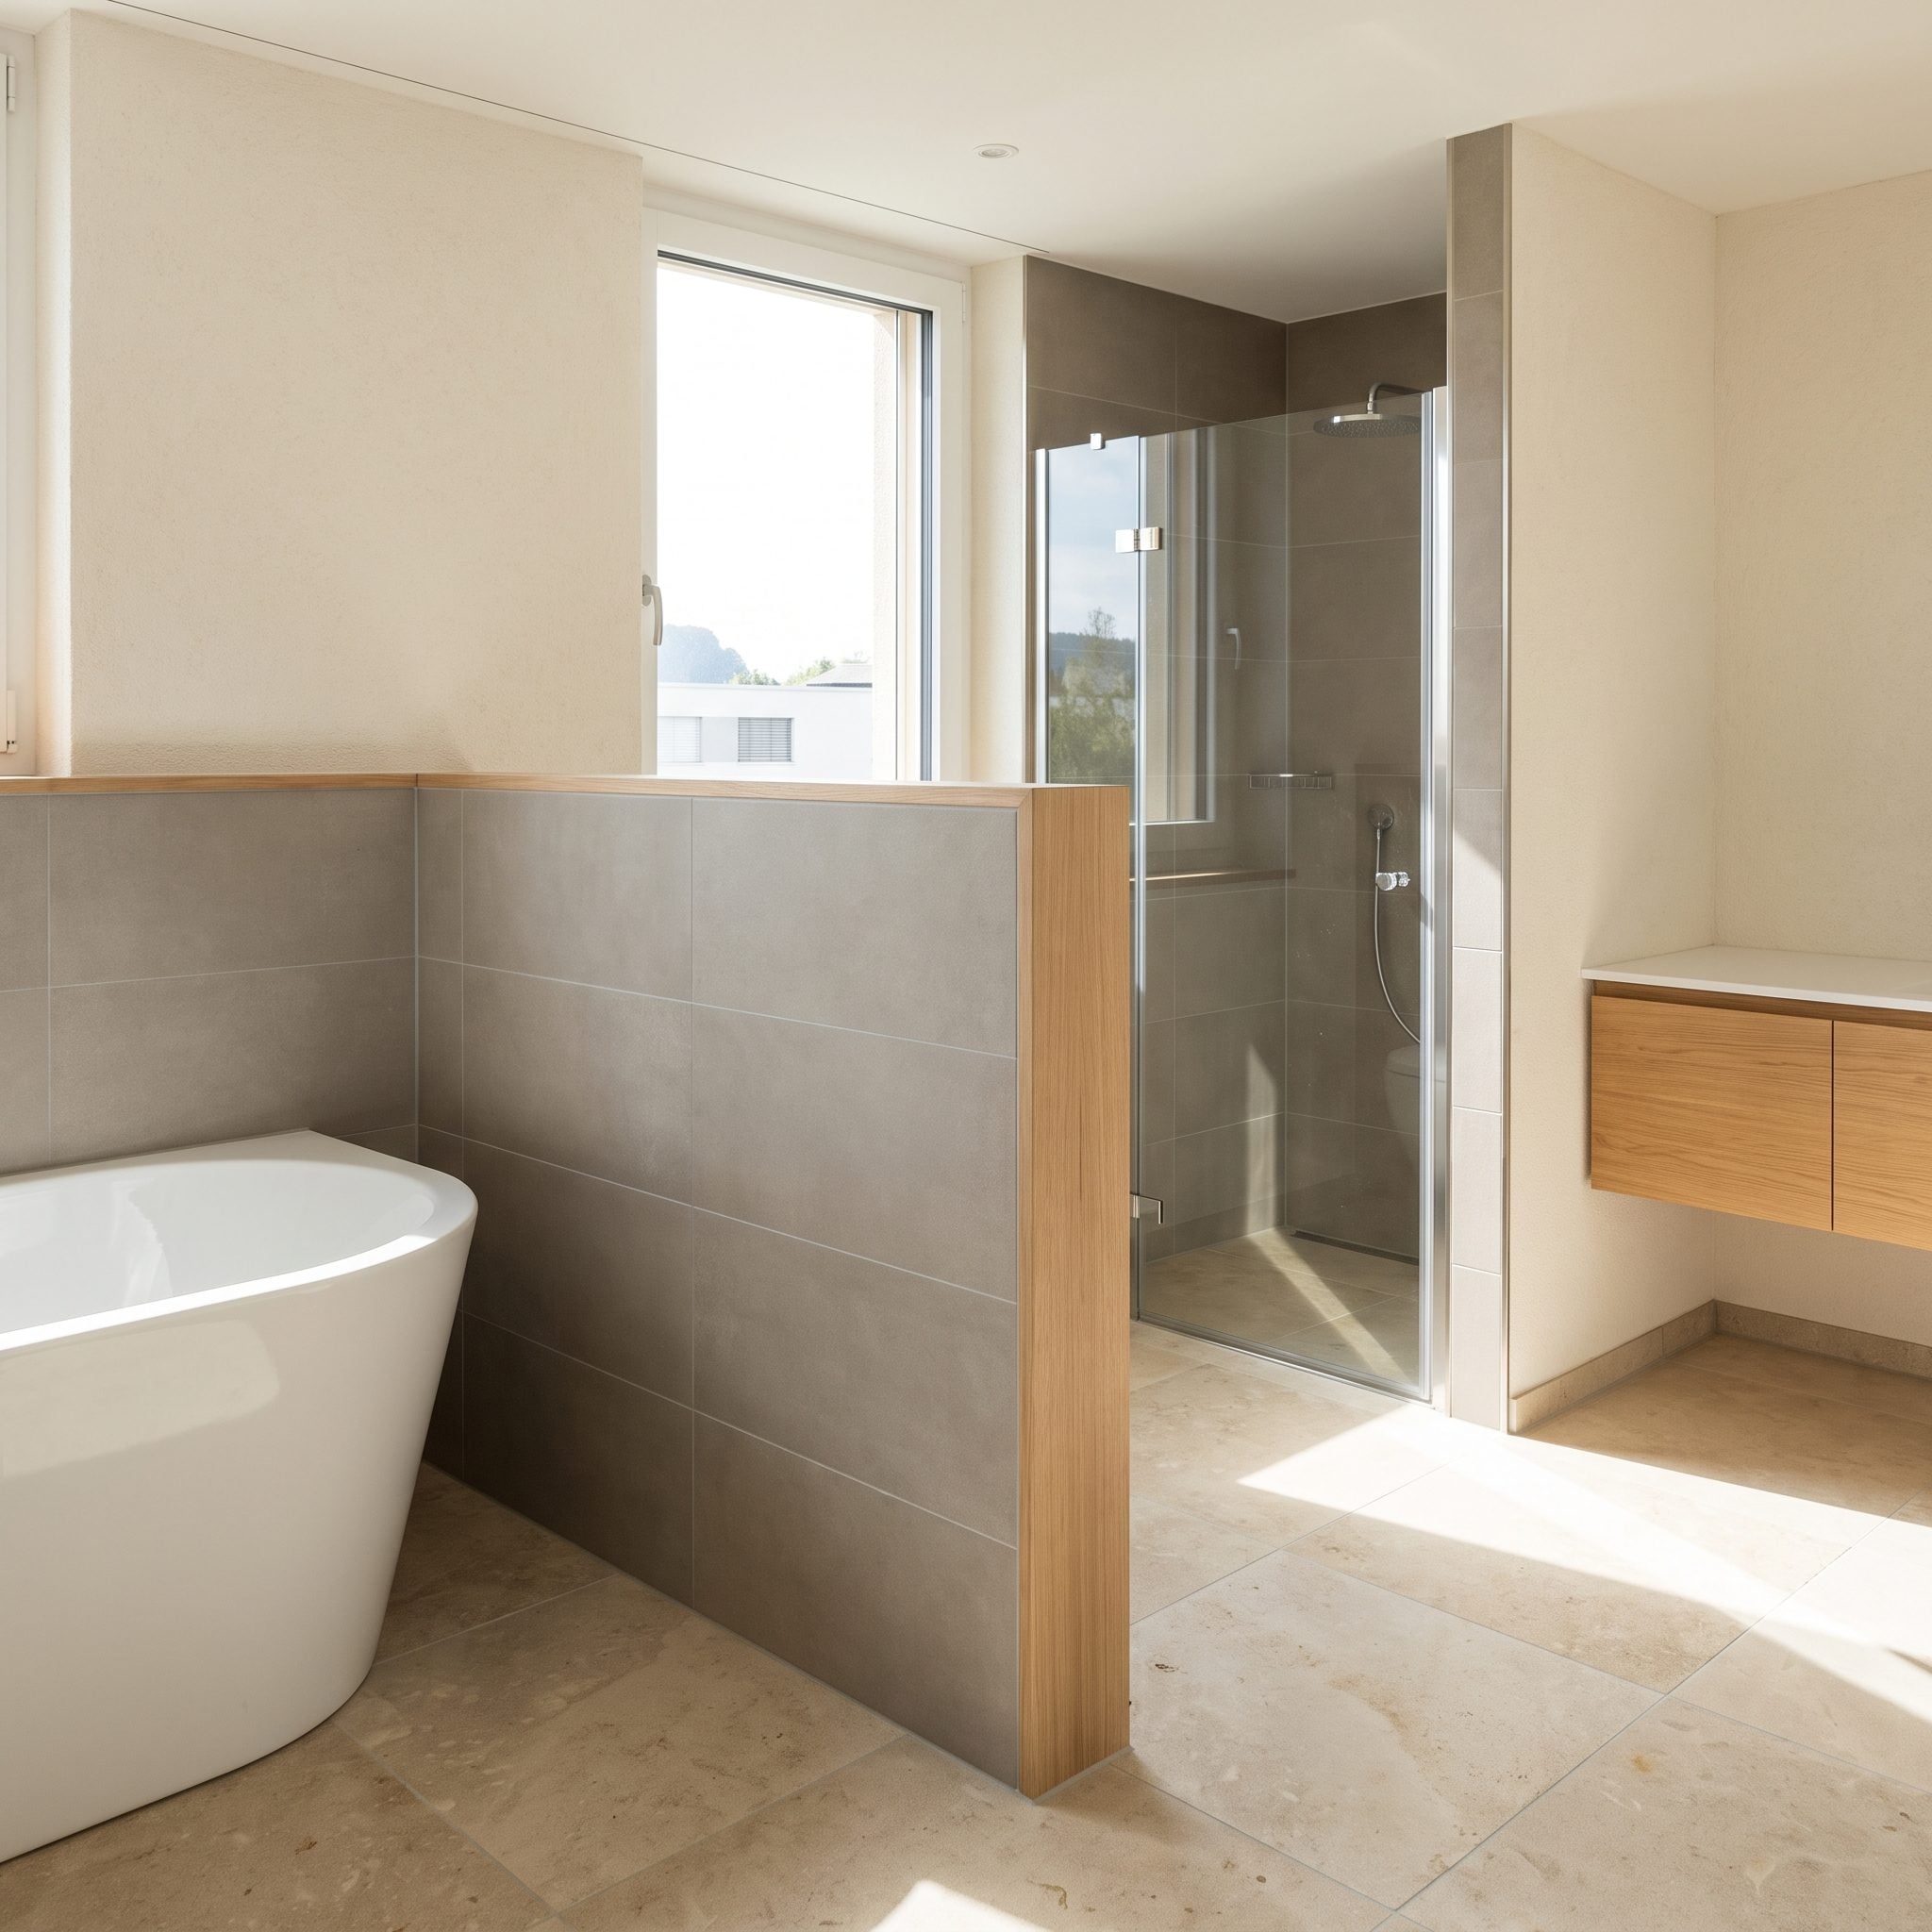
21. Build a Half Wall Between the Tub and Shower for Privacy and Plumbing
🔥 Would you like to save this?
Sometimes complete openness is overrated. A half wall gives tub and shower a boundary without making either feel exiled.
It can anchor shower glass, conceal plumbing, block the least attractive view into the enclosure, and still allow daylight to travel over the top.
Cap it with stone and the partition gains another job as a landing place for towels or bath essentials.
20. Split the Tub and Shower Across Opposite Walls in a Wider Room
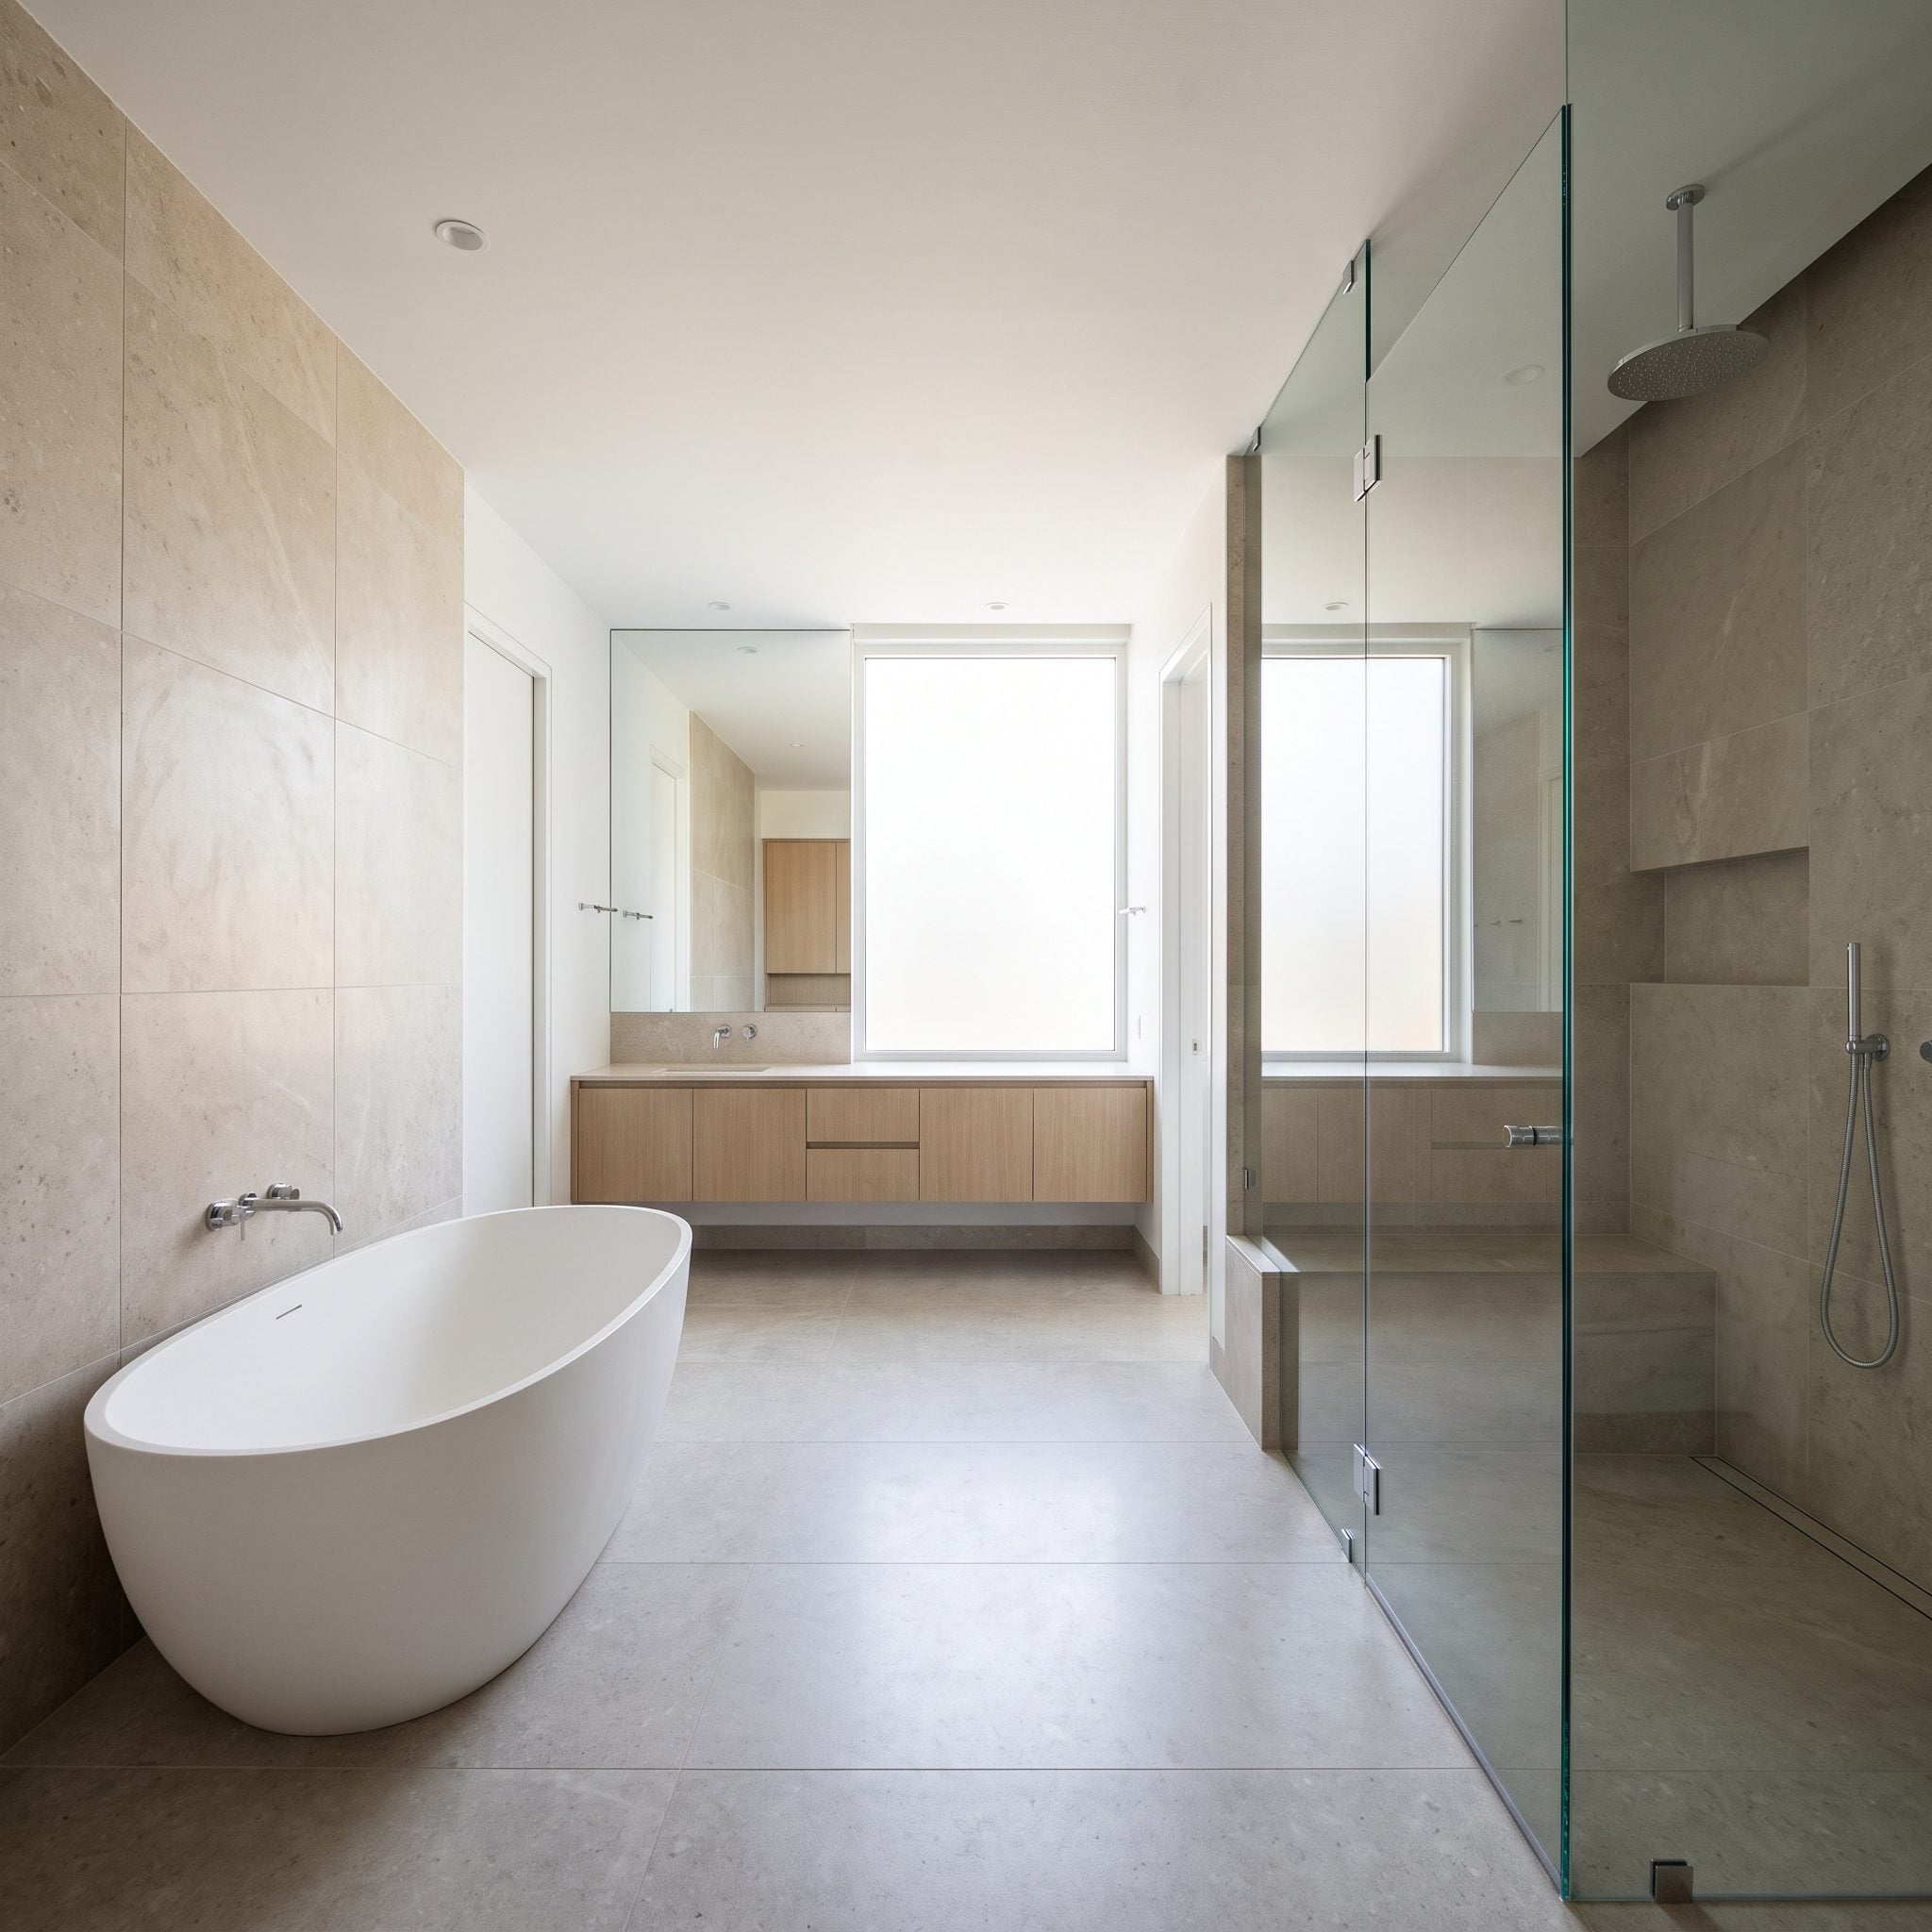
Give the bathroom enough width and the best answer may be to stop forcing tub and shower into a relationship. Put one on each wall and let an open aisle separate them.
The payoff is circulation. Neither fixture crowds the other, and both get enough visual breathing room to feel intentional.
The walnut vanity anchors the far end, balancing the two wet fixtures without requiring them to match.
There is a trade-off: spreading plumbing across opposite walls can be more complex than clustering fixtures around one wet wall. This is a spatial solution first, not necessarily the cheapest rough-in.
19. Use the Same Wall Tile to Make Two Fixtures Read as One Zone
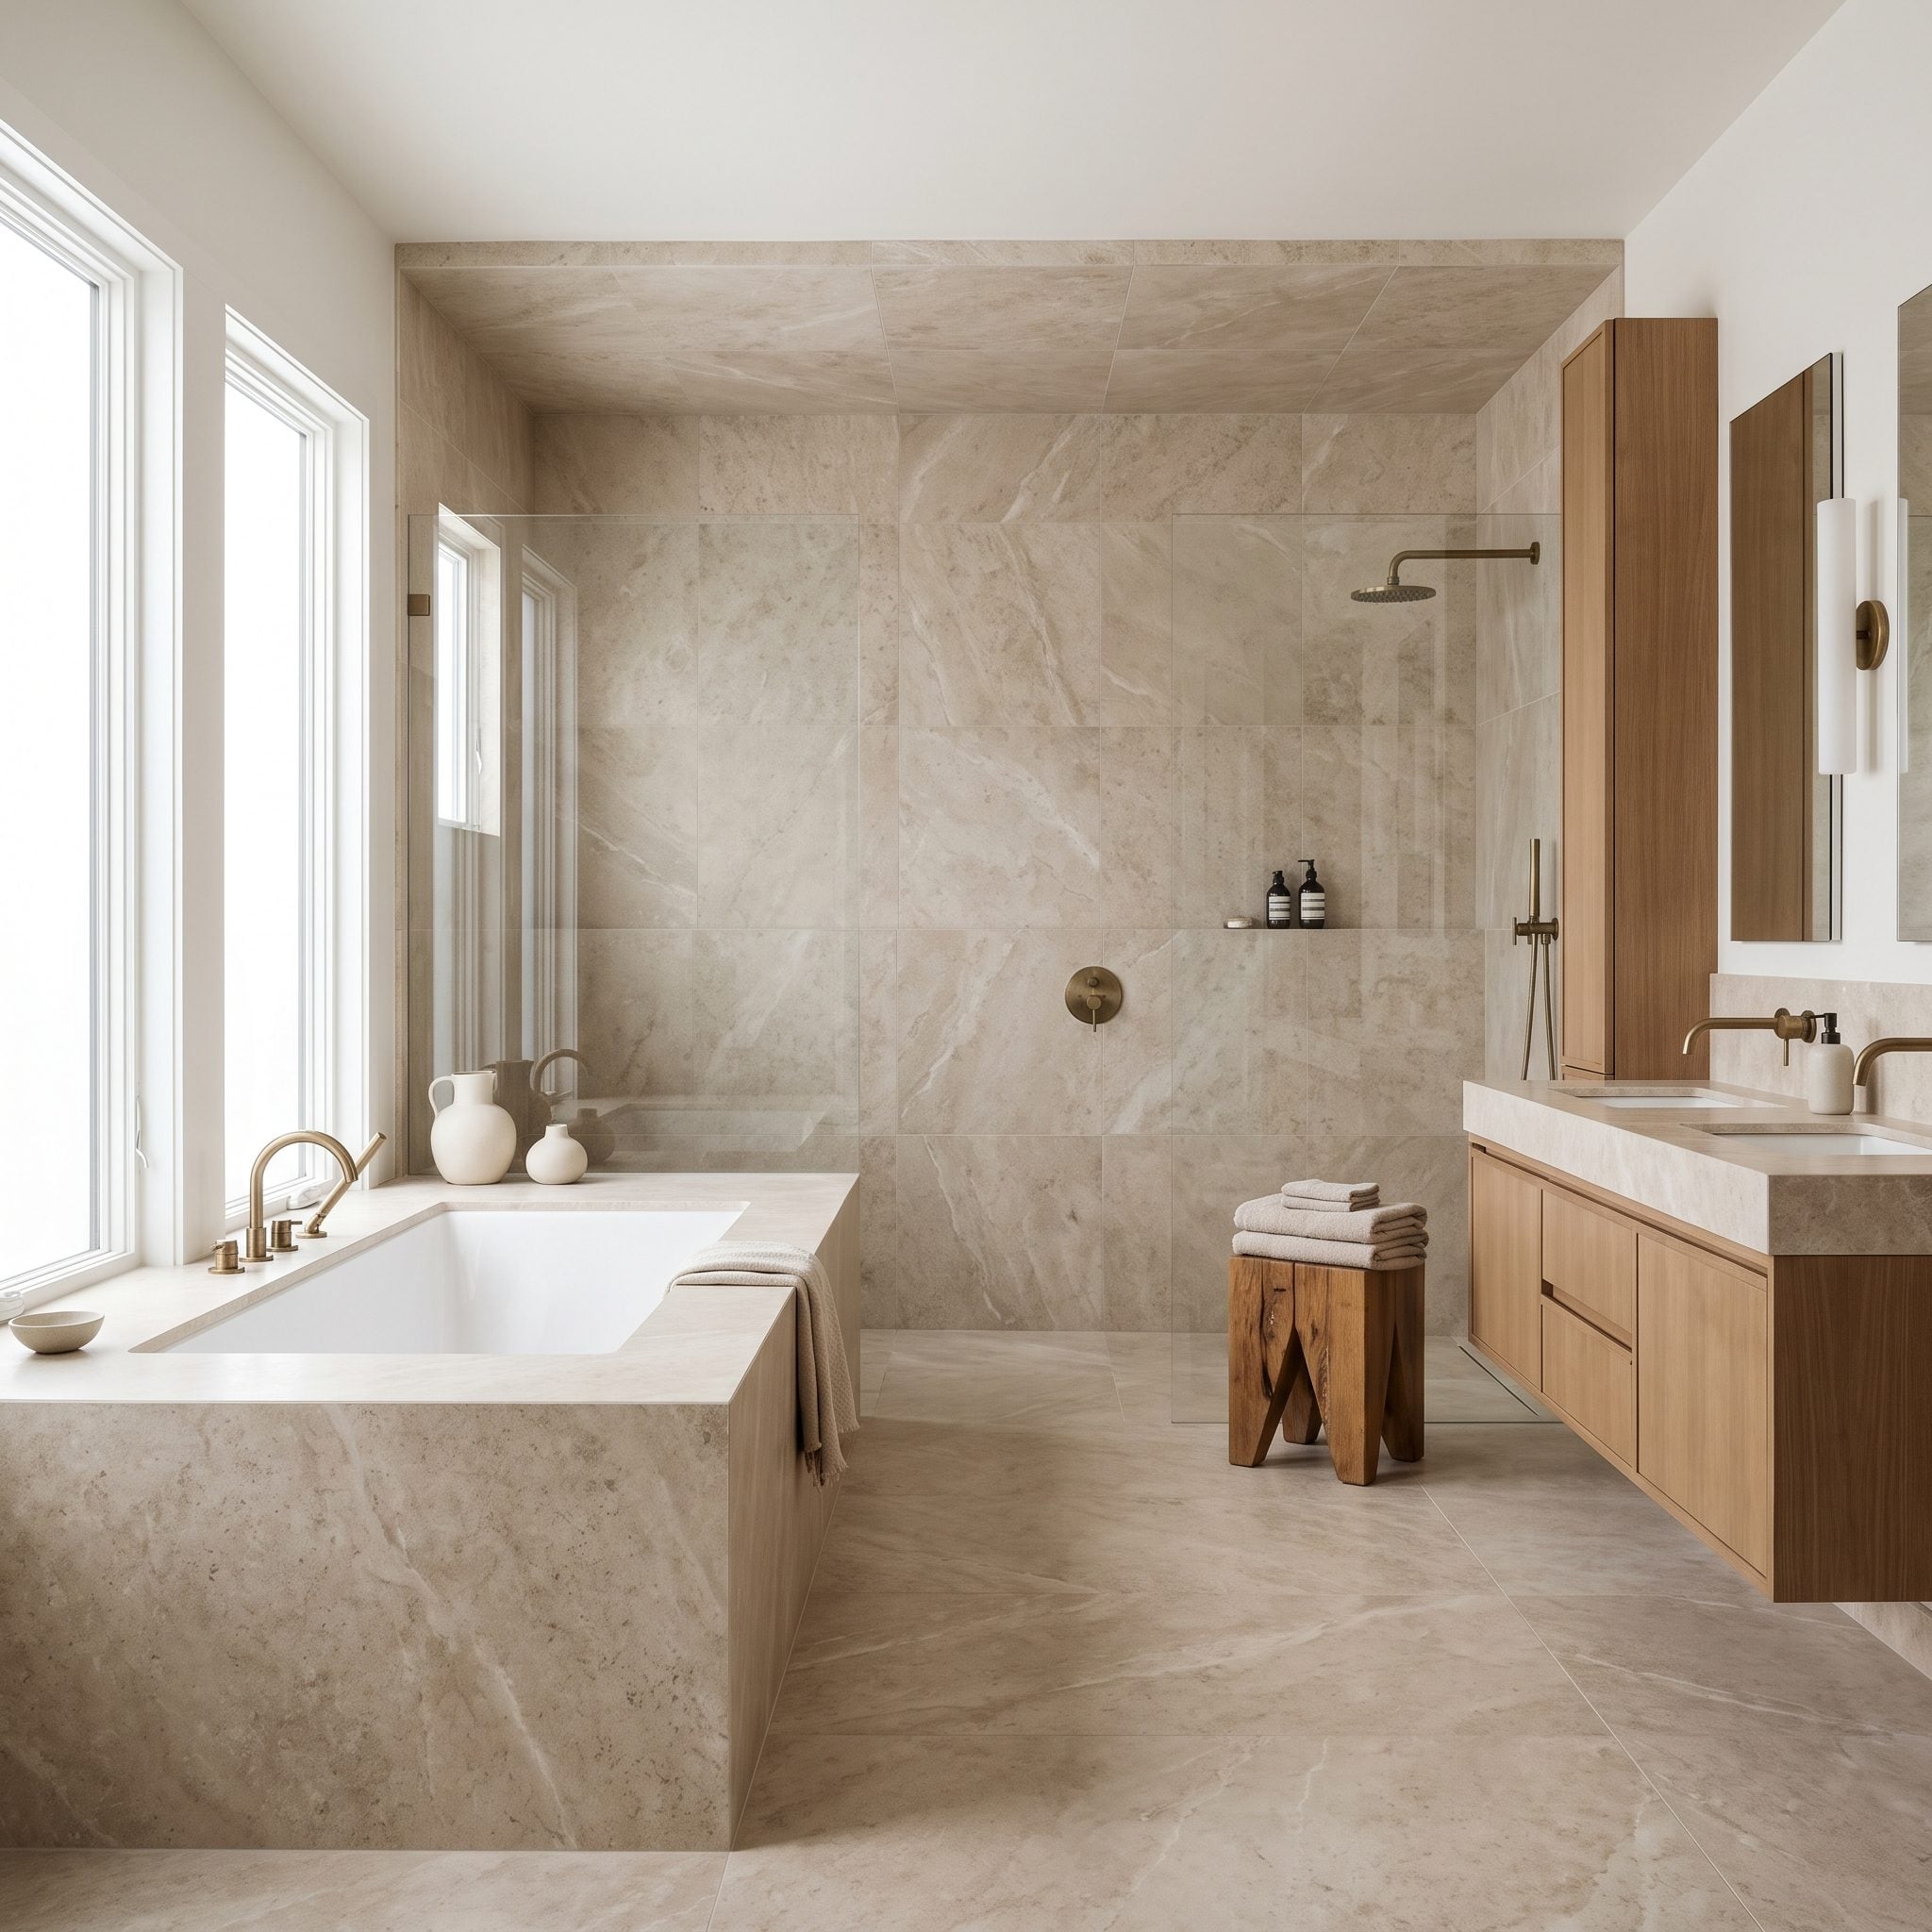
Two fixtures can occupy separate positions without looking like separate design decisions. The easiest bridge is material.
Wrap both in the same wall tile and the surface becomes the dominant element. Shower glass, tub edges, and fittings start to feel secondary.
Handmade zellige works particularly well because its tonal variation keeps the wall lively without needing a second pattern.
18. Replace a Double Vanity With a Smaller One to Save the Tub
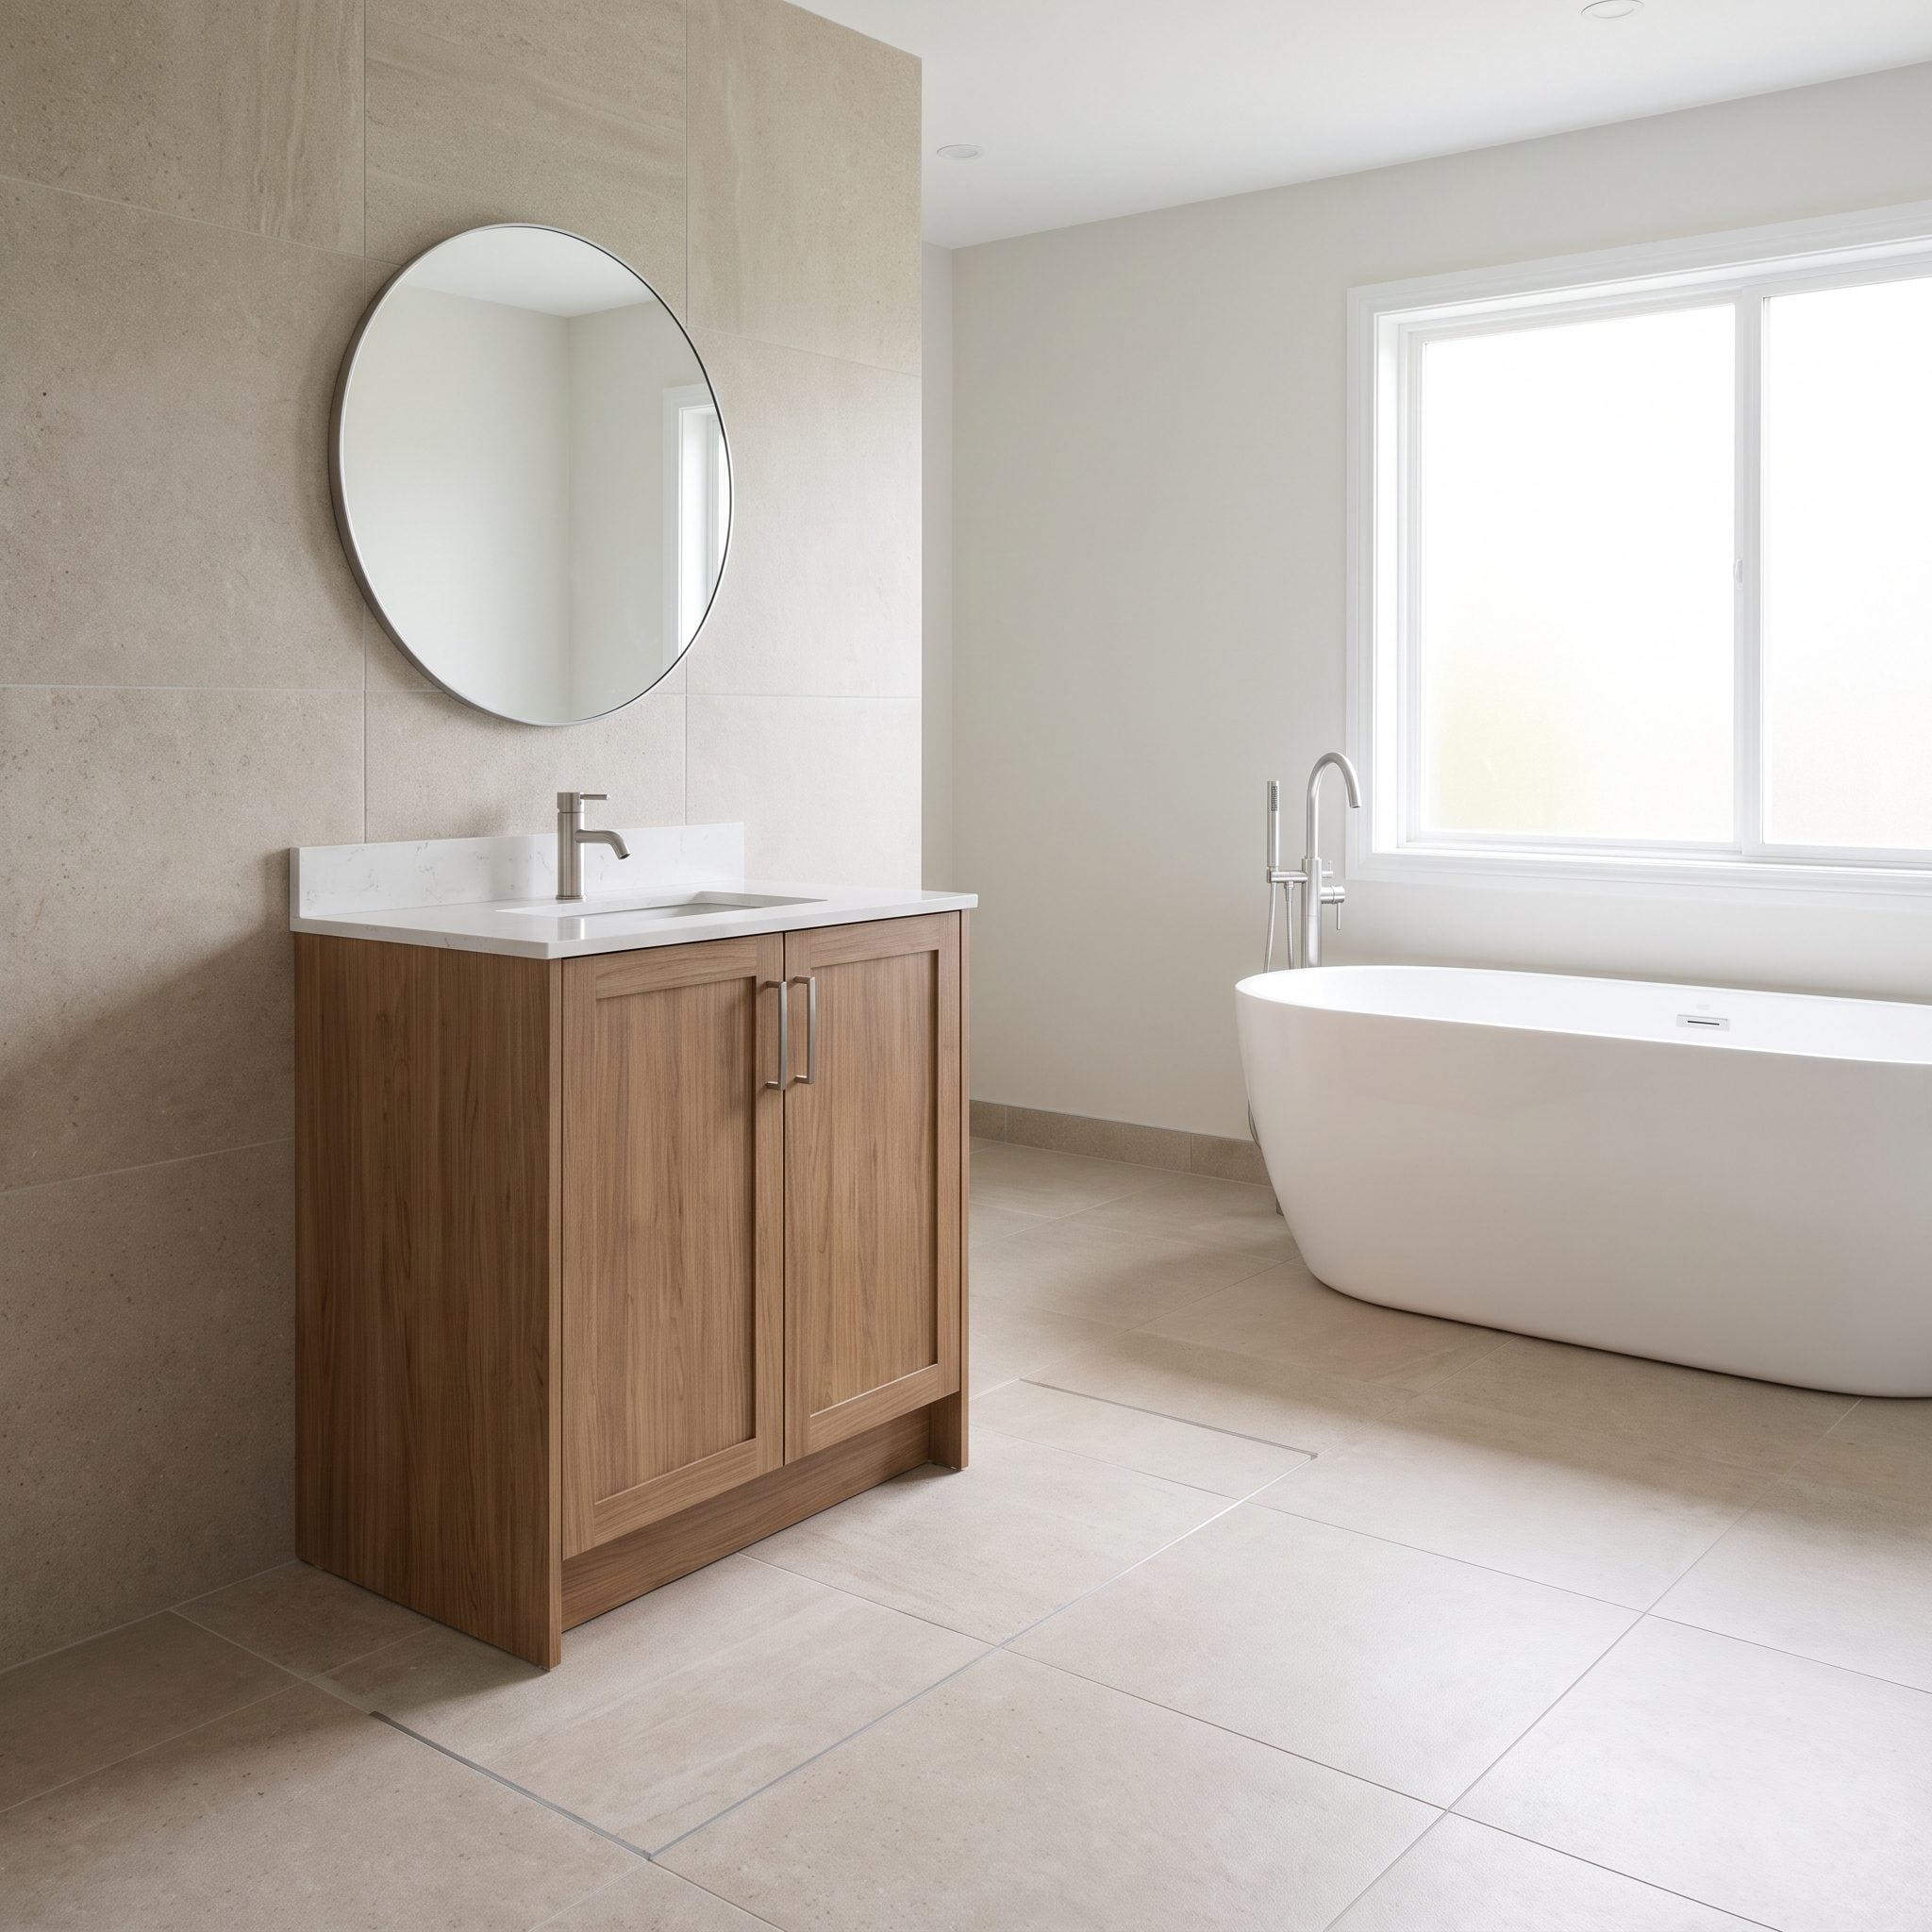
Here’s the trade nobody wants to hear. Do you actually use that second sink at the same time, or do you simply like knowing it’s there?
If simultaneous sinks aren’t important to the household, a well-designed single vanity can return a surprising amount of wall and floor space.
Put the savings into better storage, stone, lighting, or hardware and the smaller vanity stops reading like the consolation prize. Deep navy cabinetry with unlacquered brass looks like a decision, not a surrender.
17. Separate the Tub and Shower With One Frameless Glass Panel
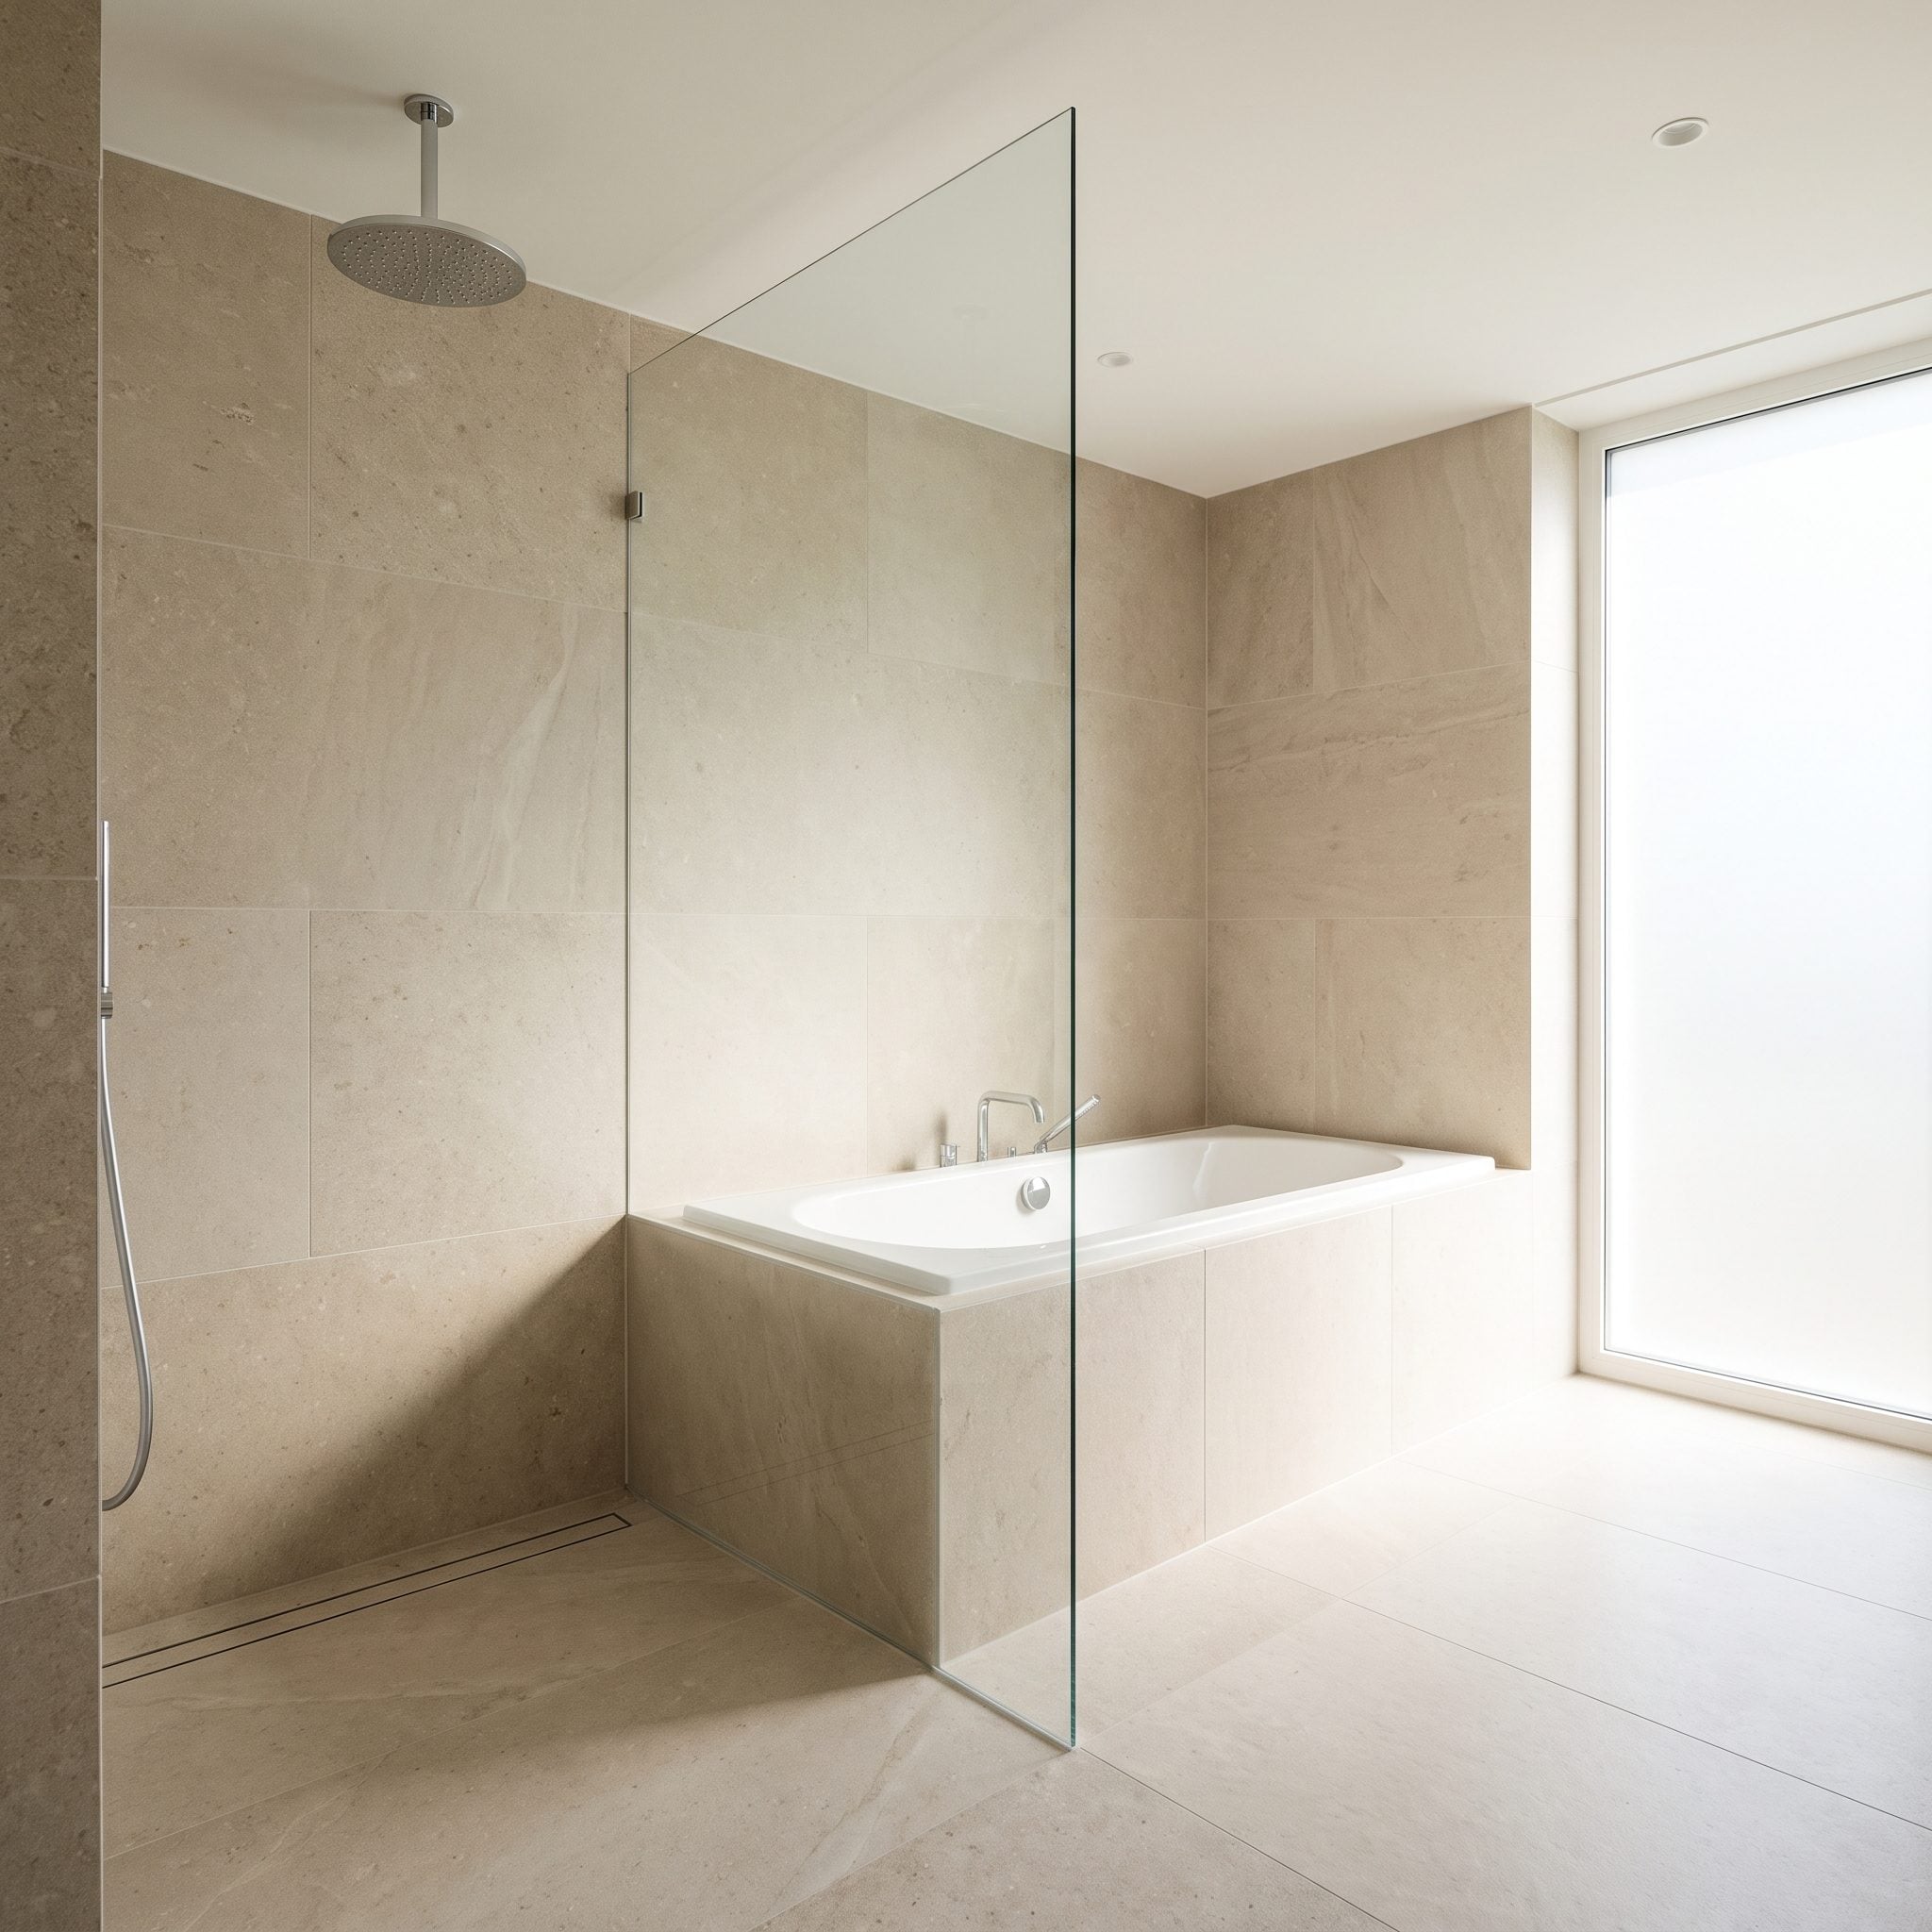
When tub and shower sit directly beside each other, one fixed glass panel may be all the separation they need.
No framed partition. No opaque wall. The panel catches spray while allowing the tile, tub, and shower to remain visually connected.
Low-iron glass can reduce the green cast visible in thicker standard glass, particularly at exposed edges. Whether that premium matters depends on the tile color, glass thickness, and how obsessive you are about things normal people may never notice.
16. Use an Awkward Corner for the Tub Instead of Sacrificing It
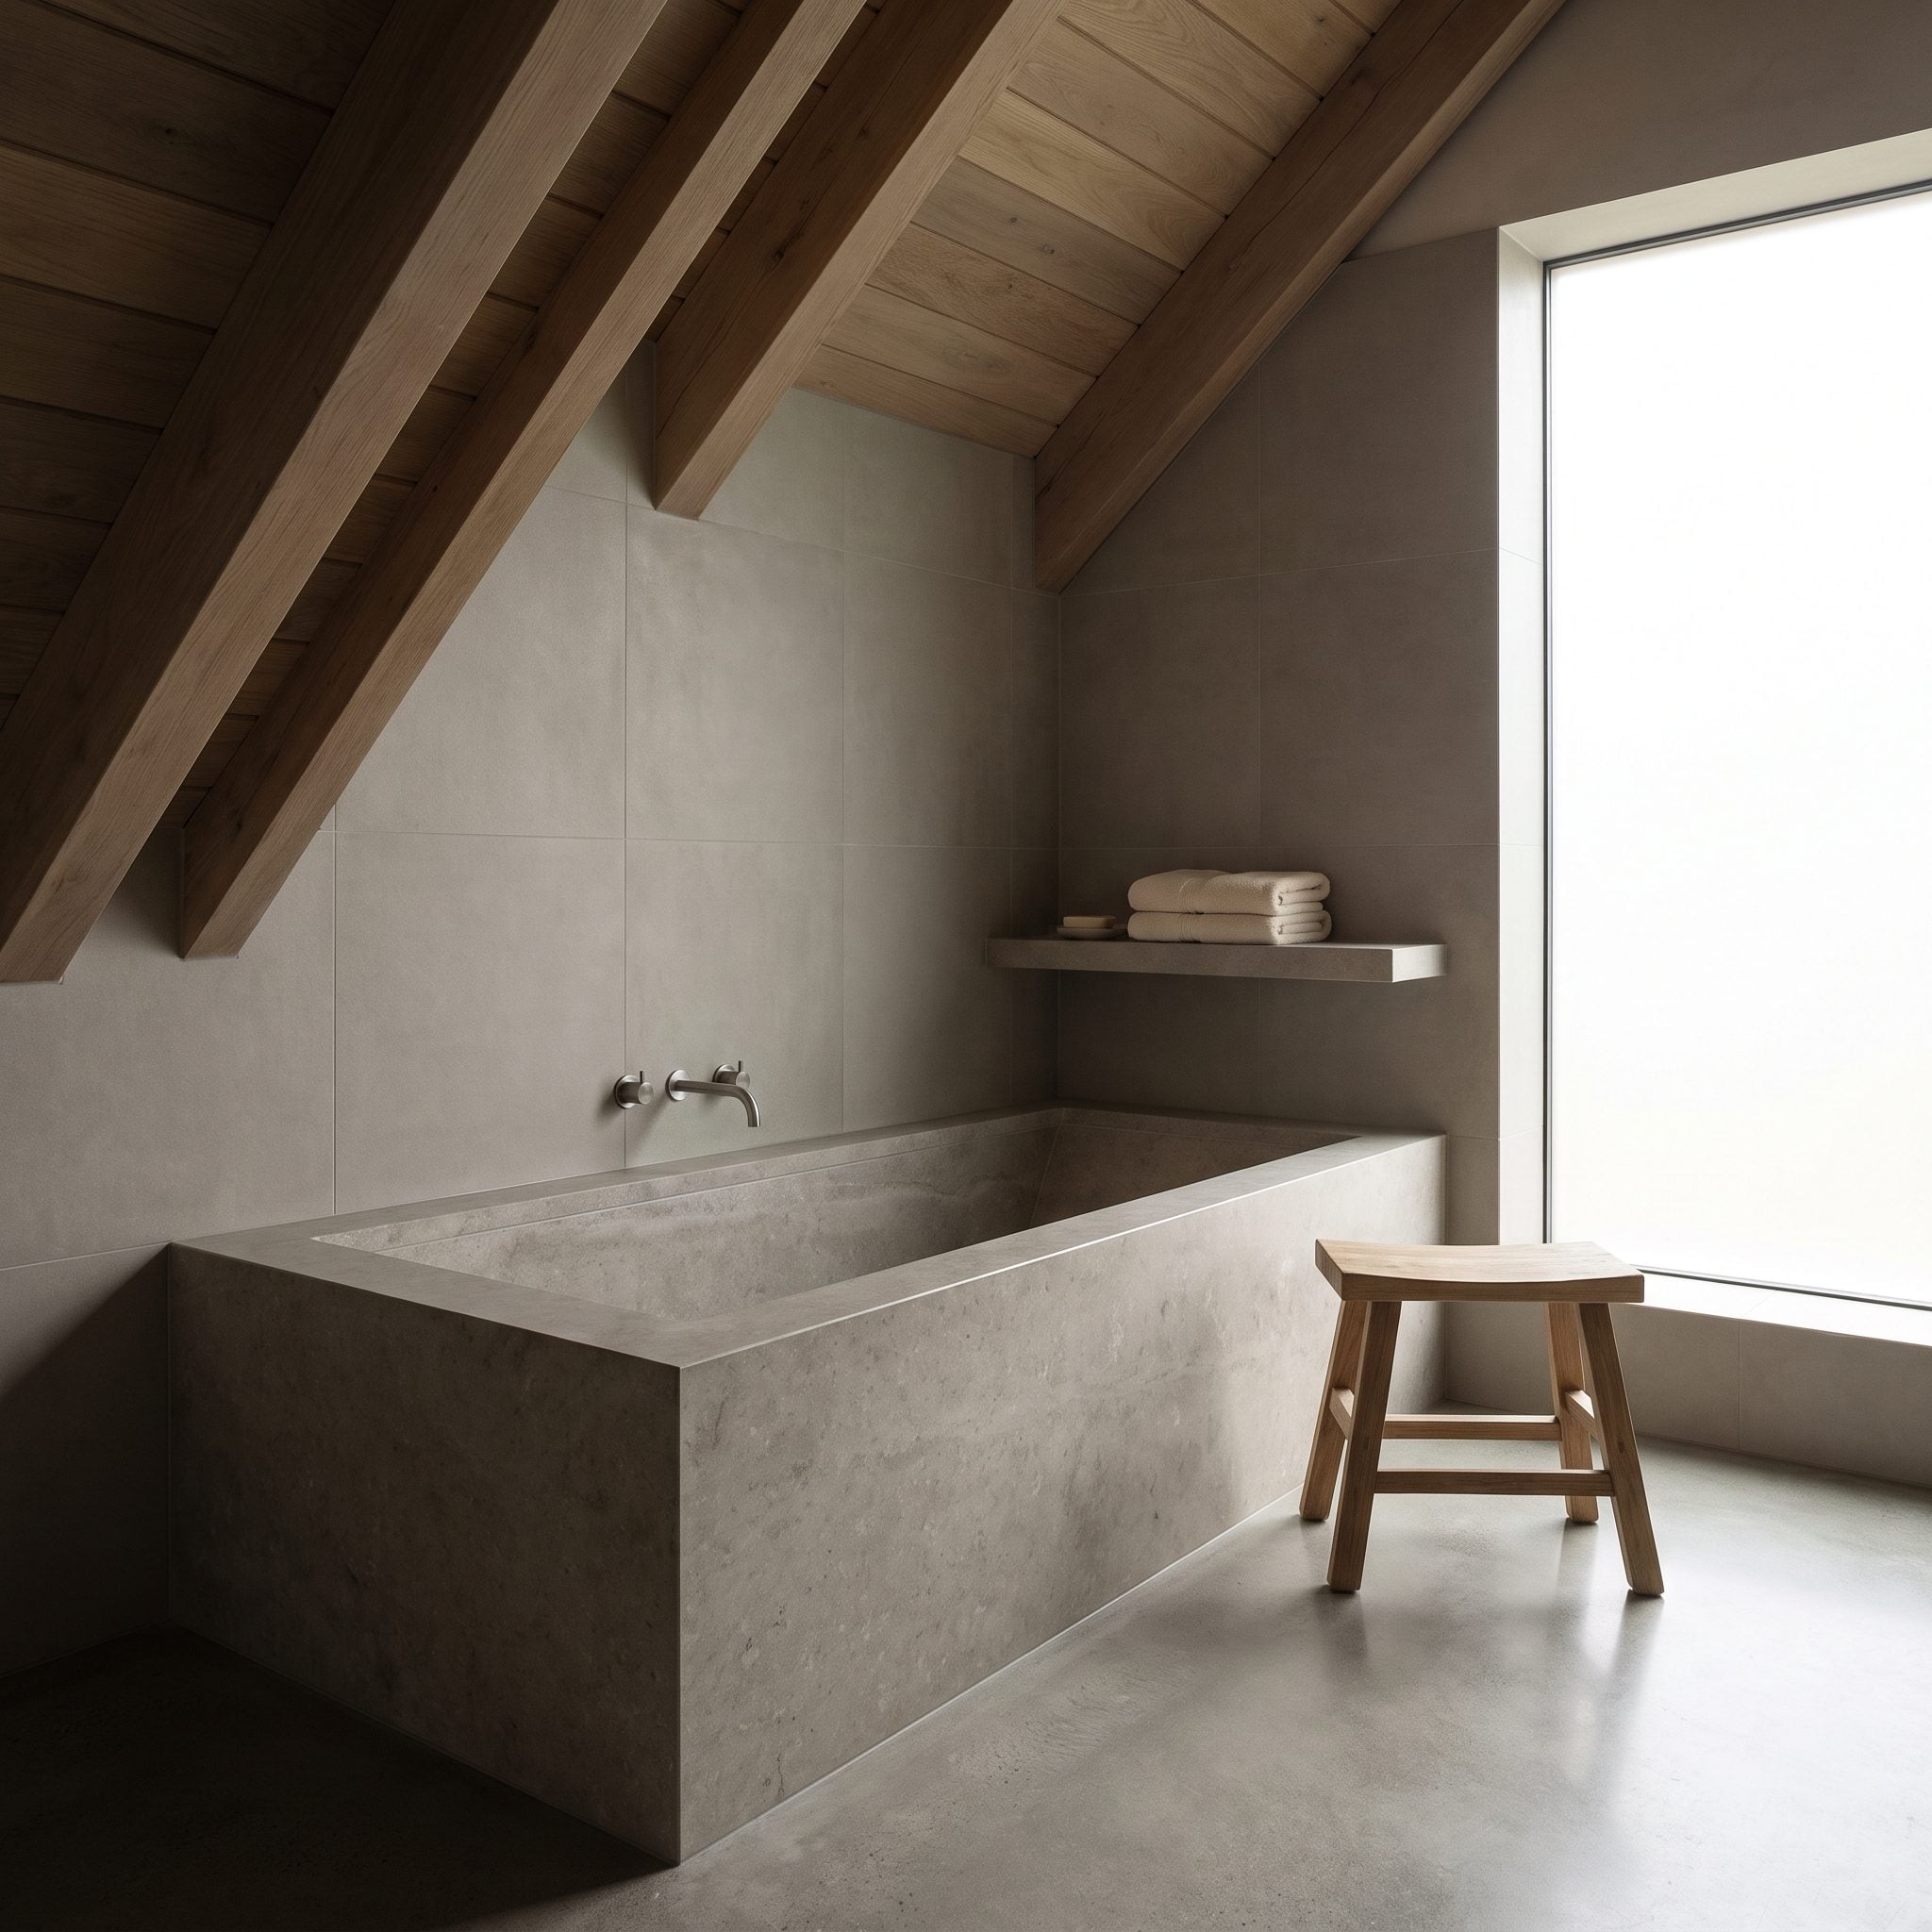
Not every bad corner is an attic problem. Columns, jogs in the wall, strange angles, and reduced headroom can leave a pocket too awkward for a vanity or full-height shower.
A compact tub is much more tolerant of that geometry. Because the user is sitting or reclining, the fixture can occupy places where standing circulation would feel cramped.
Sage zellige and terracotta hex also make the irregularity feel deliberate. That’s the same useful instinct behind a good preppy bathroom: unusual geometry becomes character once the fixture actually suits it.
15. Let the Tub and Shower Share One Continuous Tile Floor
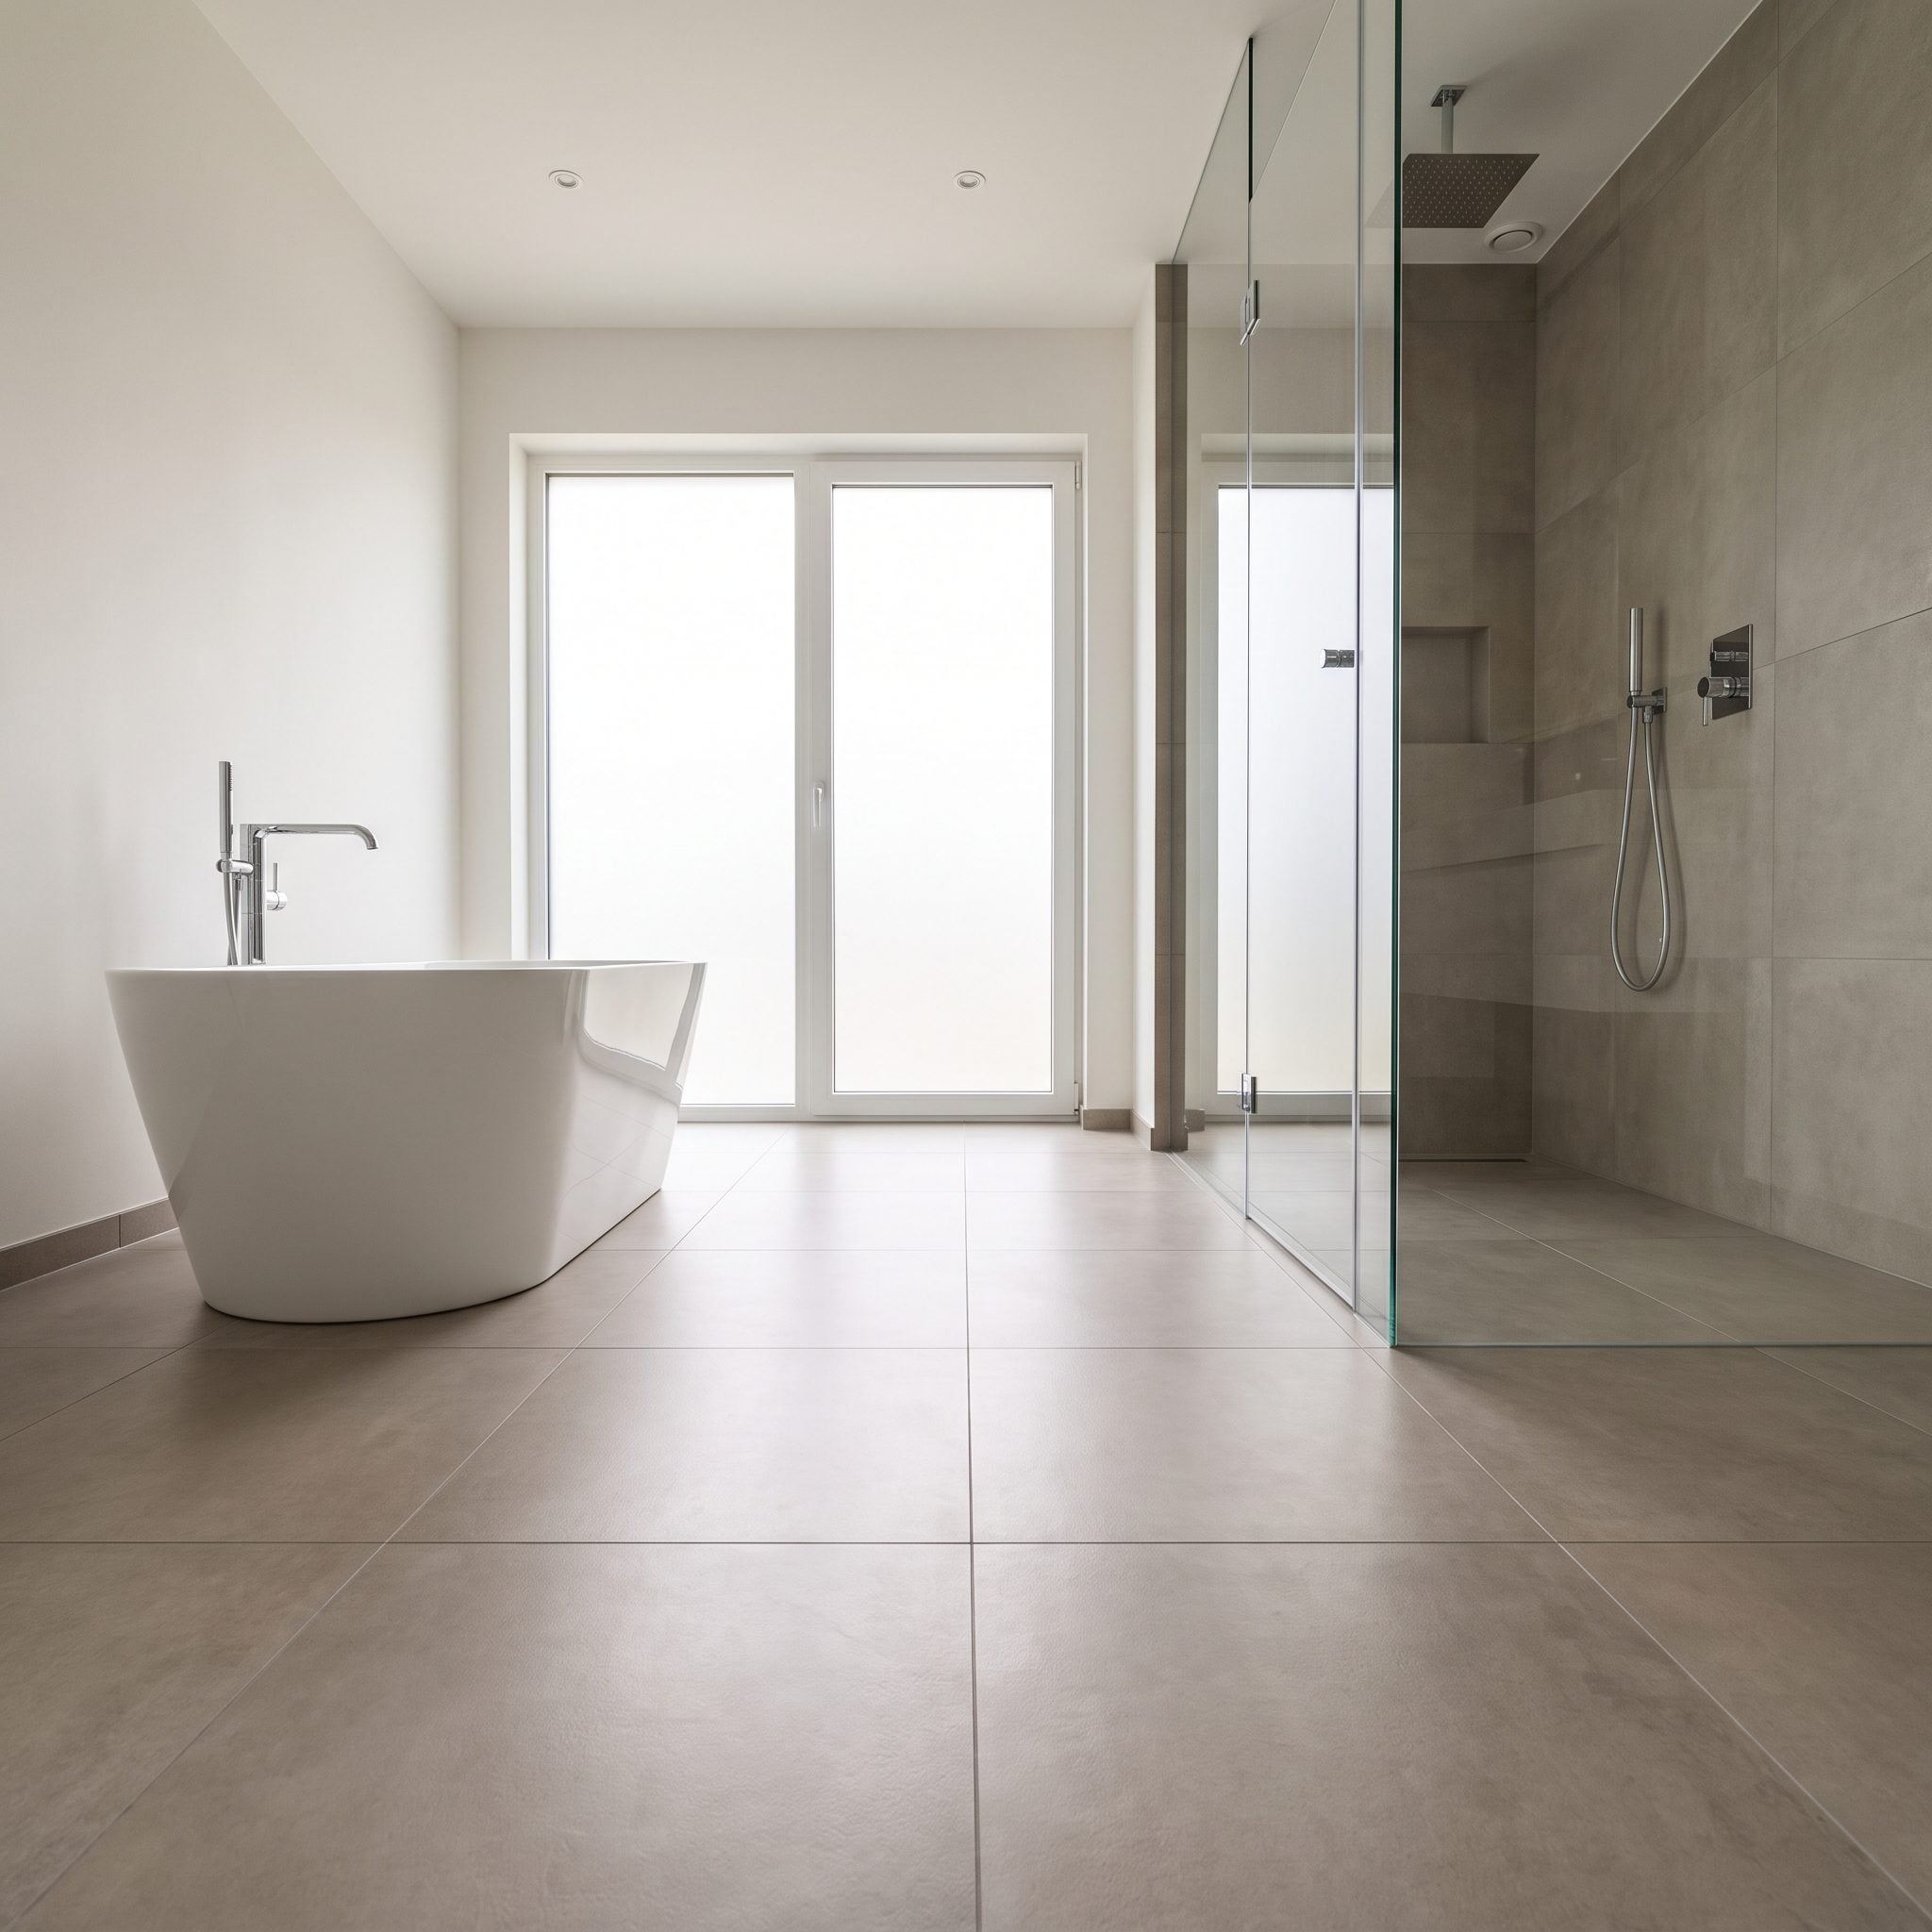
Every unnecessary flooring transition makes a compact bathroom busier.
Carry one field of large-format porcelain beneath the tub area and through the shower zone and the floor becomes a continuous design element instead of a patchwork of wet-side and dry-side finishes.
The shower portion still needs the correct slope, waterproofing, and suitable installation for drainage. Visual continuity does not mean technically flat.
Large tile can also mean fewer grout joints in appropriate areas, which is one less pattern competing for attention and one less maintenance obsession waiting to begin.
14. Reclaim an Oversized Empty Floor Area for a Separate Shower
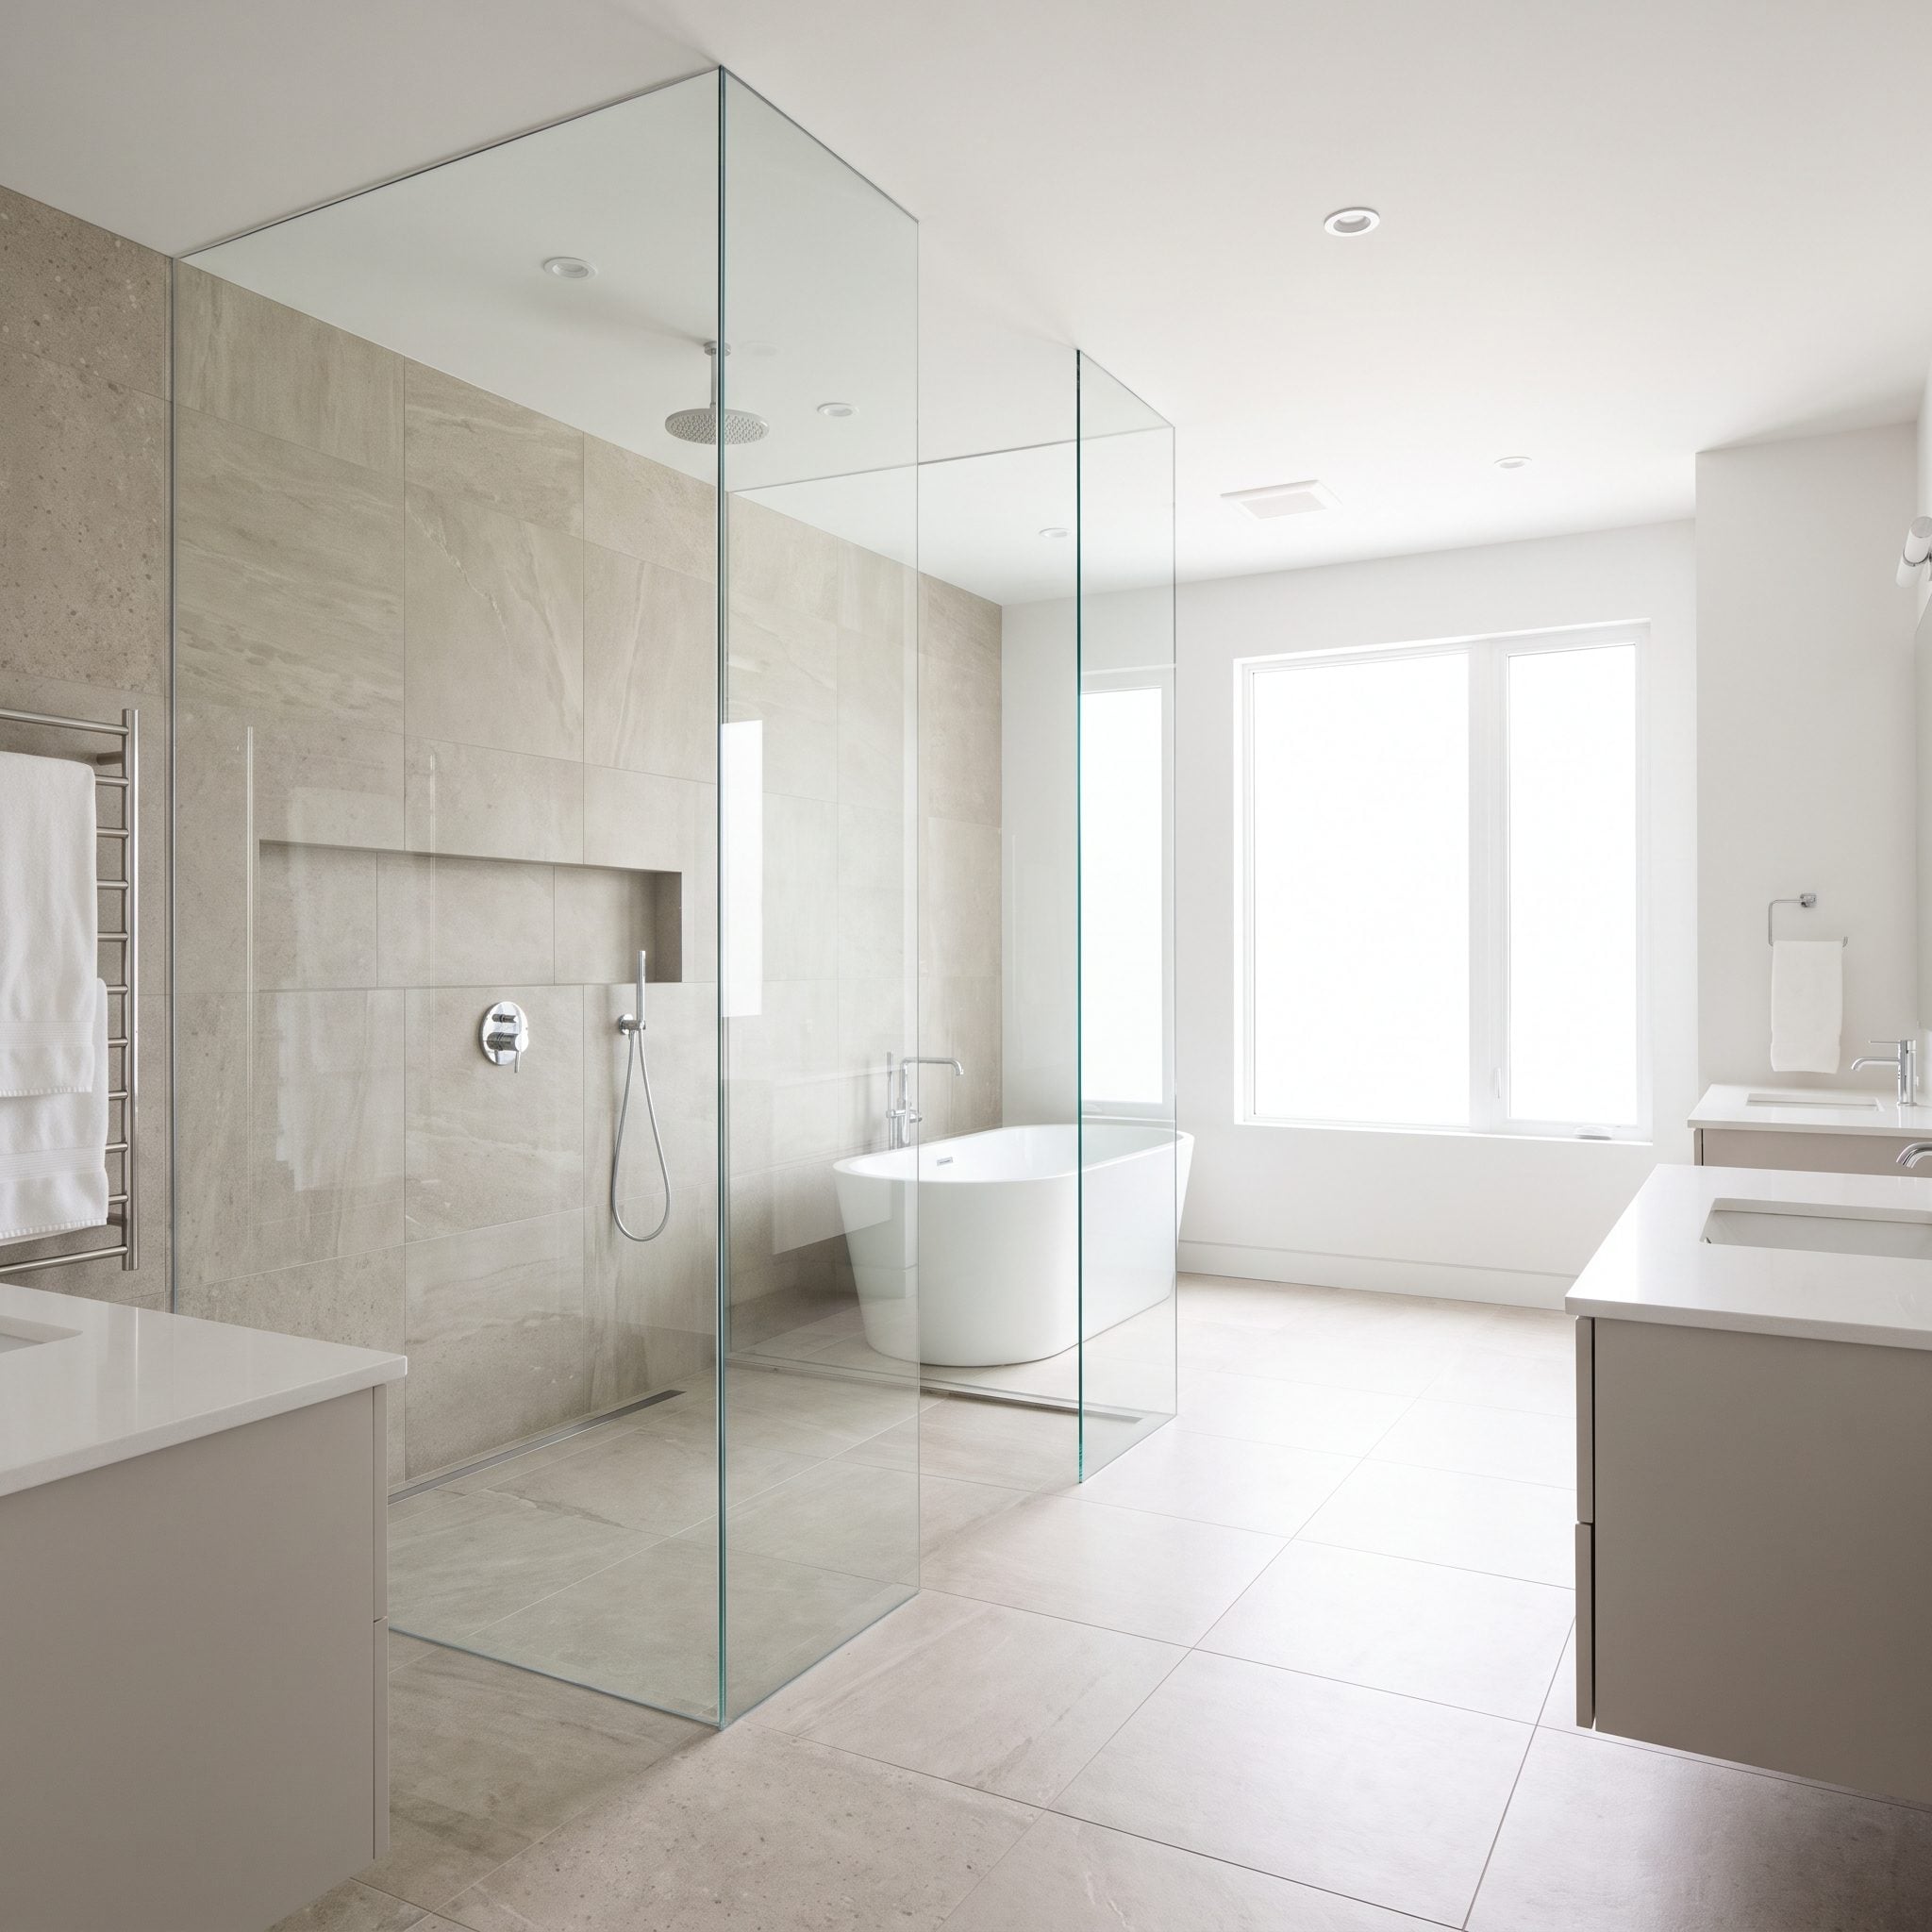
Big bathrooms can waste space just as efficiently as small ones. A generous empty center sometimes looks luxurious on plan and accomplishes almost nothing in daily use.
Put a glass-enclosed shower into that dead zone and the room gains an entire function without sacrificing the bathtub.
The important part is clearance. Leave enough room around both fixtures that the new shower feels like architecture rather than an obstacle dropped into traffic.
A stronger tile inside the shower — soft blue-gray zellige, for example — can also make the addition look intentional rather than like something somebody discovered there later.
13. Put the Shower Controls Where You Can Reach Them Without Getting Wet
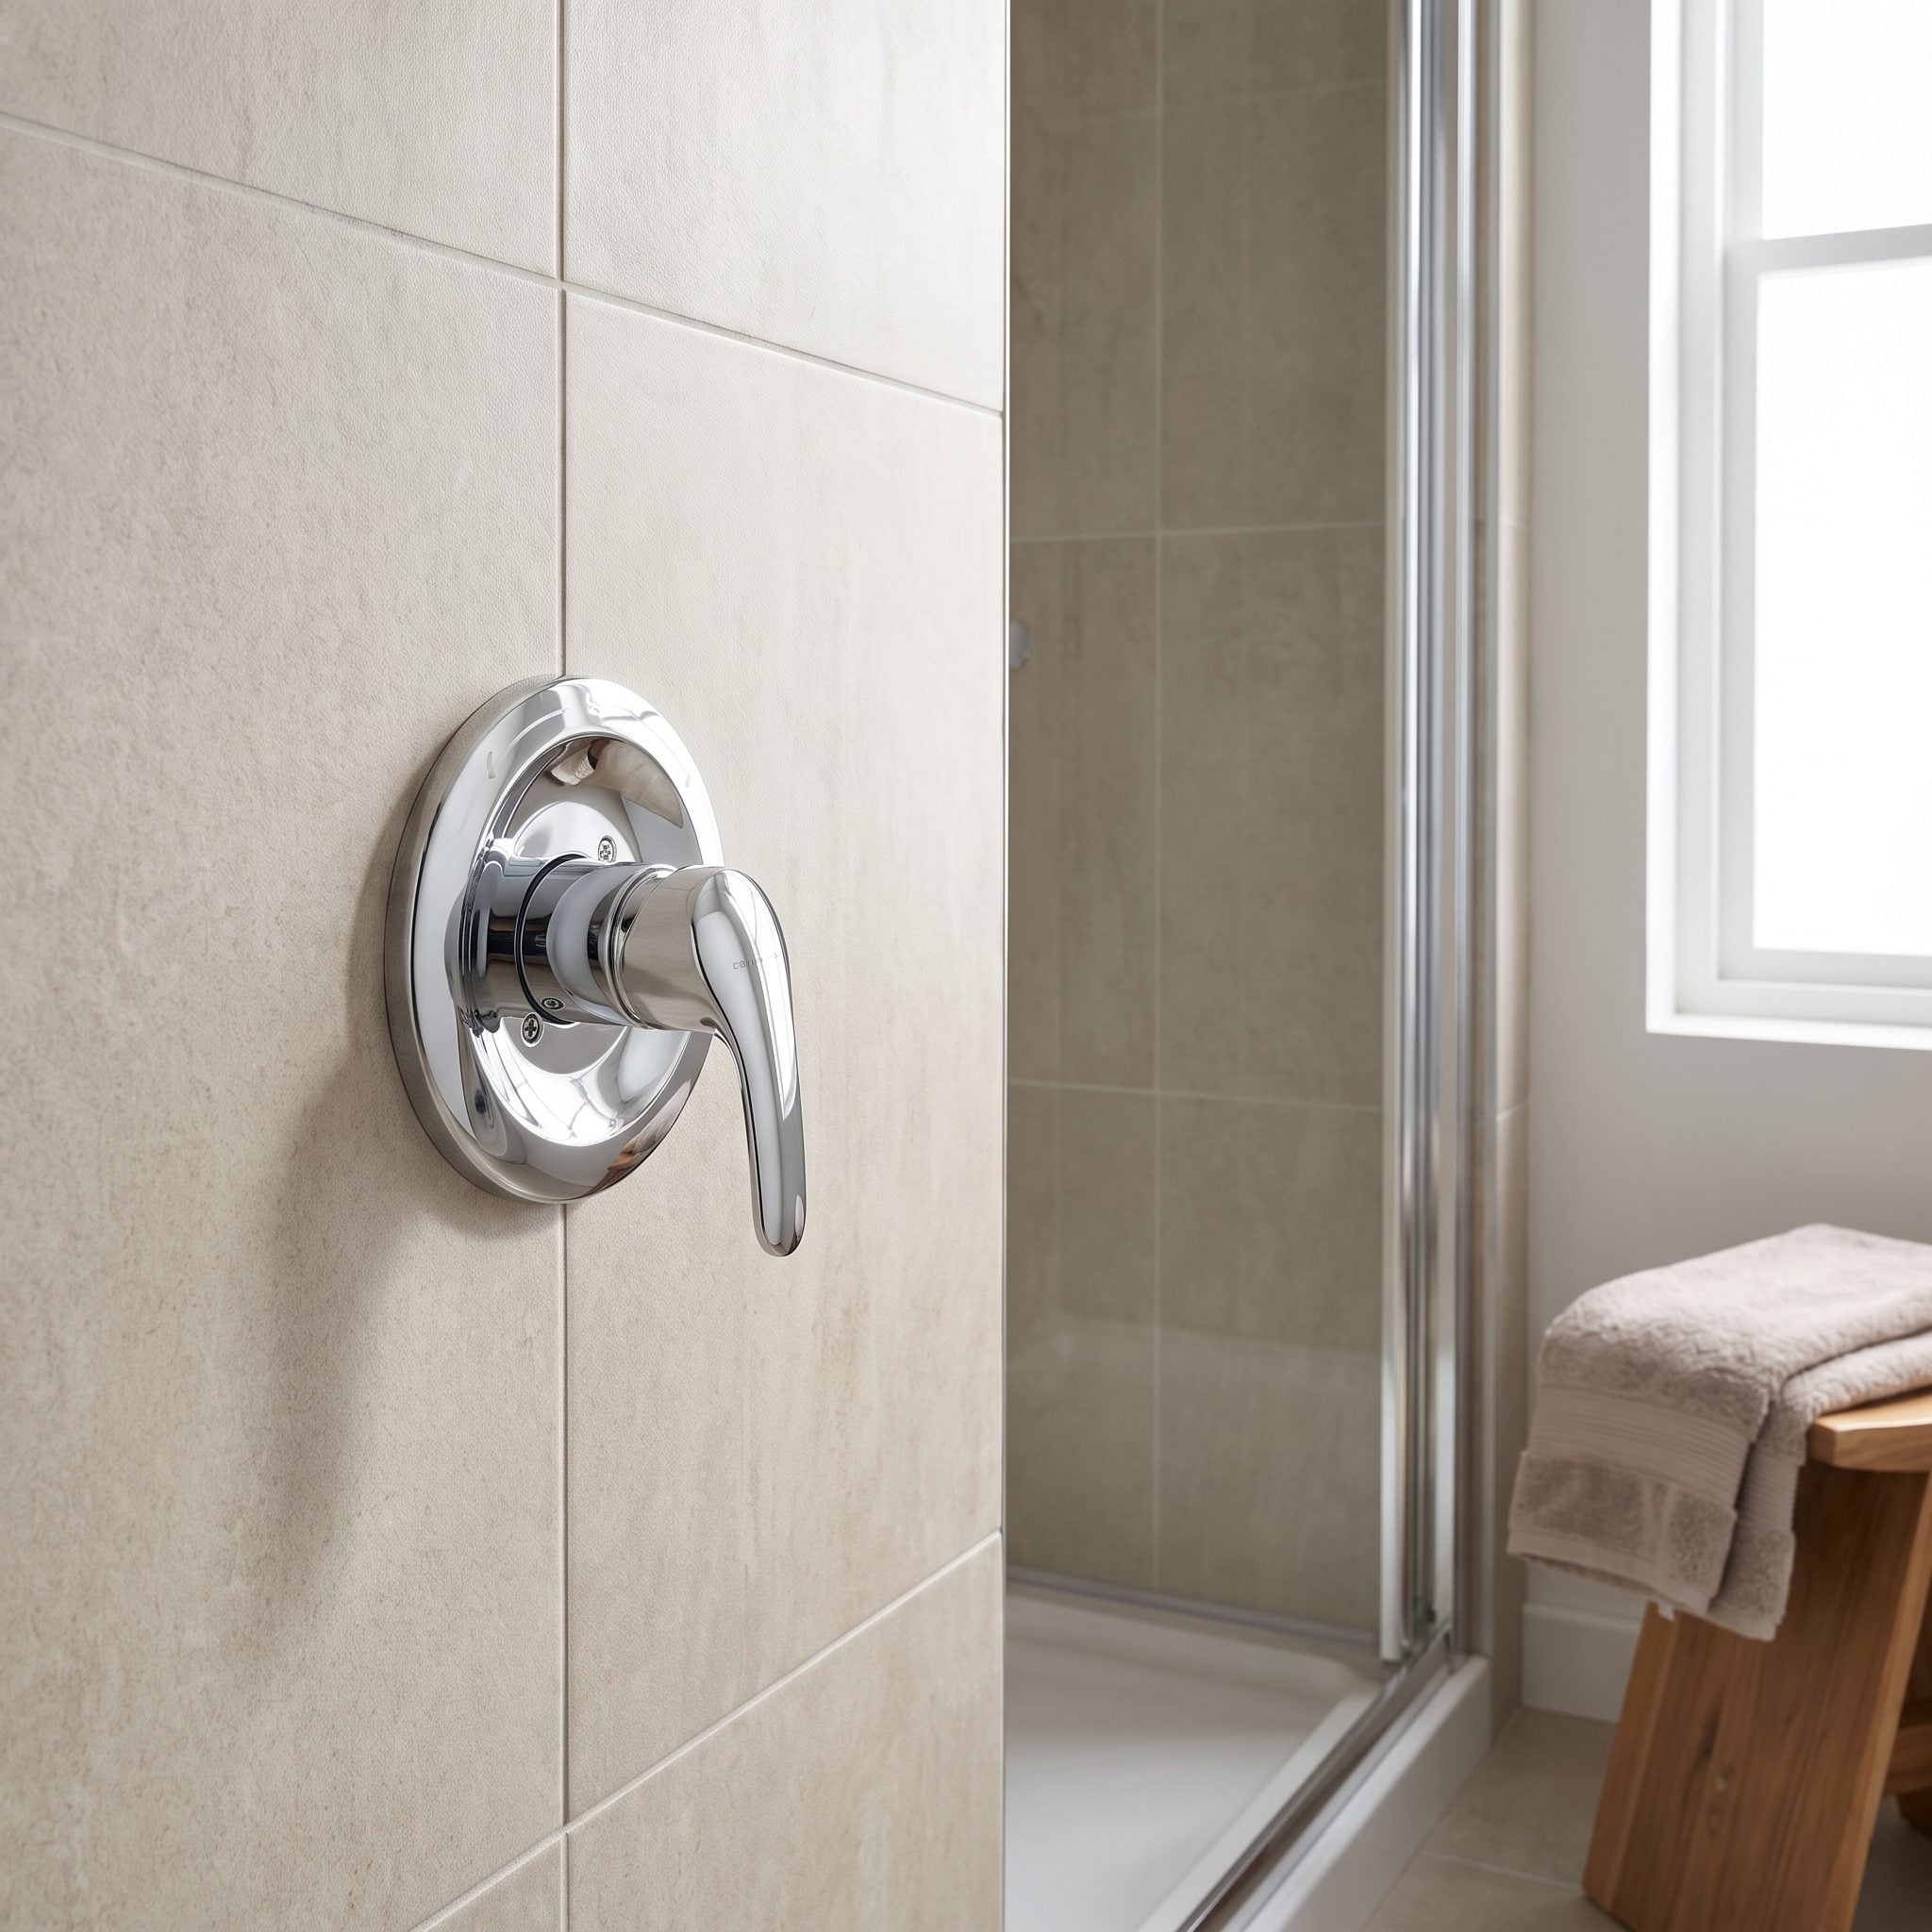
Nobody photographs this and everybody who lives with it notices. Put the shower controls near the entry so you can start the water without stepping under the spray.
Showerhead deeper inside, controls within reach. Turn it on, wait for the temperature, step in when you’re ready.
The exact valve position depends on framing, fixture specifications, plumbing, and the enclosure, but the principle is simple: design around the hand using the shower, not the symmetry of the elevation drawing.
Function is the part of bathroom design people discover at 6 a.m. Design the morning, not only the photograph.
12. Keep a Built-In Alcove Tub and Add a Separate Walk-In Shower
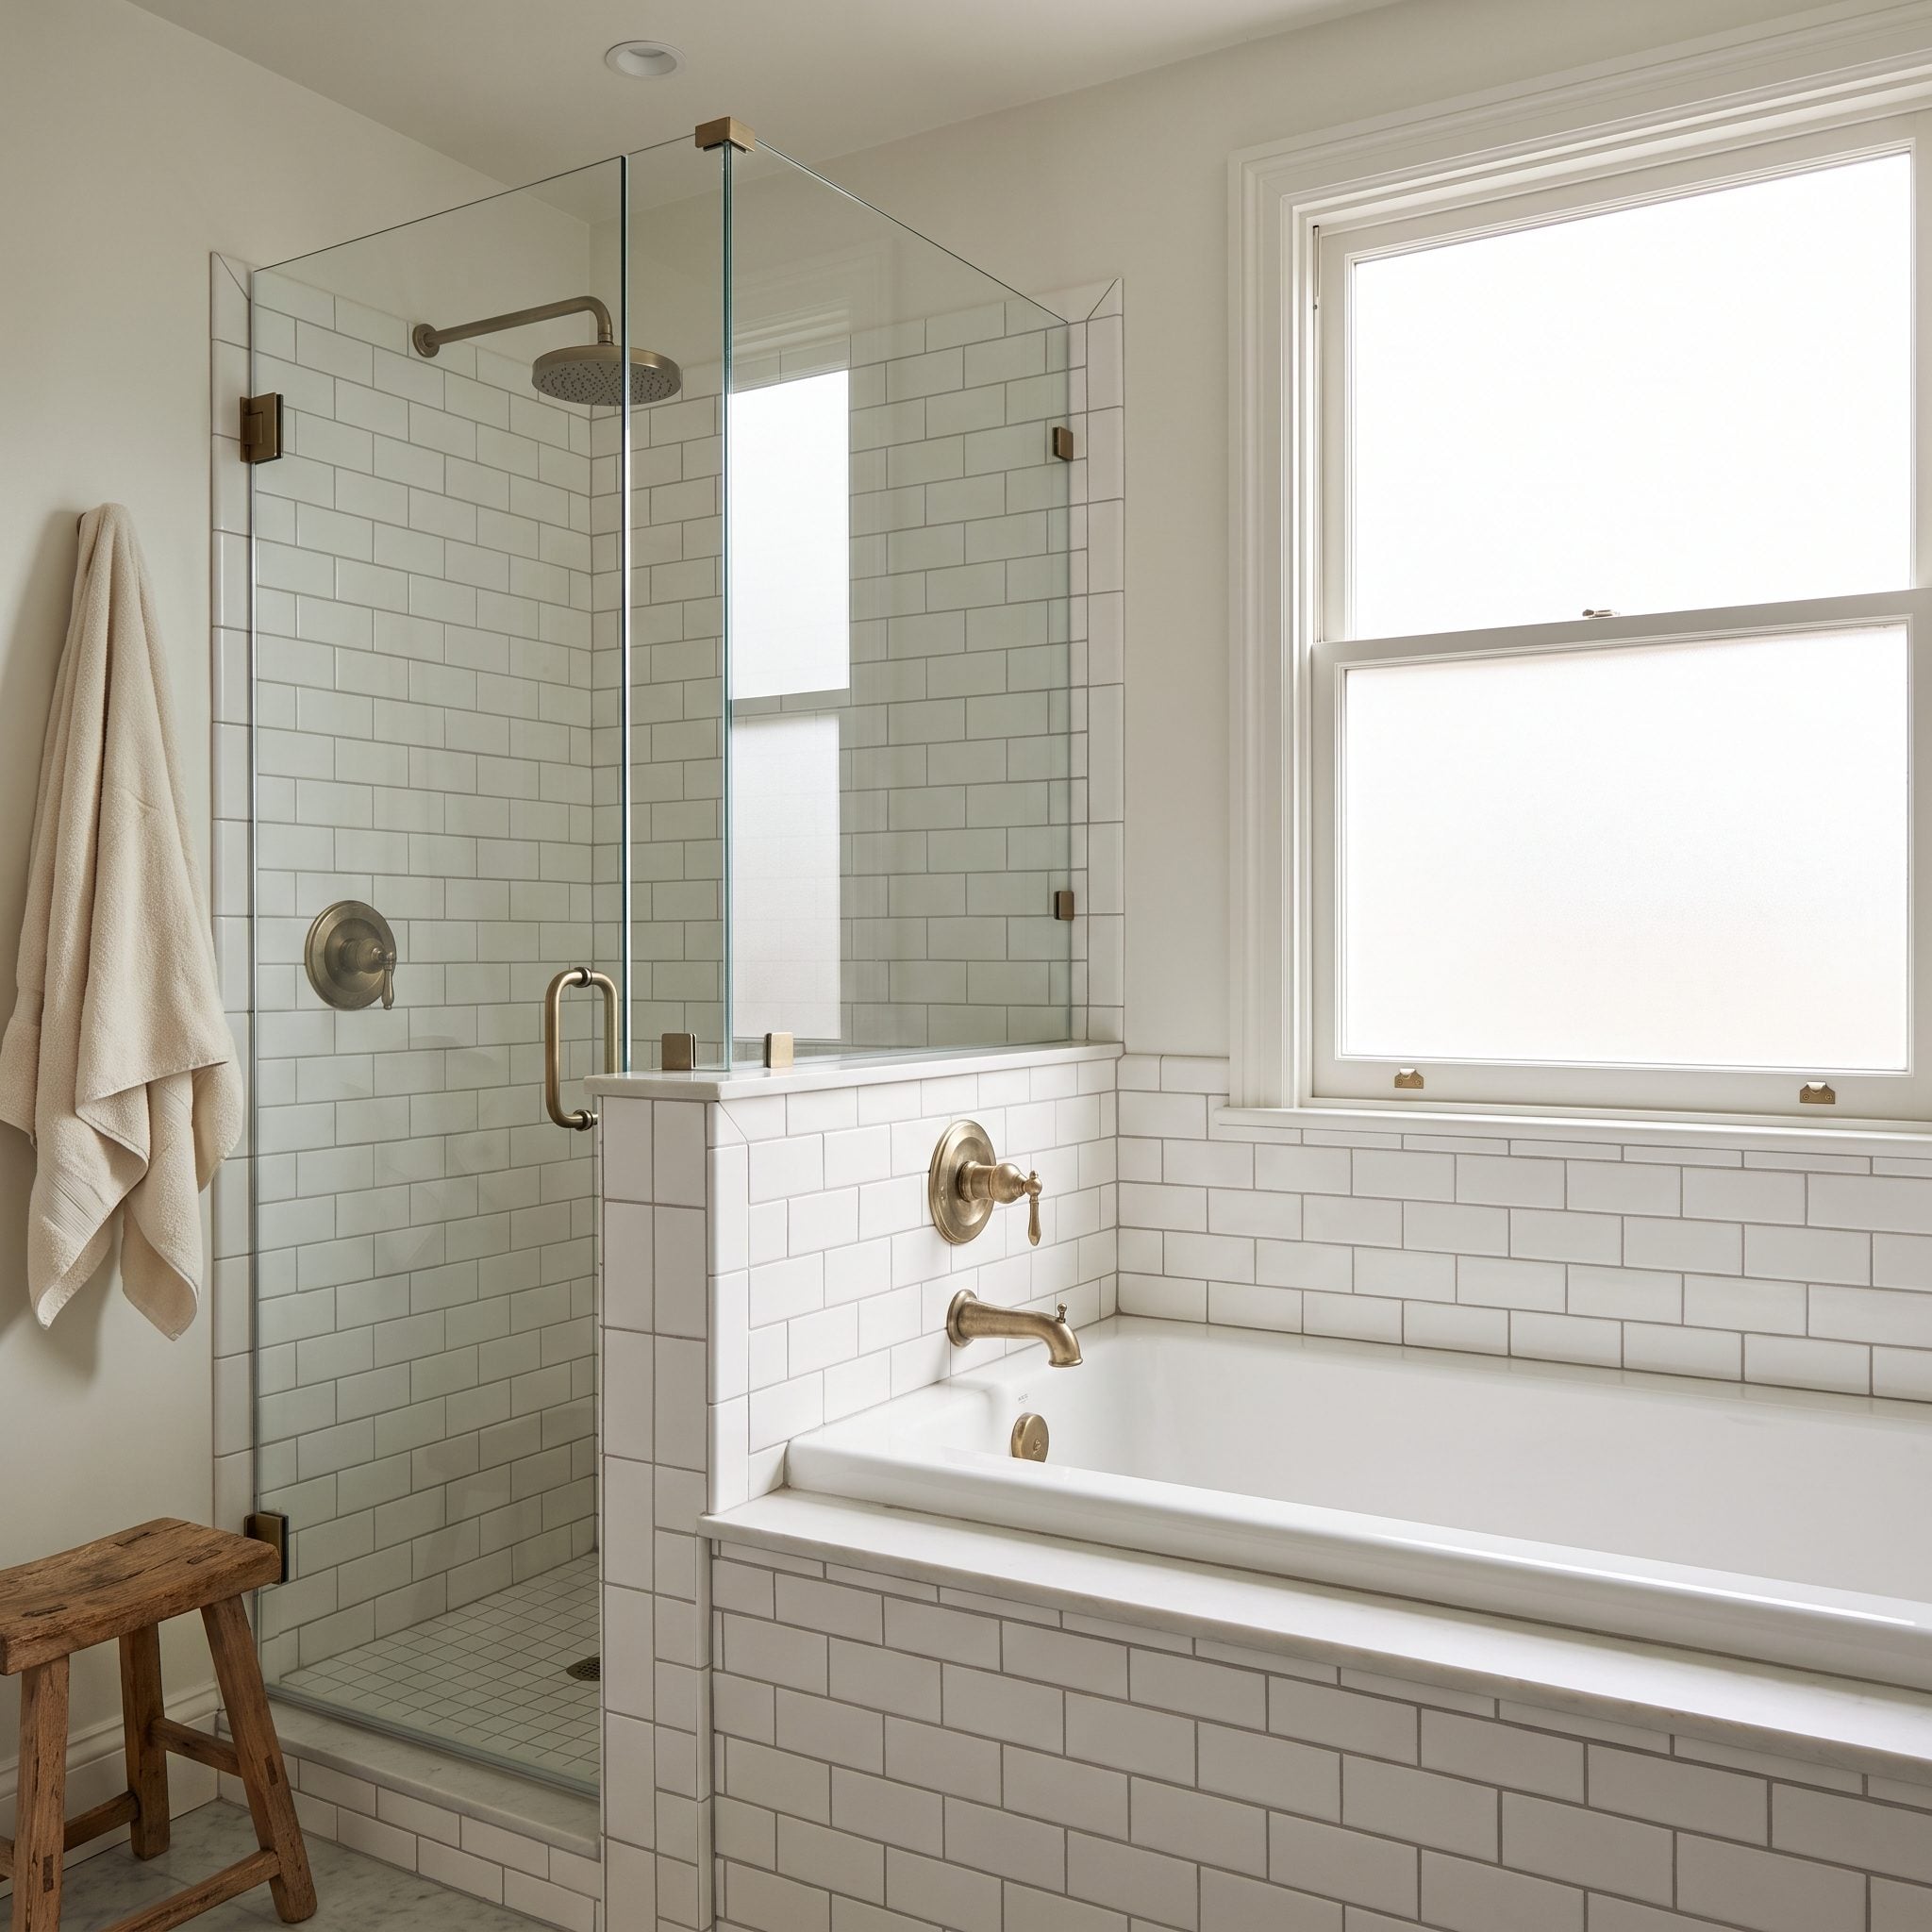
Everyone assumes the old alcove tub has to leave before the room can become interesting. It doesn’t.
If the existing tub is well placed and worth keeping, leave it inside its three-wall recess and spend the newly available design energy on the separate shower.
Shared marble visually connects the two, while brass at the filler and showerhead repeats just enough hardware to make them feel related.
11. Use a Linear Drain to Simplify a Large Wet-Room Floor
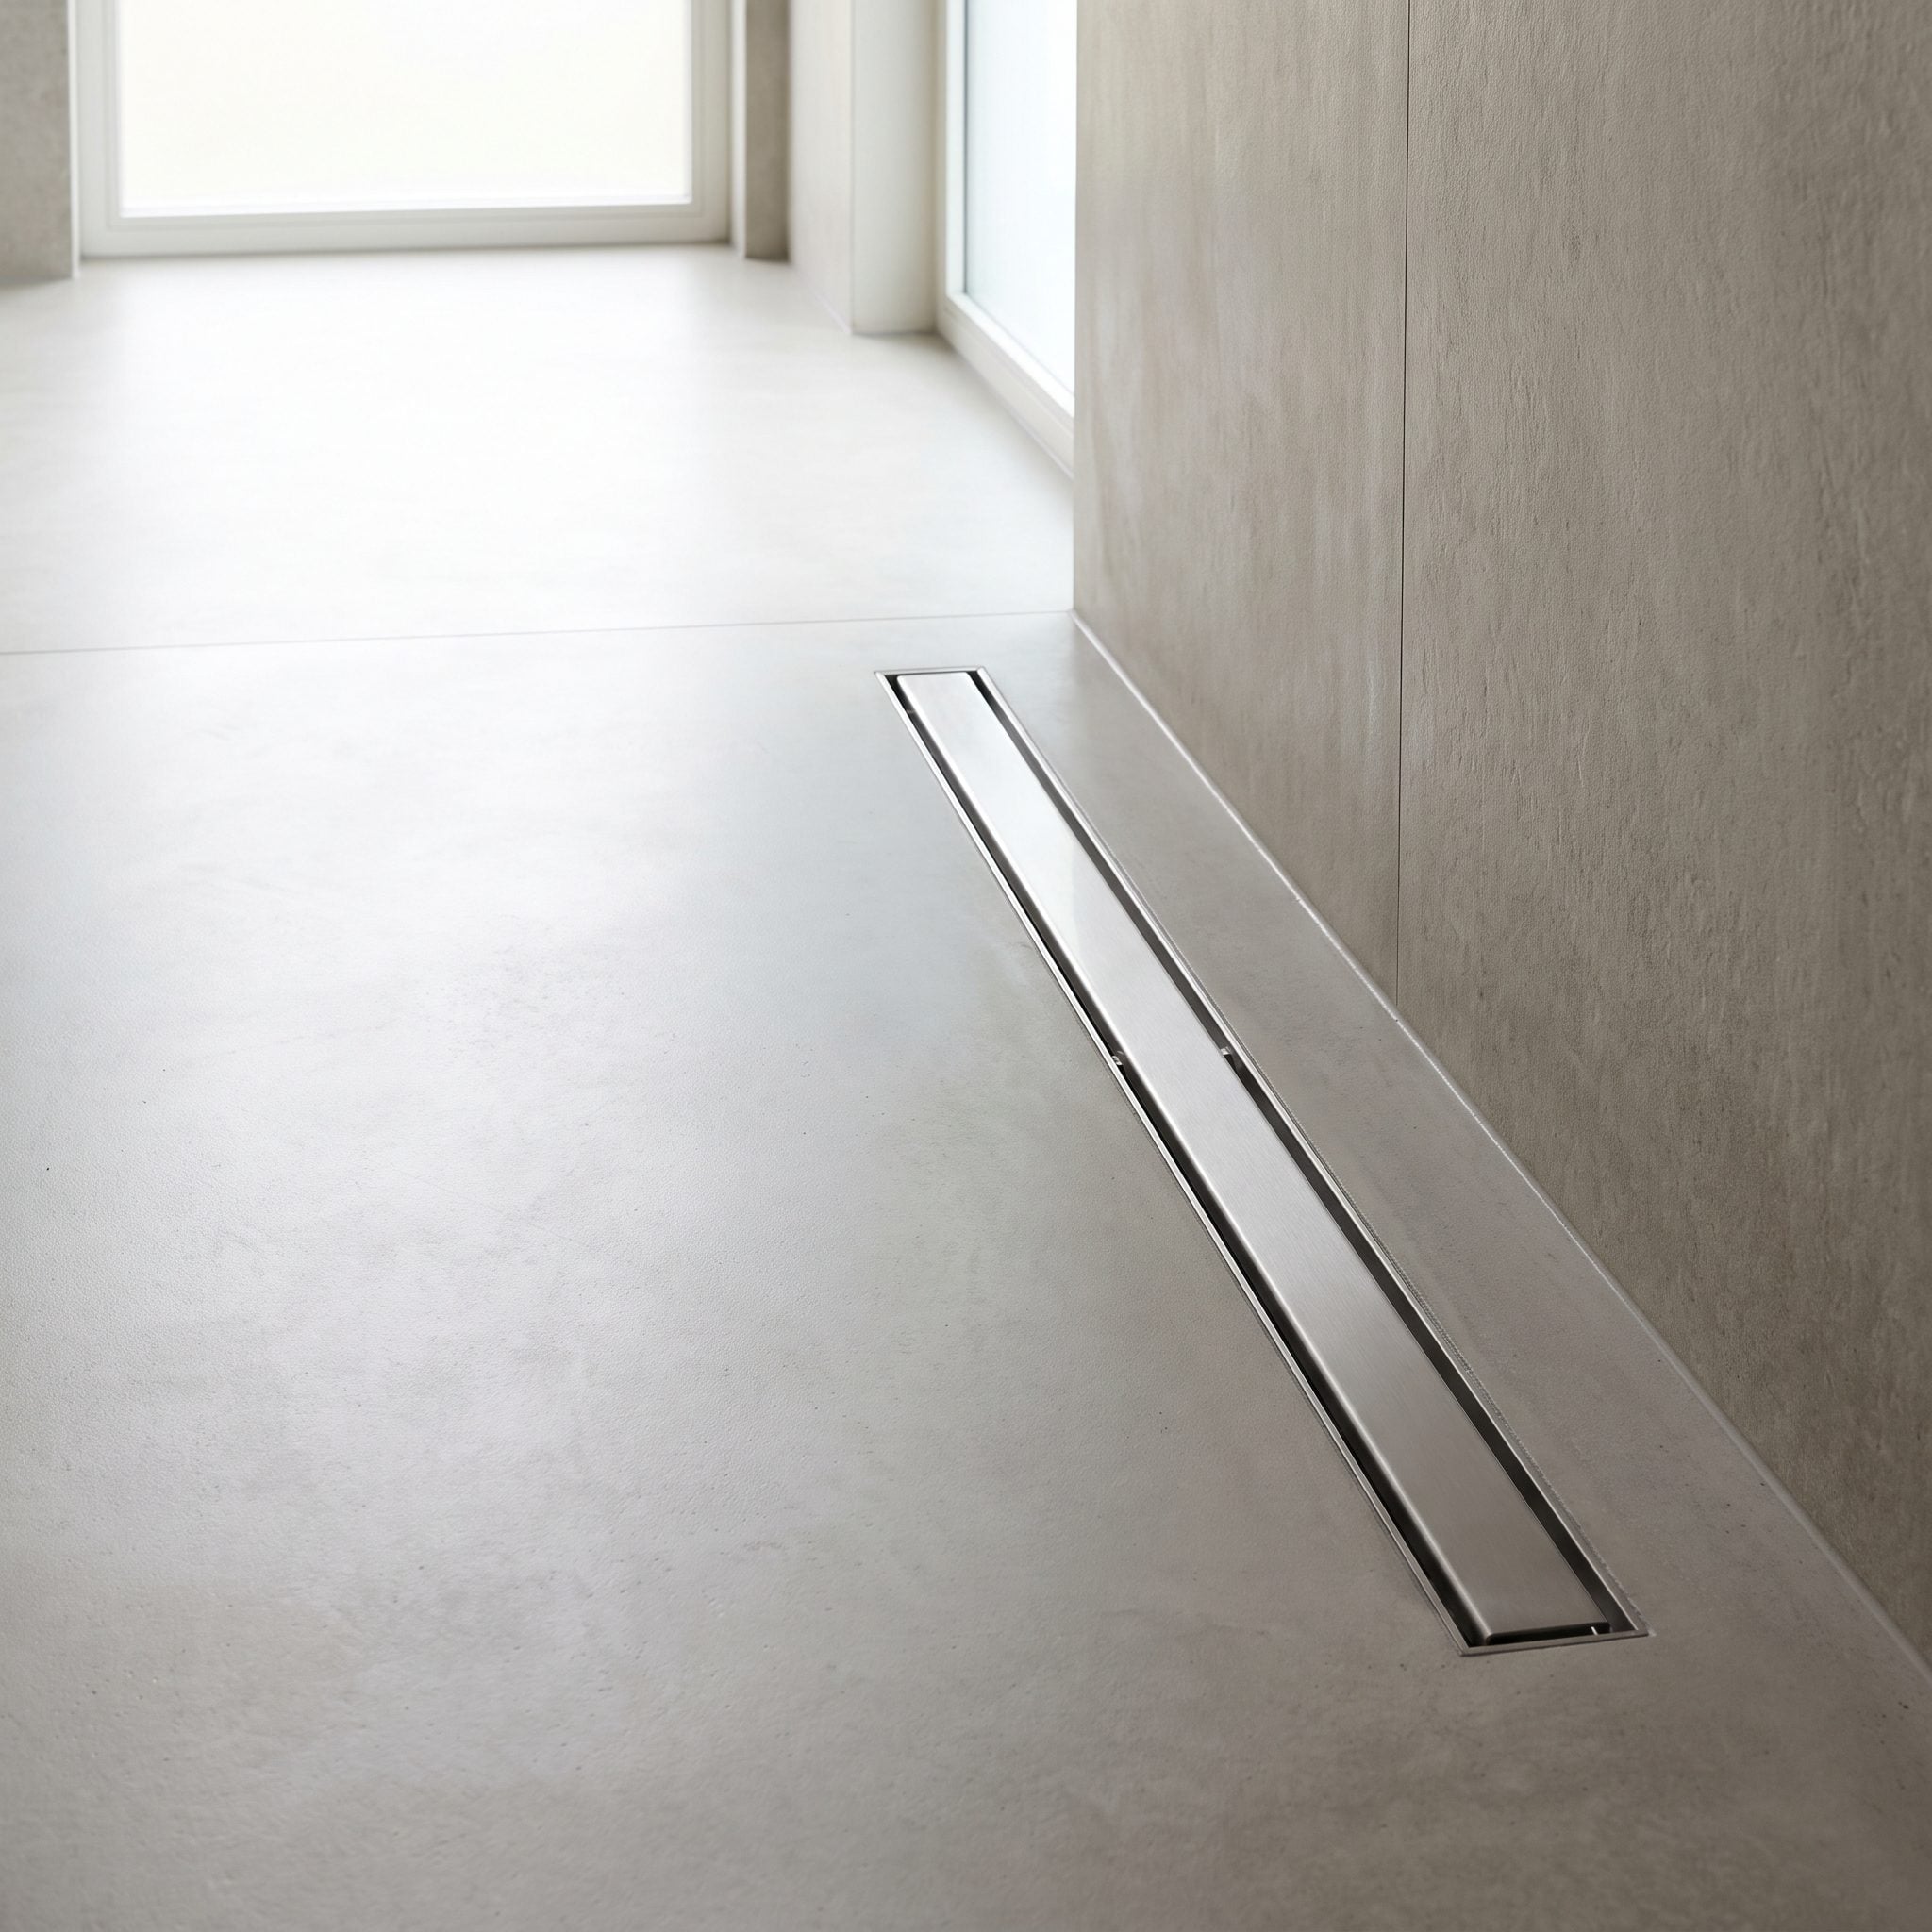
A linear drain can make a large wet-room floor much easier to compose because it can allow the shower area to slope predominantly in one direction instead of pitching toward a central point.
Visually, that means large-format tile can often remain calmer and more continuous across the wet zone.
The floor still needs proper fall toward the drain. What disappears is not the slope but much of the visual fuss.
10. Place a Freestanding Tub Directly Beside the Shower Glass
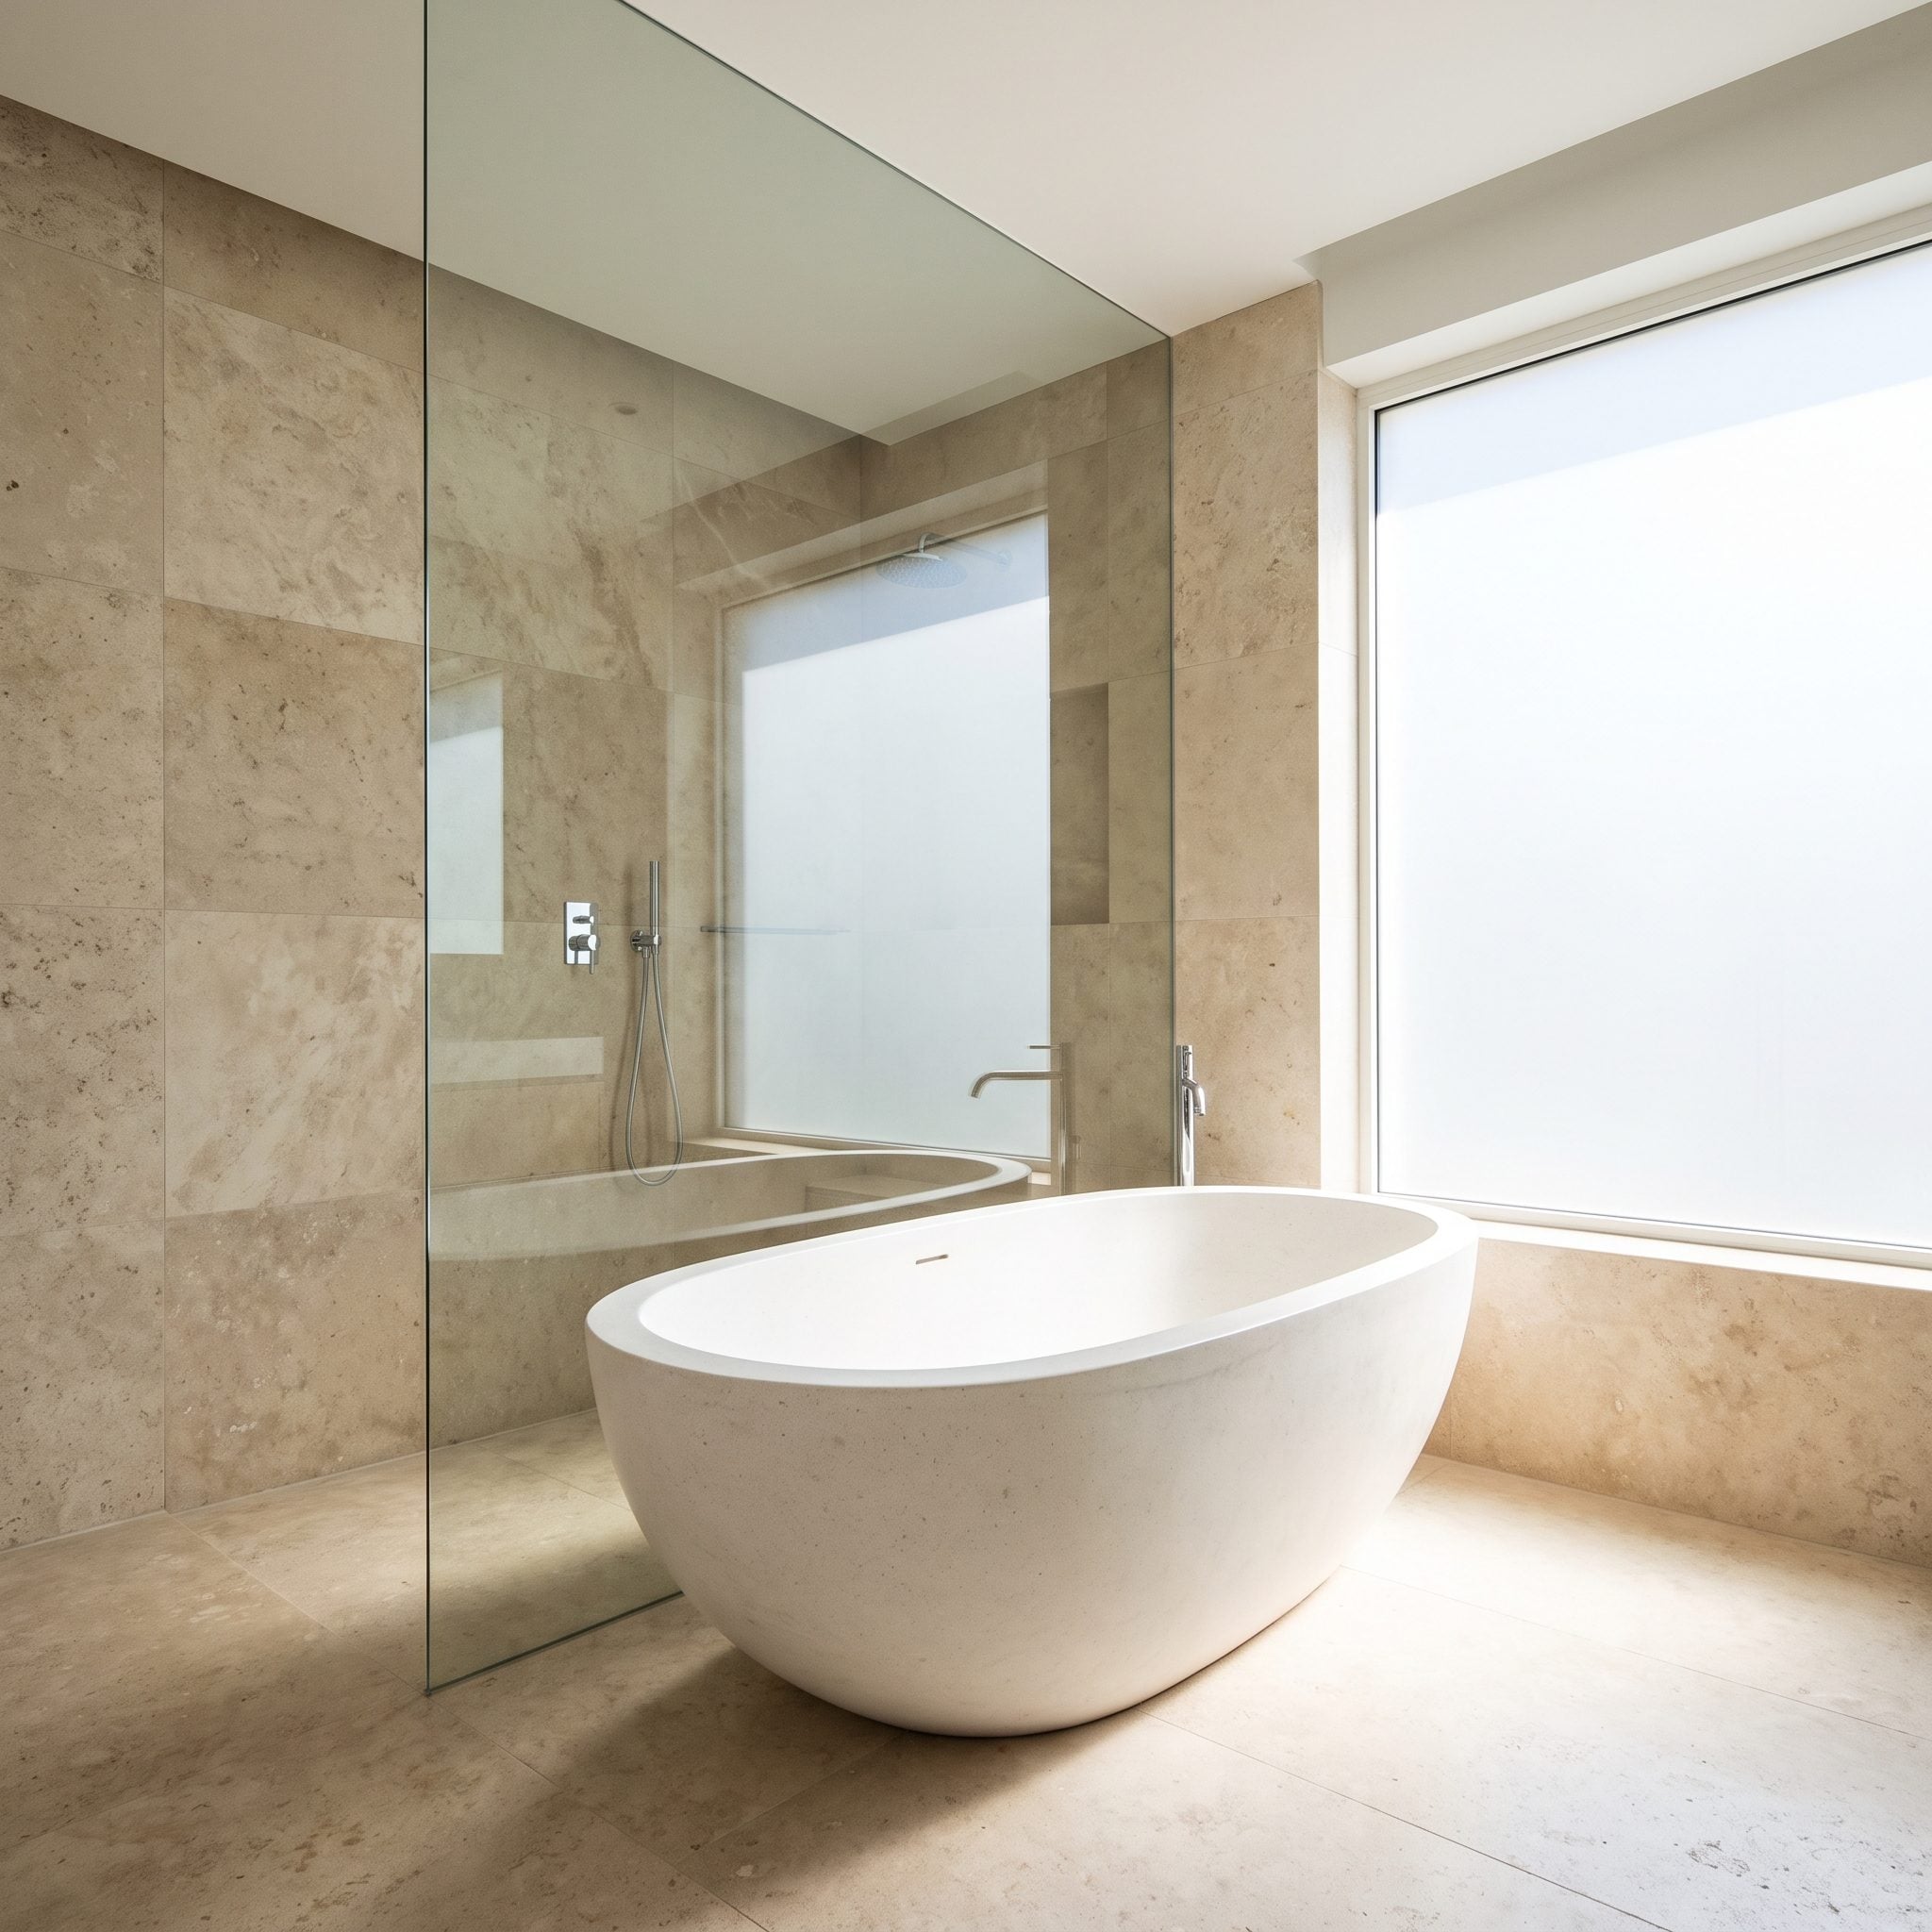
Push the tub close to the shower glass and two separate fixtures can occupy almost the same visual envelope.
Because the enclosure remains transparent, the marble beyond still belongs to the bathtub’s view. There is no opaque wall carving the corner into smaller pieces.
Pale gray marble-look slab also keeps the surface quiet. Fewer joints and fewer material changes let the shape of the tub take precedence over the construction around it.
9. Remove a Linen Closet Instead of Removing the Bathtub
🔥 Would you like to save this?
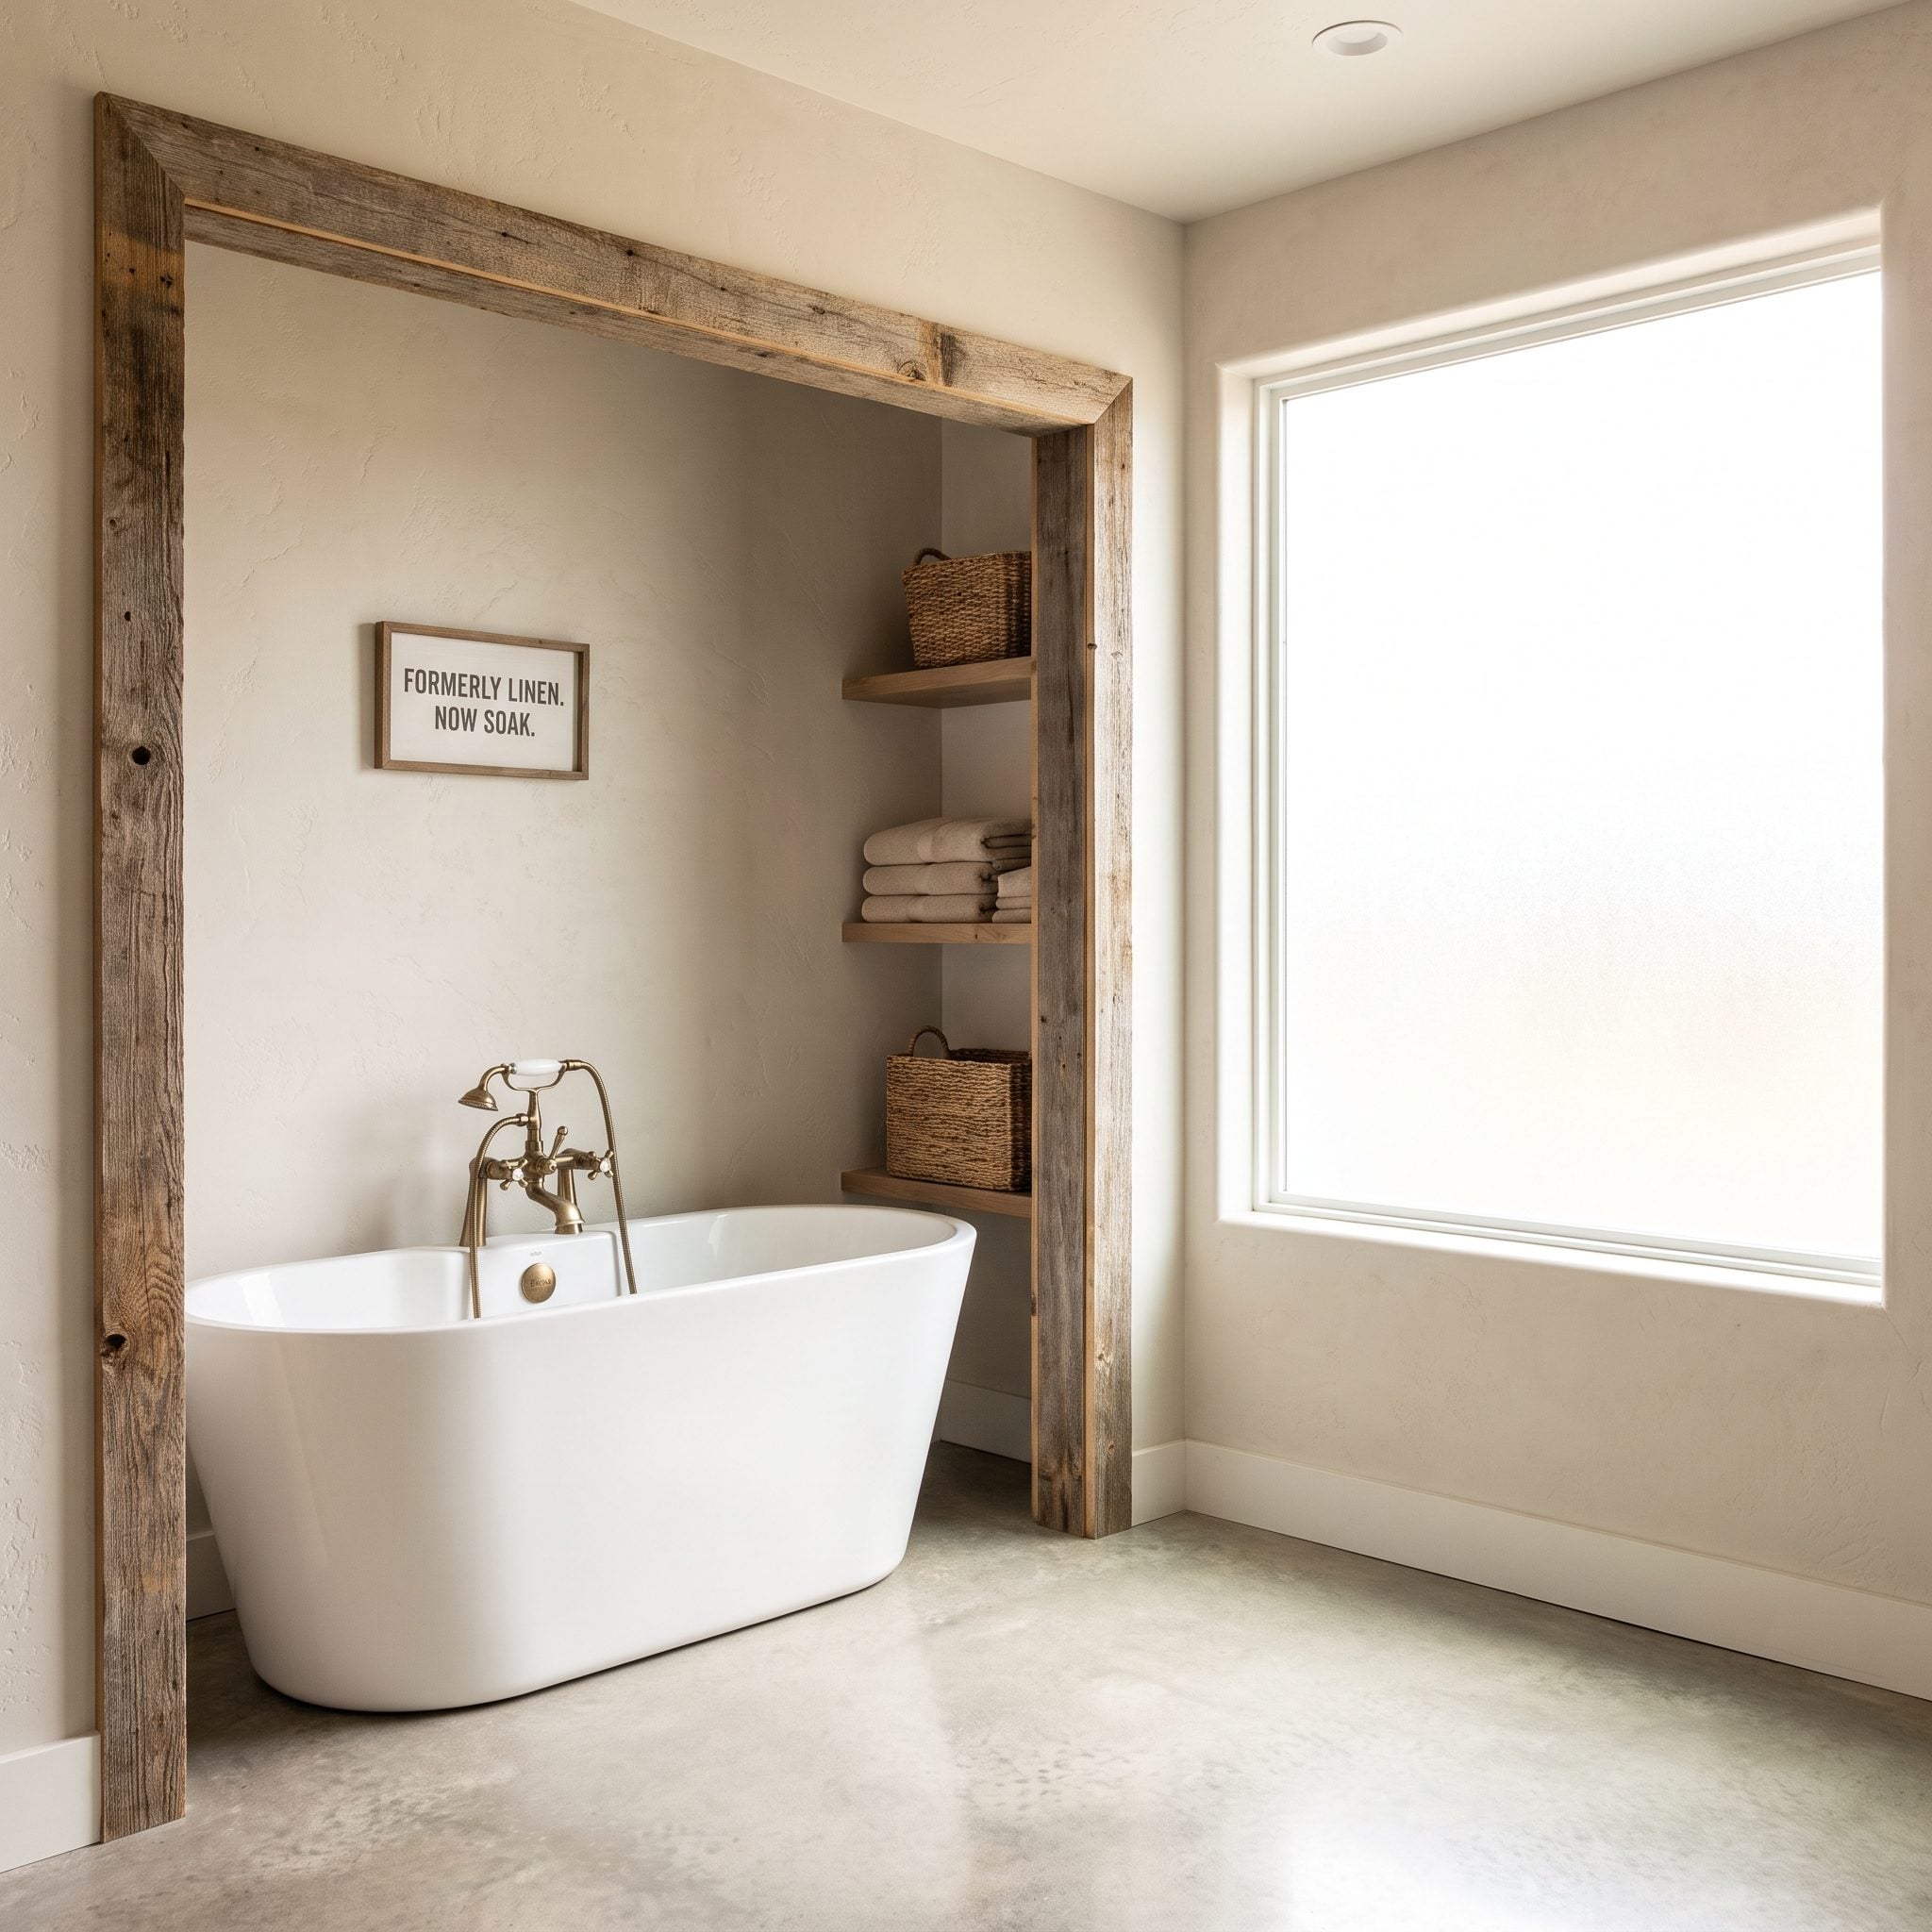
Sometimes the bathtub isn’t the indulgence. The enclosed linen closet is.
If a closet occupies exactly the wall the tub or shower needs, ask whether all that storage truly requires a framed room with its own door.
Remove it and replace at least part of the capacity with a tall cabinet, recessed storage, shelving, baskets, or storage elsewhere in the house.
You give up concealed volume, certainly. But losing some towel real estate may be a much better bargain than losing an entire bathing fixture.
8. Use a Plumbing Wall Shared by Both Tub and Shower
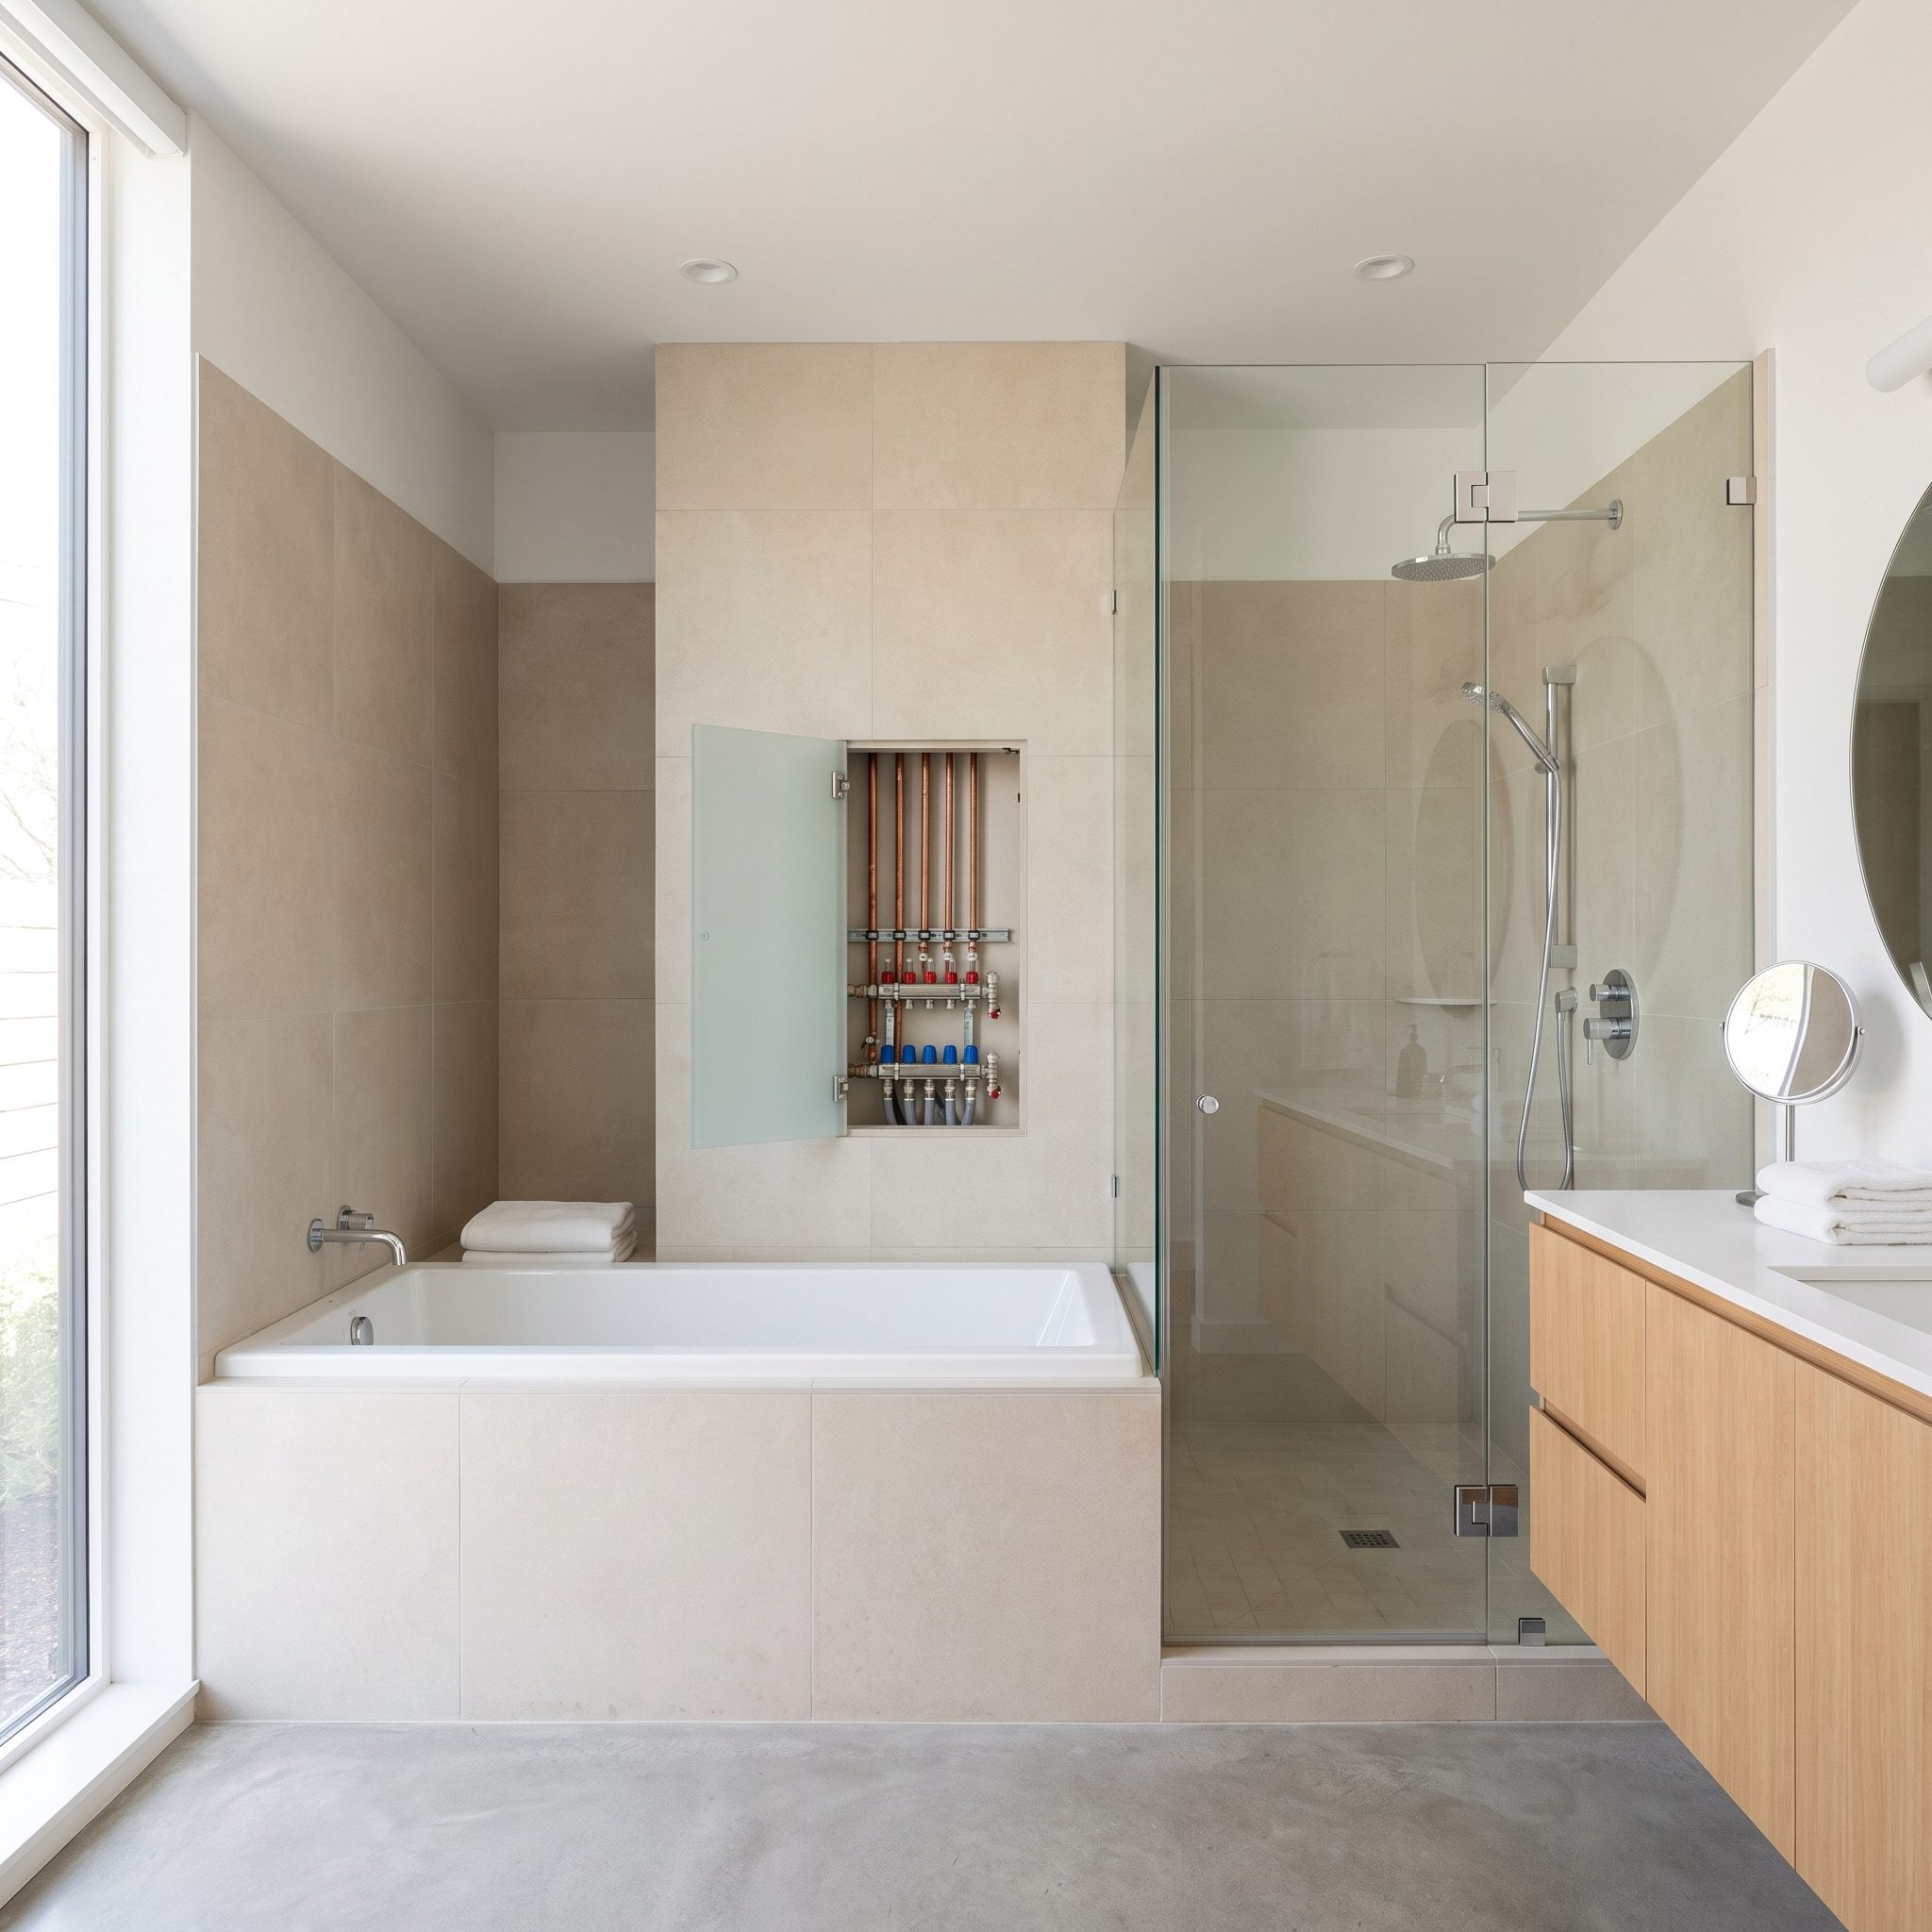
This is the construction-minded cousin of the first layout.
Tub and shower still need their own appropriate supplies, controls, drains, and venting, but grouping water-fed fixtures around the same wall can simplify routing and reduce how far plumbing has to travel.
Then make that wall worth looking at. Line up the tub filler and shower fittings against vertical tile, fluted plaster, or another strong finish so the practical wet wall becomes the visual anchor too.
7. Use the Space Beneath a Sloped Ceiling for the Tub
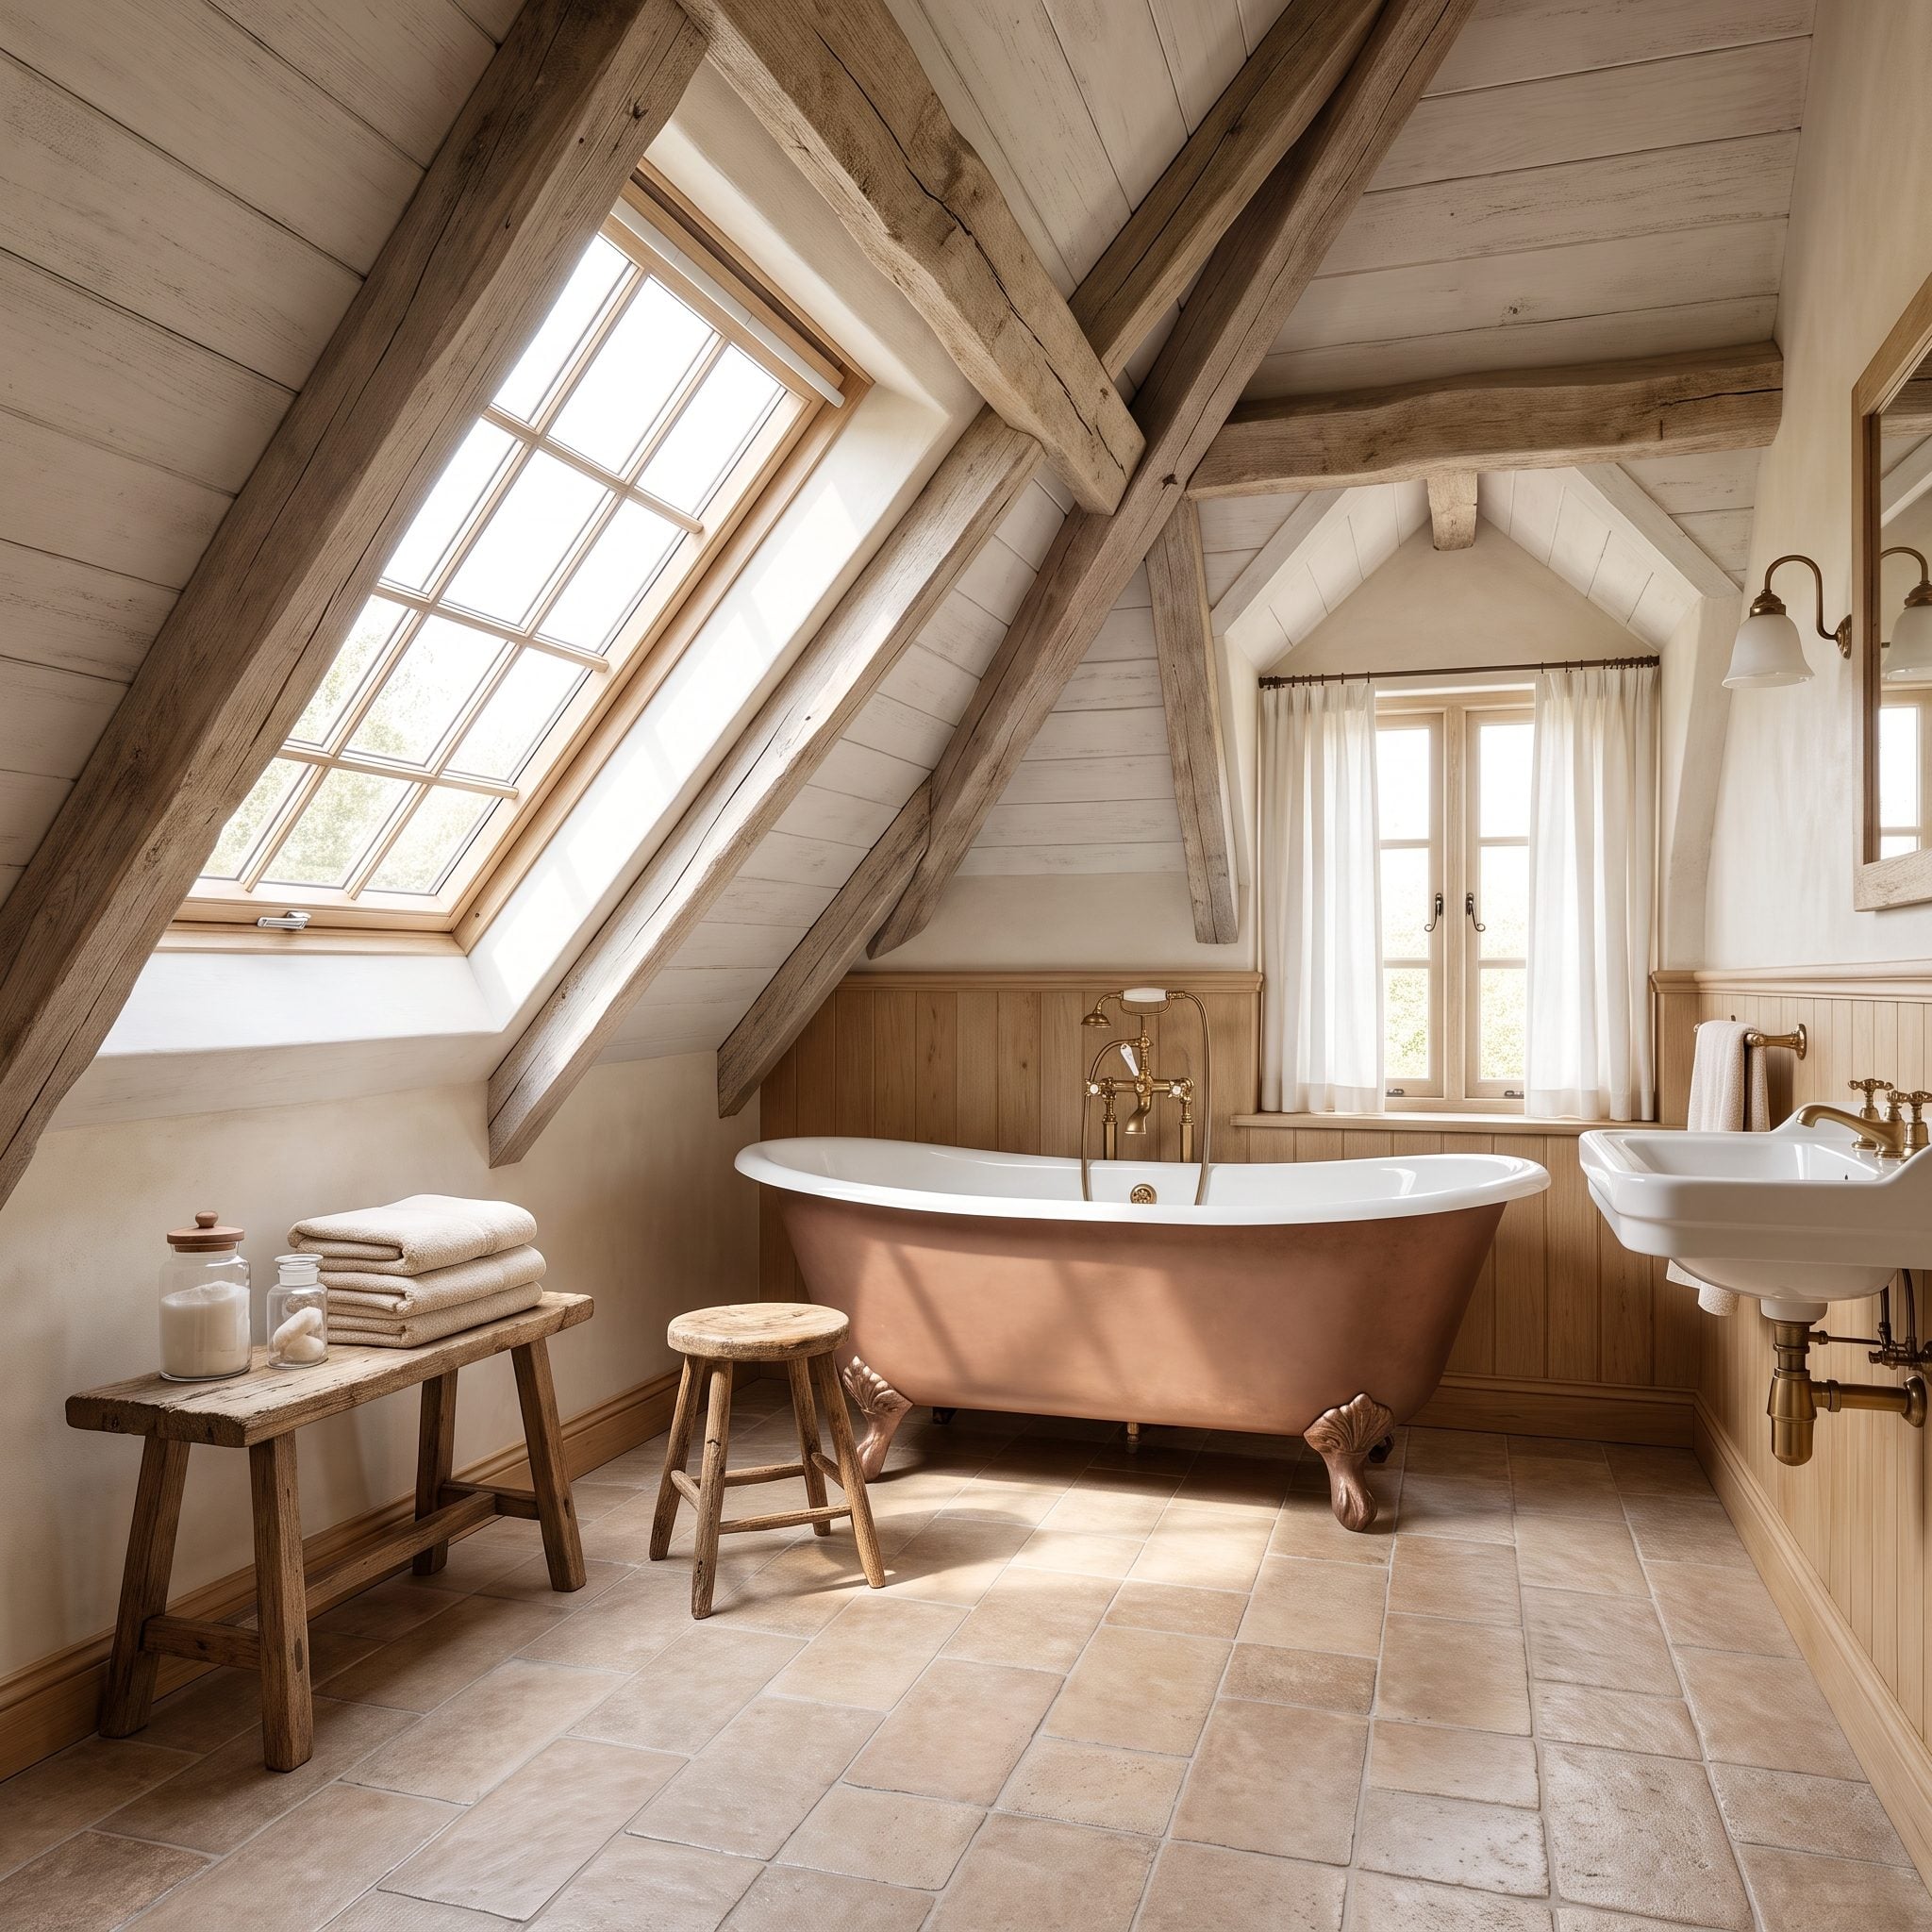
An attic bathroom has one brutally simple rule: standing activities need the tall part.
So don’t waste full-height walls on a bathtub if the room has a low eave waiting for one. Put the tub beneath the slope and reserve the vertical clearance for the shower.
A skylight can turn that compromised ceiling into the room’s best feature, sending daylight straight down to the bath.
It’s one of the most useful moves in any preppy bathroom tucked under the eaves because it assigns space according to posture rather than symmetry.
6. Turn the Half Wall Into a Shower Niche and Tub Ledge
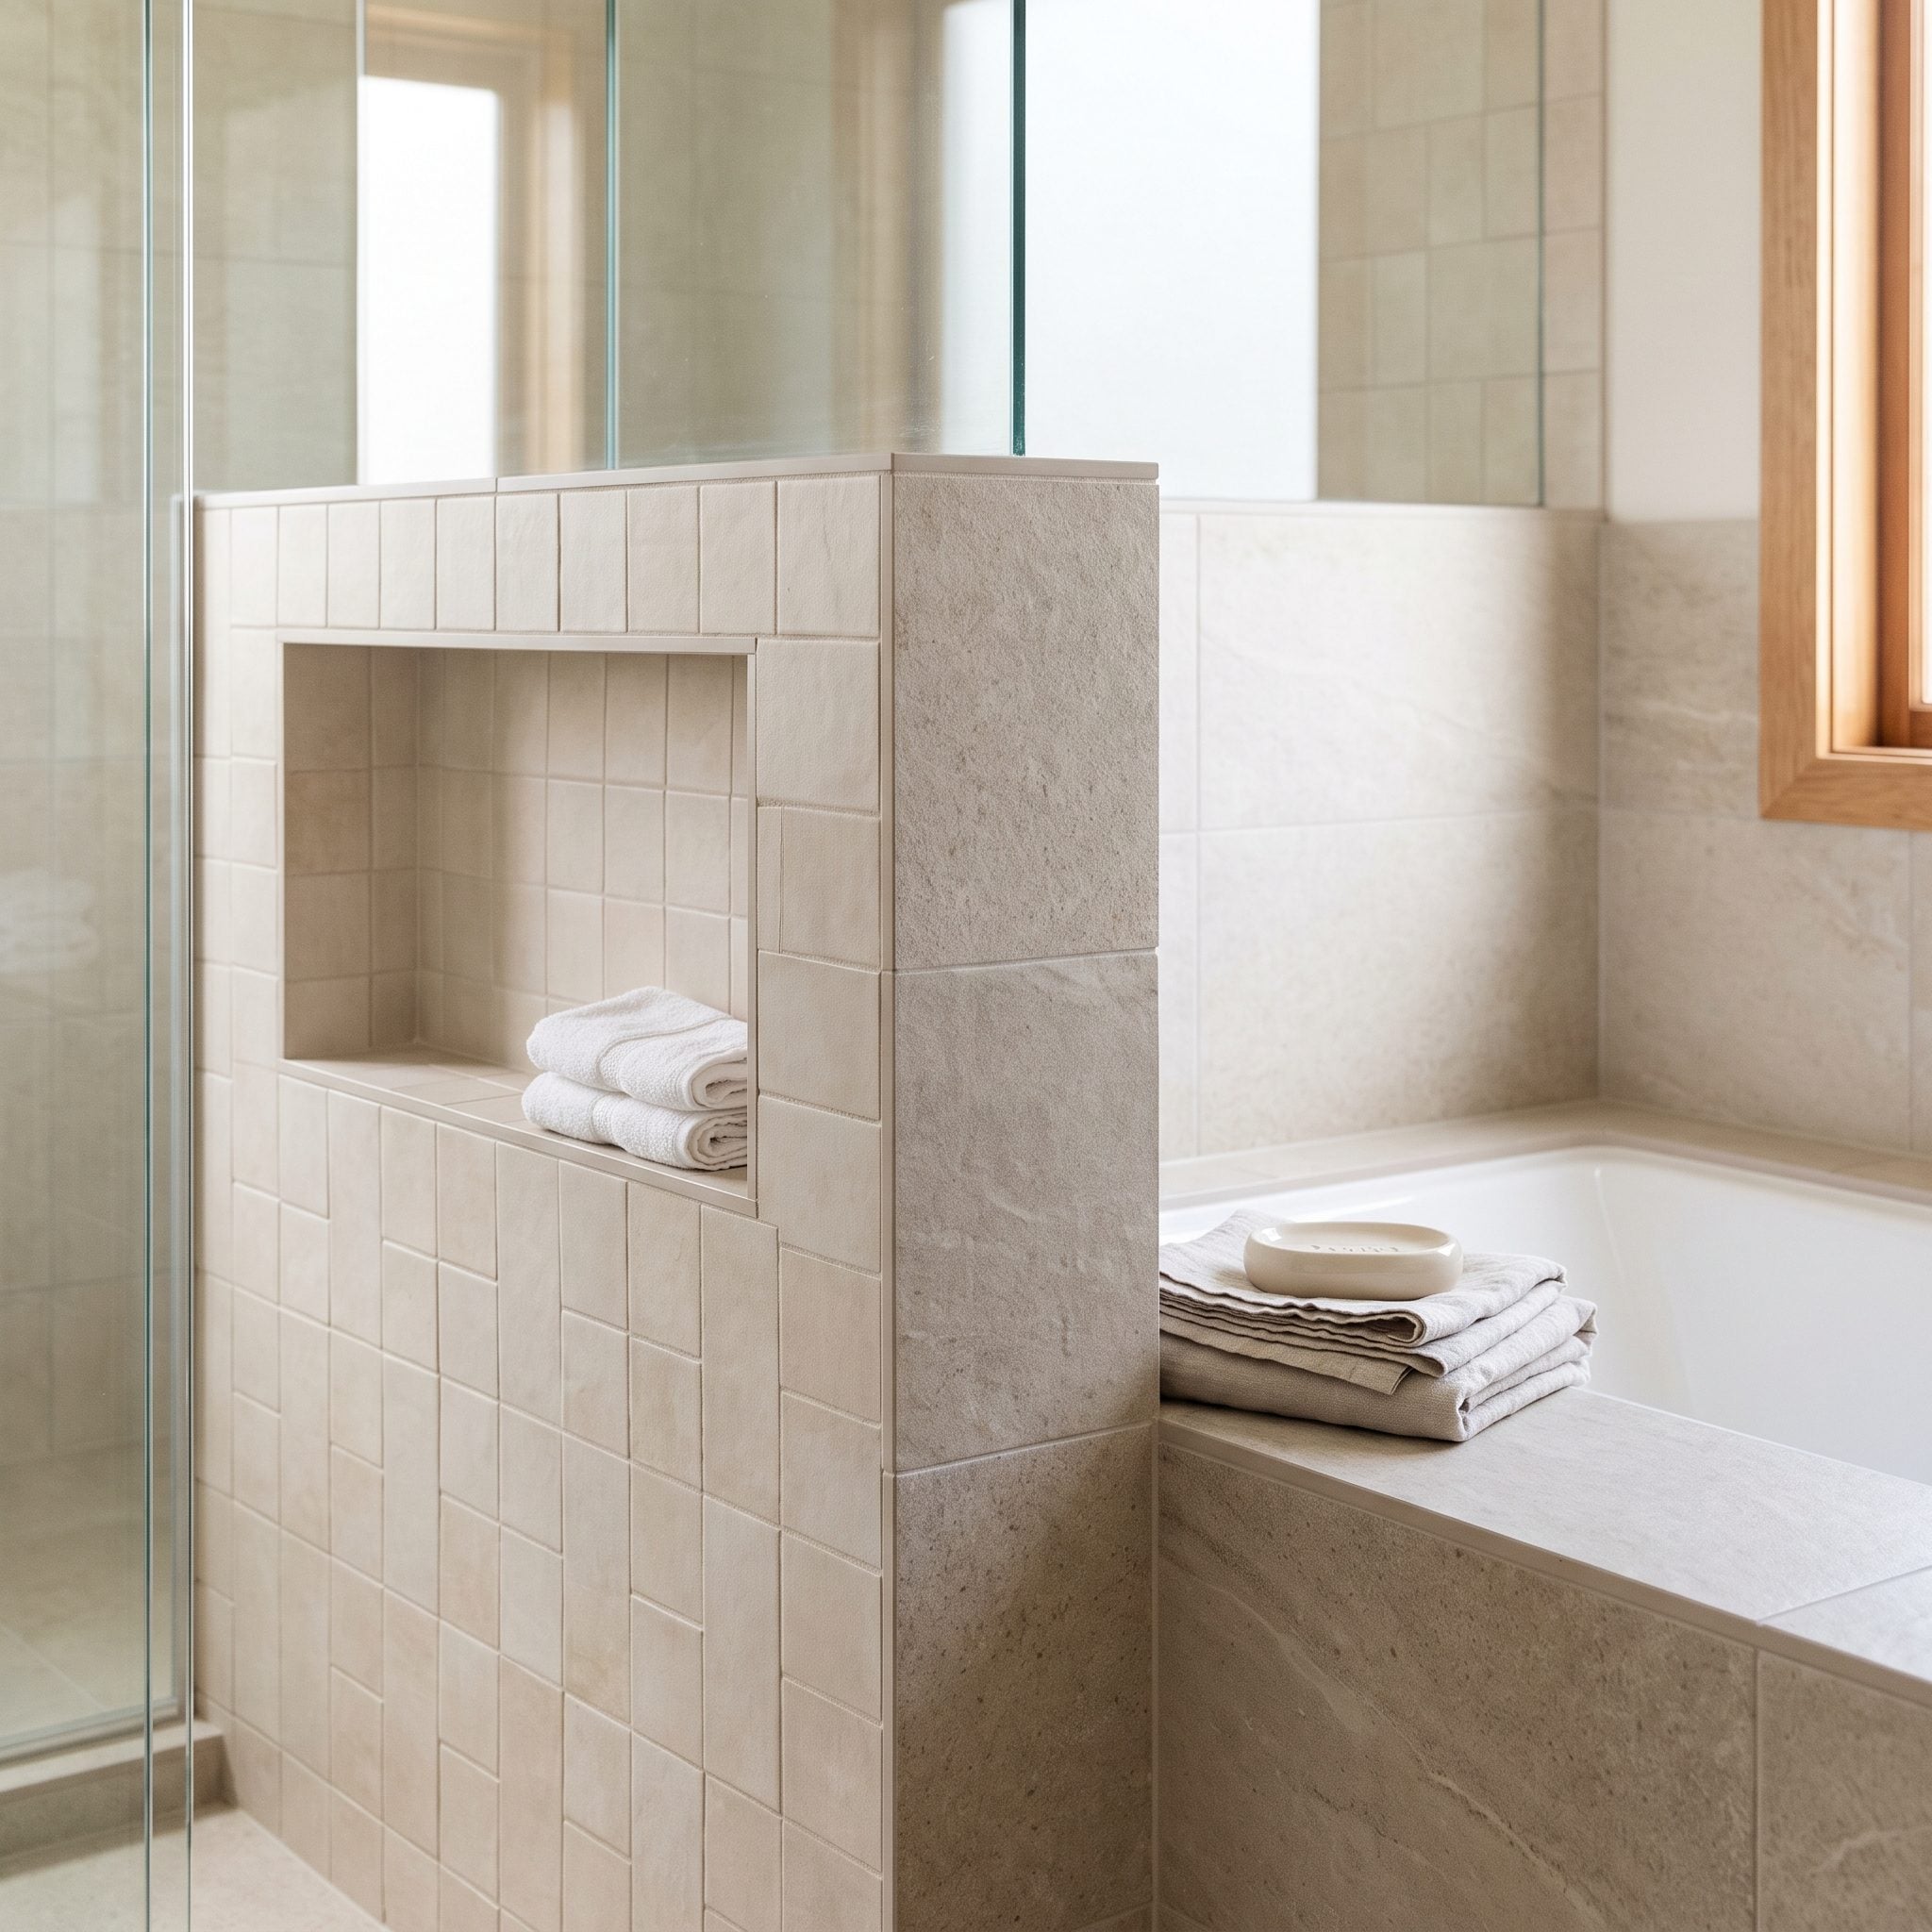
Once you’re building the partition, make it earn the floor space.
A suitably framed wall can accommodate a recessed niche on the shower side while its capped top becomes a useful ledge toward the tub.
The required wall thickness depends on the niche system, framing, waterproofing, and plumbing inside it, so there isn’t one universal six-inch rule.
What matters is designing those functions together instead of discovering afterward that the shampoo has nowhere to live.
A darker stone inside the niche gives the practical recess one deliberate flourish without forcing another material across the whole room.
5. Use a Curbless Shower to Keep the Bathroom Visually Open
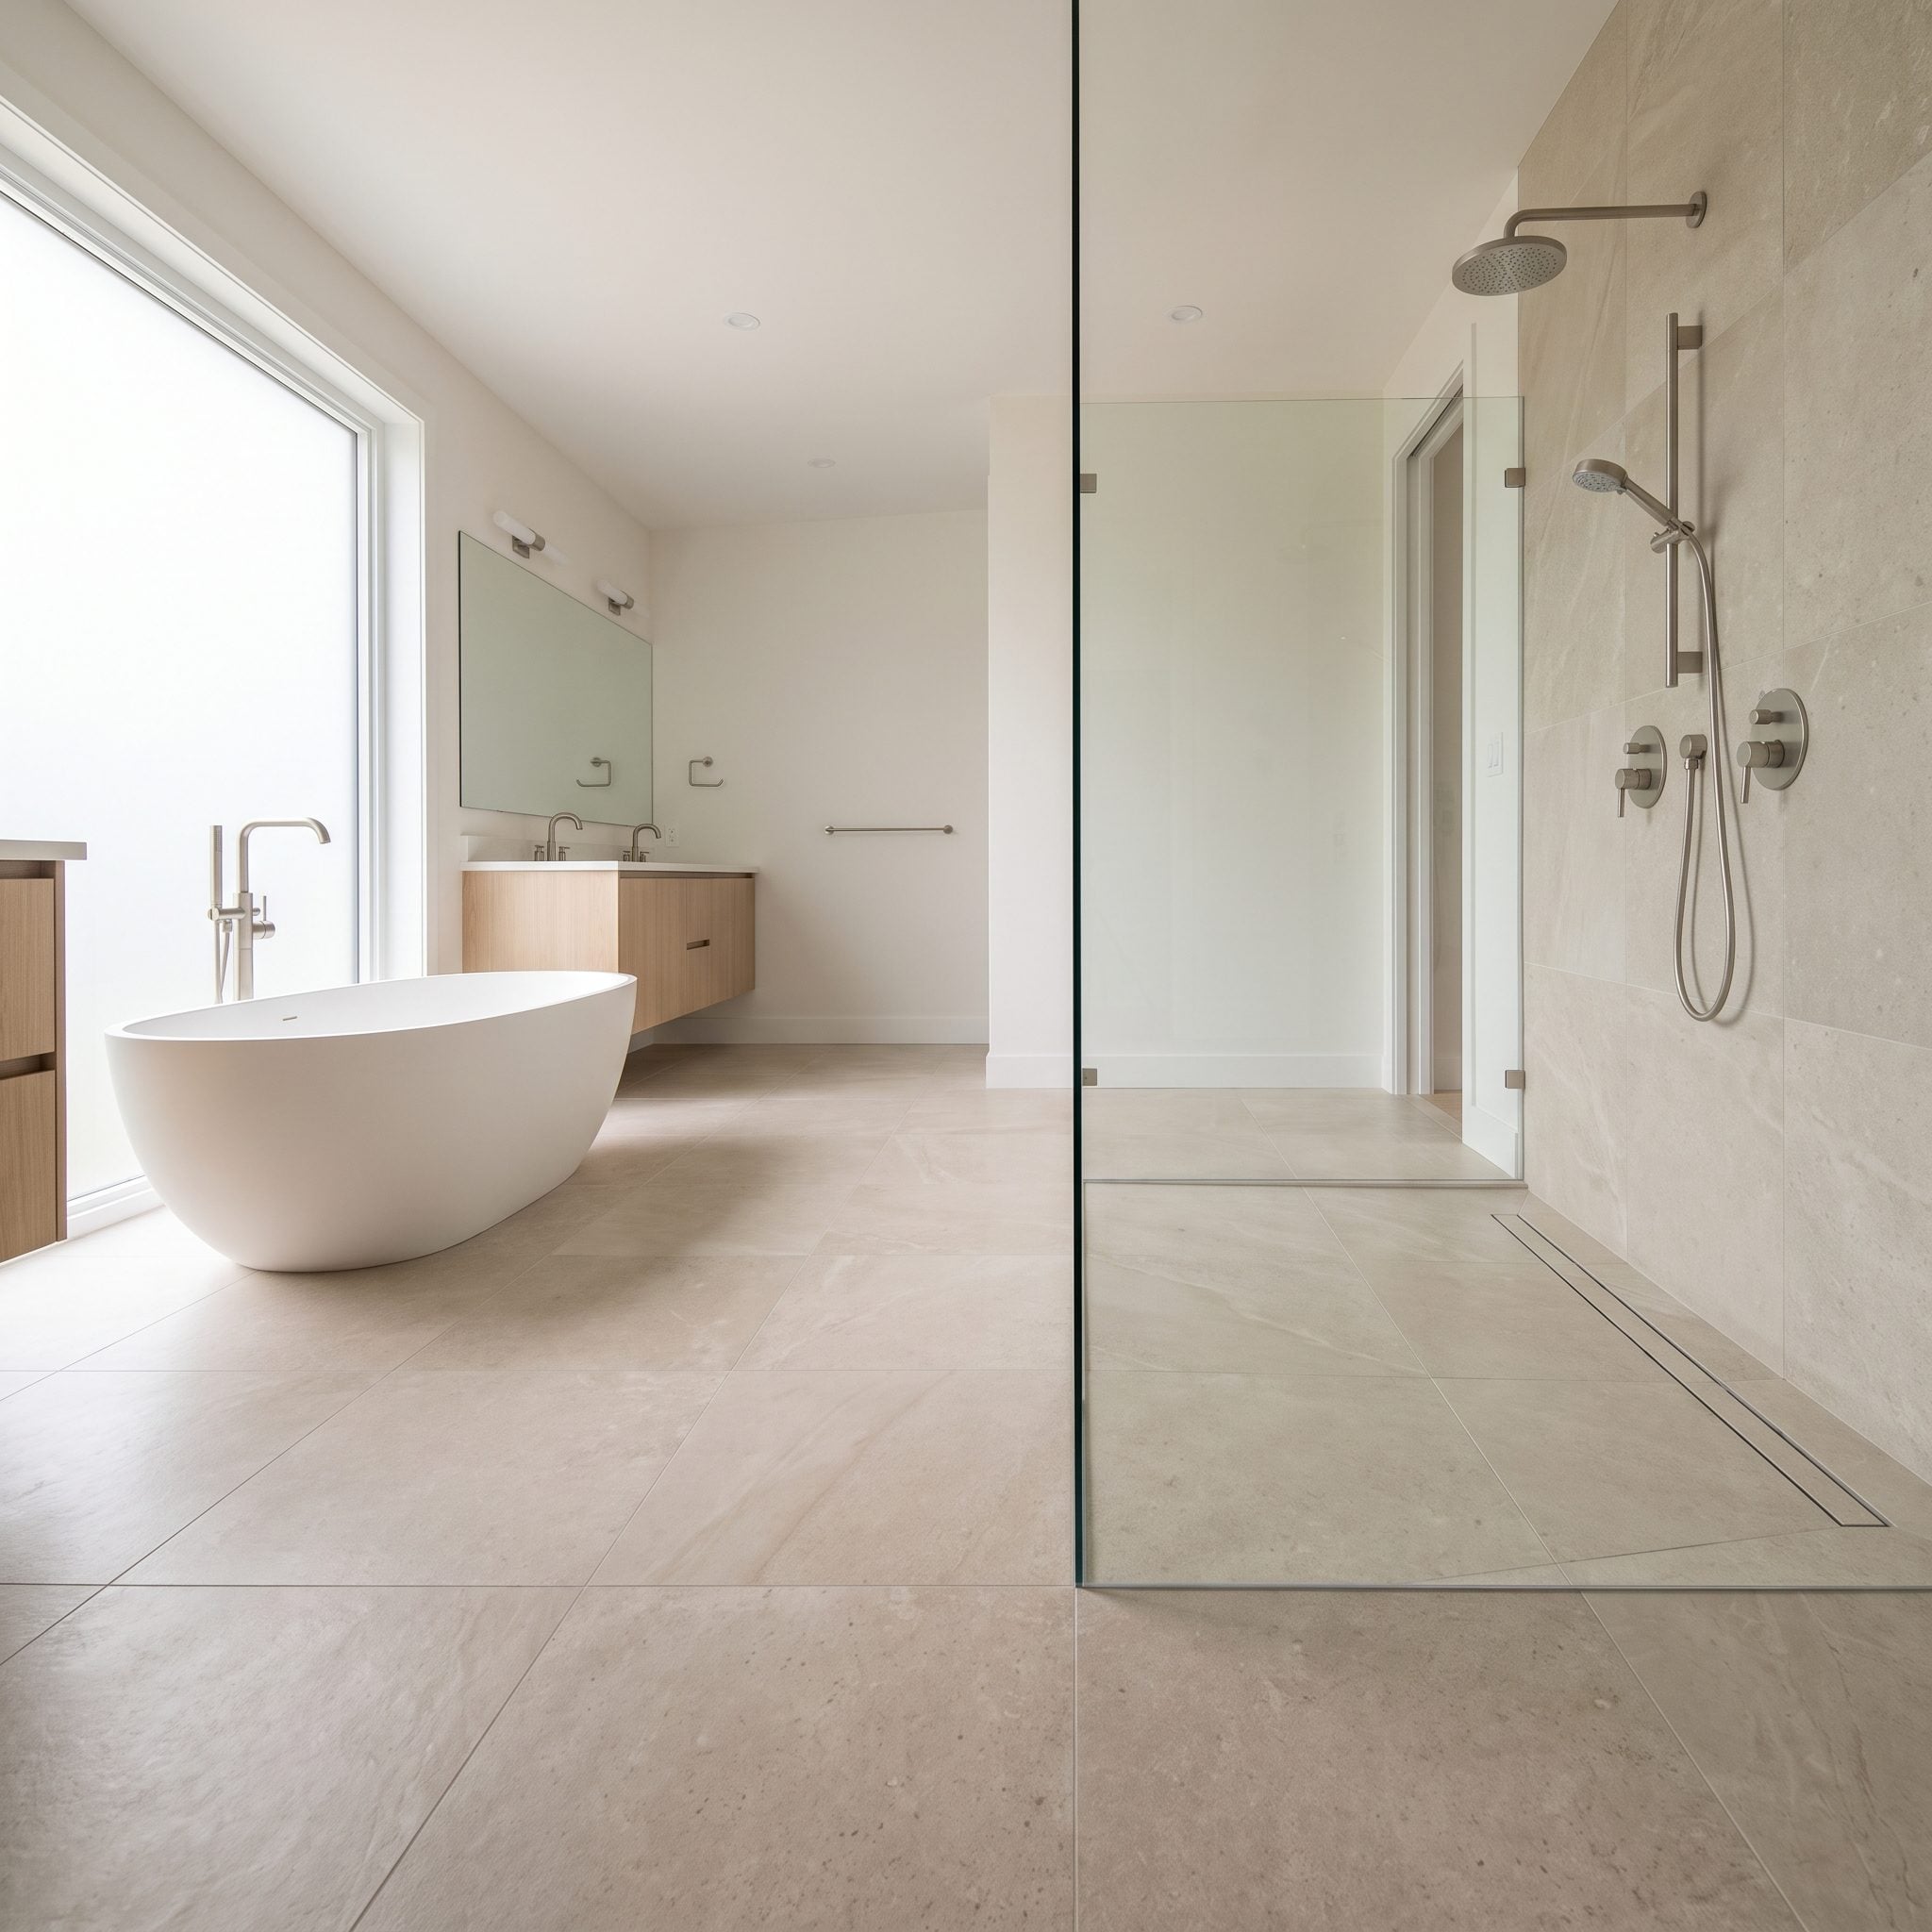
A shower curb is a small piece of construction with a surprisingly large visual presence. In a tight room, it announces exactly where one space stops and the next begins.
A curbless shower removes that vertical interruption and lets the finished flooring continue more naturally toward the enclosure.
But the floor cannot simply remain dead level. The shower substrate still needs the required slope toward the drain, with waterproofing designed around the threshold-free condition.
That technical work is precisely what makes the finished result look effortless.
4. Line the Fixtures Up in Sequence to Make a Long, Narrow Bathroom Work
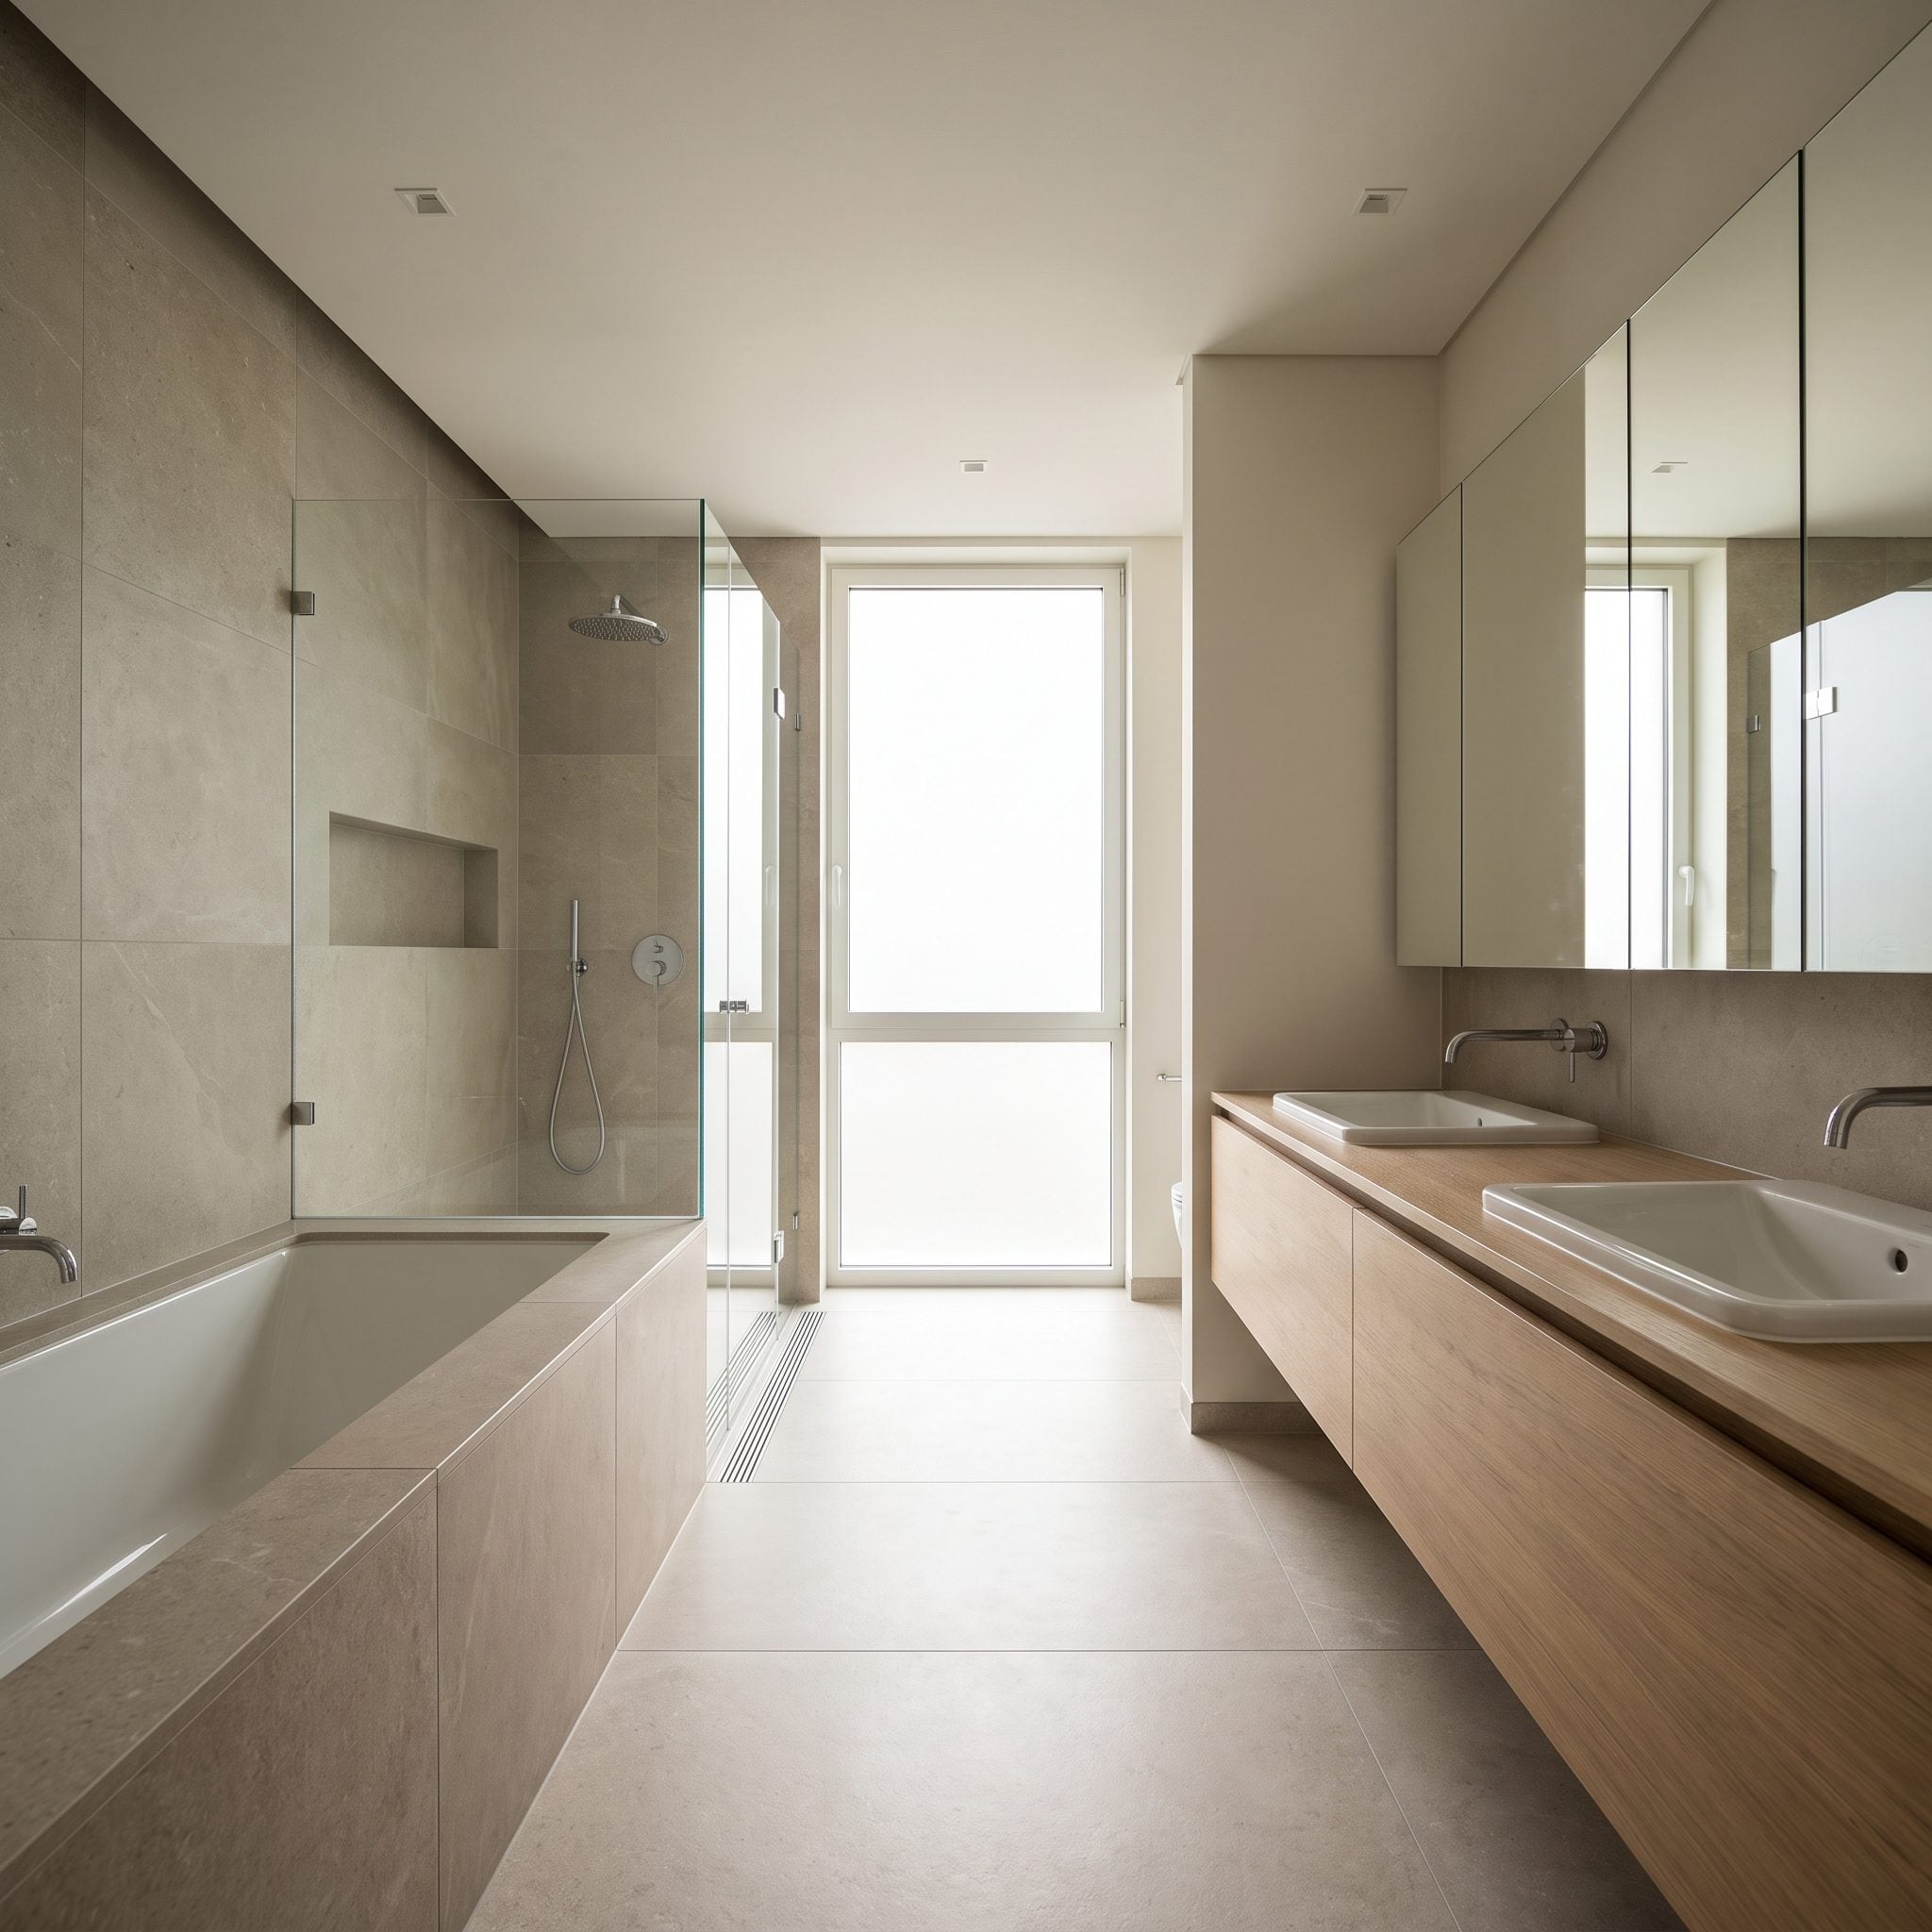
Long and narrow scares people. It shouldn’t. A skinny bathroom already has a strong direction, so use it.
Put the vanity near the entrance, the tub farther in, and the shower at the end. Instead of forcing fixtures to face one another across a narrow aisle, everything progresses down the room.
A low freestanding tub also preserves the view toward the far wall or window. A bulky deck in the same position could stop that sightline cold.
3. Create a Zero-Threshold Wet Zone Around Both Fixtures
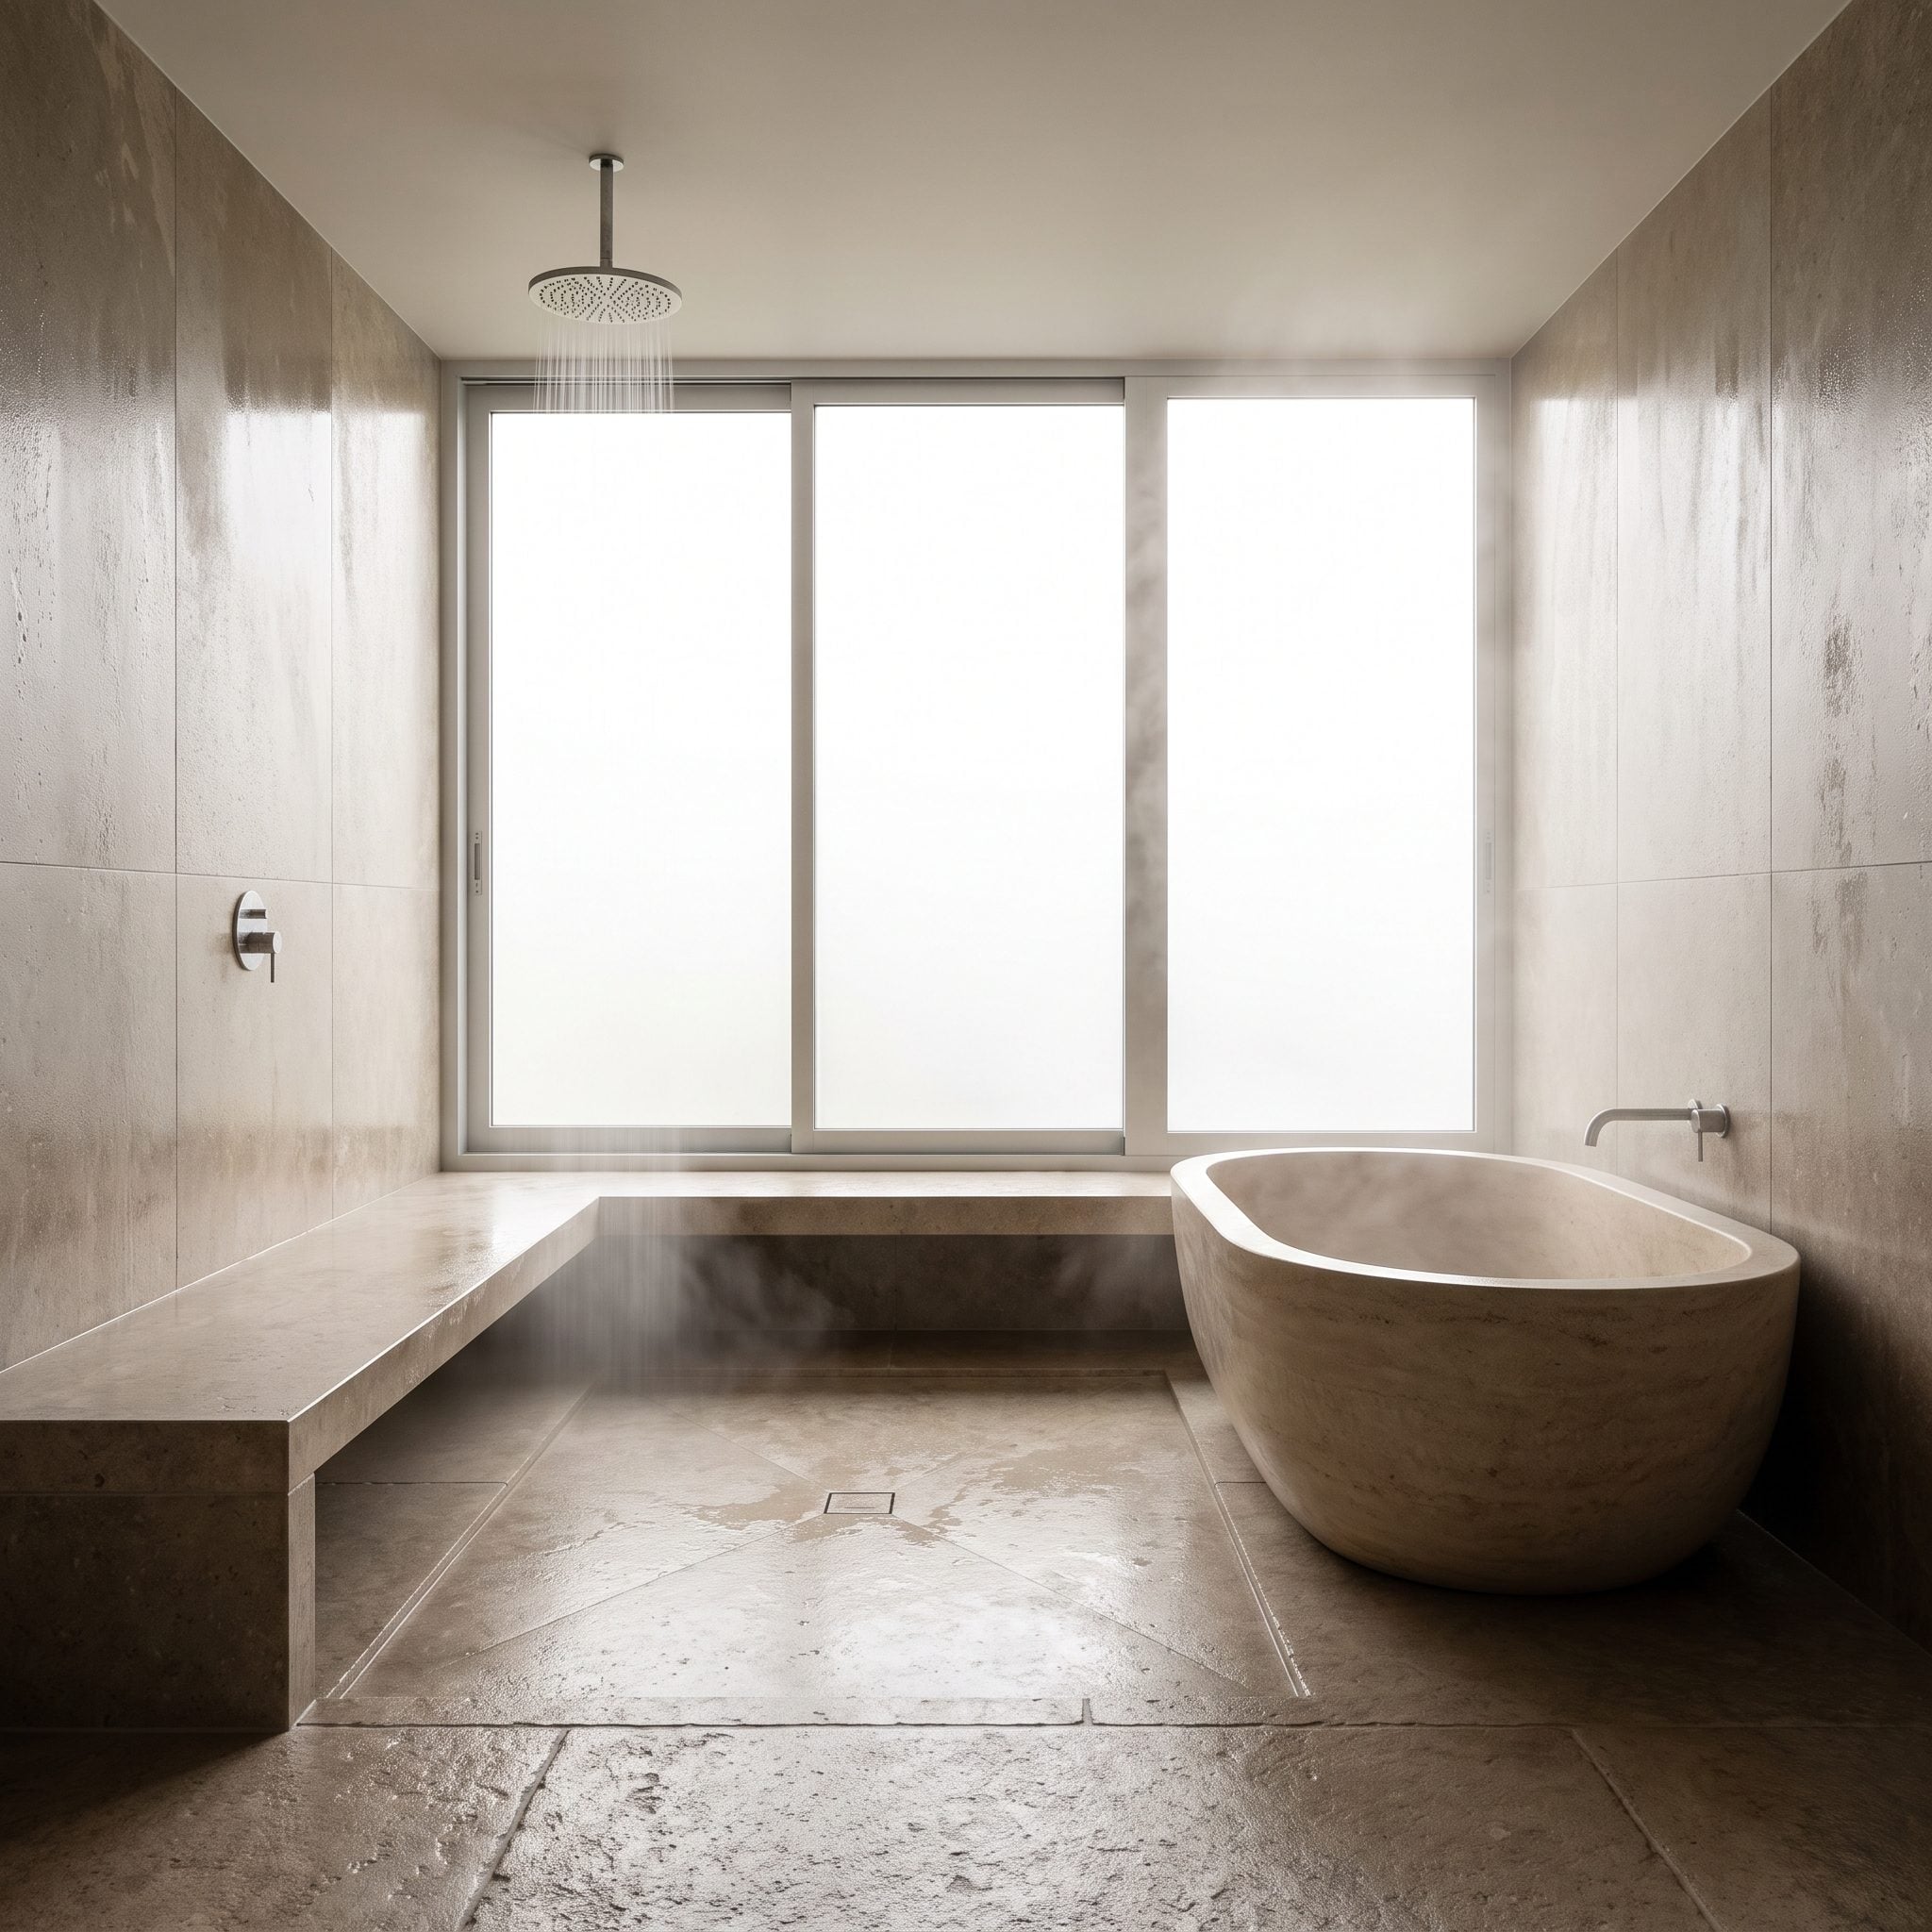
Take the wet-room idea one step farther and remove most of the enclosure itself.
Tub and shower sit inside one fully waterproofed zone with continuous finishes, planned drainage, and no raised threshold separating bathing from showering.
Unlike the glass-enclosed wet room earlier in the gallery, this approach is about openness. The architecture — not a door — defines where the wet zone begins.
Tile running floor to ceiling gives the area enough visual weight that it feels intentional rather than unfinished.
This is the kind of simplicity that requires more technical planning than the finished room admits.
2. Make the Tub the Star, Not the Space Nothing Else Wanted
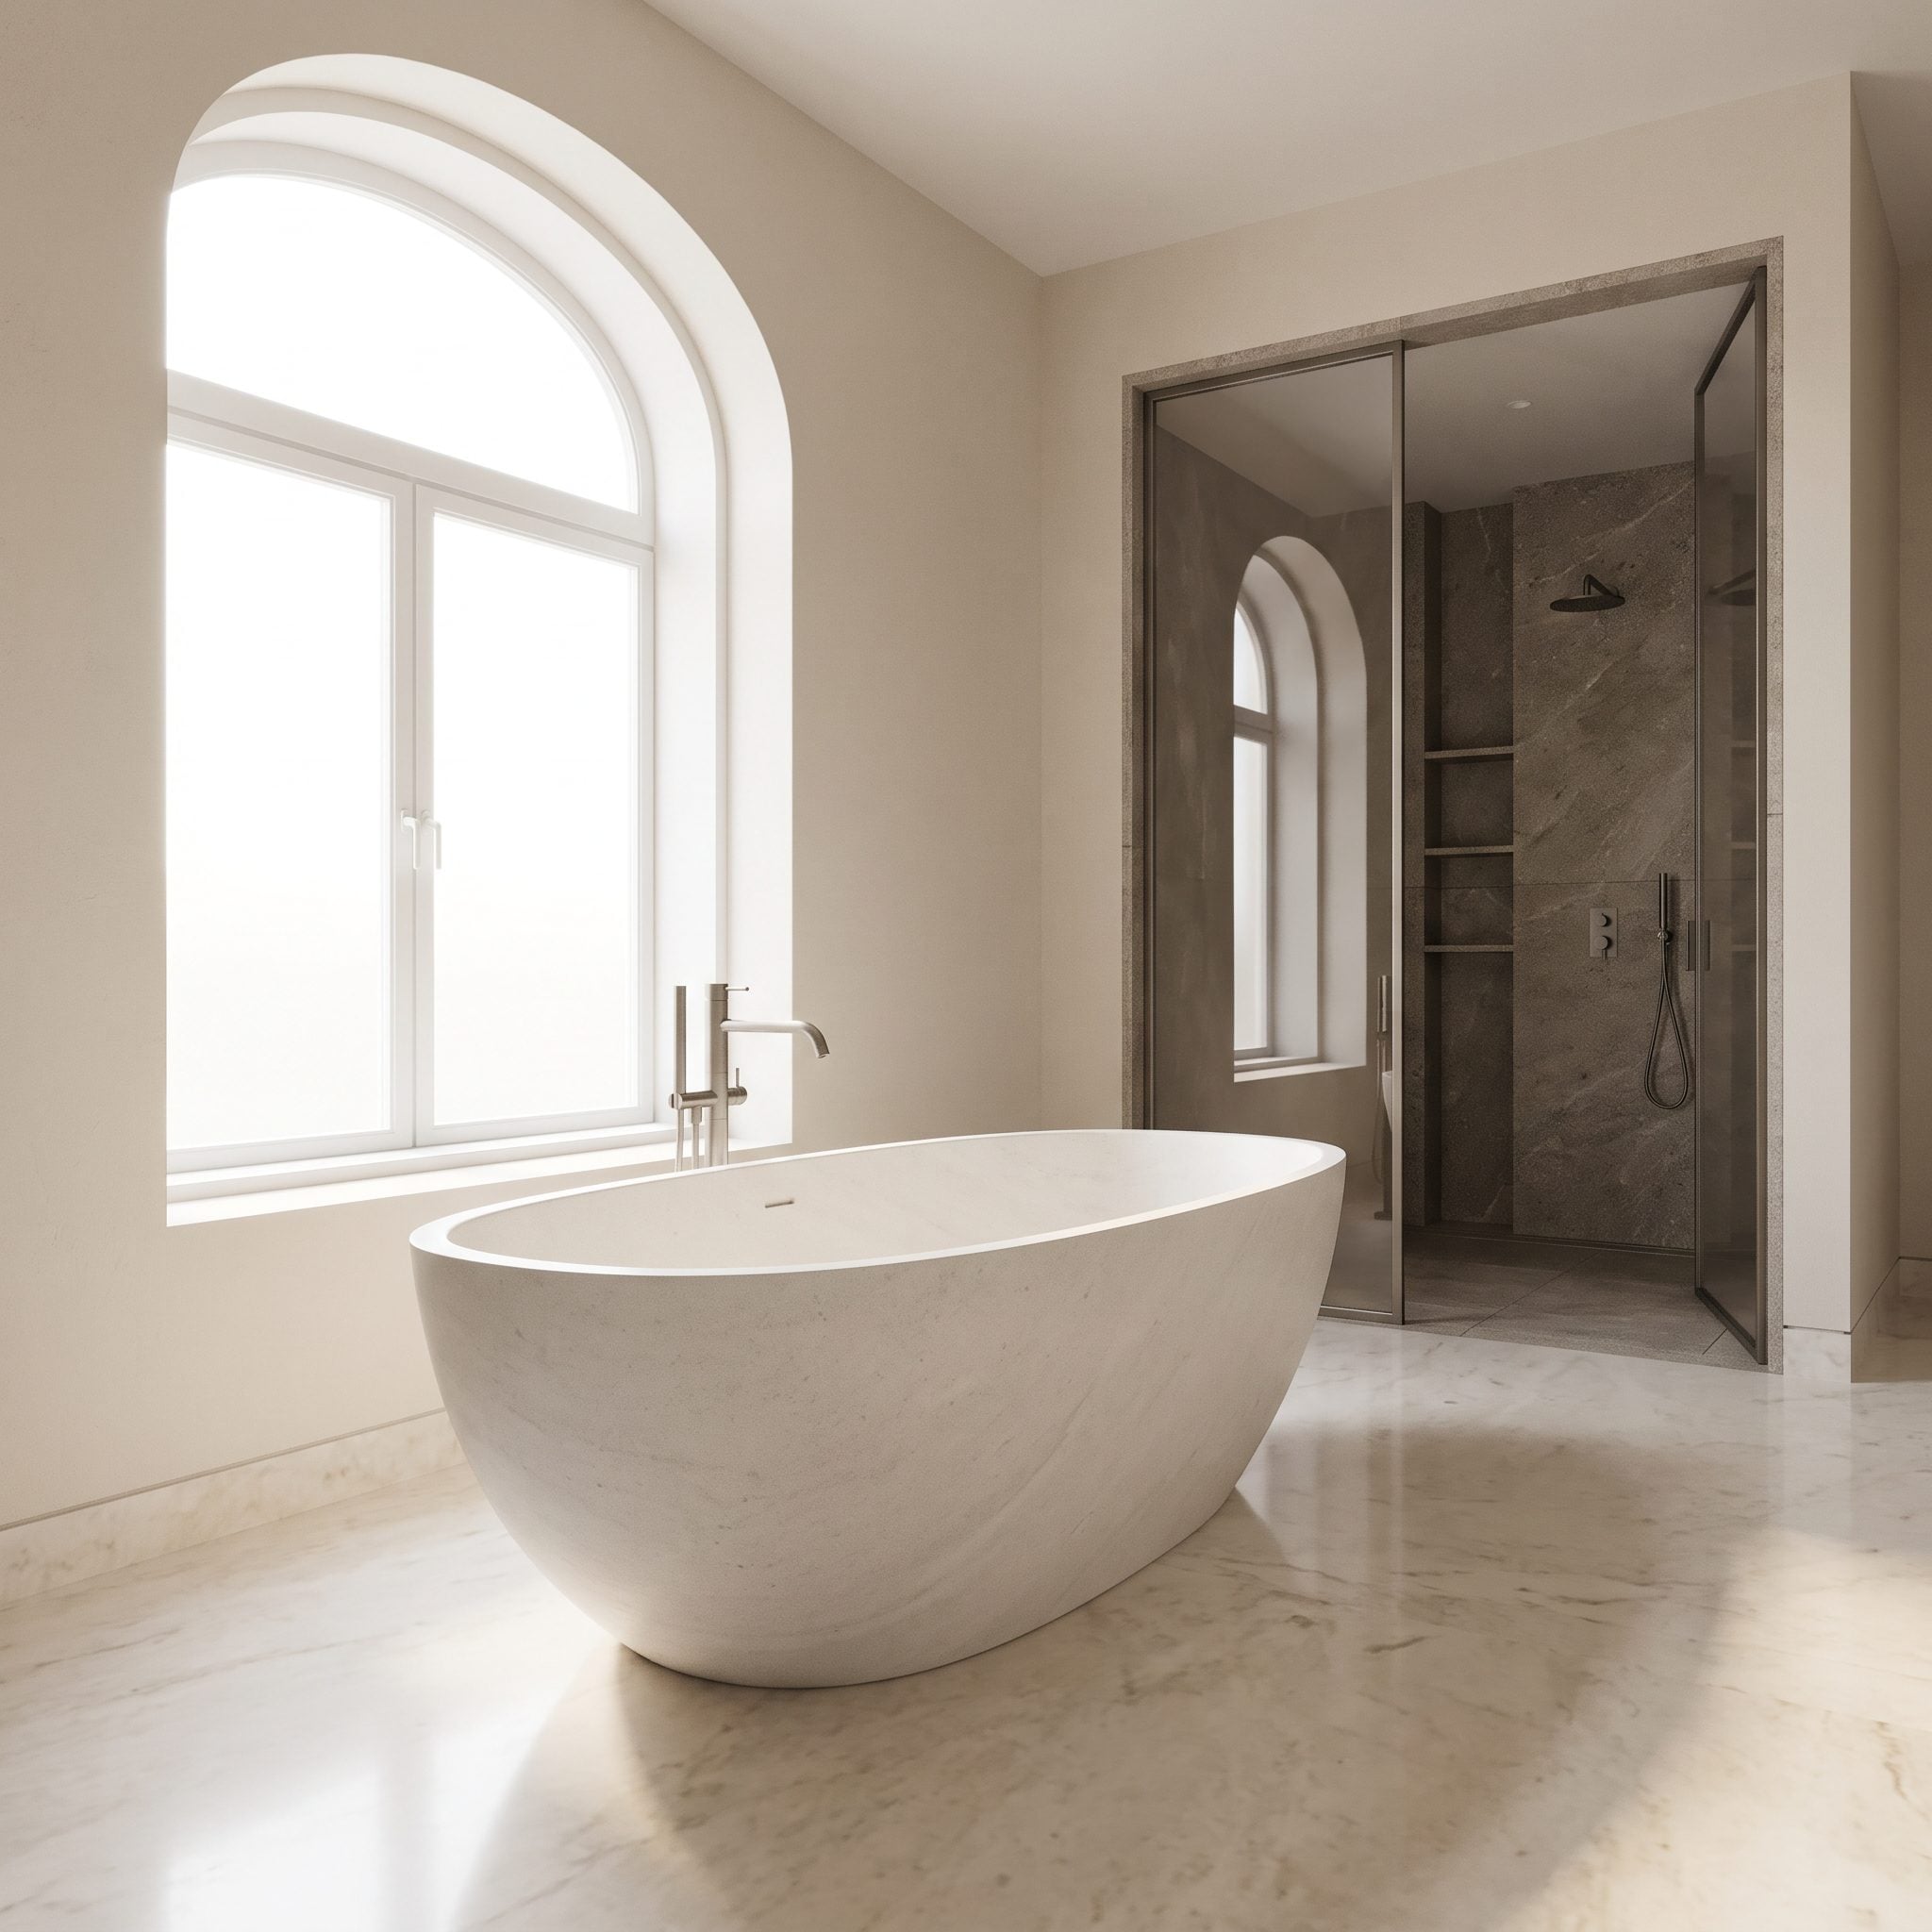
Most plans give the shower the prime location and ask the tub to survive whatever square footage remains. Reverse that hierarchy.
Center the bath on the window or another strong architectural feature and let it become the first thing visible from the doorway.
Then allow the shower to recede against a side wall behind minimal glass. A shower doesn’t need to be the focal point simply because it gets used every morning.
Here, the travertine tub beneath the arched window explains the entire composition. Fluted plaster stays quiet behind it, the shower steps aside, and the room suddenly has a reason for being arranged the way it is.
A dark bathroom makeover may pursue a completely different atmosphere, but the same rule applies: decide what deserves the visual emphasis, then stop the rest of the room from shouting over it.
1. Design the Tub and Shower as One Suite So Neither Looks Crammed In
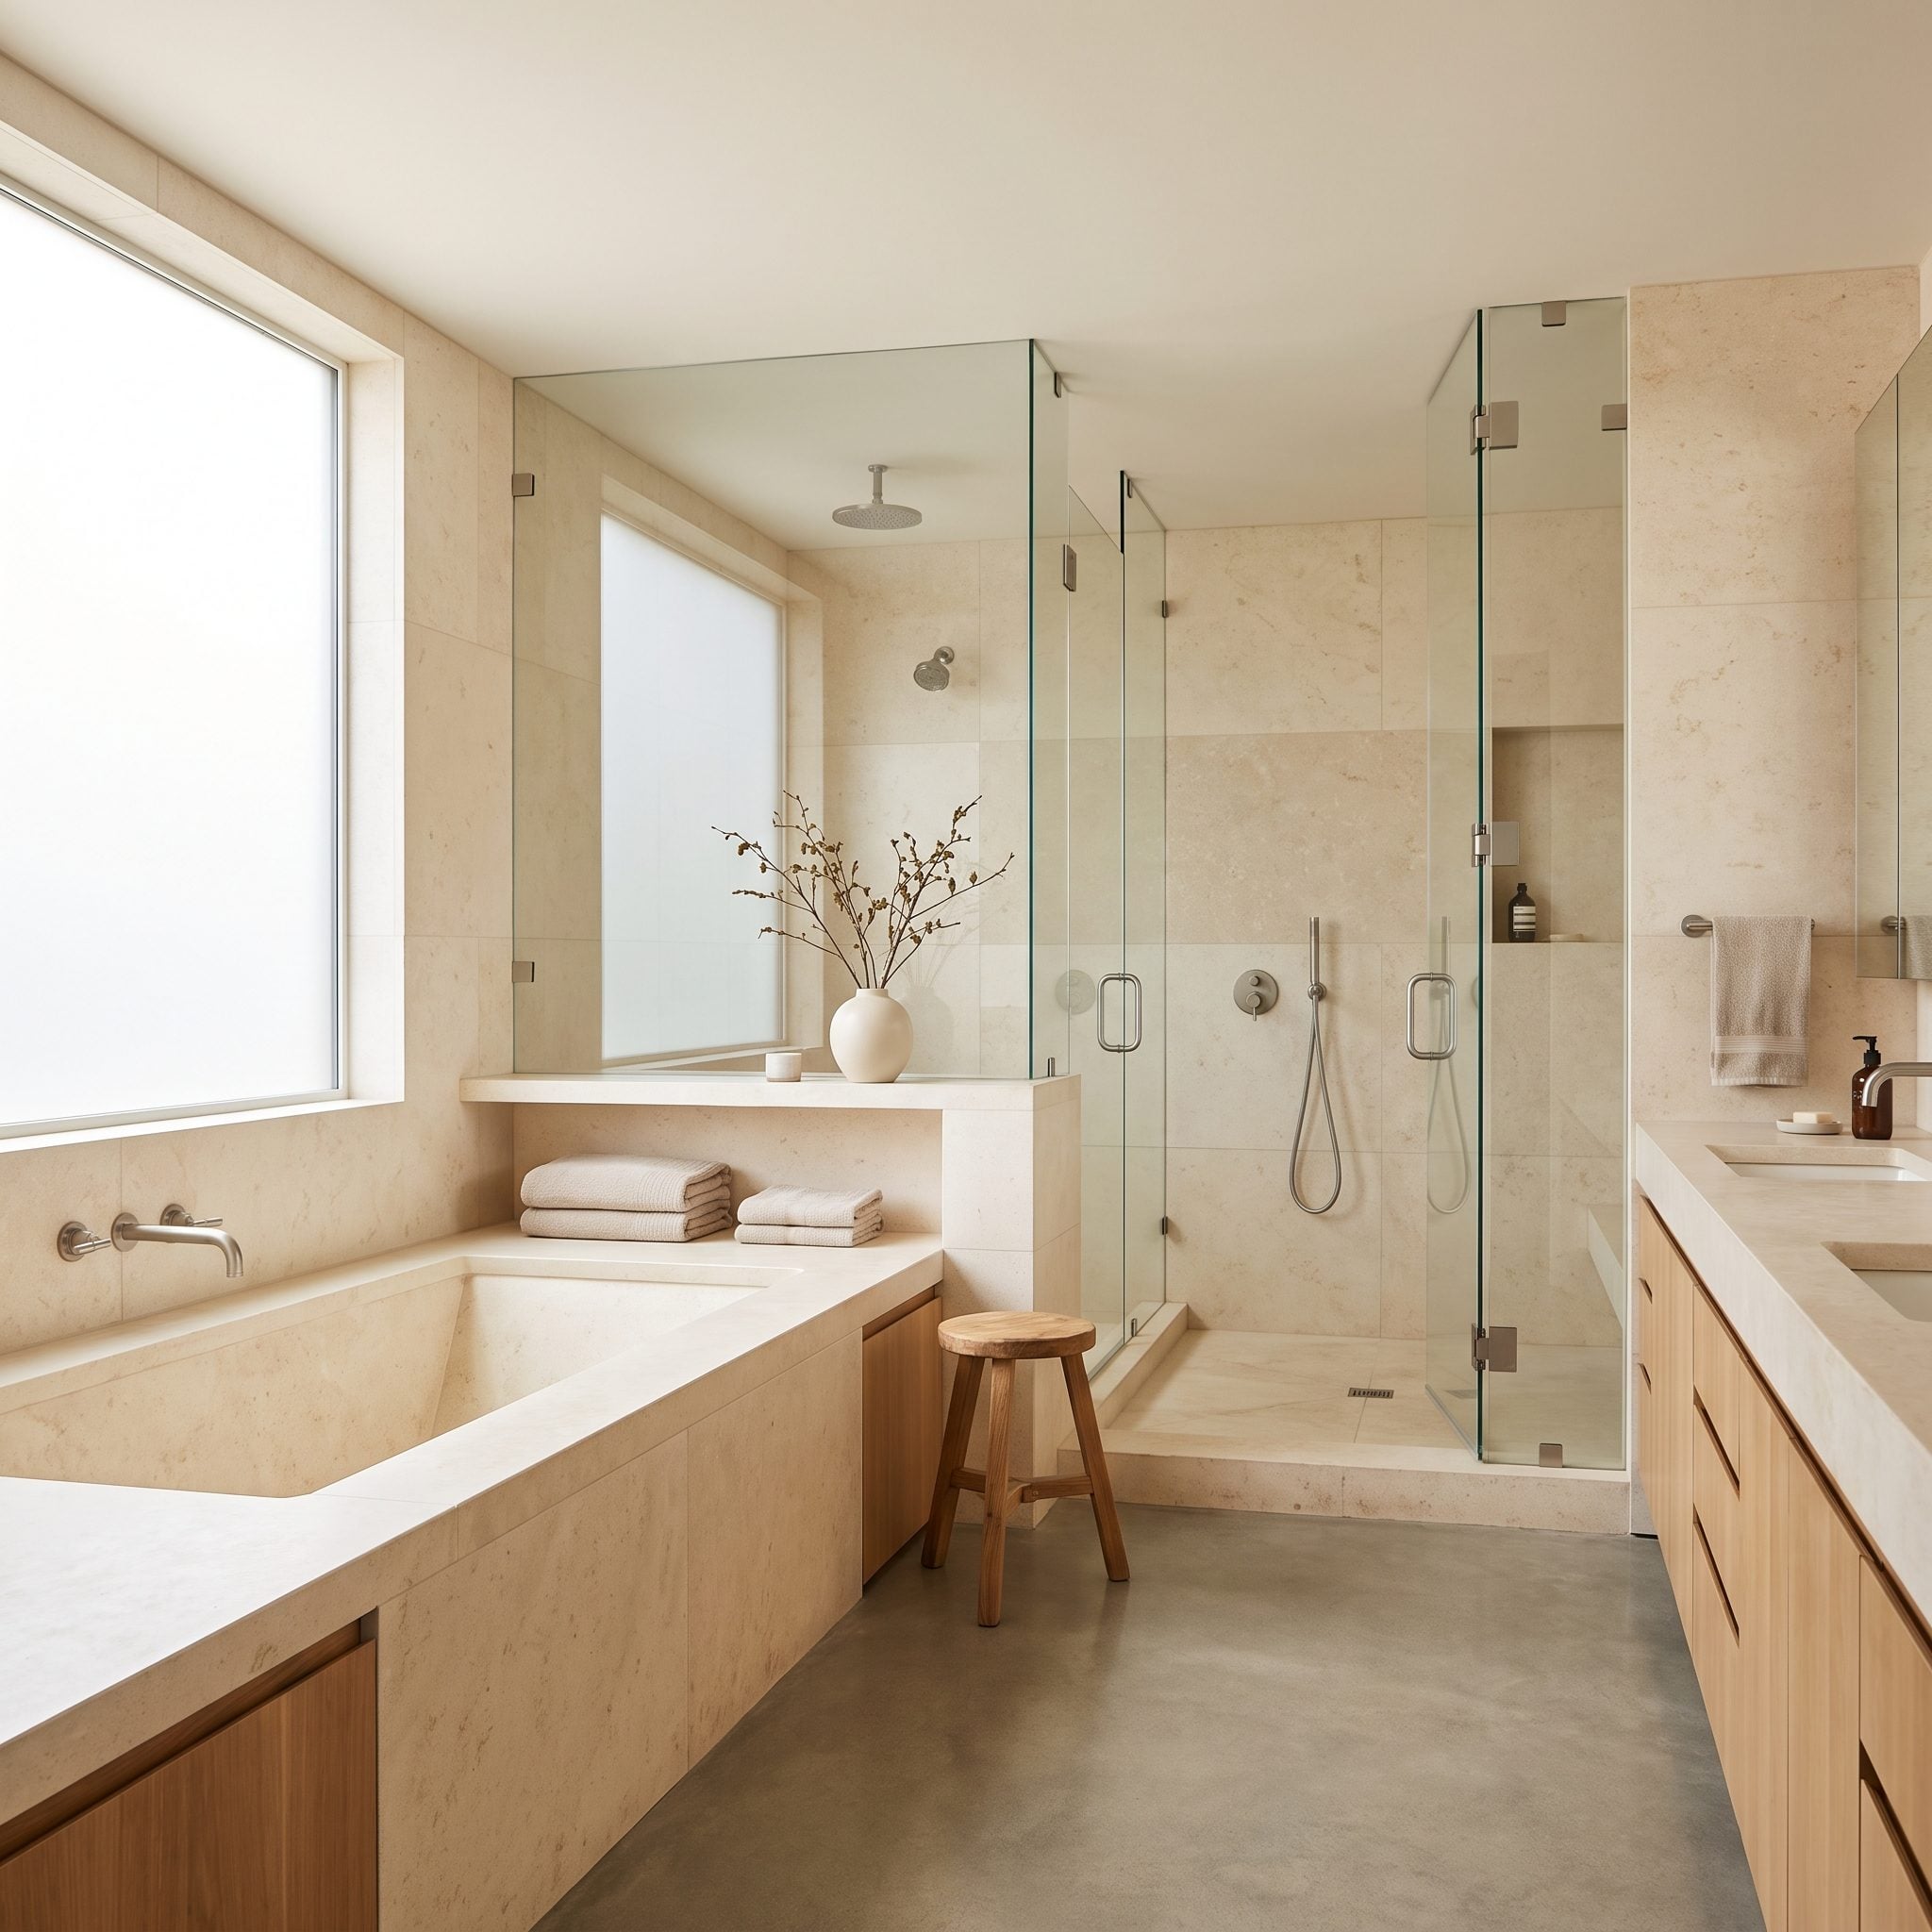
After all these ways to make the geometry behave, this may be the rule that matters most: don’t let the finished room reveal the argument that happened on the floor plan.
If the tub looks squeezed into one leftover patch and the shower looks boxed into another, no amount of expensive stone will make the arrangement feel resolved.
Treat them as one bathing suite instead. Repeat materials. Align edges where you can. Let glass disappear. Decide which fixture leads and which supports it. Make the drainage, lighting, hardware, and tile feel as though they were discussed in the same meeting.
Here, the tub and rainfall shower share terrazzo underfoot and warm beige tile around the wet zone, so neither has to fight for visual territory. The same logic drives a strong contemporary bathroom design: fewer competing gestures, more confidence in the ones that remain.