🔥 Would you like to save this?
A gorgeous vanity means nothing if there’s water rotting the subfloor underneath it. That’s the cruel math of bathroom renovation. The prettiest choices and the smartest choices are almost never the same, and the gap between them is where money quietly disappears. Below are ten mistakes that turn a serious budget into a serious regret. Some stay invisible until it’s too late. Some you’ll spot every single day. All of them are avoidable if you catch them now.
50. Skipping the Waterproofing Membrane and Calling It Fine
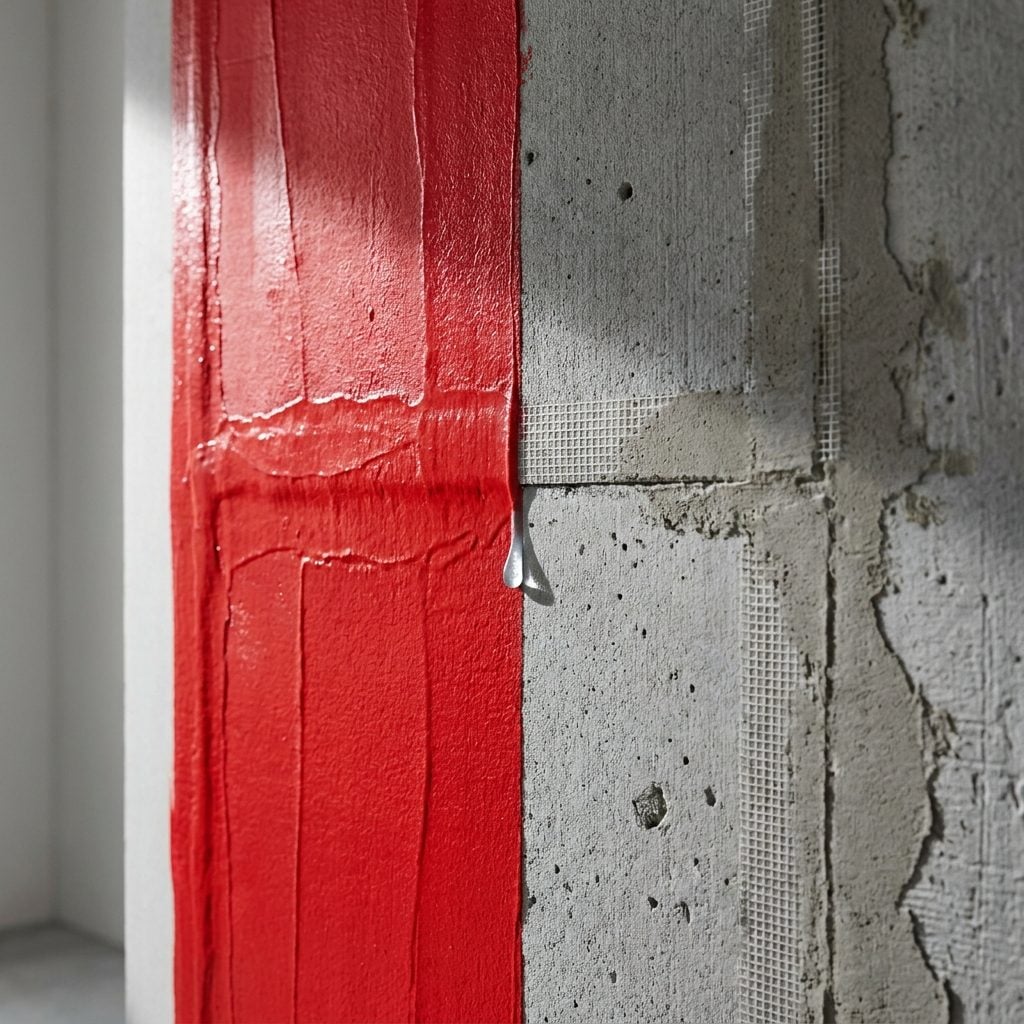
Nobody photographs the layer that saves your entire remodel, because you’ll never see it again once the tile goes on. Waterproofing membrane goes down first, and if your contractor waves it off with “the tile and grout will handle it,” stop right there. Grout is not waterproof. It never was.
In order to come up with the very specific design ideas, we create most designs with the assistance of state-of-the-art AI interior design software. Also, assume links that take you off the site are affiliate links such as links to Amazon. this means we may earn a commission if you buy something.
Water finds the seam, and it always finds the seam — slips behind the tile, soaks into the backer board, then the subfloor, then the joists. By the time a stain shows up on the ceiling below, you’re staring at a five-figure repair and a floor you have to rip out.
49. Choosing Tile Based on How It Looks in the Store, Not How It Cleans at Home
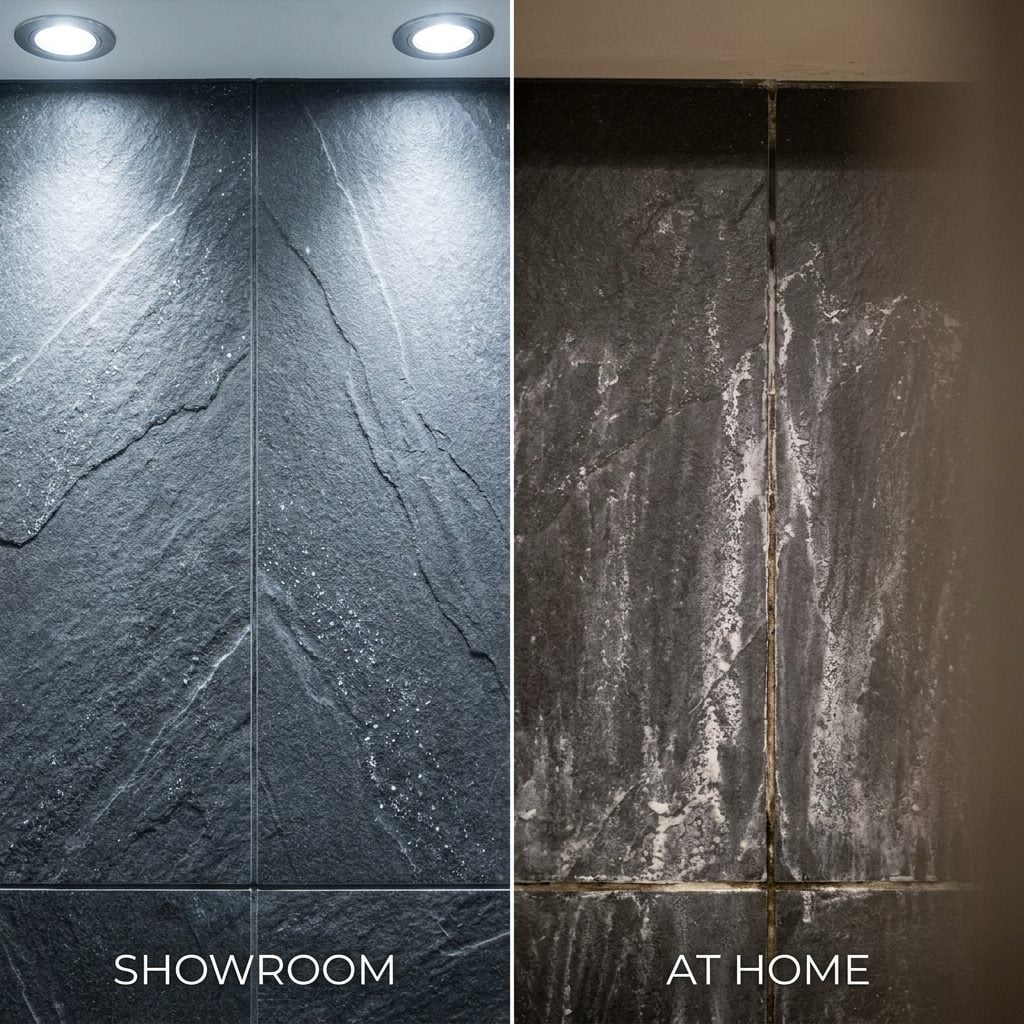
That gorgeous textured slate-look tile with the deep grooves and the moody dark grout looked incredible under the showroom spotlights. In your bathroom, those grooves become tiny reservoirs for soap scum, hair, and the grey film that builds up faster than you’d believe.
Every material charges a maintenance tax. Rough tile, heavily textured stone, and skinny grout lines in dark colors all cost you in scrubbing time. So before you fall for a sample, ask one question: how do I clean this on a Tuesday when I’m tired?
48. Installing the Vanity Light at Eye Level Instead of Above the Mirror
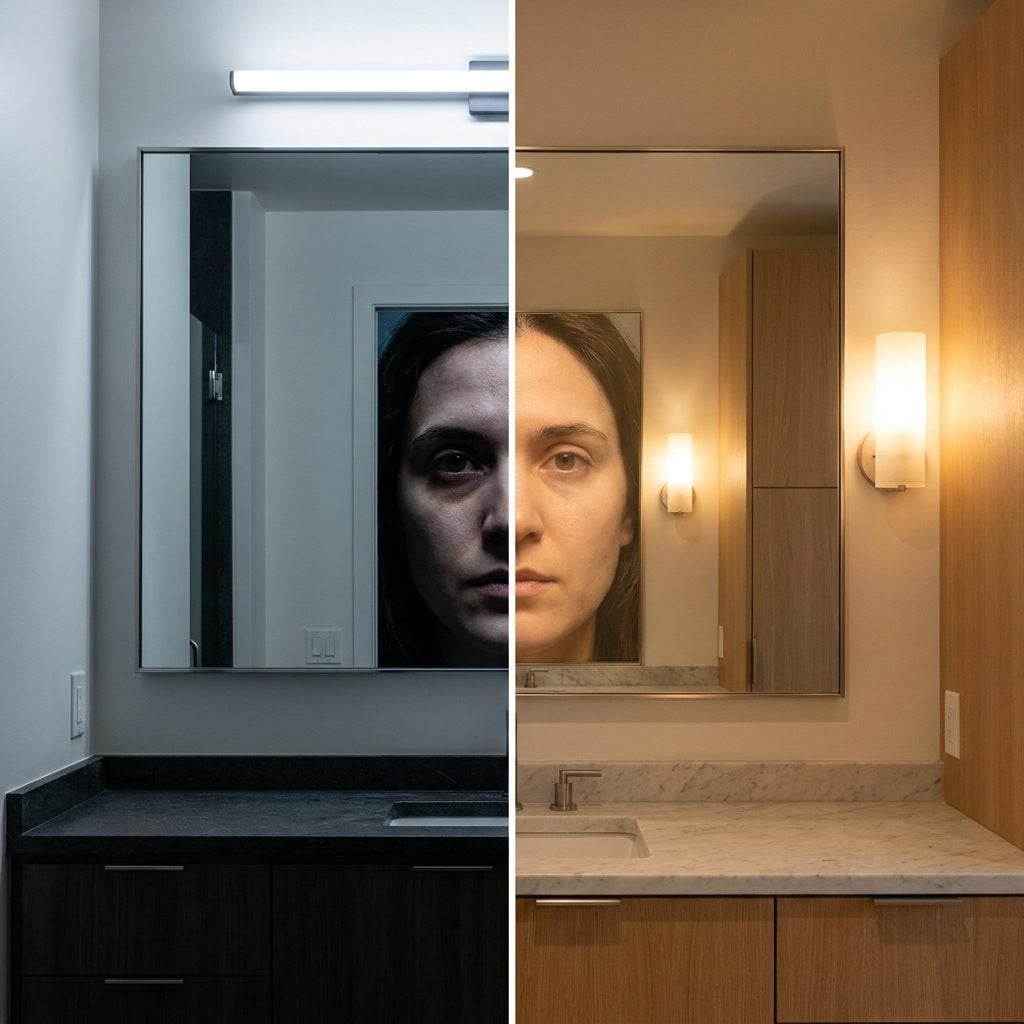
Light from above the mirror casts shadows straight down your face — under the eyes, under the nose, under the chin. It’s the same lighting a horror movie uses on purpose. You’ll look tired every morning of your life and never quite know why.
The fix is boring and it works: put the light beside the mirror, at roughly face height, on both sides. Two brass wall sconces flanking the glass throw light across your face instead of down it. Flattering, even, no shadows. It’s how makeup counters and hotel bathrooms do it, and there’s a reason.
47. Forgetting to Plan Electrical Outlets Before the Walls Close Up
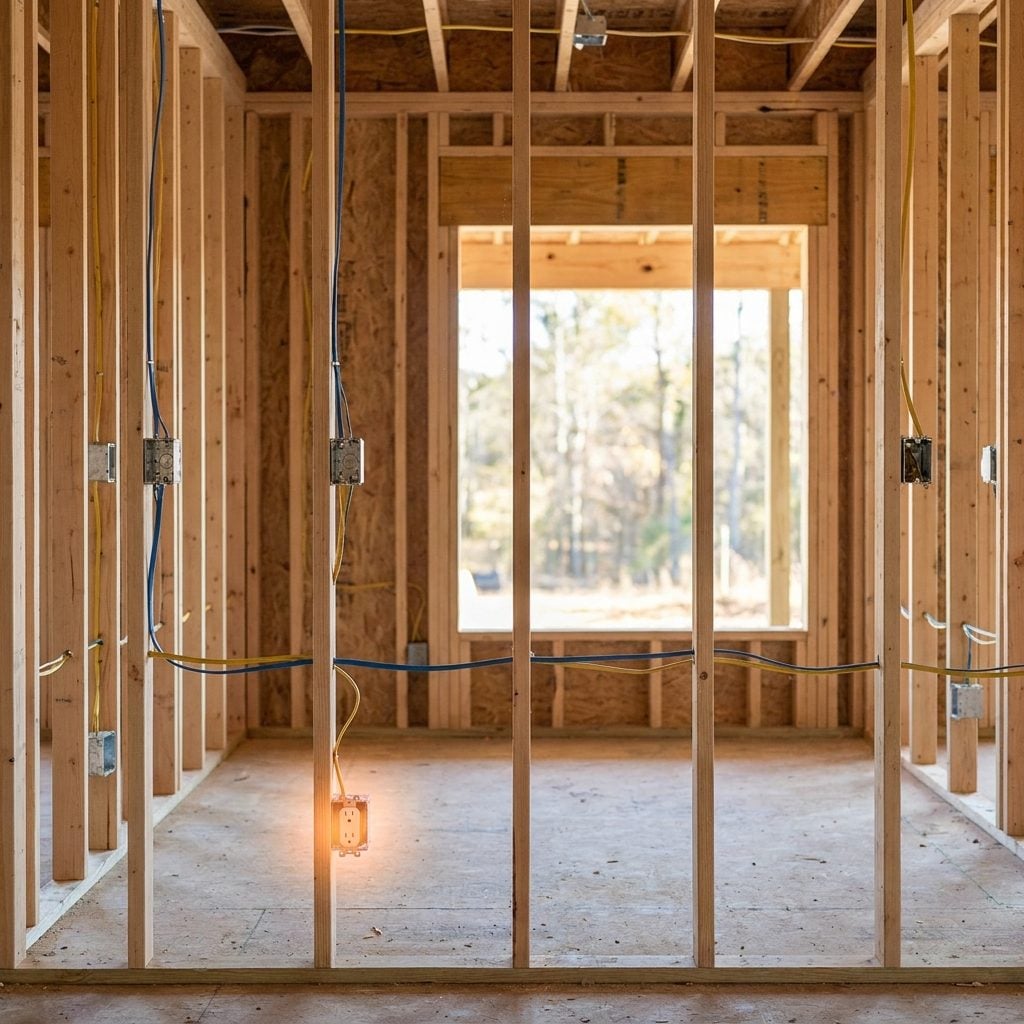
Outlets are cheap when the walls are open and expensive once they’re closed. Most people rush this phase because it’s invisible and unglamorous — which is exactly where you’ll regret rushing.
Walk through your actual routine. Where does the hair dryer live? The electric toothbrush? The phone charging while you shower? An in-drawer outlet keeps the counter clear, and a dedicated outlet inside the medicine cabinet hides the toothbrush charger completely.
46. Putting the Toilet in the First Place You See When the Door Opens
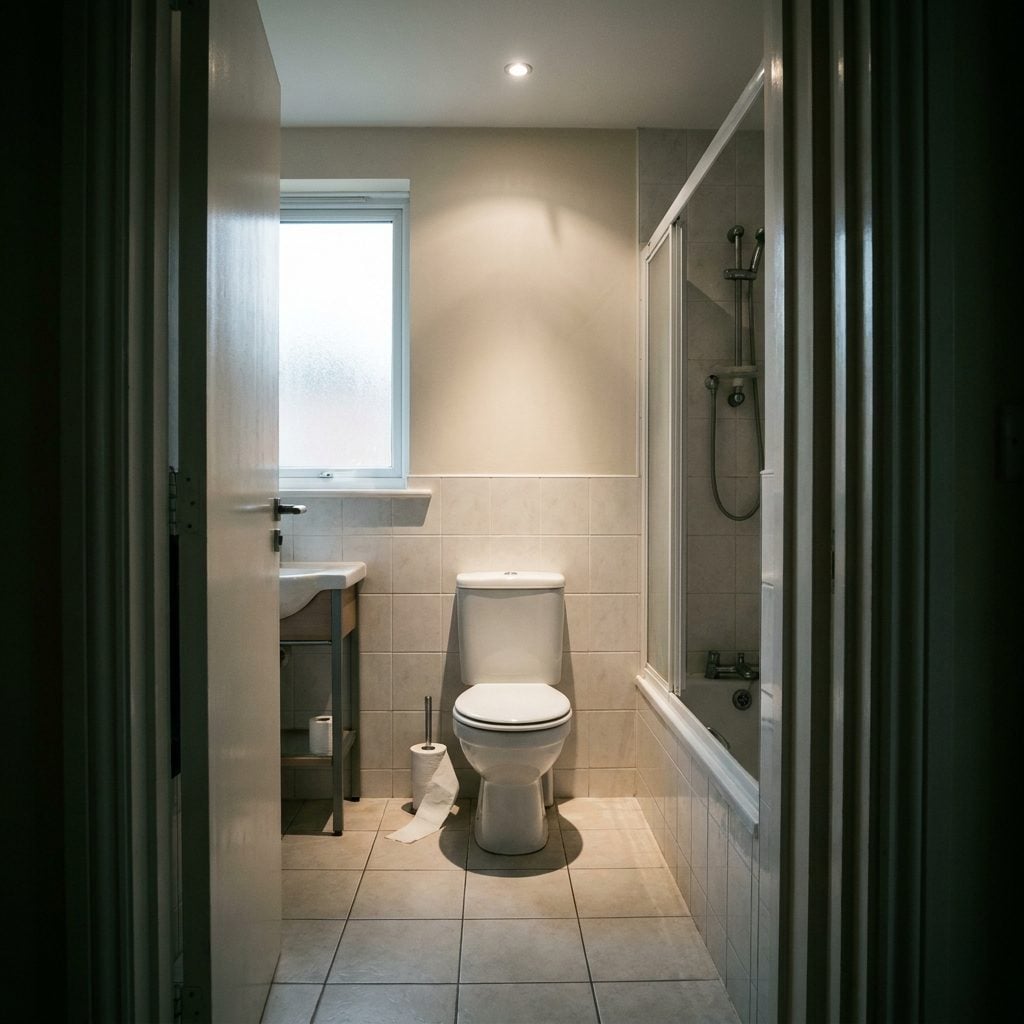
Open the door and there it is: the toilet, front and center, the first thing every guest sees. It happens because the plumbing was already roughed in there and moving it felt like a hassle, so it stays. And it’s the first thing you see for the next twenty years.
Good layouts hide the toilet. Tuck it behind a half-wall, around a corner, into an alcove — anywhere it isn’t staring back at the doorway. Let the vanity or the tub greet you instead. It costs a little in plumbing and pays you back every time the door swings open.
45. Choosing a Beautiful Vanity That Leaves You With Almost No Counter Space
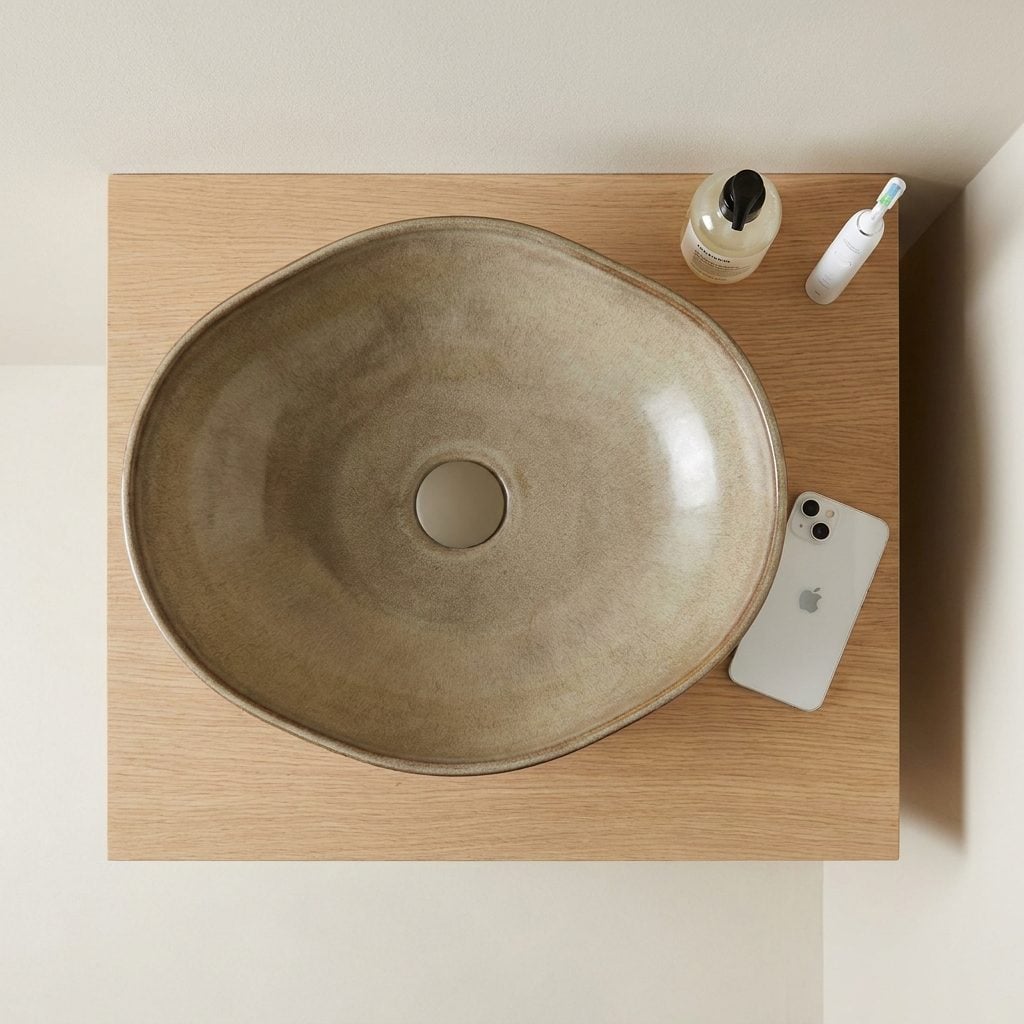
Vessel sinks look sculptural in the catalog. Then you own one and discover the raised bowl ate all your usable counter — now there’s nowhere to set a toothbrush, a razor, a contact lens case, or anything else a bathroom needs to hold.
Counter space is the quietest luxury in a bathroom. An undermount sink offset to one side leaves you a real, flat, usable surface. A white oak vanity with a wide honed marble top gives you both. Pretty is easy. Pretty and useful is the whole job.
44. Installing a Freestanding Tub That’s Nearly Impossible to Clean Behind
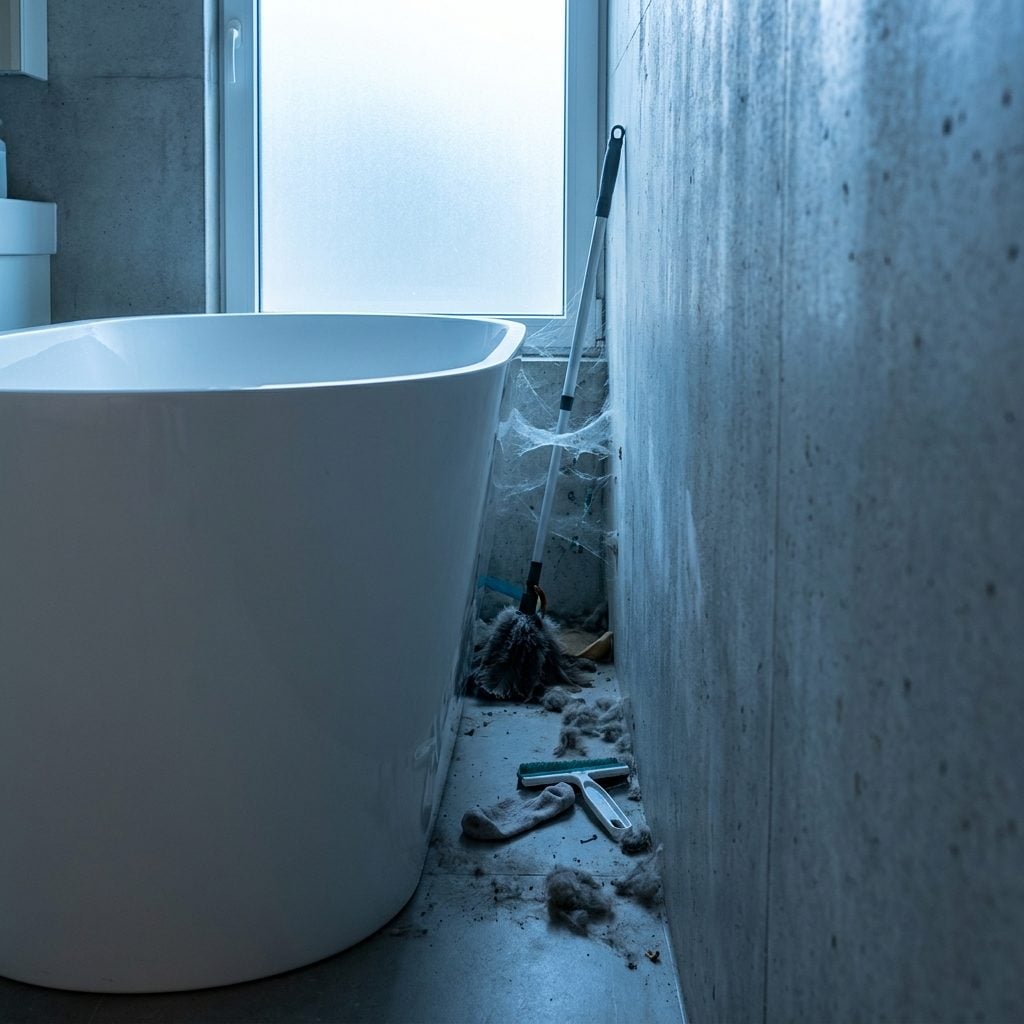
The freestanding tub is the star of every bathroom Pinterest board. What the photos never show is the six-inch dead zone crammed between the tub and the wall where dust, hair, and grime collect in a spot your arm cannot reach.
Give the tub breathing room. You want enough clearance to actually clean around and behind it, or it becomes a permanent hair museum. A freestanding soaking tub earns its keep only if you can mop the floor under and around it without moving the whole thing.
43. Choosing Polished Floor Tile That Becomes a Slip Hazard When Wet
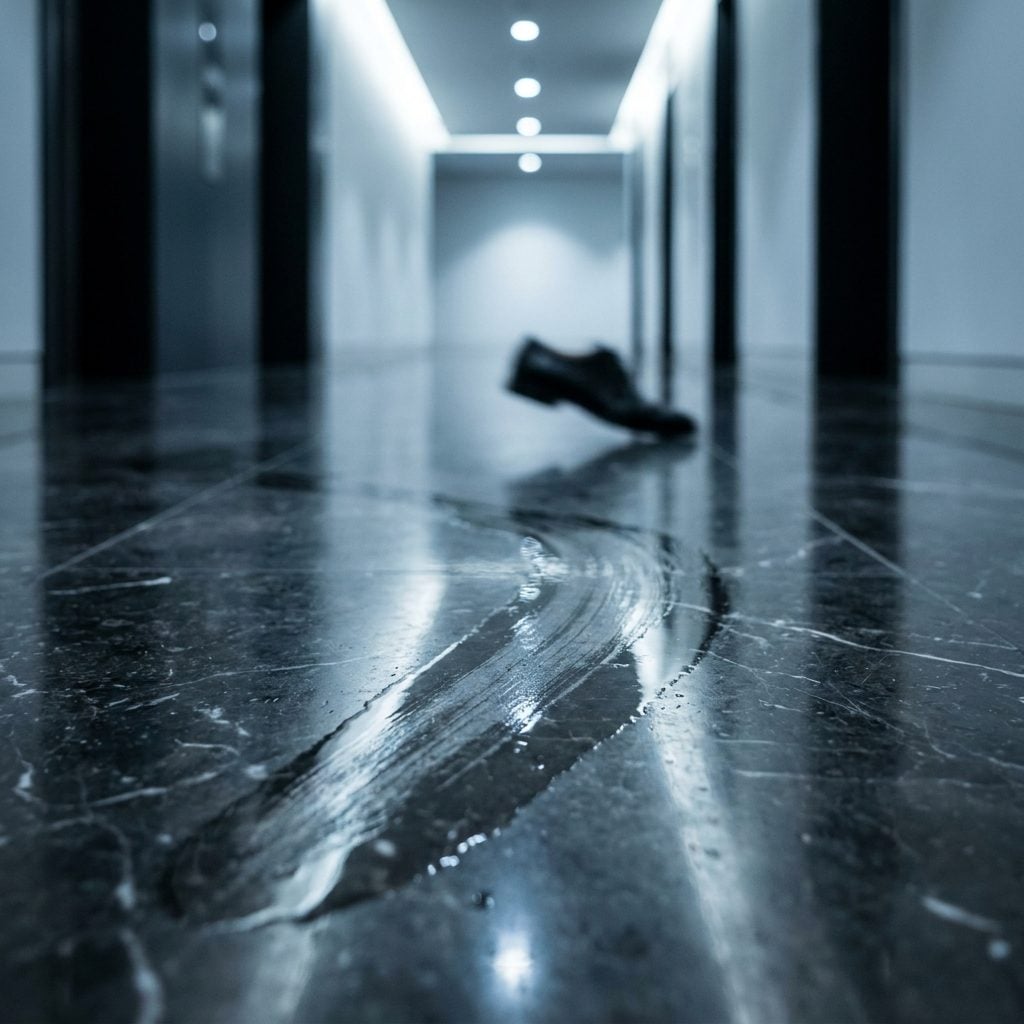
Polished marble and glossy porcelain look like liquid light on the floor. Add water and they turn into an ice rink. A wet bathroom floor is not the place to gamble on grip, especially if anyone in the house is older, younger, or just prone to rushing.
Look for the slip rating. Matte and honed finishes, smaller tiles with more grout lines, and textured porcelain all give your feet something to hold. Save the high-gloss for the walls where nobody’s standing. The floor’s job is to keep you upright, and no finish is worth a trip to the emergency room.
42. Making the Shower Too Small Because You Wanted a Bigger Vanity
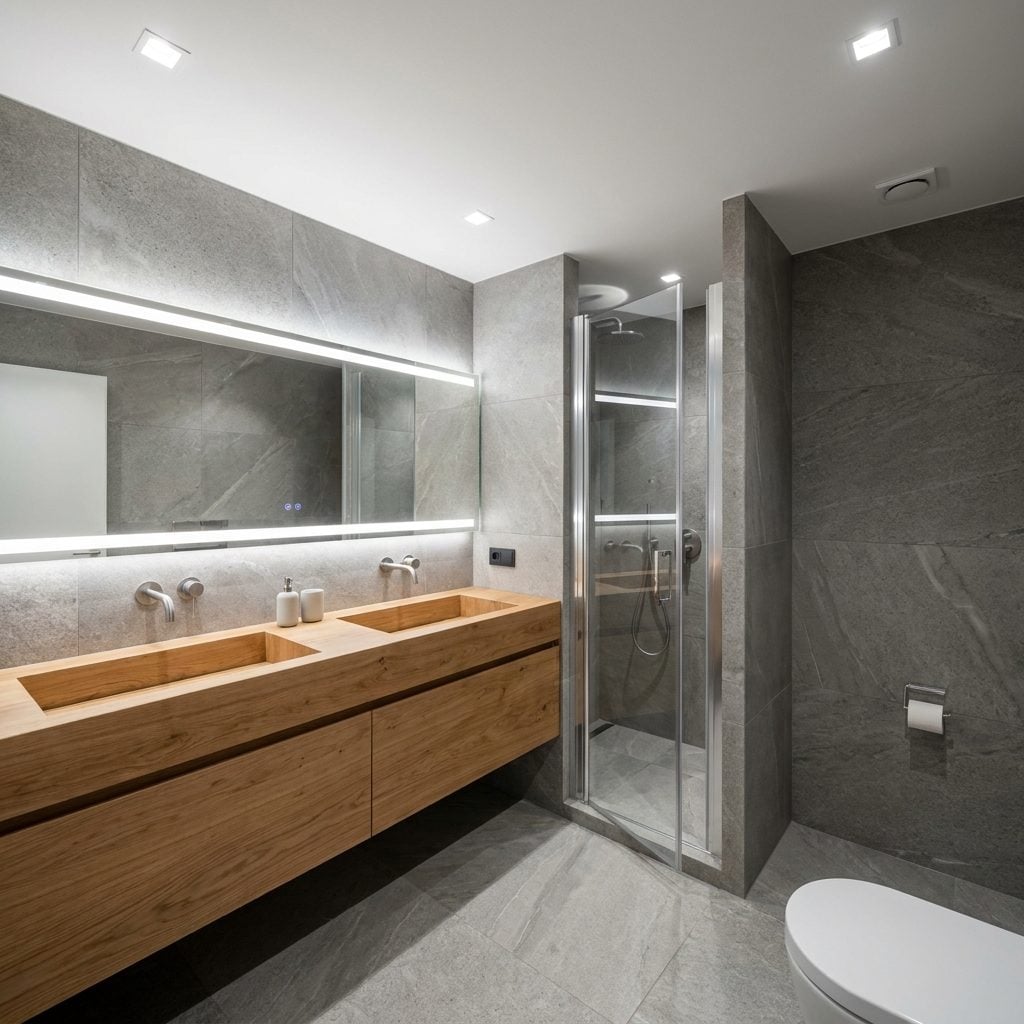
Everyone falls in love with the double vanity. Then it swallows the wall, and the shower gets squeezed down to a phone-booth box where you can’t bend over to shave your legs without elbowing the glass.
You use the shower every single day. The second sink you use maybe when there’s a houseguest. Be honest about which one deserves the square footage. A shower with a bench, a niche, and enough room to actually turn around is worth more to your daily life than a foot of extra counter you’ll pile with clutter anyway.
41. Putting the Shower Controls Where You Have to Get Wet to Turn the Water On
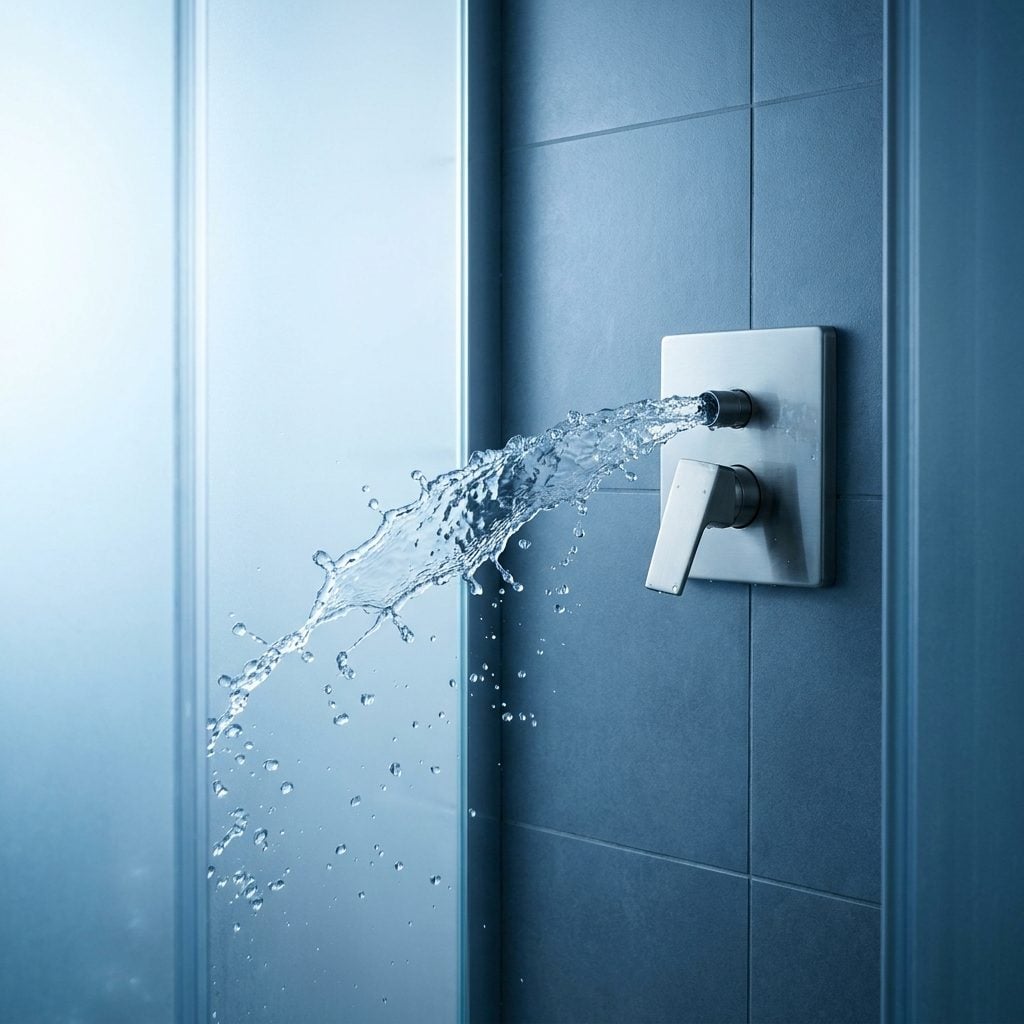
Picture the cold-shower flinch. You reach in, twist the valve, and get blasted with whatever temperature the water decided on while you jumped back out of the way. Small thing — but it happens every morning, forever, all because the control got mounted directly under the showerhead.
Put the valve near the shower entry, reachable from outside the spray. Turn the water on, let it warm up, then step in. A brass thermostatic valve holds your set temperature so you never get scalded when someone flushes elsewhere in the house. It’s the cheapest upgrade on this list and the one you’ll appreciate before your coffee every single day.
40. Installing a Rain Showerhead Without Checking Whether Your Water Pressure Can Handle It
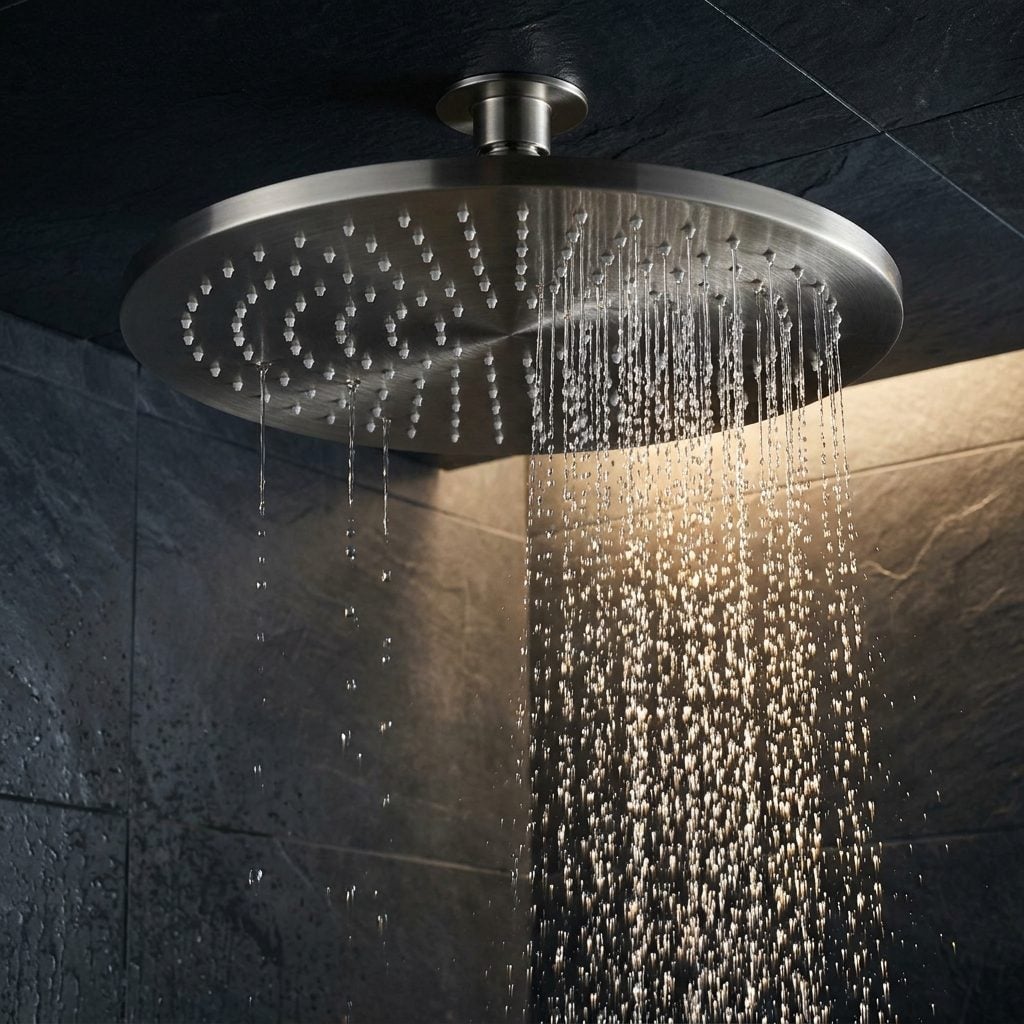
Nobody at the showroom tells you a rain head is a diva. It wants volume, not force. A standard showerhead uses pressure to throw water at you, but a wide rain disc just lets gravity do the work — so if your home runs low pressure, you get a sad drizzle that feels like standing under a leaky gutter.
Test your pressure before you commit. A cheap gauge on the hose bib tells you everything in about ninety seconds, and if you’re under 40 psi you should look at a pressure-boosting model or skip the rain head entirely. I’ve watched people spend real money on a fixture that only made them shower faster.
39. Building a Curbless Shower Without Getting the Floor Slope Exactly Right
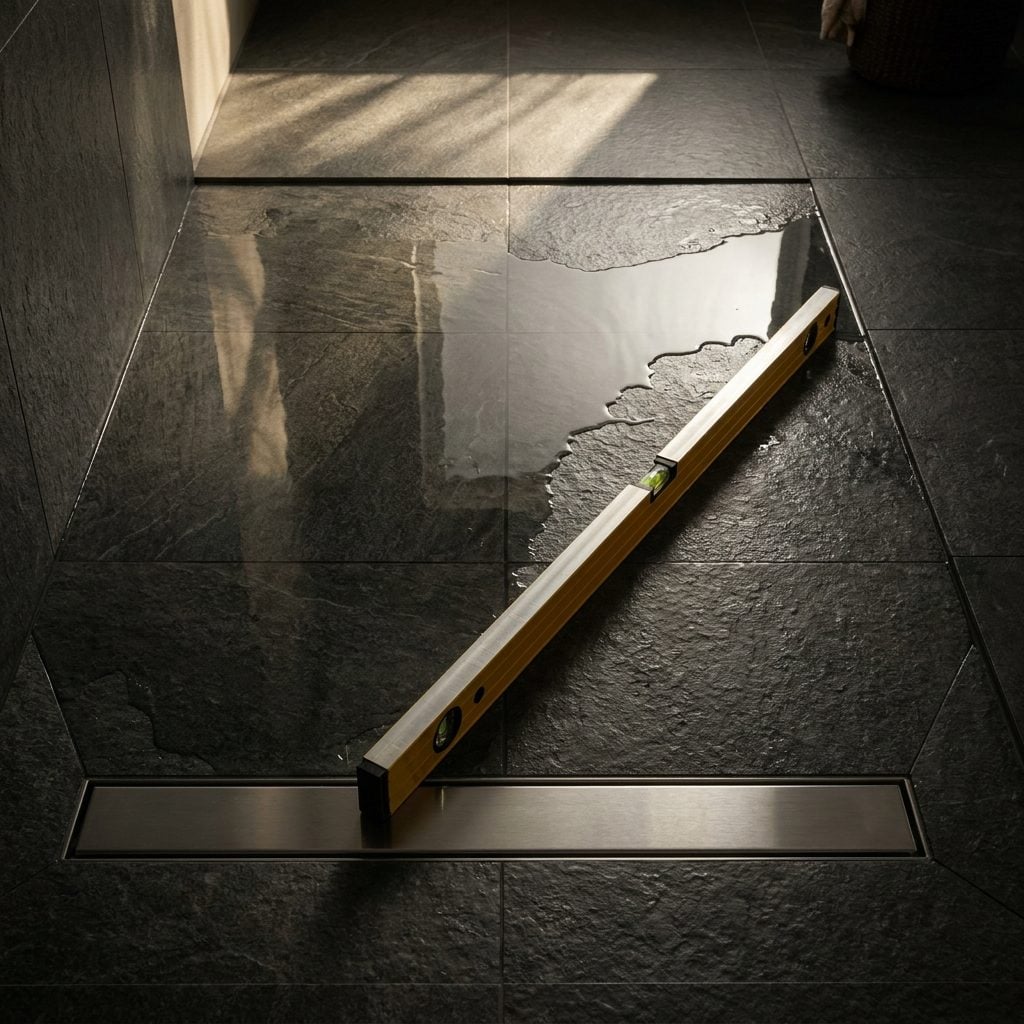
Curbless showers look like a magic trick. That flush, no-threshold floor is the single most requested upgrade I hear about, and it runs entirely on math you can’t see: the slope. Too flat and water pools around your feet, then wanders out onto the bathroom floor. Too steep and you’re showering on a hillside.
The industry standard is a quarter-inch drop per foot toward the drain. Miss it by a hair and you’ll be mopping every day for the next twenty years. Here’s the one part of the whole remodel where you should not hire the cheapest tile guy on the list — ask to see a curbless job they’ve already finished, pour a bucket of water on the floor, and if it runs to the drain, hire them.
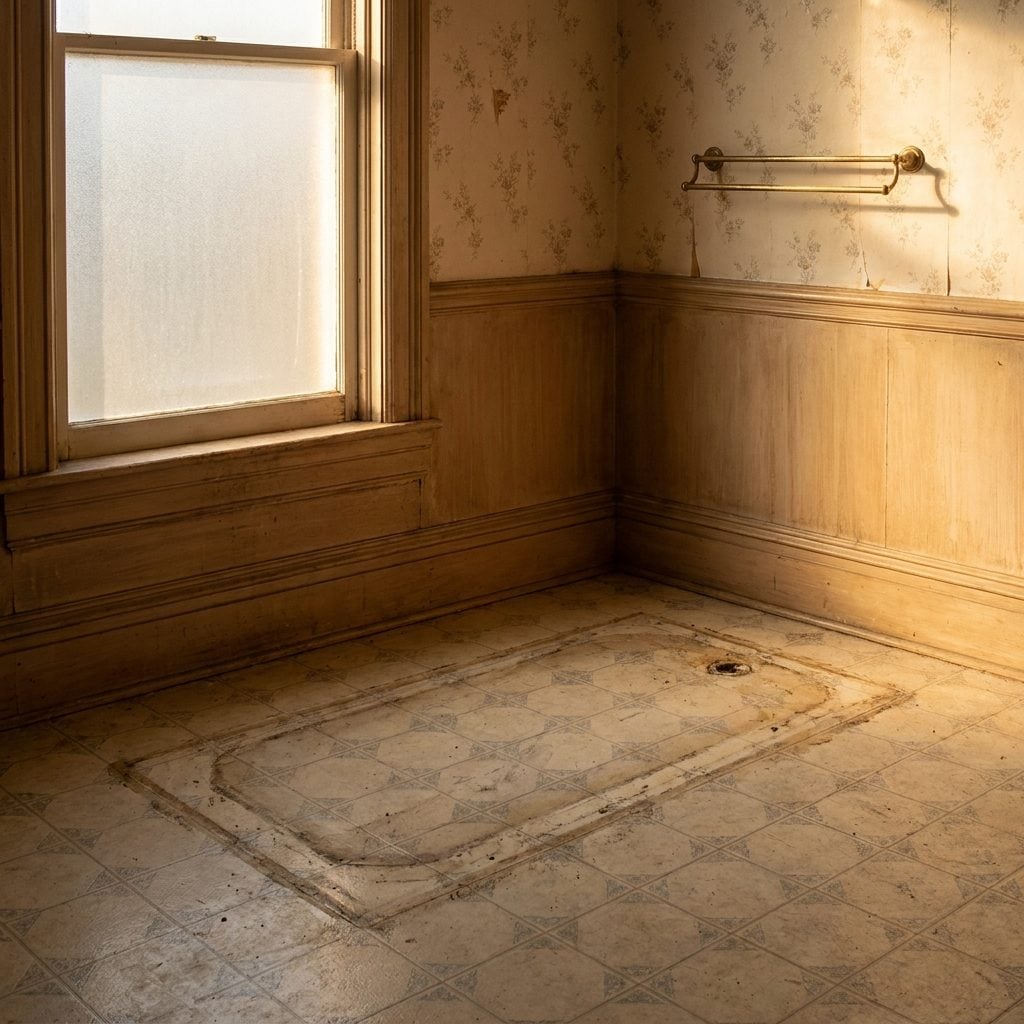
38. Removing the Only Bathtub in the House Because You Never Take Baths
🔥 Would you like to save this?
I get it. You shower, you’ve taken maybe three baths since college, and ripping the tub out for a giant shower feels obvious.
Then you go to sell. Every family with a toddler walks in, sees zero tubs, and mentally deducts from their offer, because a home with no bathtub anywhere is a genuine resale liability. Bathing a small kid in a shower stall is nobody’s idea of a good evening.
Keep one tub somewhere in the house. It doesn’t have to sit in your primary bath — a tidy tub-shower combo in the hall bathroom covers you completely and still lets you build the walk-in shower of your dreams up front.
37. Installing a Huge Double Vanity When You’d Get More Use From Storage
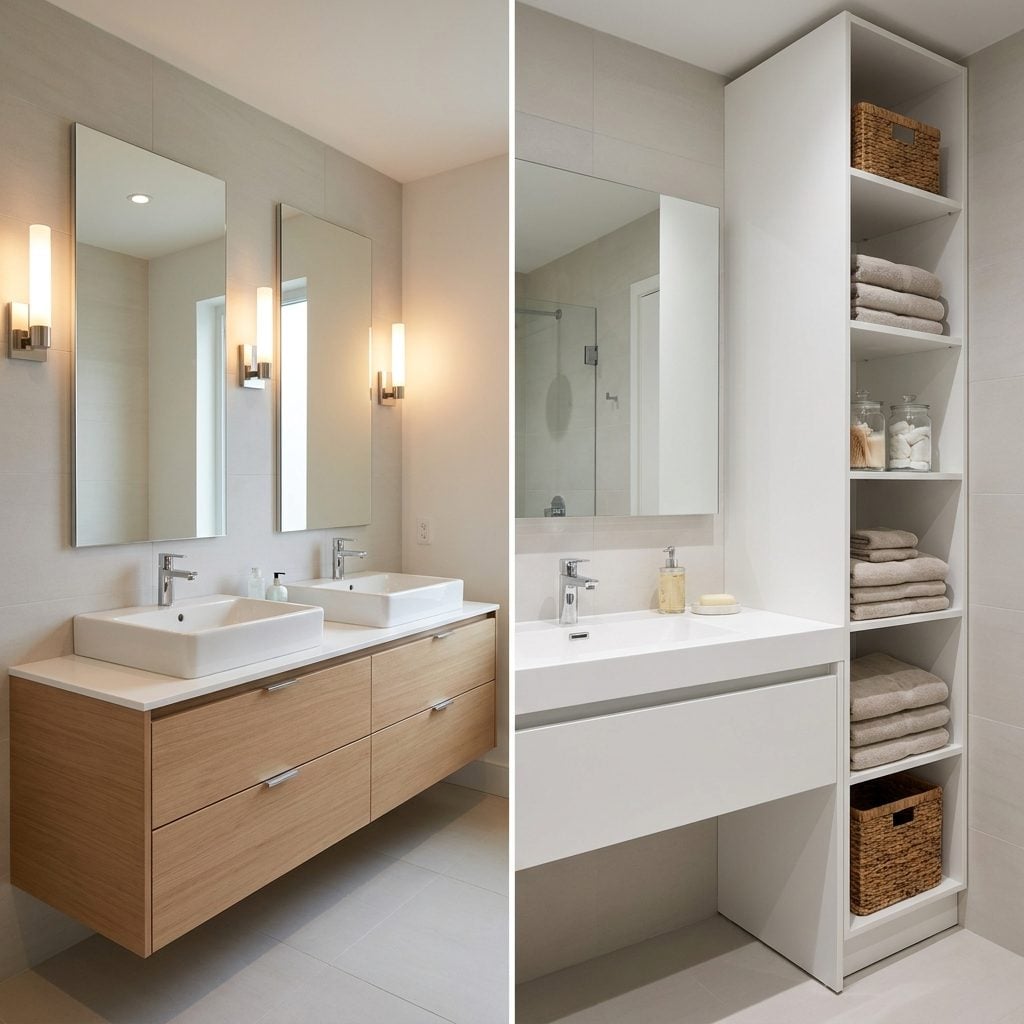
Double vanities photograph beautifully. They also eat your wall. Two sinks means two sets of plumbing, two faucets to clean, and about half the drawer space you’d have gotten with one big sink and a bank of storage next to it.
So ask yourself honestly: how often are two adults standing at the mirror at the exact same second? For most couples it’s a few rushed minutes on weekday mornings, solved by staggering by five. The rest of the time you’d happily trade that second sink for somewhere to stash the hair dryer, the extra towels, and the box of stuff you don’t want cluttering the counter.
A single sink with a sage green linen tower beside it usually beats two sinks and no storage.
36. Skimping on the Exhaust Fan Because It Isn’t the Fun Part of the Remodel
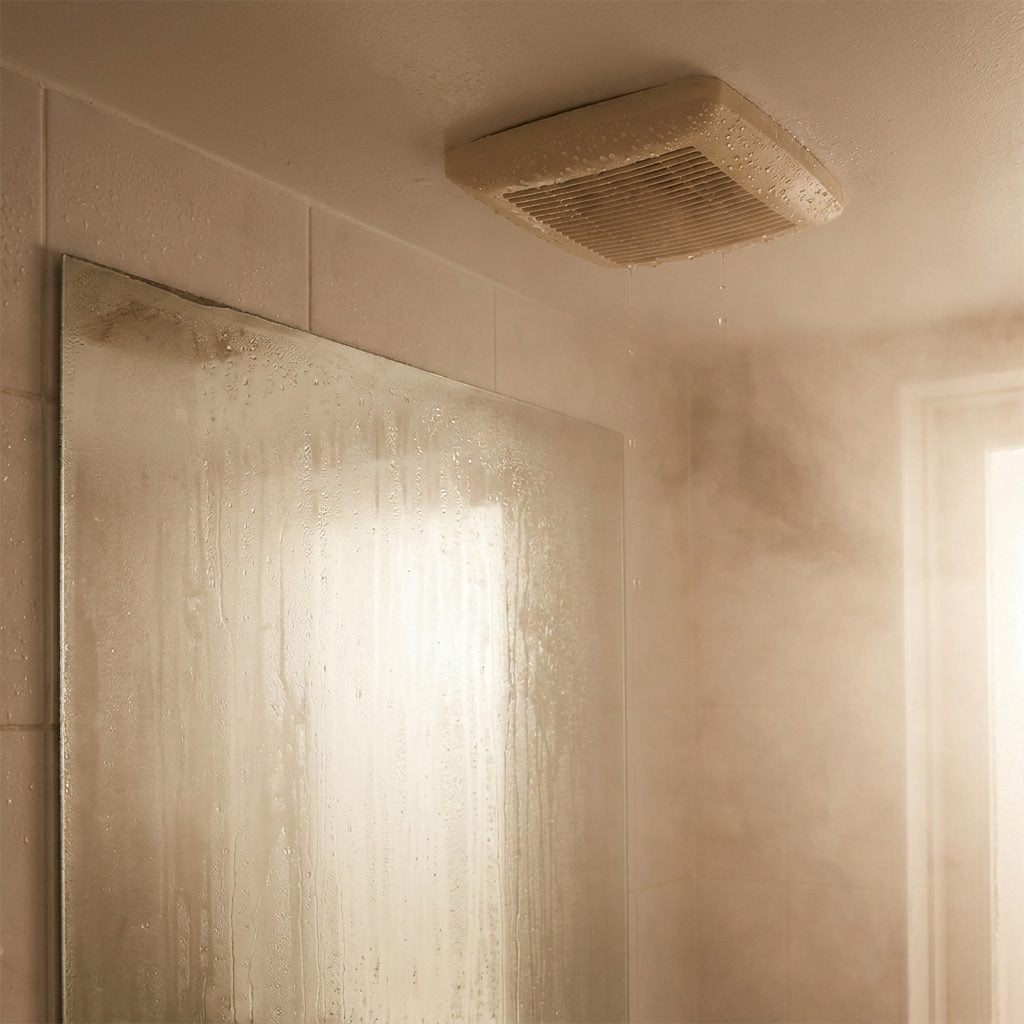
Nobody stands in a showroom and gets excited about a fan. It’s the vegetables of a bathroom remodel. But an undersized exhaust fan is exactly how a brand-new bathroom grows black mold in the grout within its first two winters.
Size it to the room. The rough rule is one CFM per square foot of floor at minimum, bumped up for a shower with a door or a ceiling over nine feet. A fan that’s too weak just stirs the damp air around instead of pulling it out, and that’s how you end up with paint peeling above a shower that’s six months old.
35. Buying a Cheap Exhaust Fan That Sounds Like a Jet Engine and Never Gets Used
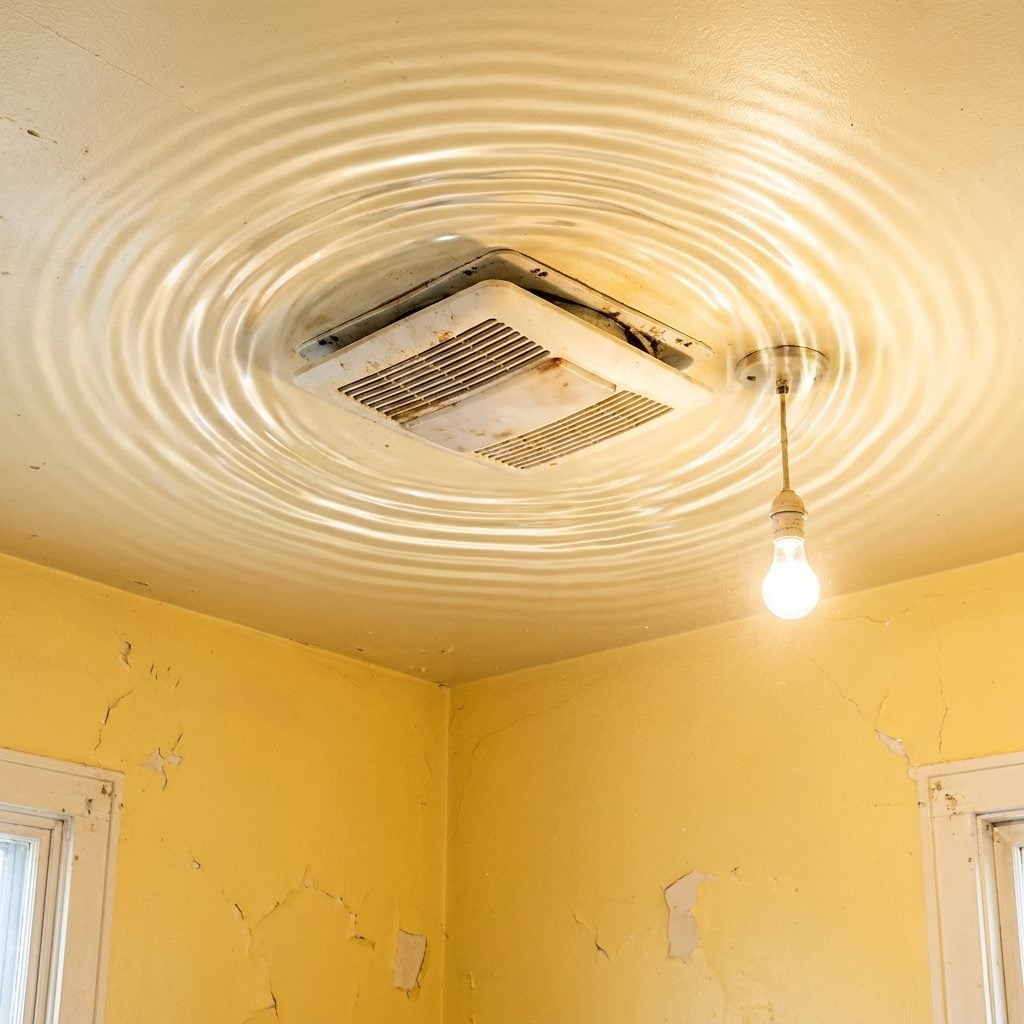
You know the fan I’m talking about — the one that roars like a small aircraft the second you flip the switch, so everyone in the house just leaves it off. A fan you refuse to run is worse than no fan at all. You paid for it and got silence in return, minus the roaring.
Loudness gets measured in sones. Anything at 1.0 sones or below is genuinely quiet, the kind you forget is running, while cheap builder-grade units clock in around 4 sones. That’s why nobody uses them.
Spend the extra forty bucks on a quiet model. A fan you’ll actually turn on is worth every penny of it.
34. Forgetting to Put the Exhaust Fan on a Timer
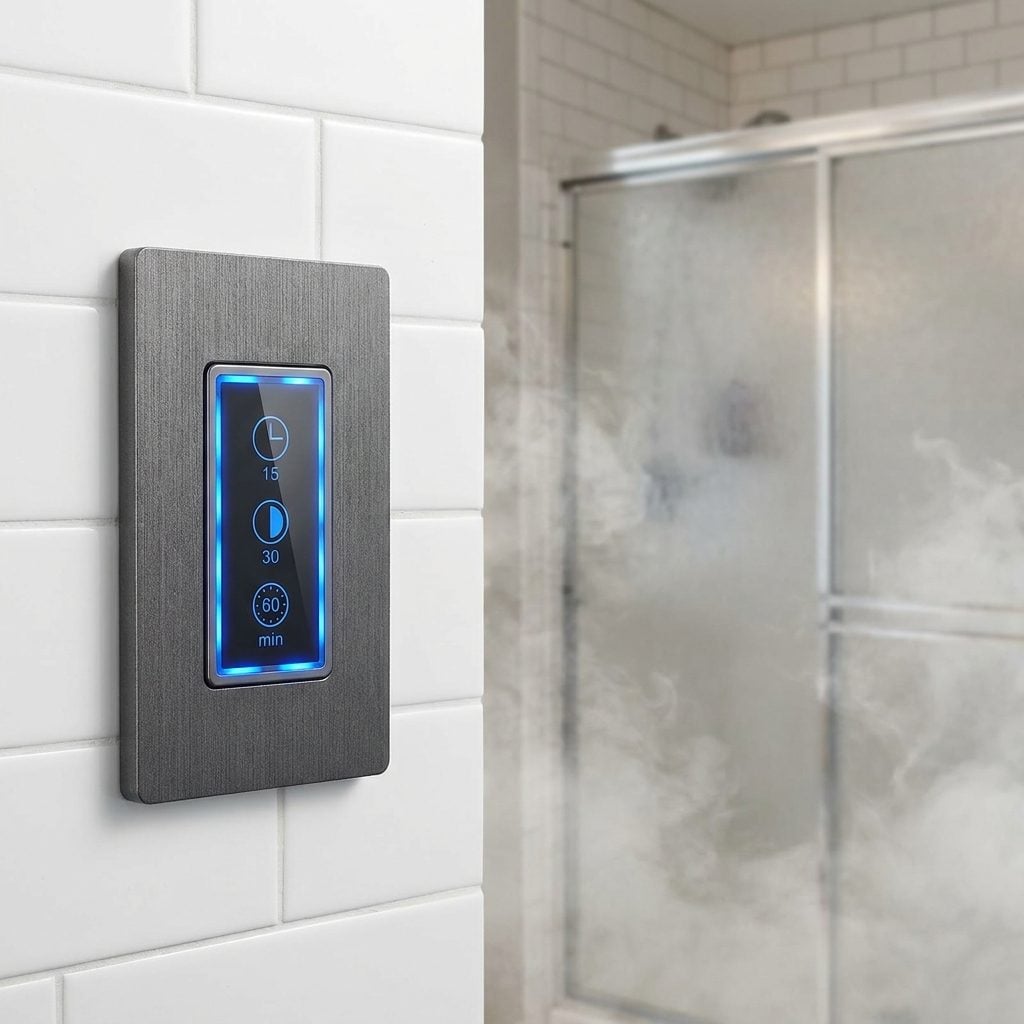
Moisture doesn’t leave the room the moment you turn off the water. It lingers in the air and soaks into the tile for a good fifteen or twenty minutes after your shower. If your fan shares a switch with the light, you kill it the second you walk out, and all that damp stays behind to feed the mold you were trying to prevent.
A cheap countdown timer switch fixes this for about thirty dollars. Set it to run twenty or thirty minutes and walk away — the room dries itself while you’re getting dressed.
33. Installing Too Little Lighting and Expecting One Vanity Fixture to Do Everything
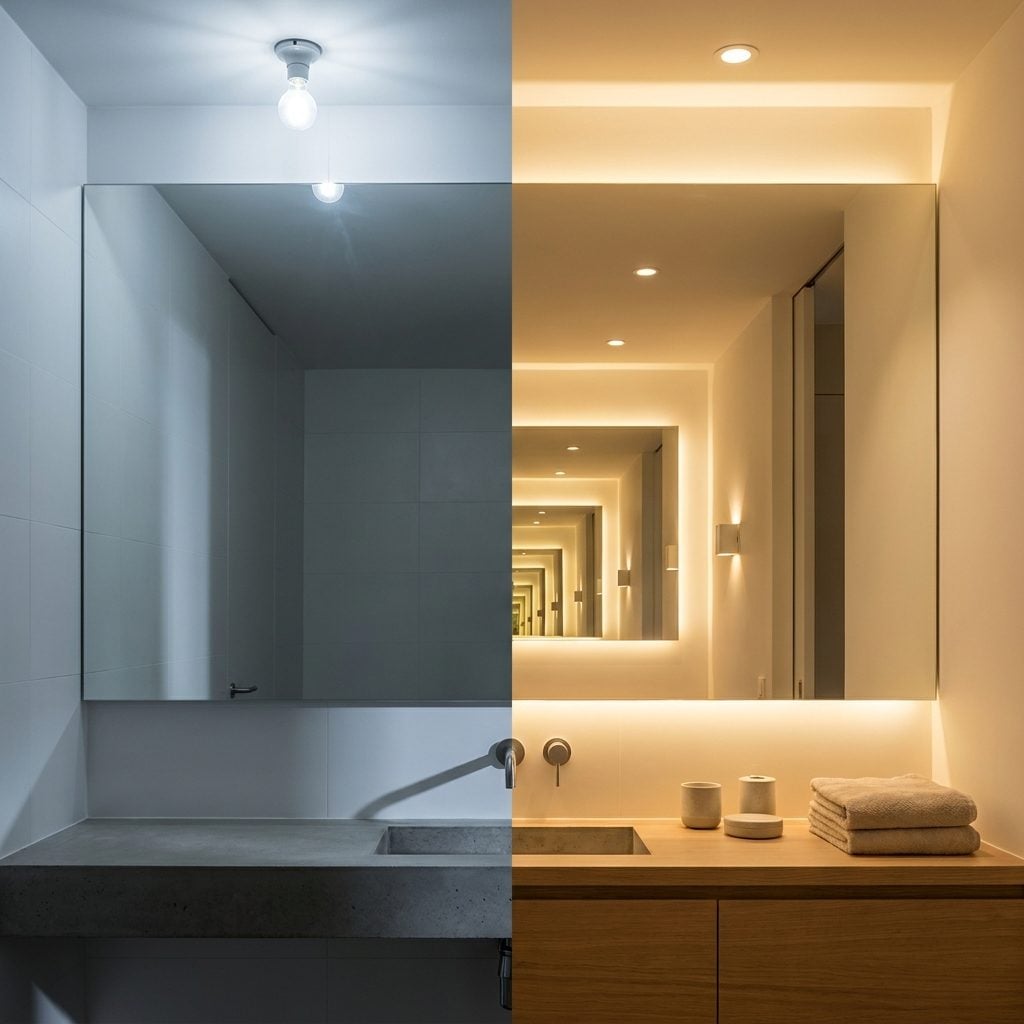
One fixture centered on the ceiling is the default, and it’s a trap. All that light drops straight down, which throws your face into shadow at the mirror and leaves the shower a cave — then you wonder why you can never see what you’re doing in there.
Good bathroom lighting works in layers: task light at the mirror, ambient light overhead, a little accent light for mood. Even a small bathroom benefits from at least two of the three.
32. Using Cool White Lighting That Makes a Beautiful New Bathroom Feel Like a Hospital
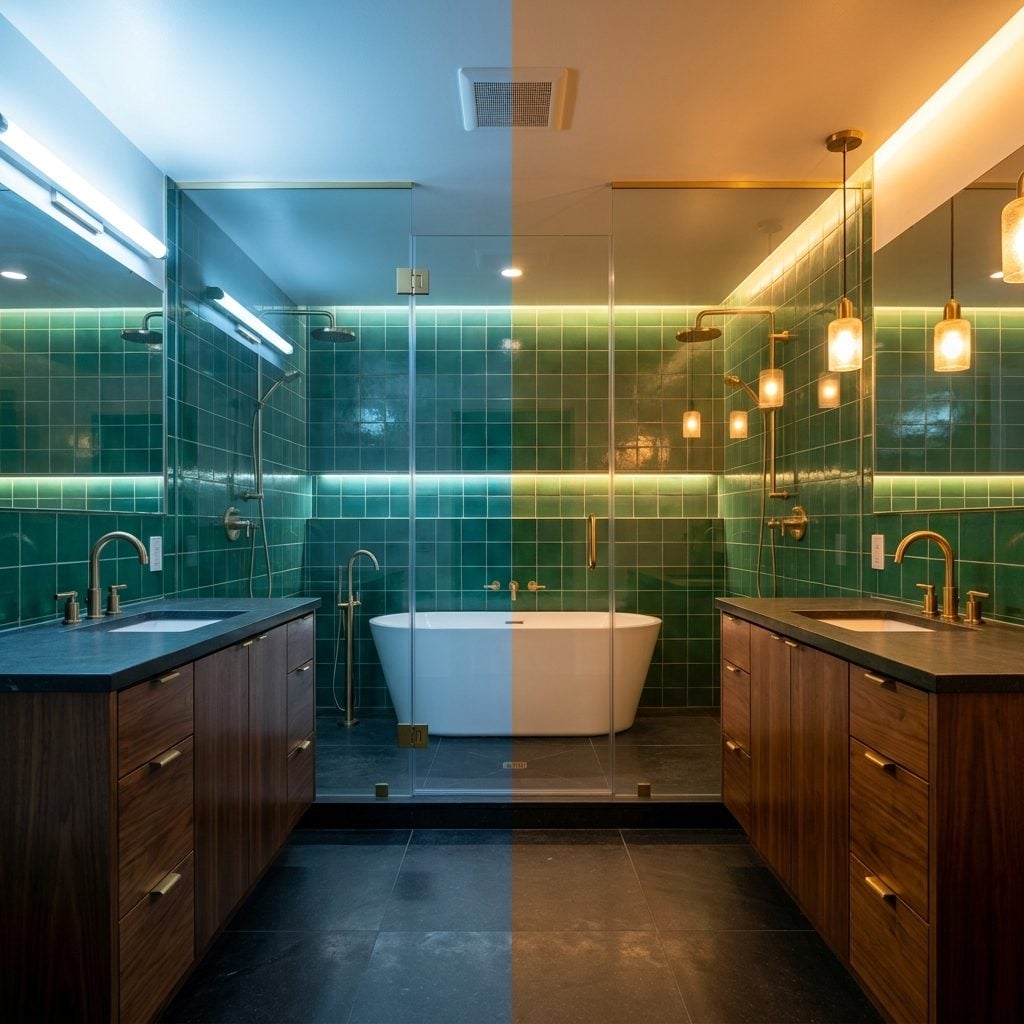
You picked warm brass, a soft green tile, wood-tone cabinets. Then you dropped in cool white 5000K bulbs and the whole room turned blue and clinical, like a walk-in cooler. All that warmth you paid for, gone in a flick of the switch.
Color temperature gets measured in Kelvin, and for a bathroom you want 2700K to 3000K, the warm end. Cool white looks crisp and efficient under the fluorescent glare of a store, but it reads harsh and unflattering on skin once it’s home. Nobody wants to check their reflection under morgue lighting first thing in the morning.
Check the Kelvin number on the box before you buy a single bulb. It’s printed right there, and it’s the whole difference between a spa and a hospital corridor.
31. Putting Recessed Lighting Directly Over Your Head at the Mirror
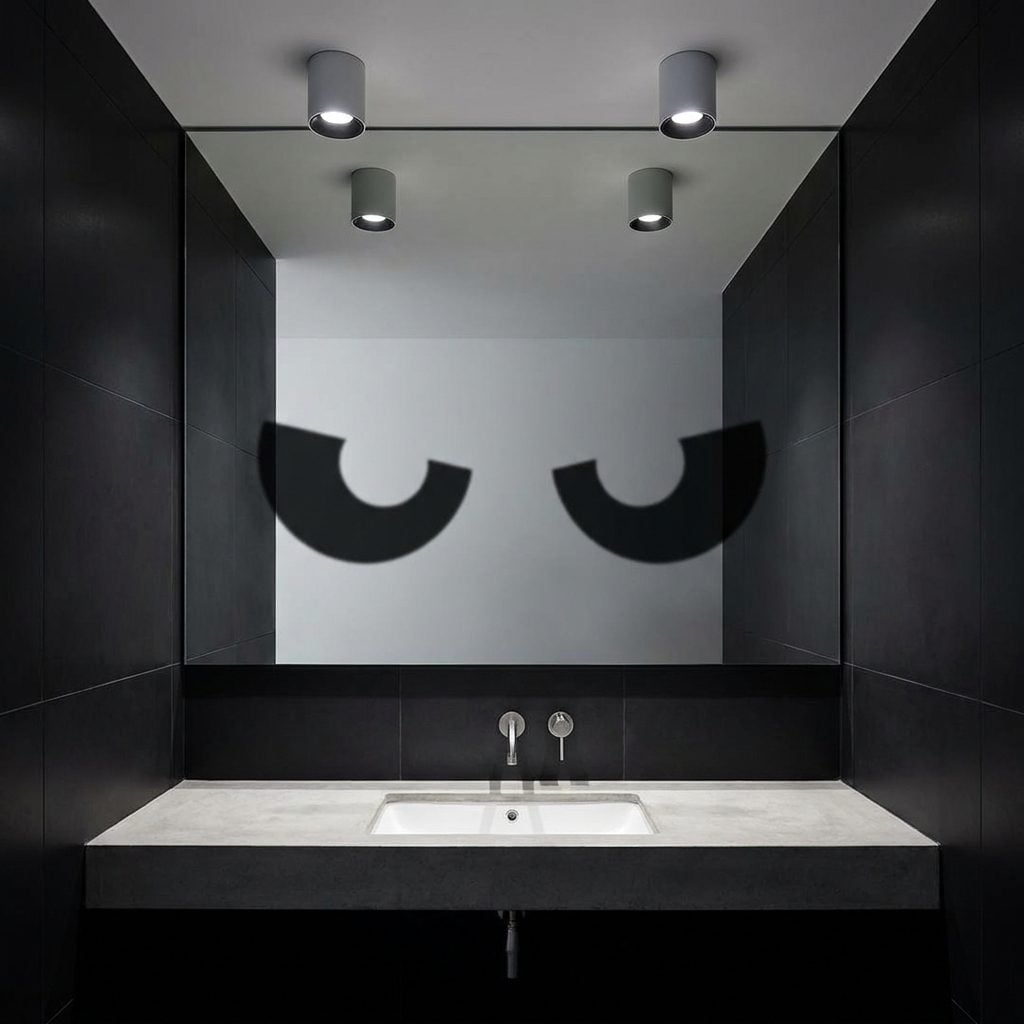
This one’s sneaky, because recessed cans feel like the clean, modern choice. Park one directly above where you stand at the mirror and it lights the top of your head while dropping deep shadows under your eyes, nose, and chin — the least flattering angle there is. You’ll fight it every time you shave or put on makeup.
Light should come at your face, not down onto it. Sconces beside the mirror or a fixture mounted right above the glass do the job. And if you absolutely must use recessed lights near the vanity, pull them forward so they land in front of you, not on top of you.
30. Choosing a Mirror That’s Too Small for the Vanity
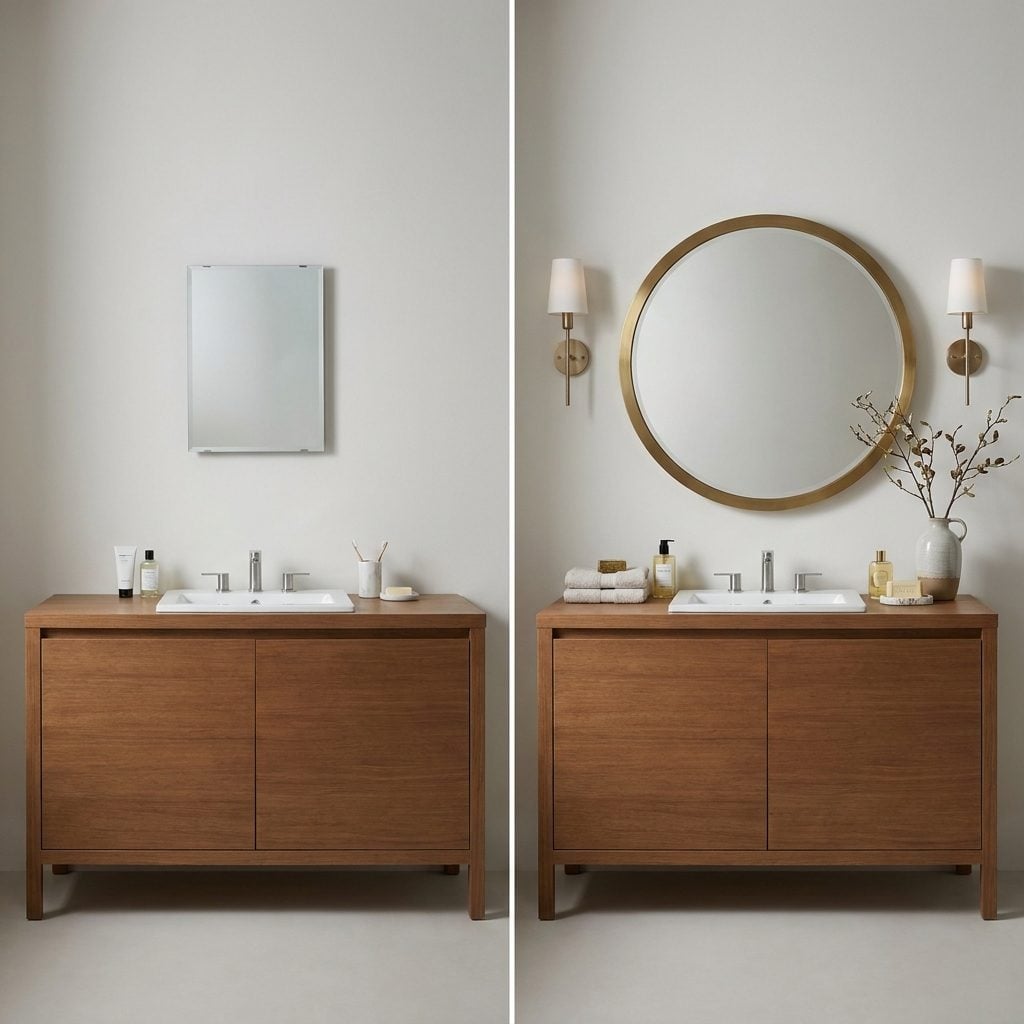
Undersized mirrors are the fastest way to make a nice vanity look like a rental. The mirror should anchor to the sink or the vanity width instead of floating there like something you forgot to finish. A decent rule: never narrower than the sink basin, and ideally sized to match the vanity’s proportions.
Small mirrors also cut your usable reflection, so you end up leaning in to see your whole face — which nobody wants at 6am. Go bigger than feels safe. Almost every regret I hear is about a mirror that was too small; I’ve never once heard someone complain theirs was too big.
29. Replacing a Medicine Cabinet With a Flat Mirror and Losing Your Best Storage
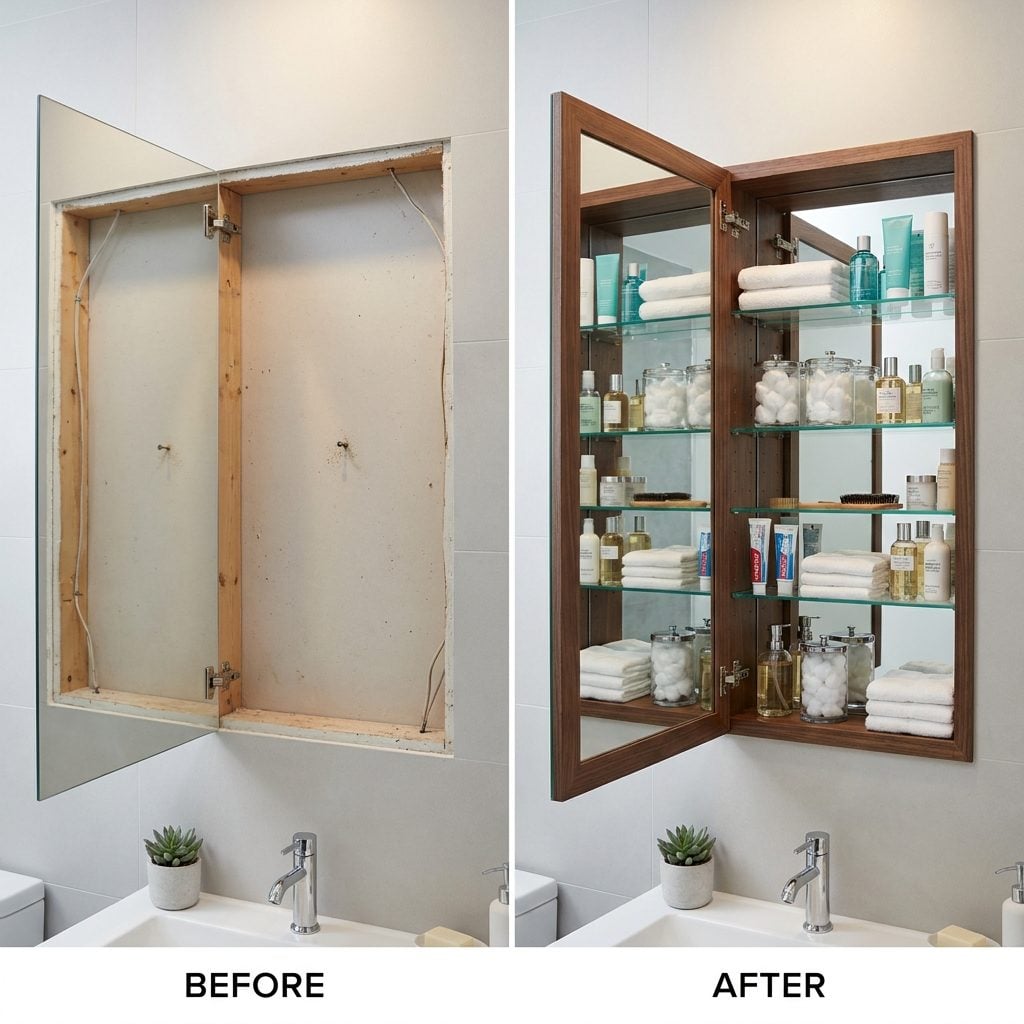
A flush mirror looks cleaner in photos. Then you move in and realize you’ve got nowhere to put your toothbrush, your razor, your allergy pills, or the fourteen things that used to live behind that mirror. Now they’re all lined up on the counter, staring at you.
Recessed medicine cabinets have quietly gotten good — slim frames, integrated lighting, mirror-on-mirror doors, some with built-in outlets and defoggers. You get the flat-mirror look plus a wall of hidden storage. I lost this argument once in my own house and regretted it within a week.
28. Designing the Bathroom Around Open Shelving Without Thinking About What Actually Lives on It
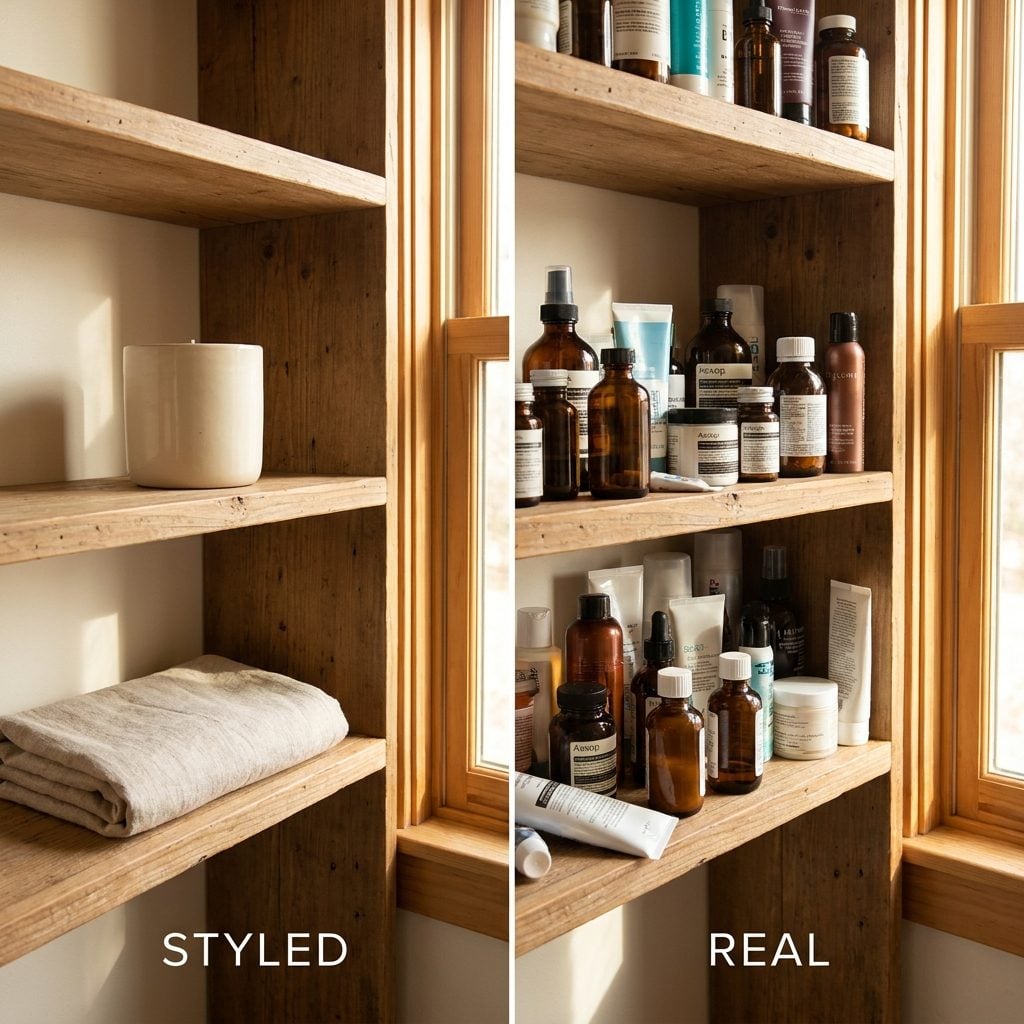
Open shelving in a bathroom photographs like a dream and functions like a dare. The trouble is what actually lives in a bathroom: half-empty bottles, a wand of toilet cleaner, backup toilet paper, that eternal box of cotton rounds. None of it belongs on display.
Want open shelves? Plan them for the pretty stuff and stash everything else behind a closed cabinet somewhere. Baskets and lidded boxes help. But be honest about how often you’ll actually restyle a shelf every day — the answer is basically never. A well-planned scandinavian bathroom decor scheme leans hard on hidden storage precisely so the open surfaces can stay sparse.
27. Forgetting Where the Towels Will Hang Until the Bathroom Is Finished
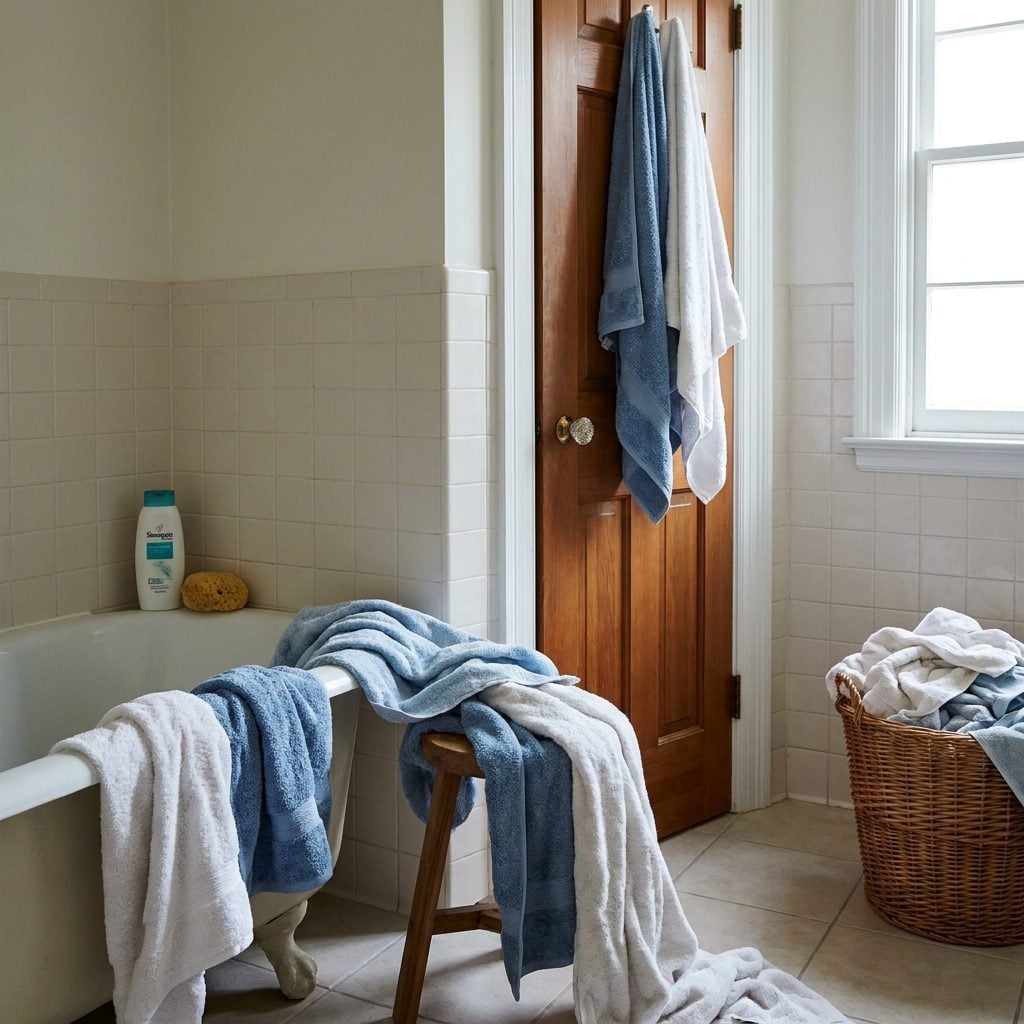
Towels are an afterthought for most people, which is exactly why they end up flung over the tub or the door. Once the tile is up and the fixtures are set, you’re stuck drilling into a finished wall or living without a proper spot for years.
Plan towel locations on the drawings, not on move-in day. You need somewhere for the bath towel, somewhere for the hand towel, and ideally a hook right by the shower. Map all three before the walls close up.
26. Putting the Towel Bar So Far From the Shower You Have to Drip Across the Floor
🔥 Would you like to save this?
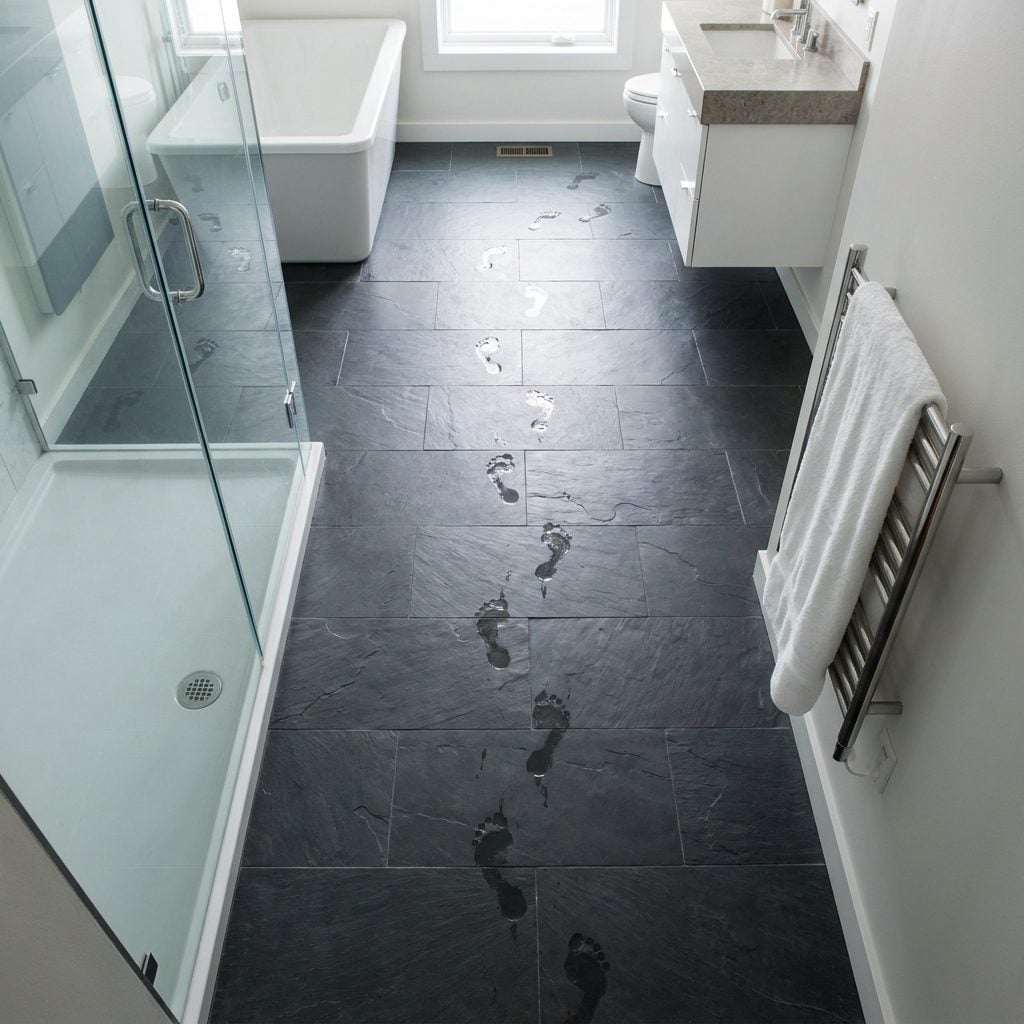
You feel this one every single morning. You step out of the shower and there’s a cold, wet walk to the towel bar across the room — water on the floor, cold feet, and a genuine slip hazard for whoever follows you in.
Put a hook or bar within arm’s reach of the shower door. Grabbing distance, not walking distance. It’s a five-minute decision on the plan that pays off twice a day for the life of the house. Small thing. Enormous quality-of-life difference.
25. Buying the Vanity Before Measuring How Far the Drawers and Doors Can Actually Open
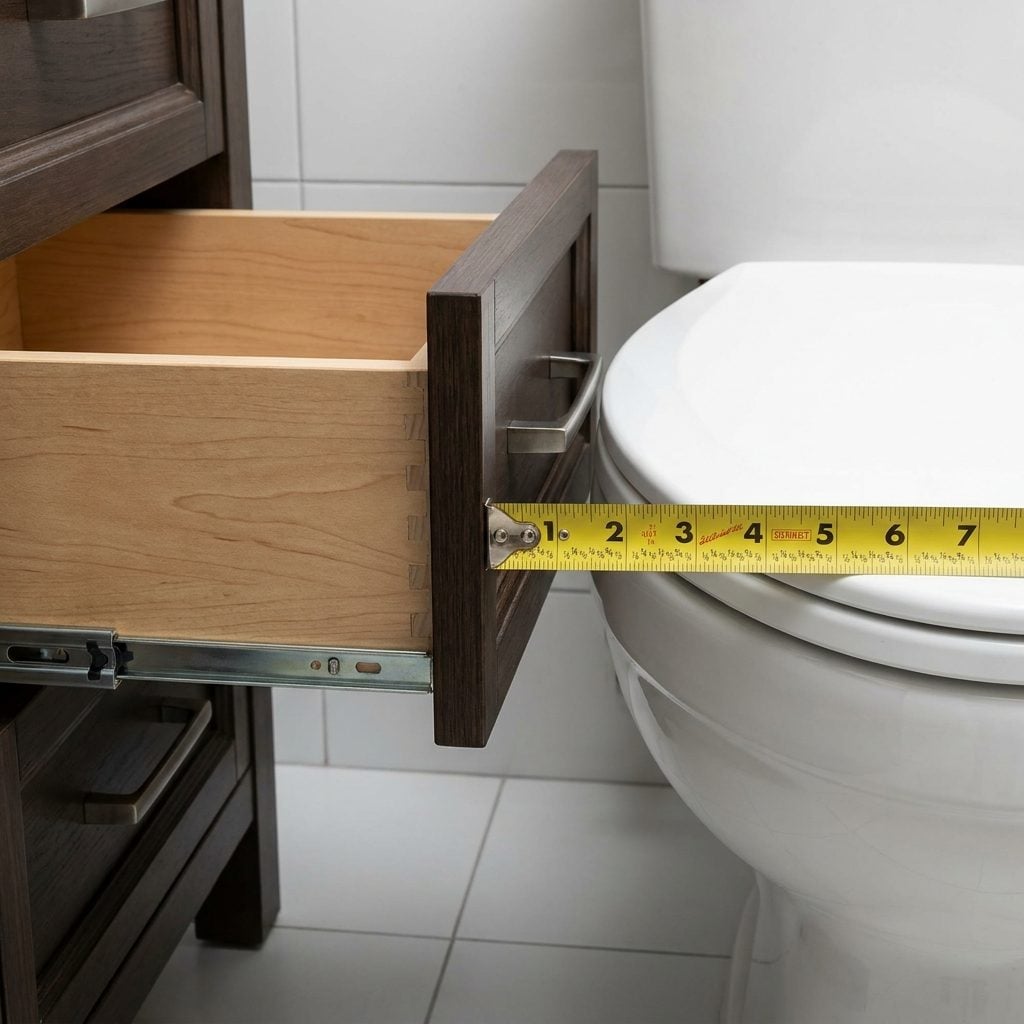
A vanity’s footprint isn’t its real footprint. A deep drawer needs the full extension in front of it, and a hinged door needs its whole swing arc. So you buy the thing, install it, and discover the top drawer bangs into the tub or the door won’t clear the toilet.
Measure the open dimensions, not just the box. Then leave enough room for a body to stand in front of it while a drawer is pulled out. Graph paper is a lot cheaper than a return shipment and a restocking fee.
24. Installing a Bathroom Door That Collides With the Vanity, Toilet, or Towel Bar
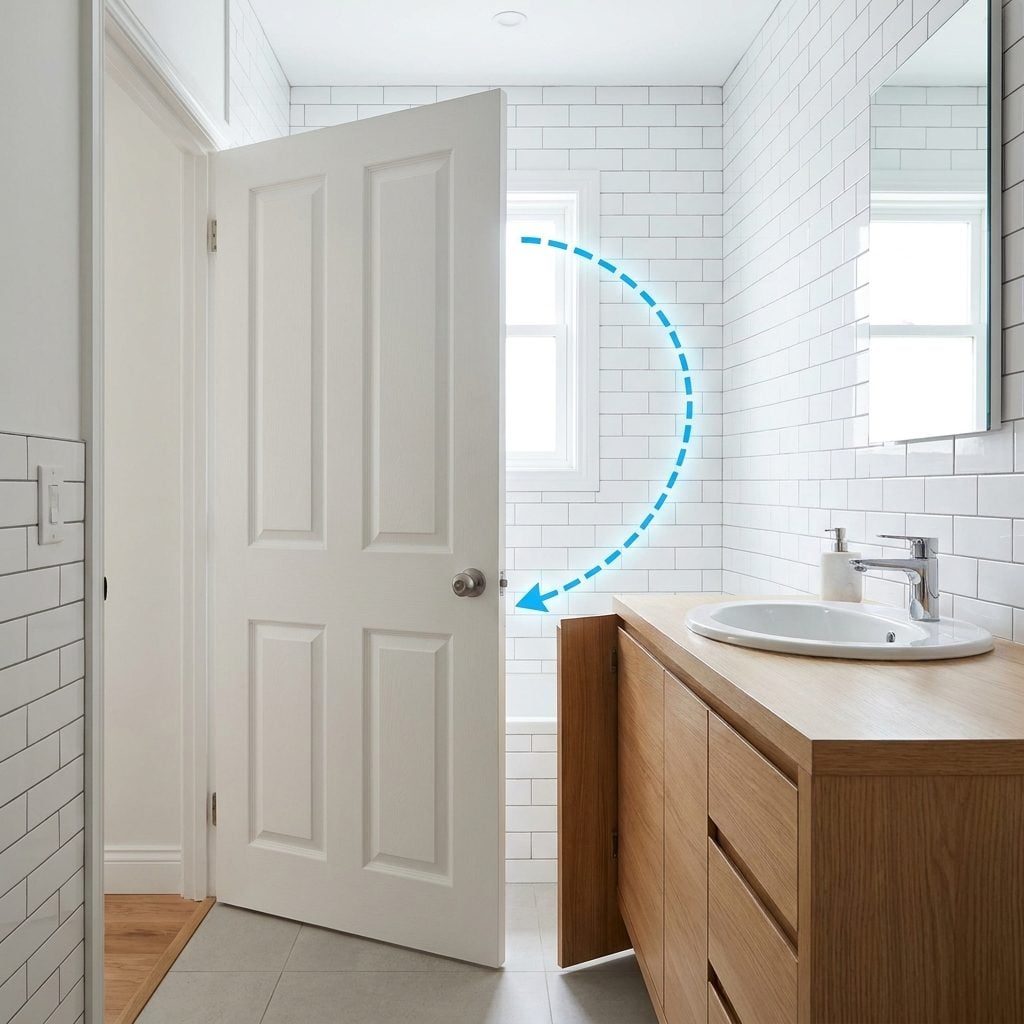
You’ve walked into a bathroom where the door bumps the vanity, or hides the towel bar behind it when it’s open. Somebody didn’t check the swing.
A standard door needs a clear arc of roughly thirty inches, and in a tight bath that arc eats a shocking amount of floor while constantly fighting the toilet or the vanity. Pocket doors and barn-style sliders sidestep the whole problem, and a pocket door actually claws back usable square footage. On a small remodel that’s often the single best move you can make.
23. Forgetting an Outlet Near the Toilet When You Might Want a Bidet Later
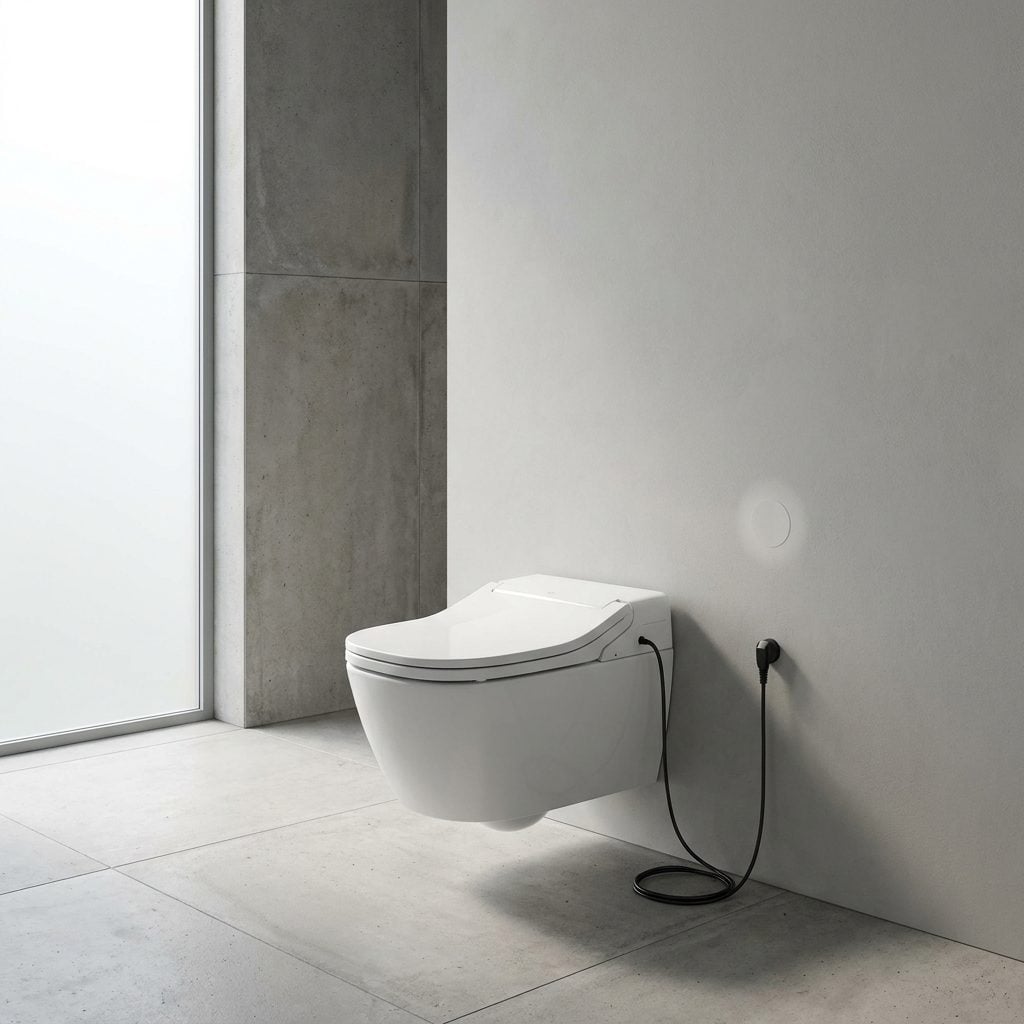
Bidet seats have gone mainstream, and almost every one needs power. If you didn’t run an outlet near the toilet, you’re staring down a battery model, an ugly extension cord, or opening up finished tile later to add a receptacle.
Even if you don’t want one now, add a GFCI outlet within reach of the toilet during rough electrical. It costs a bit while the walls are open and a small fortune once they’re closed. Future you will send a thank-you note.
22. Hiding Plumbing Access Behind Permanently Finished Tile
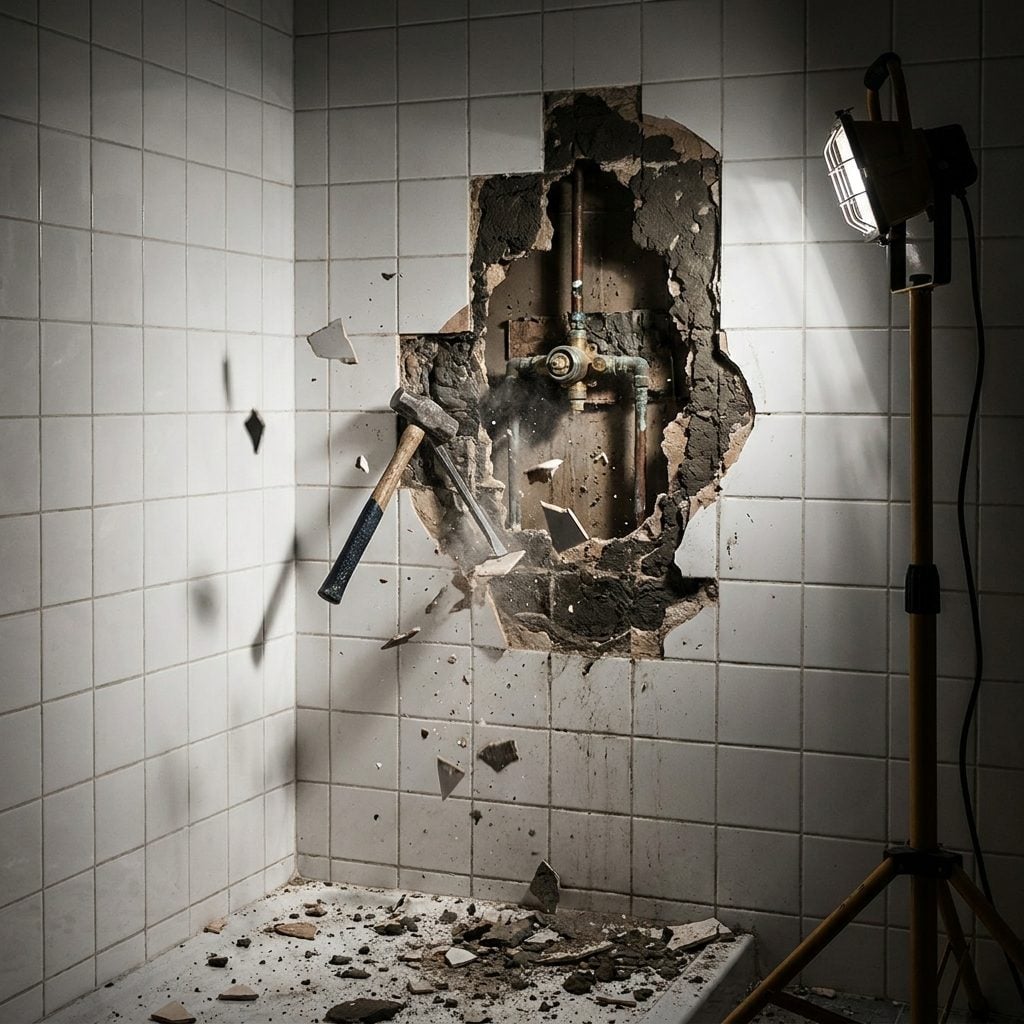
Tile everything, hide every seam, admire the clean walls. Then a valve fails behind the shower and your only way in is a sledgehammer and a big tile bill.
Shut-off valves, tub drains, and access to whirlpool motors all need to be reachable somehow. So plan a discreet access panel, a removable tile-faced cover, or a hatch inside a closet on the far side of the wall. It doesn’t have to be ugly — magnetic tile panels are nearly invisible. But it has to exist, because plumbing eventually asks to be seen.
21. Moving the Toilet Across the Room Just Because the New Layout Looks Better on Paper
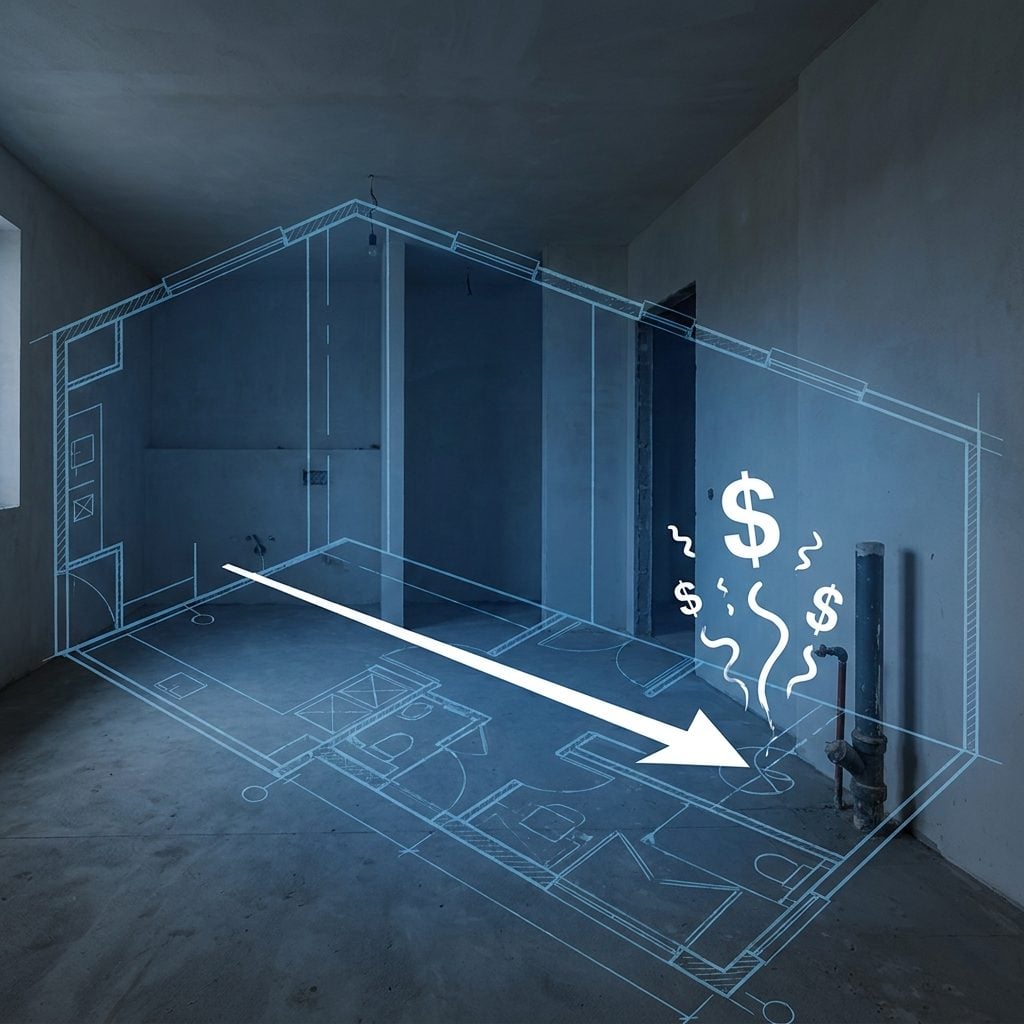
On paper, the new layout looks like a revelation. In reality, moving a toilet means relocating the drain — and that can mean cutting into the subfloor, rerouting waste lines, and in some houses re-sloping pipes you can’t easily re-slope. It’s one of the priciest single changes you can make in a bathroom.
Sometimes it’s worth it. Often it isn’t. Before you drag the toilet fifteen feet for the sake of symmetry, ask your plumber what the drain move actually costs. That number has talked plenty of people out of a layout they were dead certain they needed. The paper version doesn’t know where your soil stack is. Your plumber does.
20. Moving Every Plumbing Fixture and Spending Thousands Before the Pretty Stuff Even Starts
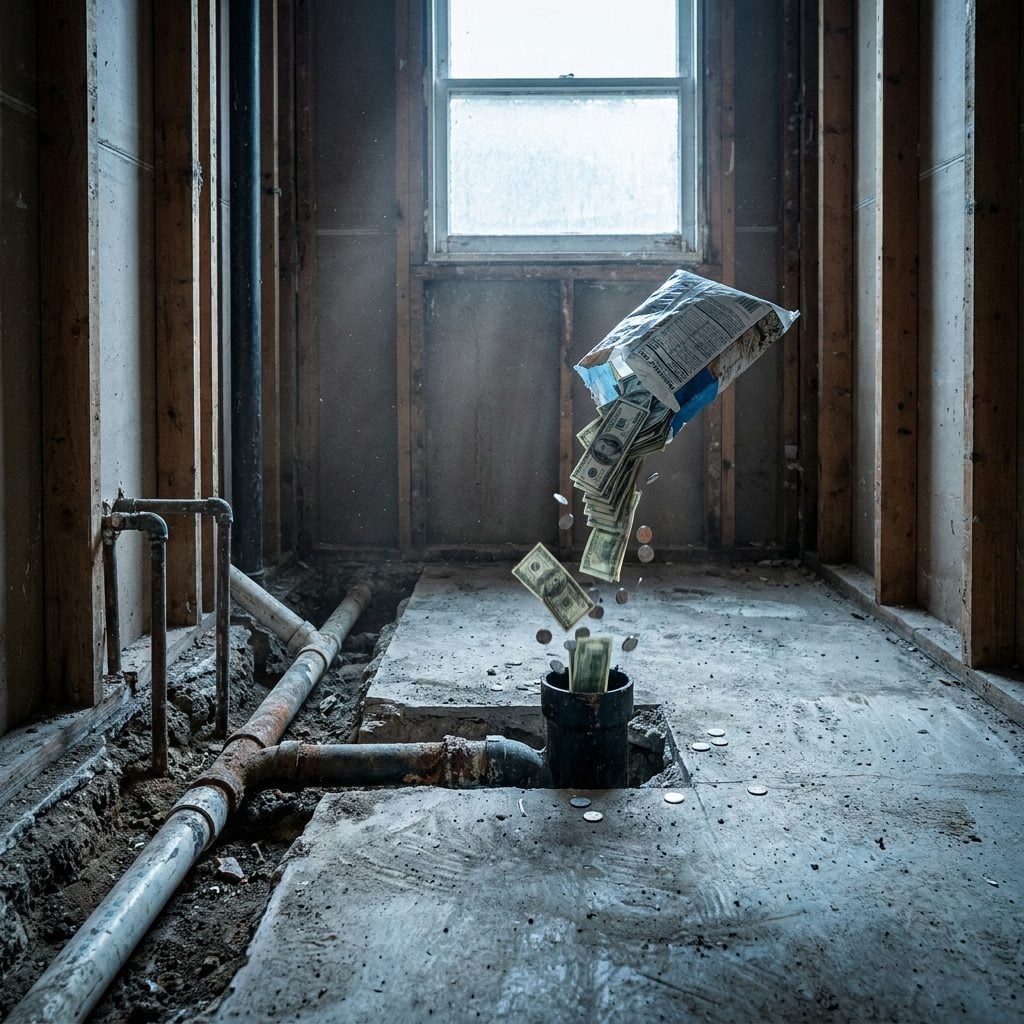
This is where the money vanishes before you’ve picked a single tile. Move a toilet, sink, or tub more than a few feet and you’re paying a plumber to reroute supply lines and, worse, drain lines that need proper slope to work at all.
Relocating a toilet drain alone can eat several thousand dollars, because it means opening the floor and rerouting the waste stack. I’ve watched people blow a third of a $35,000 budget just chasing a layout that looked marginally better on paper.
Work with the plumbing you already have. The wall doesn’t care that the vanity is 18 inches to the left of your dream spot. Your wallet does.
19. Choosing Fixtures Before Confirming the Rough-In Dimensions
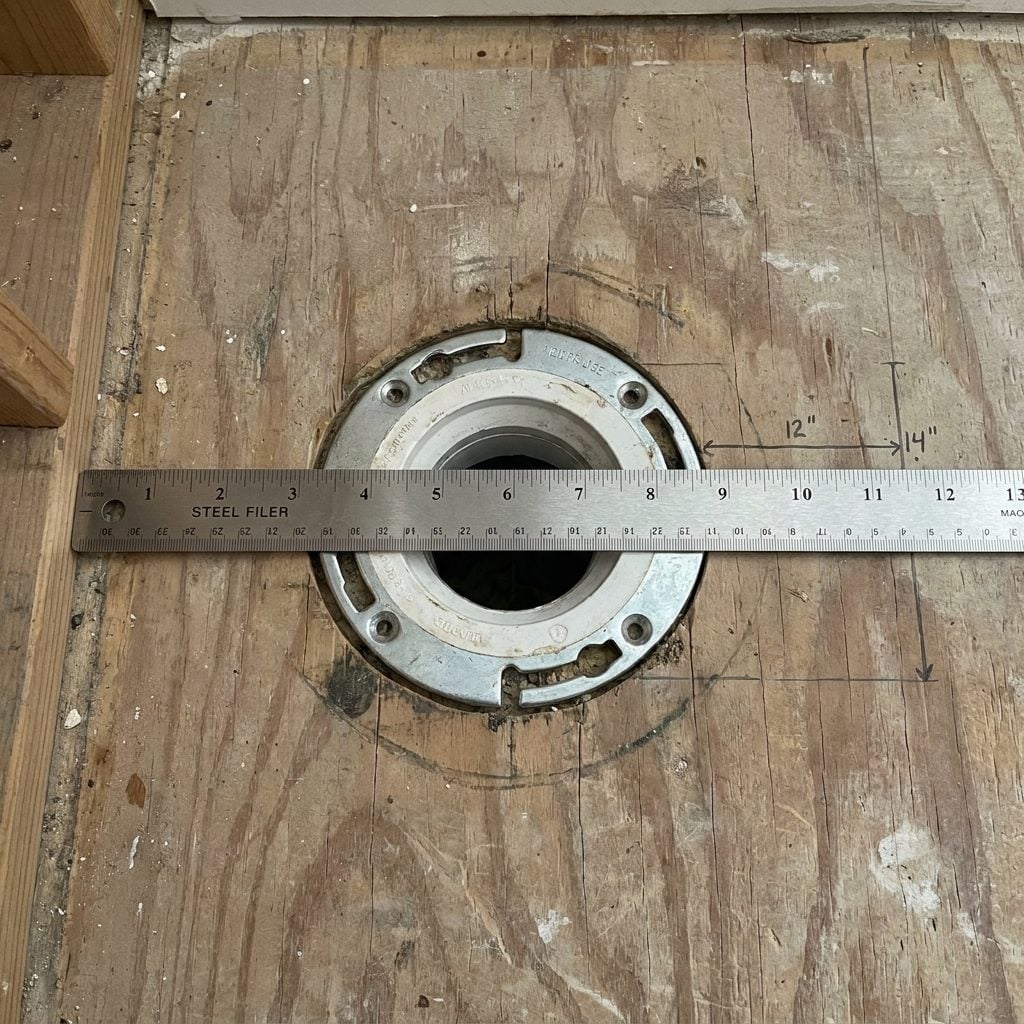
That gorgeous toilet you ordered online has a rough-in of 14 inches. Your existing flange sits at 12. Congratulations — it won’t fit, and now you’re either boxing up a heavy ceramic object for return or moving the drain you swore you’d never touch.
Rough-in is the distance from the finished wall to the center of the drain or valve, and toilets come in 10, 12, and 14 inch versions. Shower valves carry their own depth requirements behind the tile. Miss any of these and the pretty fixture becomes an expensive doorstop.
Measure first. Order second. It’s the least glamorous step and the one people skip constantly.
18. Buying a Faucet That Splashes Water All Over the Counter
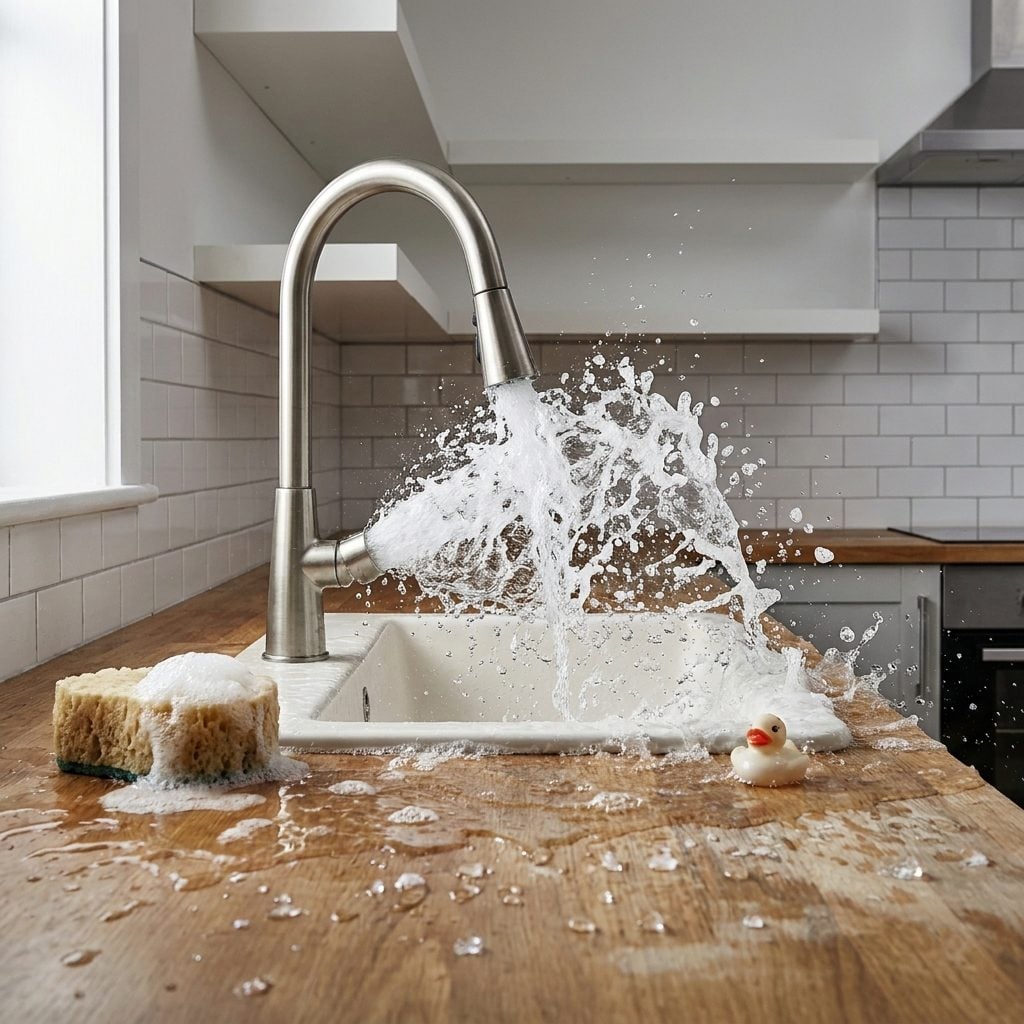
You’ve felt this one. The faucet arcs high and hits a shallow sink at speed, and every time you wash your hands water sheets across the counter and onto your socks. Beautiful faucet. Terrible physics.
The fix is proportion — the higher the spout, the deeper the basin needs to be to catch the stream without bounce. Aerated faucets soften the flow, which helps in a red bathroom ideas setup or any powder room where the vanity gets a lot of guest use.
Check the reach, too. The stream should land in the drain zone, not against the front rim. A brushed brass faucet looks great — but only if it stays put over the drain.
17. Pairing a Vessel Sink With the Wrong Faucet Height
🔥 Would you like to save this?
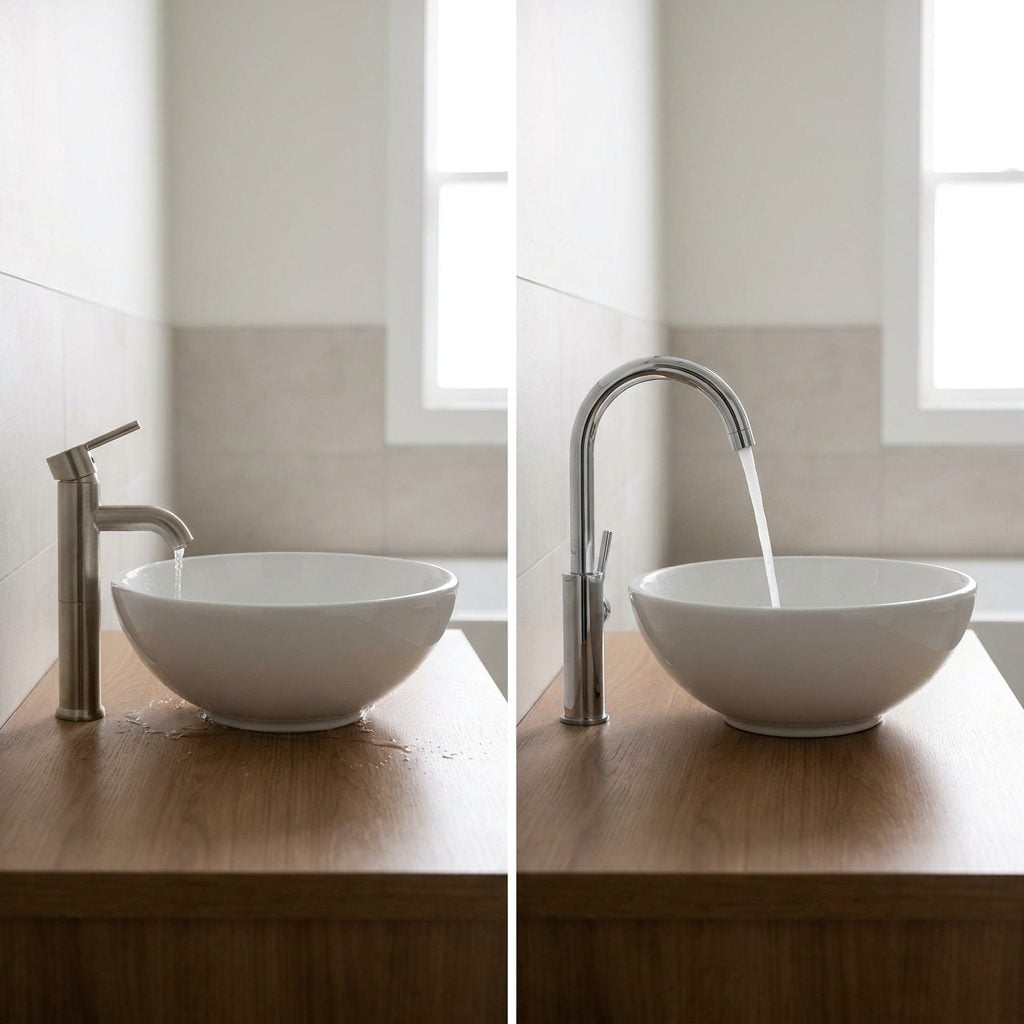
Vessel sinks sit on top of the counter, which raises the whole basin four to six inches above where a normal sink would land. Bolt a standard deck-mount faucet next to it and you’ll be reaching over the rim, splashing, and cursing.
What you want instead is a vessel-specific faucet with a taller spout, or a wall-mount that clears the basin edge and leaves room for your hands underneath.
The math is simple: the spout should sit at least a couple inches above the highest point of the sink. Get it wrong and the sink turns into a decorative object you resent using.
16. Installing a Sink That’s Too Shallow for Everyday Use
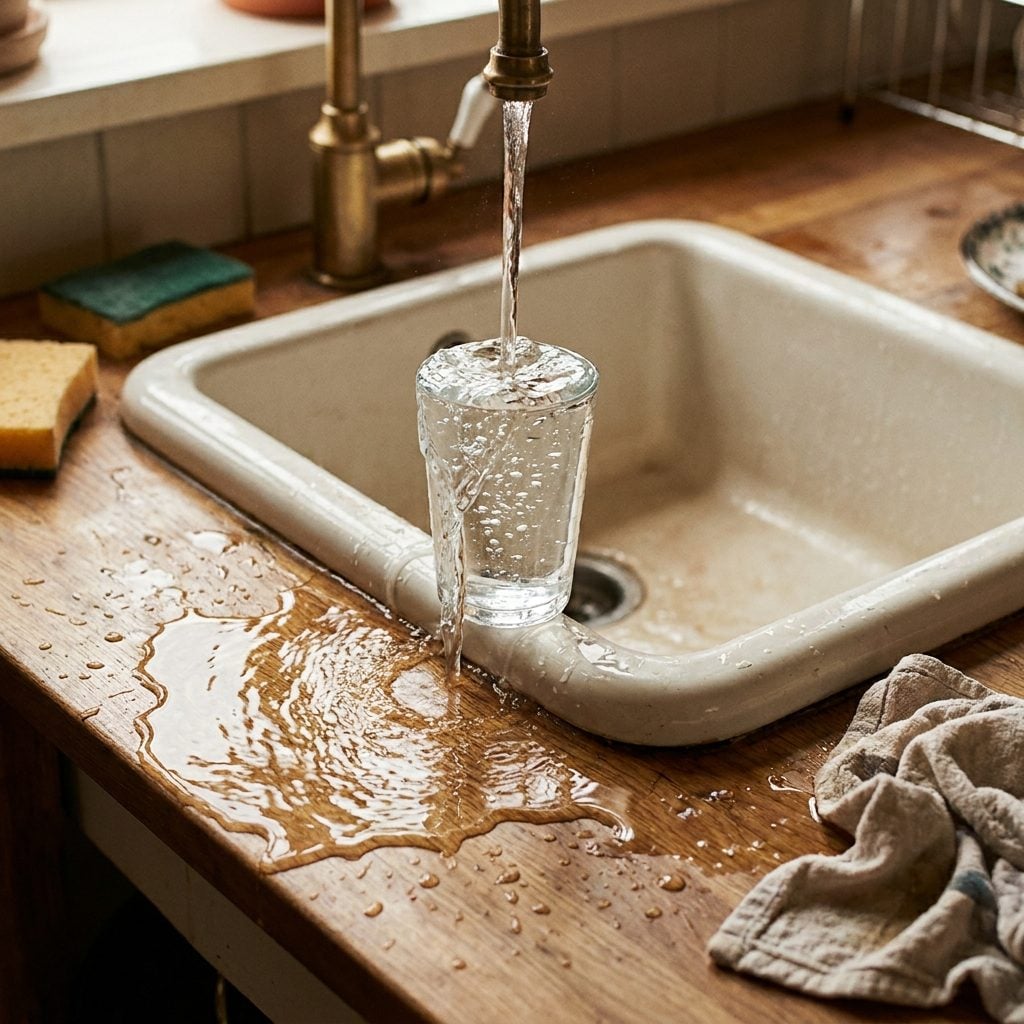
Shallow sinks photograph beautifully and function like a nightmare. Fill a water glass, rinse a toothbrush cup, splash your face, and the water goes everywhere but down the drain.
For a bathroom you actually live in, aim for a basin at least five to six inches deep. Powder rooms can get away with something shallower and more sculptural — the everyday family bath cannot.
A matte black gooseneck faucet over a deep undermount is the workhorse setup that never annoys anyone.
15. Choosing Matte Black Fixtures Without Thinking About Your Hard Water
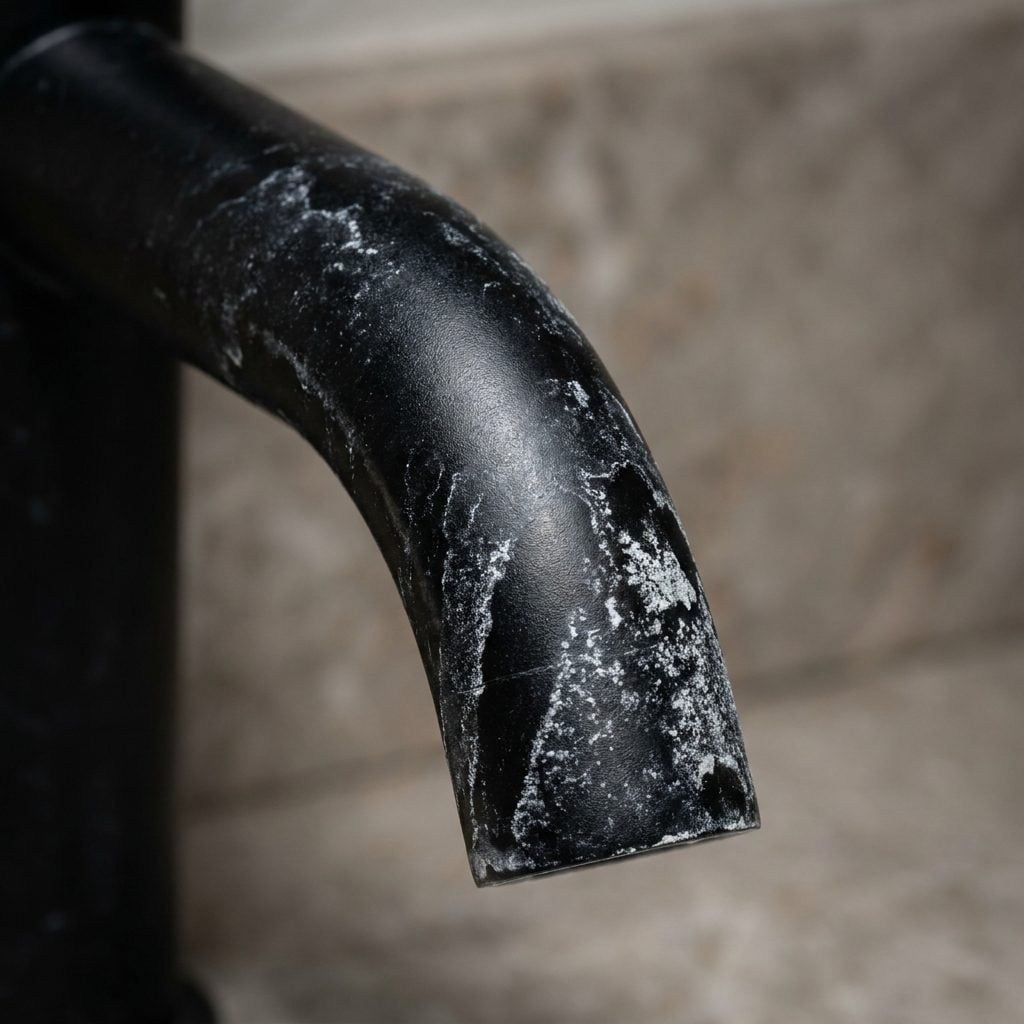
Matte black is having a long moment, and honestly it earns it. But here’s what nobody mentions at the showroom: hard water is brutal on matte finishes. Mineral deposits show up as chalky white ghosts on the spout, and matte can’t be buffed back the way chrome can.
Got hard water? You’ll be wiping fixtures constantly or living with the spots. A water softener helps, and so does choosing a quality powder-coated finish over a cheap painted one that chips at the edges.
Chrome and stainless hide spotting better if low maintenance beats trend for you. I say all this as someone who picked matte black once and spent the next year regretting the daily wipe-down.
14. Buying Cheap Faucets and Shower Valves Because They Look Almost Identical to the Expensive Ones
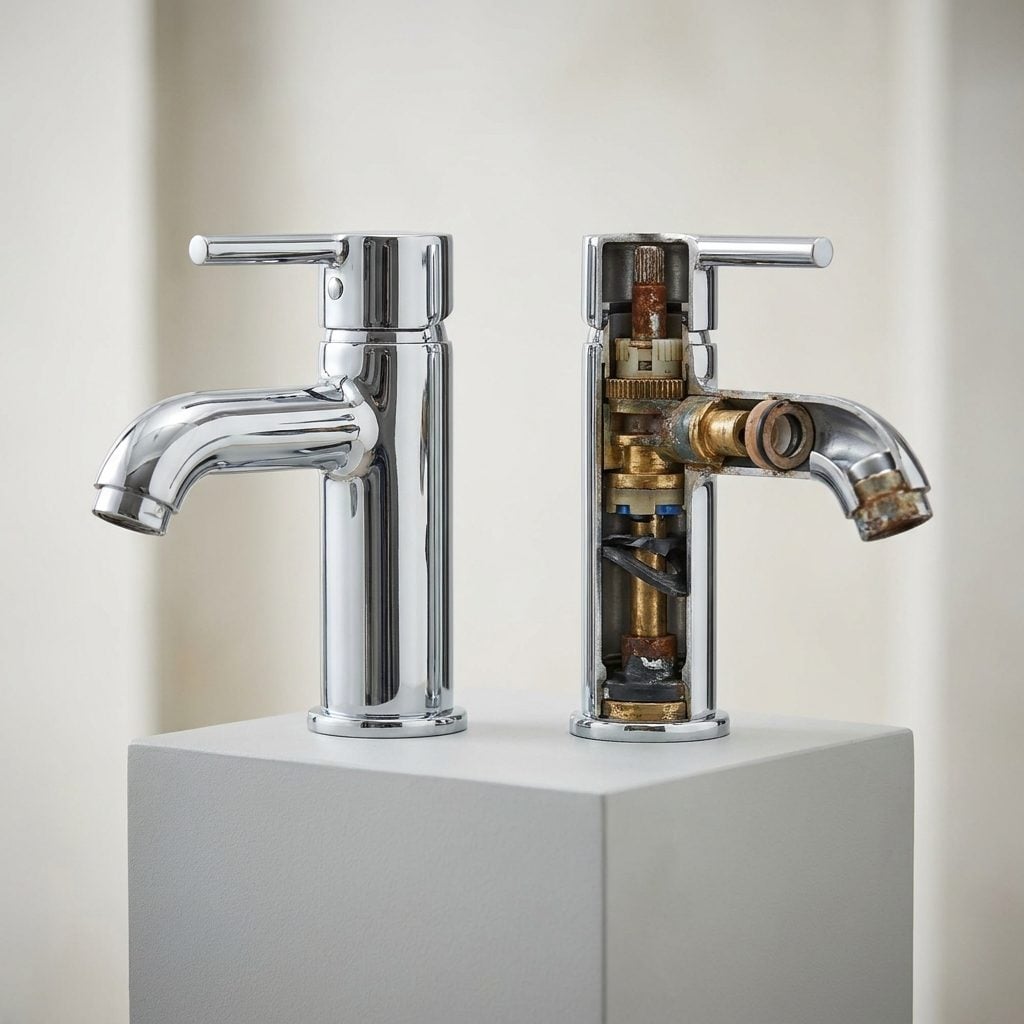
The faucet in the store looks nearly identical to the one that costs three times as much. On the shelf, they’re twins. Two years in, they are not.
Cheap faucets use plastic internals and thin cartridges that drip, stick, and fail. The expensive ones run solid brass bodies and ceramic-disc cartridges that outlast the house itself. You’re paying for what you can’t see.
Shower valves are the ones to never cut corners on. They live inside the wall behind tile, so when a bargain valve fails, replacing it means demolishing your beautiful new shower. Spend here. Save on the toilet paper holder instead.
13. Putting Your Entire Remodel Budget Into Finishes and Almost Nothing Into What’s Behind the Walls
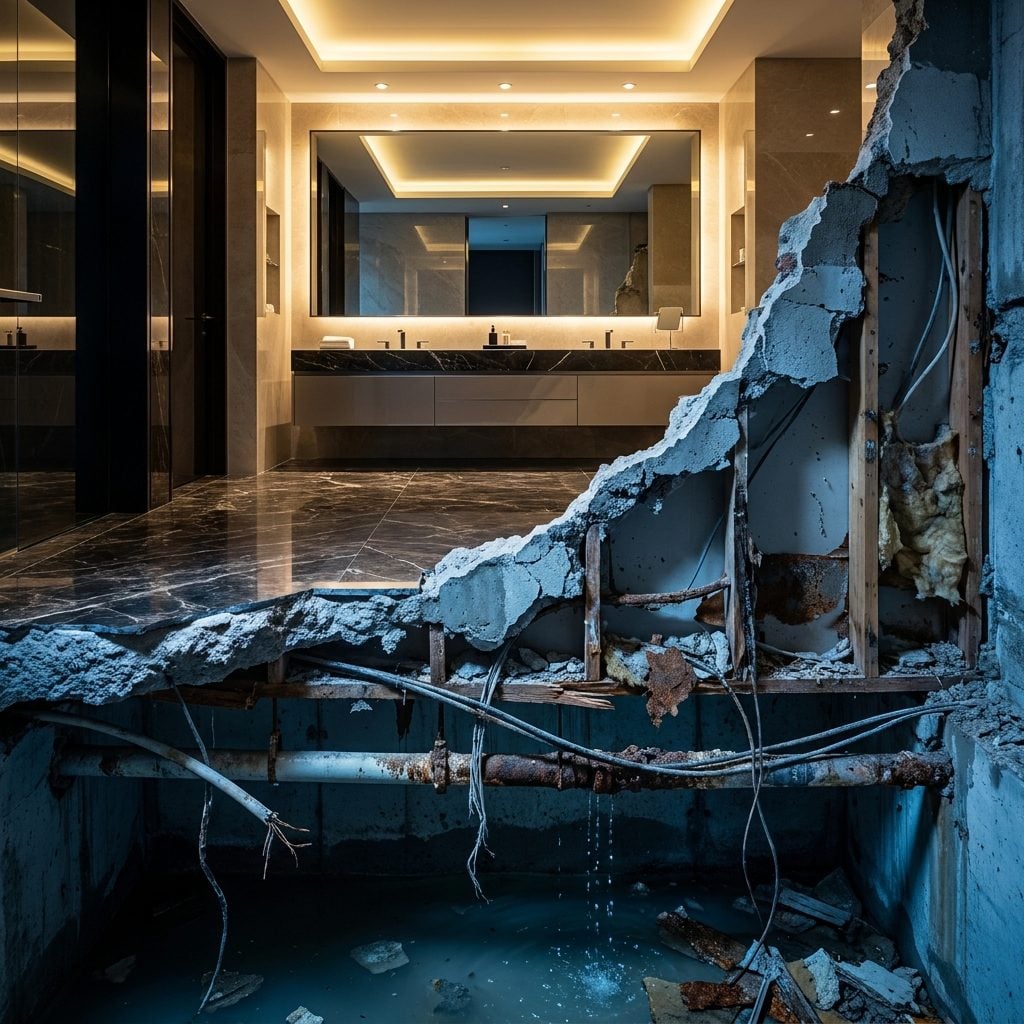
Say you drop $12,000 on marble, a designer vanity, and a showpiece faucet, then let the contractor cut corners on waterproofing, the exhaust fan, and the supply lines. Two winters later, mold blooms behind the pretty tile and you’re tearing it all out.
The stuff behind the walls is the actual renovation. Waterproofing membrane, a proper vented exhaust fan, updated supply lines, correct drain slope — none of it shows in a photo, and all of it decides whether the room survives.
Budget for the invisible first. The finishes only matter if the guts hold.
12. Covering Up Old Plumbing Instead of Replacing It While the Walls Are Already Open
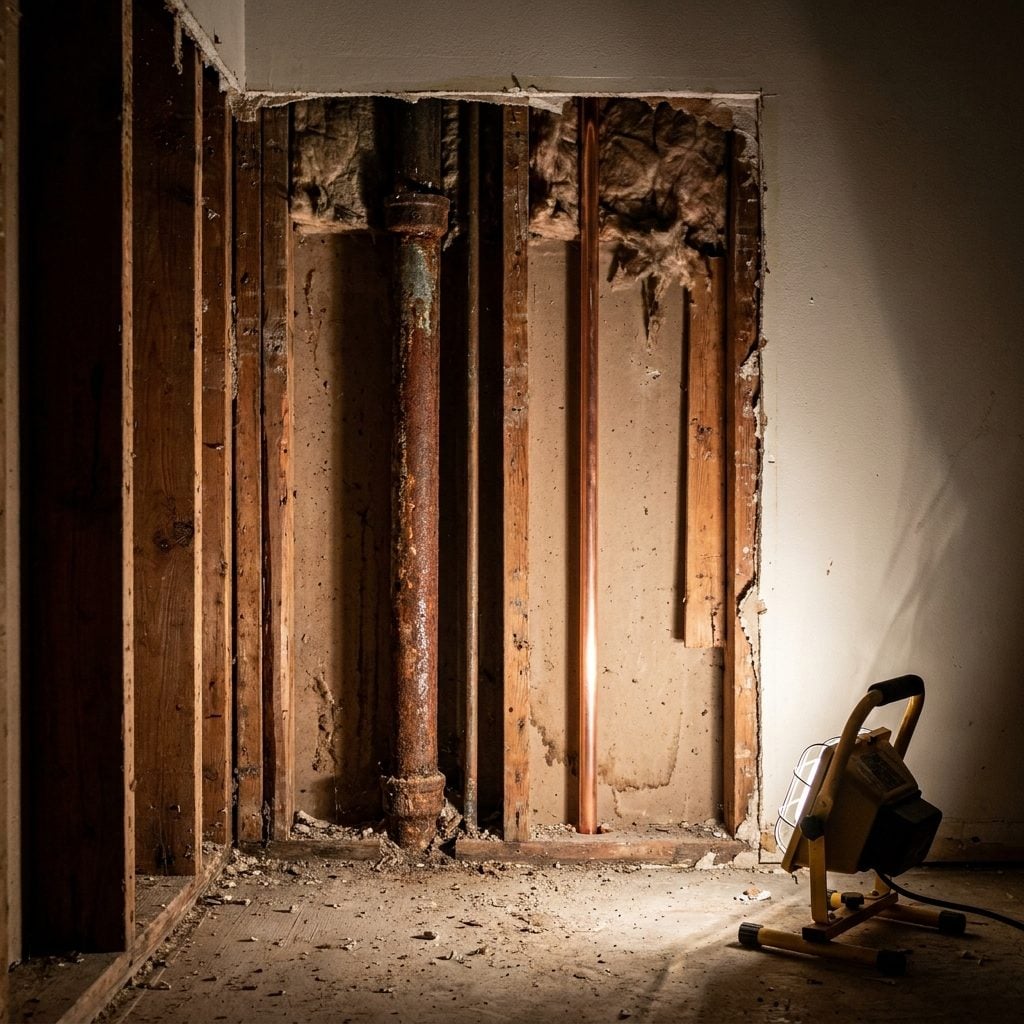
The walls are open. This is the one window in twenty years where swapping out old galvanized or corroded supply lines costs almost nothing extra in labor, because the demo is already done.
Covering up aging pipe to save a few hundred dollars is the kind of false economy that comes back to bite hard. Galvanized rusts from the inside, chokes water pressure, and eventually leaks inside a finished wall you just tiled.
Ask your plumber to assess everything exposed before you close it up. New pipe now beats a wall demo later. Every time.
11. Forgetting That Bathroom Floors Need to Transition Cleanly Into the Hallway
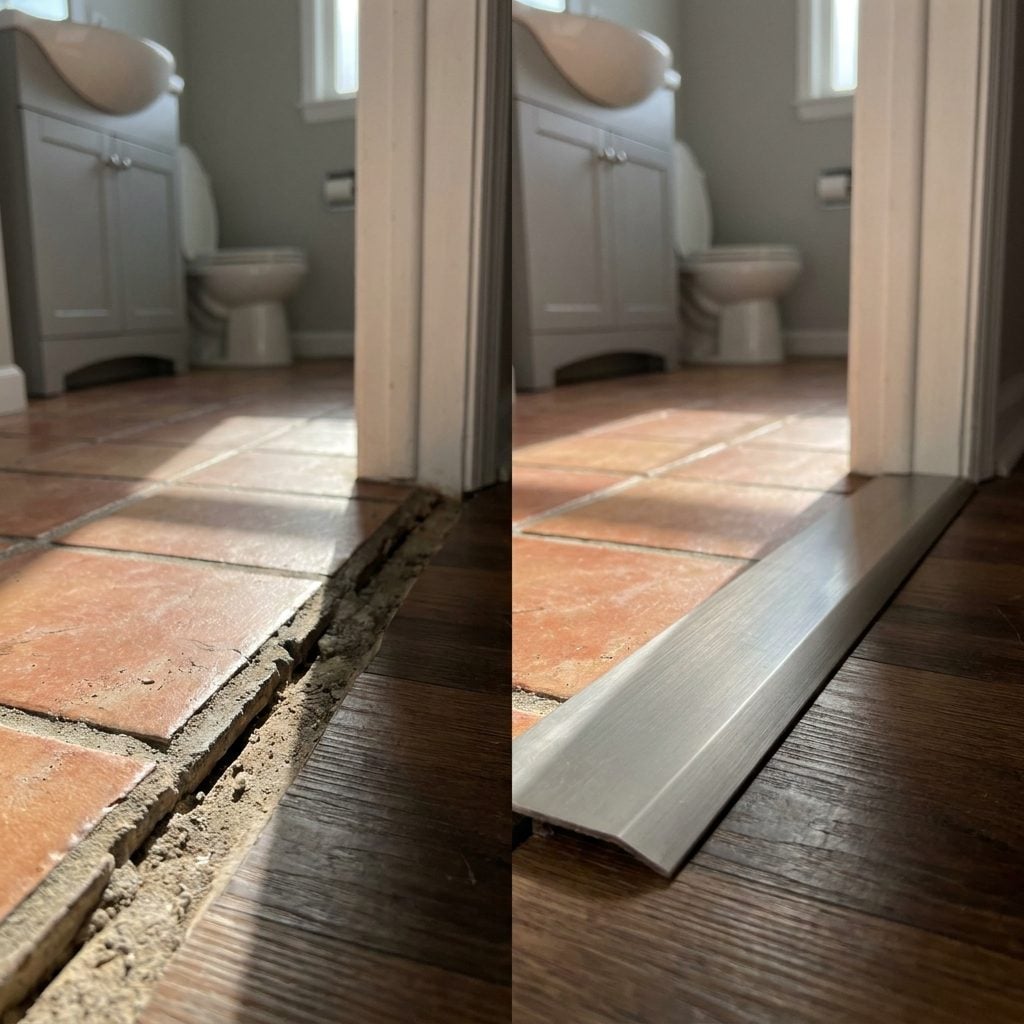
Everyone obsesses over the tile inside the bathroom and forgets the two-inch strip where it meets the hallway. Then the tile sits a half-inch proud of the wood floor, you stub your toe every morning, and the transition strip looks like an afterthought because it was one.
Height matters here. Tile plus thinset plus backer board can end up taller than adjacent hardwood, so plan the subfloor buildup early. A slim brass or matched-wood transition strip finishes the seam and stops water from wandering into the hall.
Small detail. Also the thing you’ll notice every single time you walk through that door.
10. Using the Wrong Paint, Trim, or Cabinet Materials for a High-Moisture Room
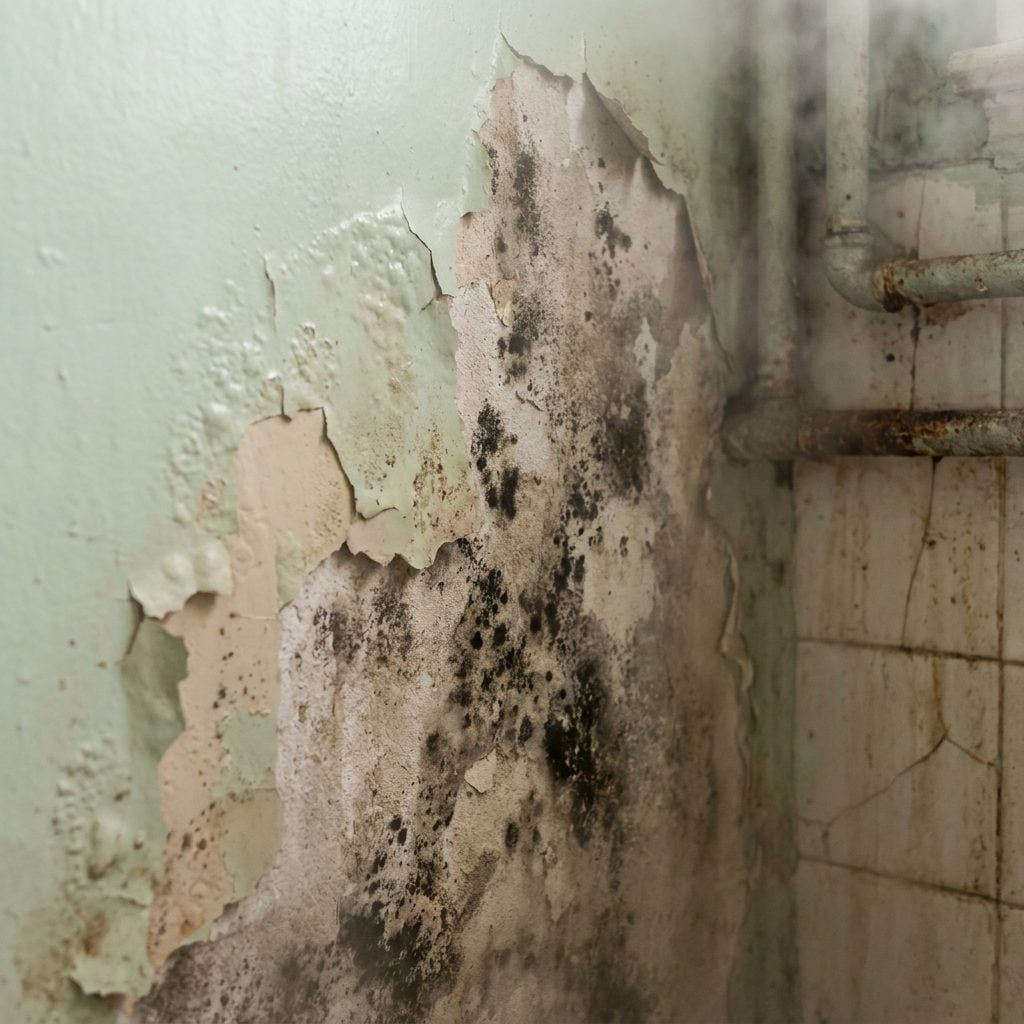
Flat wall paint in a room that steams up twice a day is a slow disaster. It holds moisture, mildew creeps into the corners, and the whole thing starts flaking off within a couple of years. What you want is a scrubbable satin or semi-gloss with mildew resistance, plus cabinets built from plywood or solid wood rather than raw MDF that swells like a sponge the first time water pools at the base.
I learned this the hard way. A vanity looked fine for eighteen months, then puffed up at every bottom edge. Trim matters too — PVC or moisture-rated MDF baseboards near the tub outlast the standard stuff every time.
9. Making the Bathroom So Spa-Like That There’s Nowhere to Put Everyday Stuff
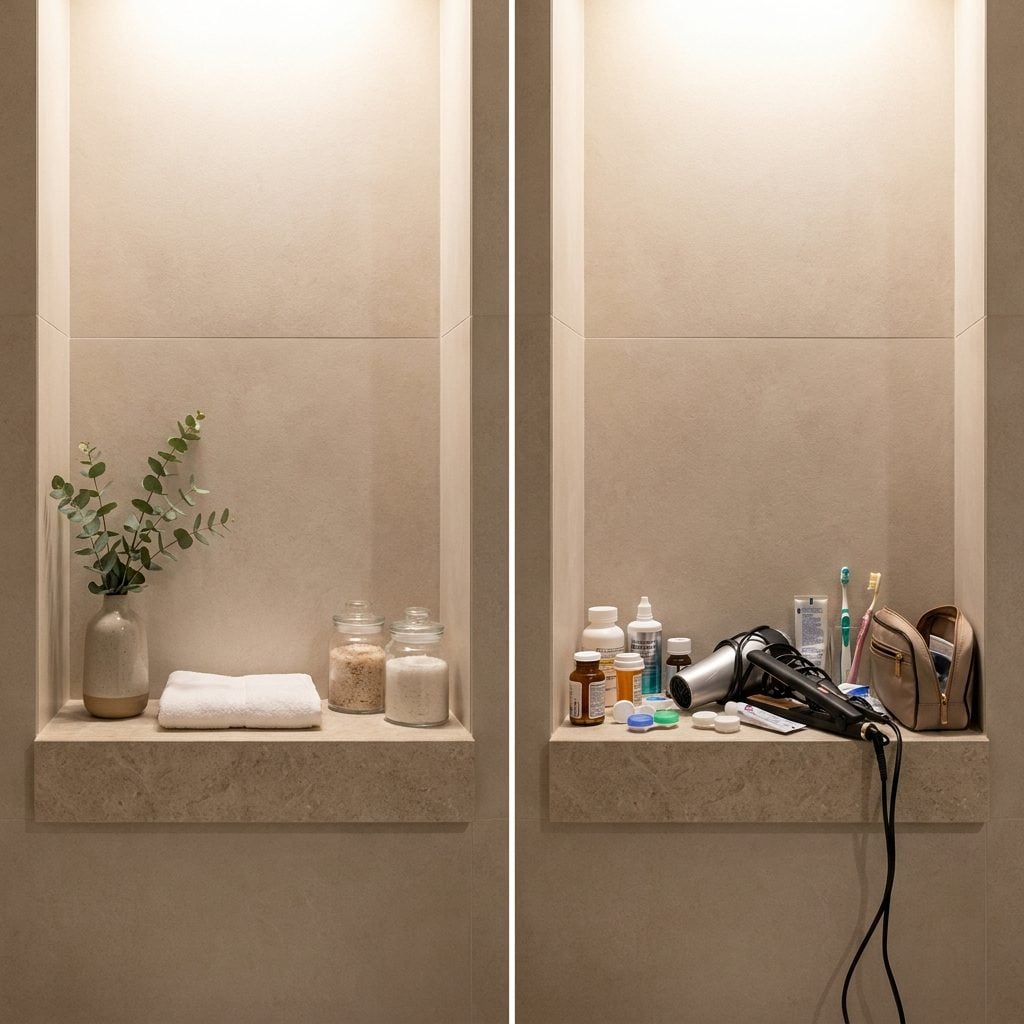
The showroom version has one candle and a folded towel. Your version has contact lenses, three prescriptions, a hair dryer, and a curling iron that needs somewhere to cool down. Design for the second one.
Spa-like usually means minimal storage, and minimal storage means your daily stuff ends up scattered across every flat surface — which kills the exact serenity you paid for. A glam bathroom design can still hide plenty behind cabinet doors. Deep drawers with outlet ports inside, a medicine cabinet with real depth, a niche in the shower for actual shampoo bottles. Calm and functional aren’t enemies. You just have to plan for both.
8. Designing for Instagram Instead of How You Actually Get Ready Every Morning
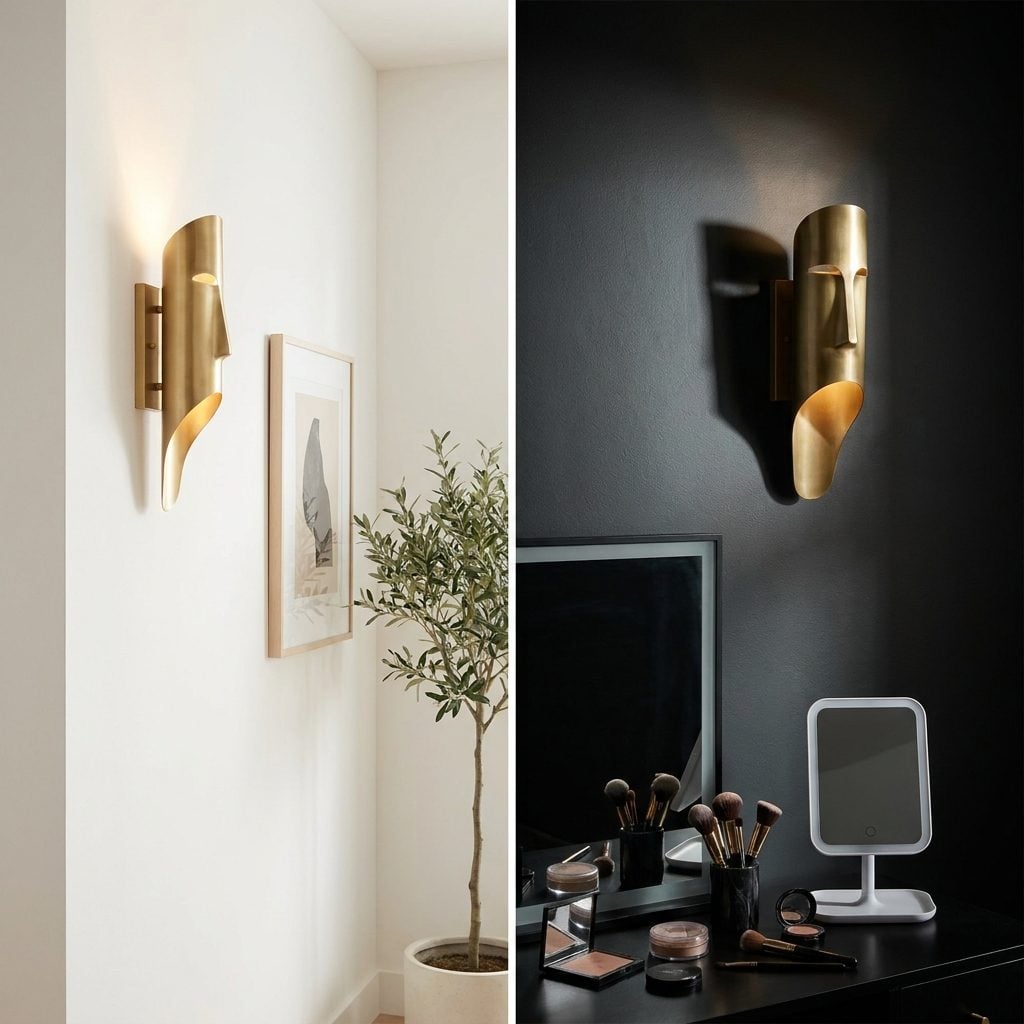
That sconce placement that looks so architectural in photos? It throws shadows straight down your face when you’re trying to do makeup. And the oversized statement mirror hung for symmetry sits a good six inches too high for anyone under 5’8″.
Photogenic and functional are two different design briefs. Before you sign off on anything, walk through your real morning. Where do you set your coffee. Where does the light hit when you shave or apply mascara. Which drawer do you open first. Front-facing light at eye level beats a gorgeous overhead fixture every single day. I’ll take a boring mirror I can actually see myself in over a sculptural one that flatters the camera and nobody else.
7. Choosing a Layout That Looks Spacious Until Two People Try to Use It
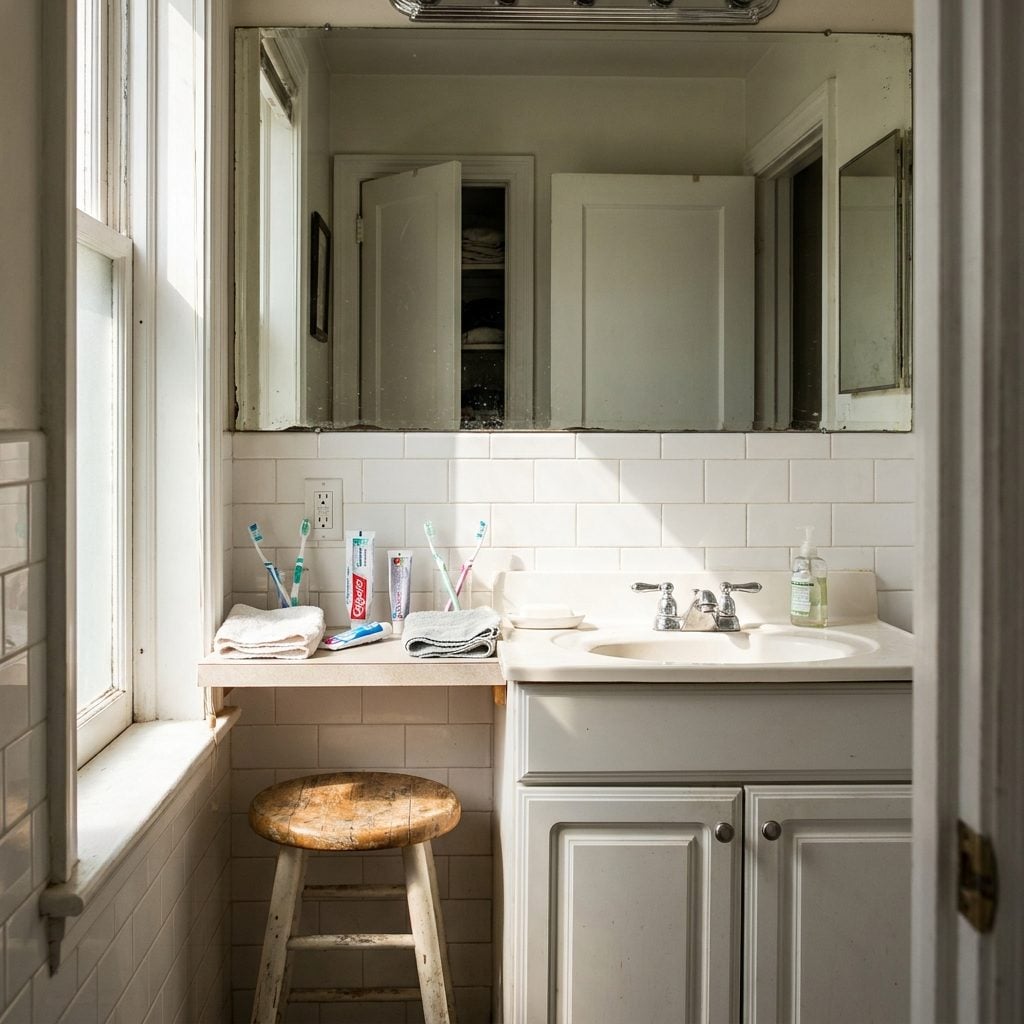
A layout can look roomy on paper and fall apart the second two people need to brush their teeth at the same time. Doors that swing into each other. A vanity you can’t stand at with the shower door open. A toilet wedged so close to the wall your knee hits it every time you sit down.
Clearances are the whole game. You want at least 30 inches in front of each fixture, more if you can get it, and door swings that never fight. Tape the layout out on your actual floor before you commit. Stand where you’d stand. Open the imaginary door. The floor plan lies. Your body doesn’t.
6. Making Every Finish a Statement and Ending Up With Five Things Fighting for Attention
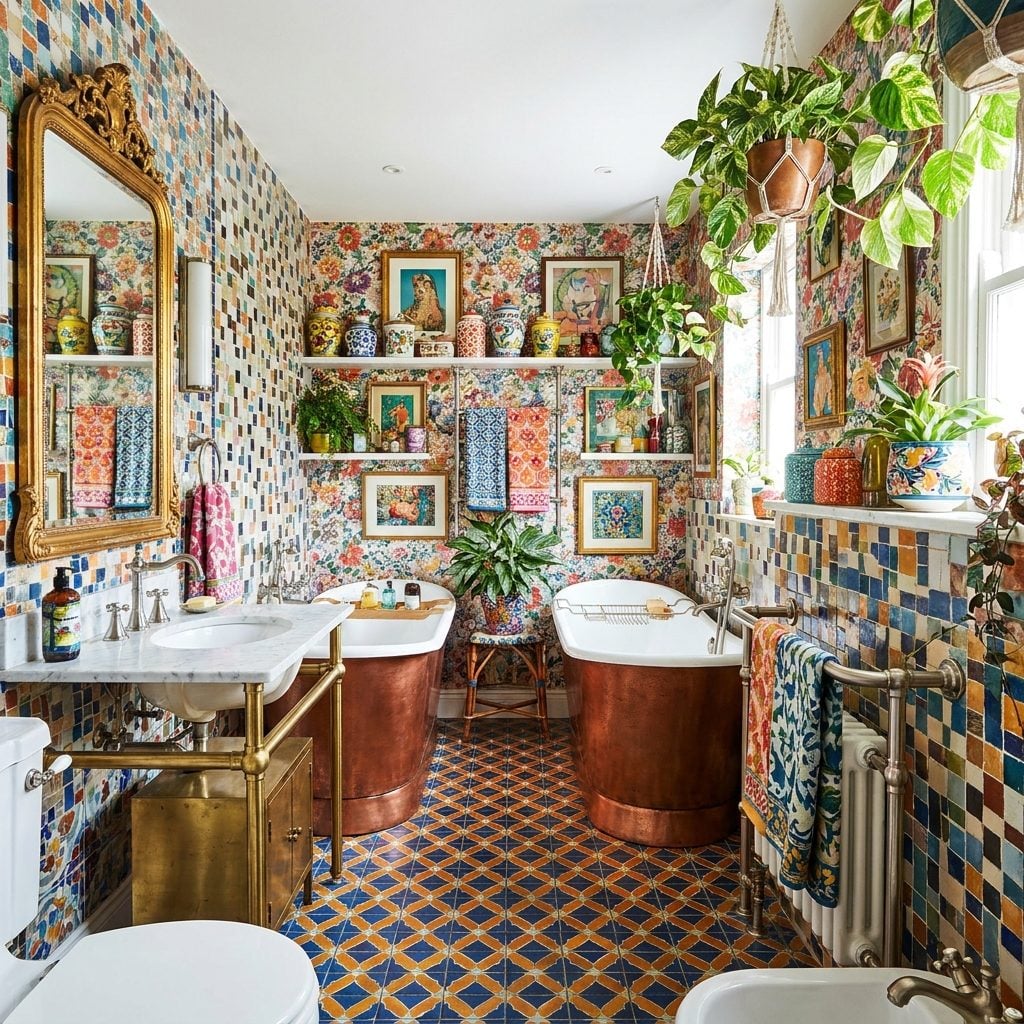
Patterned floor, patterned wall, a bold vanity color, brass fixtures, black hardware, and wallpaper on top of it all. Everything is the star, so nothing is. Your eye has nowhere to rest, and the room ends up feeling smaller and busier than the square footage suggests.
Pick one hero and let the rest support it. If the floor tile is the show-off, keep the walls quiet. If the vanity is emerald velvet drama, calm everything around it down. Restraint is a design skill, not a lack of imagination. The best bathrooms I’ve stood in had exactly one thing you remembered and a lot of quiet doing the heavy lifting.
5. Following a Bathroom Trend That Could Date a $25,000 Remodel in Five Years
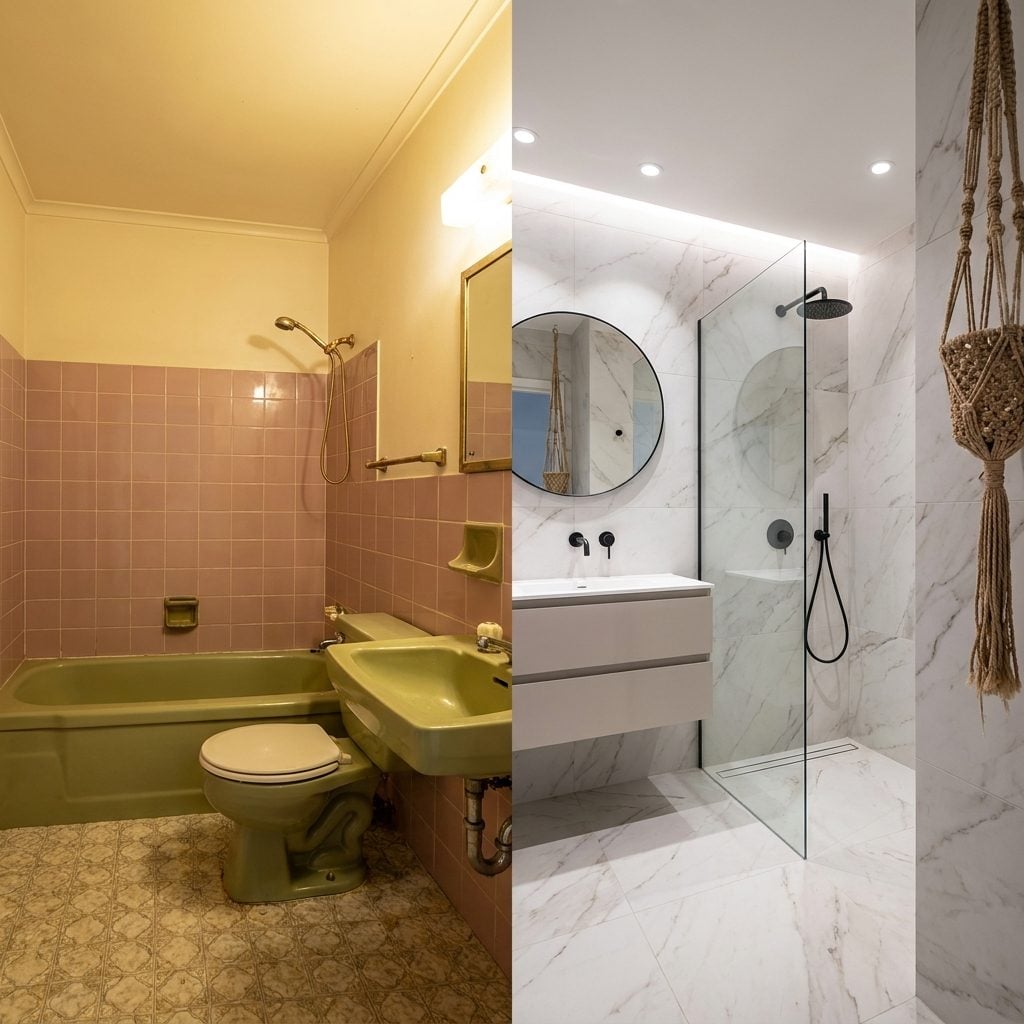
Every era has its tell. Avocado suites and the pink-tile bathroom were once the height of taste. The viral finish you love right now will read as a timestamp on your house before the loan is paid off.
The fix isn’t to go beige and boring. Put your money in the things that stay put: white or stone tile, a quality tub, a classic layout, natural materials. Then let the trend live in the swappable stuff. Paint, a mirror, hardware, towels, a shower curtain. A red bathroom ideas palette or a bold color moment carries a lot less risk when it’s paint you can redo in a weekend instead of tile you’re stuck with for fifteen years.
4. Ordering Exactly the Square Footage of Tile You Need With Nothing Extra for Cuts, Breakage, or Repairs
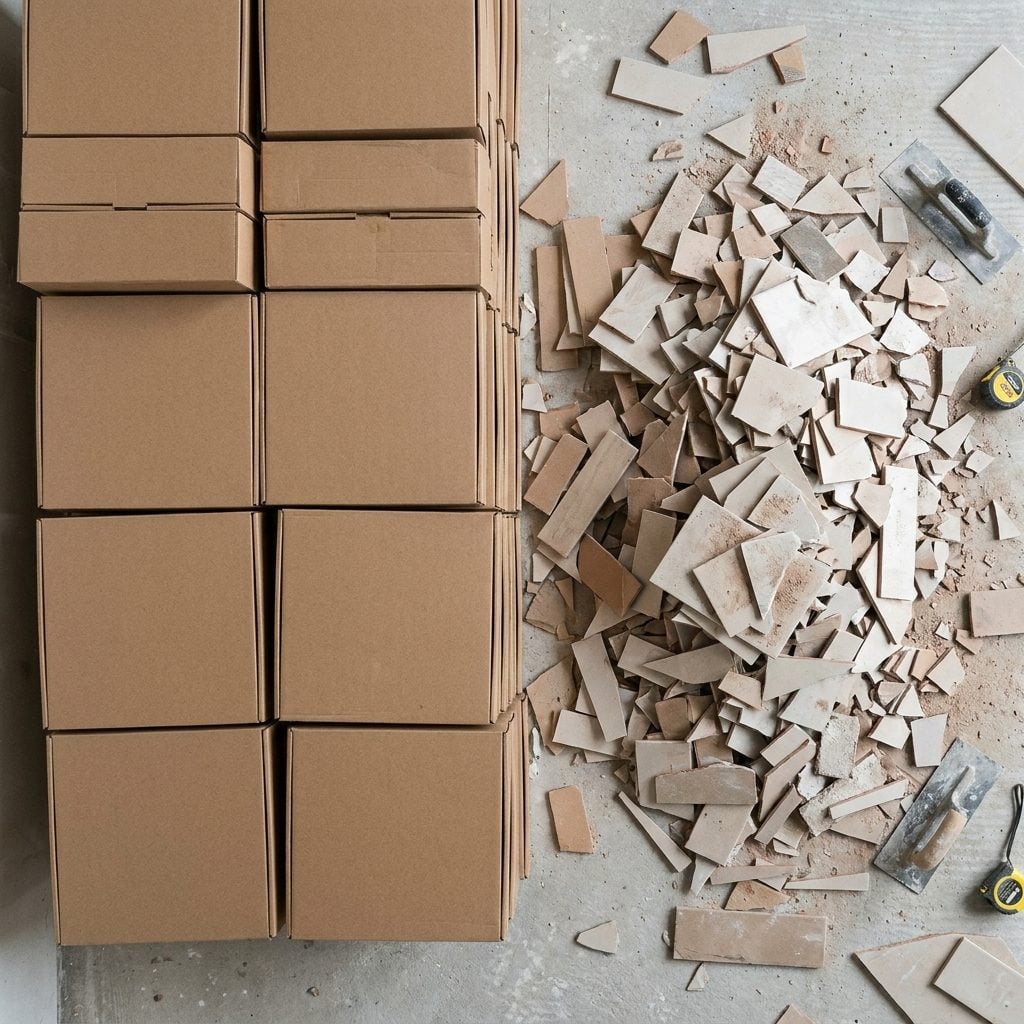
You measure the walls, order that exact amount, and then reality hits. Cuts around the niche waste tile, a few crack during install, and the pattern needs alignment so you lose more pieces to the layout. Now you’re short, the dye lot is discontinued, and you’re staring at a wall you can’t finish.
Order 10 to 15 percent over, always. And keep the leftover box. Years from now when a tile cracks, that spare from the same batch is the difference between an invisible repair and a mismatched patch that announces itself forever. Dye lots drift. The one you buy in three years won’t match the one on your wall.
3. Waiting Until Demolition Starts to Order Fixtures With Long Lead Times
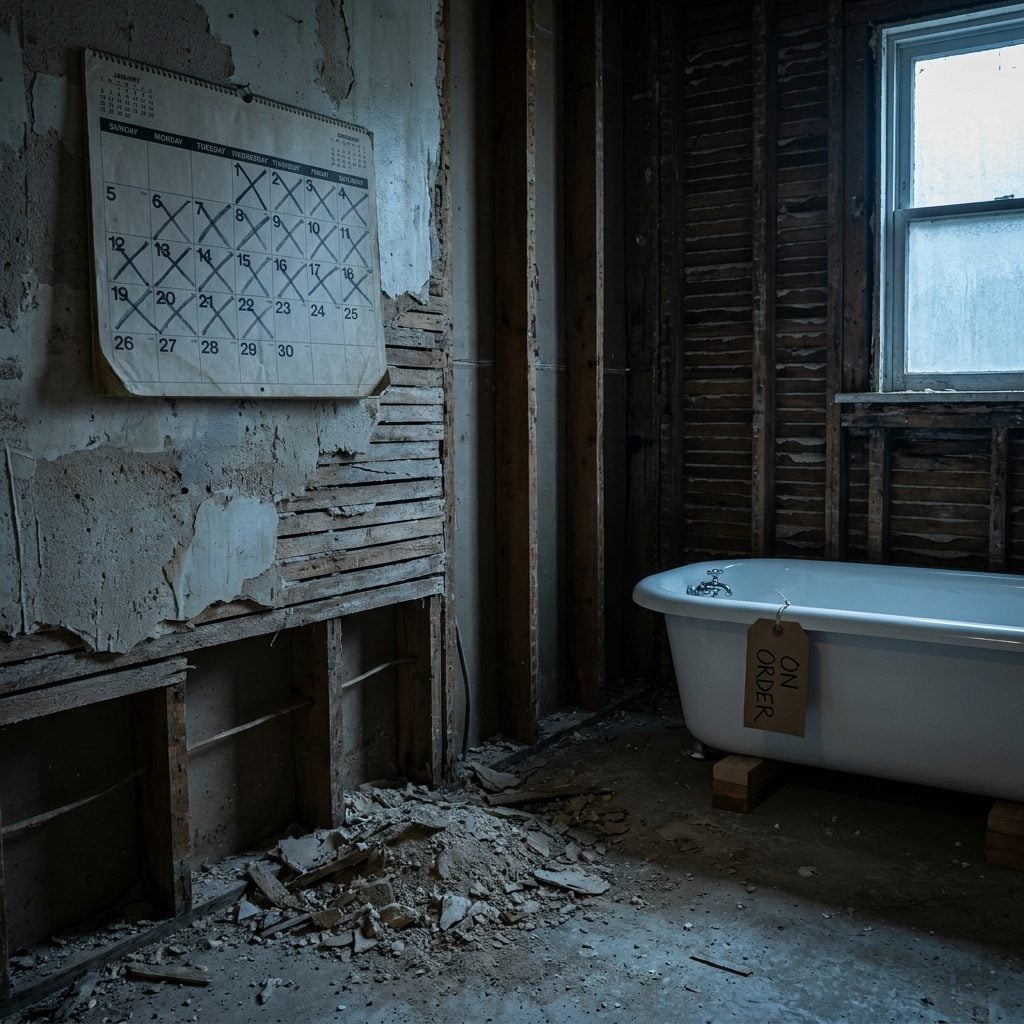
Nothing stalls a remodel like a gutted bathroom waiting on a tub that won’t ship for ten weeks. Freestanding tubs, custom vanities, specialty tile, certain faucet finishes — these can carry lead times measured in months, and your crew can’t set anything until the piece is on site.
Order the slow stuff before demo, not after. A stalled bathroom isn’t just inconvenient. It’s expensive. Contractors move to other jobs, and getting them back on your schedule can cost weeks. Know your lead times before the sledgehammer swings.
2. Not Photographing the Open Walls Before Drywall Covers the Plumbing, Wiring, and Blocking
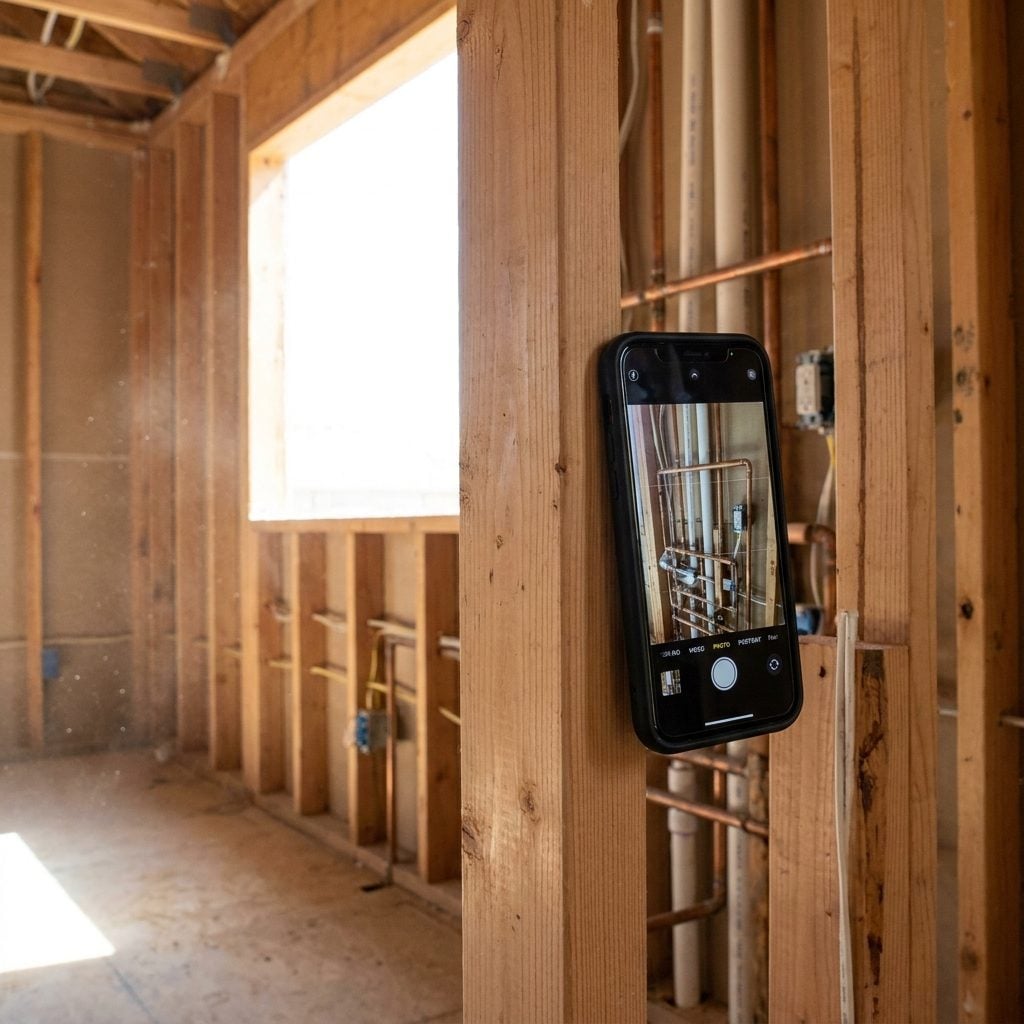
Once the drywall goes up, everything behind it becomes a mystery you’ll pay a plumber to solve later. Ten minutes with your phone before that happens saves you real money down the road.
Walk every wall and shoot photos of the plumbing runs, the electrical, the shut-off locations, the blocking. When you hang a heavy mirror next year, or a leak springs, or the next owner renovates, those pictures tell you exactly where the pipe and the stud sit. Cheapest insurance in the whole project. I take a full video walkthrough narrating what’s where, then email it to myself so it never gets lost on a dead phone.
1. Forgetting to Add Blocking for Future Grab Bars While the Walls Are Open
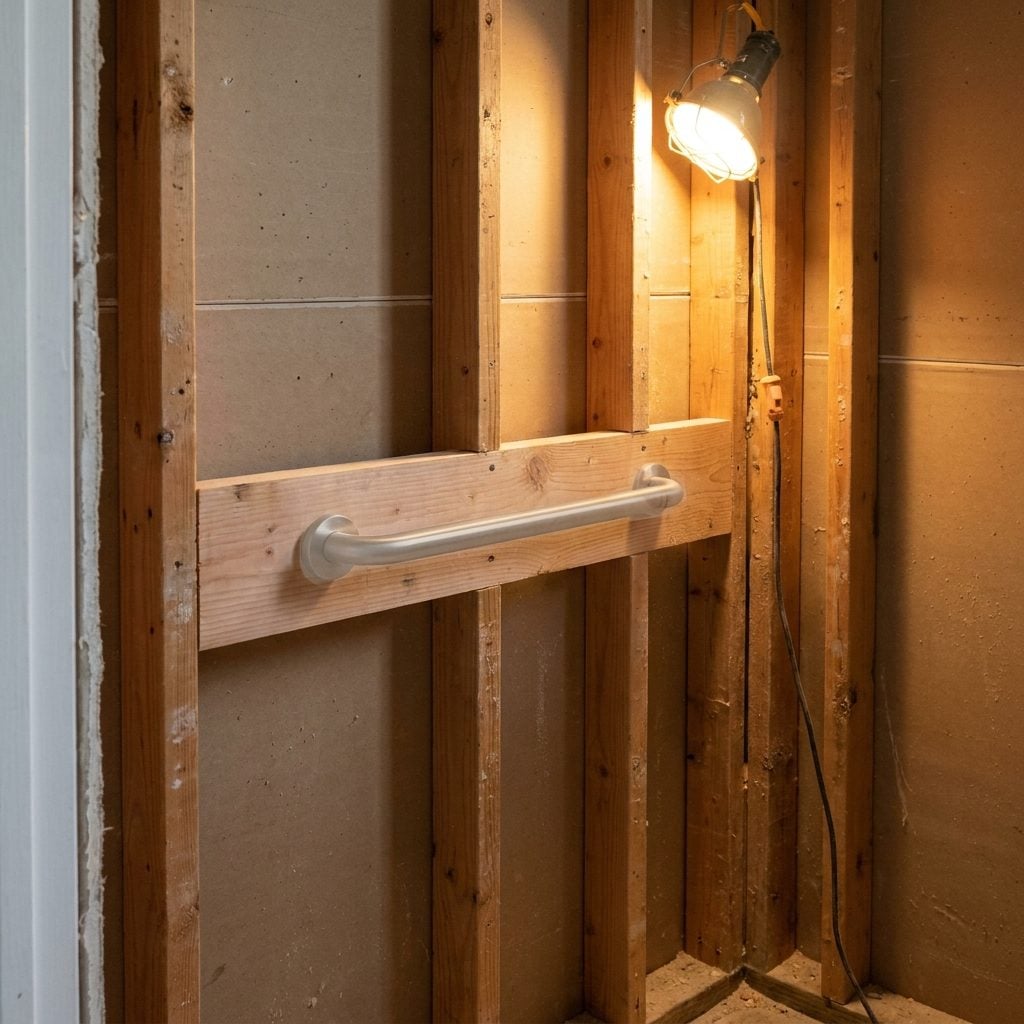
Grab bars aren’t just for later in life. They’re for a wet floor, a bad knee, a pregnancy, a recovering surgery, a house guest who needs one. And the time to prepare for them is now, while the walls are open and adding solid wood blocking between the studs costs almost nothing.
Skip it, and installing a real, weight-bearing grab bar later means opening the wall, patching, retiling, the whole miserable ordeal. Have your framer add horizontal blocking at grab-bar height around the shower and beside the toilet. You don’t have to install the bars. You just want the wall ready.
Least glamorous line item on the whole job, and one of the smartest.