
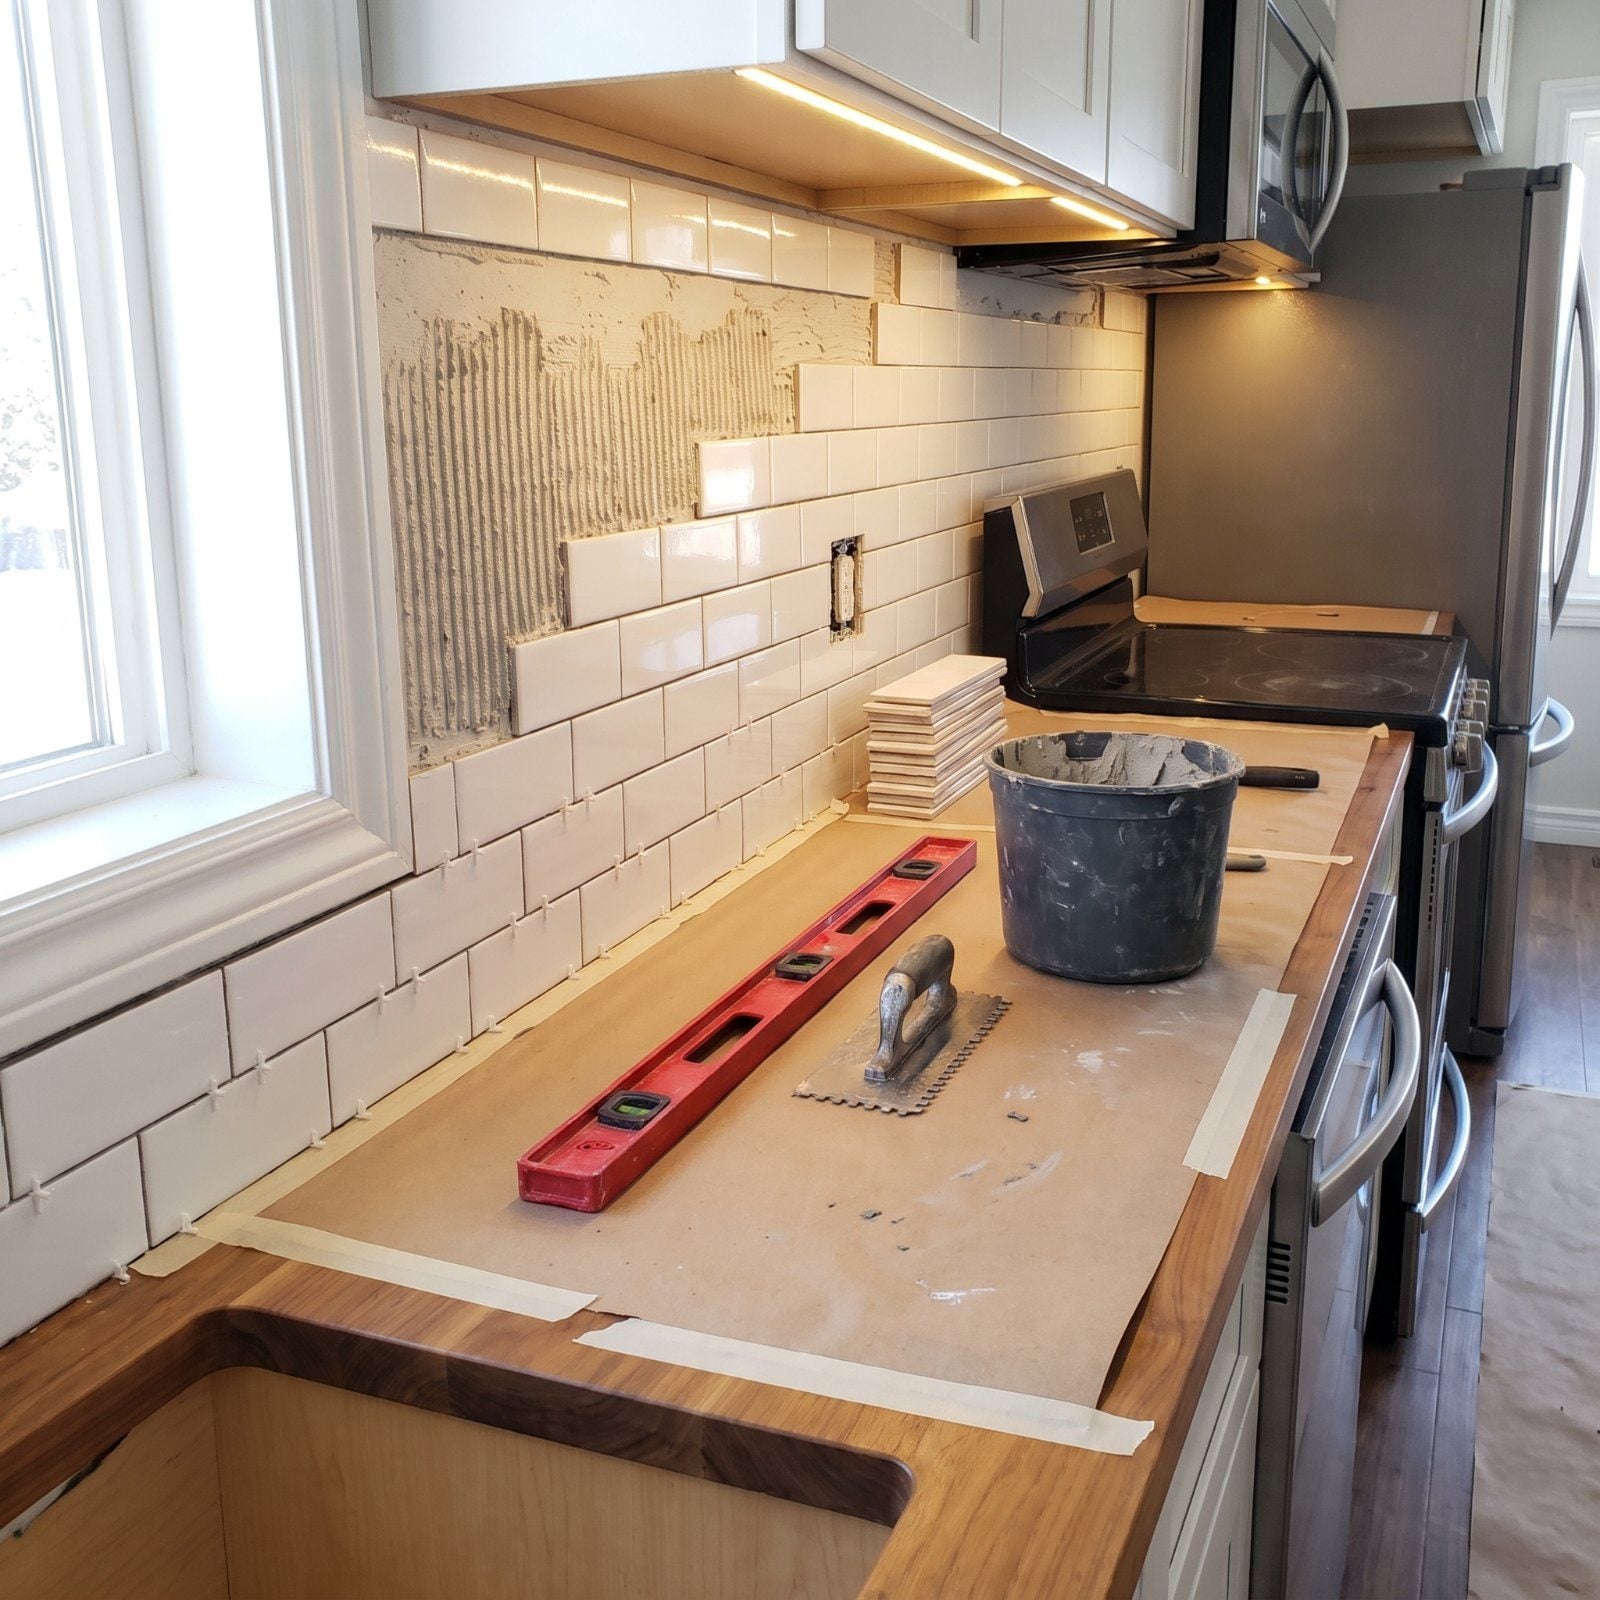
The wall behind your range is lying to you. It looks flat. Run a level across it and watch one end float a quarter inch off the drywall, and that gap is where good backsplashes go to die. A pro clocks it in the first thirty seconds. Subway tile looks simple, just a grid of white rectangles, so how hard can it be? Hard enough that most of the work happens before a single tile touches the wall. These are the things people who do this for a living already know, and most homeowners find out the expensive way.
35. Why the Wall Gets Flattened Before a Single Tile Goes Up
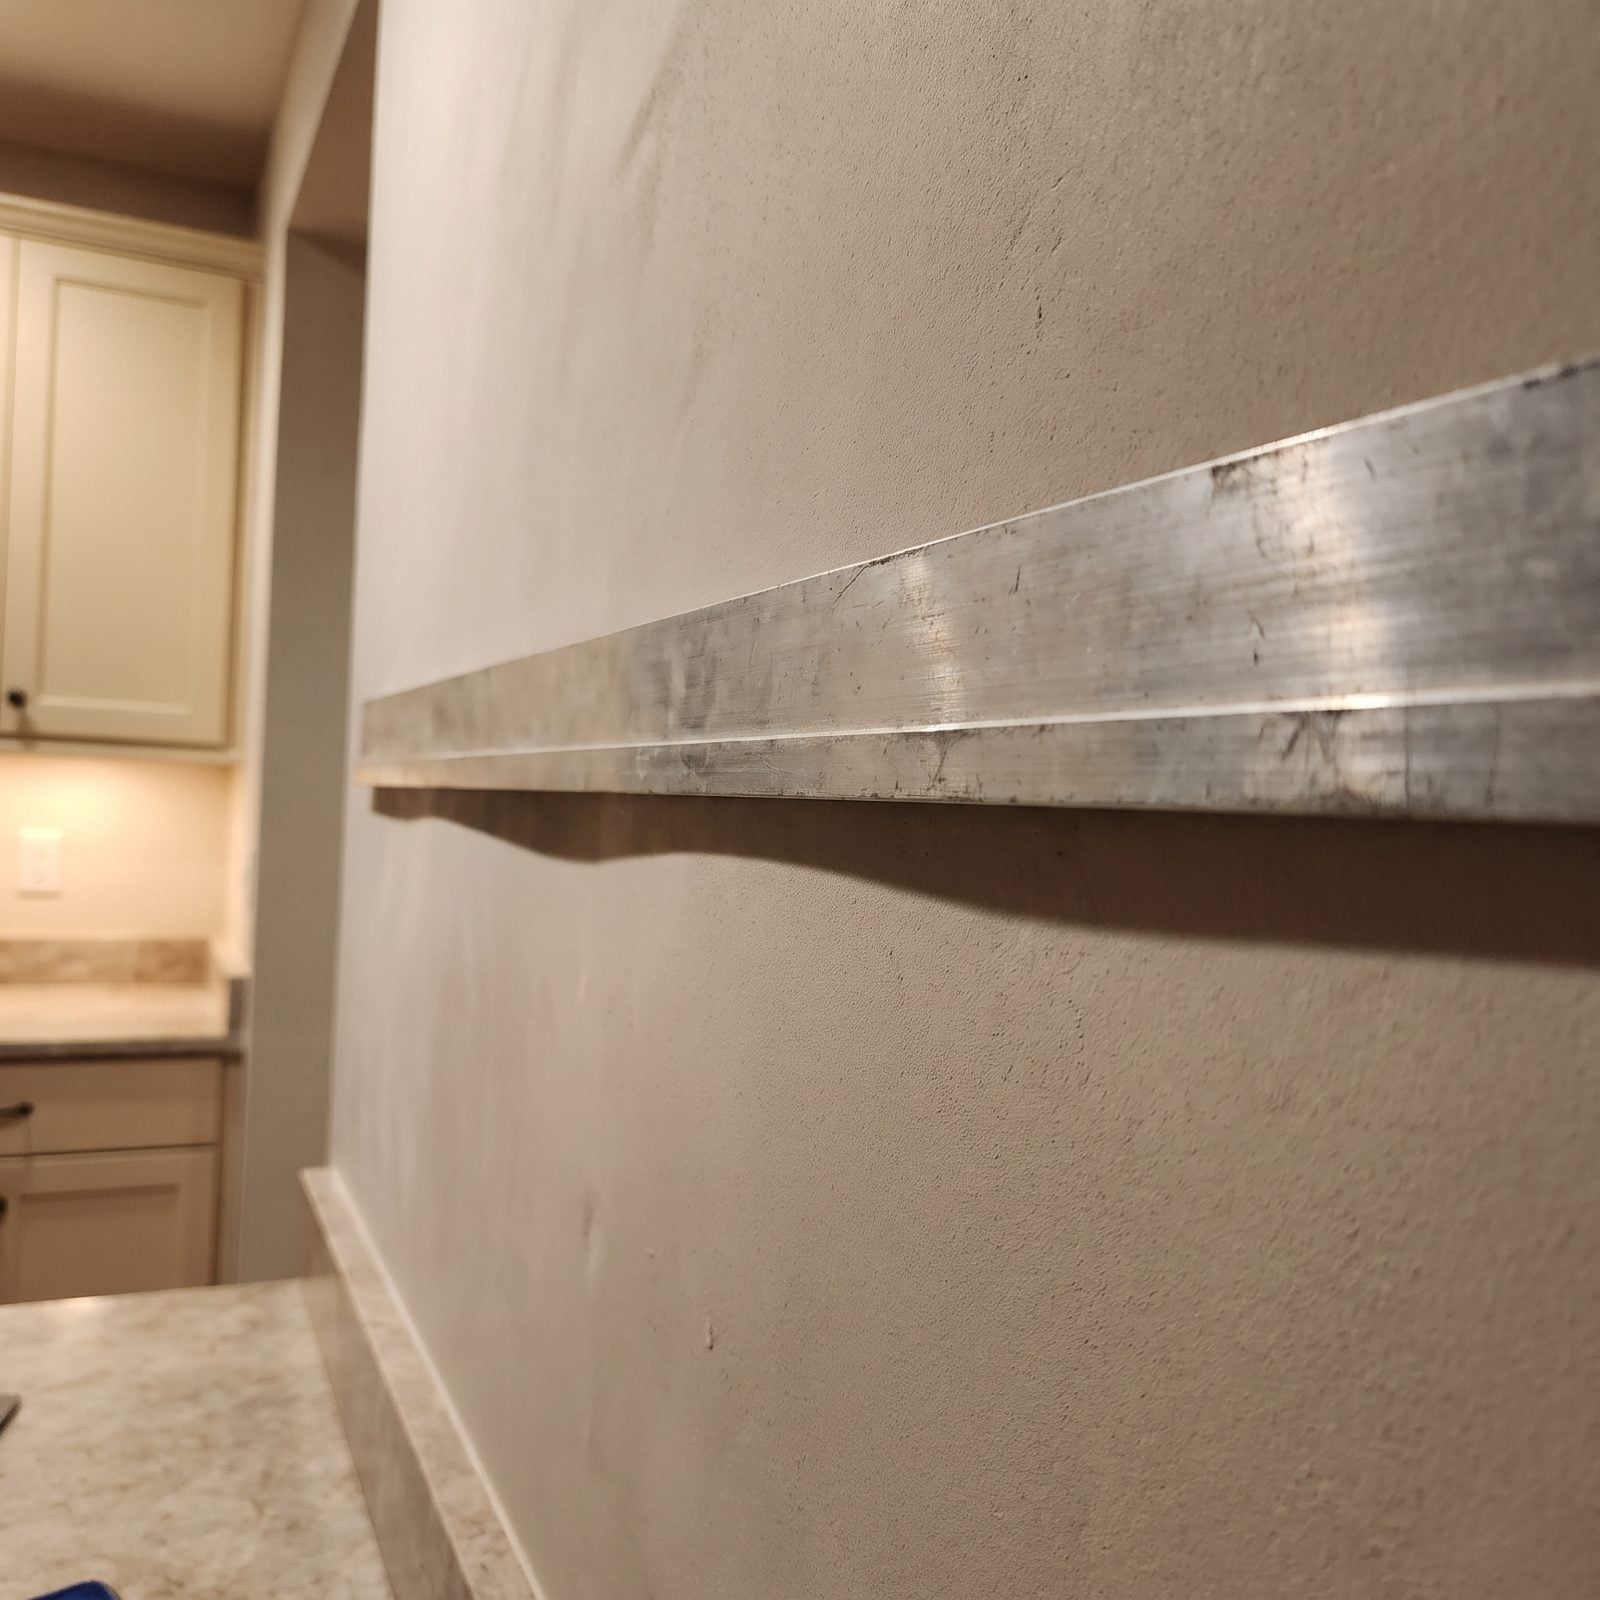
That floor-to-wall line you trust? It wanders. Most kitchen walls bow in or out by a fraction across a single run, and tile is merciless about showing it, and the low sun raking across this plastered wall shows why: side light turns every dip into a shadow. Lay a long steel rule against the wall first, like the one here with a dark gap opening beneath it, then mark the high spots and skim the lows with setting compound until the whole plane is honest.
In order to come up with the very specific design ideas, we create most designs with the assistance of state-of-the-art AI interior design software. Also, assume links that take you off the site are affiliate links such as links to Amazon. this means we may earn a commission if you buy something.
Skip this and your beveled edges will lip, grout joints will fatten and thin, and the under-cabinet light will narrate every flaw at dinner.
34. The Counter You Start From Is Probably Running Downhill
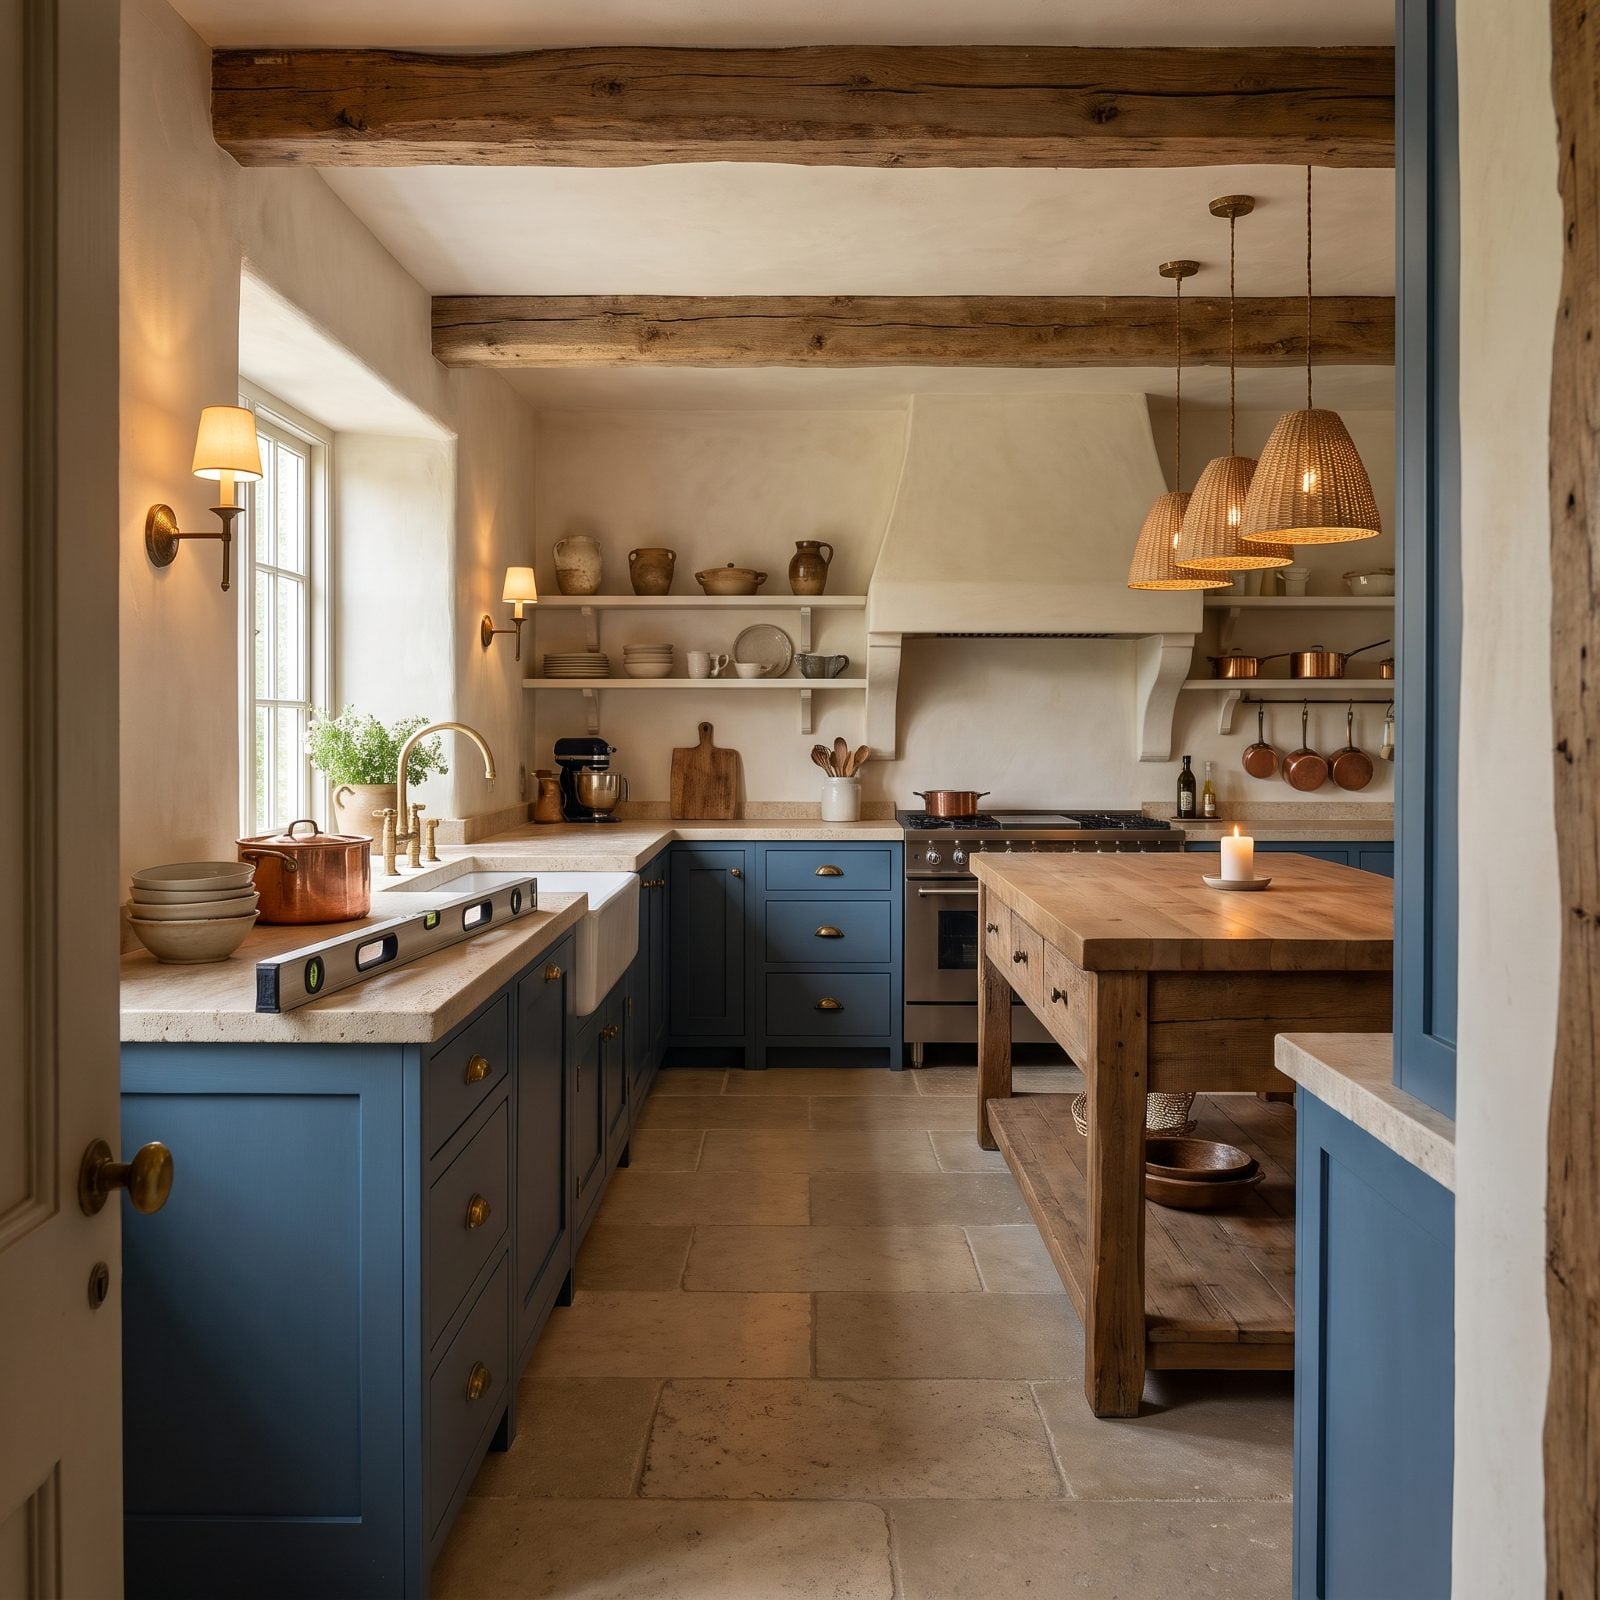
Here’s one that bites beginners. You plan to set your first row of tile right on the countertop, straight against bare plaster like this, because it looks level. Lay a long spirit level on it, as here, and you’ll see it isn’t. Counters tip slightly toward the front for drainage, or they just settle unevenly, and if you follow that line the whole wall marches uphill to the open shelves.
Once the level confirms the slope, installers snap a true level line on the plaster before any tile goes up, often tacking a temporary ledger board, and let a thin caulk joint absorb the gap at the bottom where it hides. Your eye reads the open-shelf line, not the counter, so that’s the one that has to be straight.
33. Upper Cabinets Rarely Hang in a Straight Line

Cabinets go up plumb-ish and square-ish, which is to say almost never perfect. A little droop across an upper run means your top course of tile can’t stay the same width the whole way without going crooked somewhere.
So a pro decides early where the discrepancy gets hidden. Usually it’s the top cut against the cabinet, often mapped first with an orange mason’s line strung beneath the run to show the droop, so the tapered cut tight to the cabinets reads as nothing. For some of the sharpest traditional kitchen ideas, that invisible taper is the entire trick.
32. The Grease You Can’t See Will Break the Bond
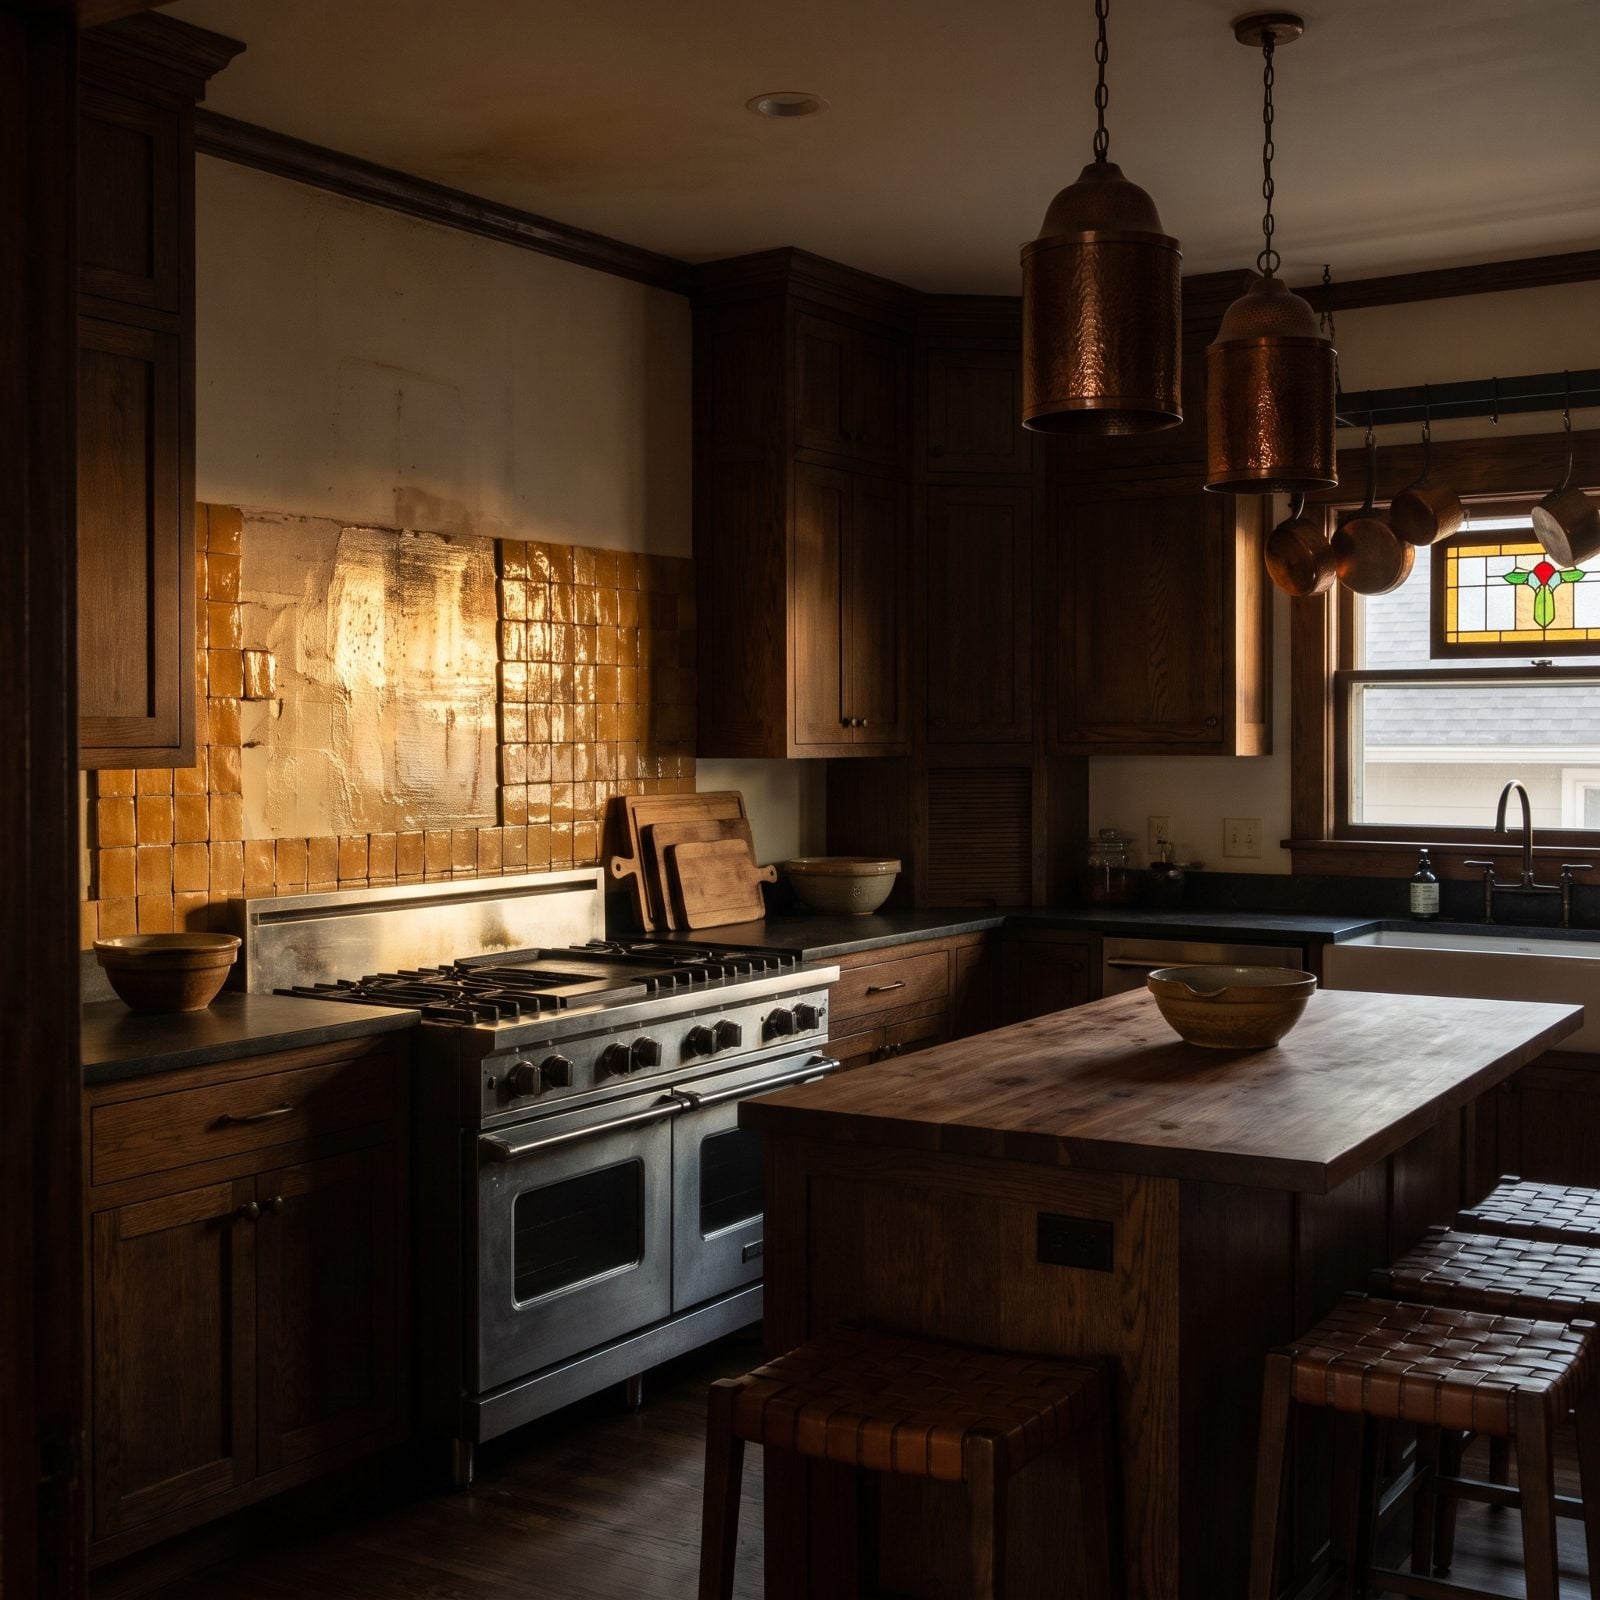
This one’s invisible, which is exactly why it ruins jobs. The wall directly behind an old stove is coated in a thin film of aerosolized cooking grease you can’t see and barely feel. Thinset will not bond to it. The tile looks fine for a year, then a section lets go with a hollow tap.
Degrease first. Always. Gorgeous tile pops off walls because someone trusted a surface that only looked clean, and there’s nothing quite like that sick little hollow thunk to tell you a whole weekend was wasted.
31. When Weak Drywall Earns a Full Replacement, Not a Patch
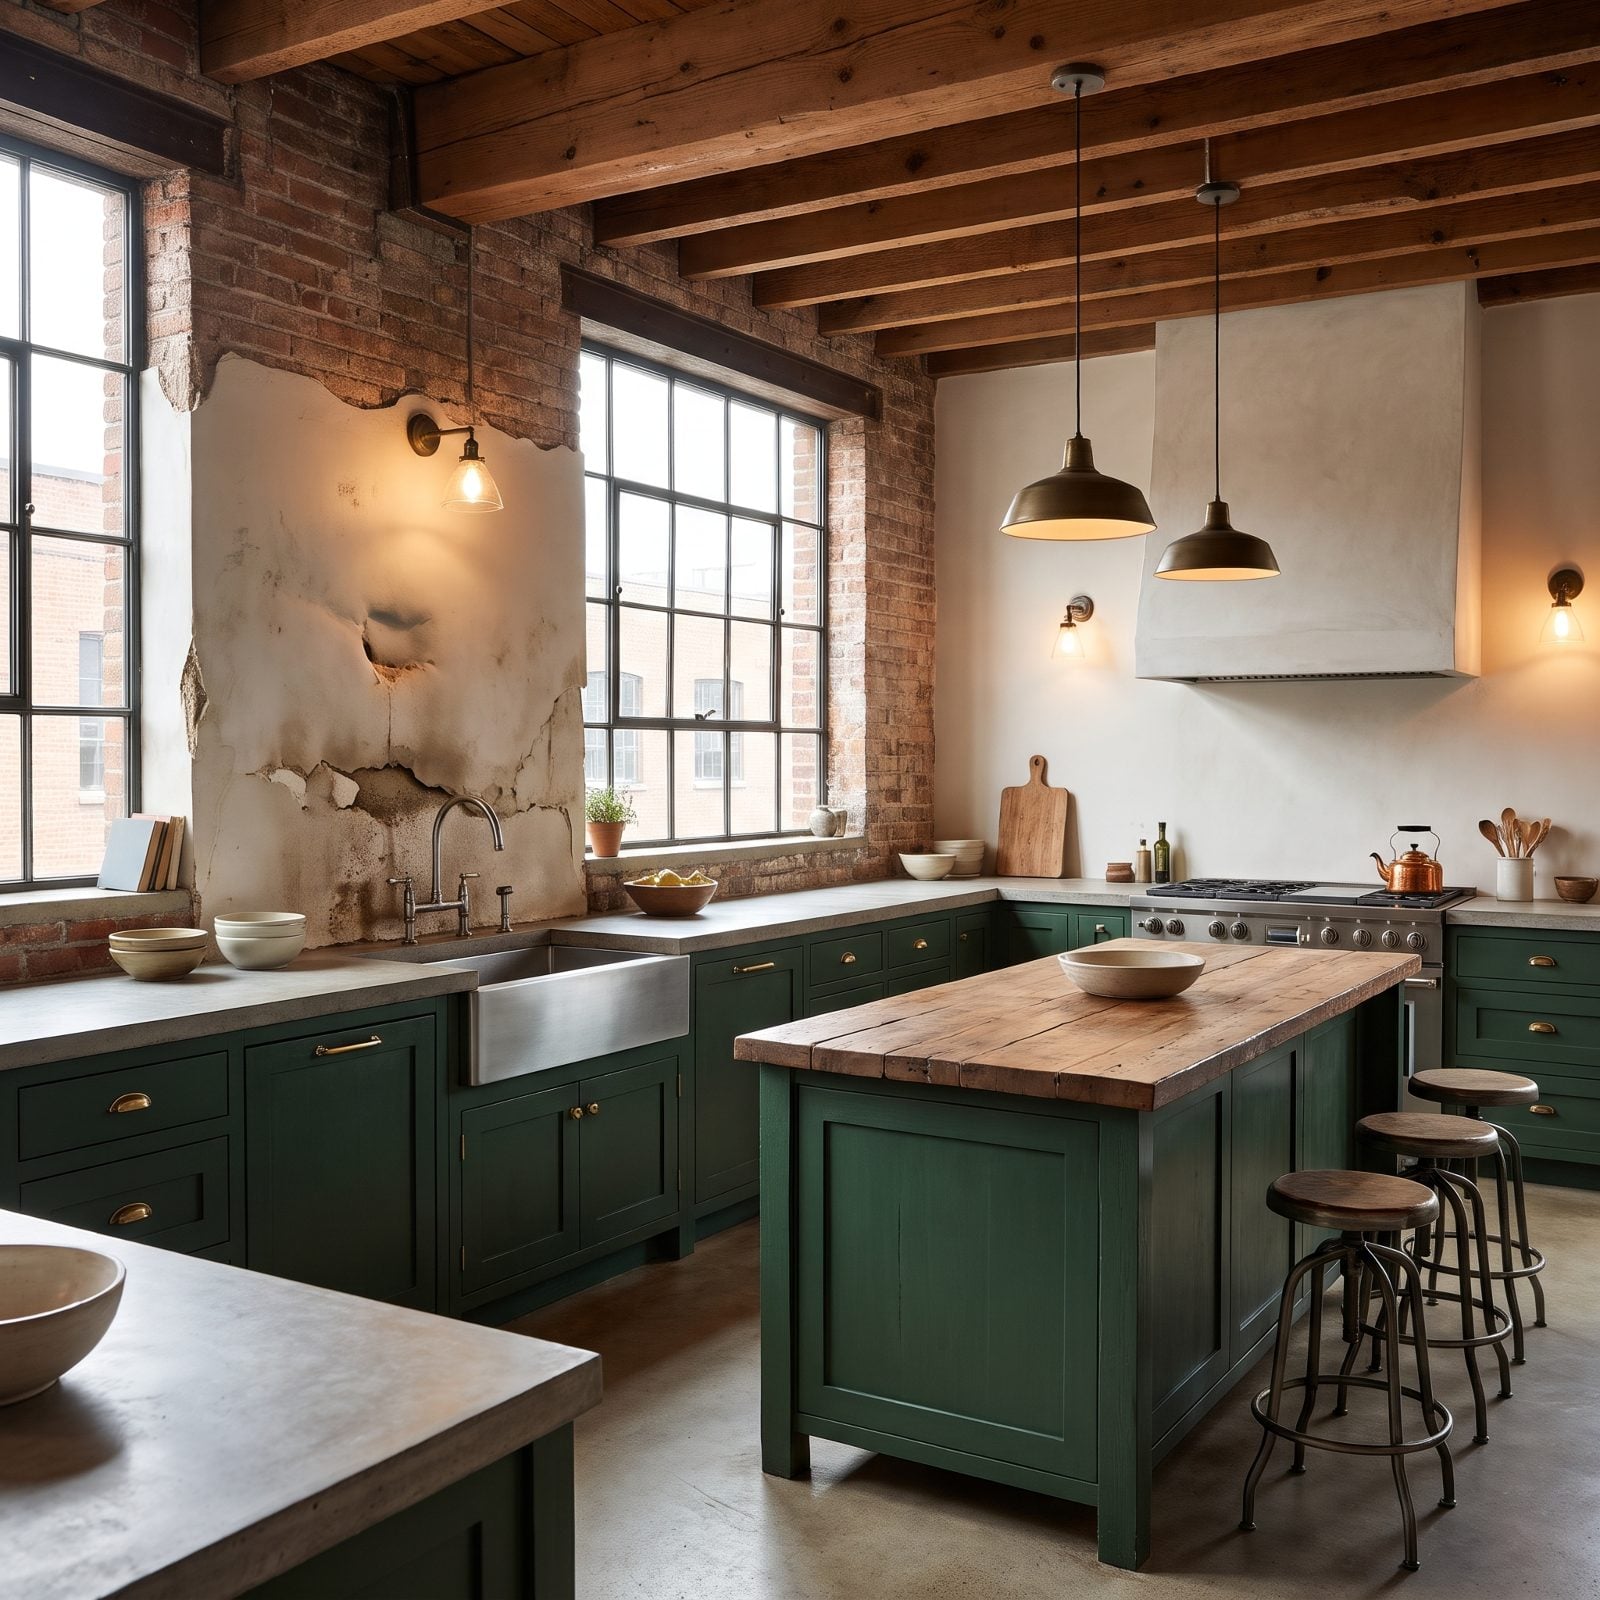
Push on the wall near an old sink or behind a leaky dishwasher. If it gives, it’s soft, and soft drywall won’t hold the weight of tile long term. Patching a spongy section is lipstick on a problem. Pros cut it out and replace it, often with cement board in the splash zone.
It feels like extra work for something nobody will see. And that’s precisely the point: the stuff nobody sees is what keeps the stuff everyone sees on the wall.
30. Even Pricey Subway Tile Shows Up With a Bow in It
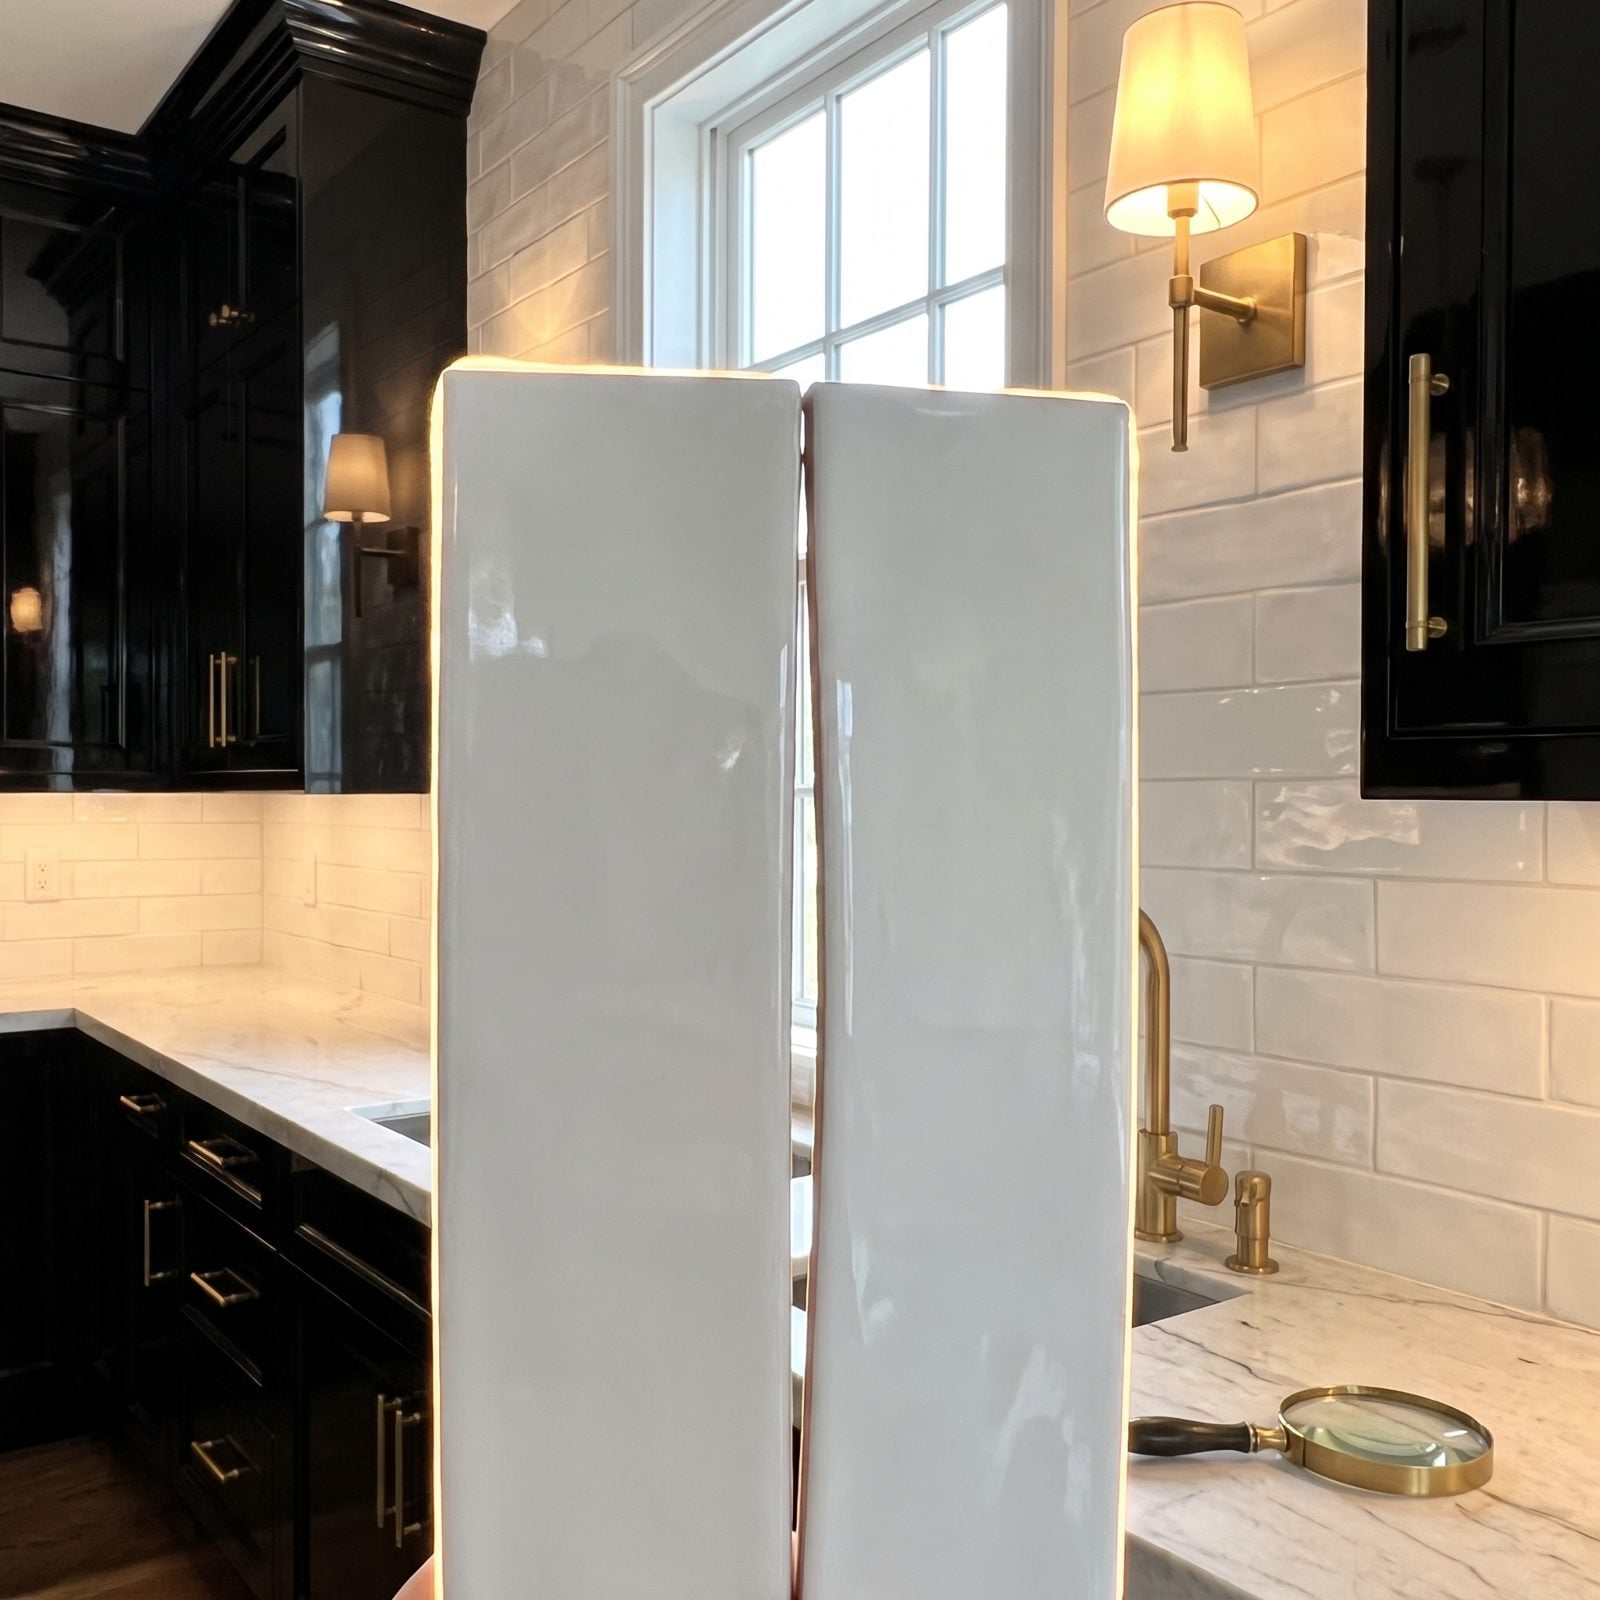
Ceramic warps in the kiln. A little. Even good tile comes out with a gentle bow along its length, and the longer the tile, the more it shows, which is why true offset patterns on long subway tile fight you. The high center of one tile meets the low end of its neighbor, and there’s your lippage along the joint.
Installers often drop to a one-third offset instead of the classic 50 percent brick lay to tame it. Hold two tiles edge to edge up to the light before you commit to a bond pattern; if light glows through a curved gap between them, plan for the bow.
29. Two Boxes, Two Shades: The Lot Number Trap

White isn’t one white. Tile runs in production lots, and two boxes from different lots can read noticeably different once they’re up on the wall in daylight. One leans cream, the next leans cool, and the seam between them looks like a mistake nobody can unsee.
Check the lot number on every box before you open anything. Order enough from a single lot to finish the job plus overage, because matching later is a gamble you usually lose.
28. The Hidden Tax on Bargain Tile Is Labor
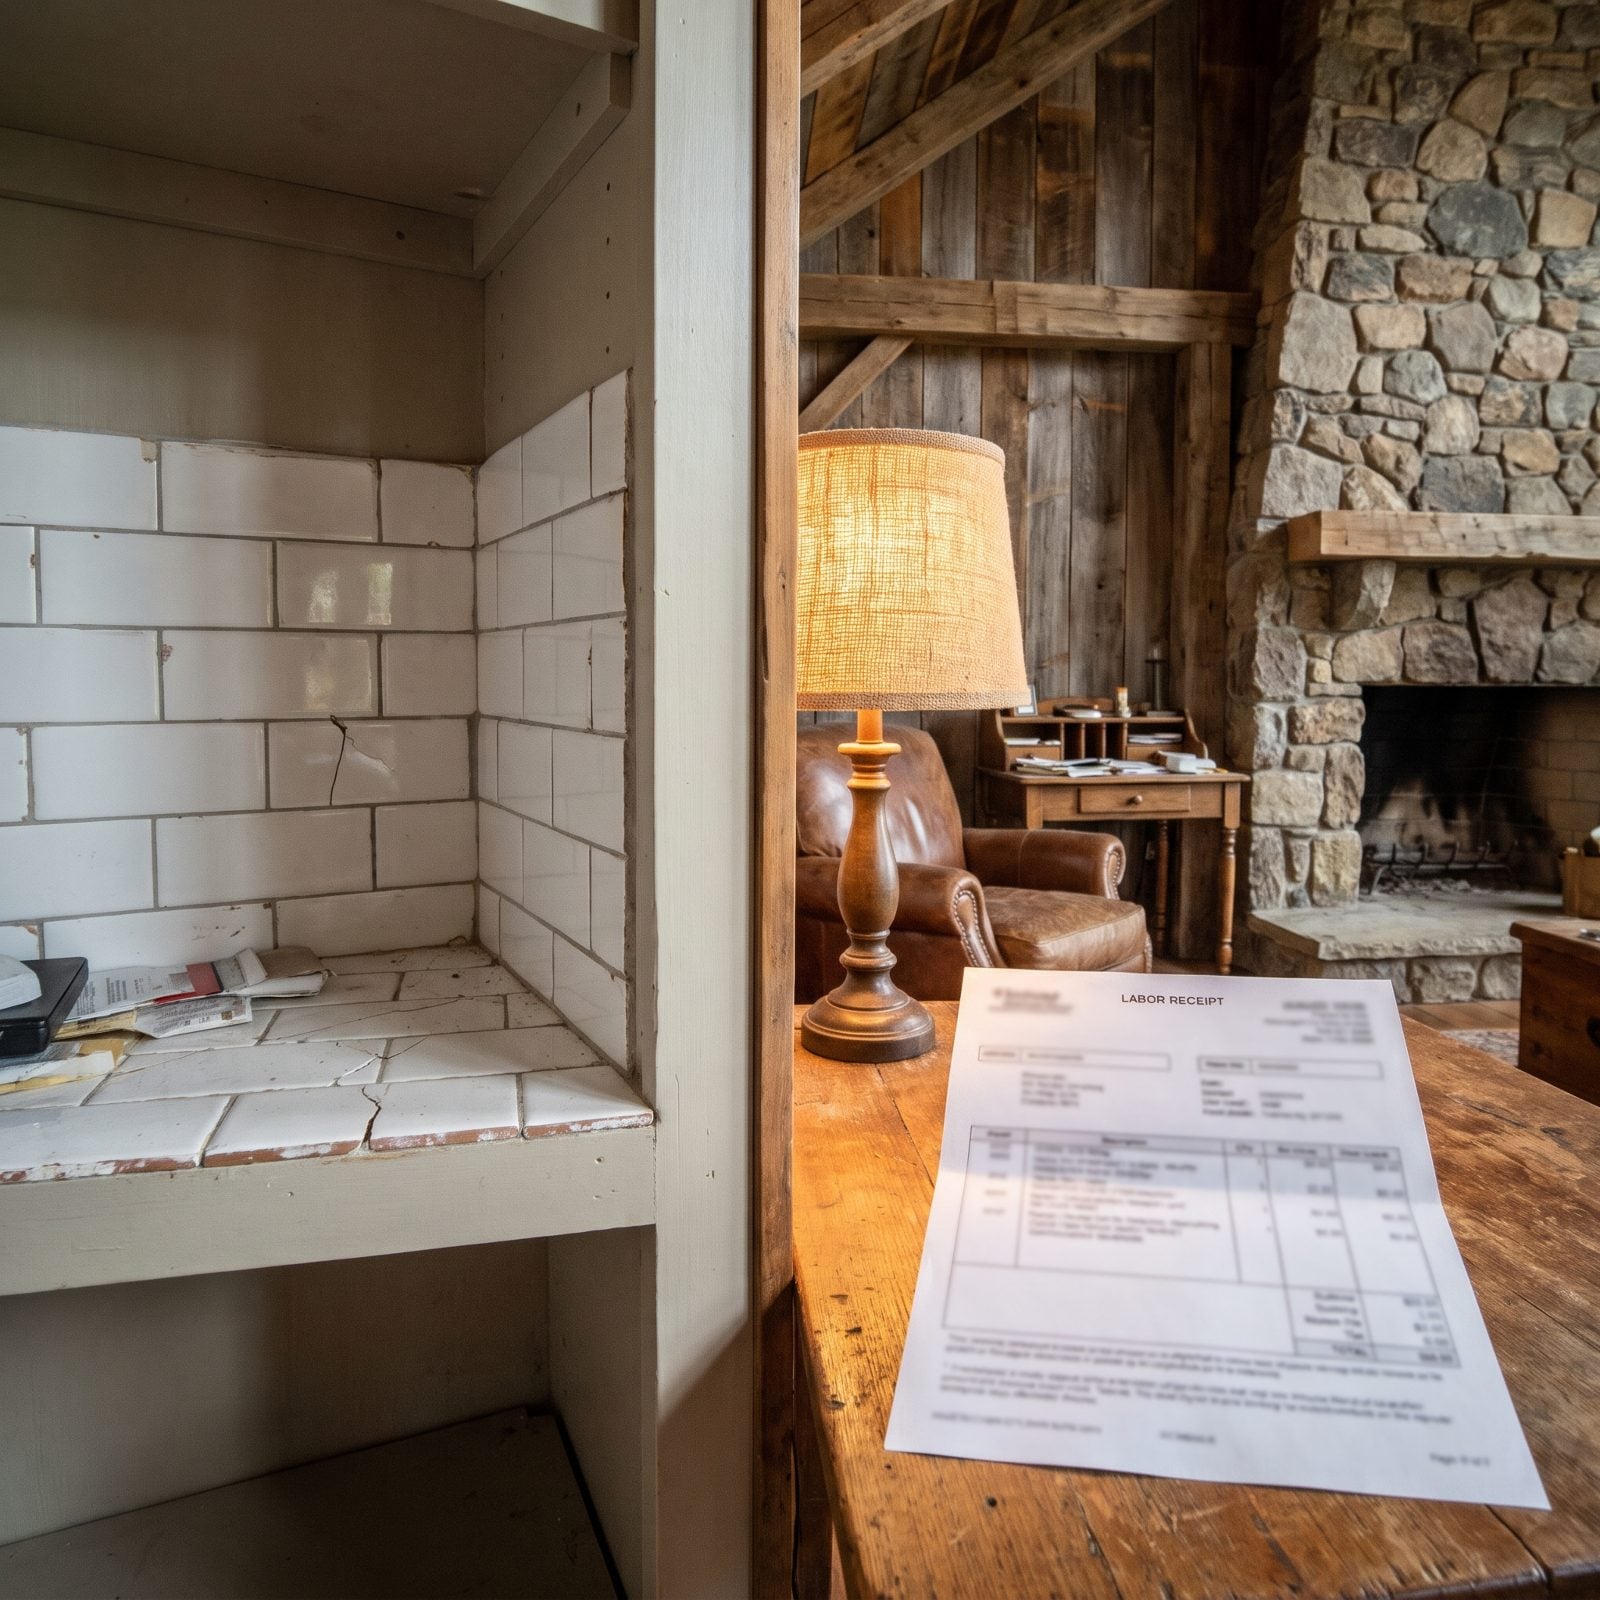
Cheap tile can cost more than premium tile by the time it’s on the wall. Here’s the math nobody prints on the box. Bargain tile varies in size and squareness, so the installer burns time sorting, culling the warped ones, and shimming the rest. That’s billable.
A clean, consistent tile sets fast and straight, so you pay once at the showroom instead of twice on the invoice. Something to chew on when you’re planning a neutral kitchen makeover and the sale tile glitters at you like free money.
27. Order 10 Percent Extra, Then Reconsider for Herringbone
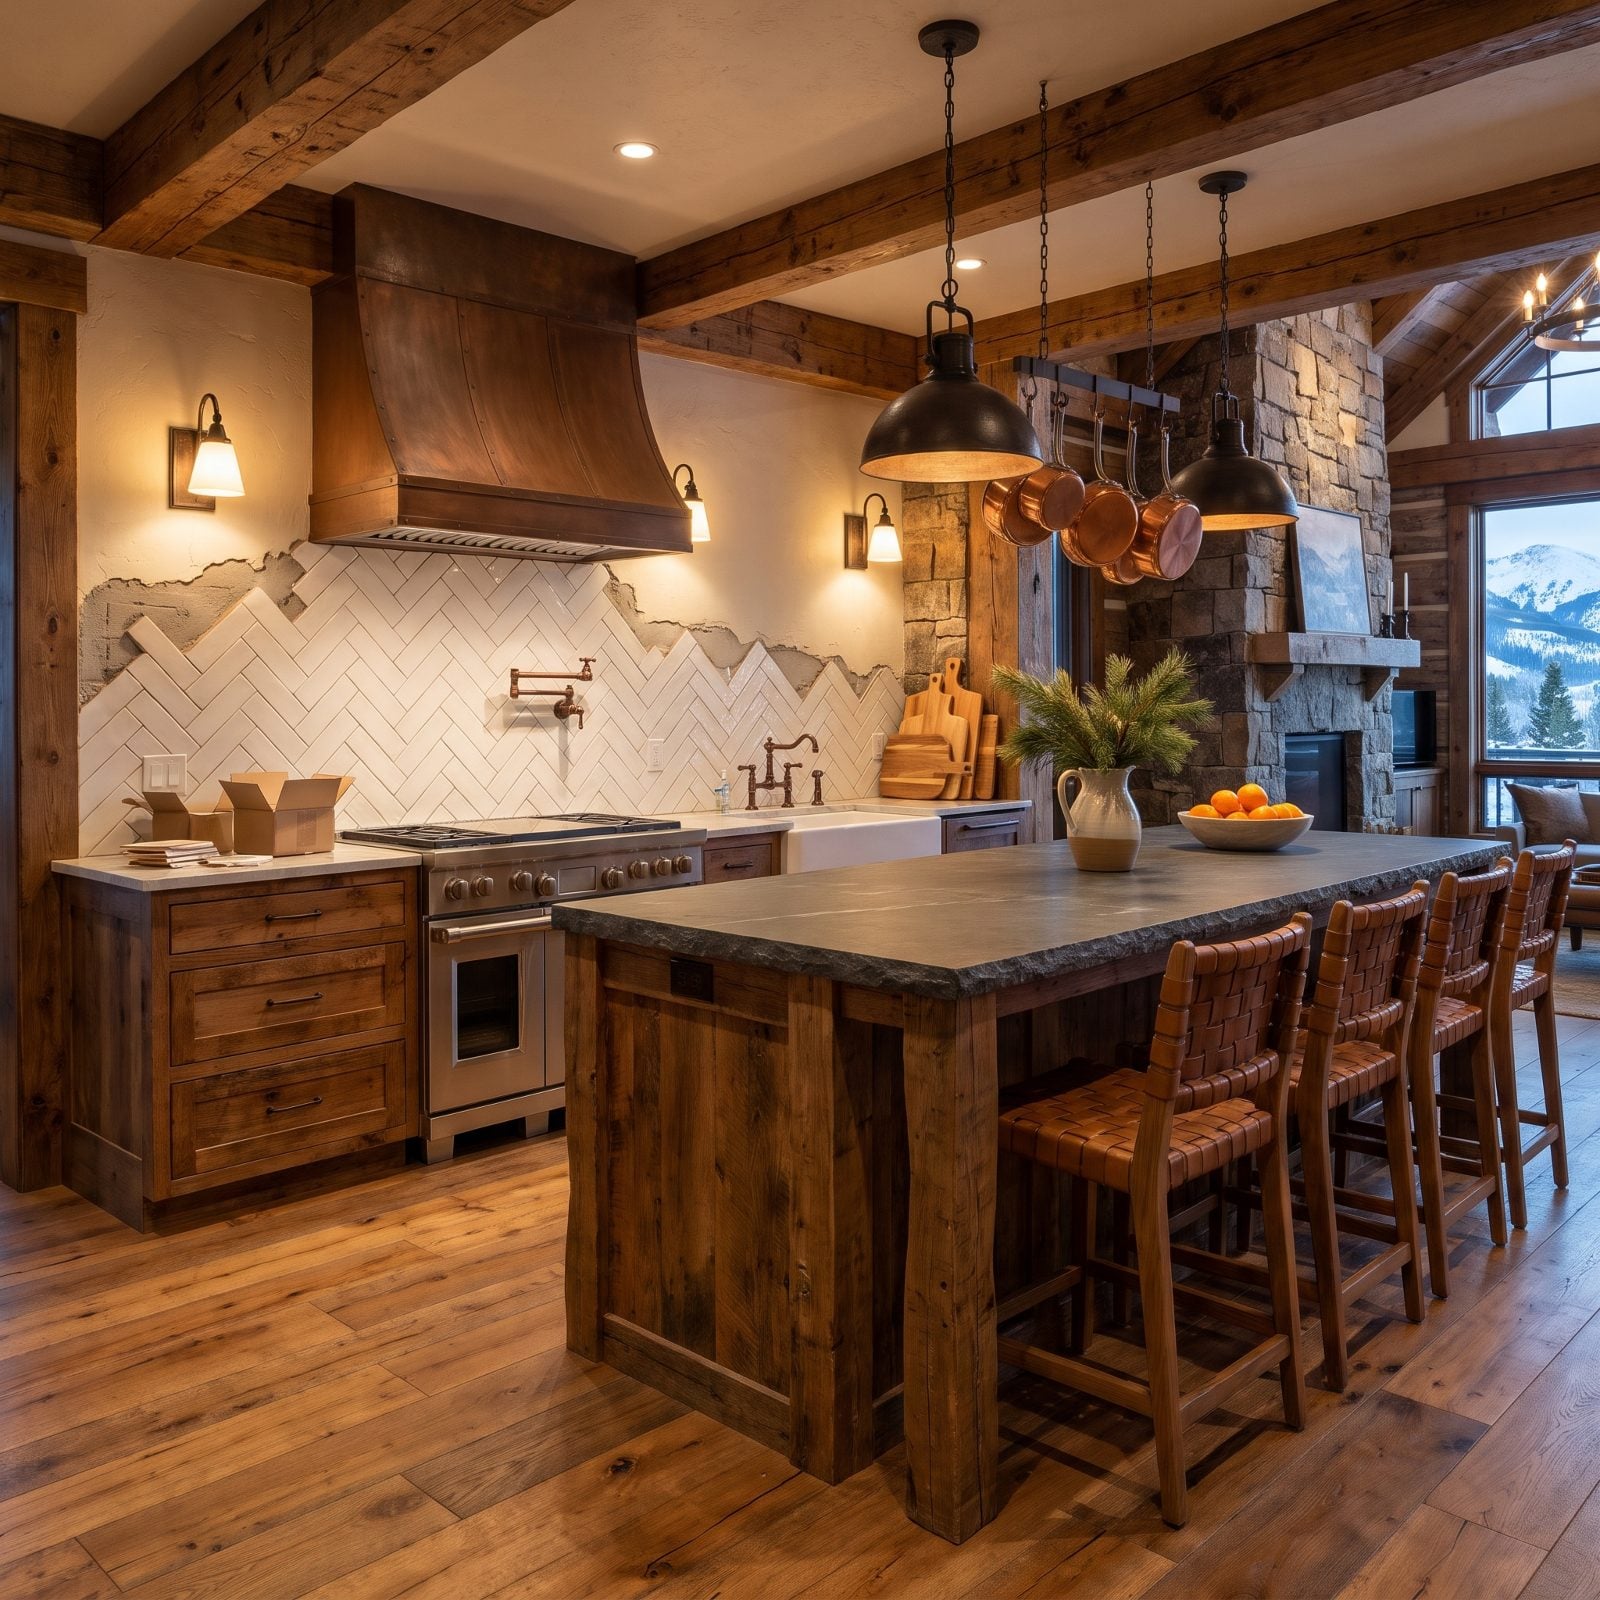
The old rule is add 10 percent for breakage and cuts, which is fine for a straight brick lay on a simple wall. But the moment you go diagonal, herringbone, or into a tight room full of corners and outlets, that number is wishful thinking.
Angled patterns spit out offcuts you can’t reuse, so 15 to 20 percent is the honest allowance. The cost of a few extra boxes is nothing next to finding out you’re three tiles short with a discontinued lot.
What Our Readers Say
- When we asked Home Stratosphere readers which backsplash they would install themselves, slab came first with 37%, subway tile second at 29%, zellige drew 22% and patterned tile just 5%.
- Not everyone wants an all-white kitchen: in our Hot or Not photo matchups, kitchen pictures dominated by white won fewer of their head-to-heads than expected, 39% versus 47%.
From Home Stratosphere reader polls and votes.
26. The Line Your Eye Finds First Is the Center of the Range

Of every line in the room, this is the one people lock onto without knowing why. The backsplash behind the range is the focal wall, and the brain reads symmetry there instantly. Start your layout from the range centerline and work outward so the cut tiles at each end come out even.
Get it wrong and the tile can be flawless everywhere else and still feel off. Get it right and nobody notices the planning, which is the highest compliment a backsplash gets. For more balanced focal walls, this open kitchen inspiration leans on the same instinct.
25. Balanced End Cuts Beat Starting With a Full Tile
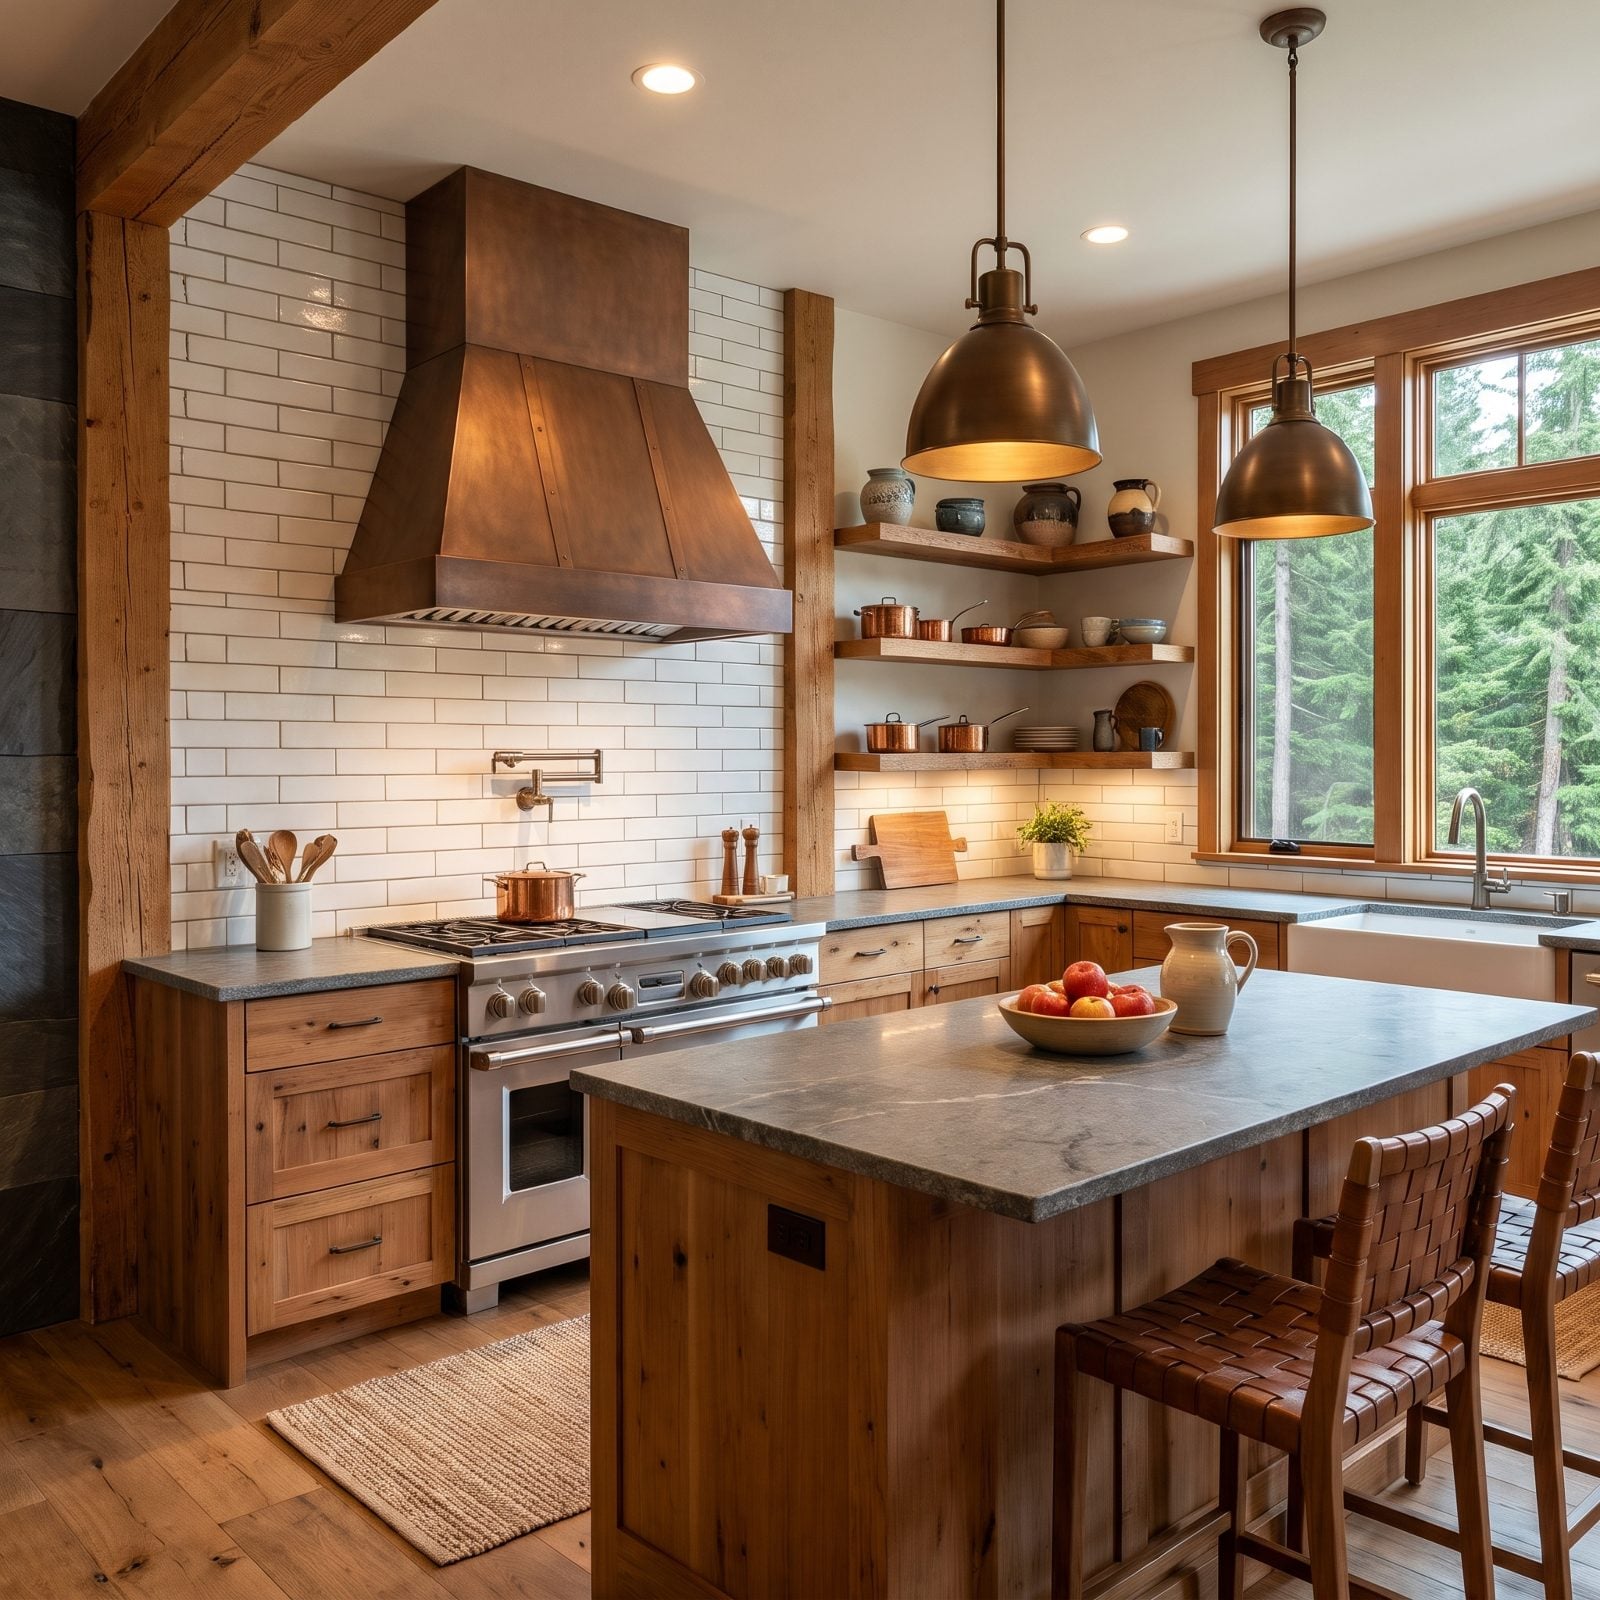
Centering the run matters more than where you start. Lay a full tile at one edge and you almost guarantee a slim, awkward sliver at the other, so find the midpoint of the wall first and let the cuts fall evenly at both ends.
The eye reads symmetry before anything else. Two three-inch cuts bookending a run look deliberate. One full tile and a half-inch scrap? That looks like somebody ran out of patience.
24. Where the Outlets Land Decides Your Grout Lines
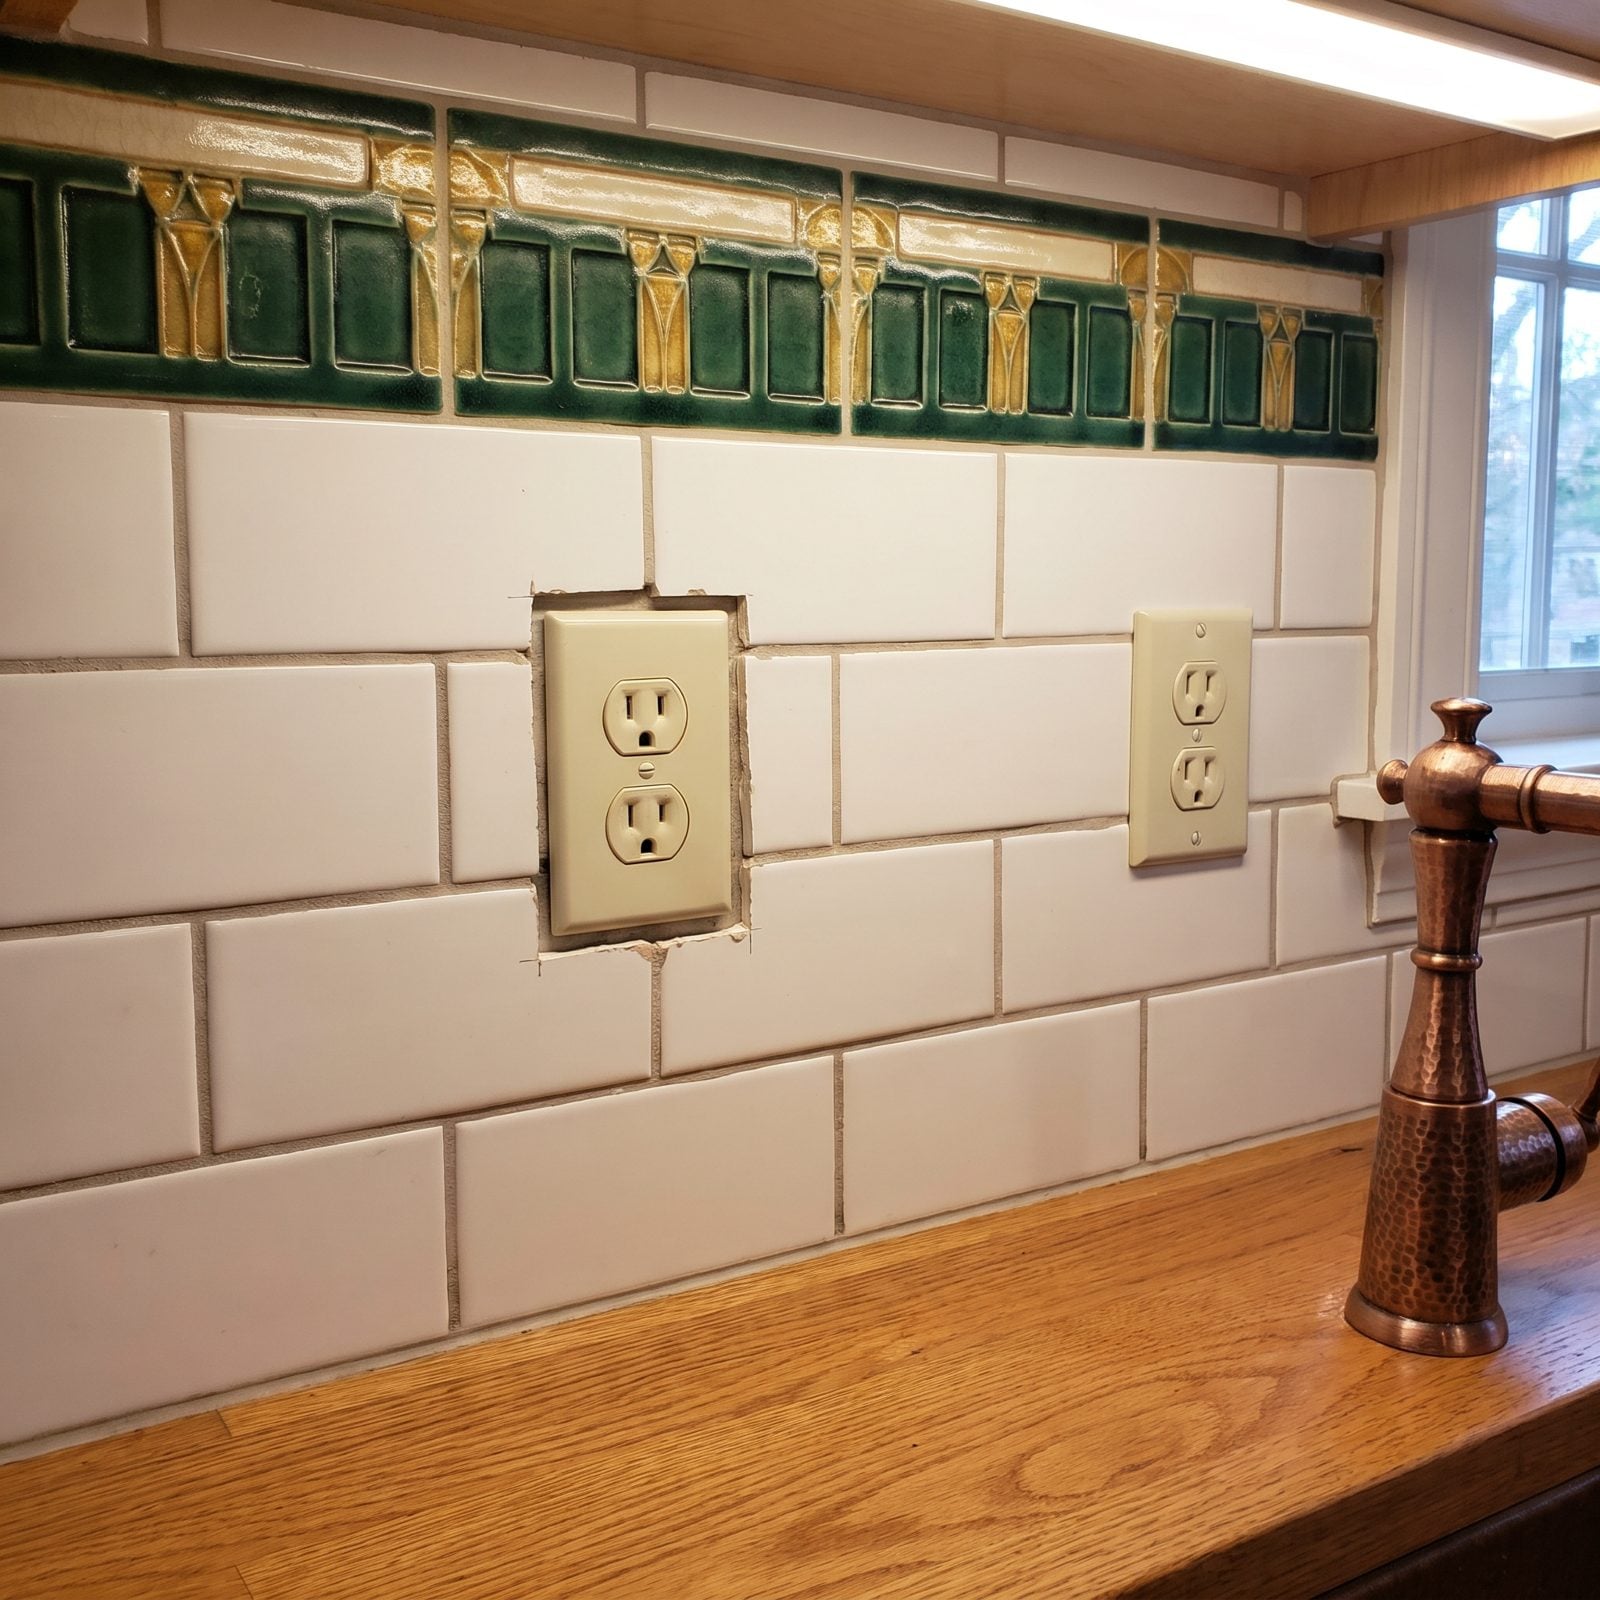
An outlet in the wrong spot wrecks an otherwise clean grout pattern. Center it on a tile and you cut four tidy edges. Catch it on a joint and you’re splitting the box across two tiles with a seam running straight through the middle.
Good installers check outlet heights before the first tile goes up, sometimes asking the electrician to nudge a box half an inch. That tiny move keeps the grout lines honest all the way across.
23. Windows Force the Backsplash’s Toughest Calls

A window sitting inside a backsplash is where planning really gets tested. You’ve got jamb returns, a sill, and the field tile all needing to agree on where joints land.
The hardest part? Making the tiles that frame the window look intentional while the ones across the rest of the wall still read balanced. When it works, you barely notice the effort. When it doesn’t, your eye snags on every mismatched line.
22. An Unplanned Stopping Point Looks Abrupt
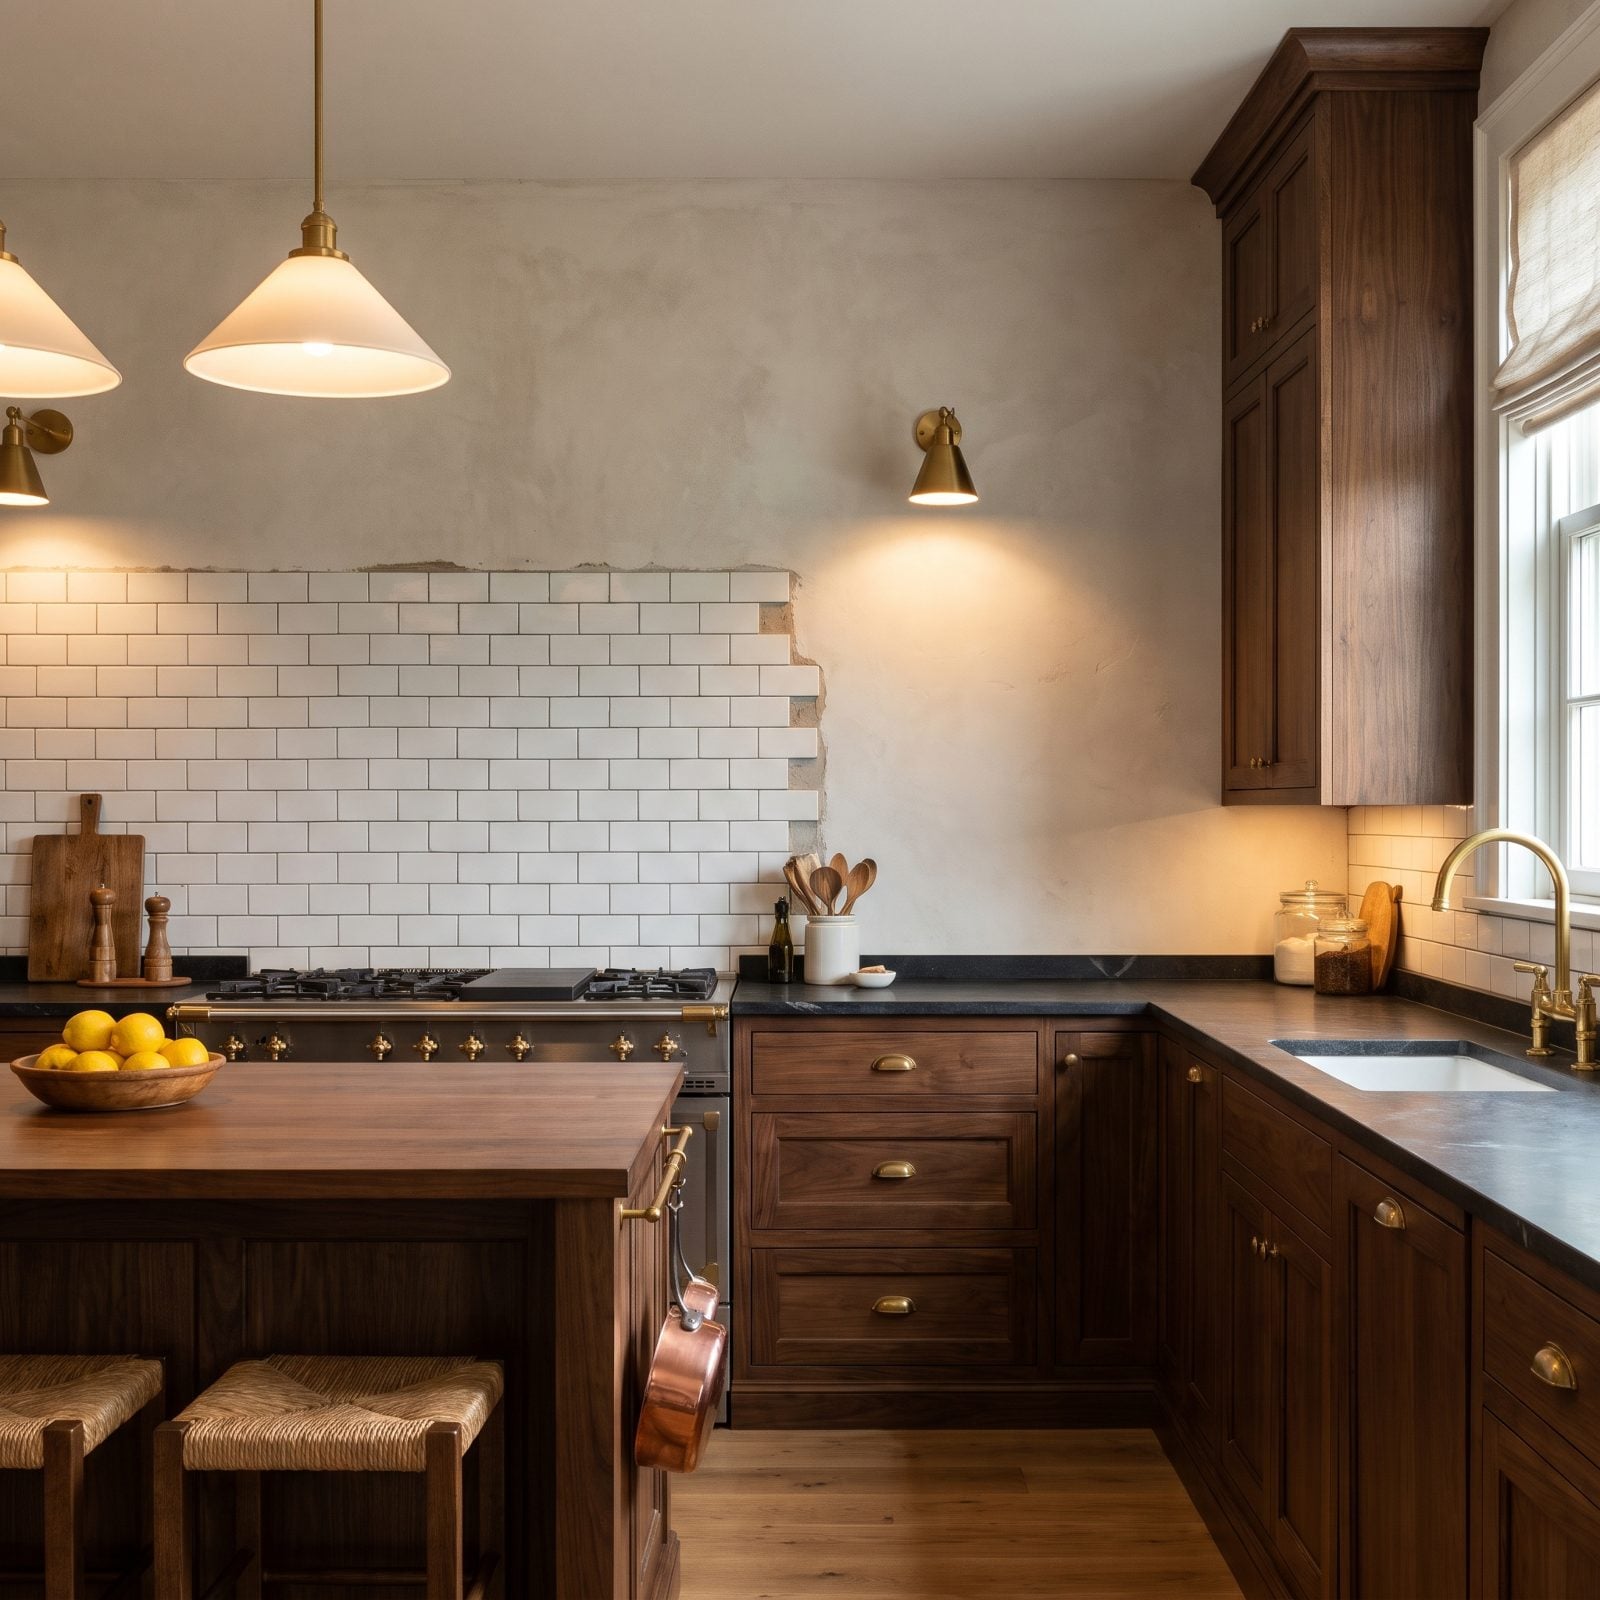
Tile has to stop somewhere, and that stopping point tells on you if you didn’t plan it. End mid-wall with a raw cut edge and it looks like the job got interrupted.
Decide the terminus early. Run it to the end of a cabinet, into a corner, or finish it with a metal edge profile so the run looks closed instead of cut off.
21. Carrying the Pattern Around a Corner Needs Spare Tile
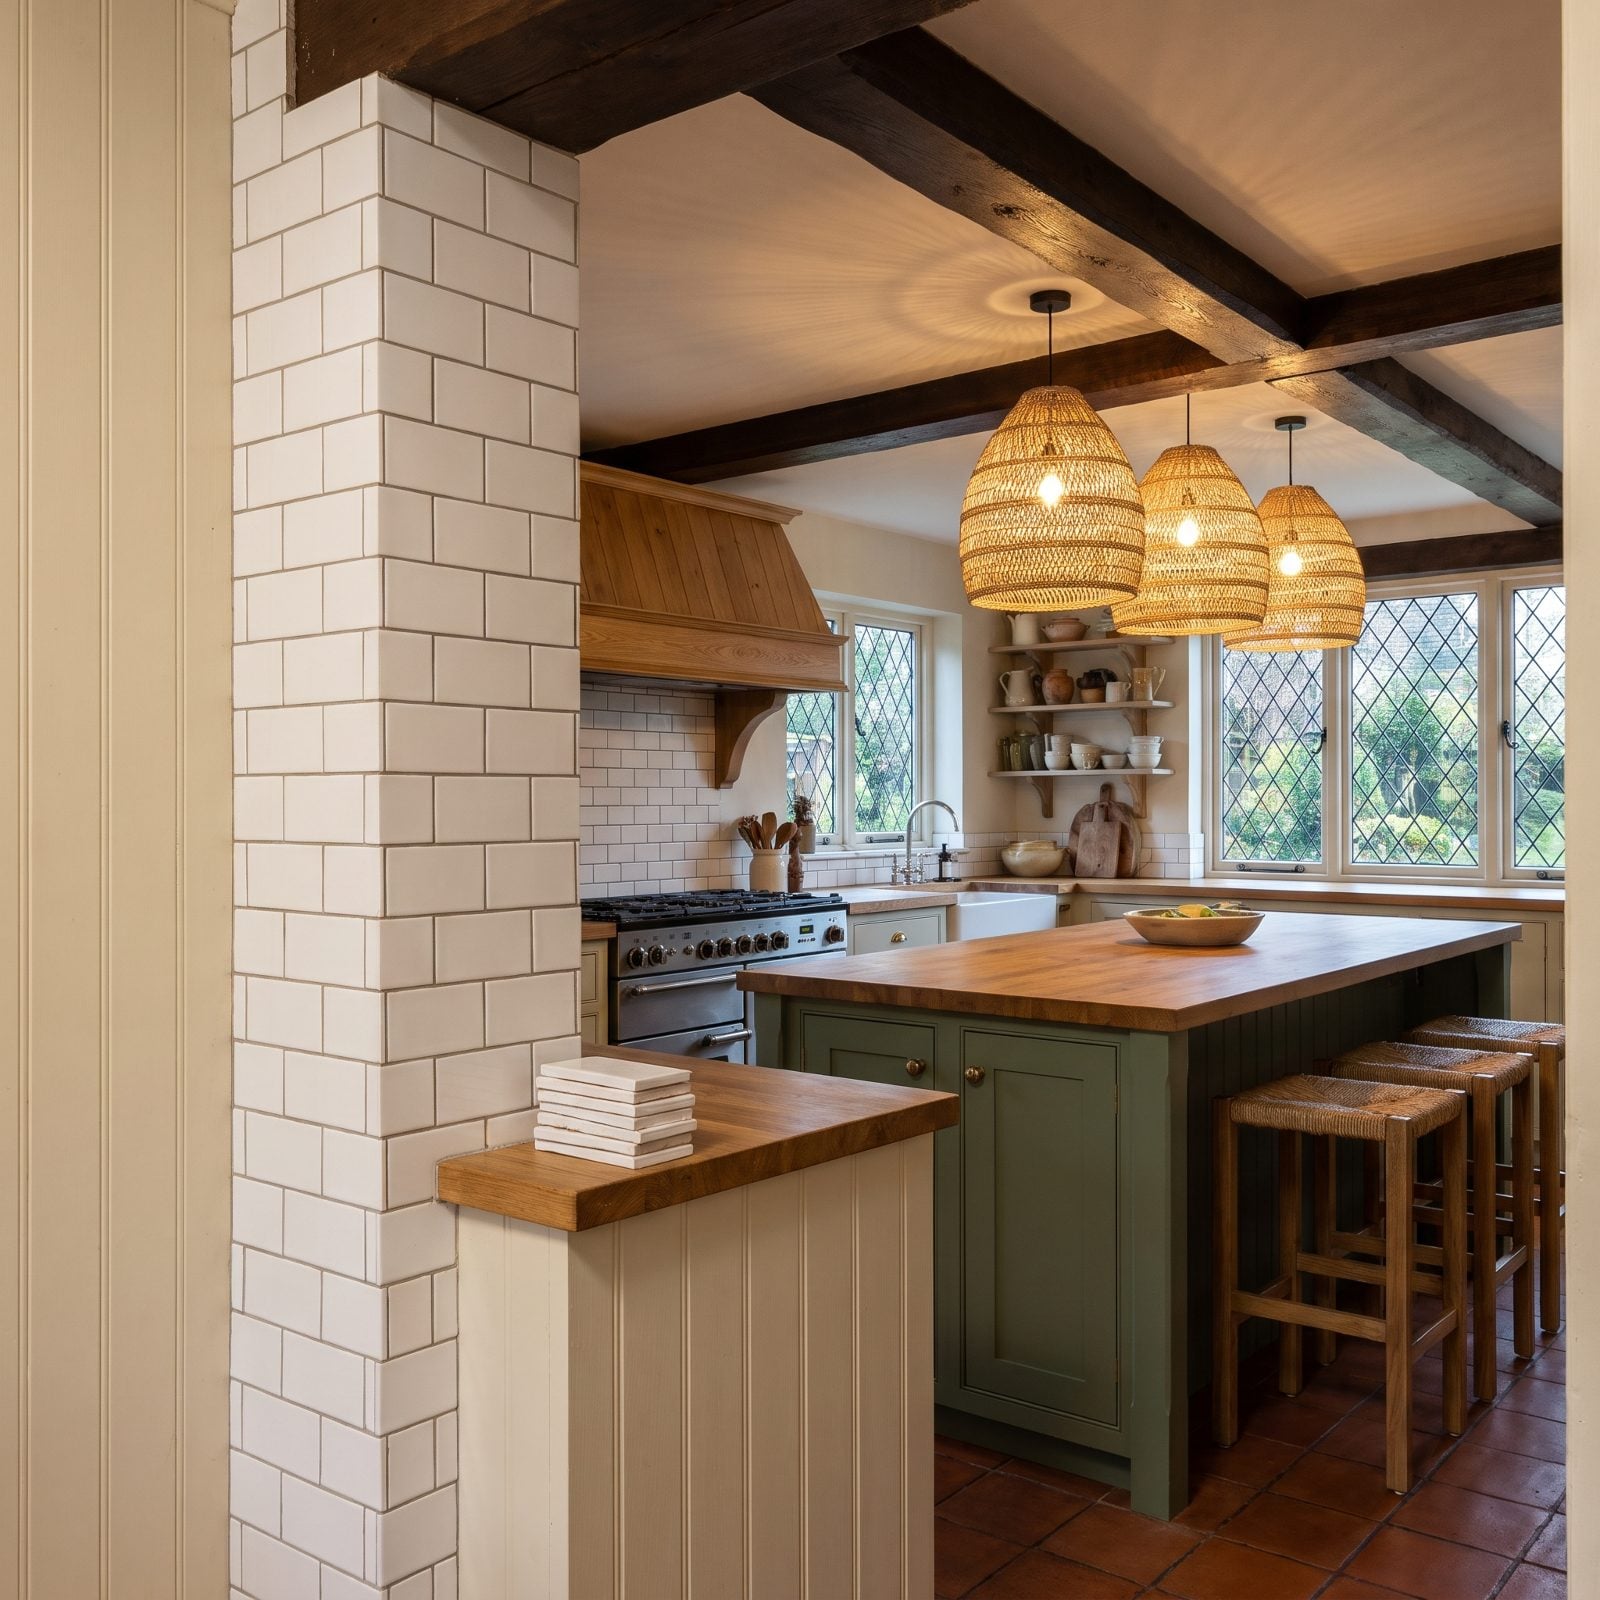
Turning a corner and keeping the running bond pattern flowing eats more tile than people expect. Every corner means extra cuts, and some of those cuts get wasted.
Installers order overage for exactly this reason. Wrapping the offset so the brick pattern continues around the bend looks effortless on the finished wall, but it costs tile on the floor.
20. Spacers Won’t Rescue Tile That’s Already Crooked

Plastic spacers are meant to set a joint width. But they don’t fix a tile that’s warped or cut slightly off.
With handmade tile especially, the pieces themselves vary, and a spacer just holds that variation in place. Good installers read each tile, eyeball the line, and nudge by hand where the spacer can’t help. The gaps end up looking even because someone paid attention, not because a cross of plastic did the thinking.
19. The Trowel Notch Has to Suit the Tile and the Wall
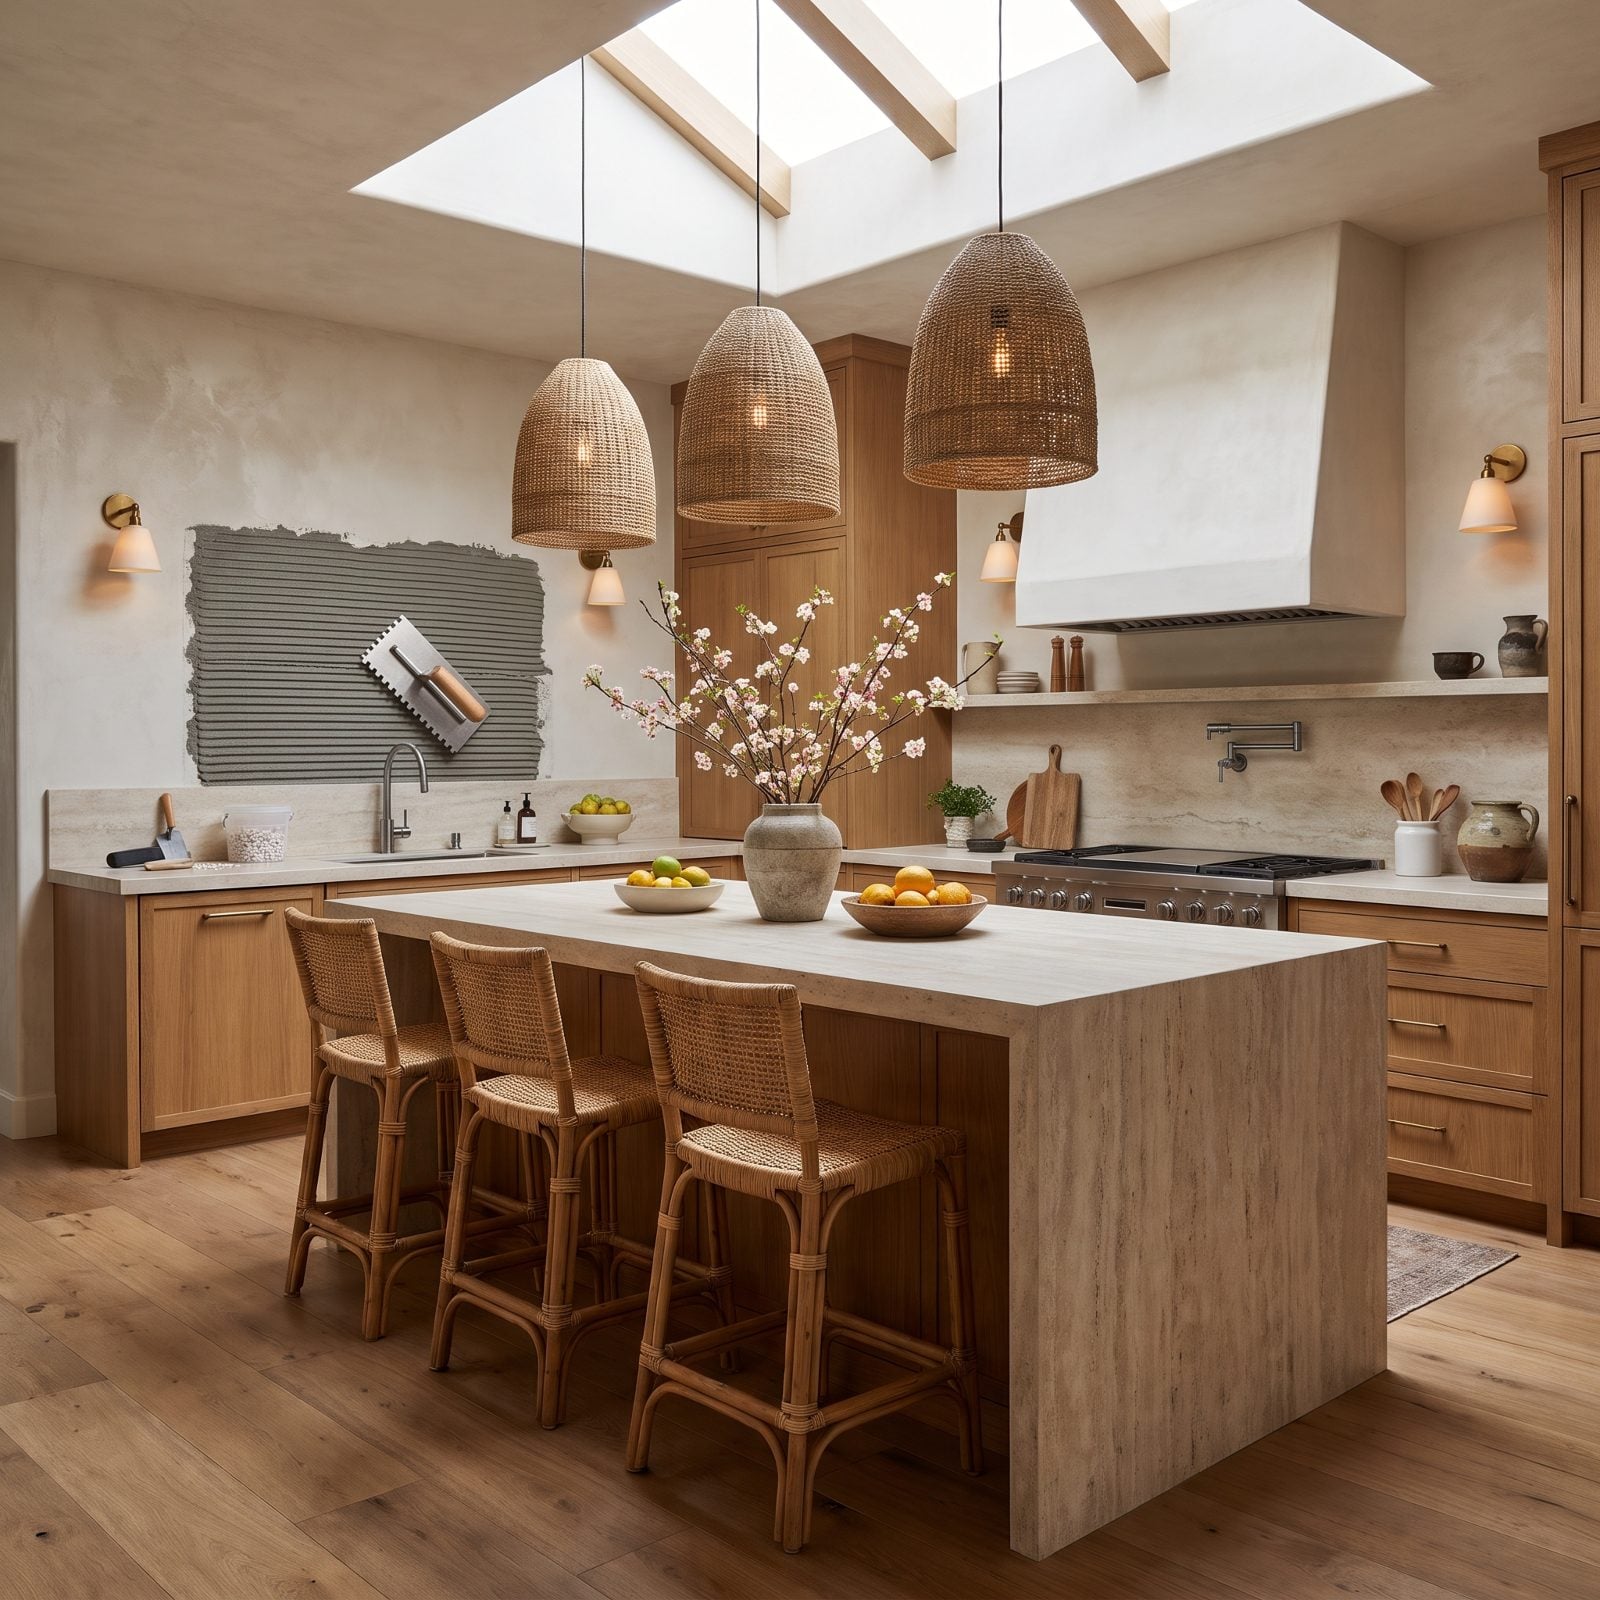
Trowel notch size isn’t a detail to guess at. Too small and the tile doesn’t bond. Too large and mortar oozes up through the joints.
The right notch depends on the tile’s back profile and how flat the wall is, and a warped wall needs a deeper bed to fill the low spots. Pros keep several trowels on hand and switch between them as the wall demands. That judgment is what separates a flat, well-stuck backsplash from one that sounds hollow when you tap it.
18. Some Subway Tiles Still Need Back-Buttering
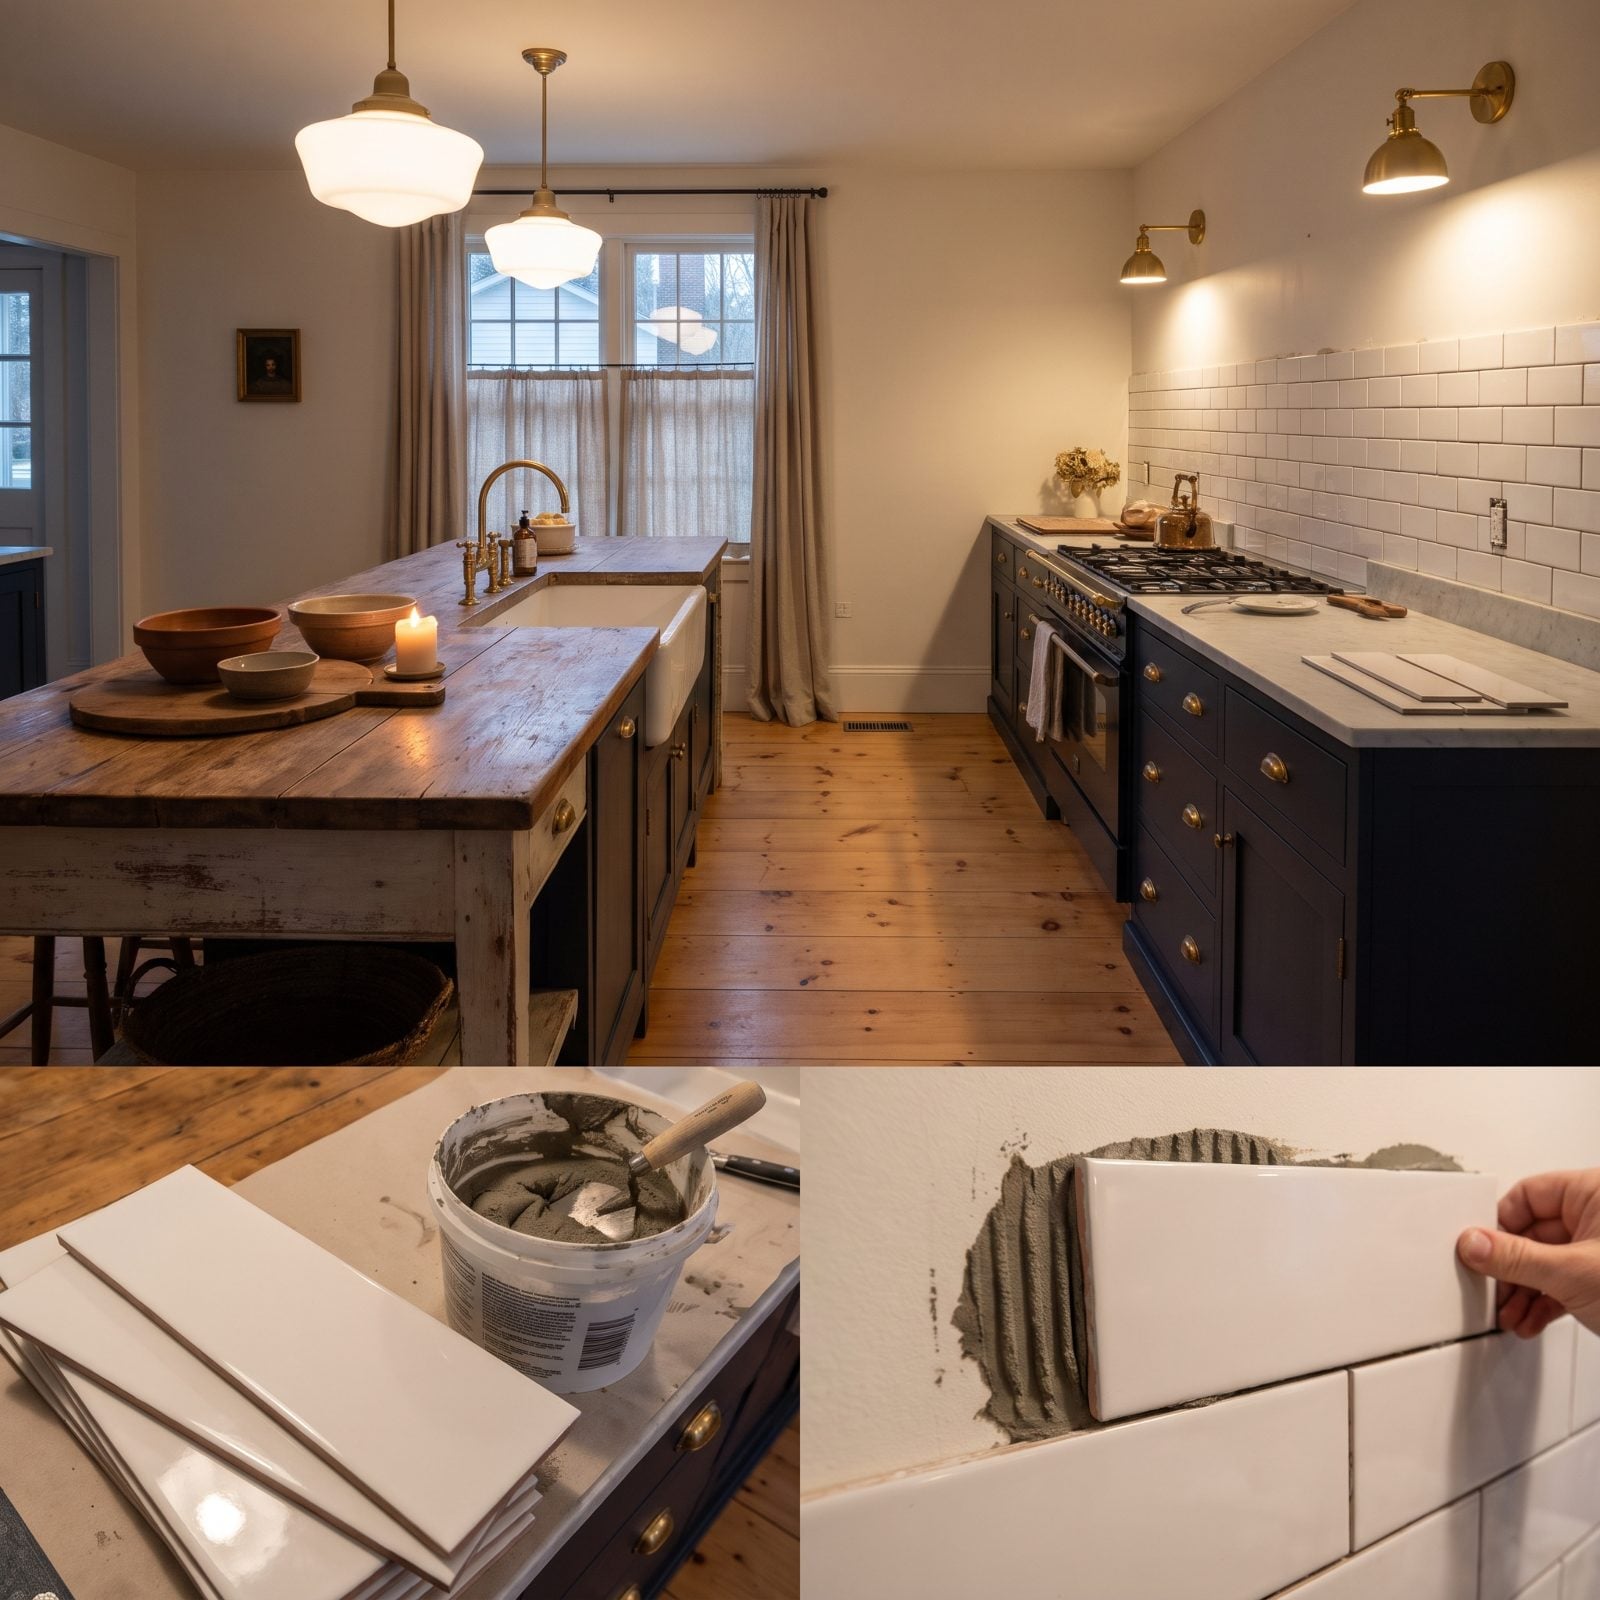
Trowel the wall, press the tile, done. Mostly. But not always.
Some subway tiles, especially larger formats or ones with uneven backs, need a thin skim of mortar on the tile itself to hit full coverage. That’s back-buttering, the unglamorous insurance against tiles that crack later because the bond under them had voids. Nobody sees it on the finished wall. You’d notice its absence years down the road.
17. Skinned-Over Mortar Quietly Ruins the Bond Before You Notice
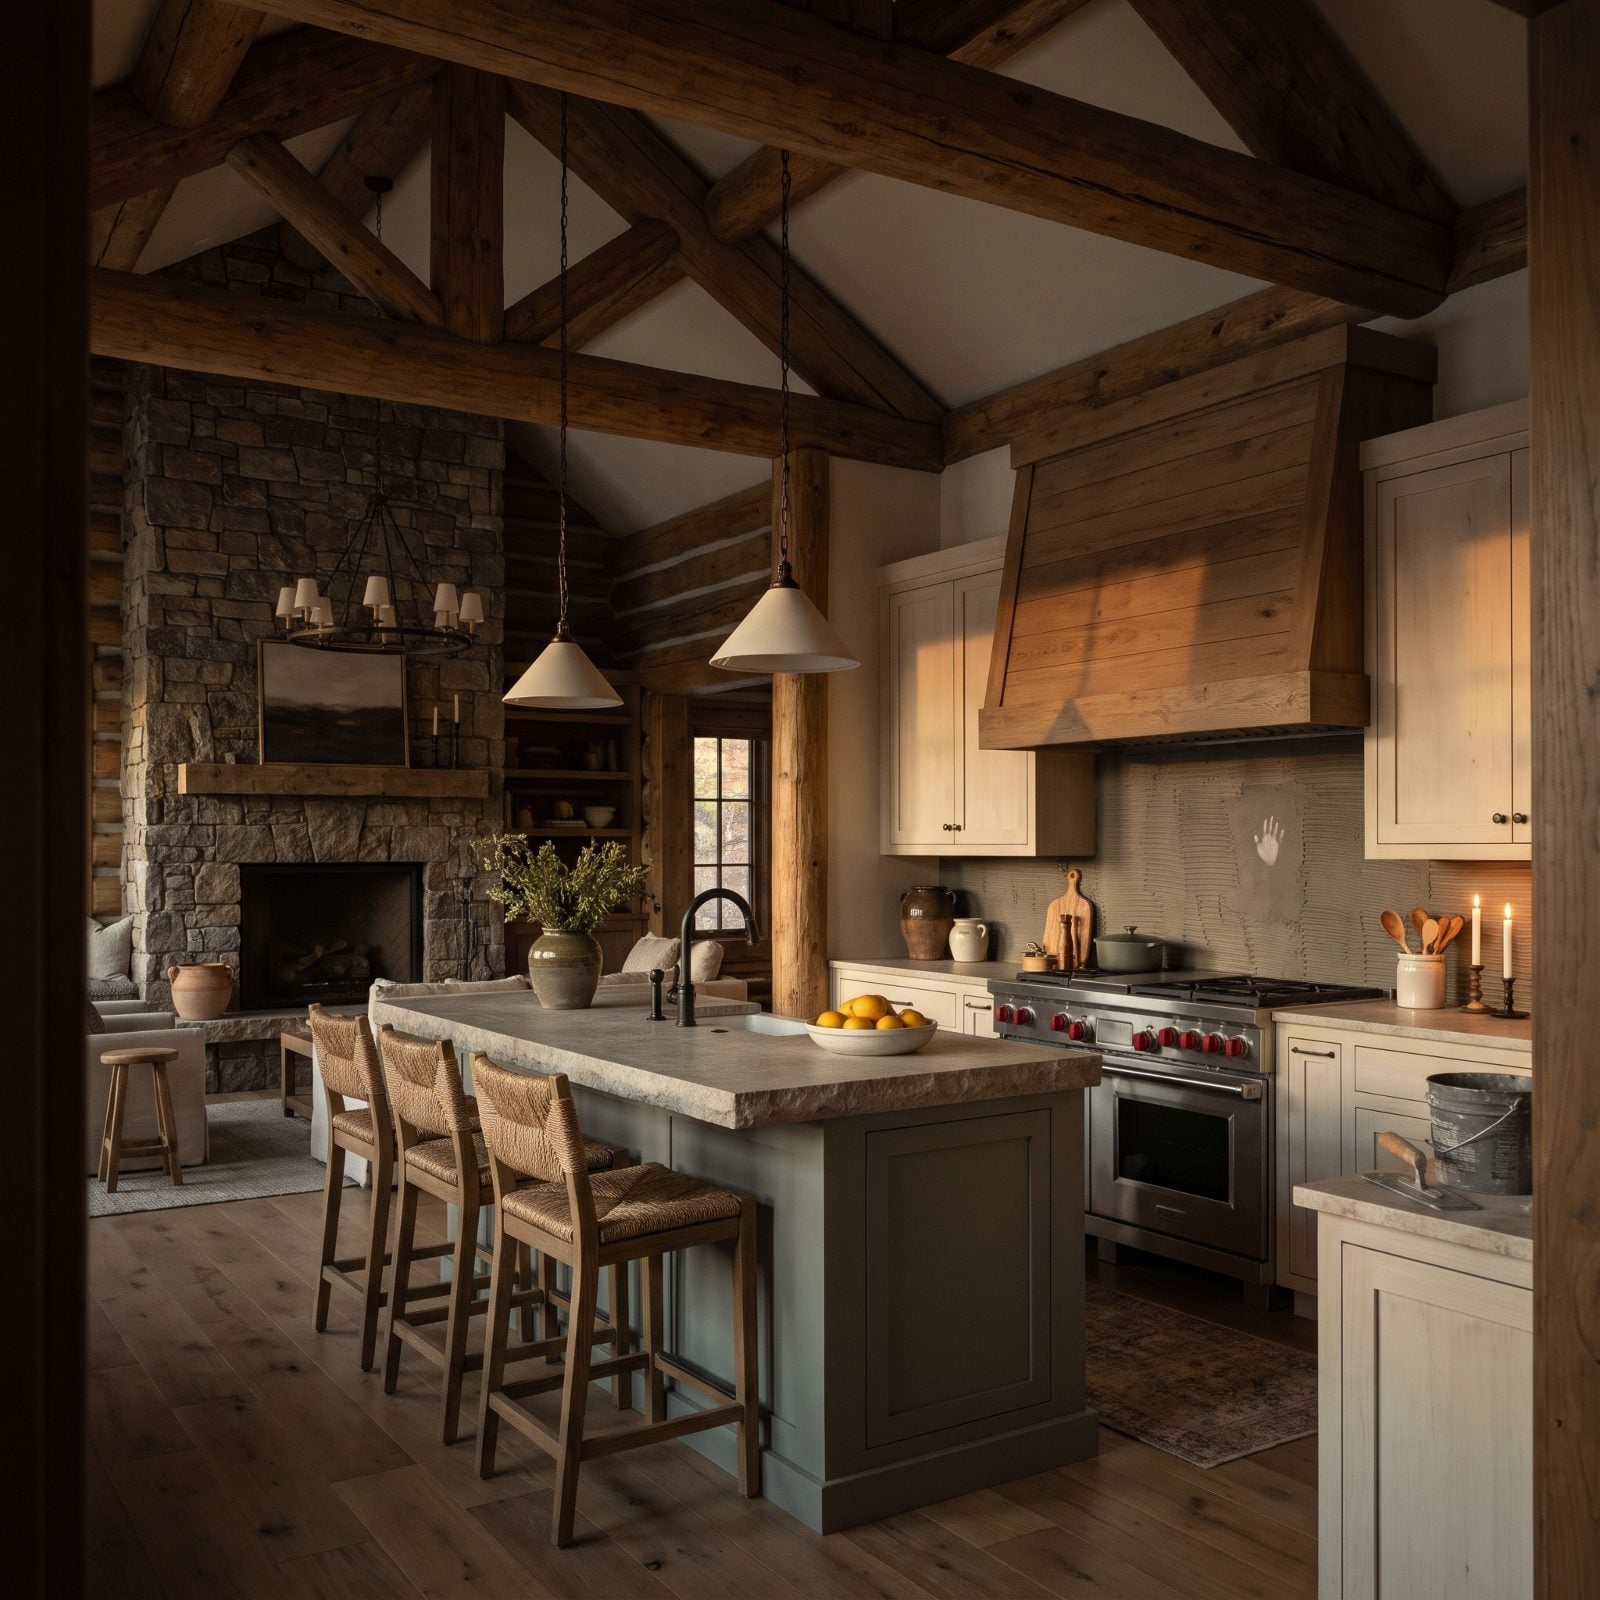
Thinset has a clock on it. Trowel ridges across an entire wall, far above backsplash height, get distracted cutting around an outlet, and the surface starts to dry and form a skin while the mortar underneath still looks wet. Press a tile into that and it seems to grab. It isn’t really bonded. The skin keeps the mortar from fully wetting the back of the tile, and the weak spot stays hidden behind a perfectly straight grout line.
You find out later, when a tile sounds hollow under a knuckle tap or pops loose the first time the wall heats up behind the range. Pros spread only as much mortar as they can cover in a few minutes, never a whole wall at once, and they watch the room. Heat, low humidity, and a fan or vent blowing across the wall all shorten the window.
16. Why Premixed Adhesive Fails Behind a Working Range
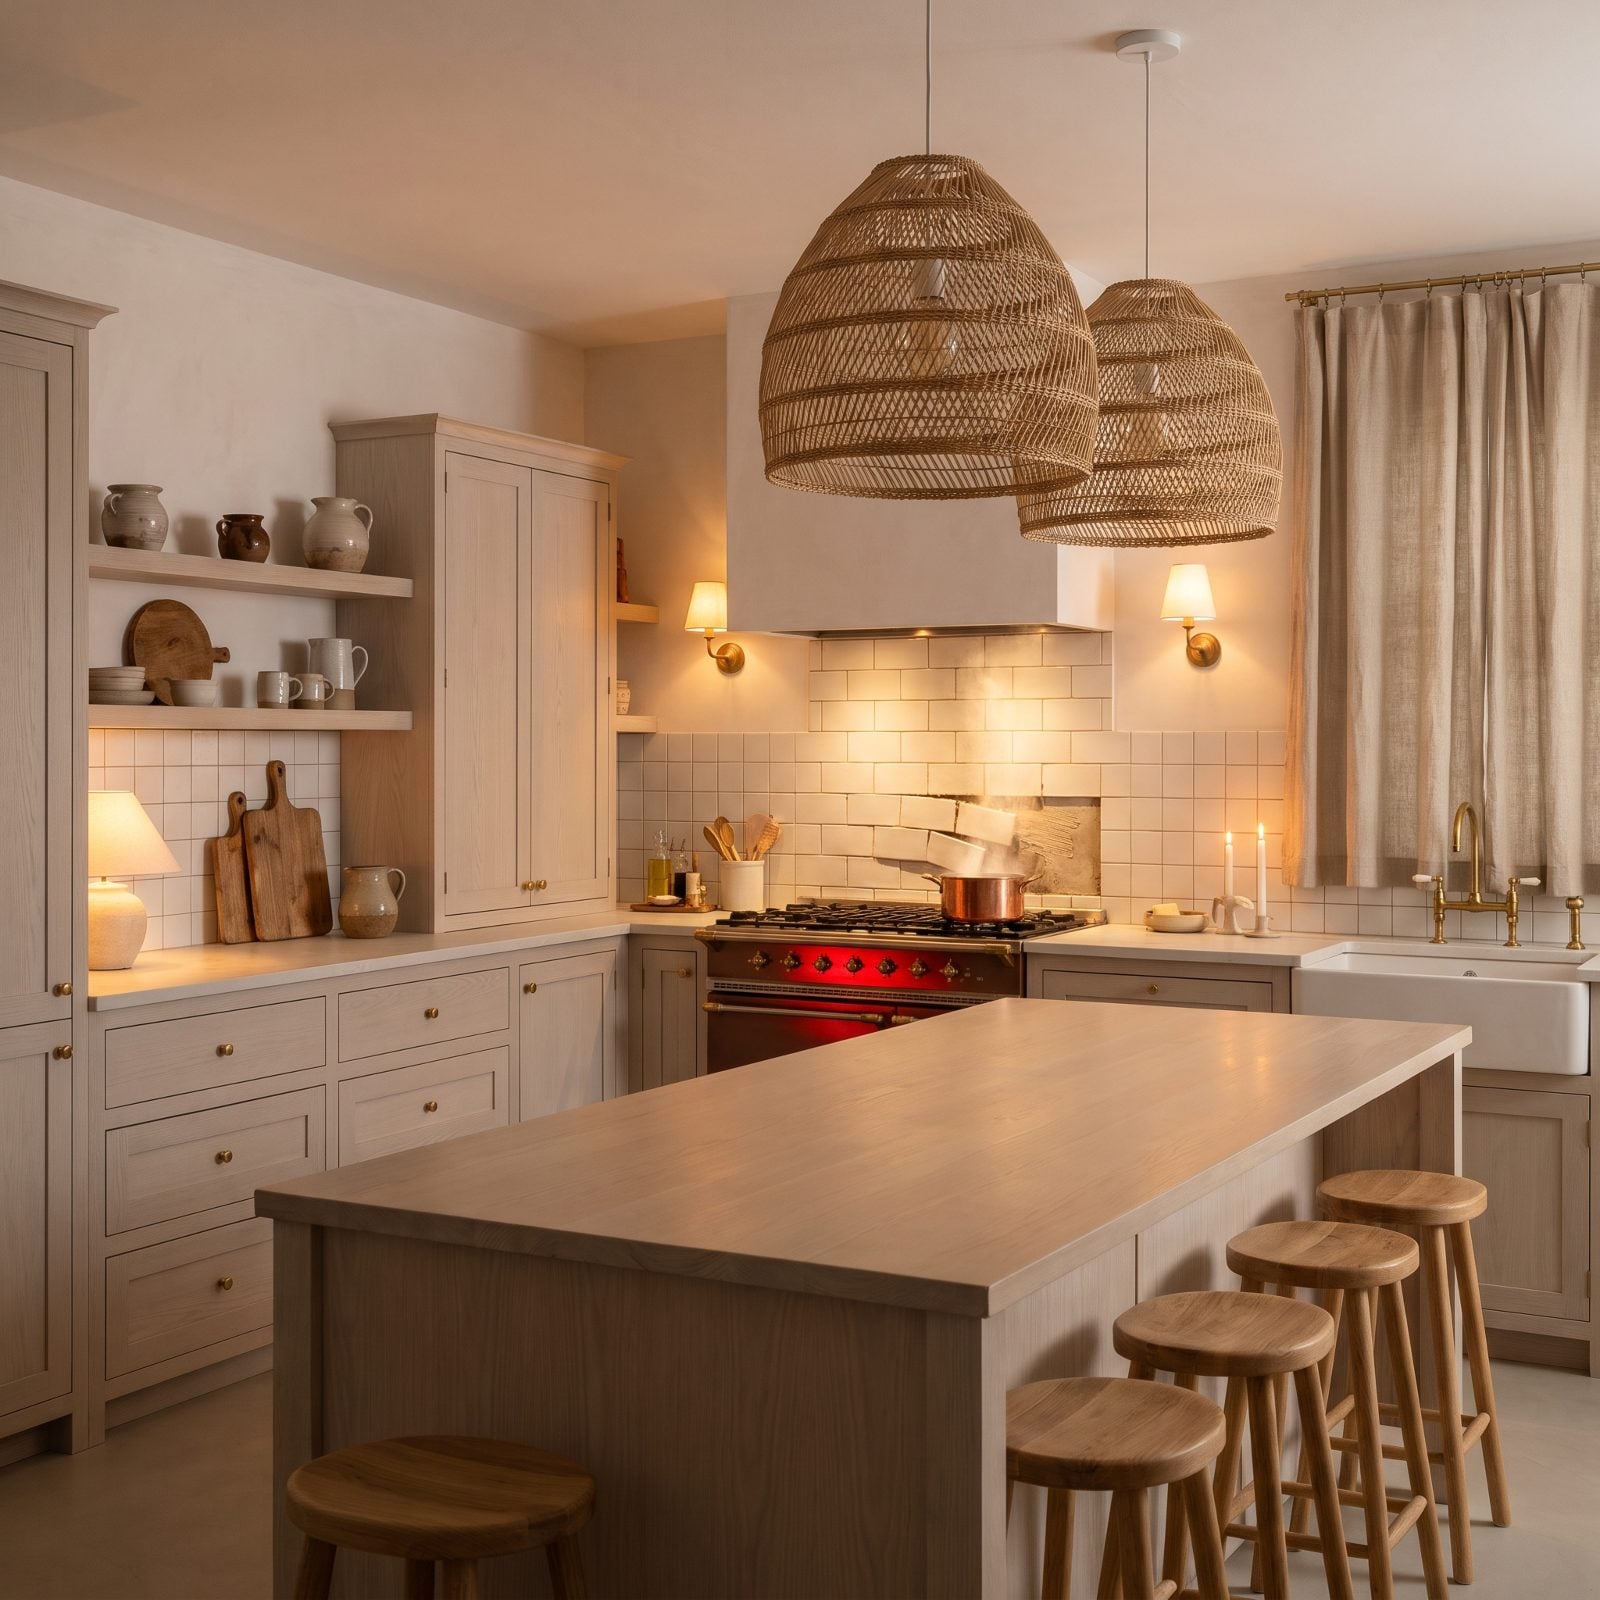
Premixed adhesive is a dream for a laundry-room backsplash. Behind a range that runs hot three times a day, it can stay soft right where you need it hardest. Thicker tile means that mastic needs even longer to cure, and heat plus trapped moisture drags the process out further still.
Thinset mortar pulls ahead here. It cures by chemical reaction rather than air drying, so a hot zone doesn’t throw it off. Chasing traditional kitchen ideas with glossy white tile behind a serious cooktop? Skip the bucket.
15. Glass Tile Shows Every Shortcut in the Mortar
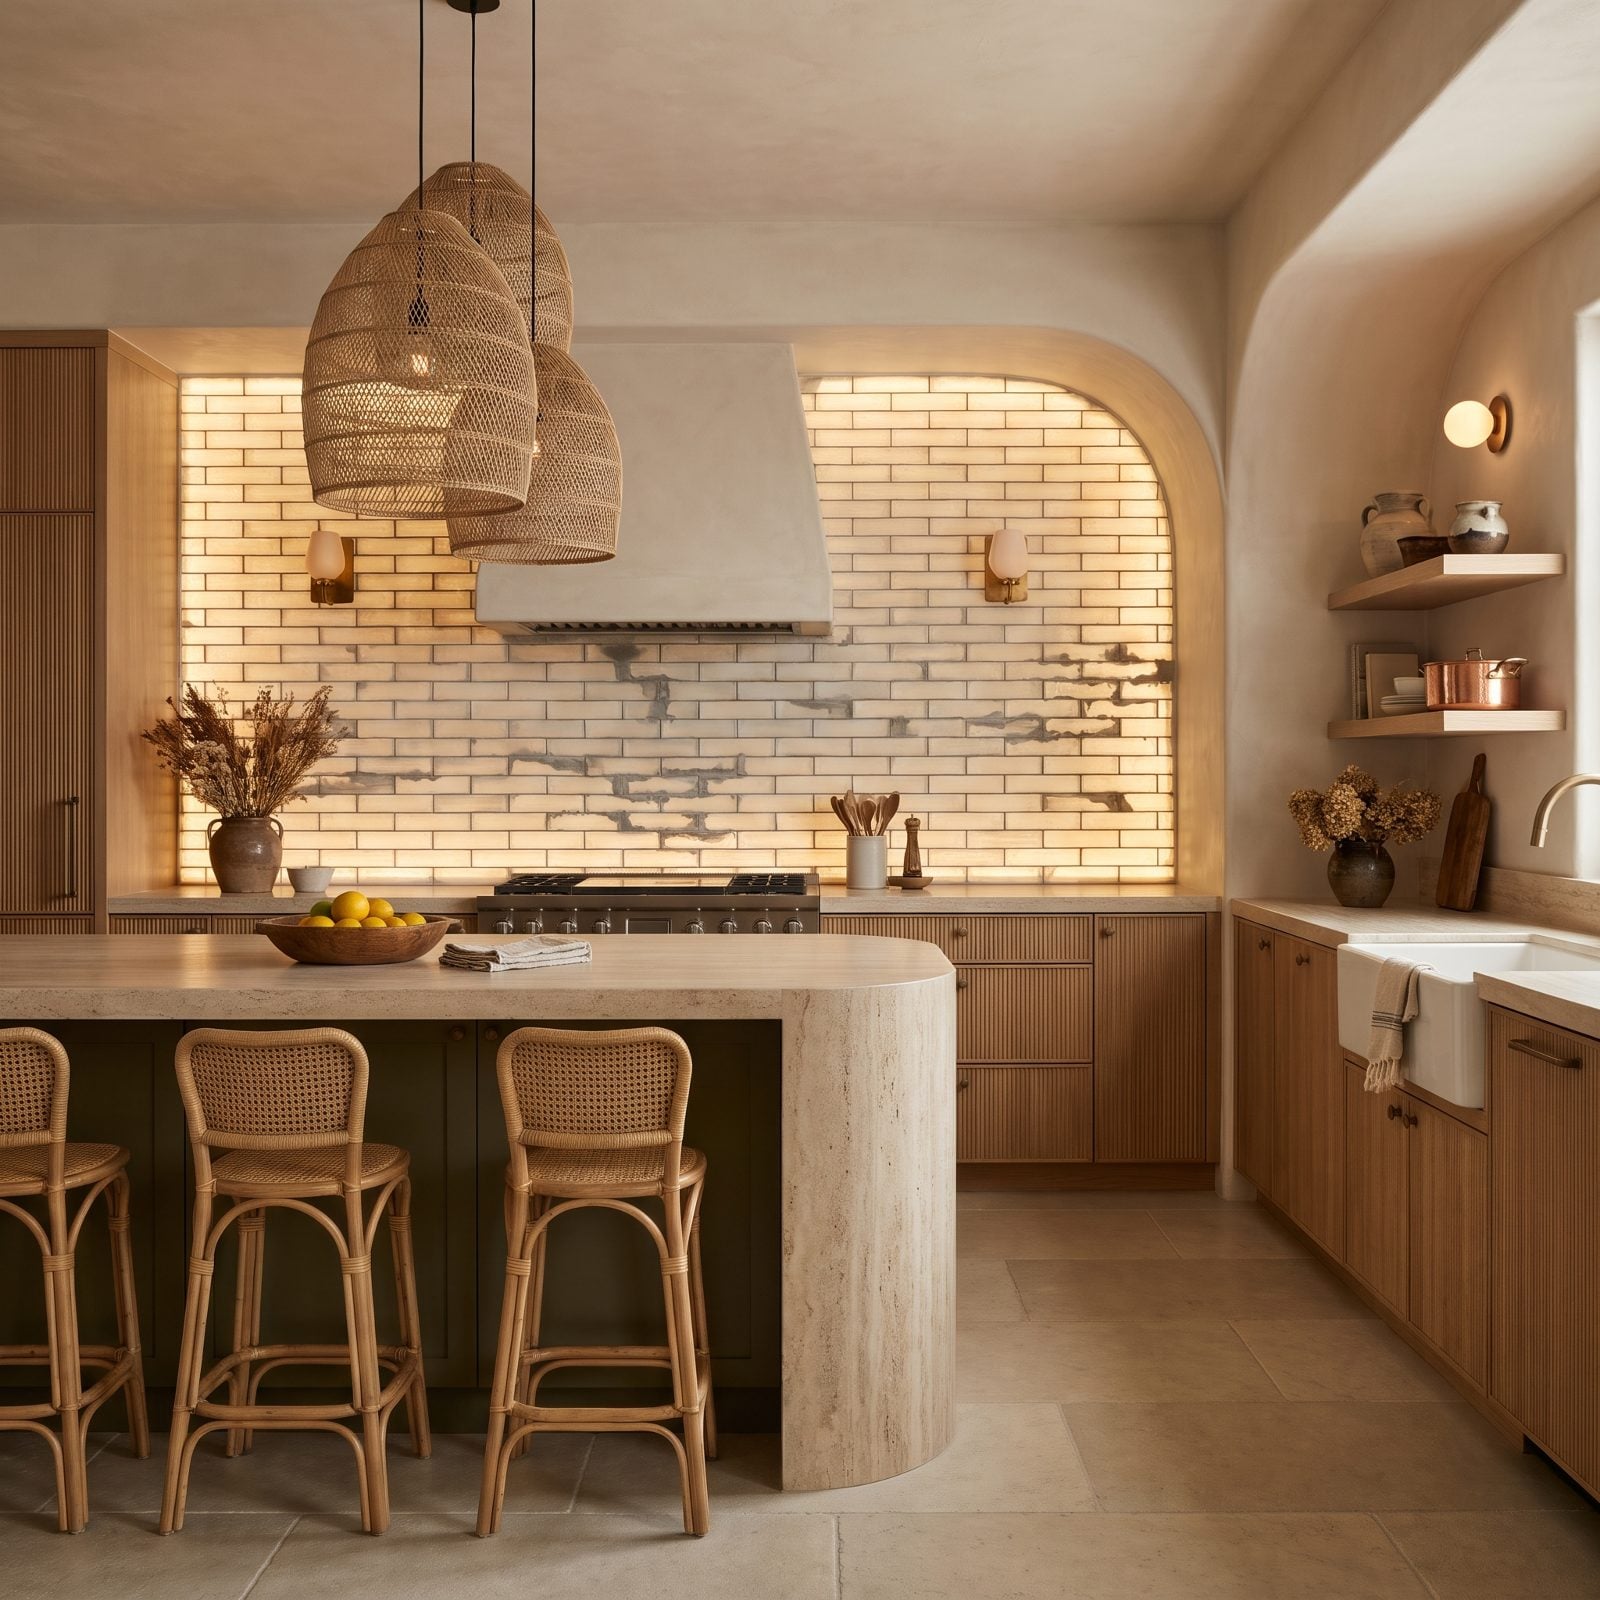
Ceramic hides what’s behind it. Glass doesn’t. Many glass subway tiles are translucent enough that you can see the mortar bed through the face, so trowel ridges, air pockets, and thin spots show up as streaks and blotches once the tile is on the wall and the light hits it.
That changes the routine. Installers use a white mortar rated for glass so the color reads clean and even, then trowel the ridges and flatten them so there’s no pattern to see through. Full coverage matters more here than almost anywhere else, because every void is visible from across the kitchen. Cuts need a blade made for glass, too, or the edges chip. Any shortcut that ceramic would forgive ends up on display with glass.
14. Handmade Tile Earns the Wider Grout Joint
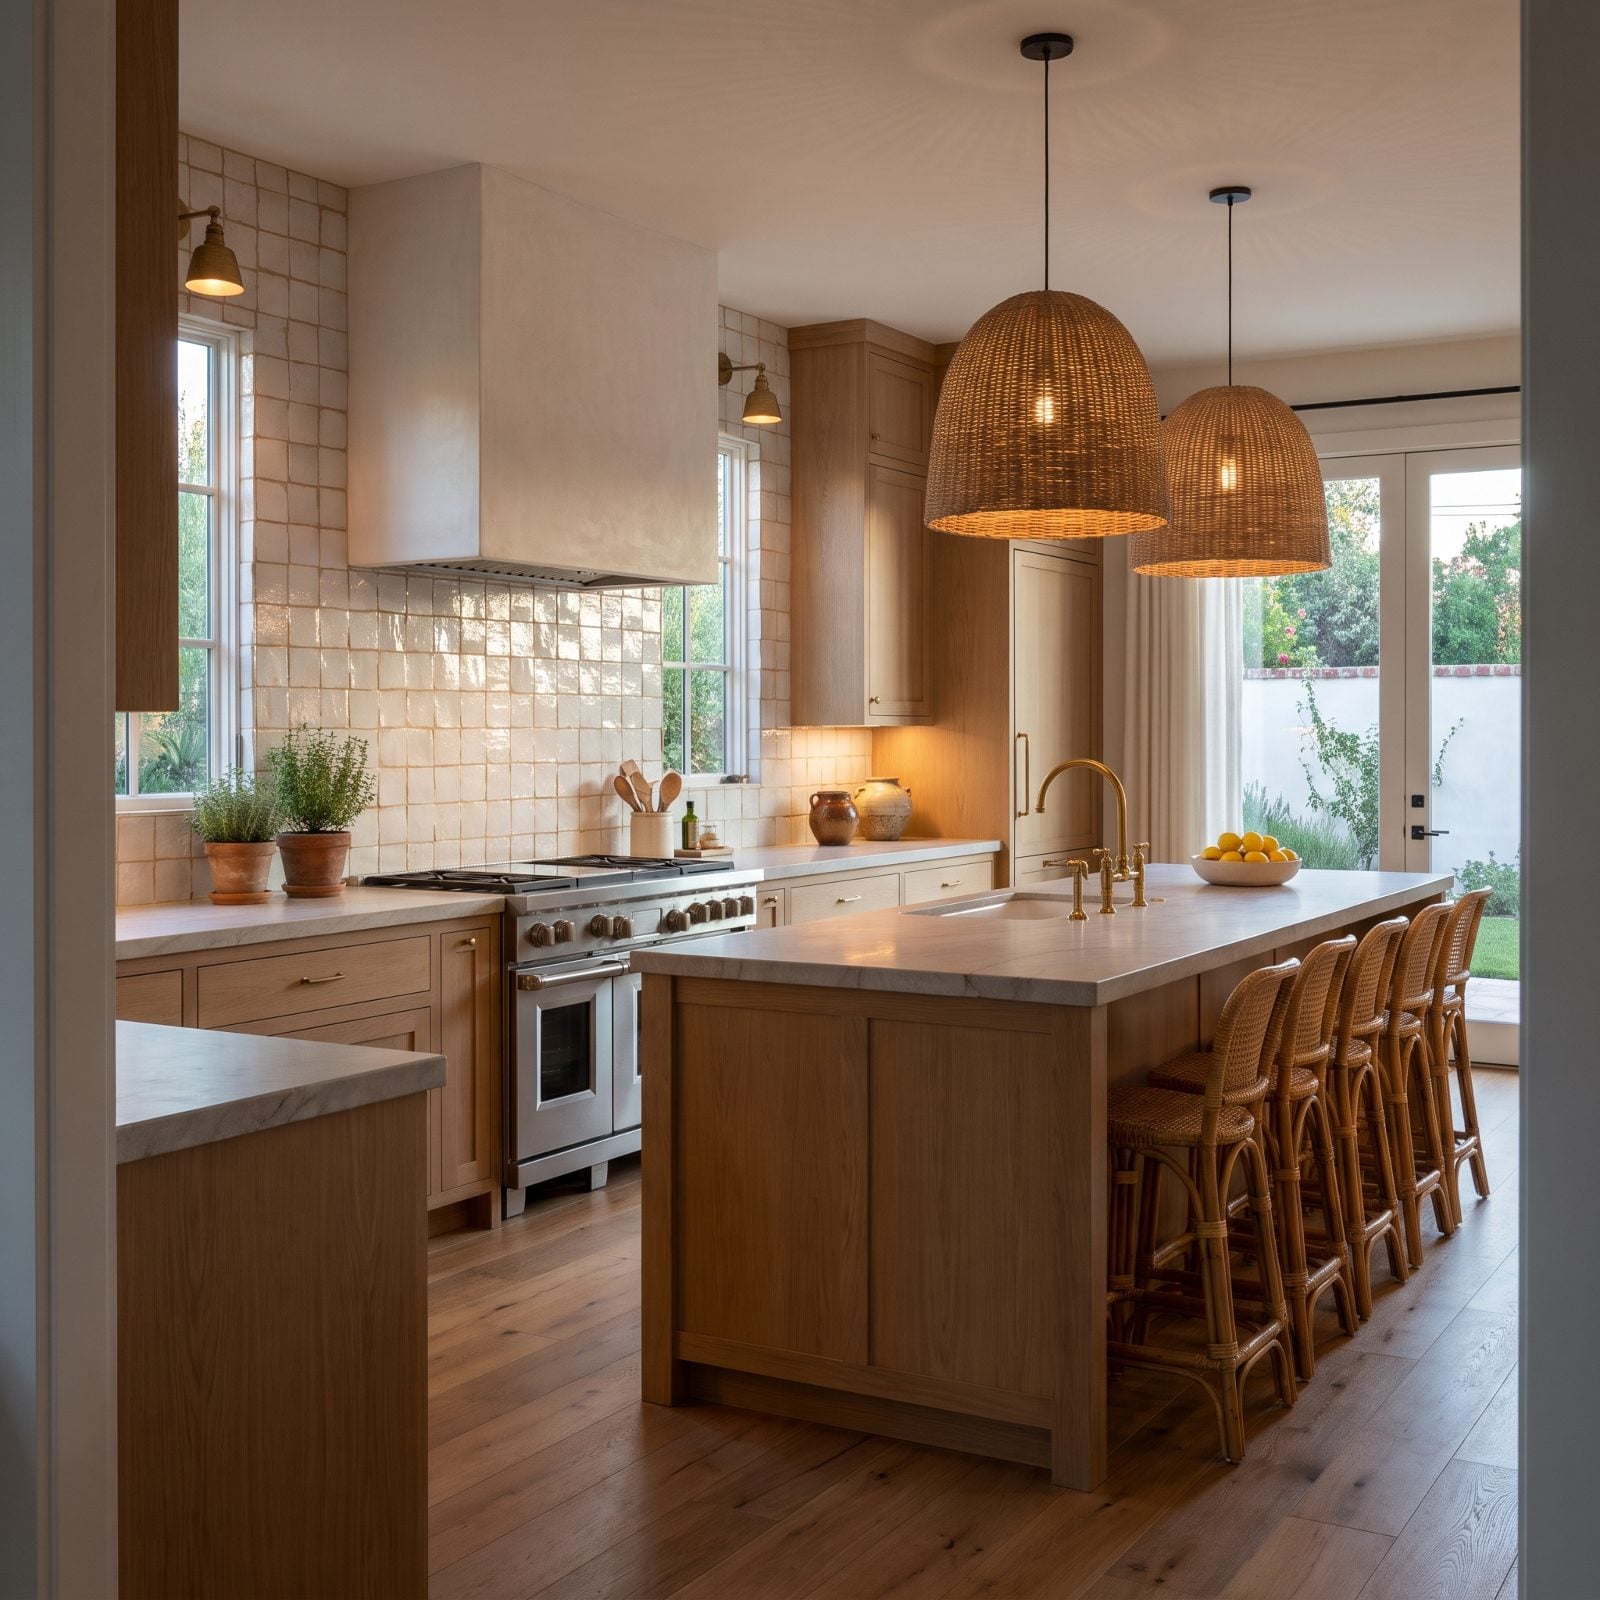
Factory tile is uniform to the millimeter. Handmade tile isn’t, and that irregularity is the reason you bought it. Every edge wavers, every face carries its own thickness, and the glaze pools differently from one piece to the next.
Force a tight joint and all that character suddenly reads as a mistake. Open the joint up to around an eighth of an inch and the grout starts absorbing those small differences, so your eye reads the wall as handmade rather than badly set.
13. The Squeeze-Out You Leave Is the Haze You Hate

Mortar smeared in blobs across the faces of square glazed tiles looks harmless while it’s wet. Let it cure on the glaze and you’ve left a crusty haze that dulls every tile, or worse, it sets so hard you’re scraping it off with a utility knife at midnight.
Clean it as you go. A margin trowel lifts the heavy blobs off the tile face, a damp sponge handles the film left behind, and the whole thing stays easy.
12. Sometimes the Snap Cutter Beats the Wet Saw
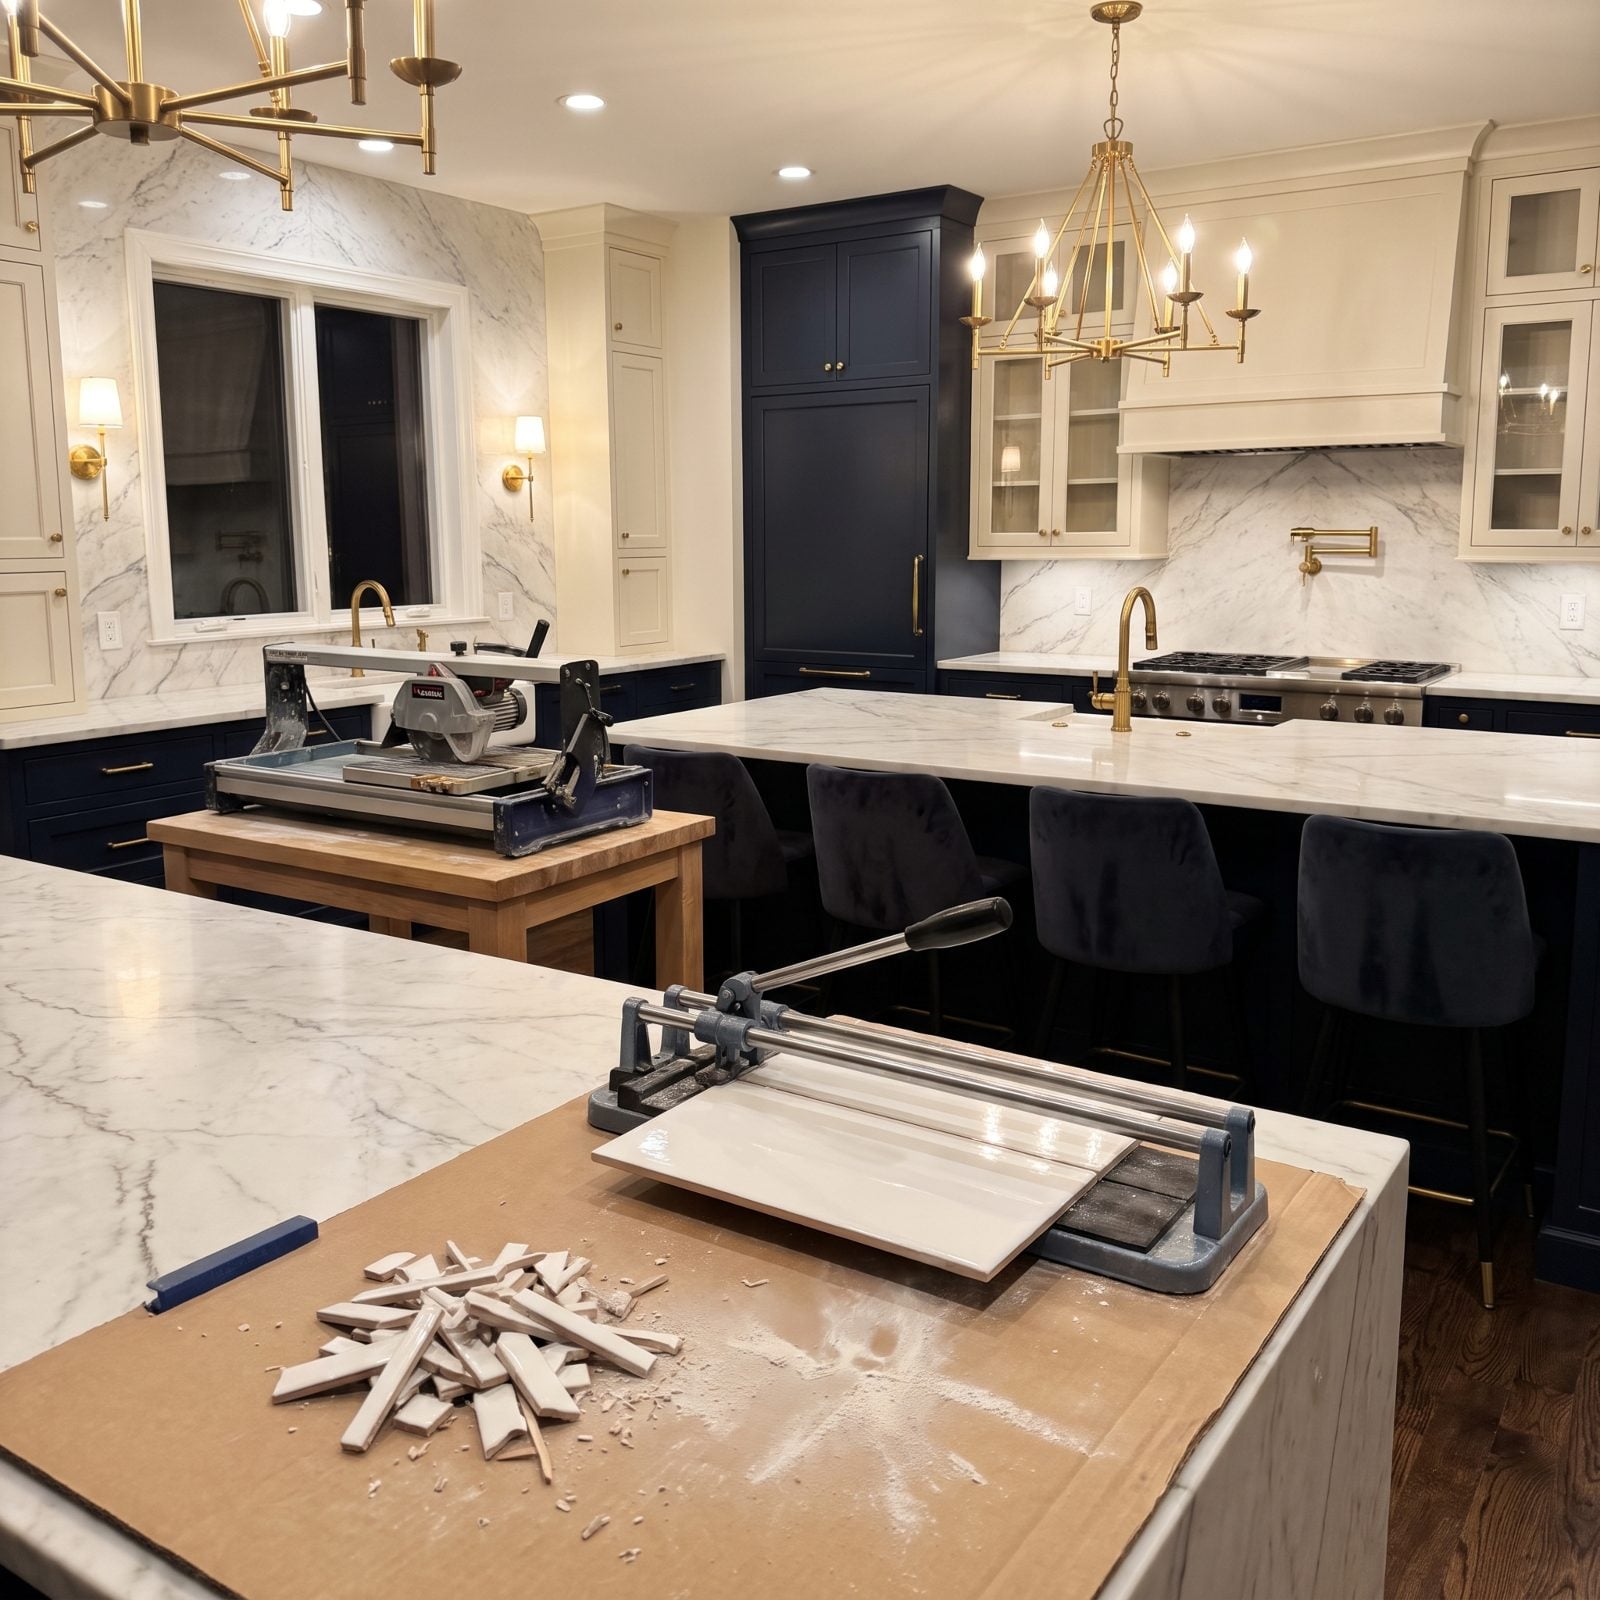
A wet saw feels like the serious tool, and for porcelain or stone it is. But drag a dense glazed ceramic subway tile across a diamond blade and you’ll micro-chip the glaze along the cut line every single time.
A snap cutter scores the glaze and breaks the tile clean, leaving an edge that often comes out smoother than the saw gives you. Faster, quieter, and no slurry to clean off everything in a six-foot radius.
11. Marble Tile Will Etch Behind a Range, So Seal It
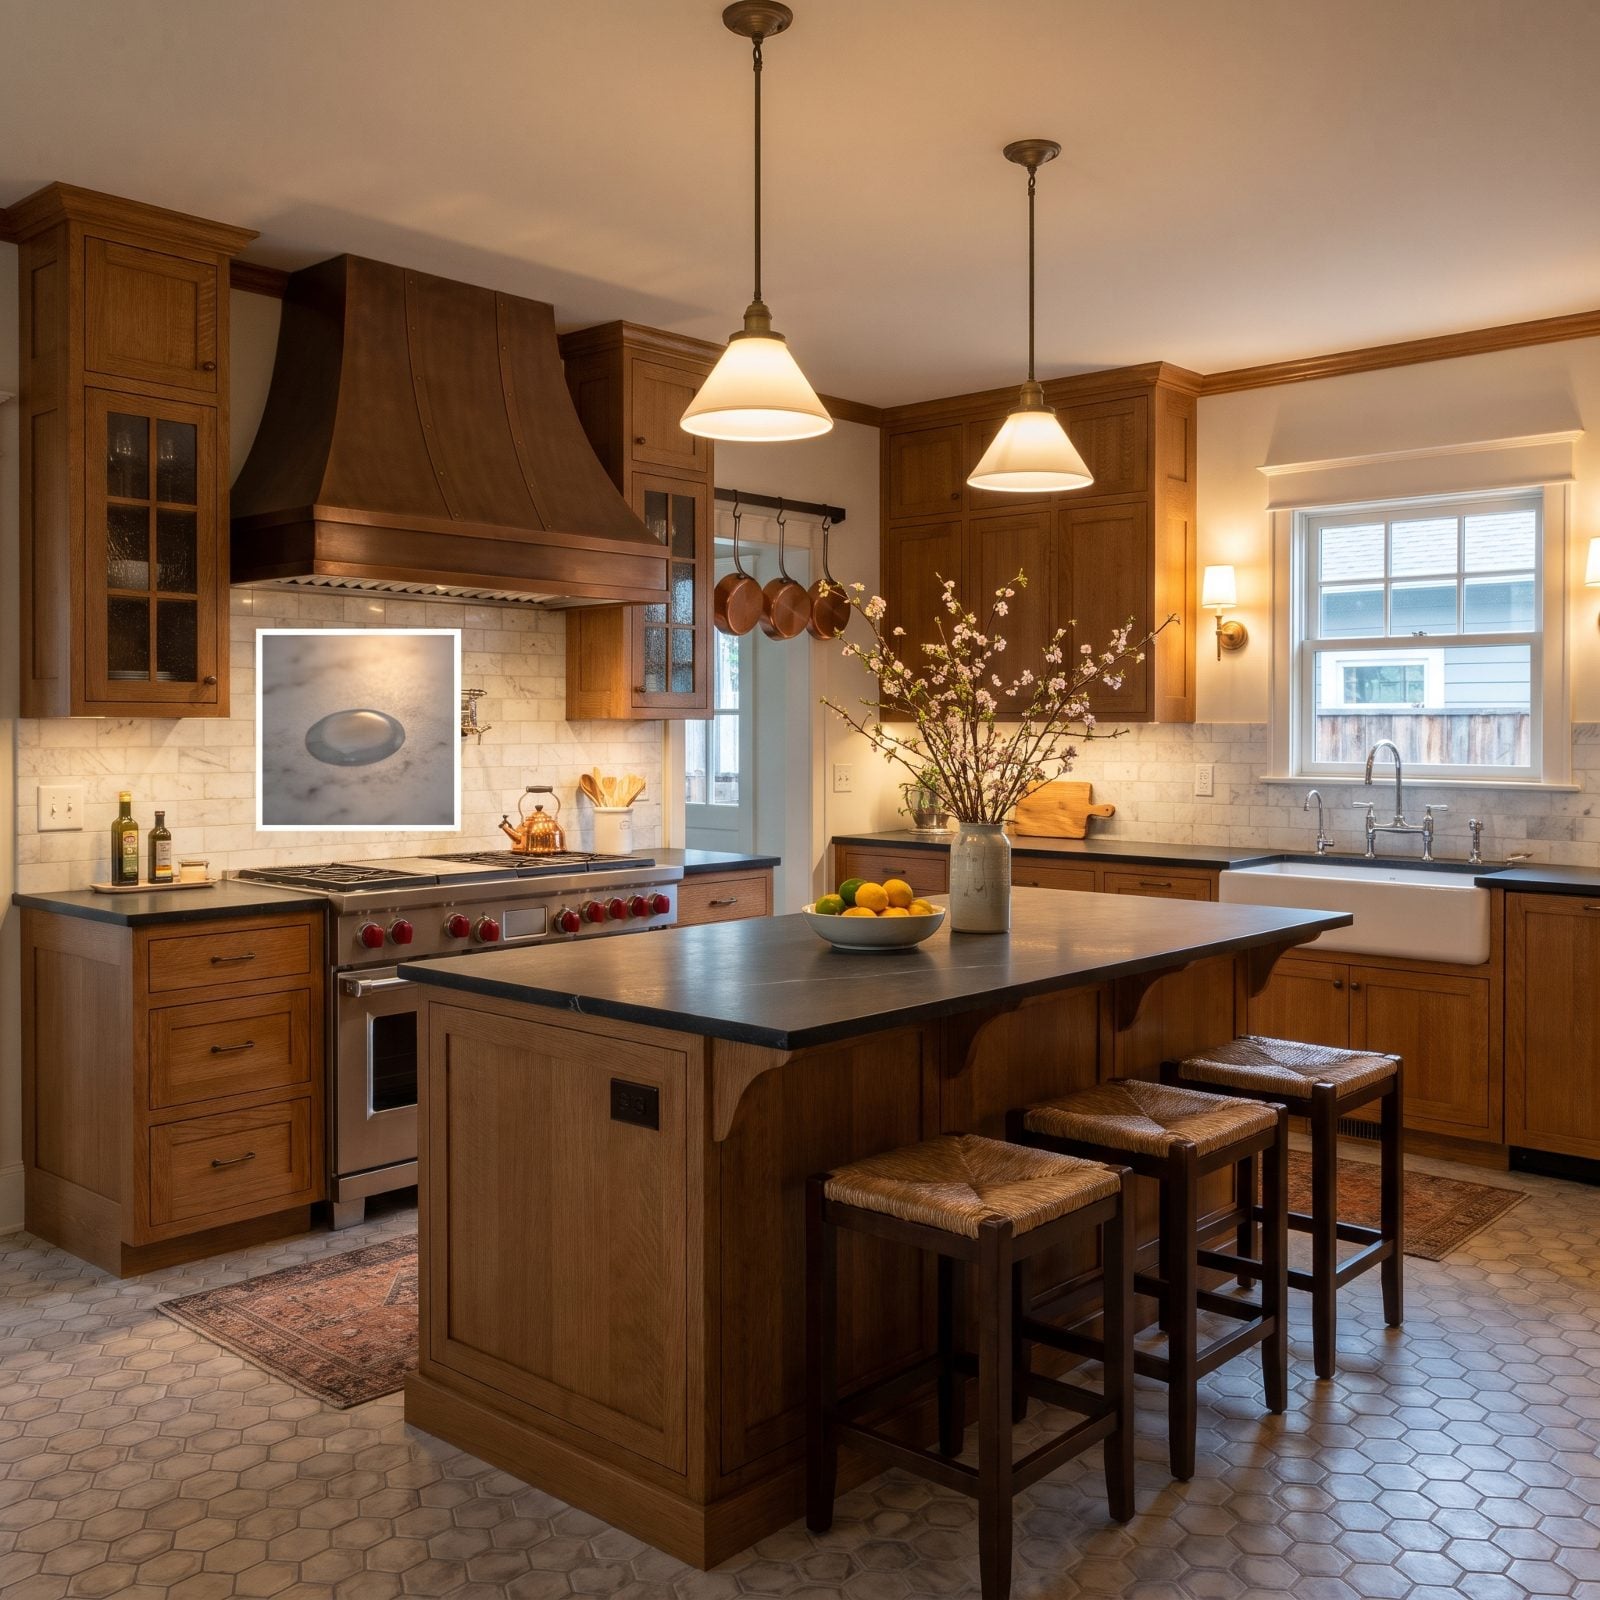
Marble behind a cooktop is a romance that needs a prenup. It’s soft, porous, and reacts to acid the way sugar reacts to water. A splash of lemon, a splatter of tomato, a glass of wine sliding down the wall, any of them can leave a dull etch that no amount of wiping fixes.
Sealing guards against stains, though not etching, so seal it before grouting, seal it again after, and keep sealing it on a schedule. Plenty of people decide the look is worth it. Just go in knowing the maintenance is real, not optional.
10. Pick Your Edge Trim Before the First Tile Goes Up
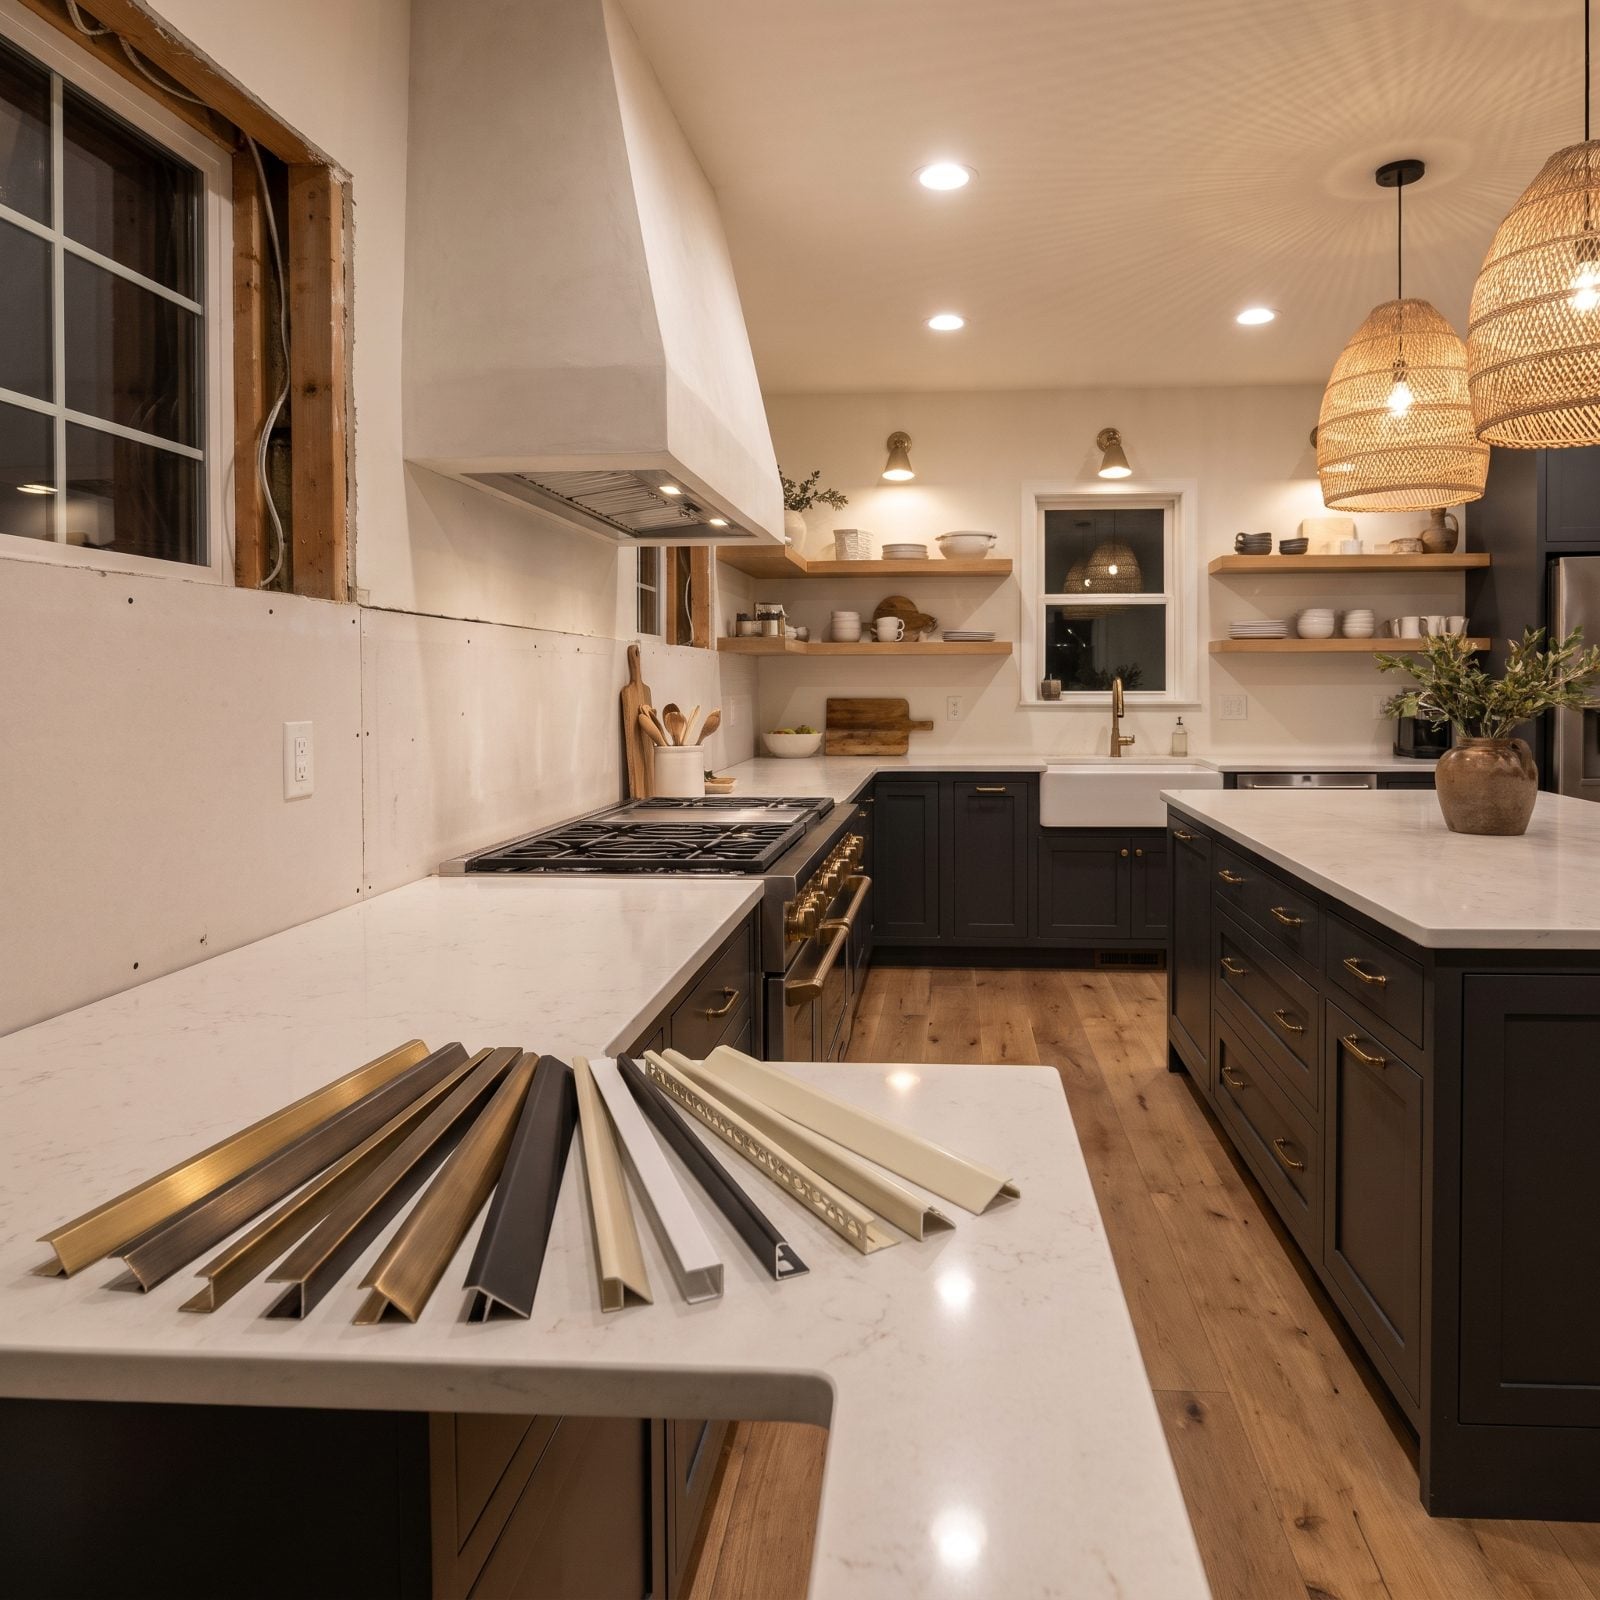
Where the tile stops, the wall still has to look finished. Make that call before you set a single piece, because the trim often tucks behind the field tile or sits flush against it.
Metal edge profiles in brass or black have taken over, and for good reason. A brushed-brass edge reads clean and modern, bullnose tile feels traditional, and a bare cut edge looks unfinished no matter how nice the rest of the work is. Decide early. Retrofitting trim later means tearing out your end rows.
9. Outside Corners Are Where the Work Gets Judged
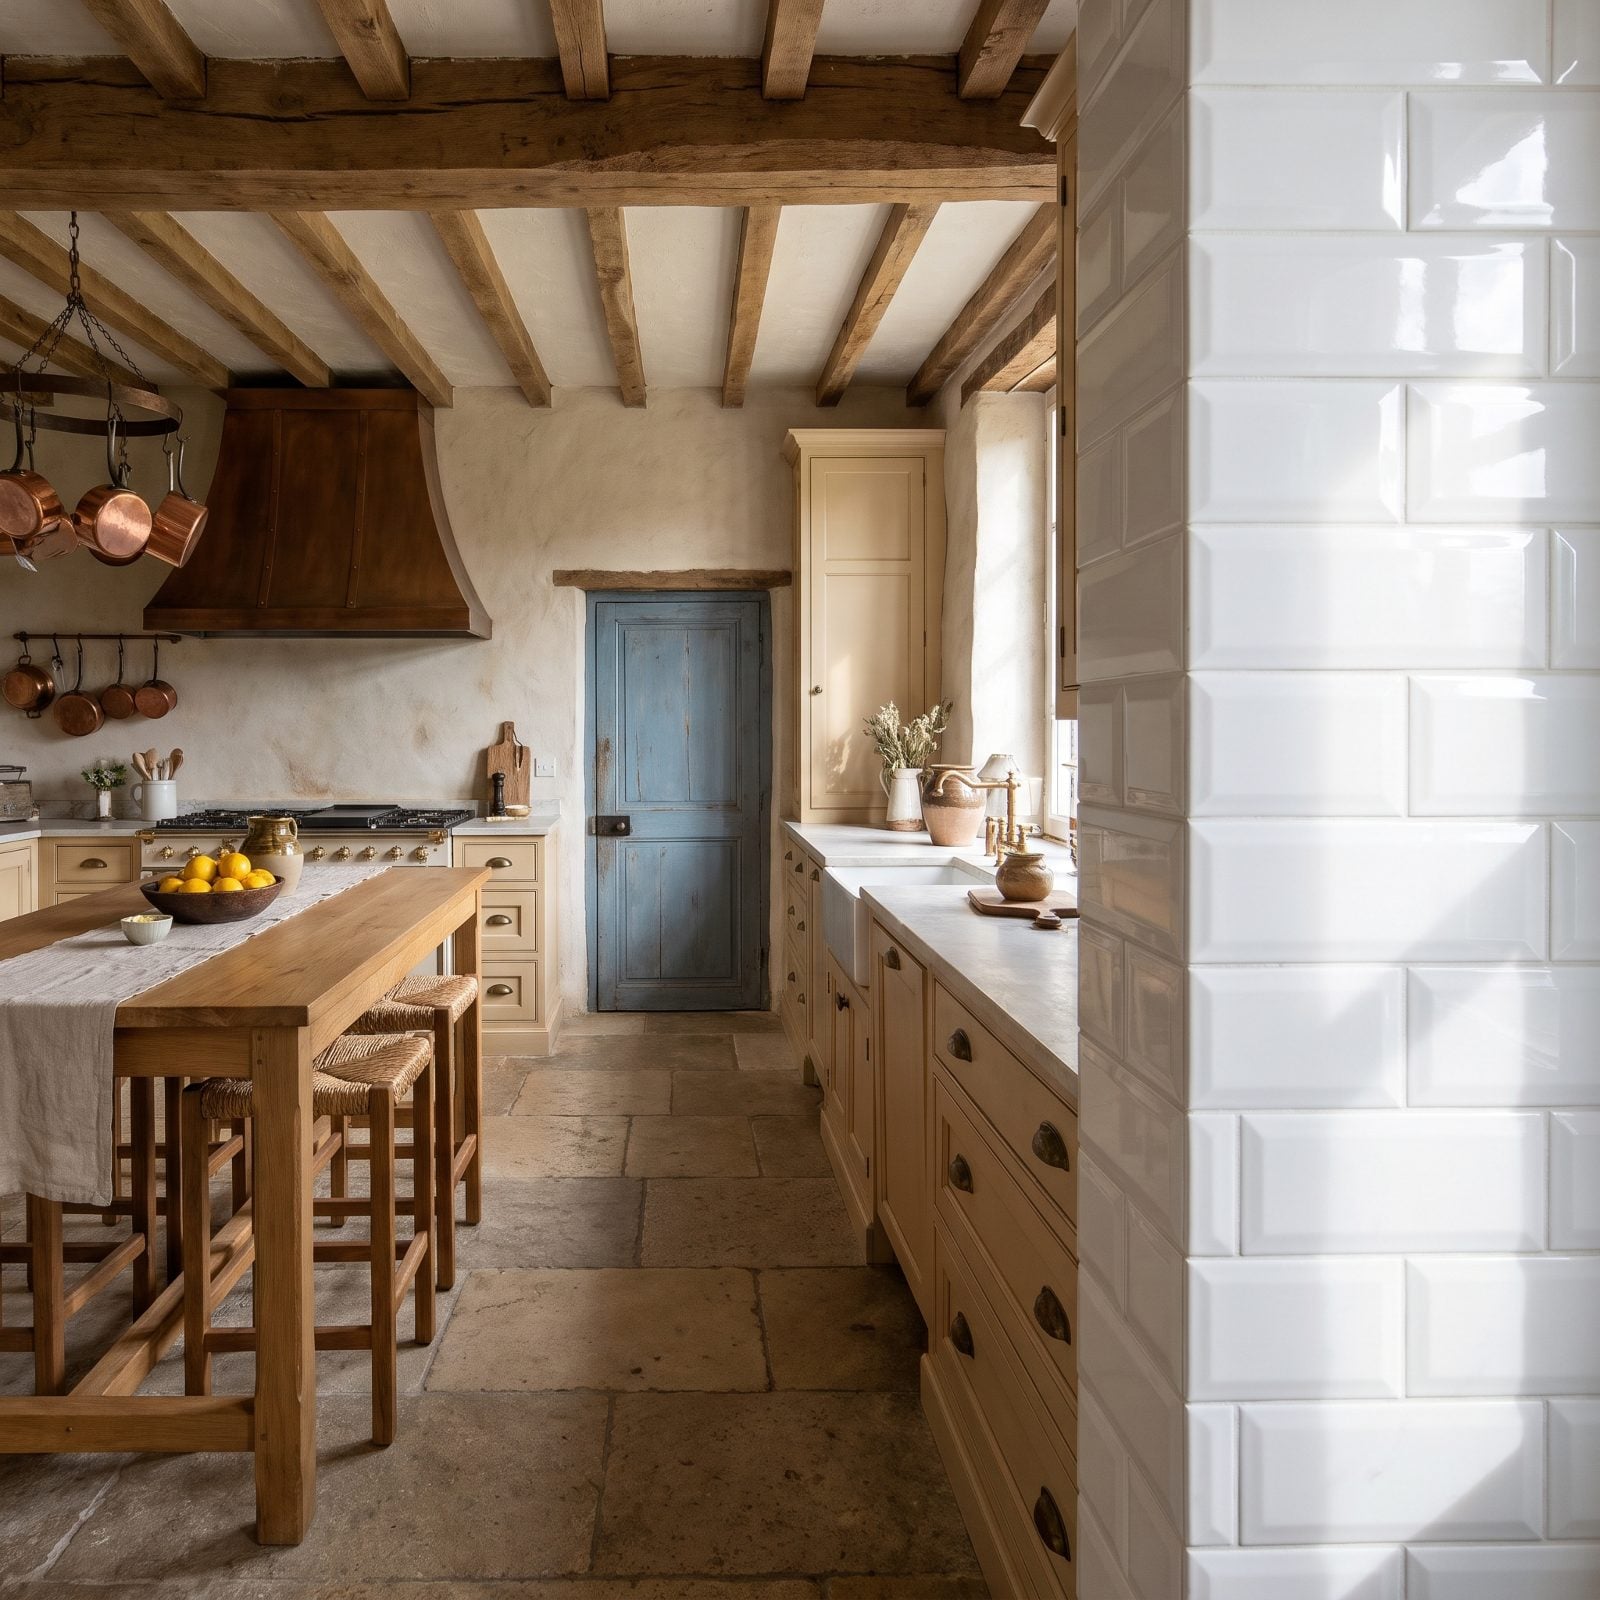
Anyone can run tile across a flat wall. The outside corner, where two tiled surfaces turn and the edge sits right at eye level, is where a sloppy installer gets found out. There’s nowhere for a bad cut to hide.
Good work either mitres the tile edges to meet at a sharp line or caps the corner with a metal profile that takes the cut out of the equation. Both read as intentional. A gap stuffed with grout does not.
8. Caulk the Inside Corners, Don’t Grout Them
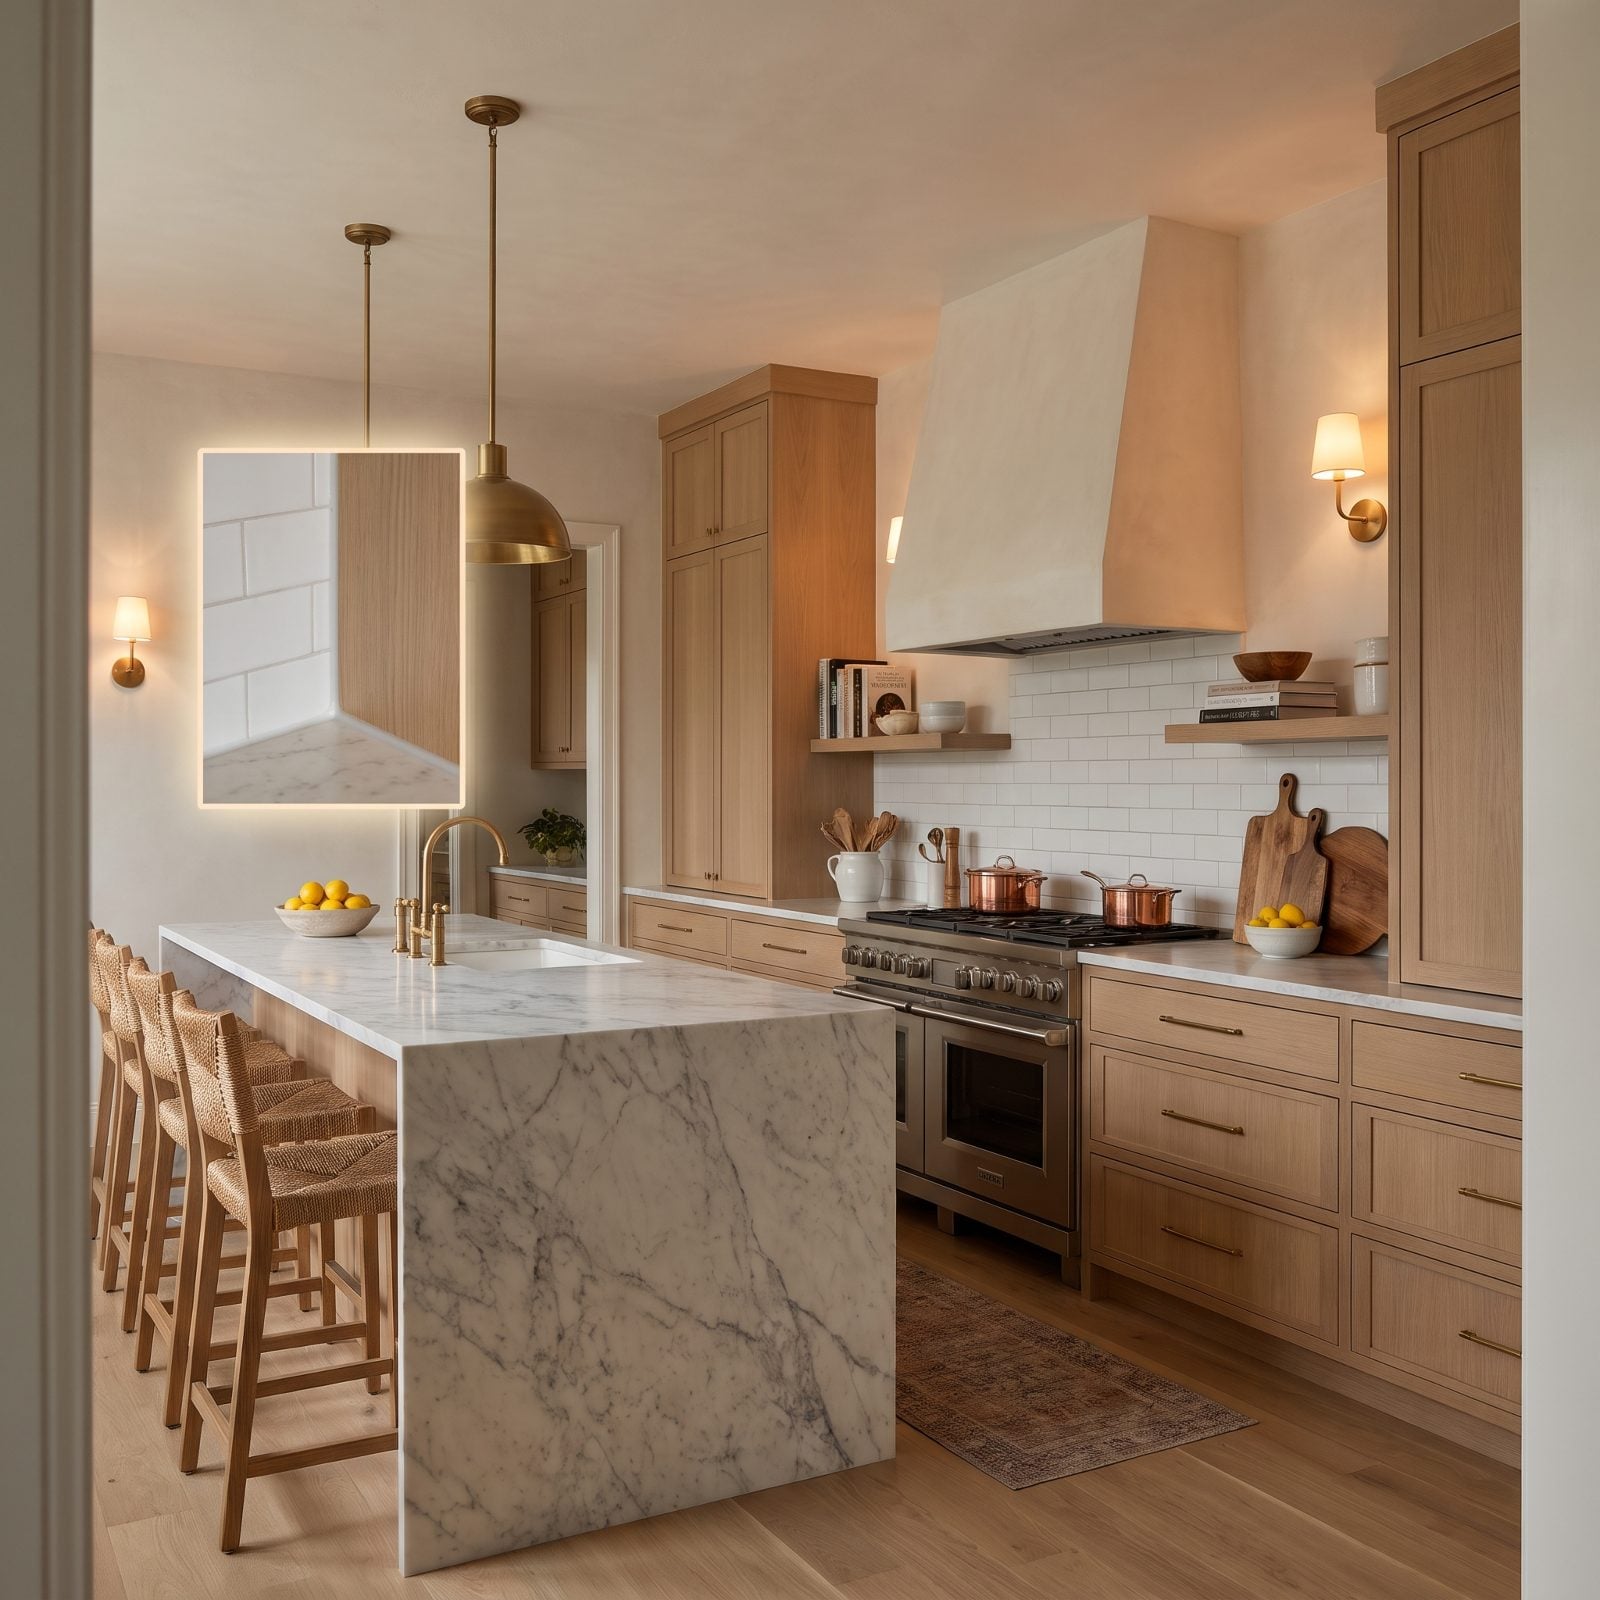
Grout is rigid. Your house is not. Where two walls meet, or where the tile lands on the countertop, the two surfaces move independently with temperature and humidity, and rigid grout in that joint cracks every time. Guaranteed.
Flexible caulk in a matching color moves with the house and stays intact. Pros caulk every inside corner and every change-of-plane joint, then grout only the flat field. Looks almost identical when it’s done, right up until the grouted version starts crumbling a year in.
7. Grout Color Is Either a Spotlight or a Cover Story
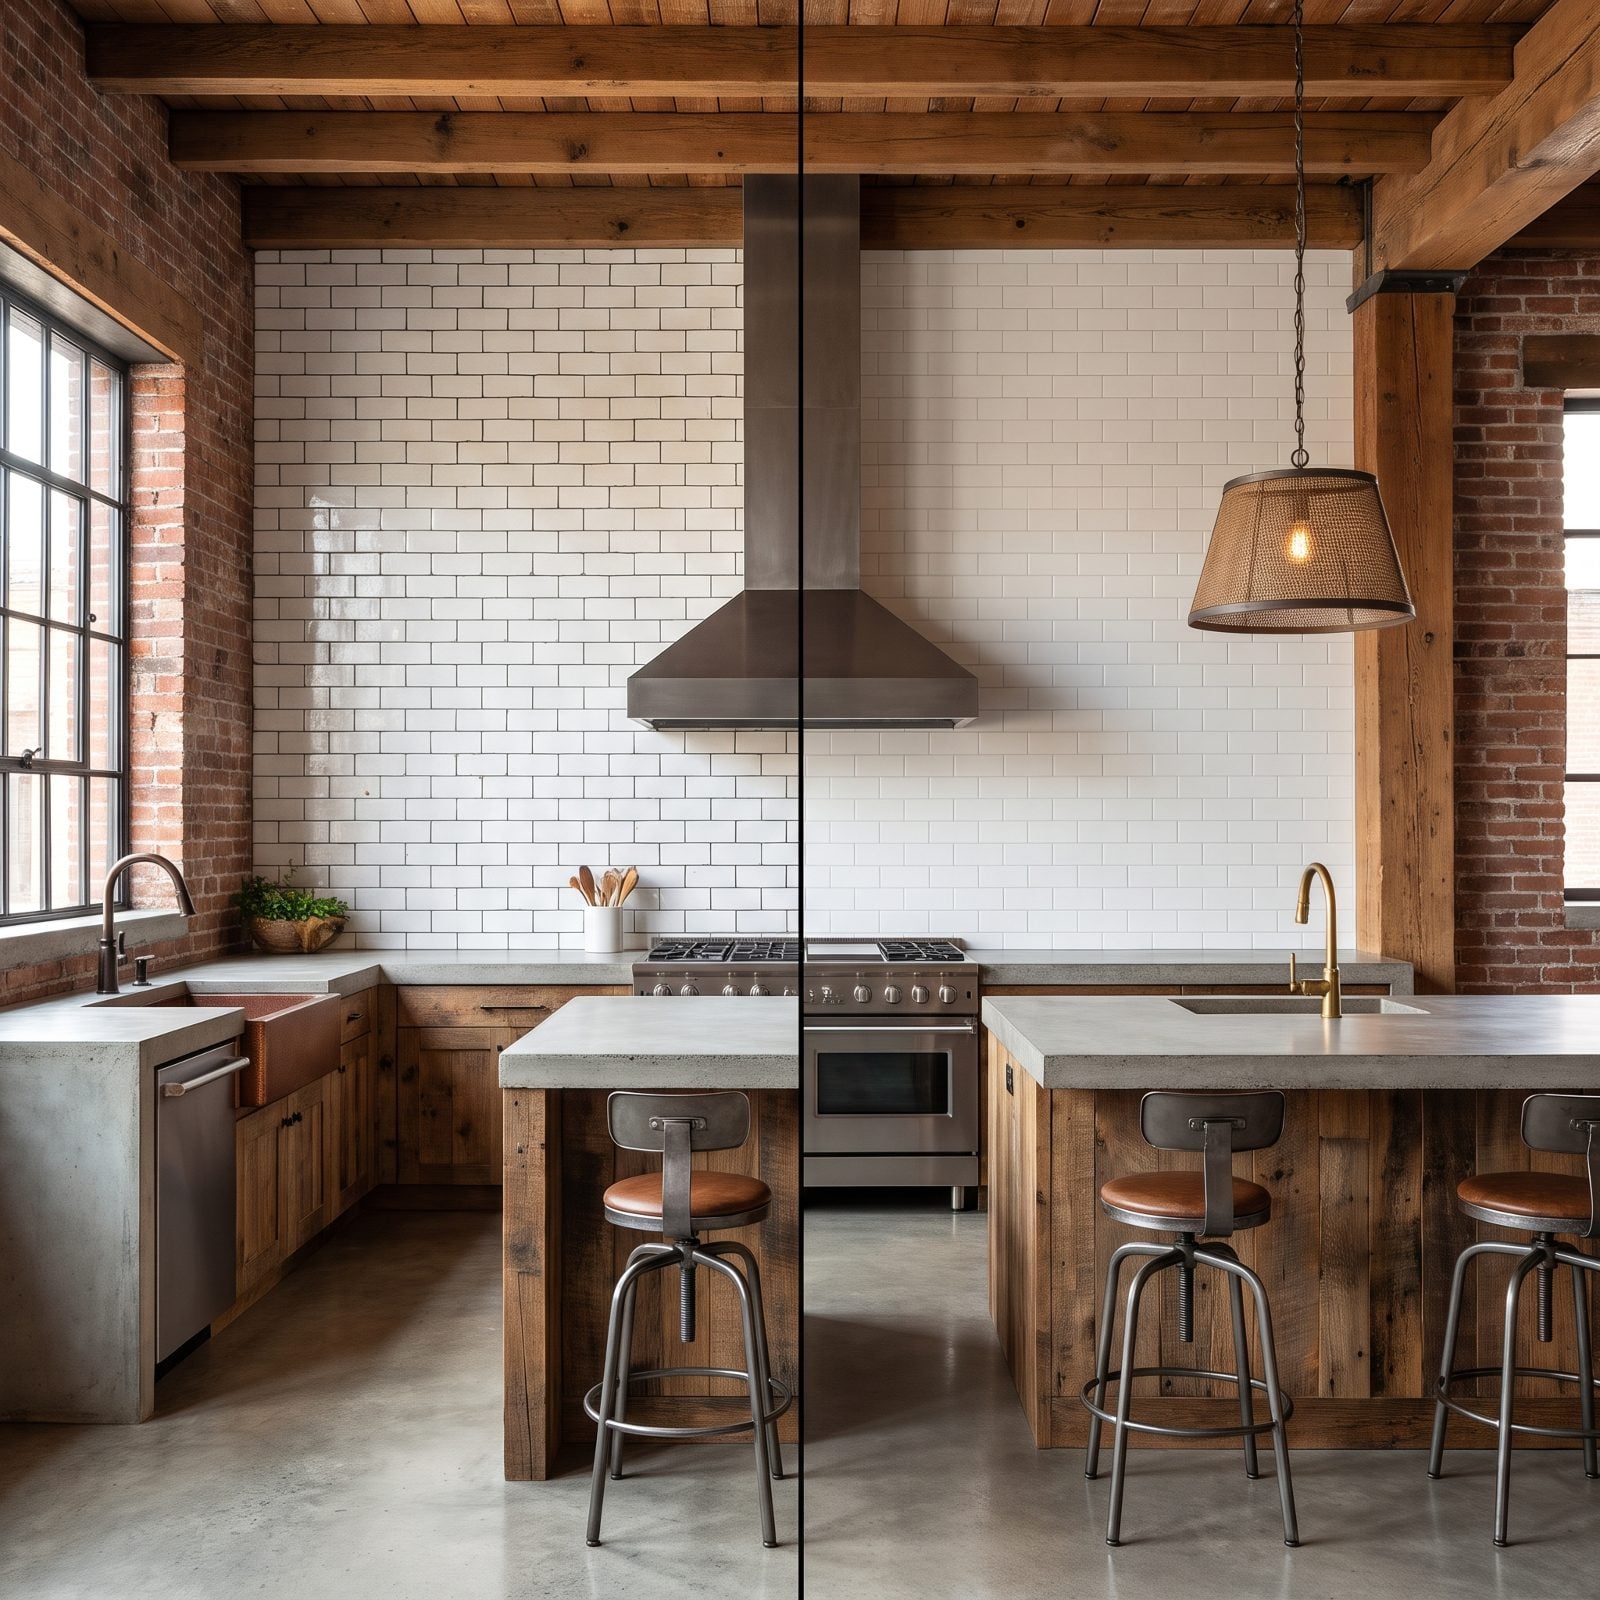
Dark grout against white tile looks sharp in a photo. It also narrates every flaw in your spacing. Any joint that’s a touch wide, any tile that leans — the contrast throws a ring light on it.
Light grout close to the tile color forgives all of that. If your cuts aren’t surgical, go softer and let the palette cover for you. Choose the look and the honesty level together, because the grout decides which one you end up living with.
6. White Grout Behind a Cooktop Lives a Short, Honest Life

Grease is airborne. It lands.
Right behind the burners, that bright white grout you loved on day one starts collecting a thin amber film within months, and no amount of wiping fully reverses it. Installers who have been burned (pun intended) steer clients toward a warm gray or soft taupe for that zone. It hides the inevitable without looking dirty, and it keeps the backsplash near a traditional kitchen cooktop looking intentional instead of neglected.
5. Epoxy Grout Shrugs Off Stains and Punishes Beginners

Epoxy grout is the one that laughs at red wine, tomato sauce, and espresso. Stain-proof, waterproof, never needs sealing. Sounds perfect.
Here’s the catch: it sets fast, it’s sticky as tar, and it leaves a hazy film that must come off before it cures or you’re scraping cured resin off tile with a razor. First-timers lose that race constantly, and on glass or glossy tile it’s merciless. Want epoxy but you’ve never done it? This is the project to hire out.
4. Tile and Grout Are Not a Raincoat
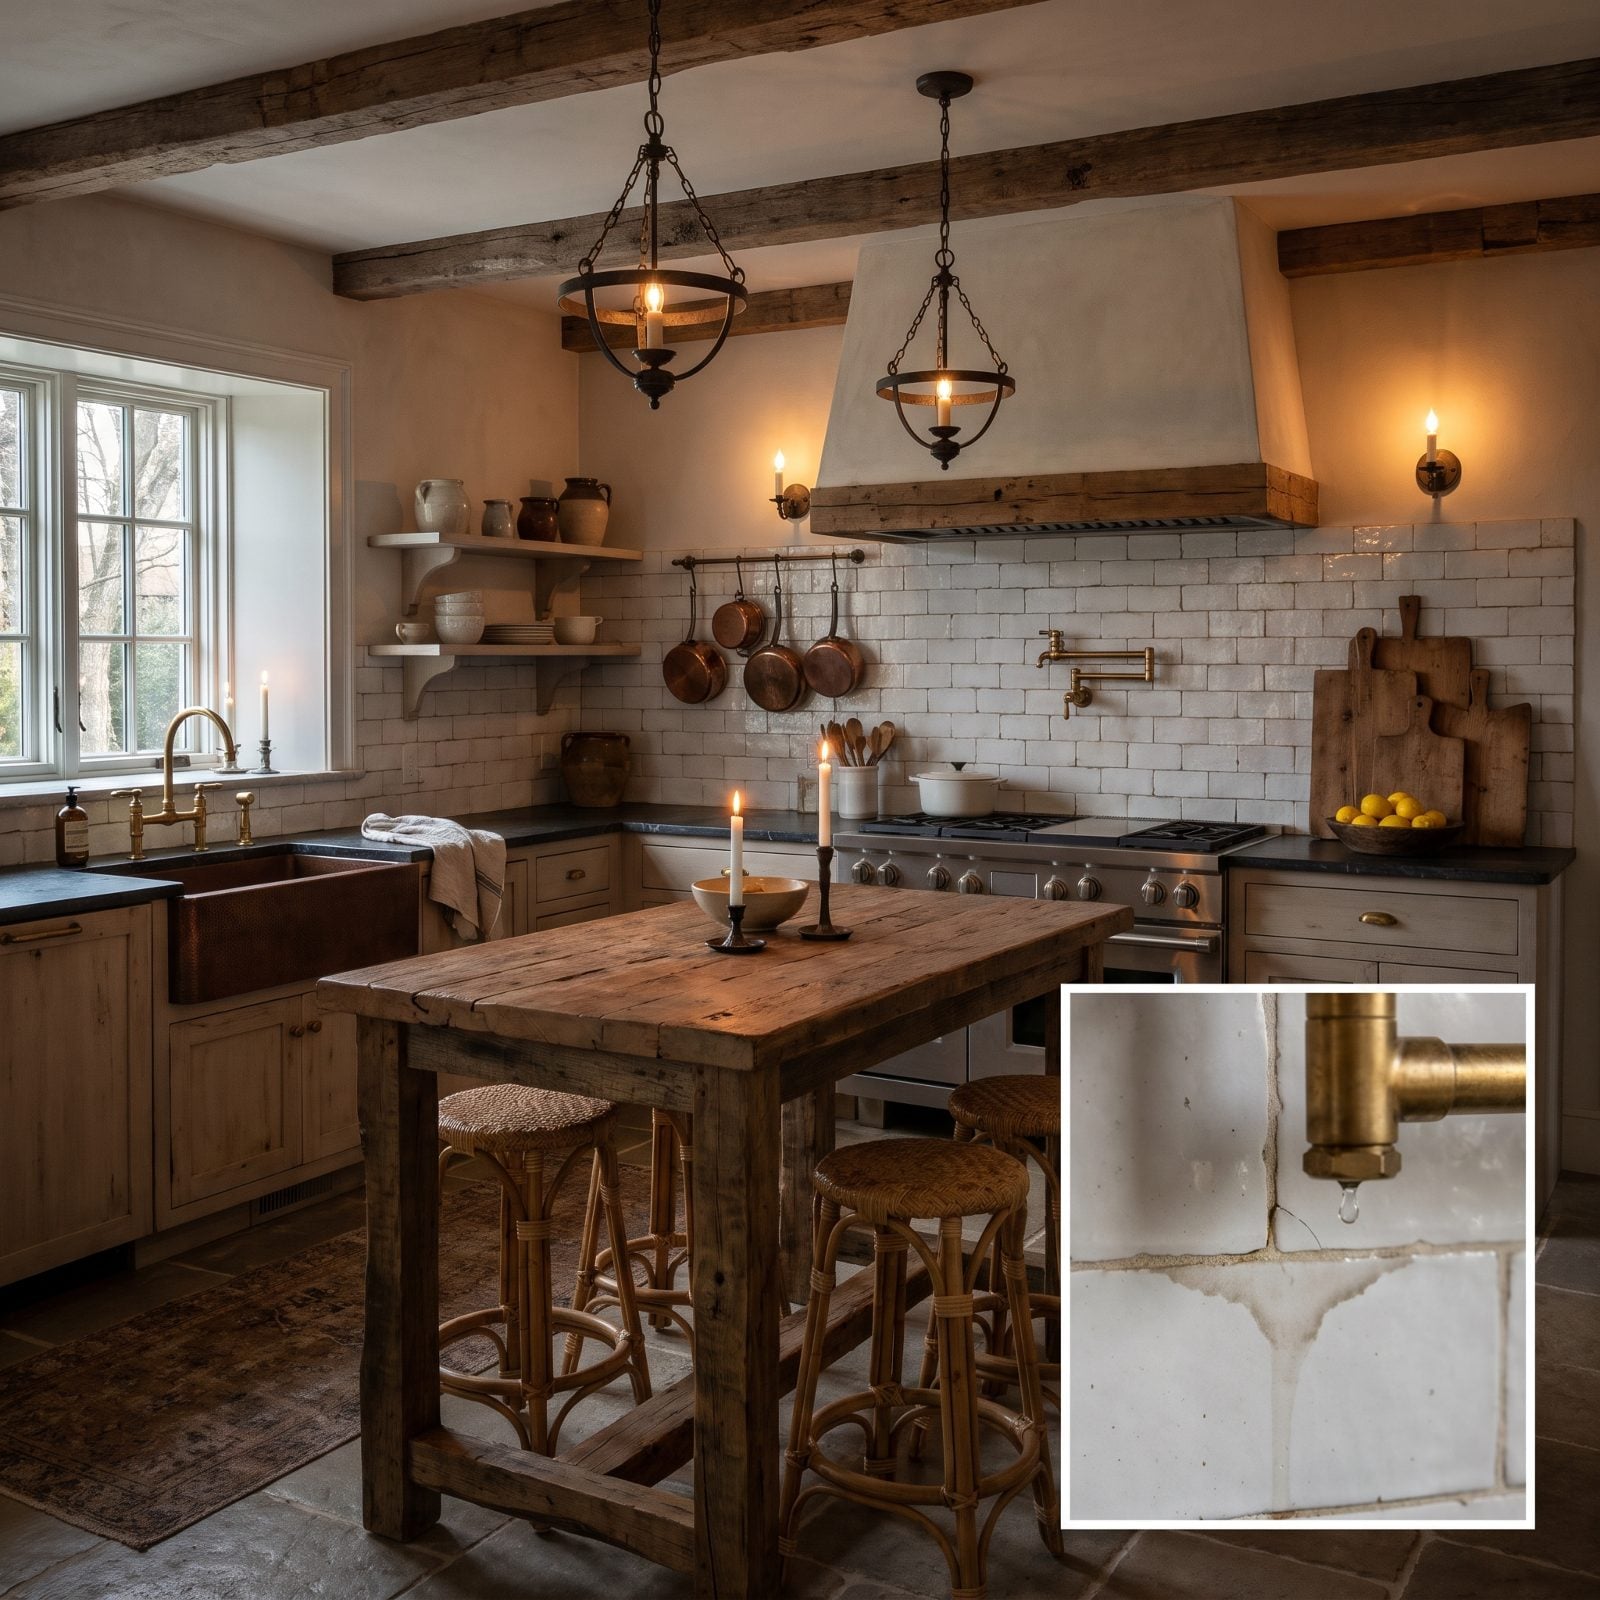
People assume a tiled wall is sealed. It isn’t.
Grout is porous. Water finds the hairline where caulk failed, wicks behind the tile, and sits against the drywall where you’ll never see it until the paint bubbles or the smell shows up. In a splash-heavy zone near the sink, pros add a waterproof membrane under the tile so the wall is protected whether or not the grout holds. Tile is the finish. The membrane is the actual defense.
The grout keeps water out until the day it doesn’t. The membrane is what’s there for that day.
3. Pulling the Range Is Often the Only Way to a Clean Edge
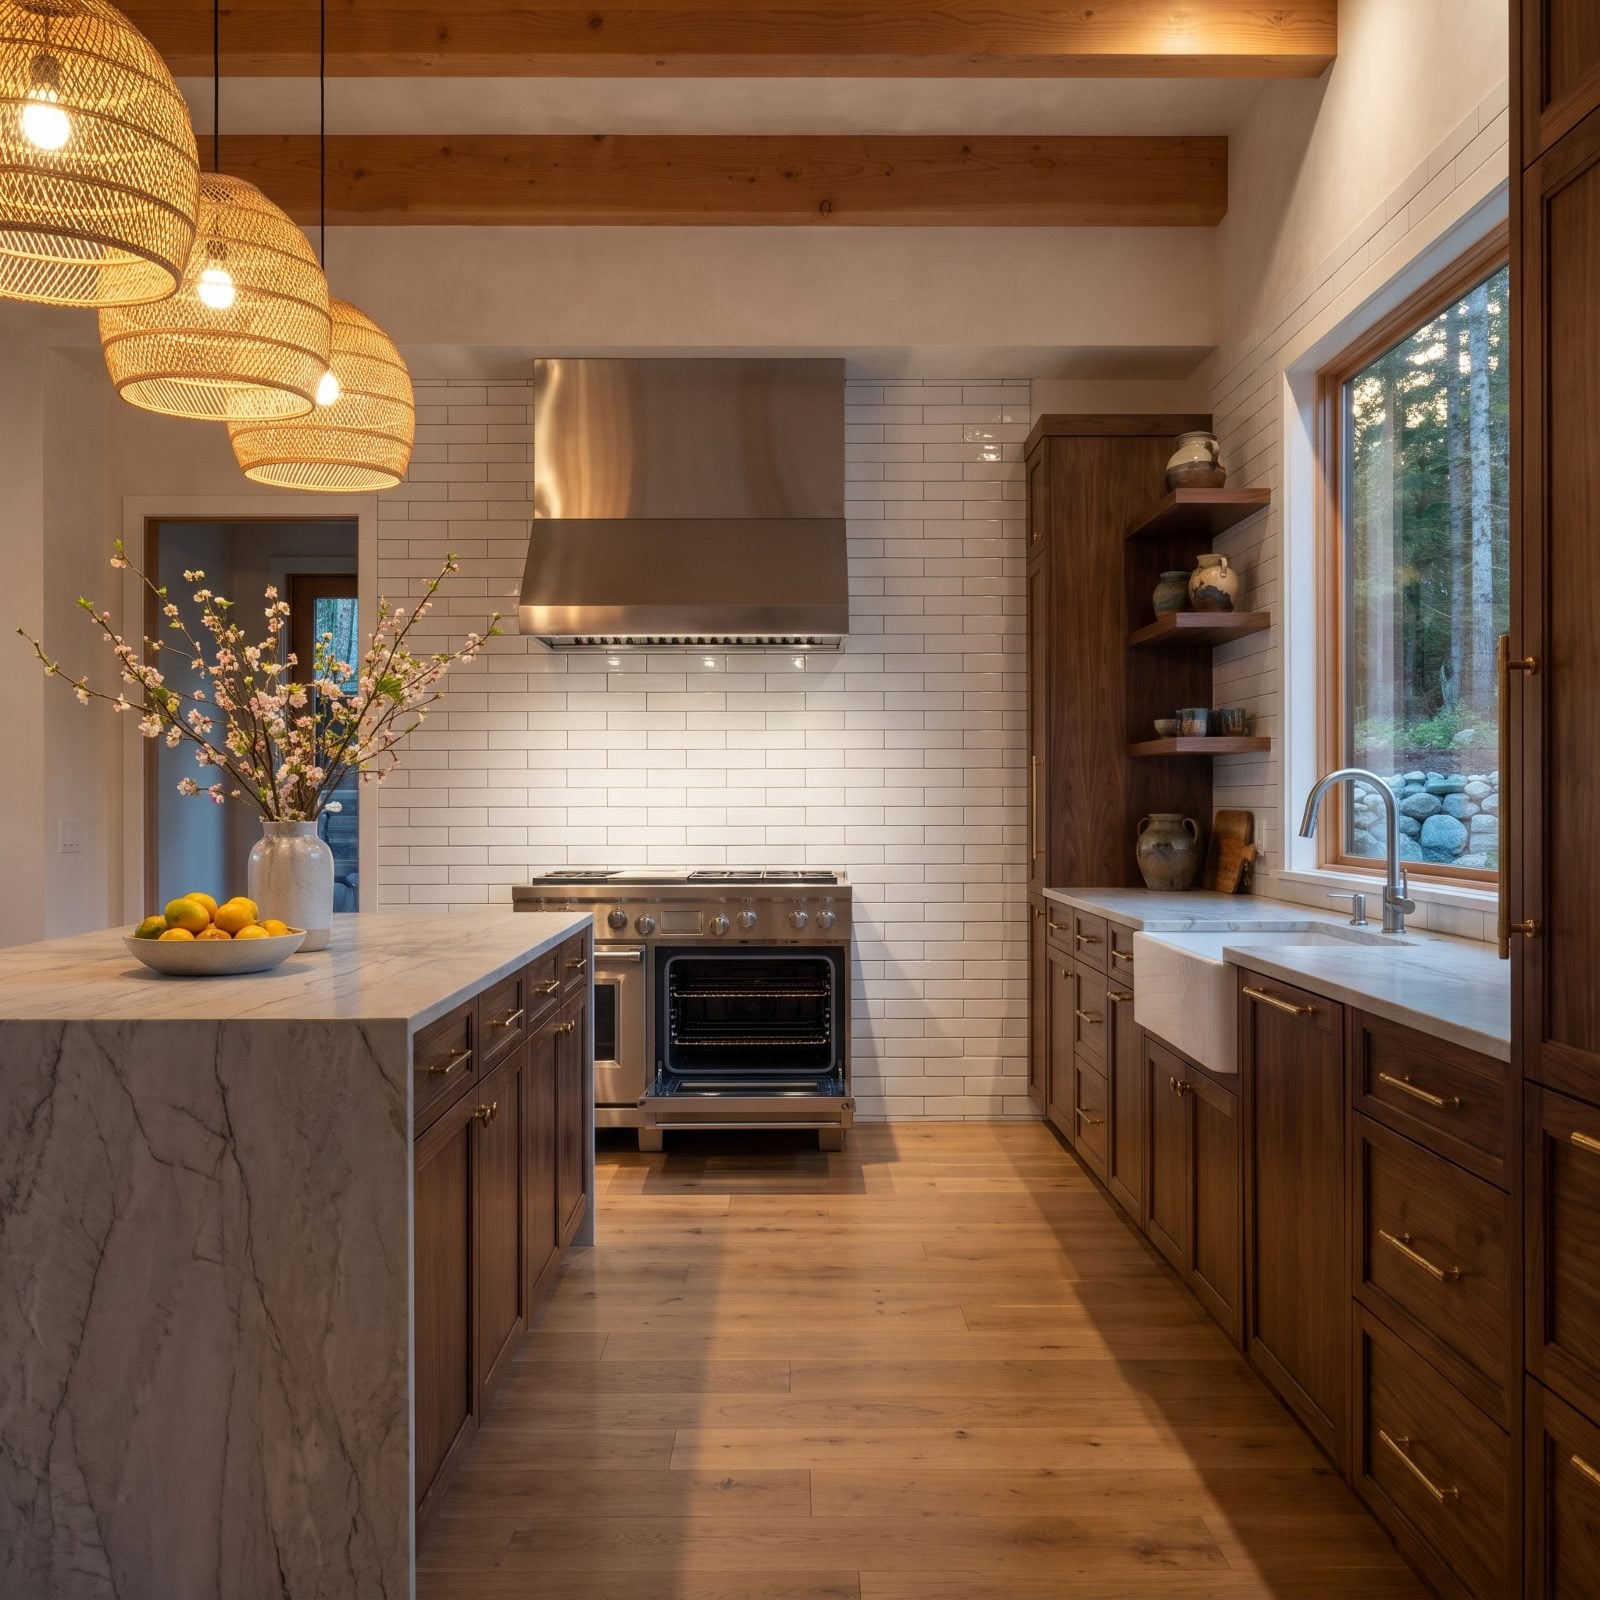
Tiling up to the edge of a range that stays put leaves a visible seam and a half-tiled wall the moment you slide the range out to clean.
Pulling it forward lets the tile run continuous behind, so the field looks whole and the gap at the counter gets properly finished. It’s an hour of disconnecting and reconnecting that most clients never think about, and it’s the difference between a backsplash that photographs well and one that only looks finished from the front.
2. Even a Tiny Backsplash Is a Multi-Day Affair

The square footage is small. The calendar isn’t.
Each section’s thinset has to cure before that section gets grouted, so tiling and grouting often leapfrog each other across the wall. Grout has to cure before sealing. Caulk wants its own dry time. Rush any of those stages and it shows up as cracking or haze later, so a modest backsplash spreads across several short visits rather than one long afternoon.
That staggered schedule surprises people who expected a one-day wonder. It’s not padding — it’s chemistry setting its own pace, and the finish you get on a neutral kitchen makeover is only as good as the patience you gave each cure.
1. Why Undercabinet Light Is the Backsplash’s Harshest Critic
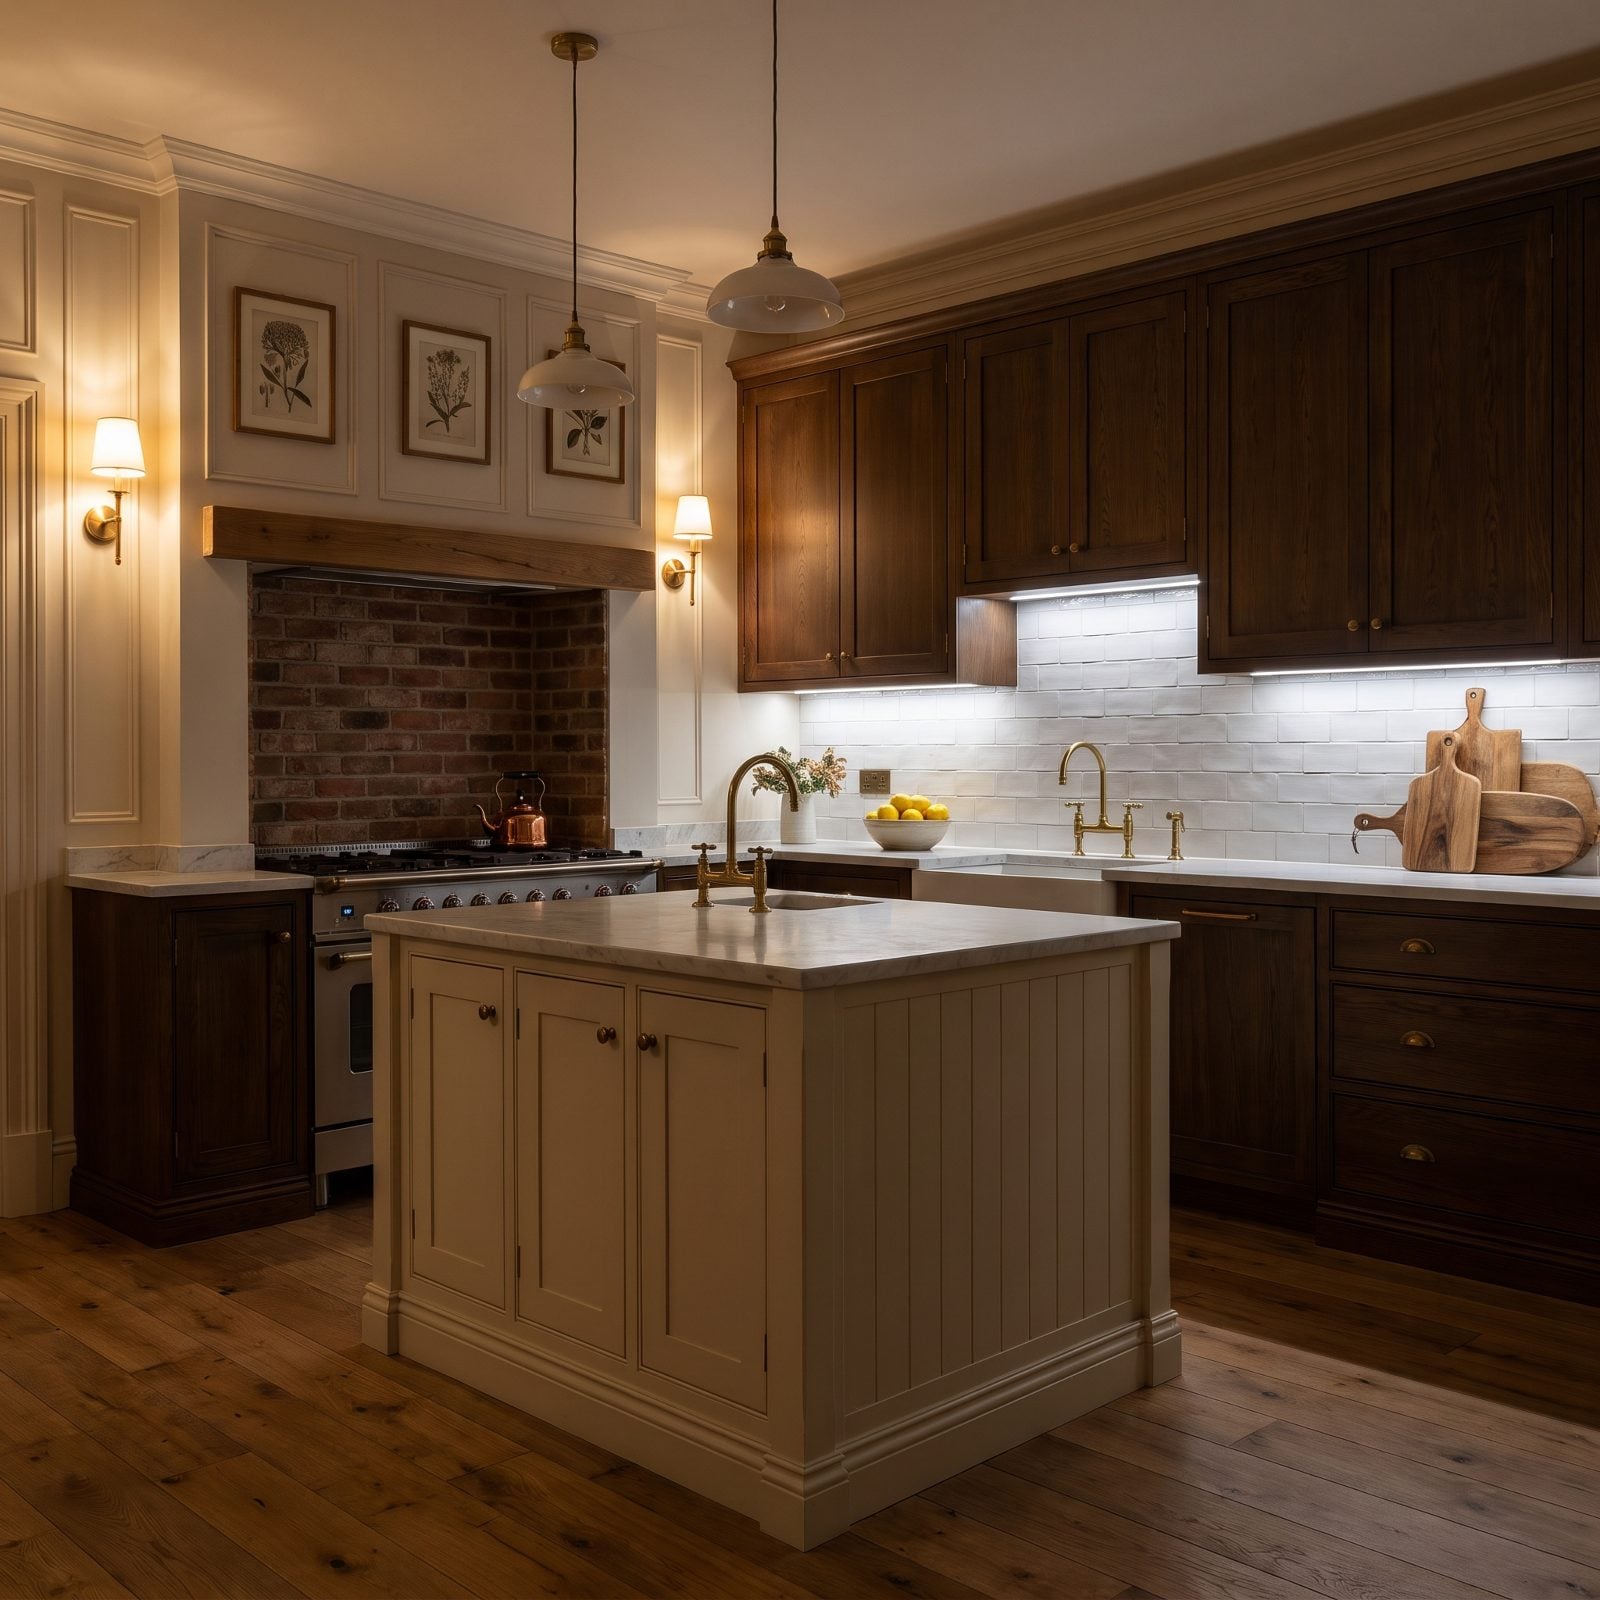
Nobody warns you about this before you pick up the float, so here it is: that pretty little light strip under the cabinets is going to rat you out. Undercabinet LEDs throw light almost parallel to the wall, and parallel light finds every tile sitting a hair proud of its neighbor. Pros call it lippage. In daylight you’d never catch it. Flip the switch at night, though, and each ridge starts casting its own tiny shadow.
Good installers chase this down long before the mud dries, dropping a flashlight flat against the finished wall and sighting down the surface to hunt the shadows out one tile at a time. Glossy or beveled subway tile? That grazing light gets twice as mean. So the flatter your wall and the better your back-buttering, the less you’ll be cursing at midnight.