🔥 Would you like to save this?
Paint peeling off a cabinet door six weeks after the job is finished is a special kind of heartbreak. You spent the money, surrendered the kitchen to drop cloths and takeout containers, and now the corner by the stove looks chewed. Painting cabinets is still one of the least expensive ways to transform an entire kitchen. It is also astonishingly easy to get almost right.
The good news is that most failures aren’t mysterious. They come from a familiar handful of mistakes involving the surface underneath, the products you put on top, the order of operations and the dangerous moment when impatience starts whispering that the paint is probably dry enough. Here are 36 ways a cabinet-painting project can go sideways—and how to keep yours from joining them.
In order to come up with the very specific design ideas, we create most designs with the assistance of state-of-the-art AI interior design software. Also, assume links that take you off the site are affiliate links such as links to Amazon. this means we may earn a commission if you buy something.
36. Painting Cabinets That Should Have Been Replaced Instead
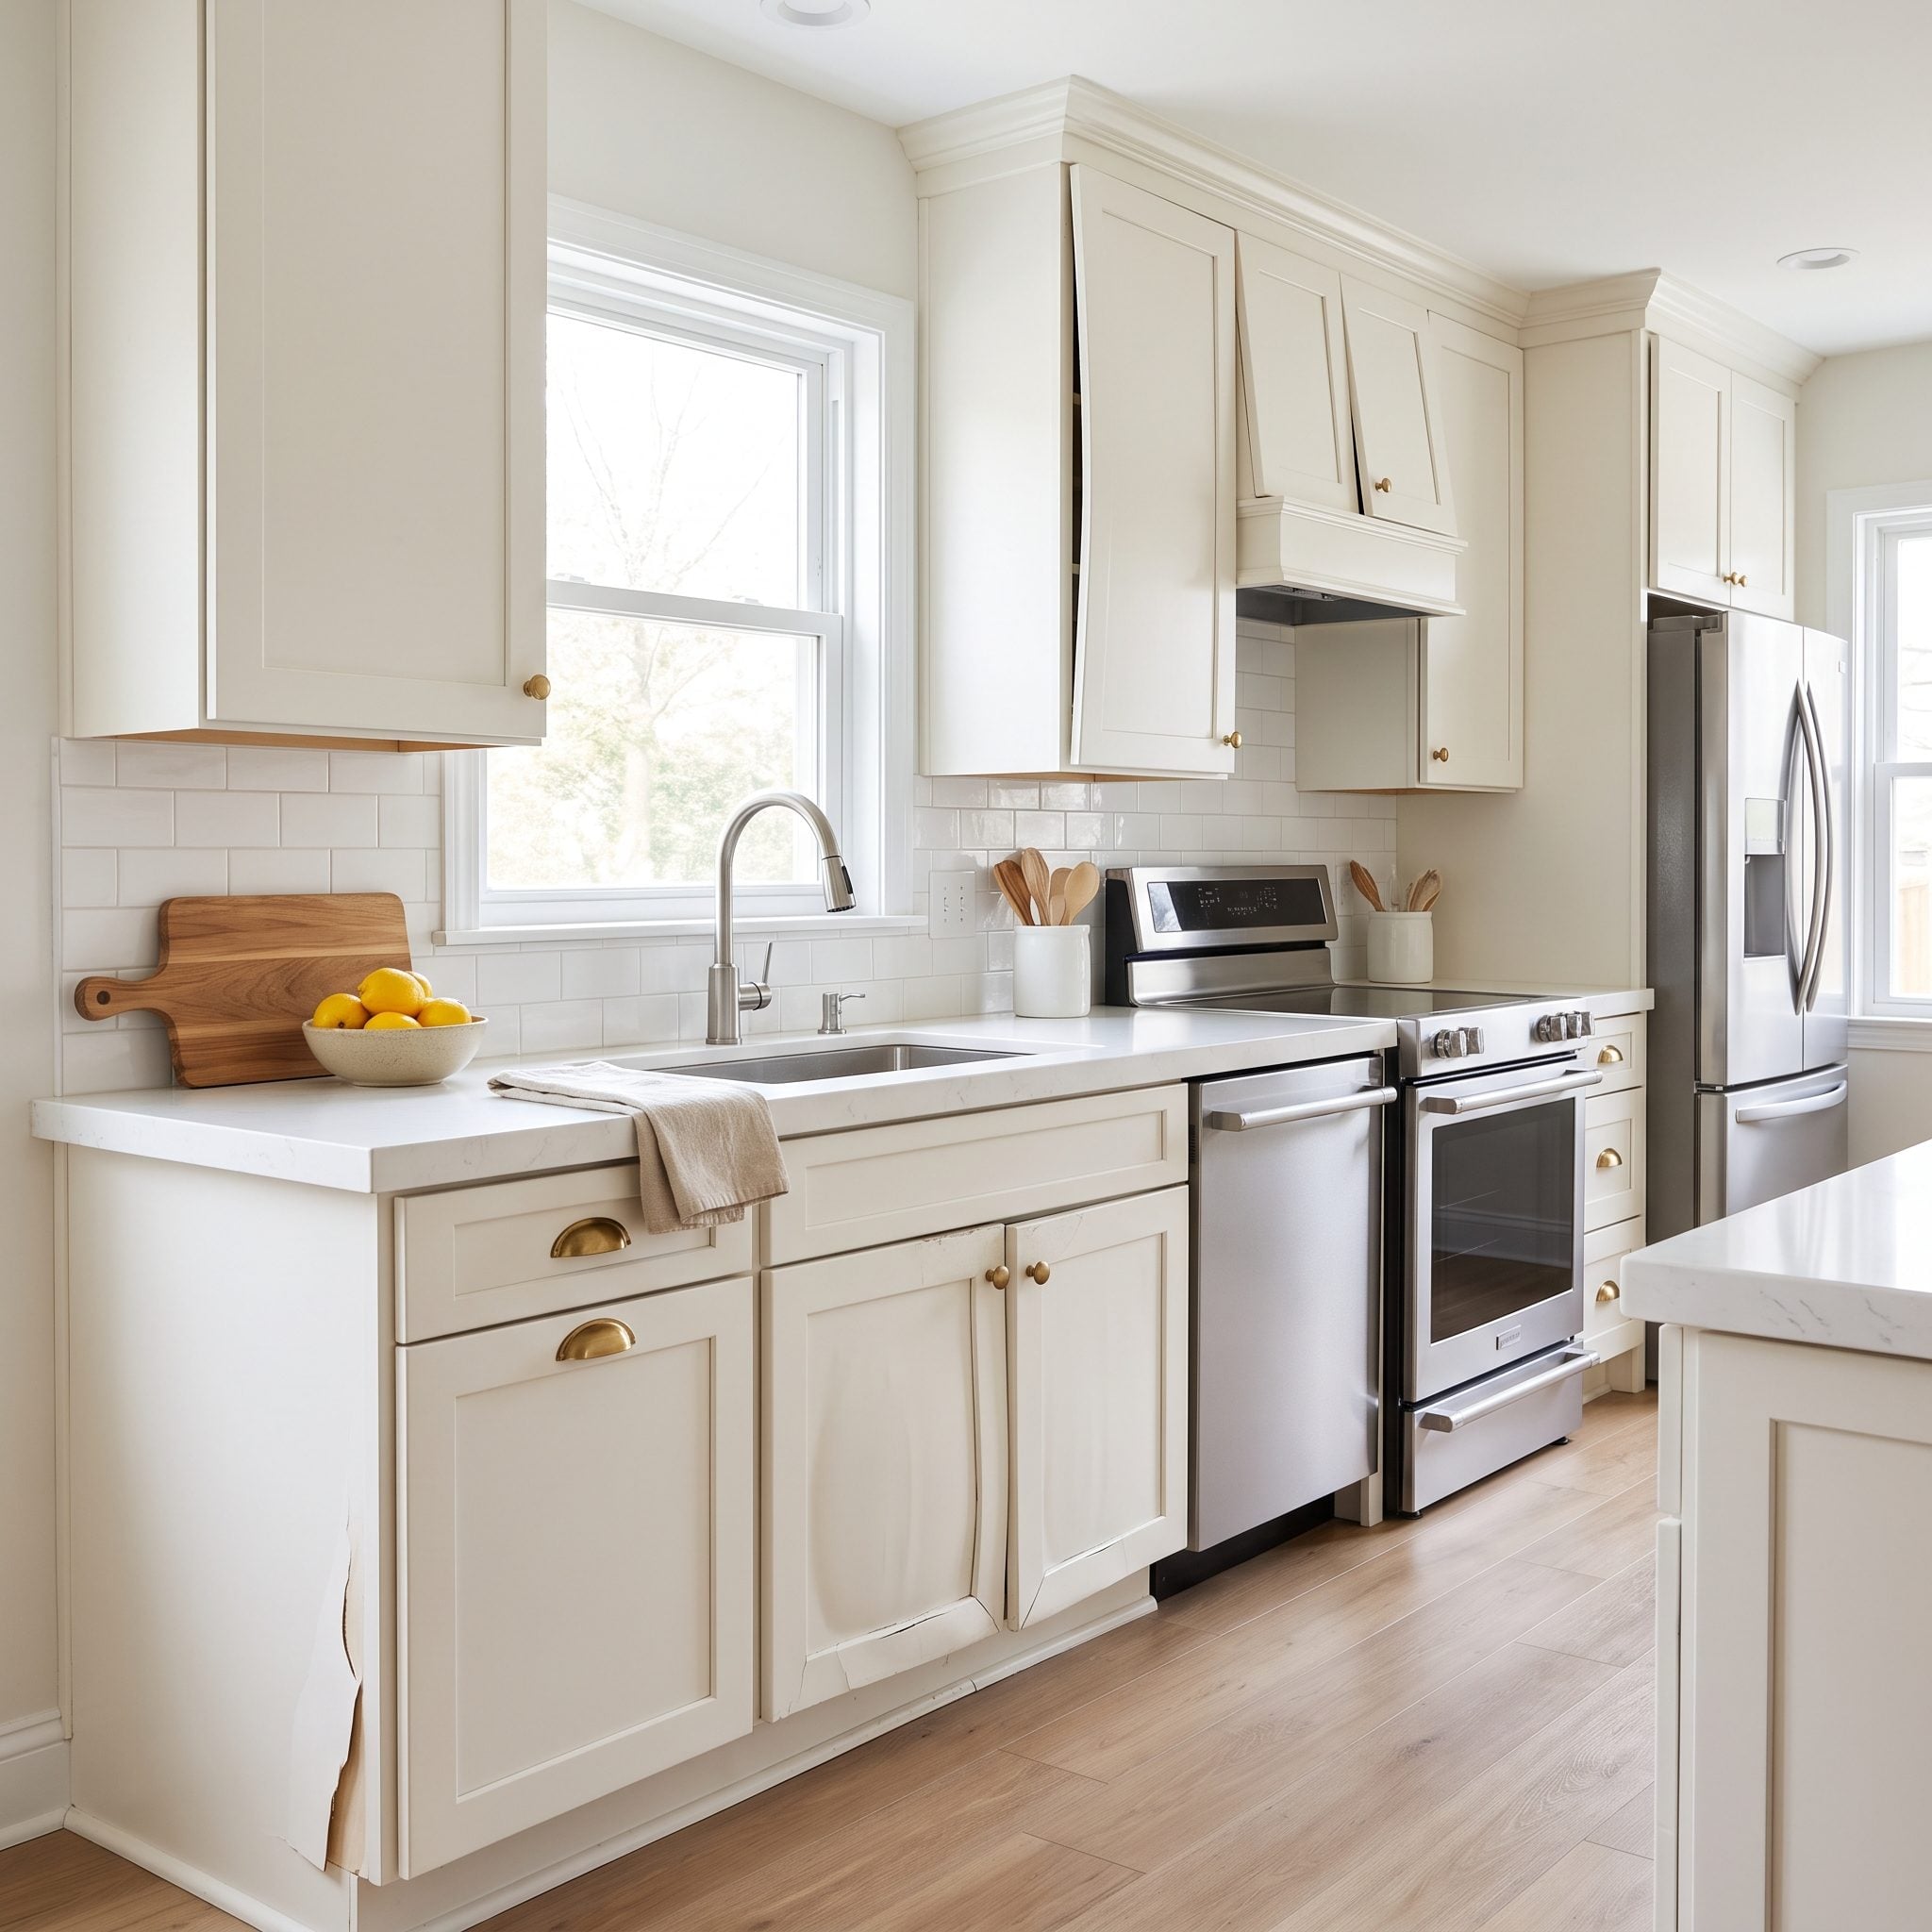
Paint fixes color. It does not repair water damage. A swollen sink-base door, a delaminating corner or a panel that has warped out of square is already telling you that the problem goes deeper than the finish.
Fresh paint may hide the damage for a moment, but the puffed MDF still swells, the loose layer keeps lifting and the warped door still refuses to close flush. At that point you’re decorating a structural problem.
If several doors are swollen, separating at the joints or badly distorted, price replacement fronts—or replacement cabinetry if the damage extends into the boxes—before buying another gallon. A good muted kitchen design still needs sound cabinetry underneath the color.
35. Skipping an Adhesion Test
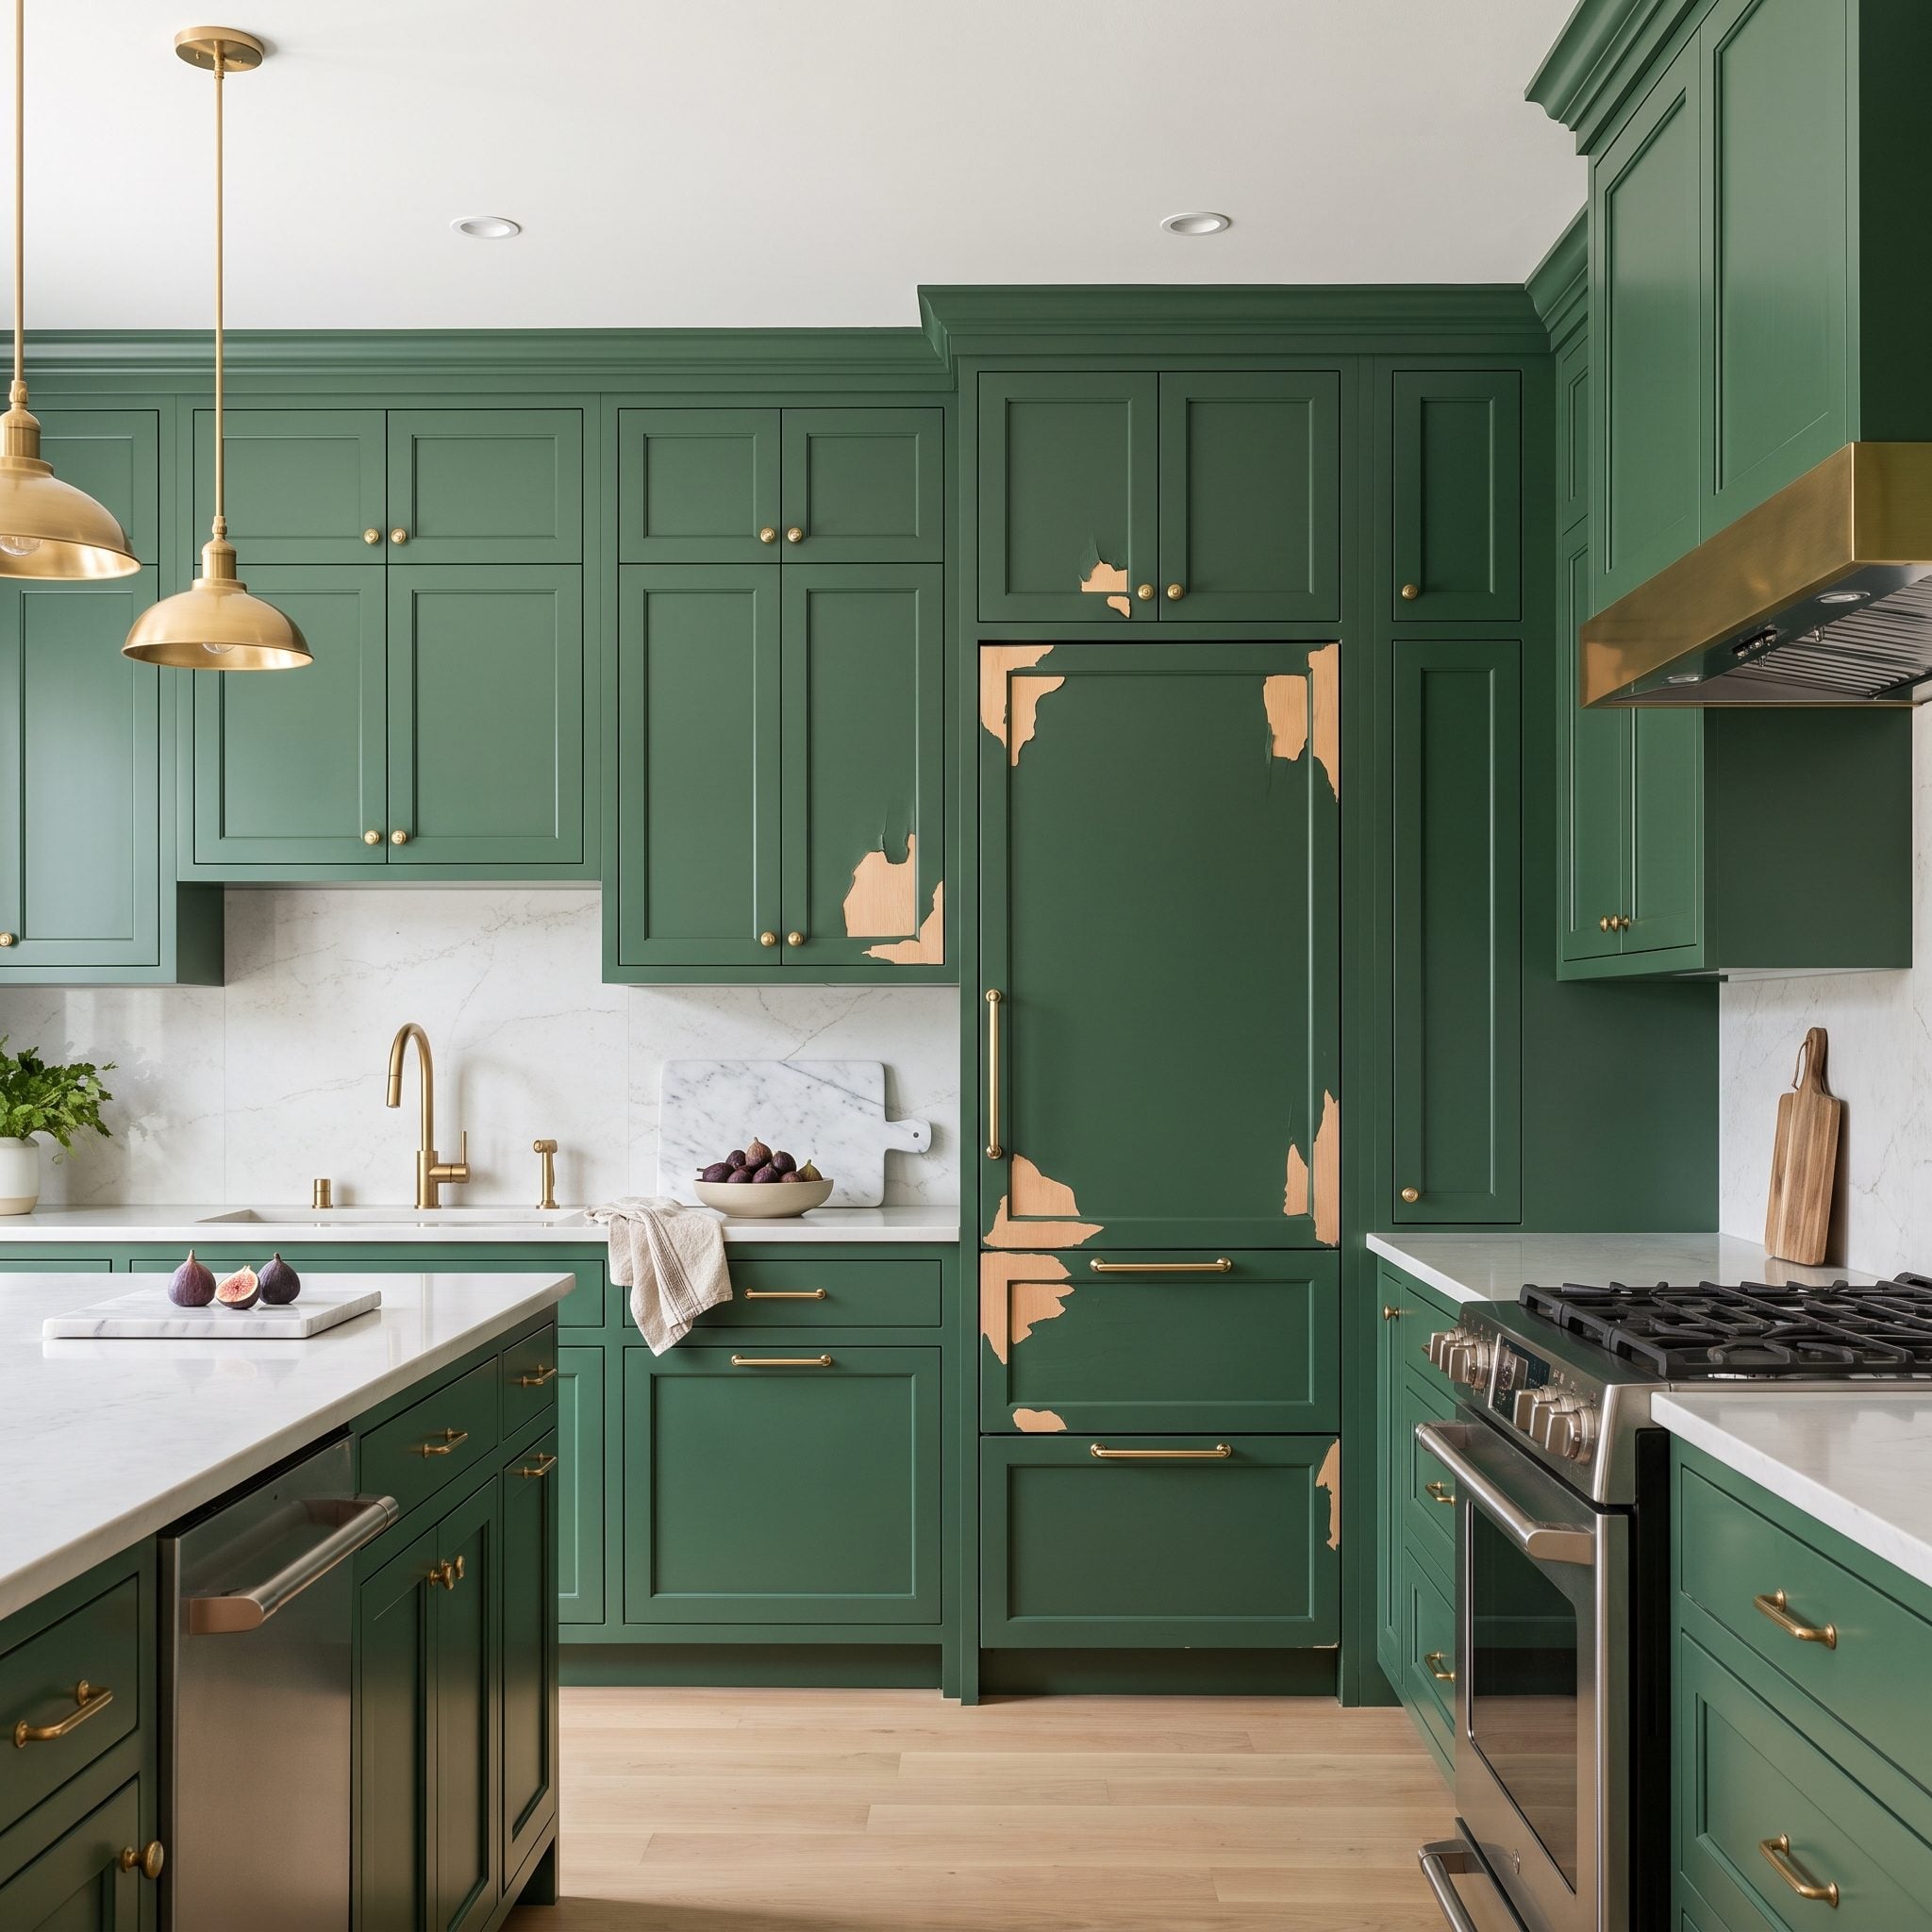
This is the cruelest way to lose a cabinet project: do the entire kitchen on faith and discover afterward that the coating system never really bonded.
A simple DIY adhesion check can expose trouble before forty doors are involved. Prepare and coat a small hidden area—or a spare door if you have one—exactly as planned. Allow it to cure according to the product instructions, then test the finish cautiously with tape or light scratching in an inconspicuous spot.
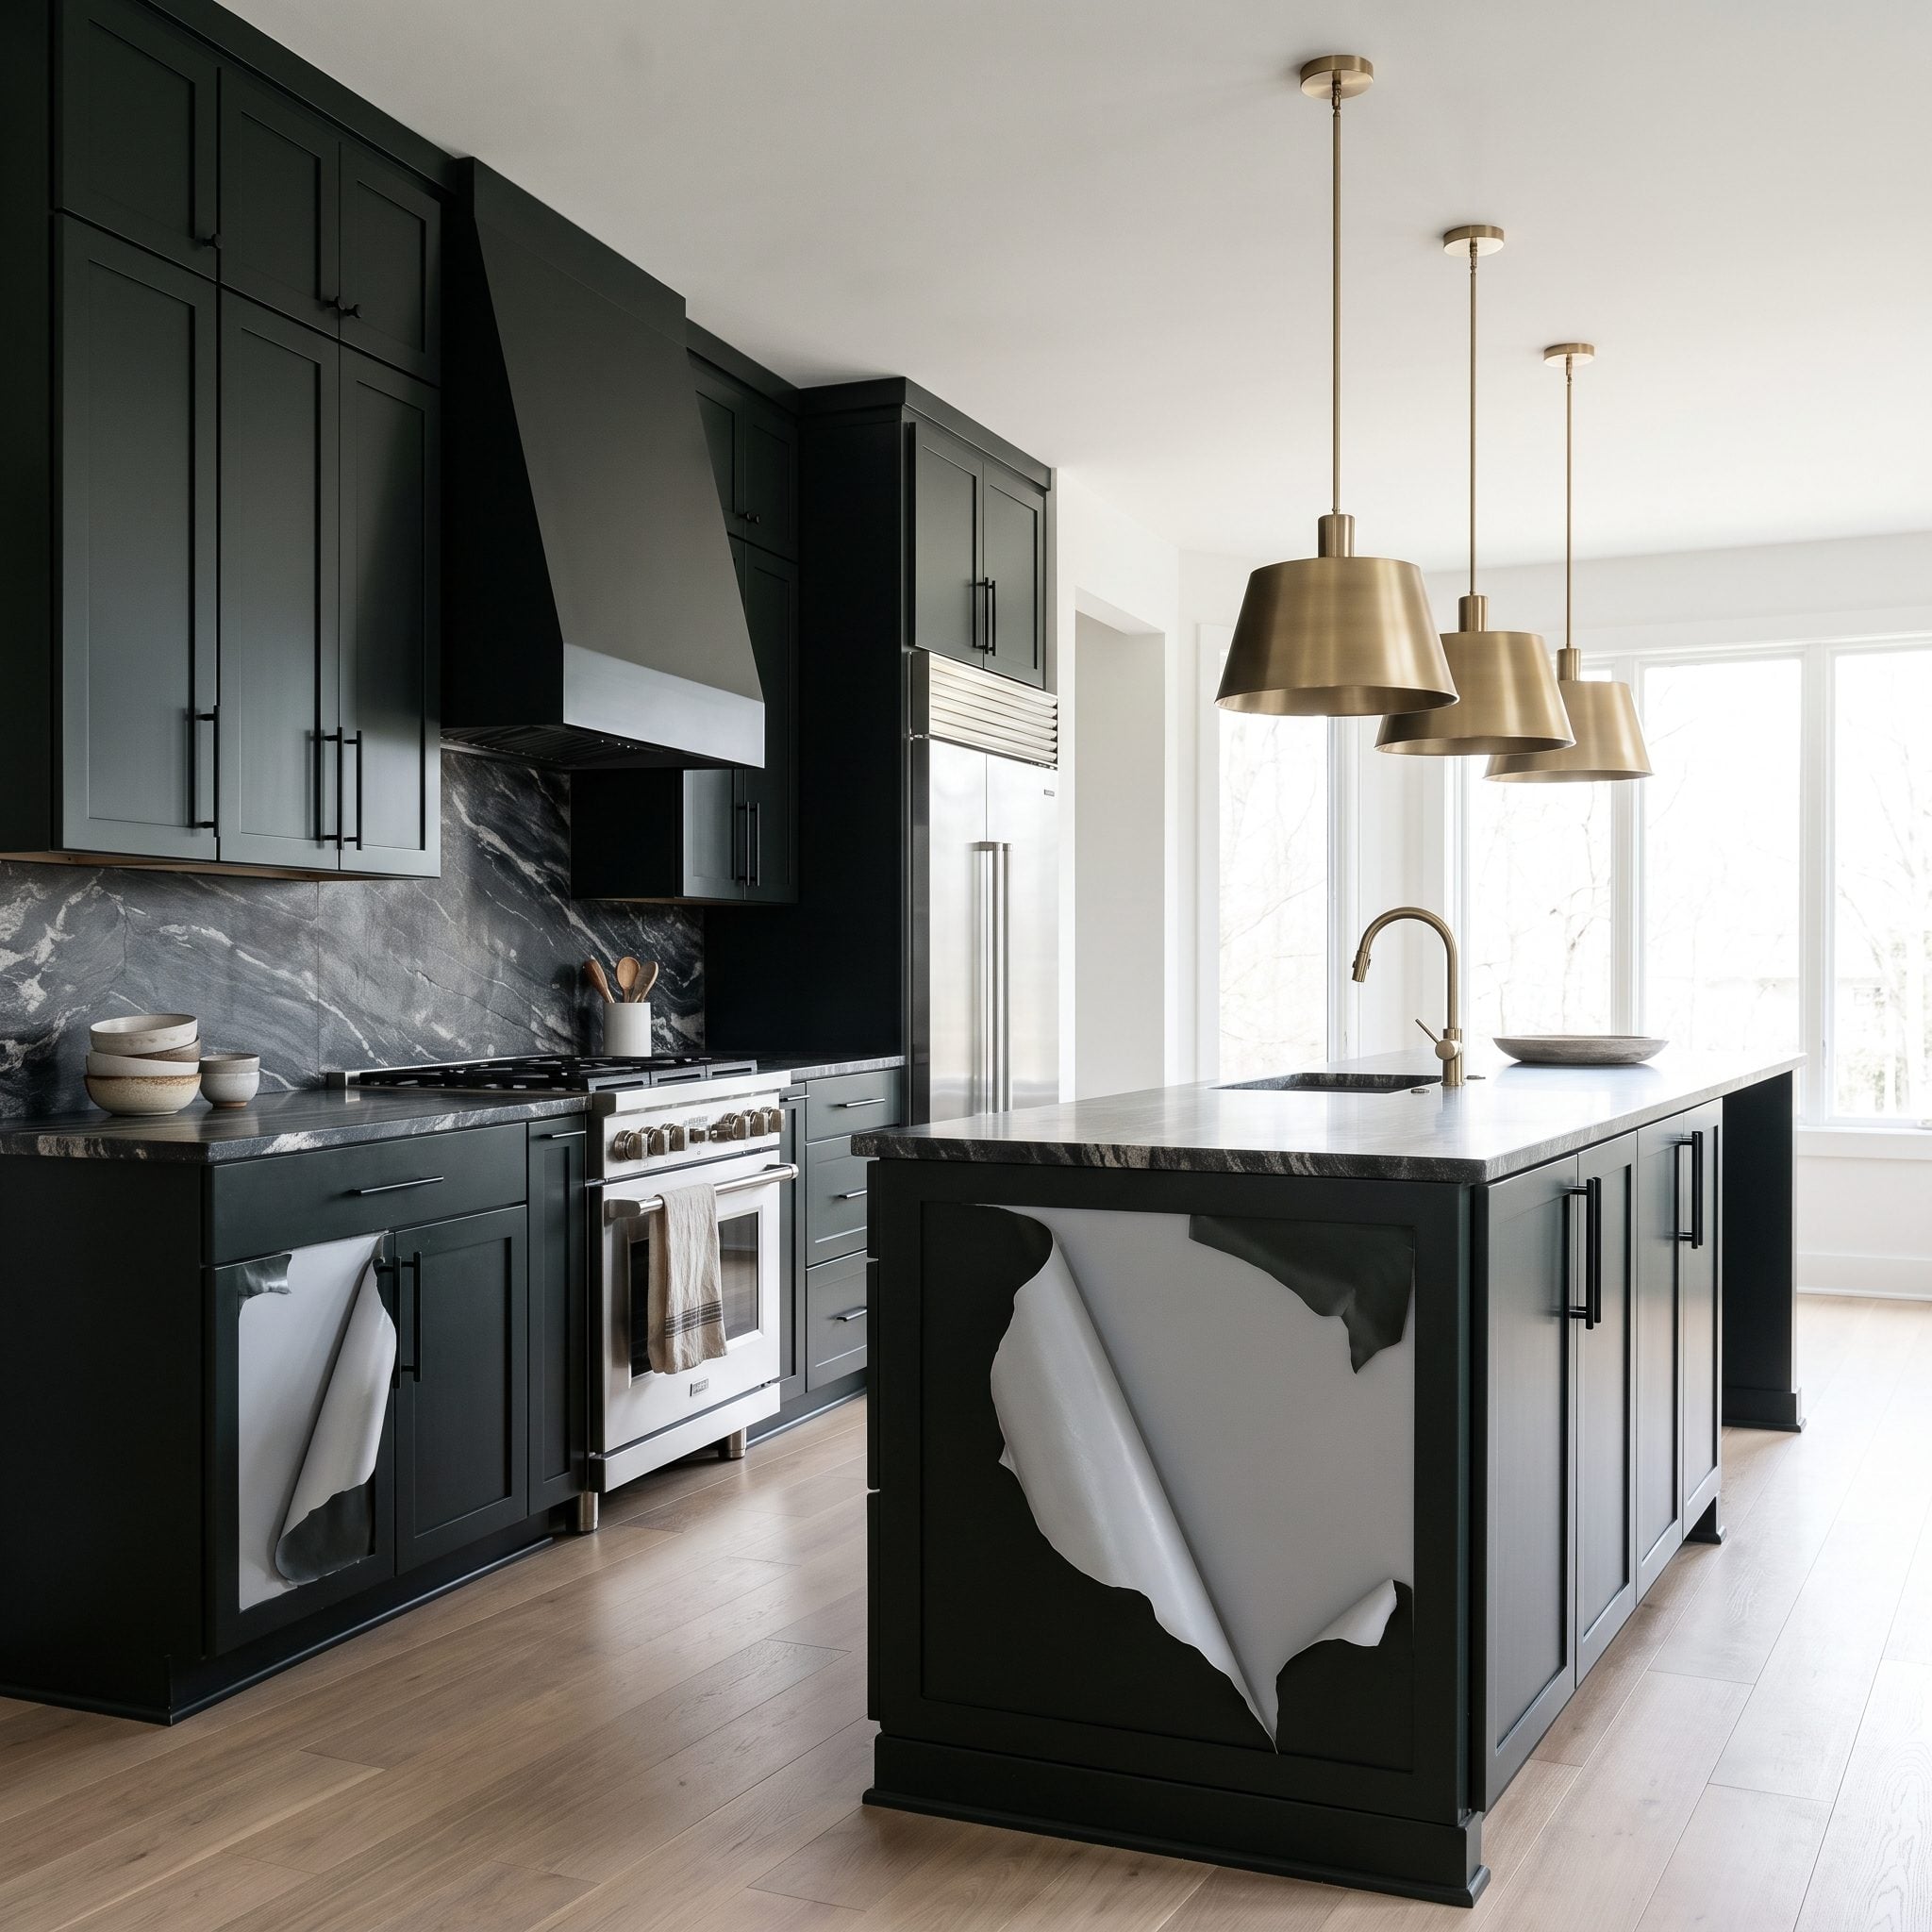
If the coating lifts easily, stop. Something in the cleaning, prep, primer or compatibility needs changing. Better to learn that on a few square inches than after an entire forest-green kitchen begins shedding at the corners.
Test a small patch before you gamble the whole kitchen.
The saddest part is how good this green could have looked, the kind of saturated color that makes a small kitchen makeover feel deliberate instead of tentative. A little testing up front can save a very expensive lesson later.
34. Choosing a Color Without Testing It in the Actual Kitchen
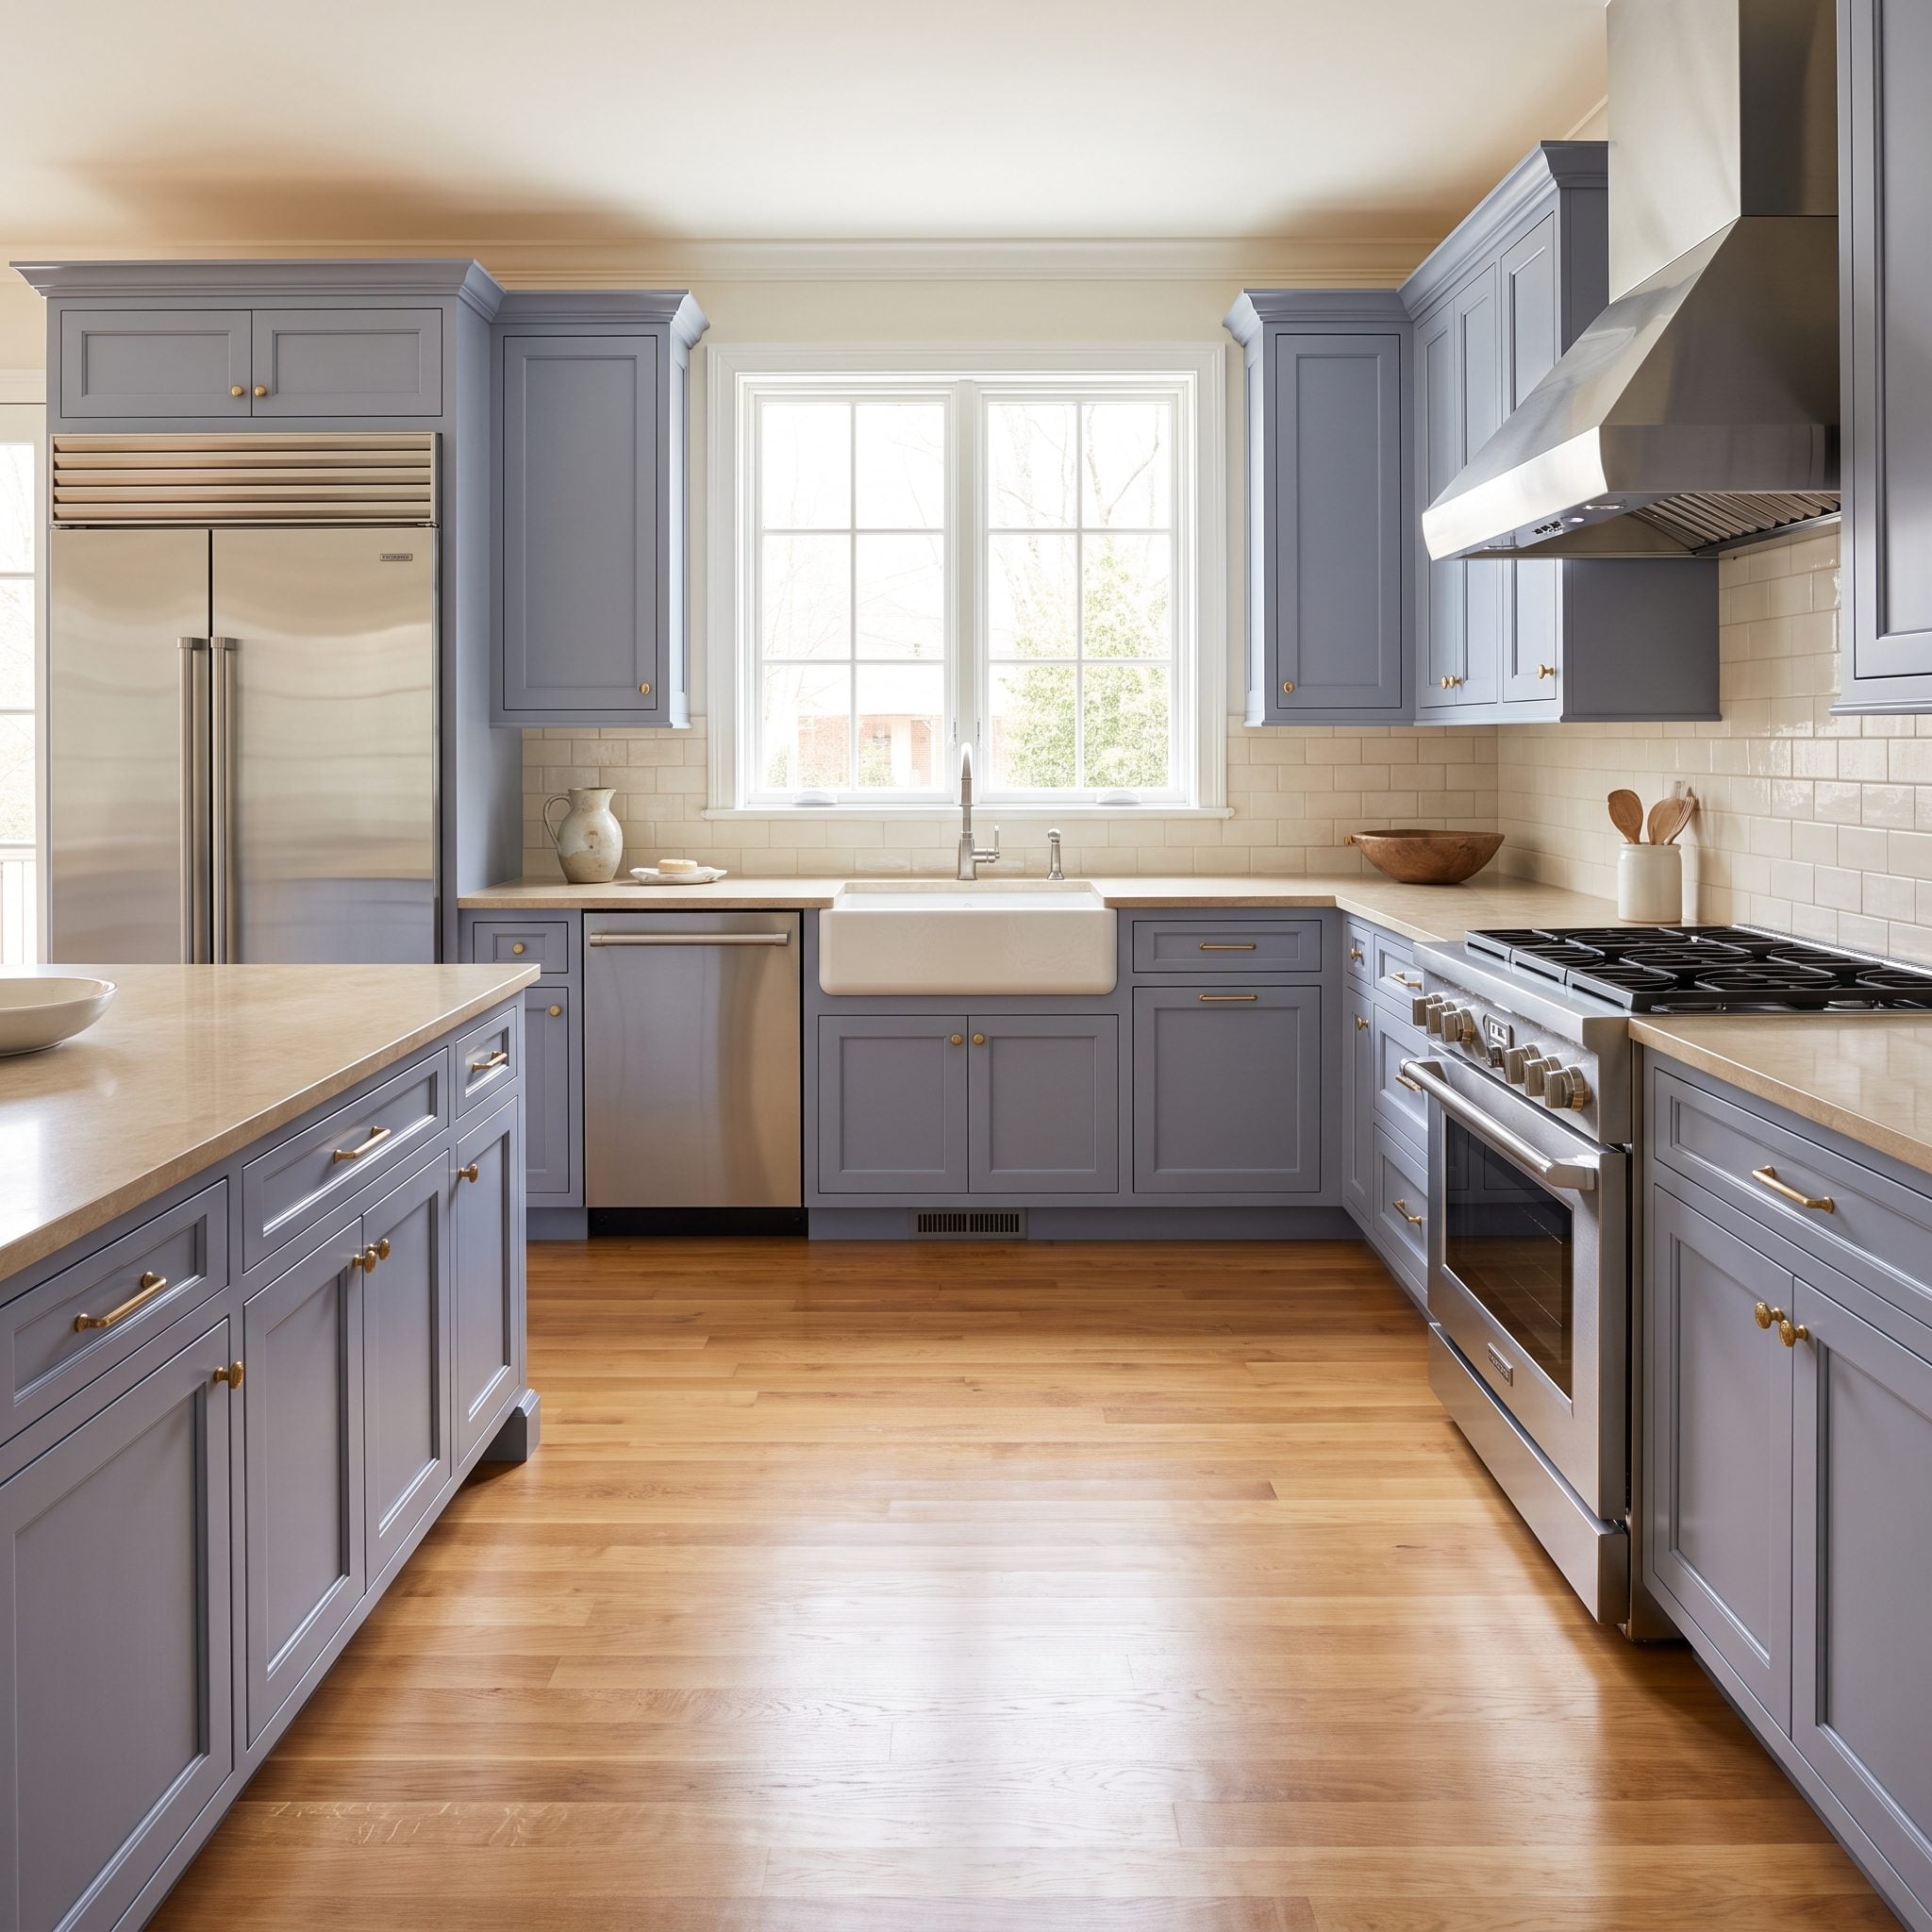
A paint chip is not your kitchen. It lived under store lighting, measures a few inches across and has never met your countertop, flooring or 8 p.m. pendant bulbs.
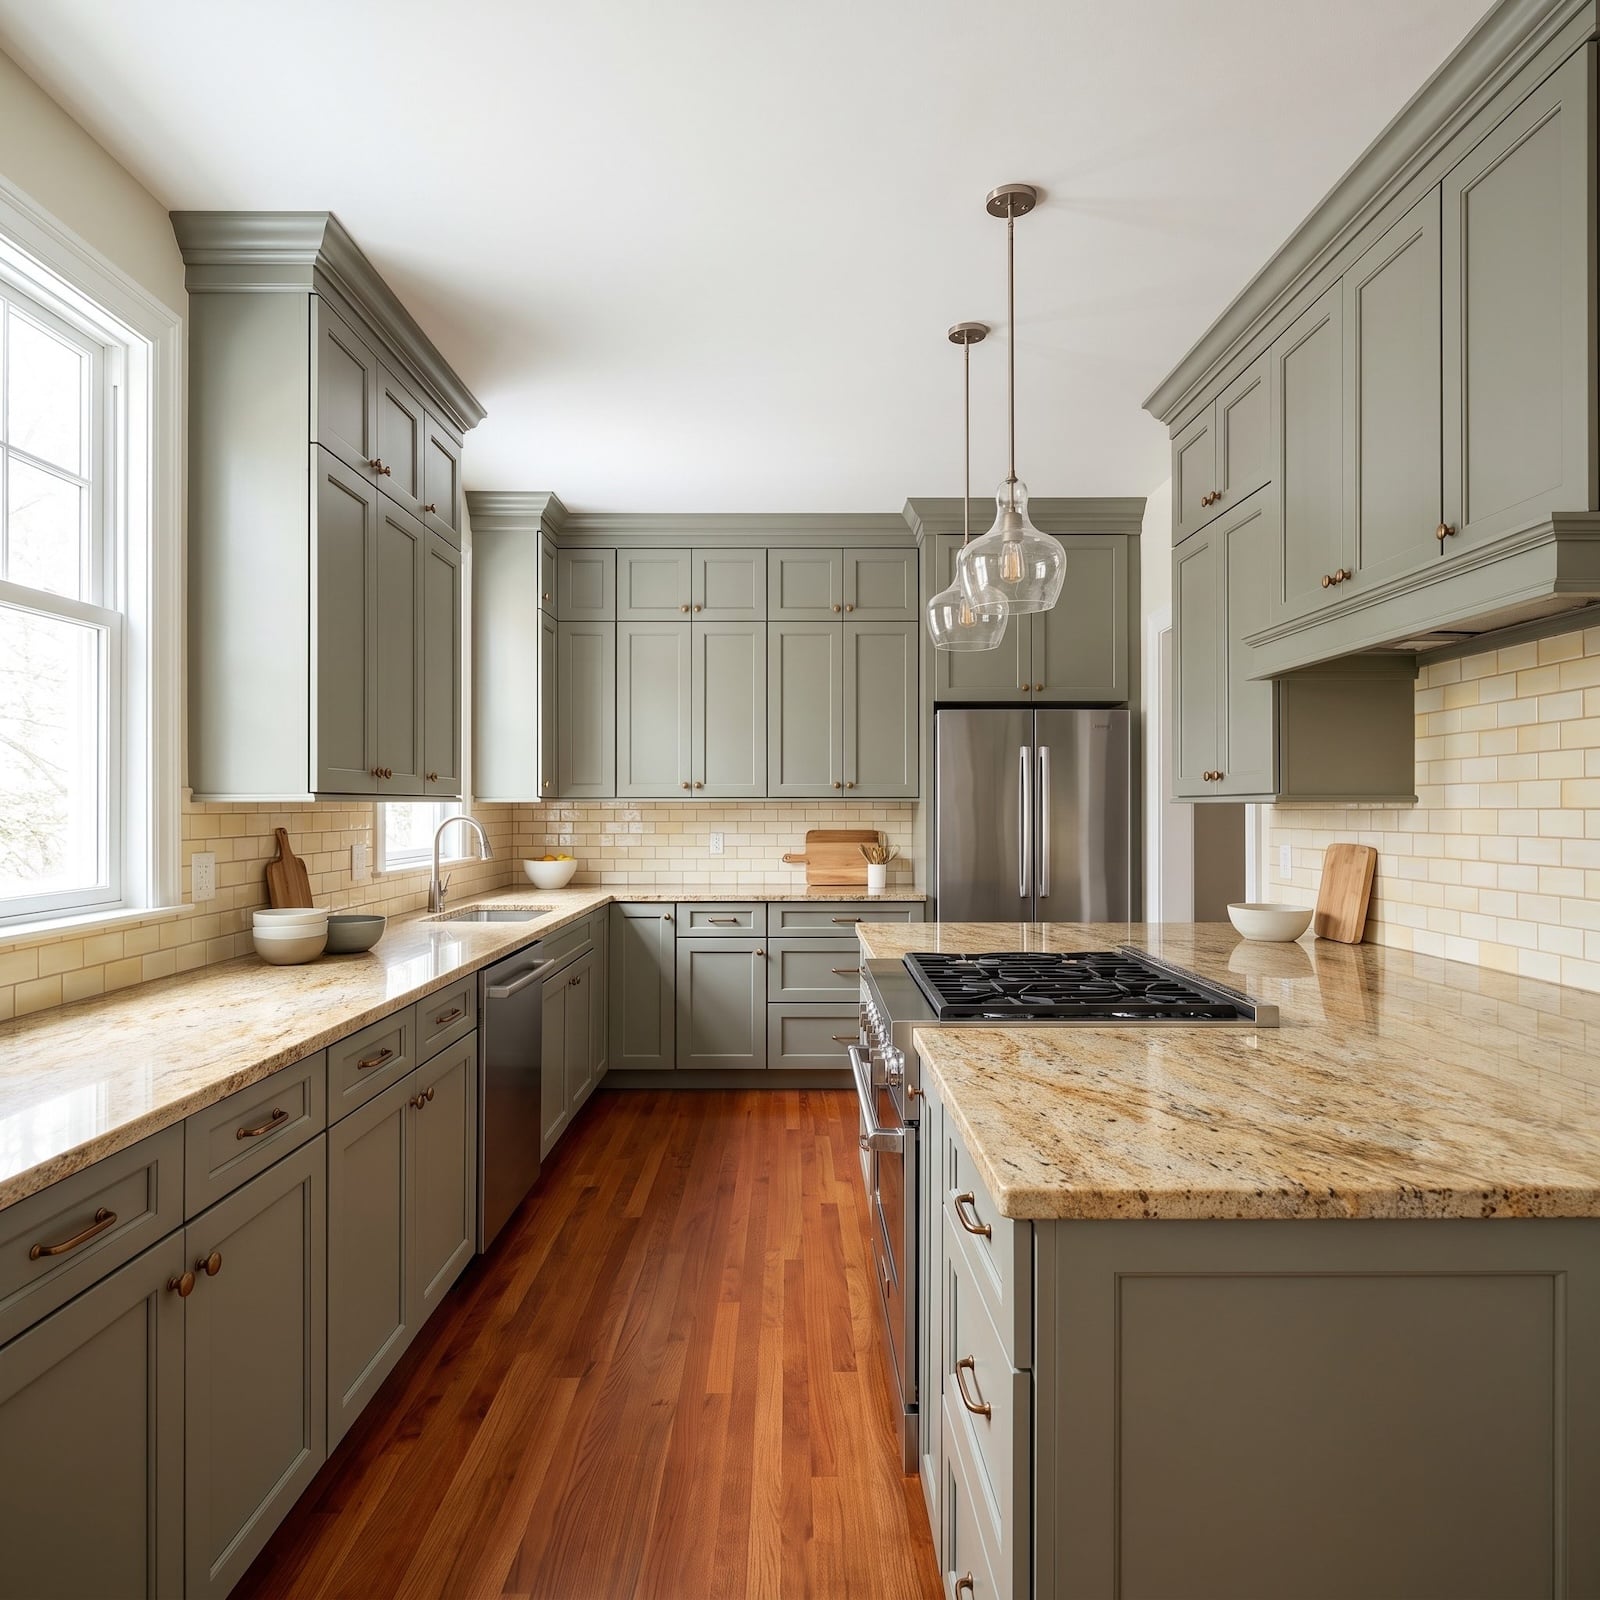
That sophisticated cool gray can change dramatically beside cream tile, golden wood or red-brown flooring. Paint a large sample board and move it around the room for a few days. Look at it in morning light, afternoon shadow and whatever bulbs you actually use at night.
33. Painting Over Years of Kitchen Grease
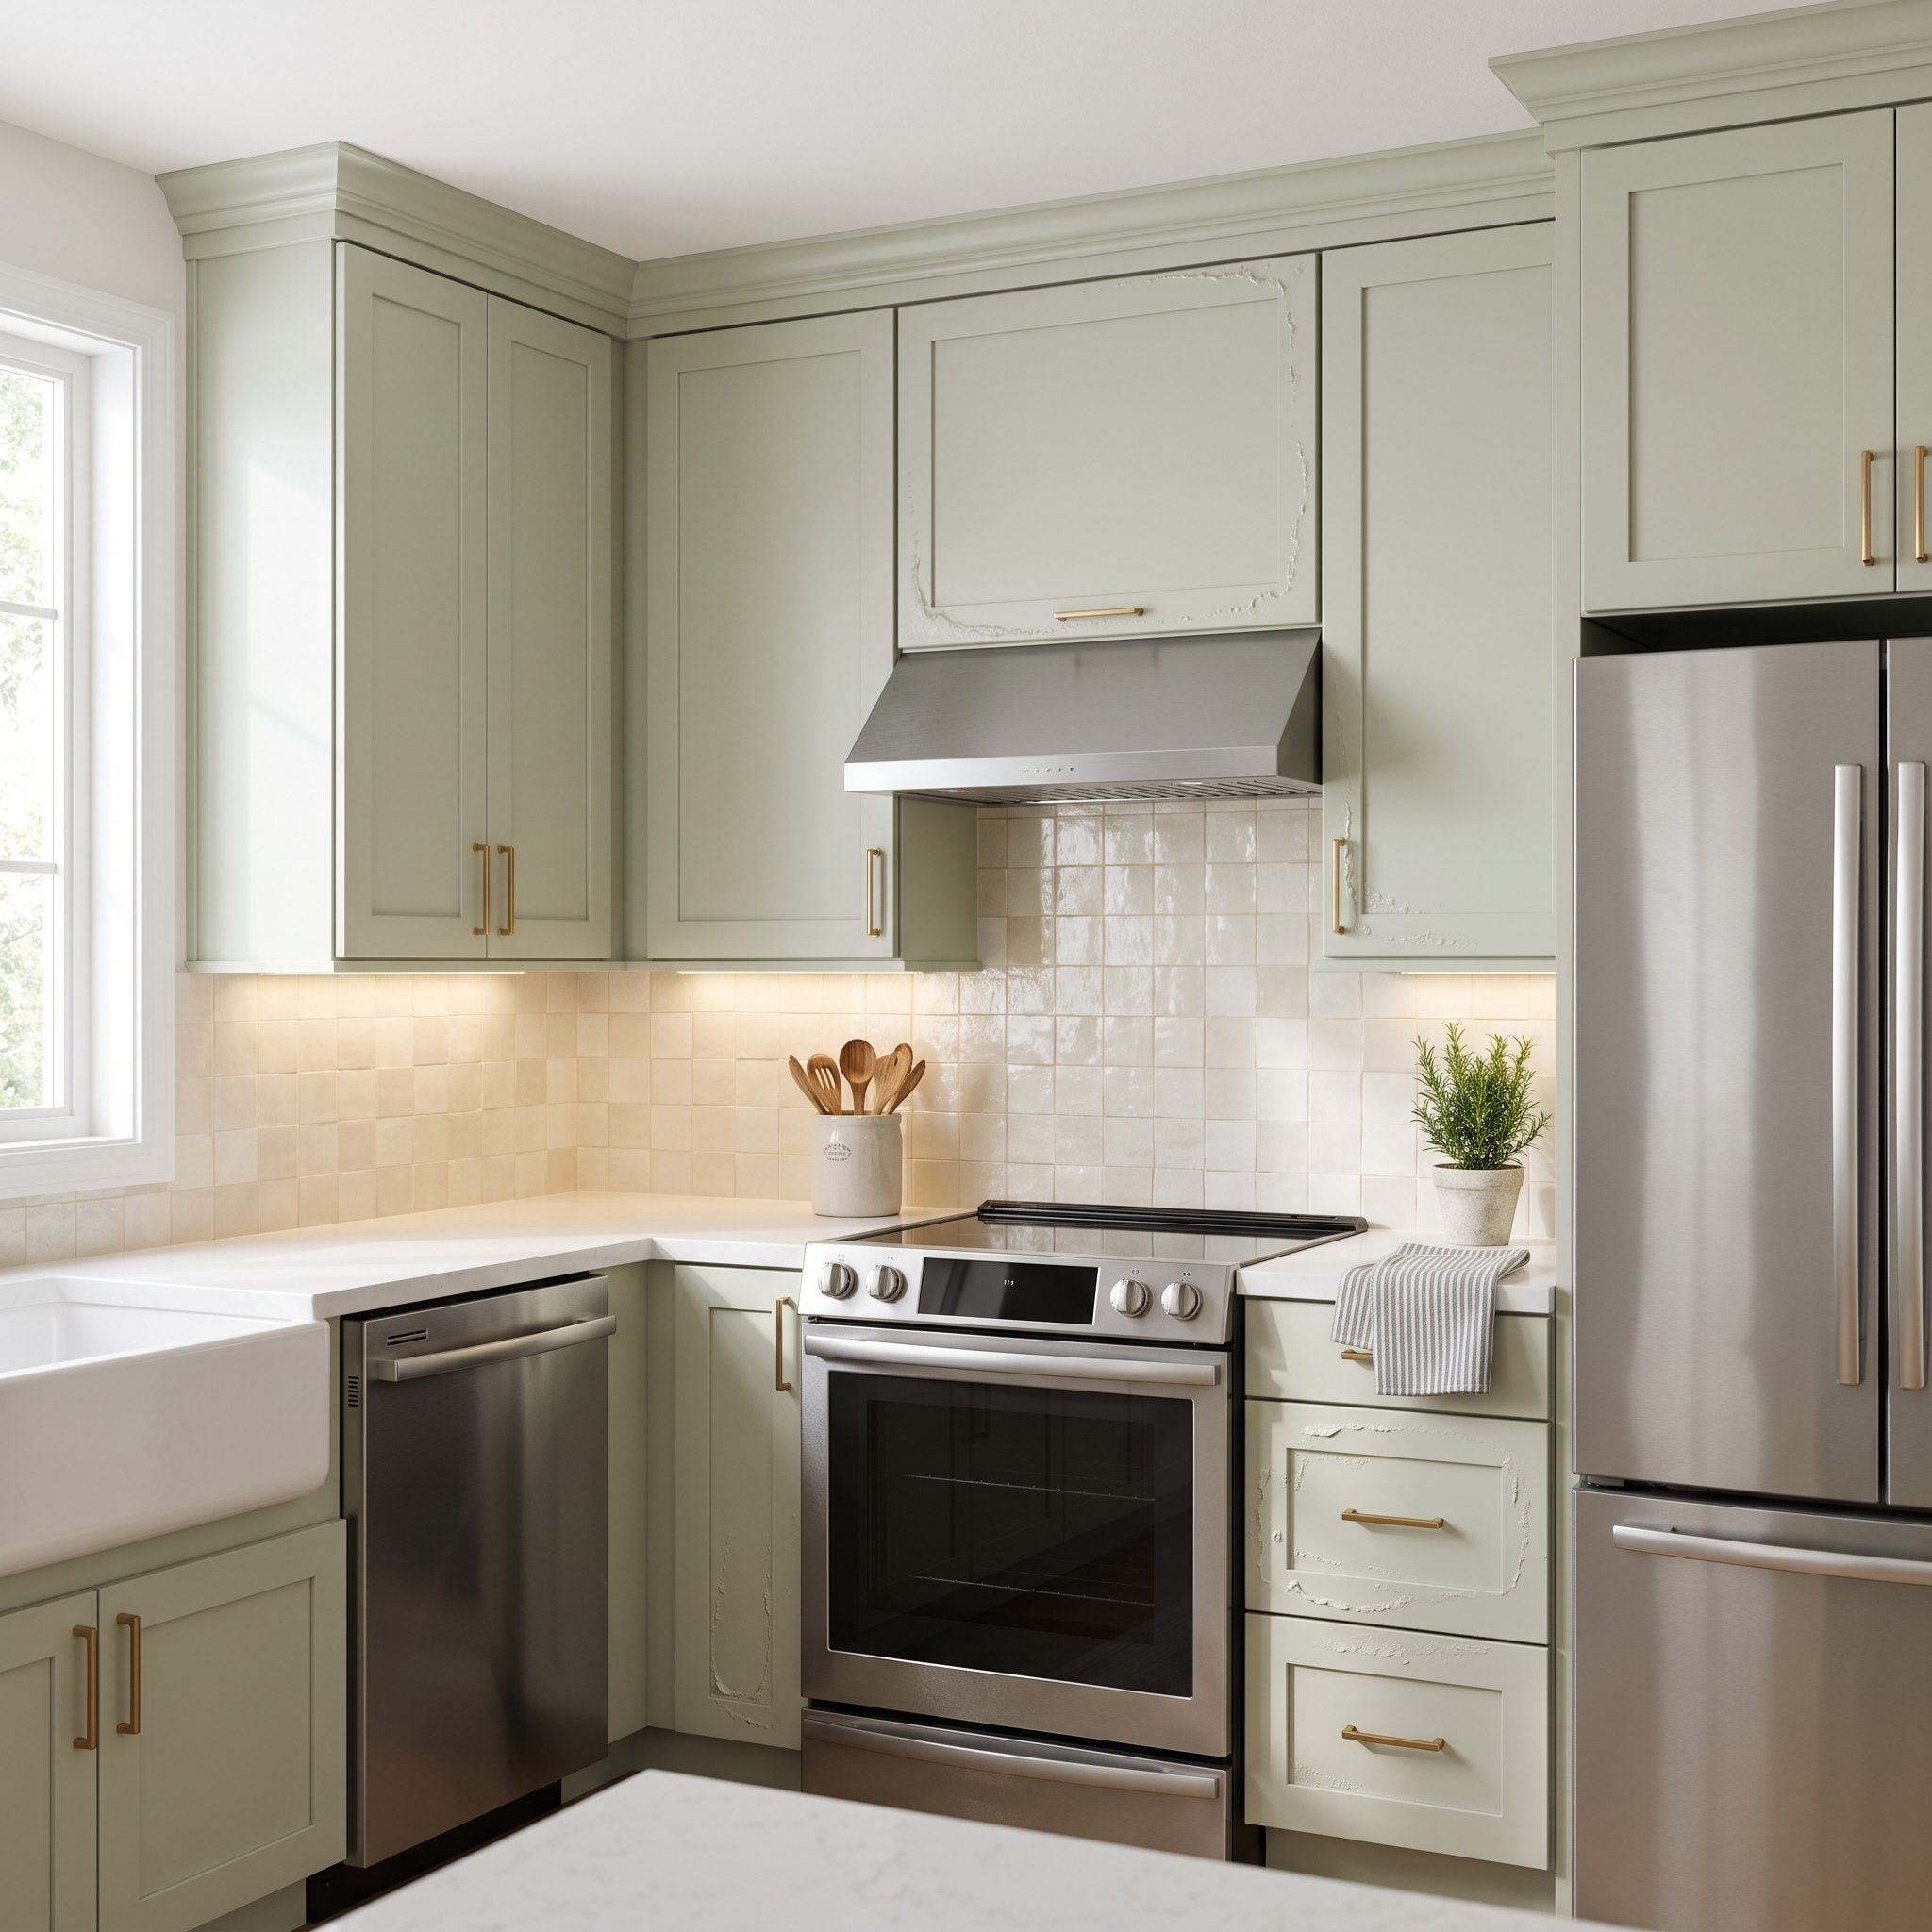
Kitchen grease rarely announces itself. It drifts off pans, settles around handles and builds slowly on the doors nearest the range until the cabinet looks clean but behaves like it has been waxed.
Paint applied over that film may never establish a reliable bond. Failure usually appears first where contamination was heaviest: beside the cooktop, underneath upper cabinets and around the pulls everyone touches.
Use a cleaner or degreaser approved for the surface and coating system you plan to use, rinse when the product requires it and repeat the cleaning wherever residue remains. The glamorous part of cabinet painting begins much later.
32. Cleaning With the Wrong Product and Leaving Residue Behind
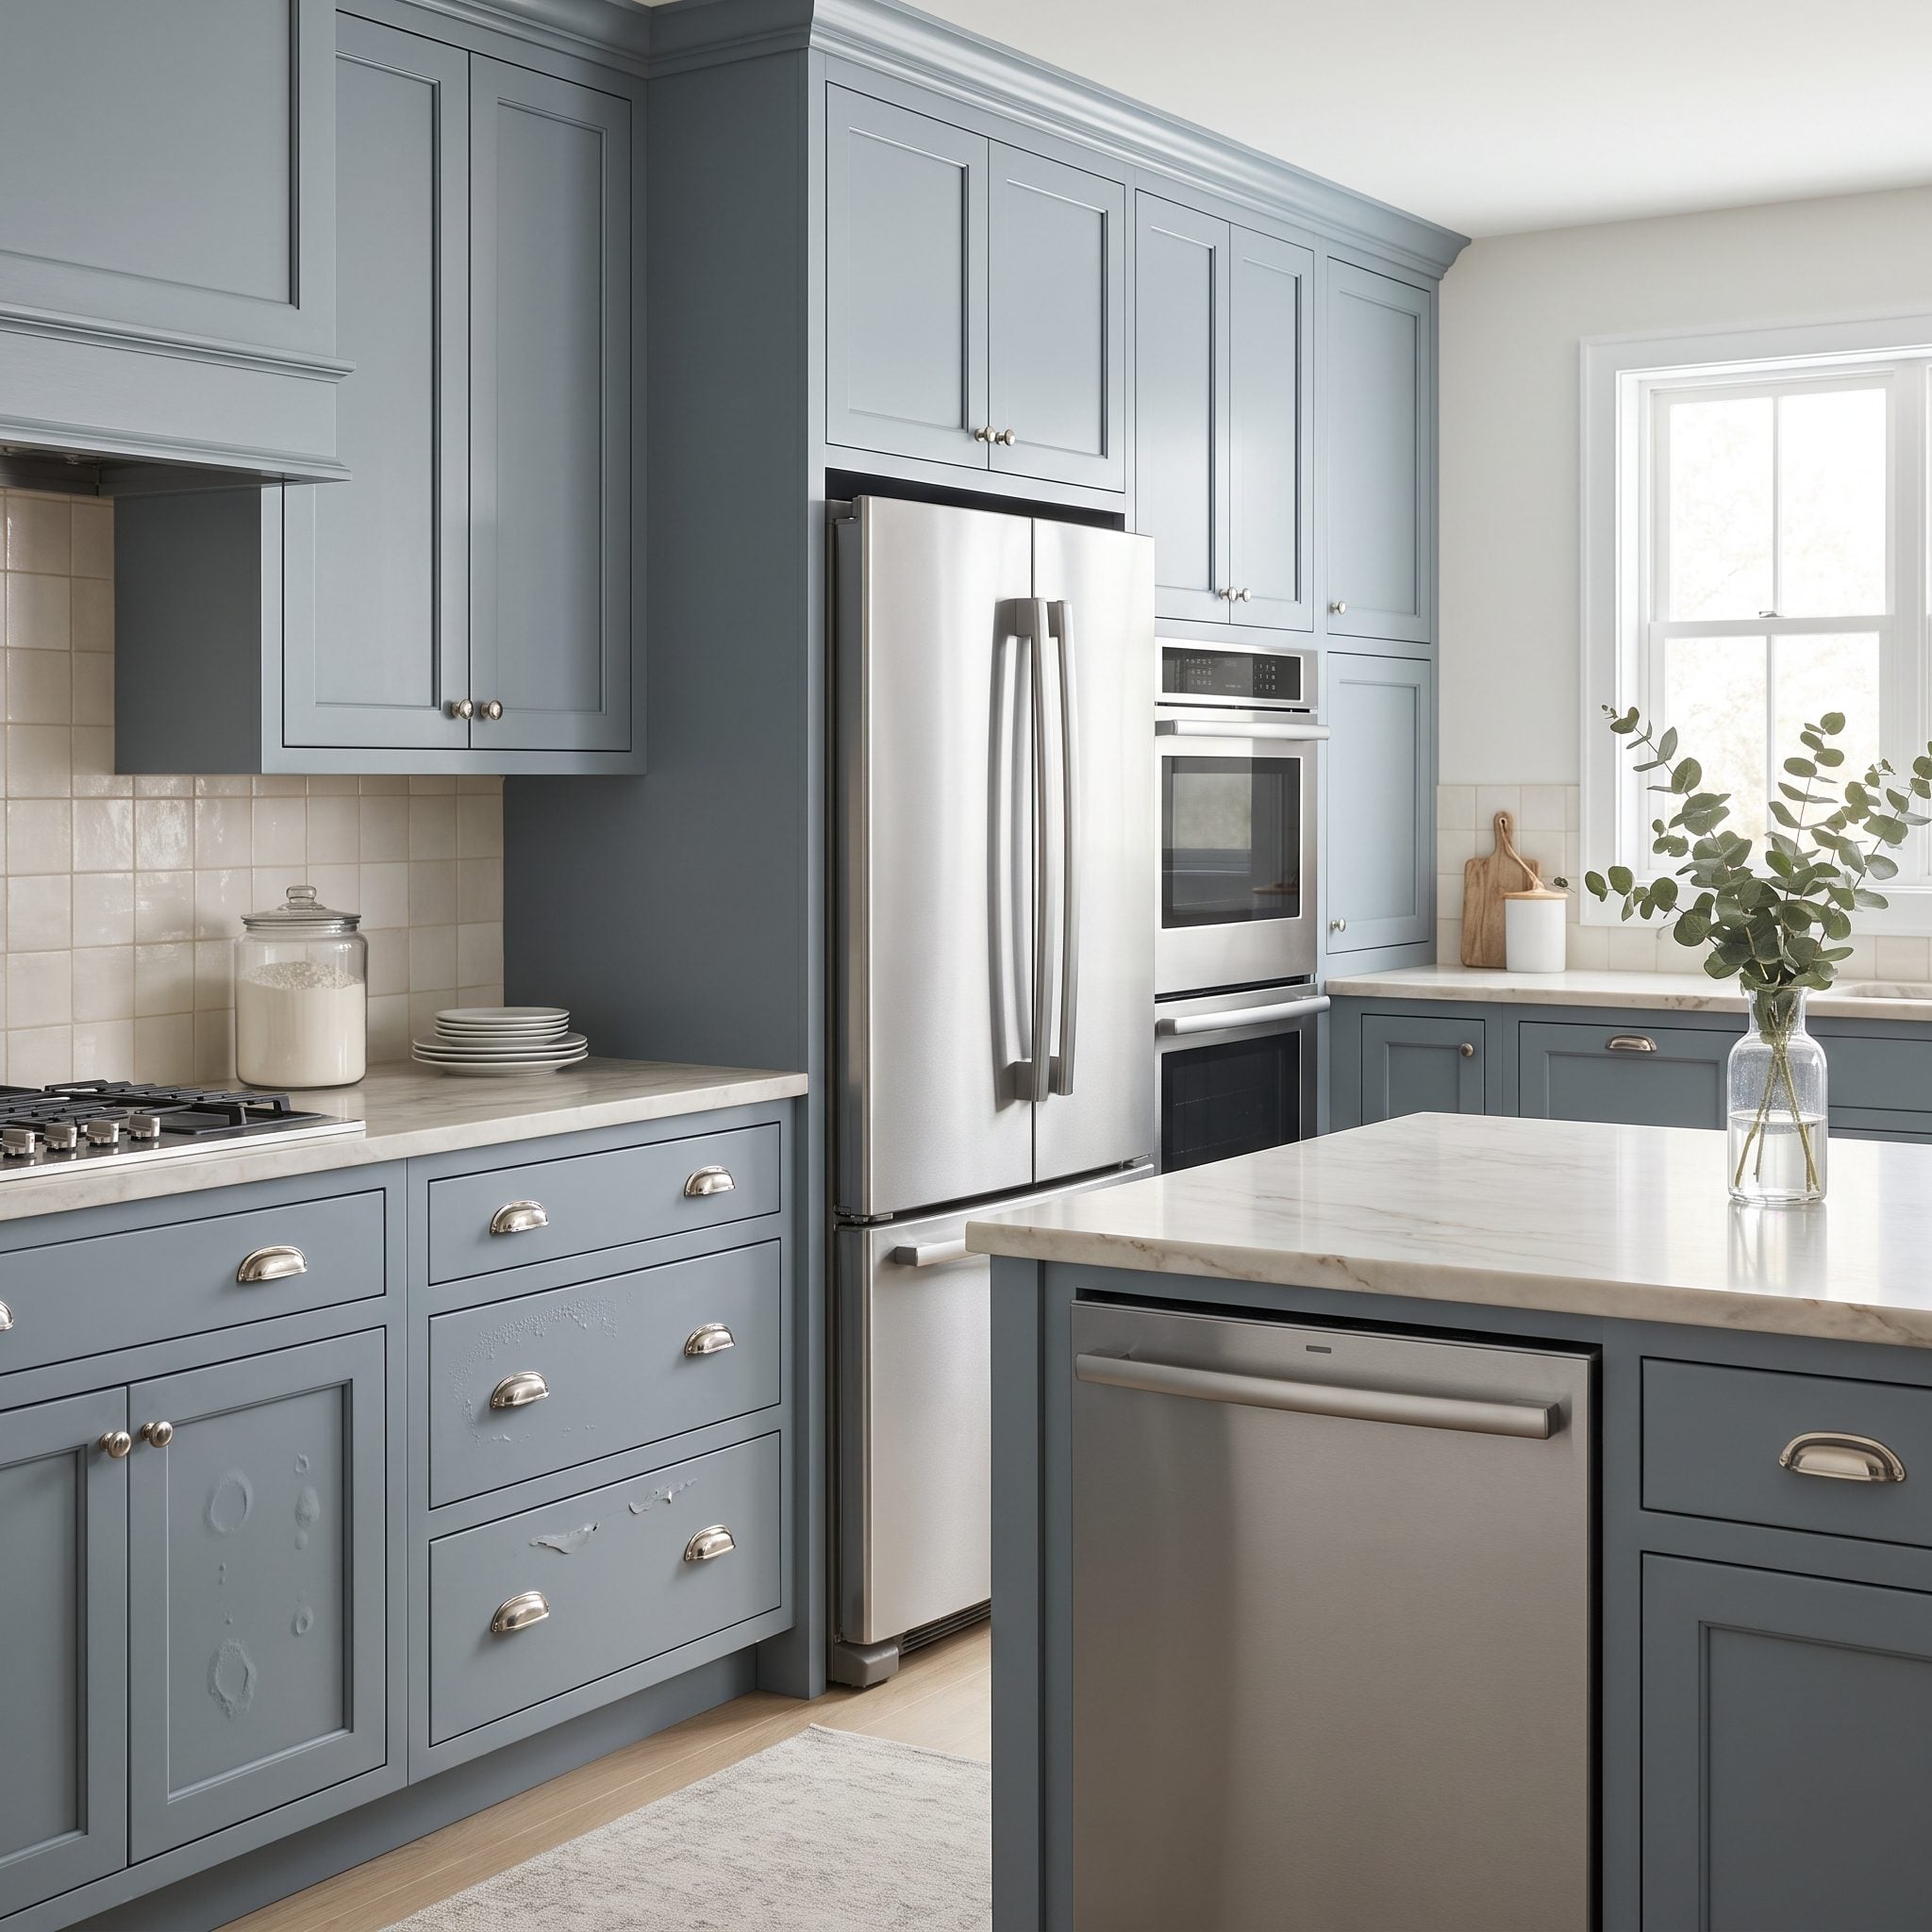
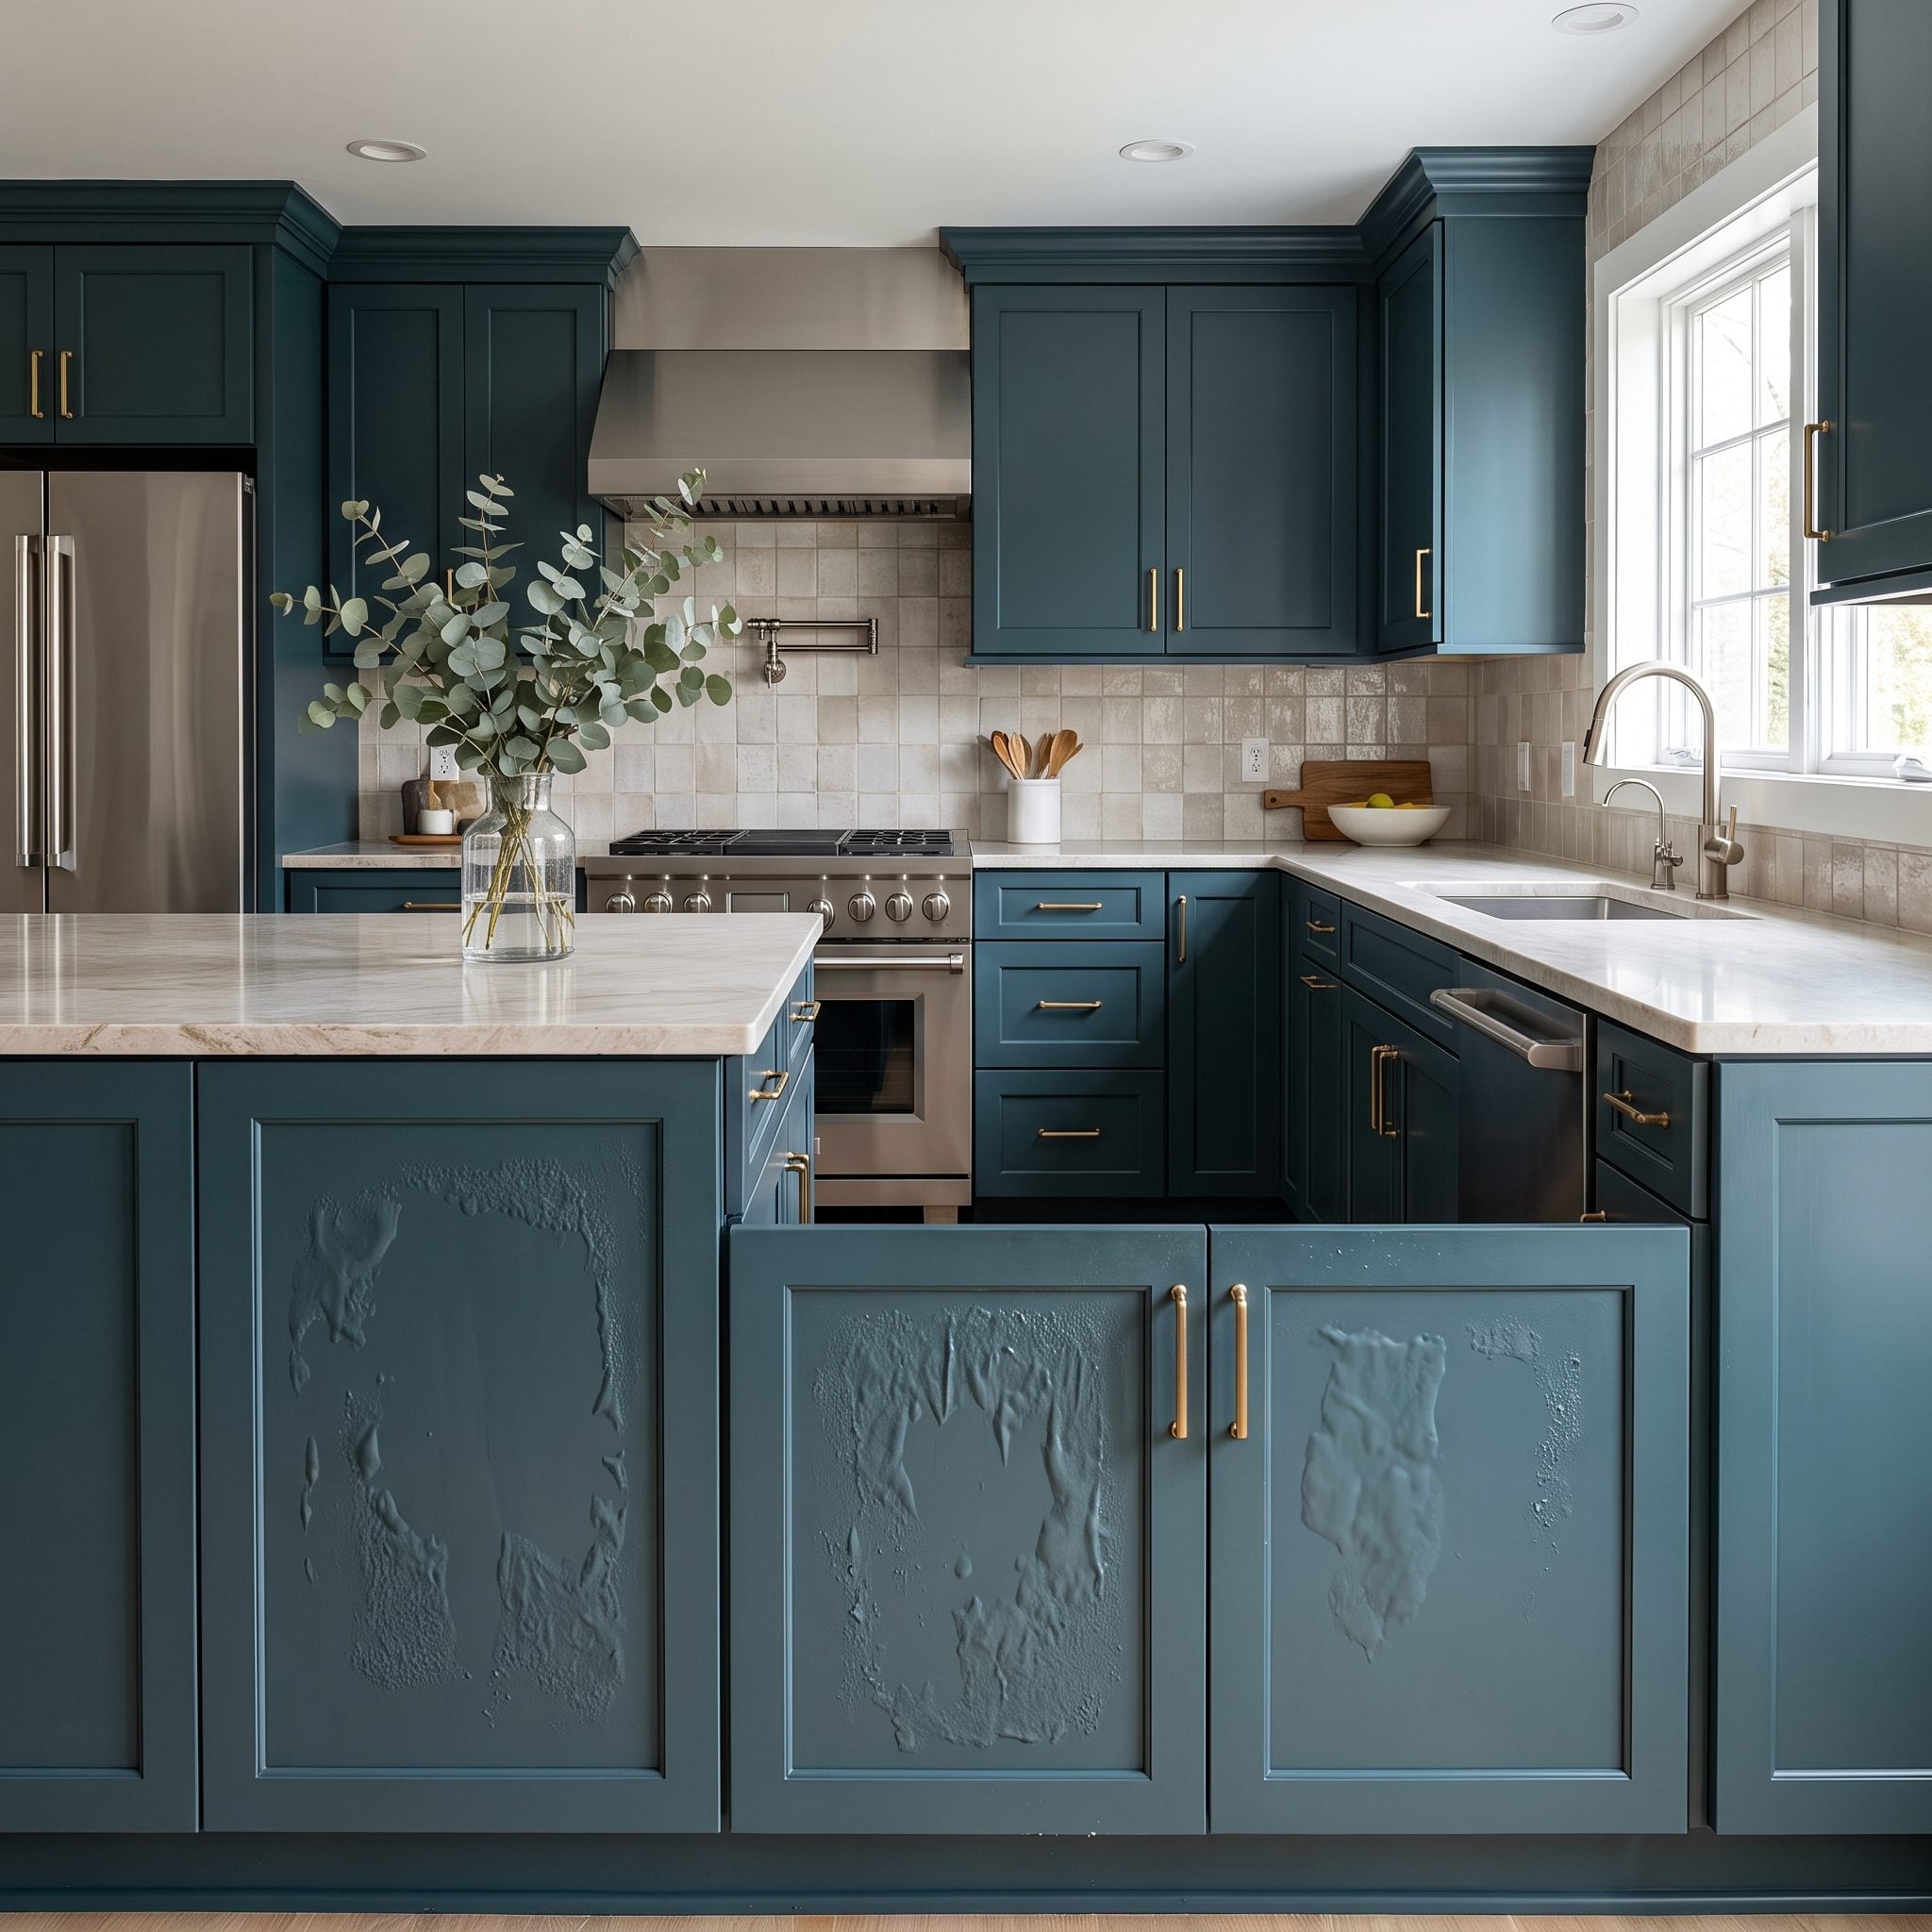
Those little craters have a name: fisheyes. They can appear when silicone, wax, oil or another contaminant changes the surface tension beneath a wet coating, causing paint to pull away from tiny areas instead of leveling evenly.
Furniture polishes and silicone-containing products are common offenders, but contamination can come from several sources. A surface that looks clean isn’t necessarily ready for coating.
Follow the paint or primer manufacturer’s recommended cleaning procedure for the existing finish. The goal is not simply removing visible dirt; it is leaving behind a surface free of whatever could interfere with adhesion.
31. Sanding Before Degreasing
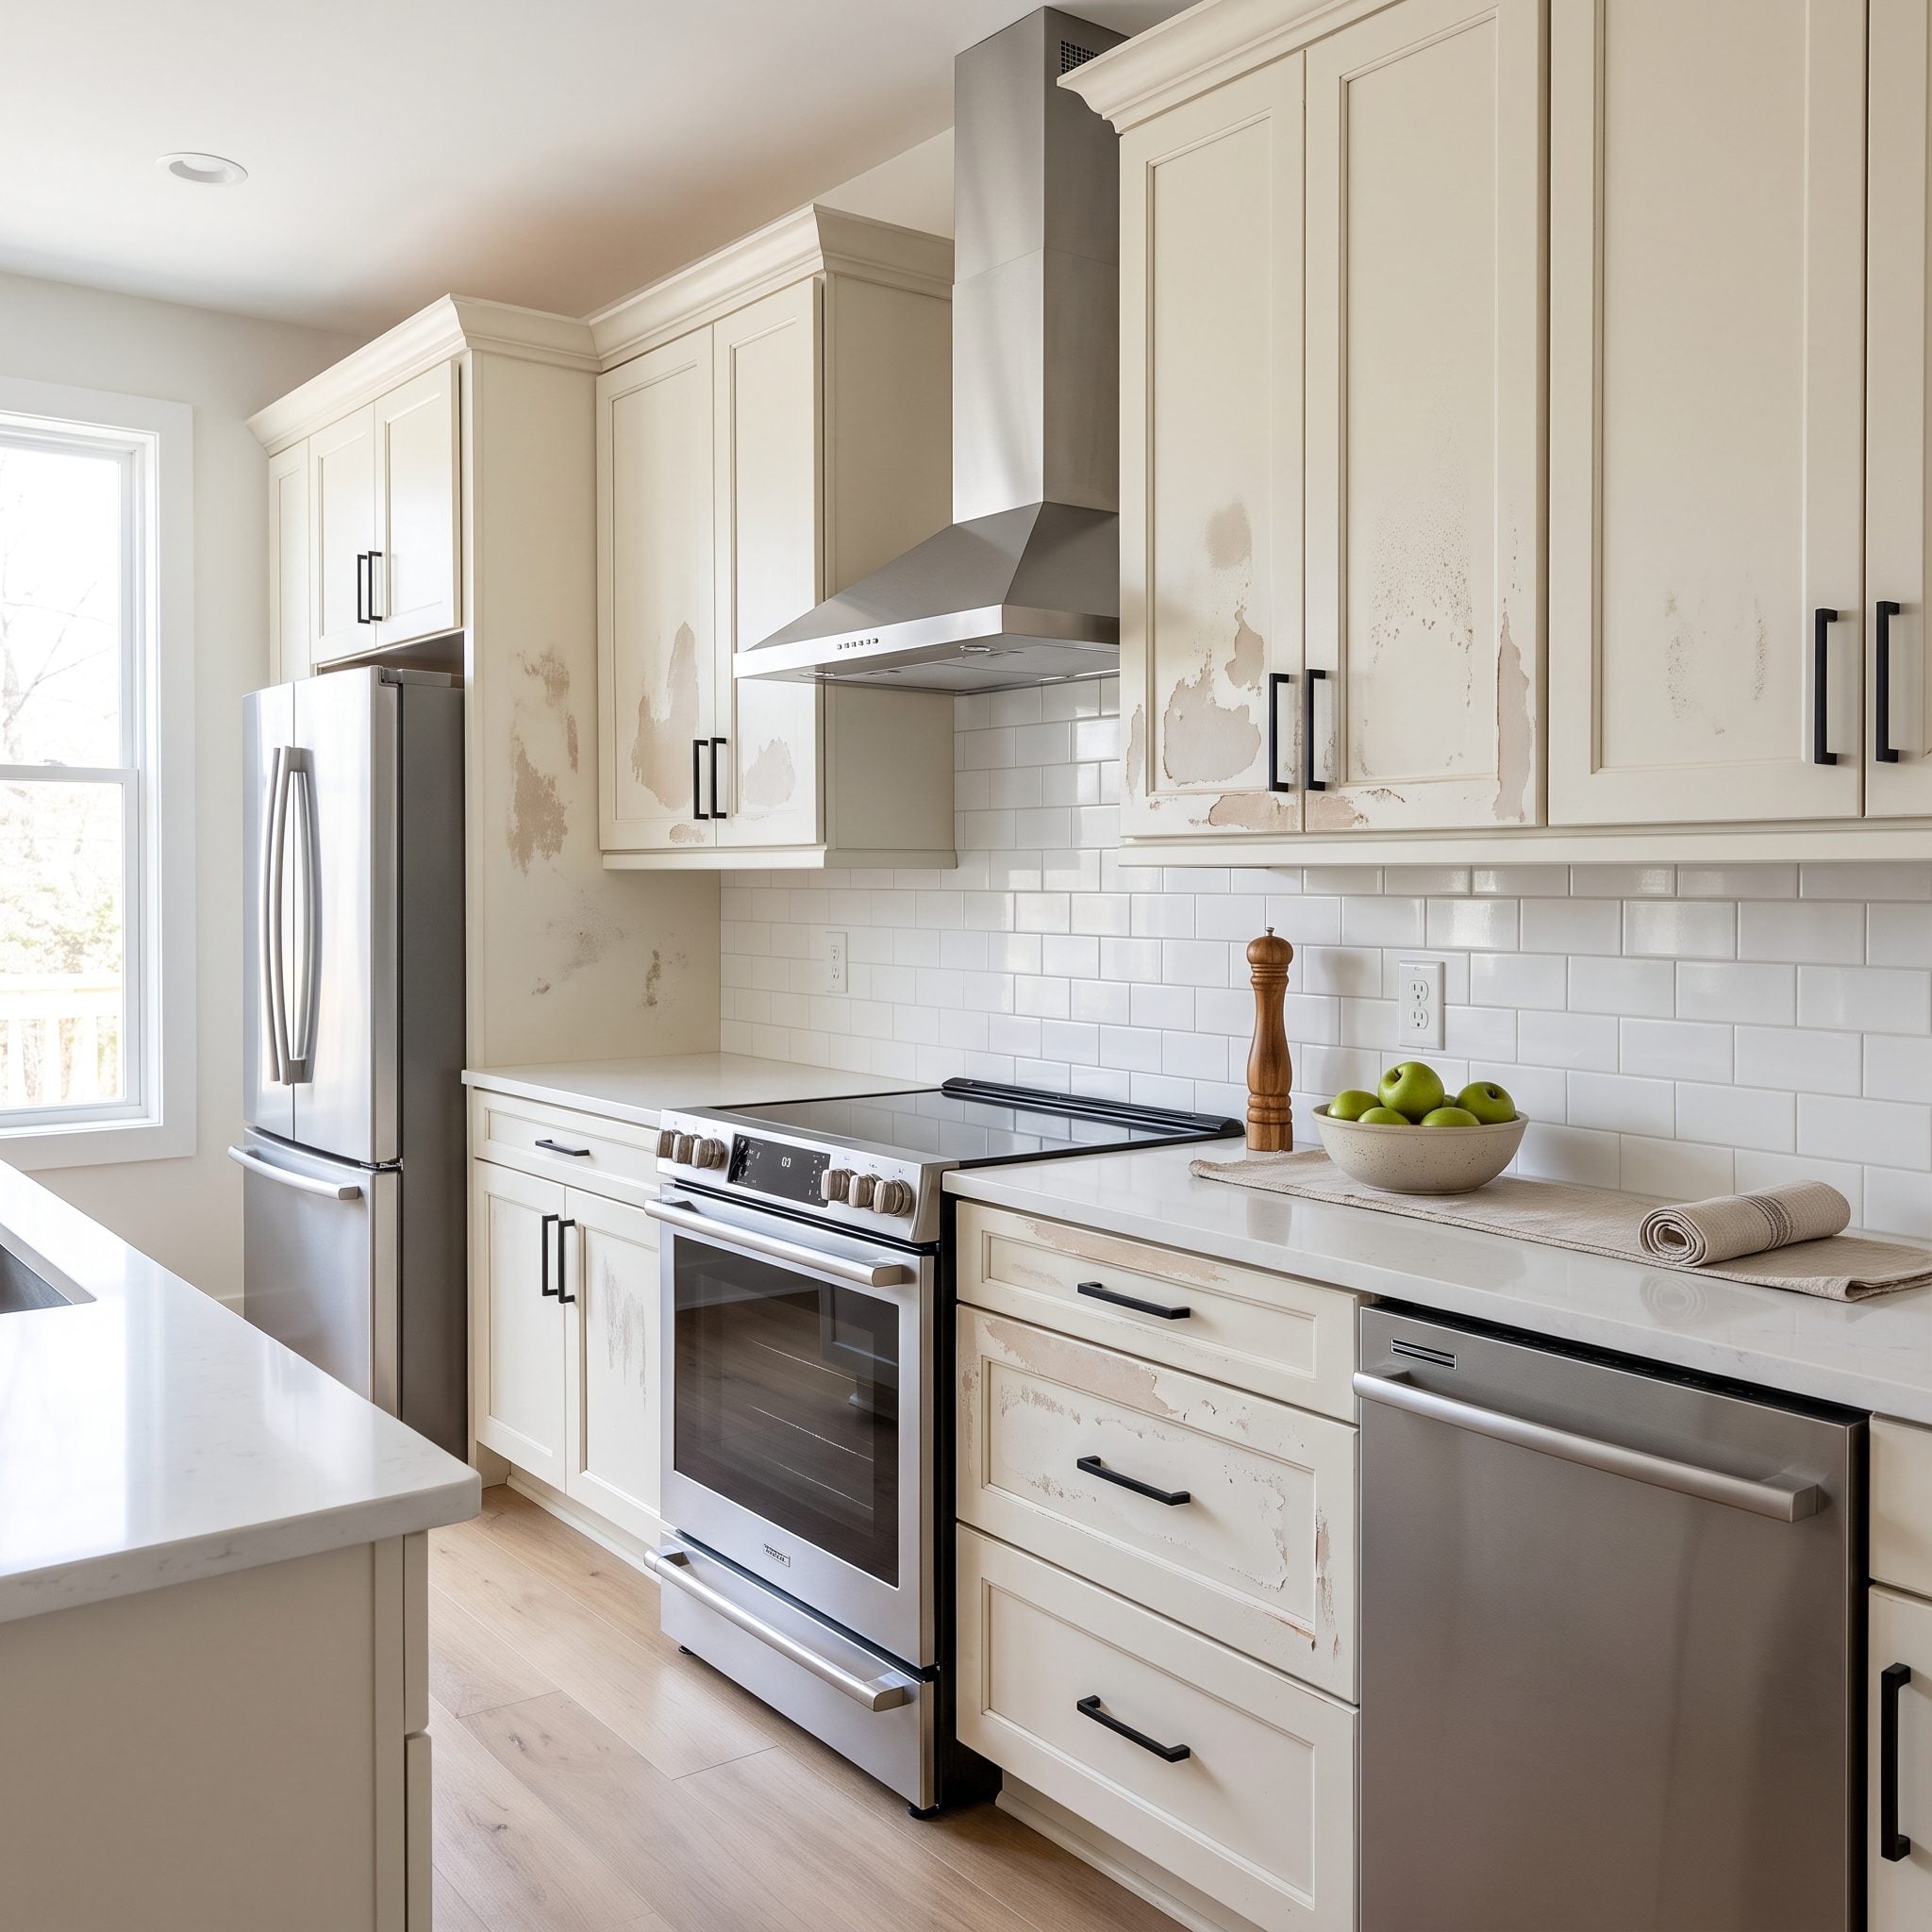
Order matters. Sand a greasy cabinet first and the abrasive can smear contamination across the surface and work it into the scratches you’re creating for the new coating.
Those scratches are supposed to improve mechanical adhesion. Fill them with kitchen residue and you’ve managed to combine extra labor with worse preparation.
Clean first. Let the surface dry thoroughly. Then scuff-sand according to the coating manufacturer’s instructions. Sanding is useful only when the surface underneath the dust was clean to begin with.
30. Assuming Every Cabinet Material Can Be Painted the Same Way
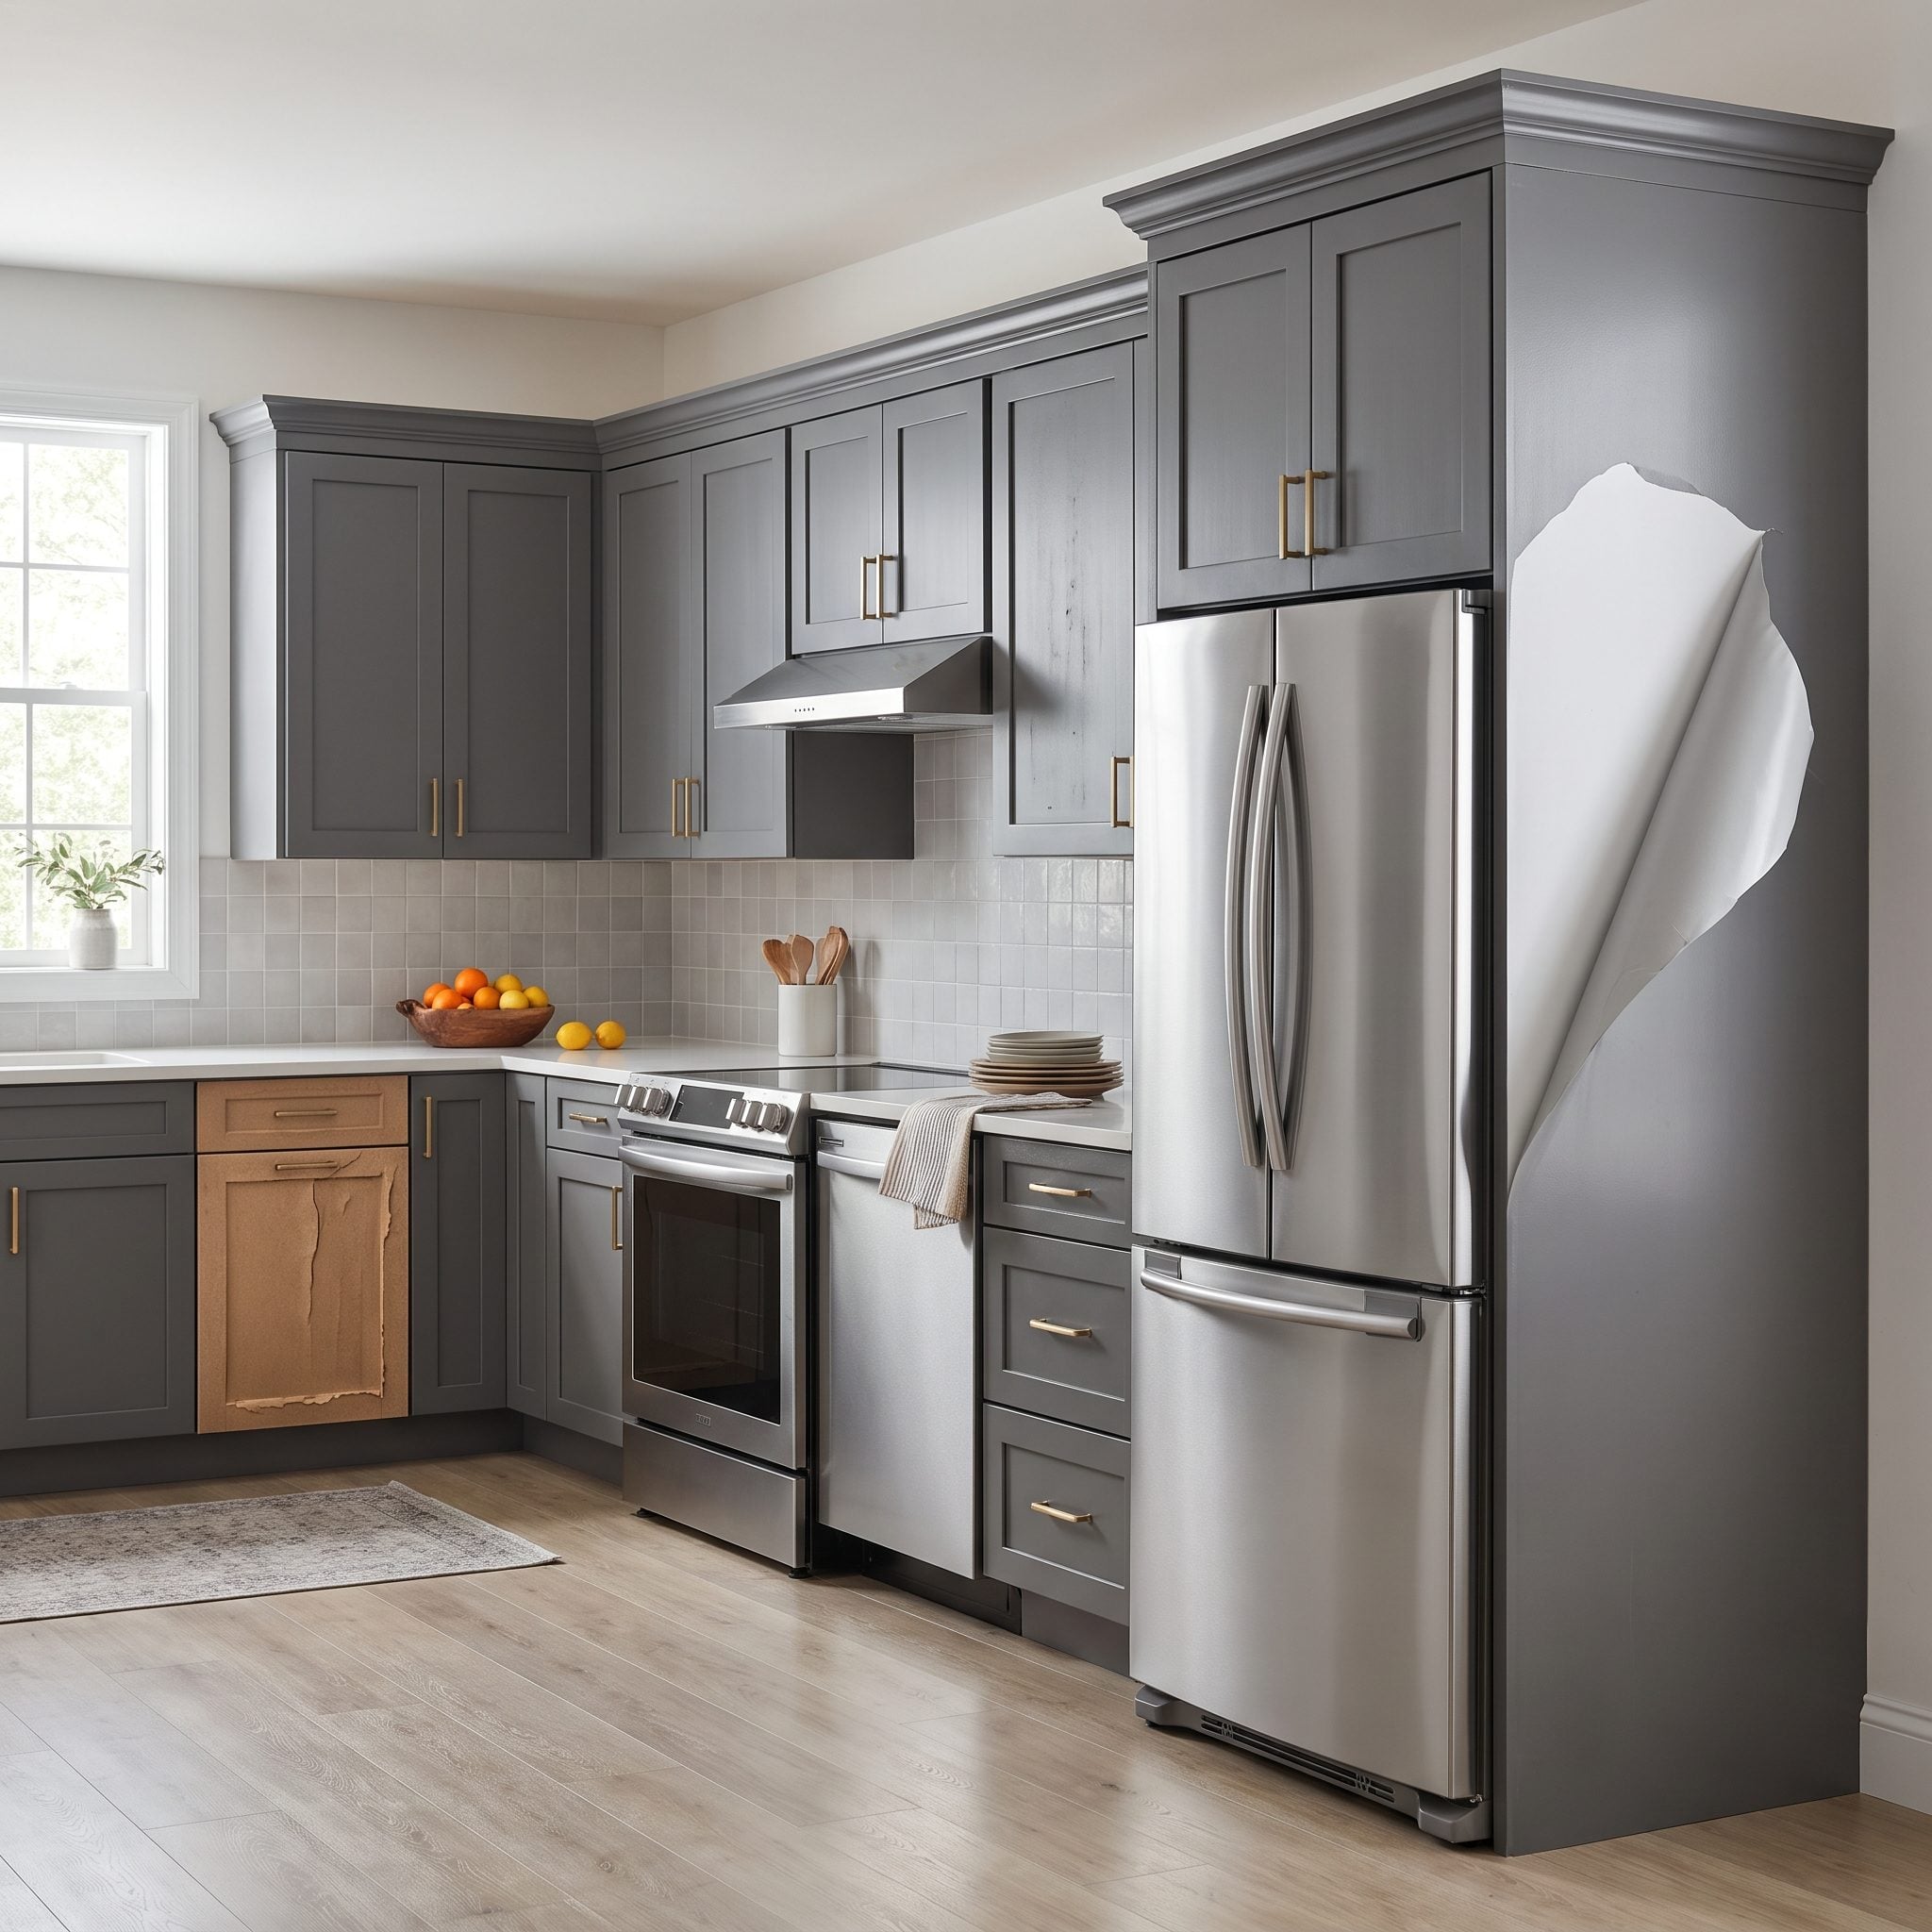
A single kitchen can contain solid wood, MDF, veneer, laminate and thermofoil without making a formal announcement about any of them. Treating every surface identically is how one section looks terrific while the panel beside it starts peeling.
Wood may need stain blocking. Raw MDF edges often need sealing. Slick laminate requires a coating system designed to bond to nonporous surfaces. Thermofoil deserves particular caution: if the vinyl layer is lifting, bubbling or heat-damaged, painting over it may not be a durable rescue at all.
Identify the materials before buying products, then check the primer and topcoat instructions for each substrate.
29. Skipping Surface Prep Because the Existing Finish Looks Fine
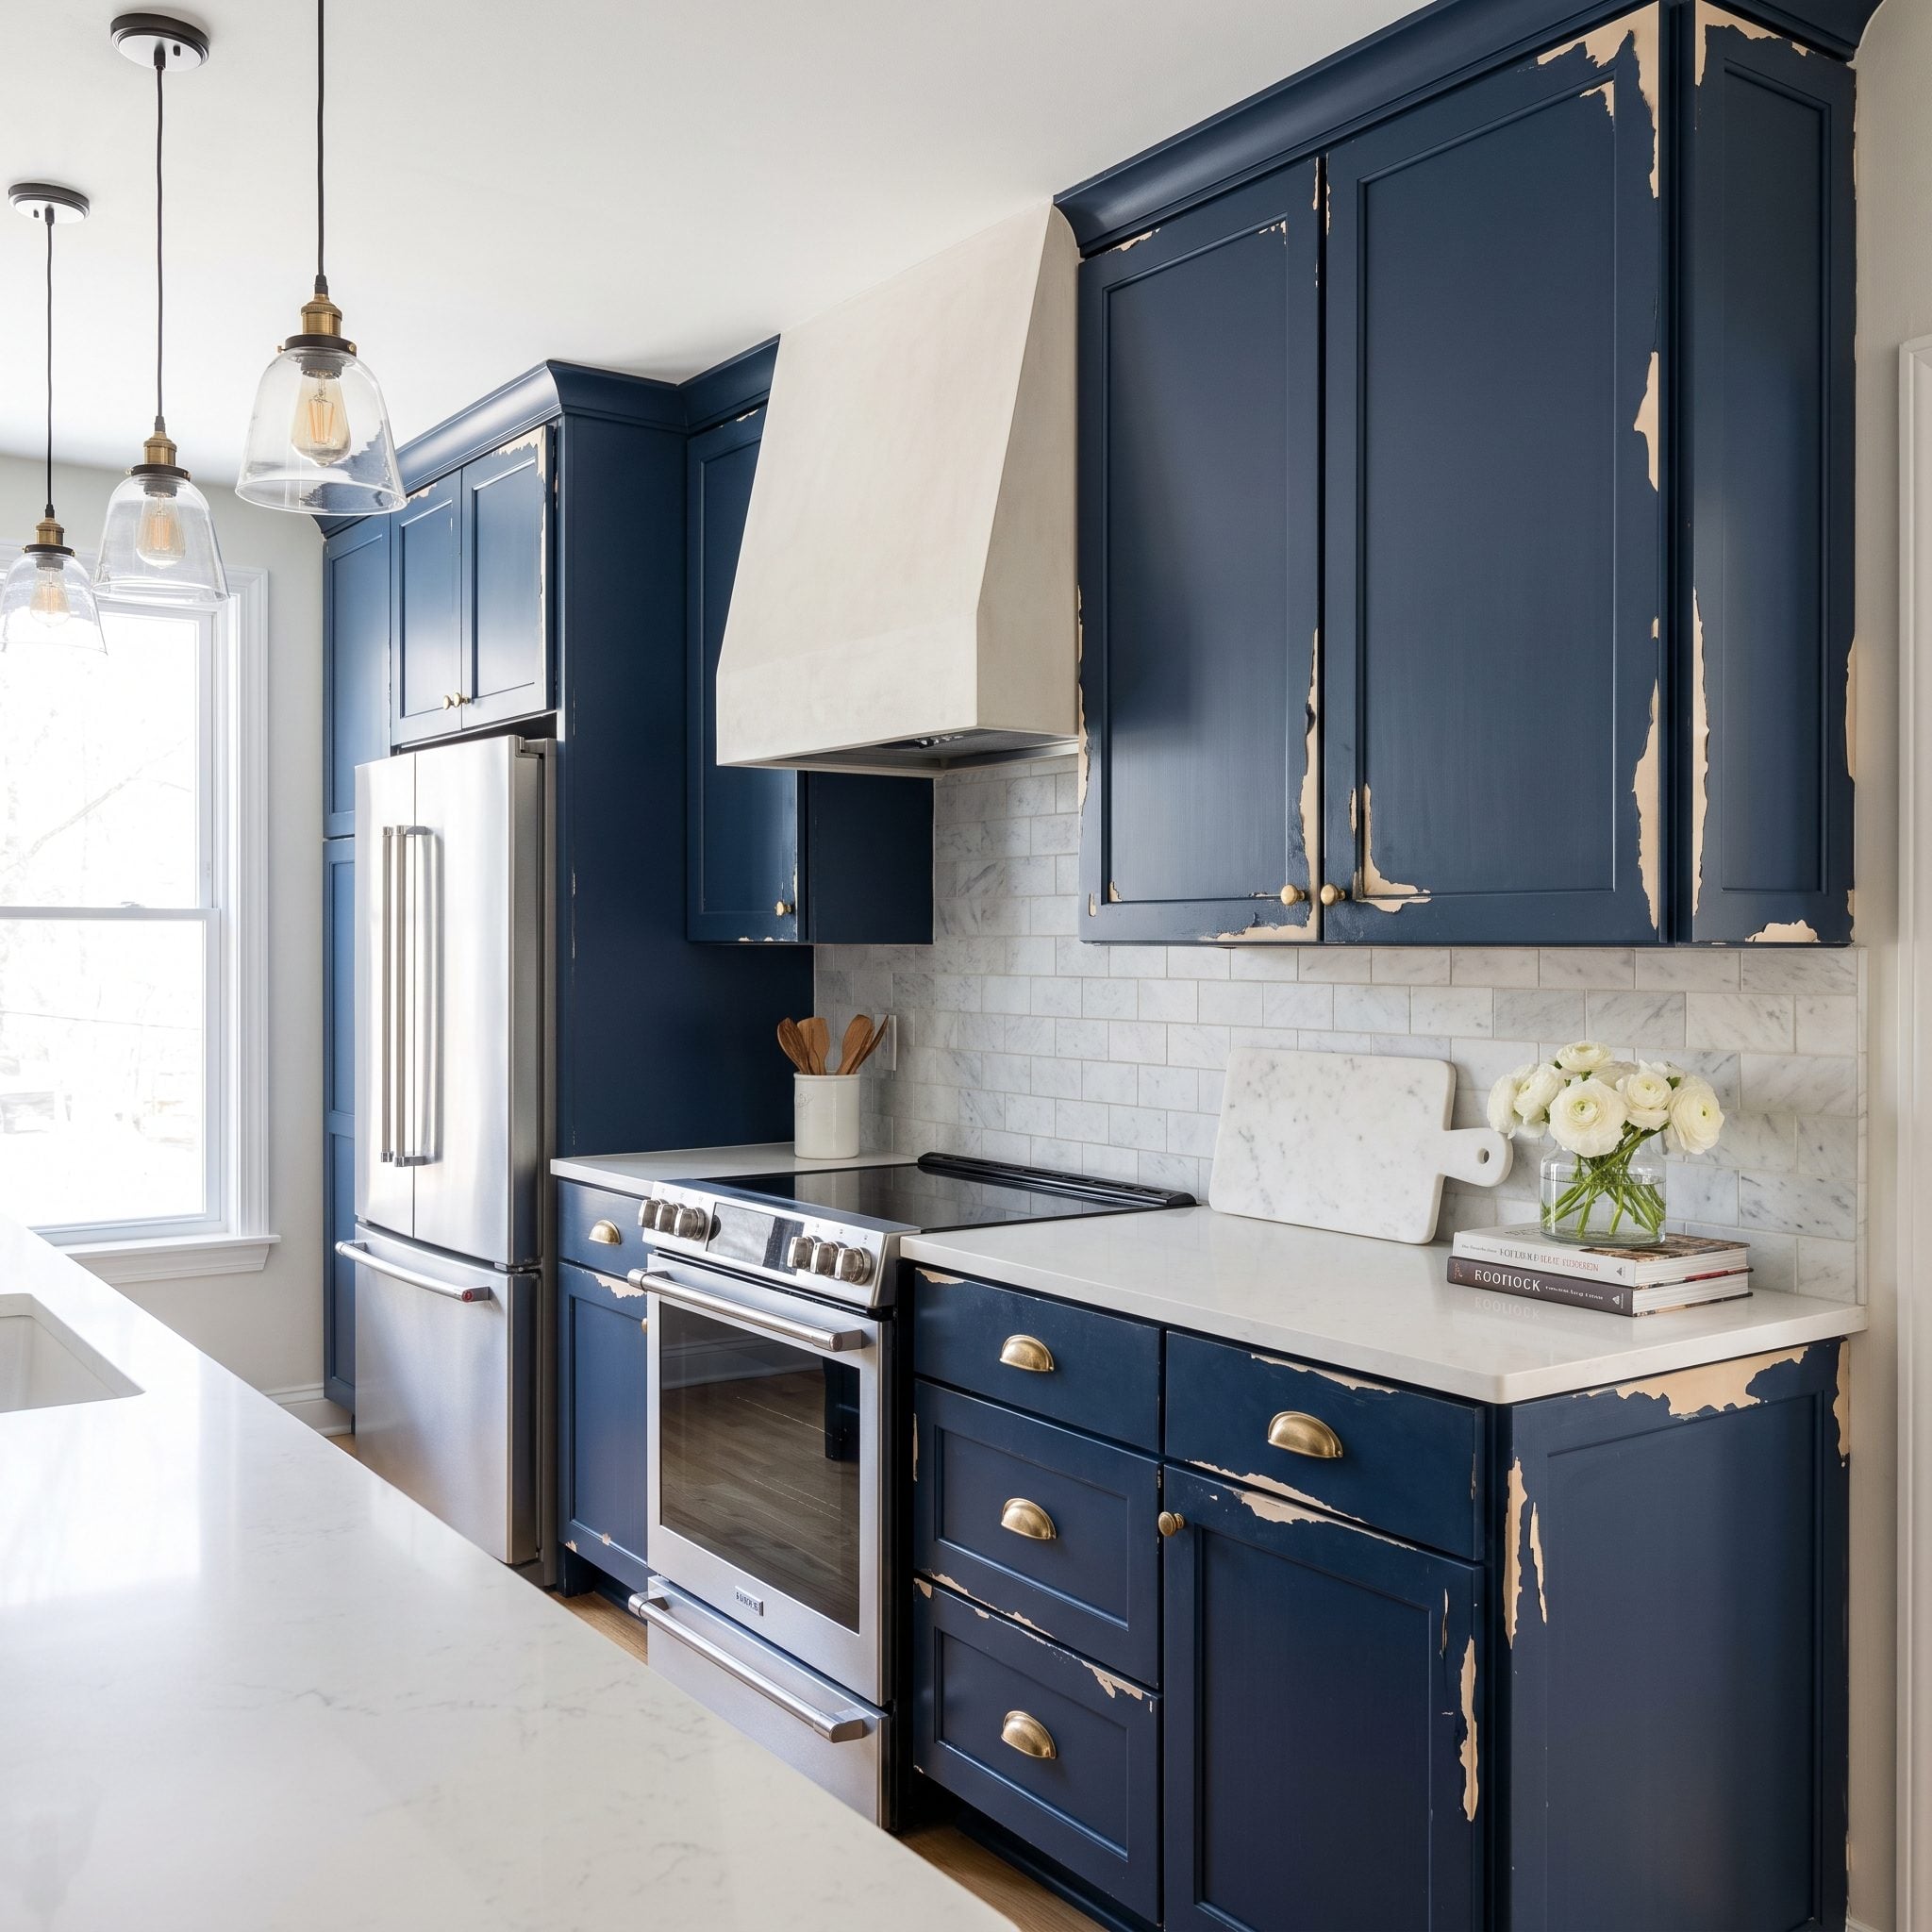
The smoothest-looking cabinets can be the least cooperative. A hard factory finish may look flawless precisely because very little wants to stick to it.
You roll on a deep navy, admire it for weeks, then a fingernail catches one corner and reveals the glossy original underneath. Nothing was wrong with the color. The new coating simply never developed enough adhesion to survive daily use.
What that slick surface actually needs: use the preparation and bonding system recommended for that particular finish. That may include cleaning, deglossing, scuff-sanding and a high-adhesion primer rated for glossy or nonporous substrates. A saturated color like this deserves the same preparation you’d give a big cabinet statement wall.
28. Ignoring Peeling or Loose Existing Finishes
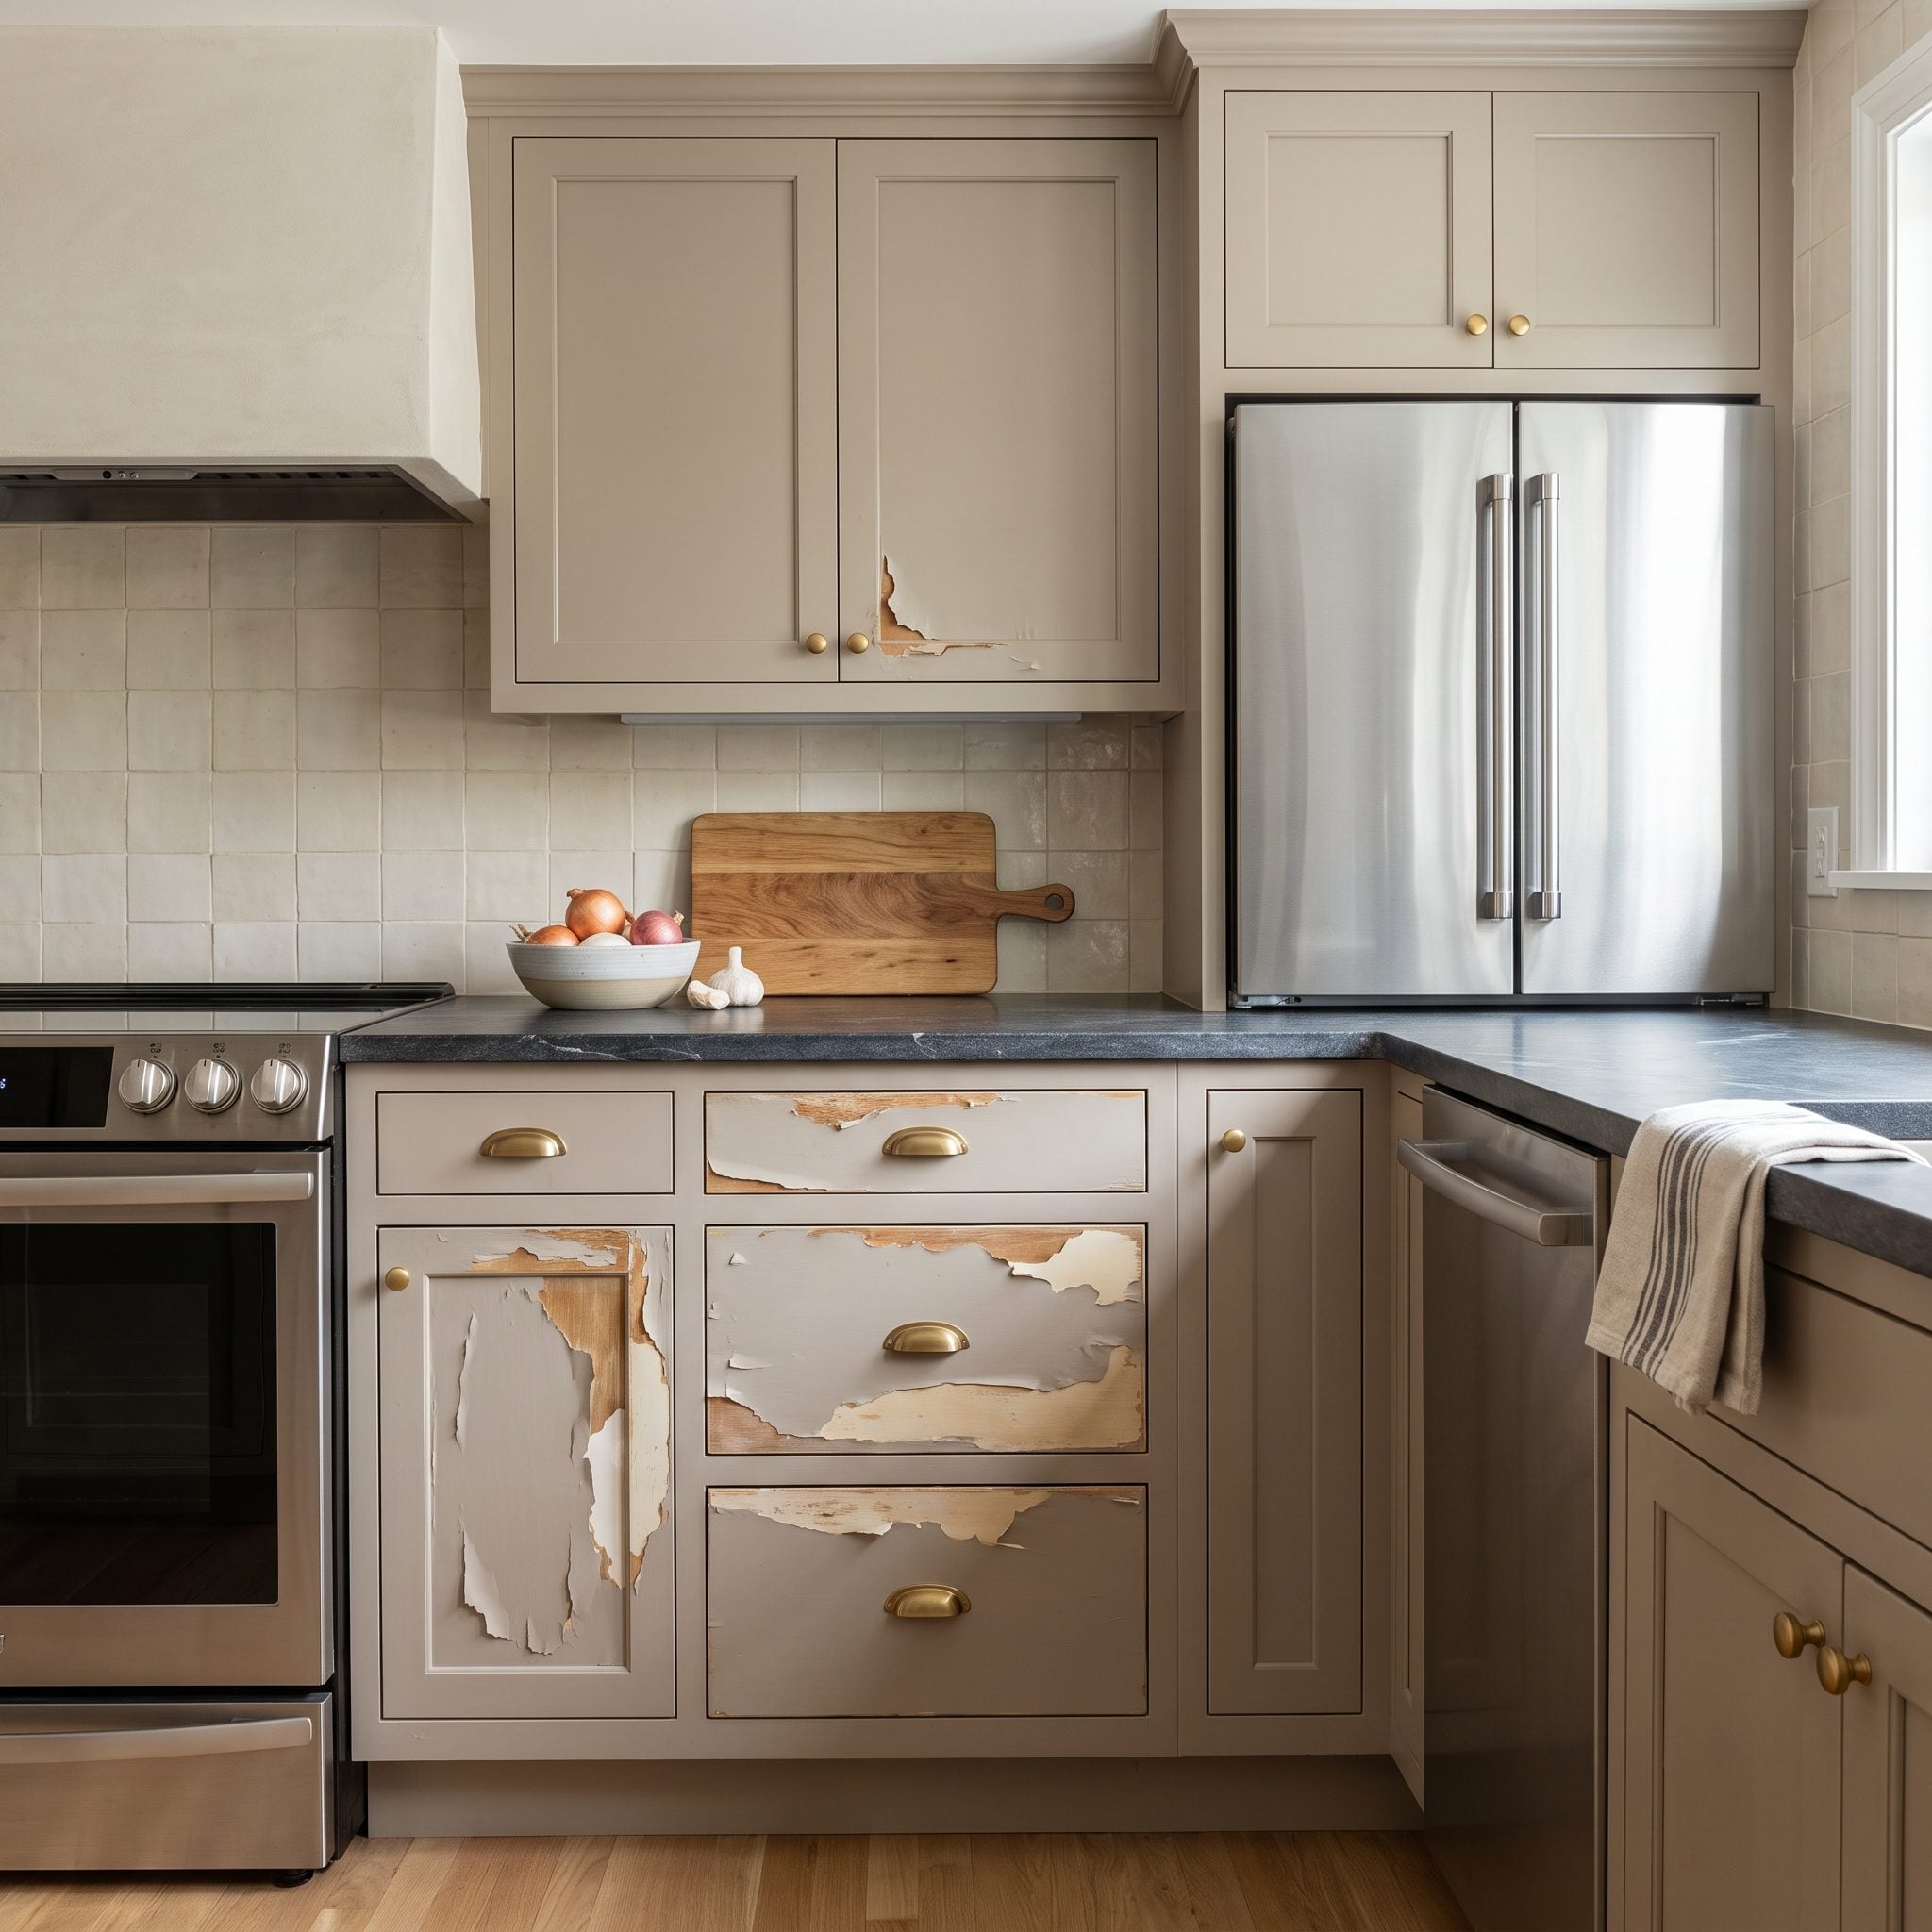
New paint is only as stable as the layer holding it to the cabinet. If the existing finish is already flaking, chalking or lifting at the edges, a beautiful new coat simply joins the failing layer on its trip to the floor.
When the failure starts, old and new coatings can come away together. That’s why loose material has to be dealt with before color enters the room.
Remove anything that is no longer firmly attached, feather rough transitions, repair the exposed areas and prime as required by the coating system. Tedious preparation is still faster than watching fresh paint peel off with the old finish underneath it.
27. Failing to Block Wood Tannins or Existing Stains
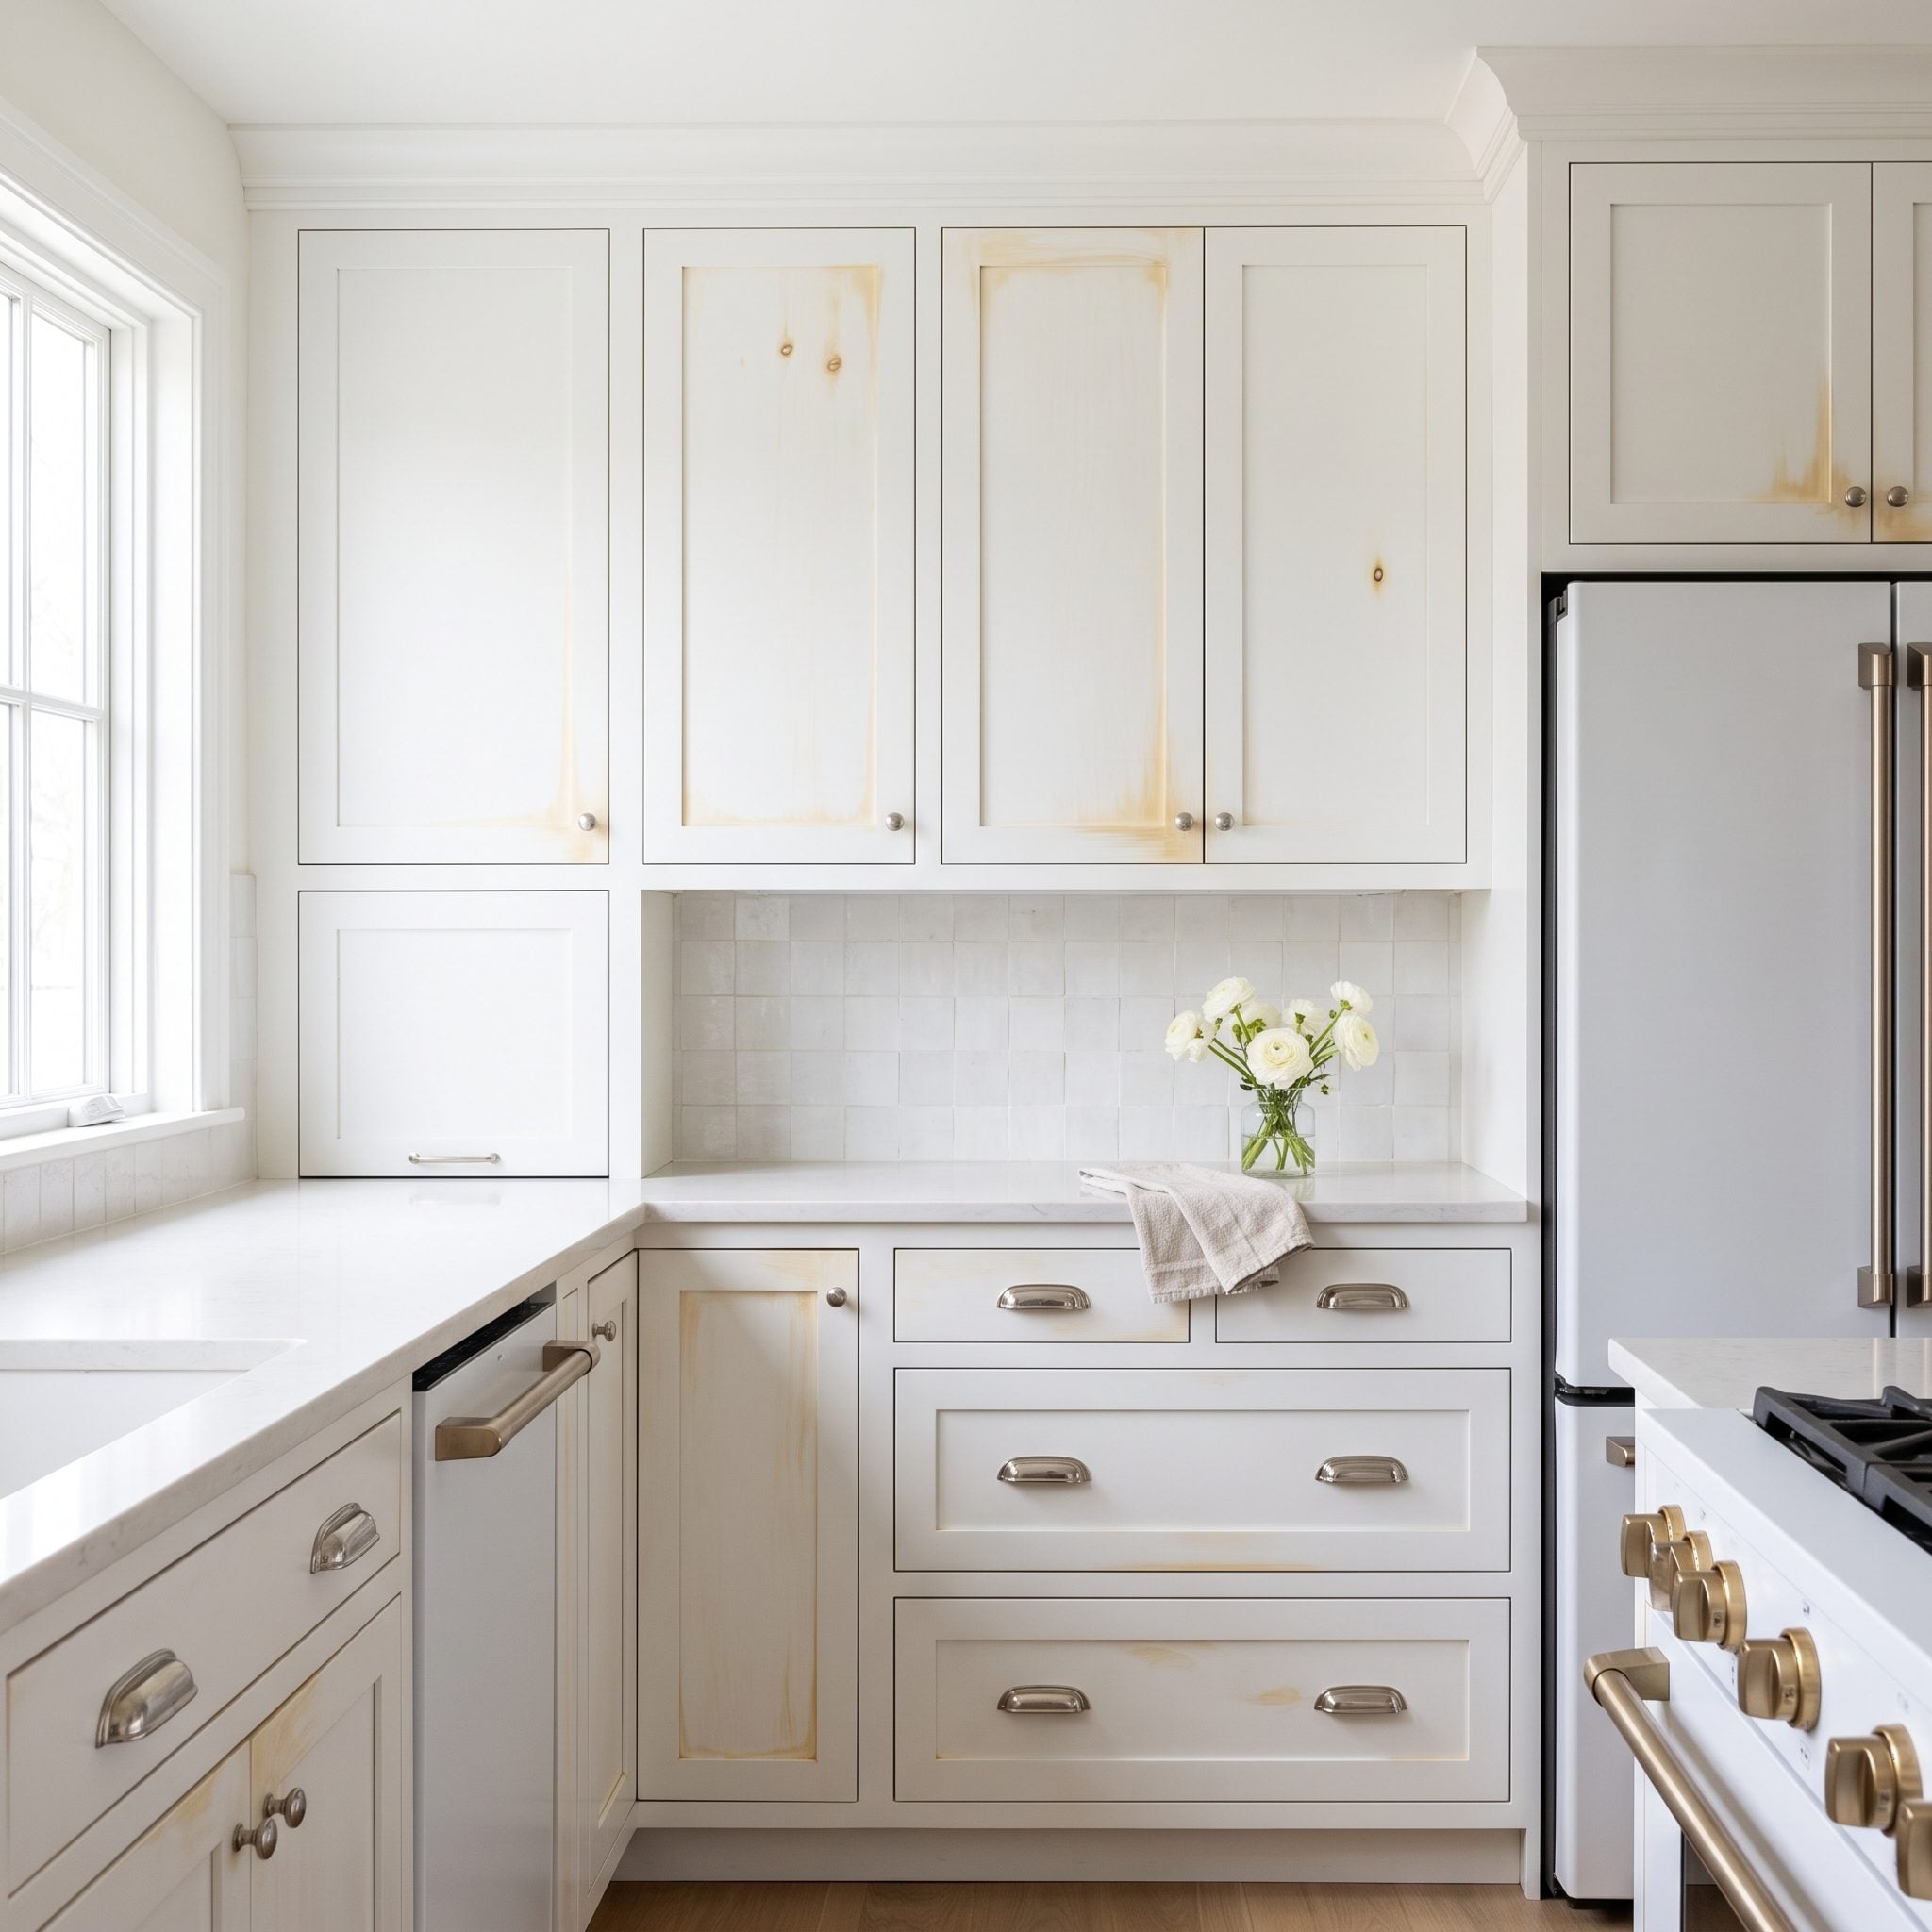
Nothing makes fresh white cabinets look old faster than amber staining creeping through the new finish. Certain woods contain extractives that can migrate into waterborne coatings, while knots in species such as pine can also release resinous staining.
More white paint usually isn’t the answer. Seal the problem with a stain-blocking primer suited to the wood and topcoat. If bleed has already appeared, it can often be isolated with the correct sealer and then recoated.
26. Painting Over Cracks, Dents, and Old Hardware Holes
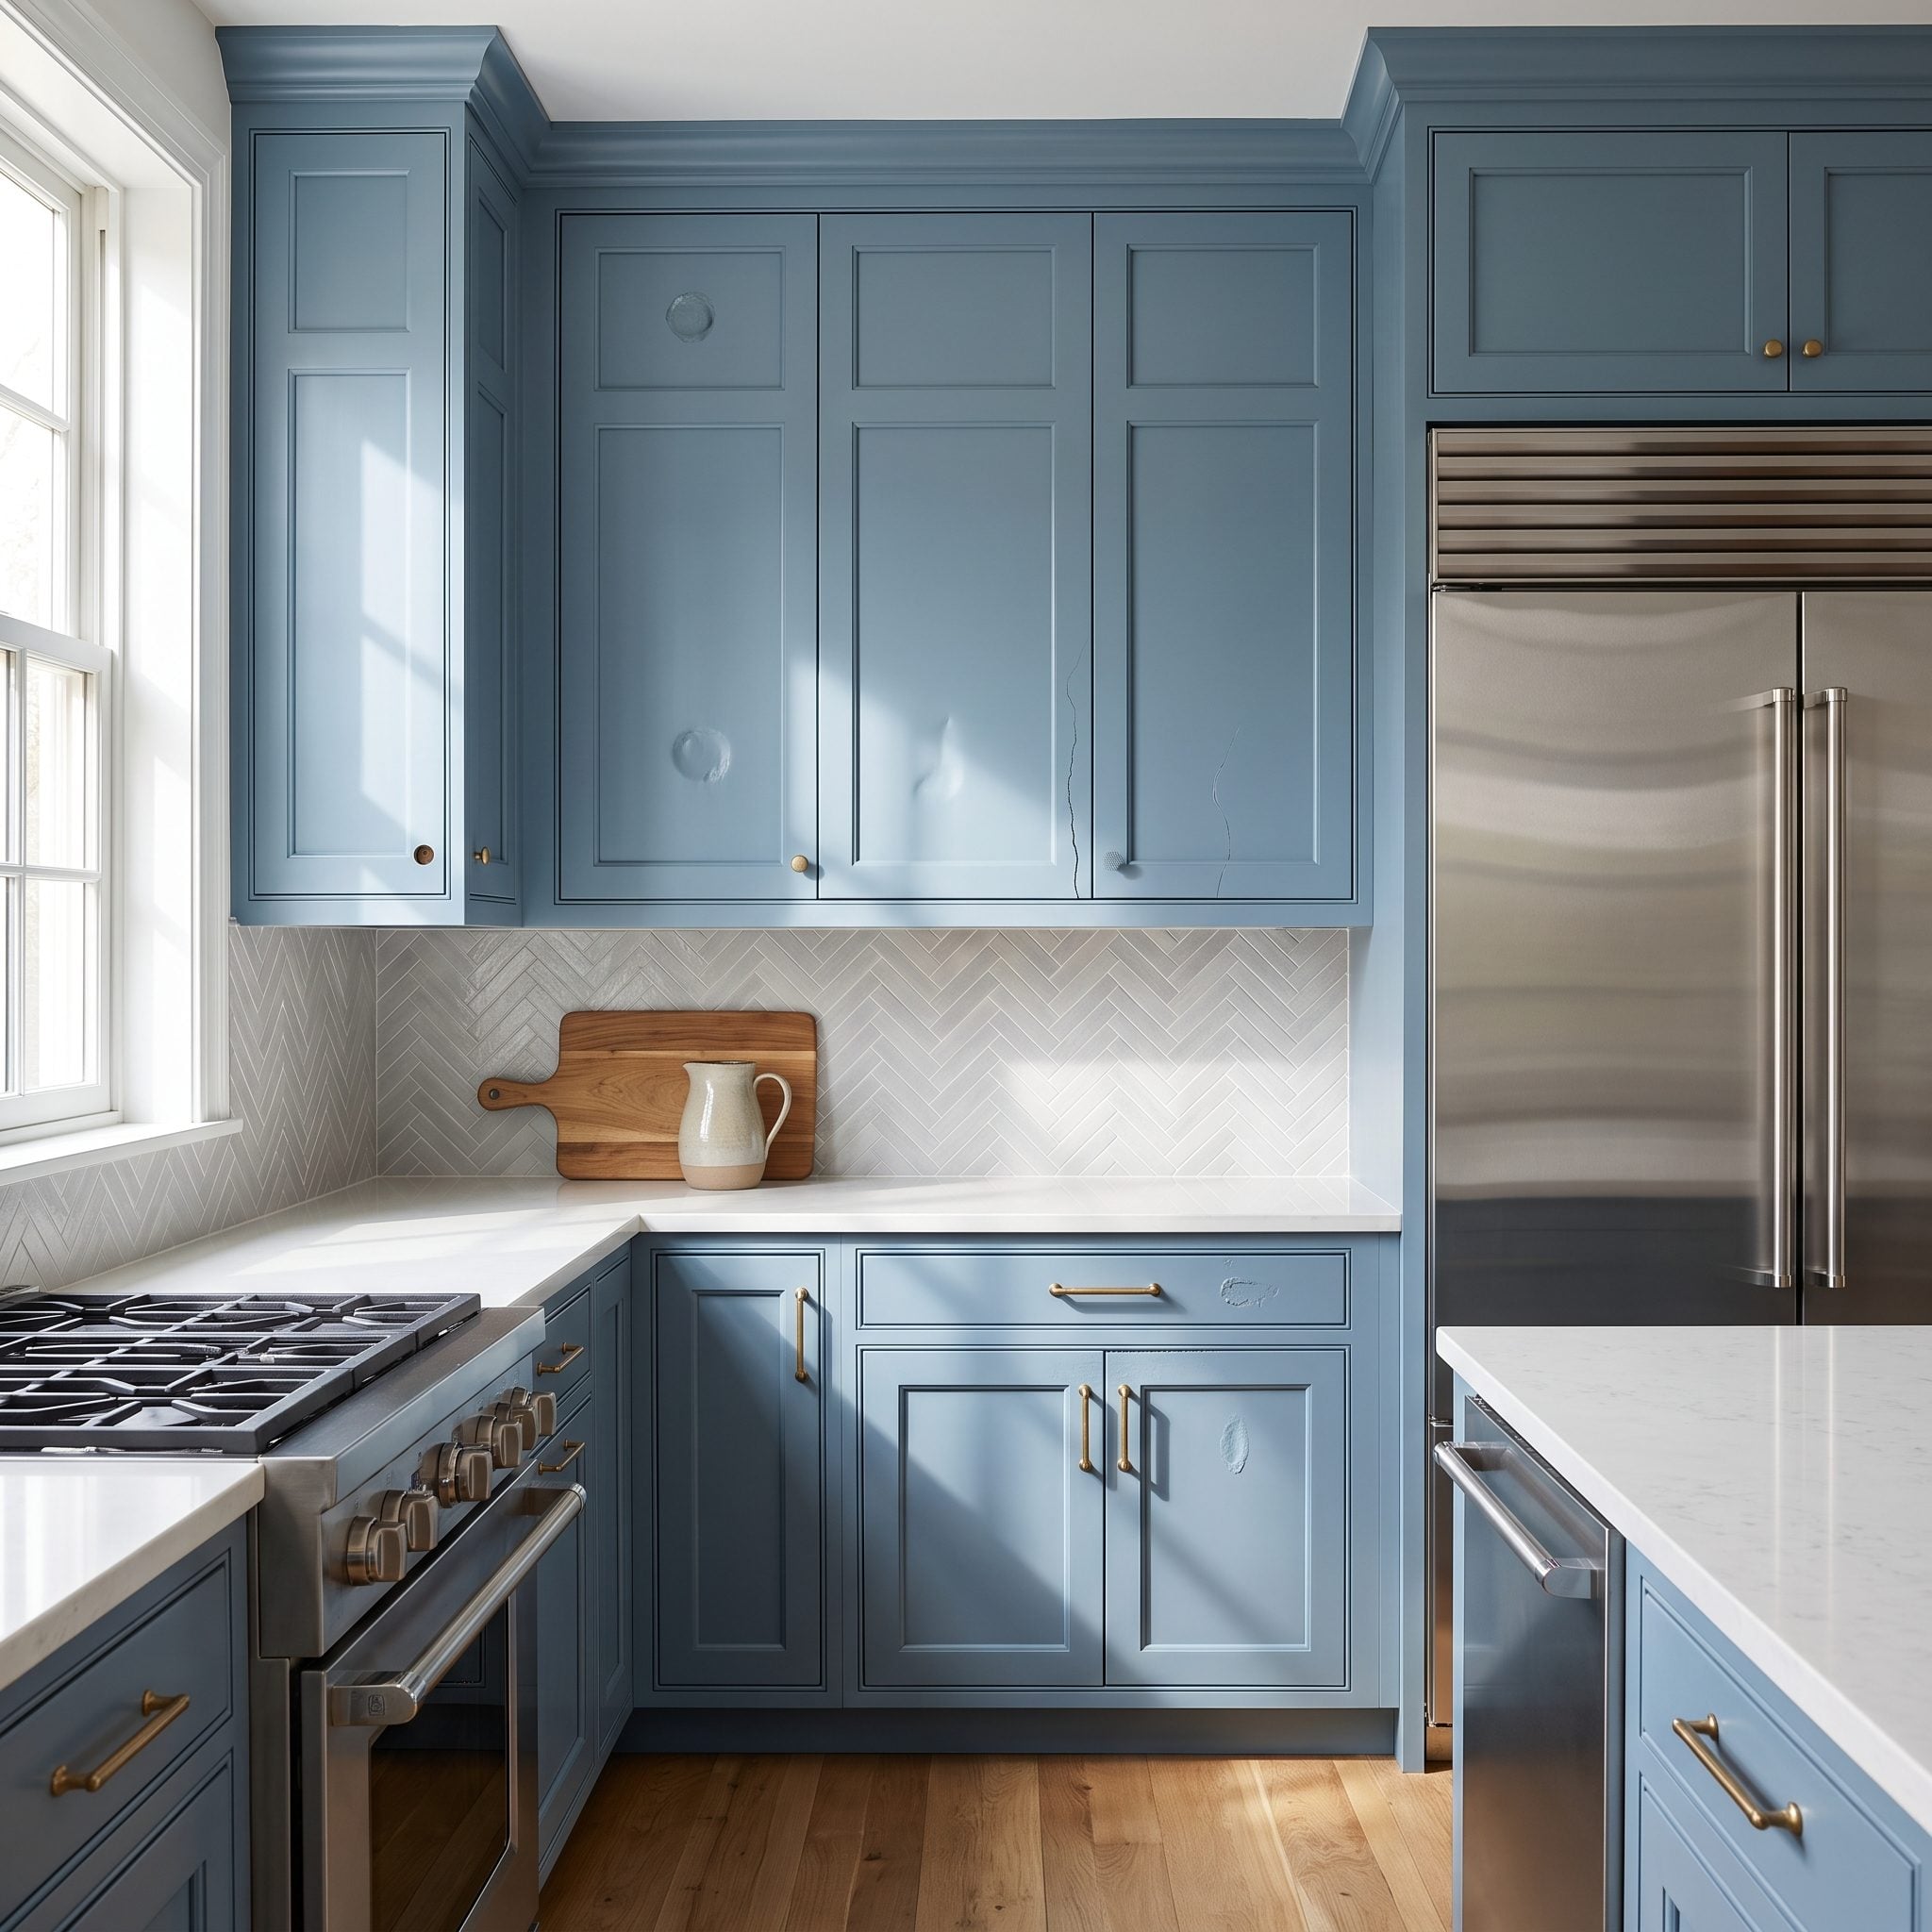
Paint hides remarkably little. In a fresh uniform color, dents, cracks and abandoned hardware holes often become easier to see because all the competing wood grain and old finish have disappeared.
The unused holes beside new brass pulls are especially unforgiving. Fill damage with a repair product appropriate for the cabinet material, sand it flush and inspect the door under low-angle light before primer.
Fresh paint doesn’t forgive a surface. It confesses it.
25. Skipping Primer When the Coating System Requires It
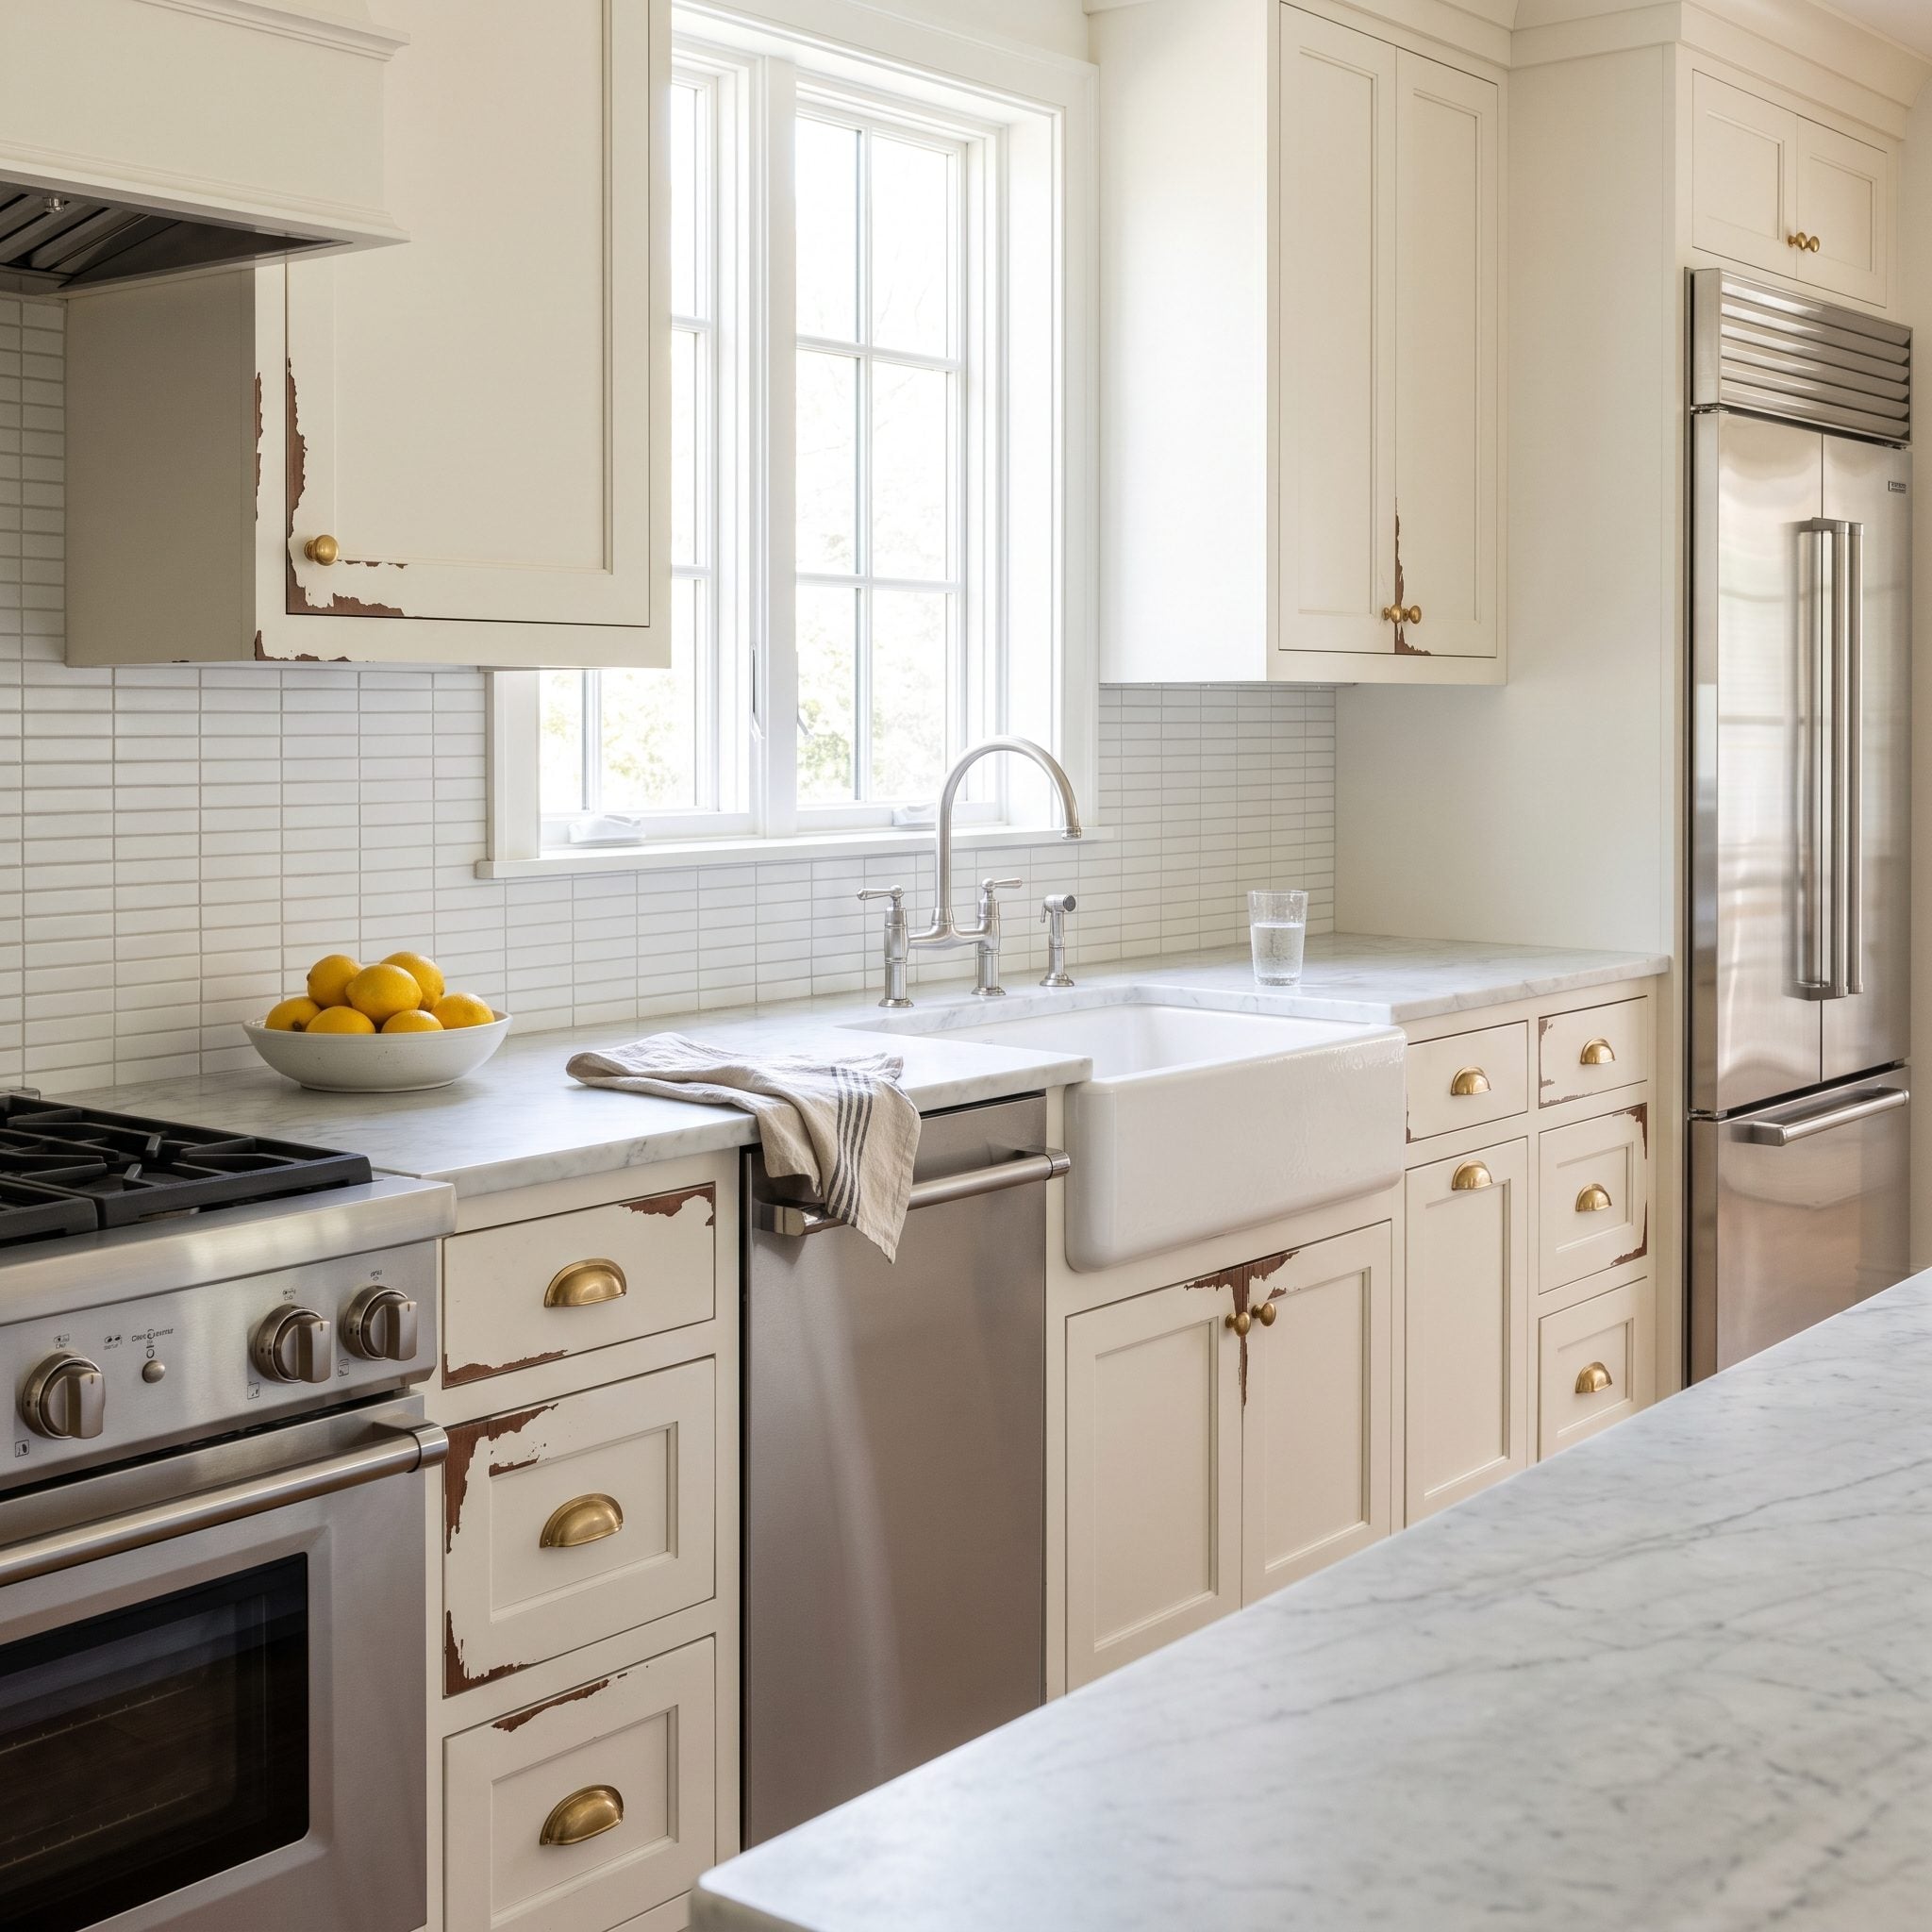
Some modern cabinet coatings can go over properly prepared surfaces without a separate primer. Others absolutely depend on one. The label, technical data sheet and existing substrate decide which situation you’re in—not optimism.
High-contact areas around handles usually expose poor adhesion first. If the coating system calls for a bonding primer over a slick or previously coated surface, skipping that layer removes an important part of the system.
24. Choosing the Wrong Primer for the Surface
🔥 Would you like to save this?
Primer isn’t one interchangeable beige liquid. Products are formulated for different jobs: adhesion to glossy surfaces, stain blocking, sealing porous materials or preparing bare wood.
A high-adhesion waterborne primer may be appropriate for some laminates; another project may call for shellac-based or other specialty chemistry. Raw MDF and tannin-prone wood introduce different problems again.
Match the product to the substrate and the topcoat rather than grabbing whatever can was left over from the last project. That’s how a big cabinet run avoids turning into a chemistry experiment.
23. Using Incompatible Primer and Topcoat Products
Oil, shellac, acrylic, alkyd and hybrid products can coexist perfectly well in many approved coating systems. The trouble begins when products are combined without checking whether one is designed to accept the next.
Don’t make compatibility decisions from broad rules such as “water over oil never works.” Read the topcoat and primer technical information and use an approved combination. Staying within one manufacturer’s recommended system is an easy route, but compatible products from different manufacturers can also work when their instructions permit it.
22. Sanding Too Aggressively
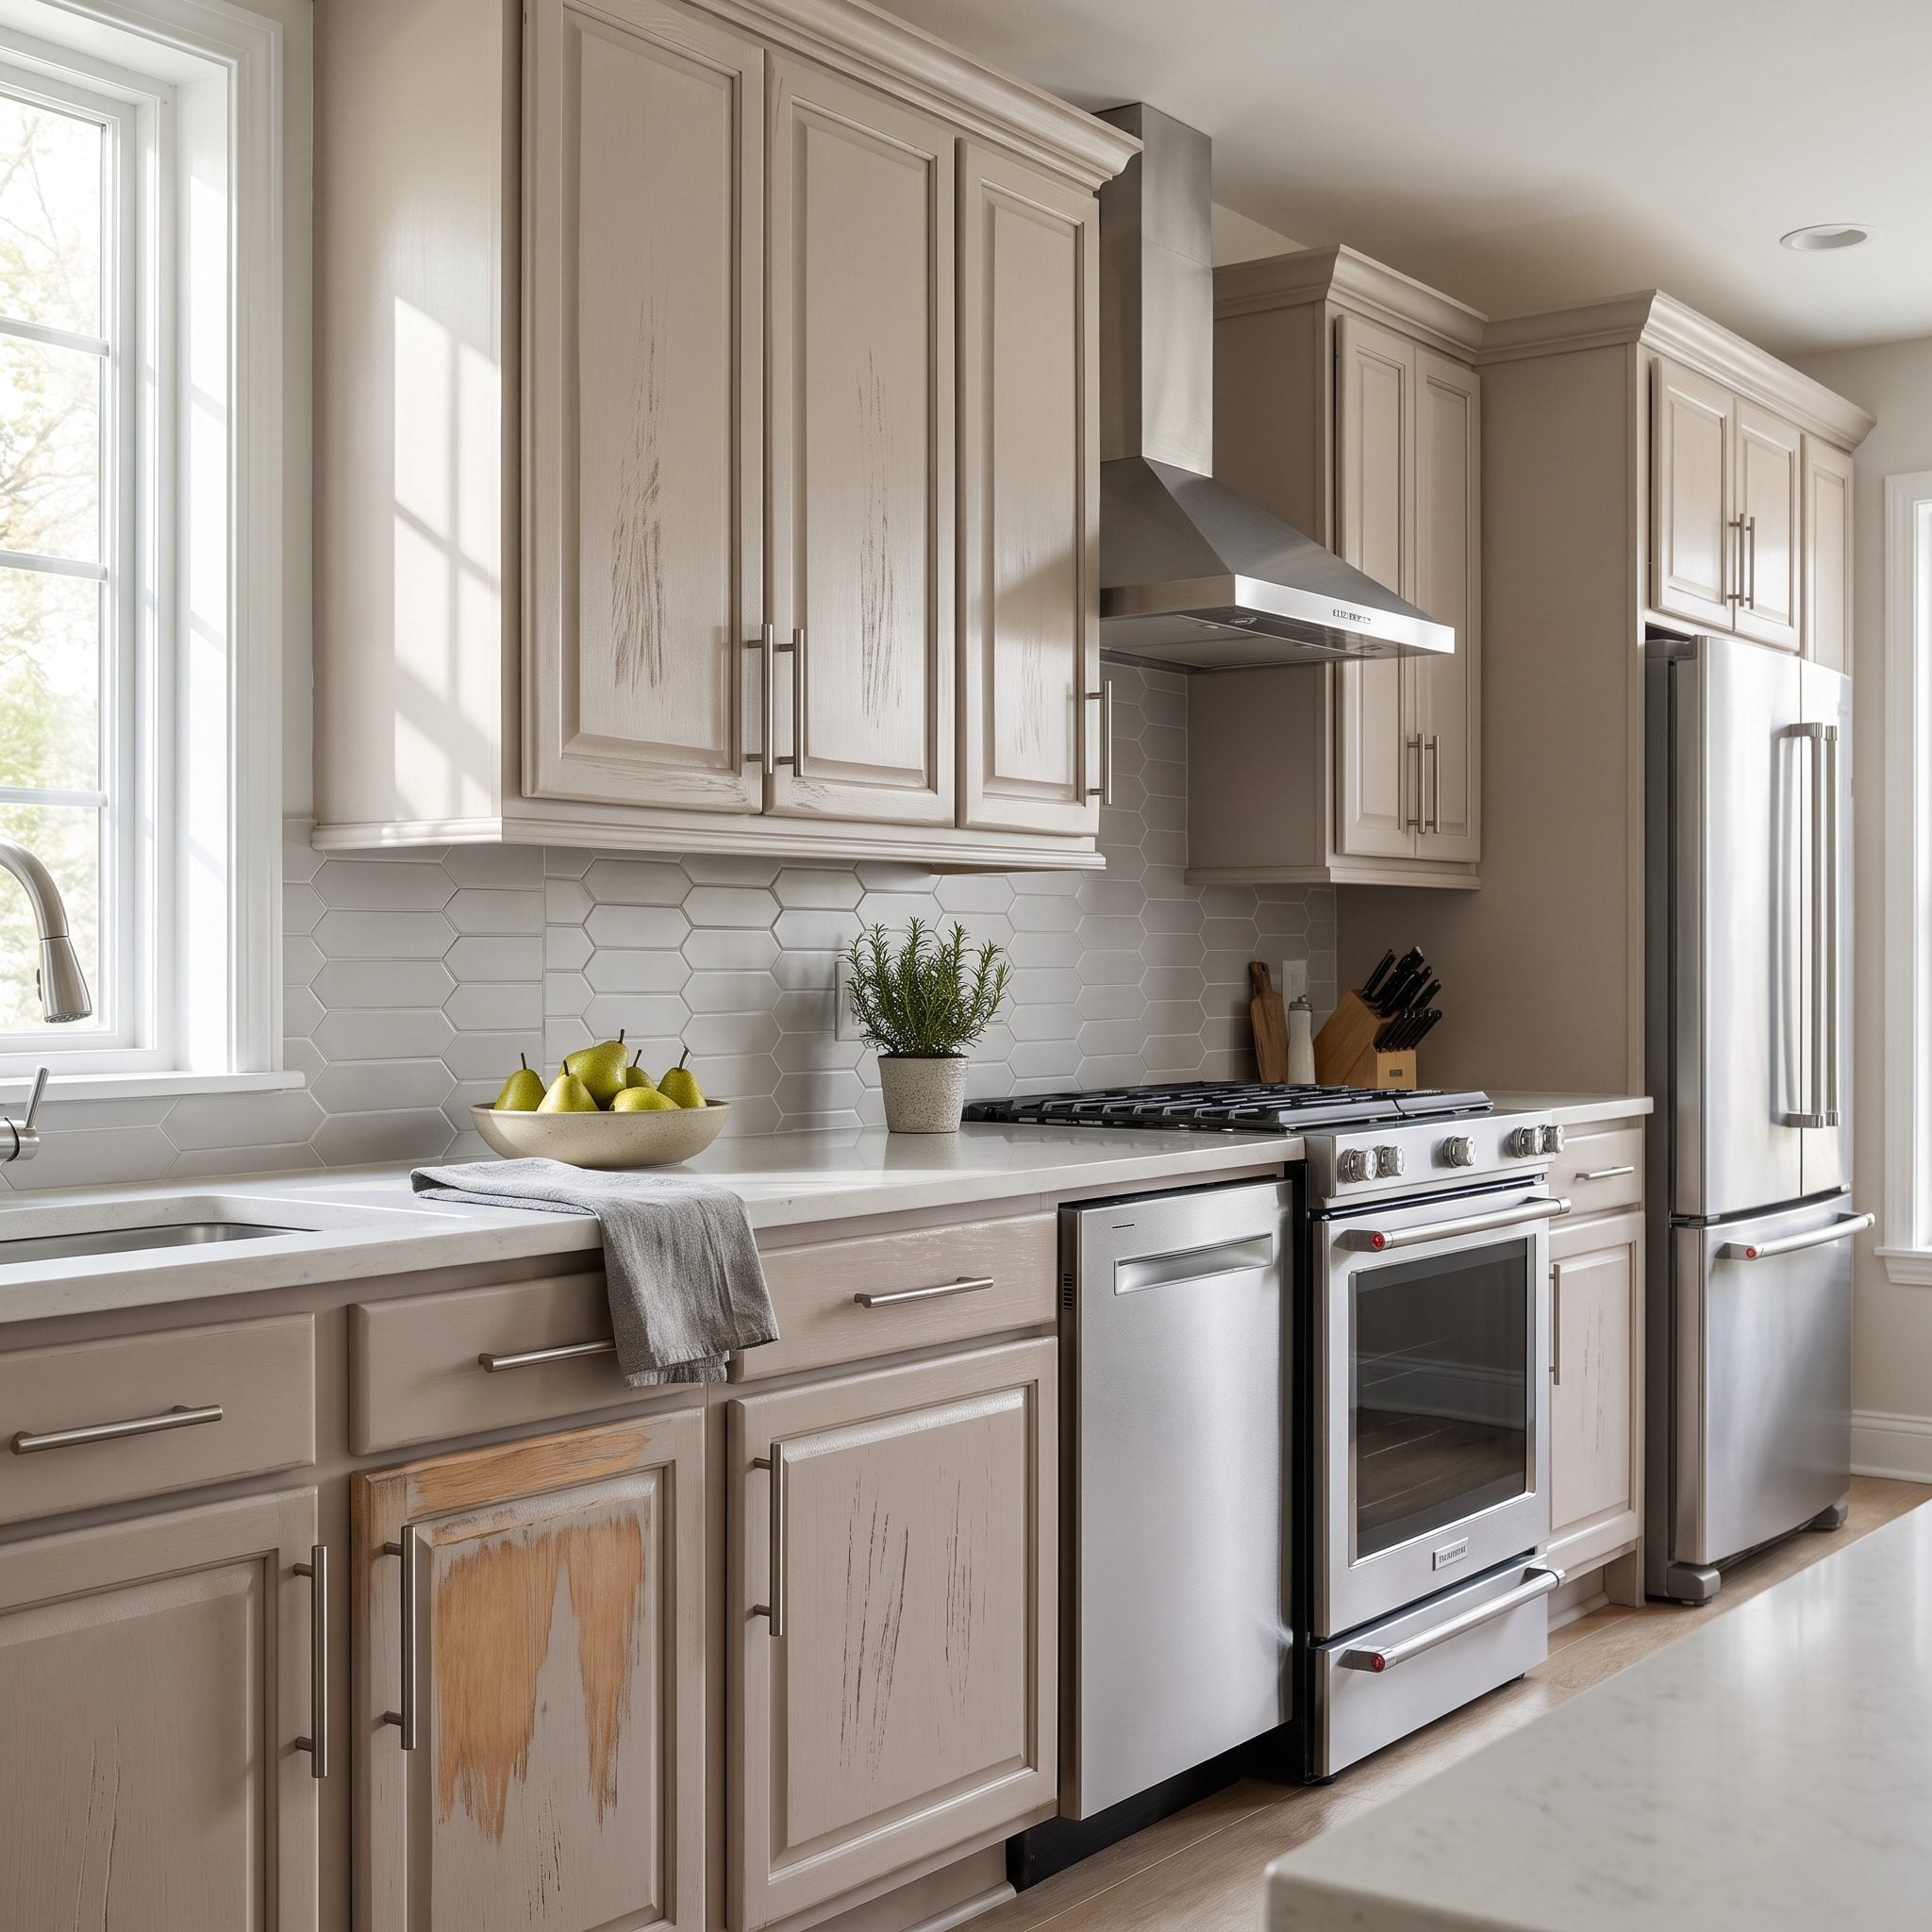
More sanding is not better preparation. For many repainting jobs, you’re trying to dull the old finish and create tooth, not carve your initials into it.
Go too coarse or push too hard and you can round crisp profiles, leave scratches that telegraph through the finish or sand straight through thin veneer.
Follow the coating manufacturer’s prep recommendation. A fine scuff in roughly the 180- to 220-grit range is common for many systems, but the product instructions win. The goal is an evenly dulled surface, not material removal for its own sake.
21. Not Removing All the Sanding Dust
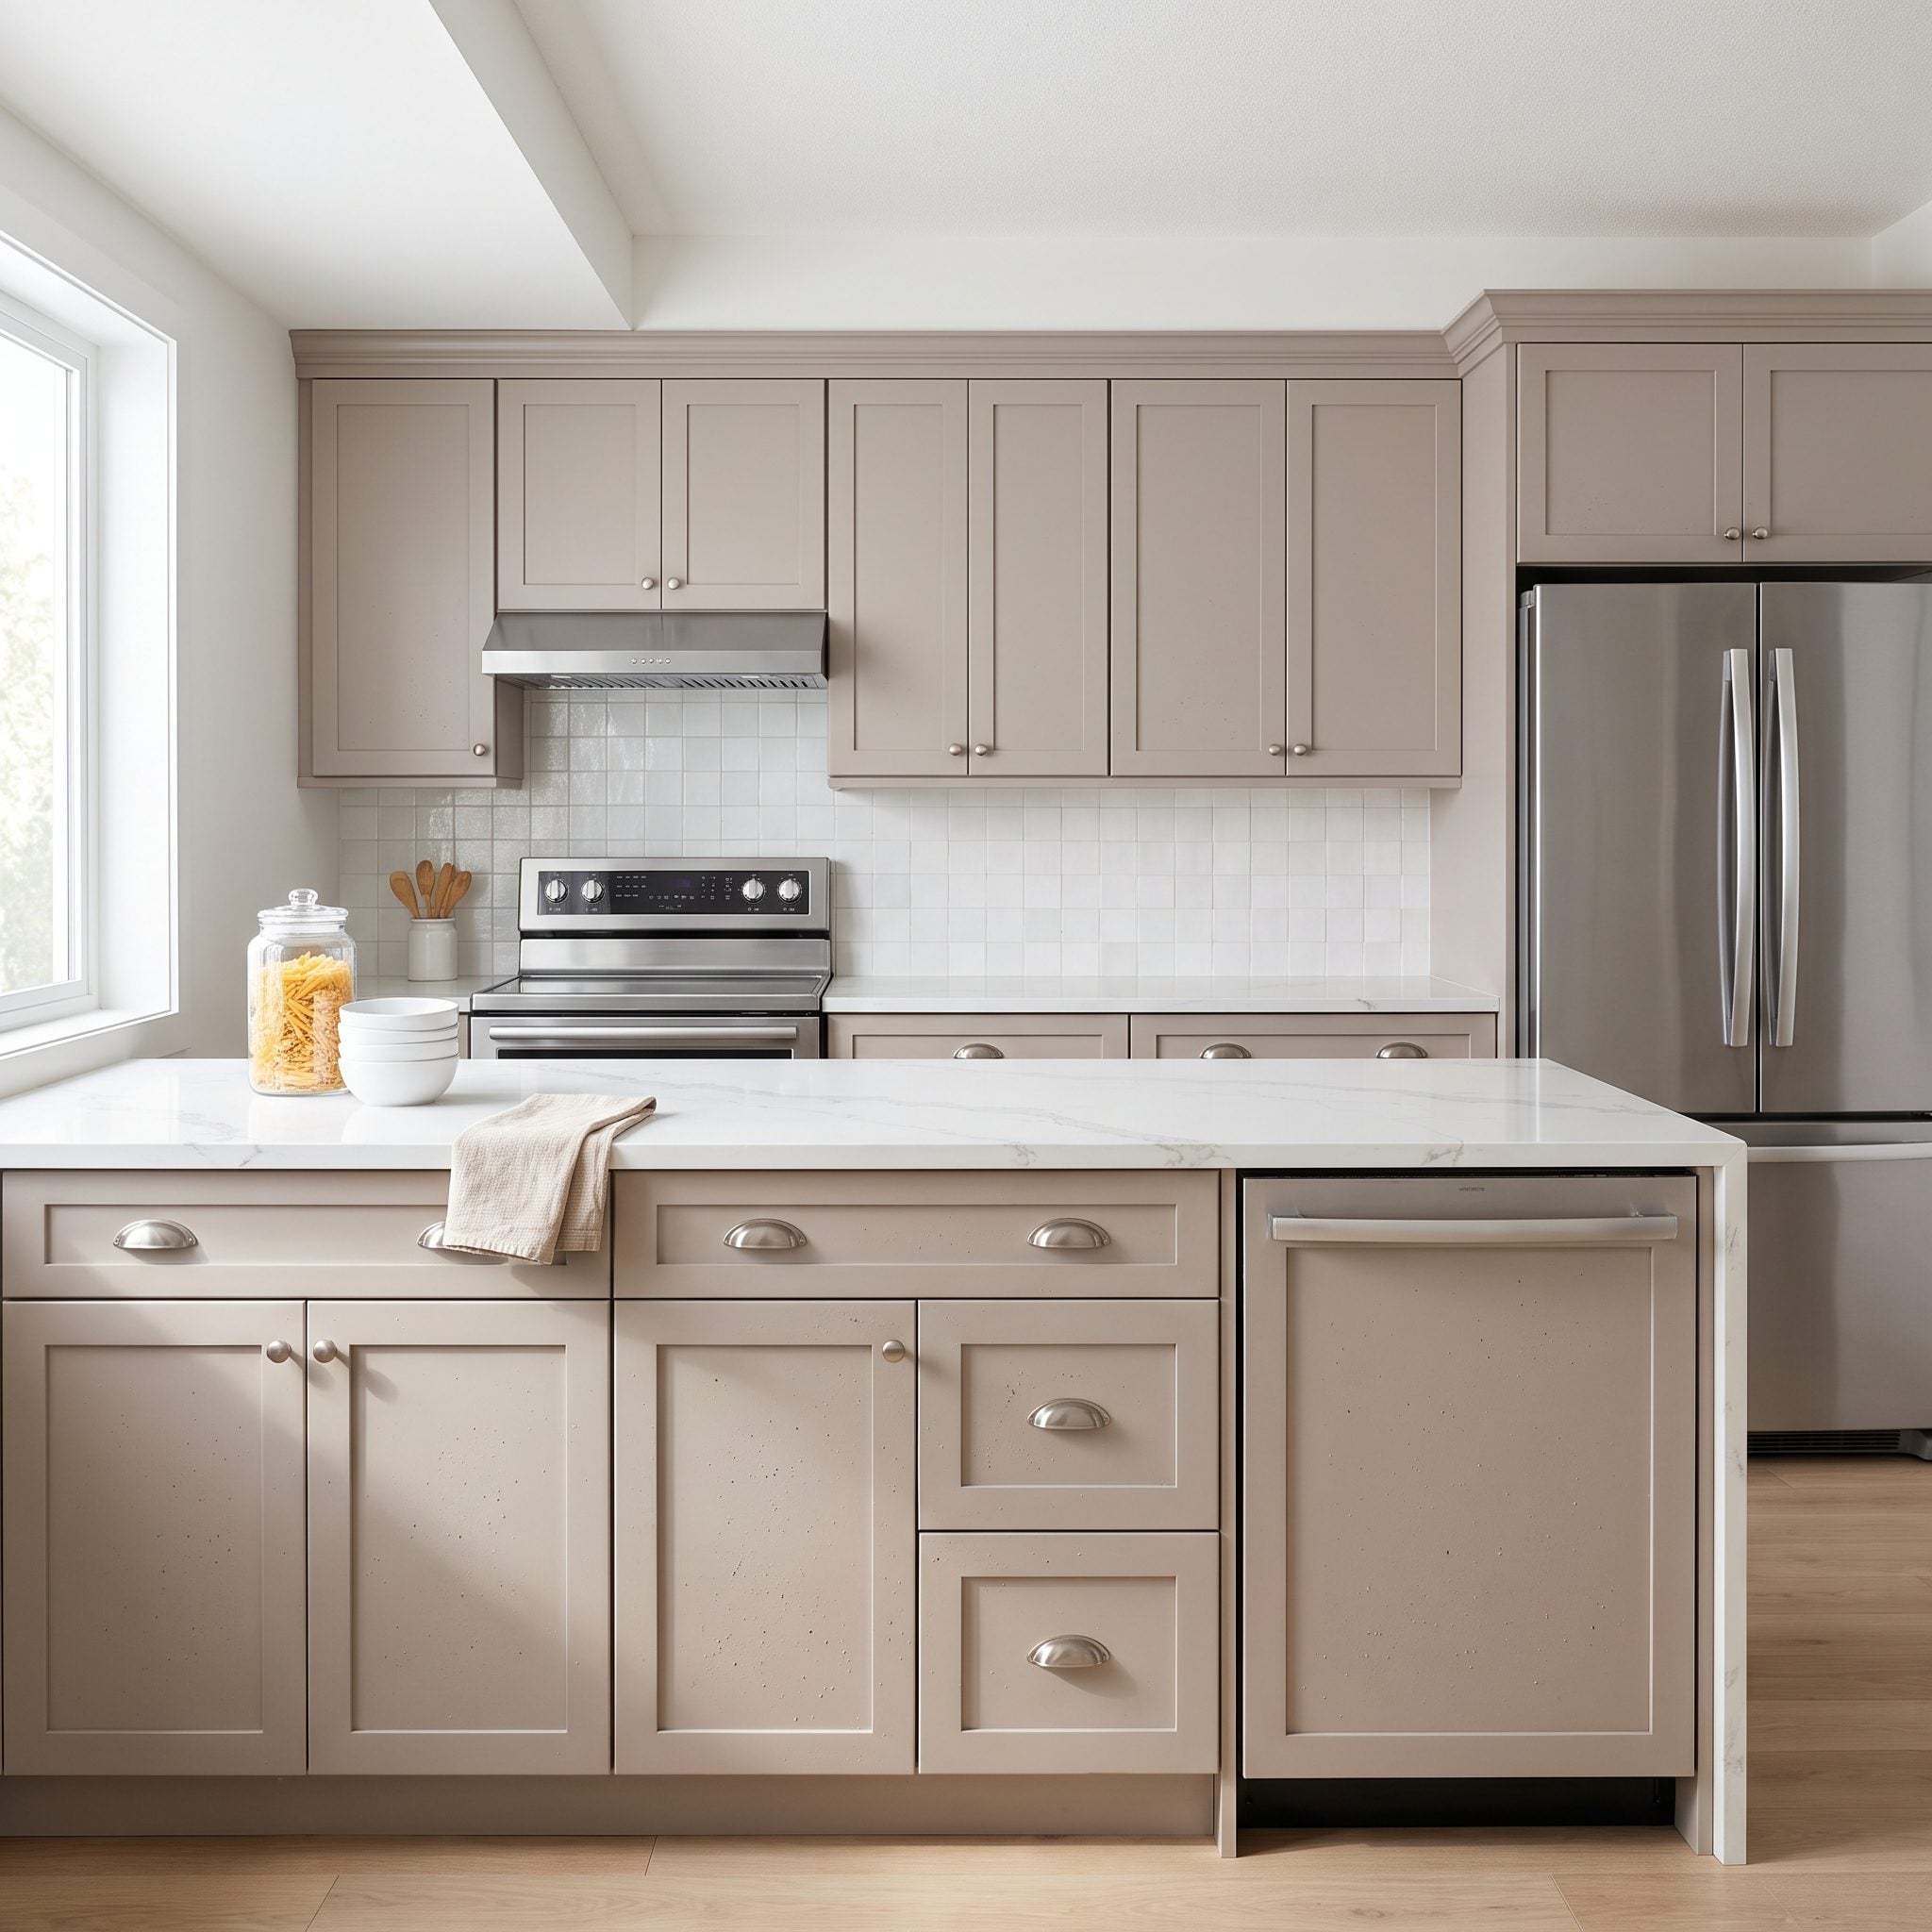
Fine sanding dust has a remarkable ability to disappear until paint traps it permanently. Then every pass of your hand finds the gritty finish your eyes missed.
Vacuum carefully and wipe with a lint-free method compatible with the coating you’re using. Some painters use tack cloths; others prefer a slightly damp microfiber or lint-free cloth because certain tack products can leave residue. Follow the coating manufacturer’s recommendation and let any moisture evaporate completely.
Then inspect the surface under raking light. Dust is much easier to remove before it becomes part of the finish.
20. Not Removing the Doors and Drawer Fronts
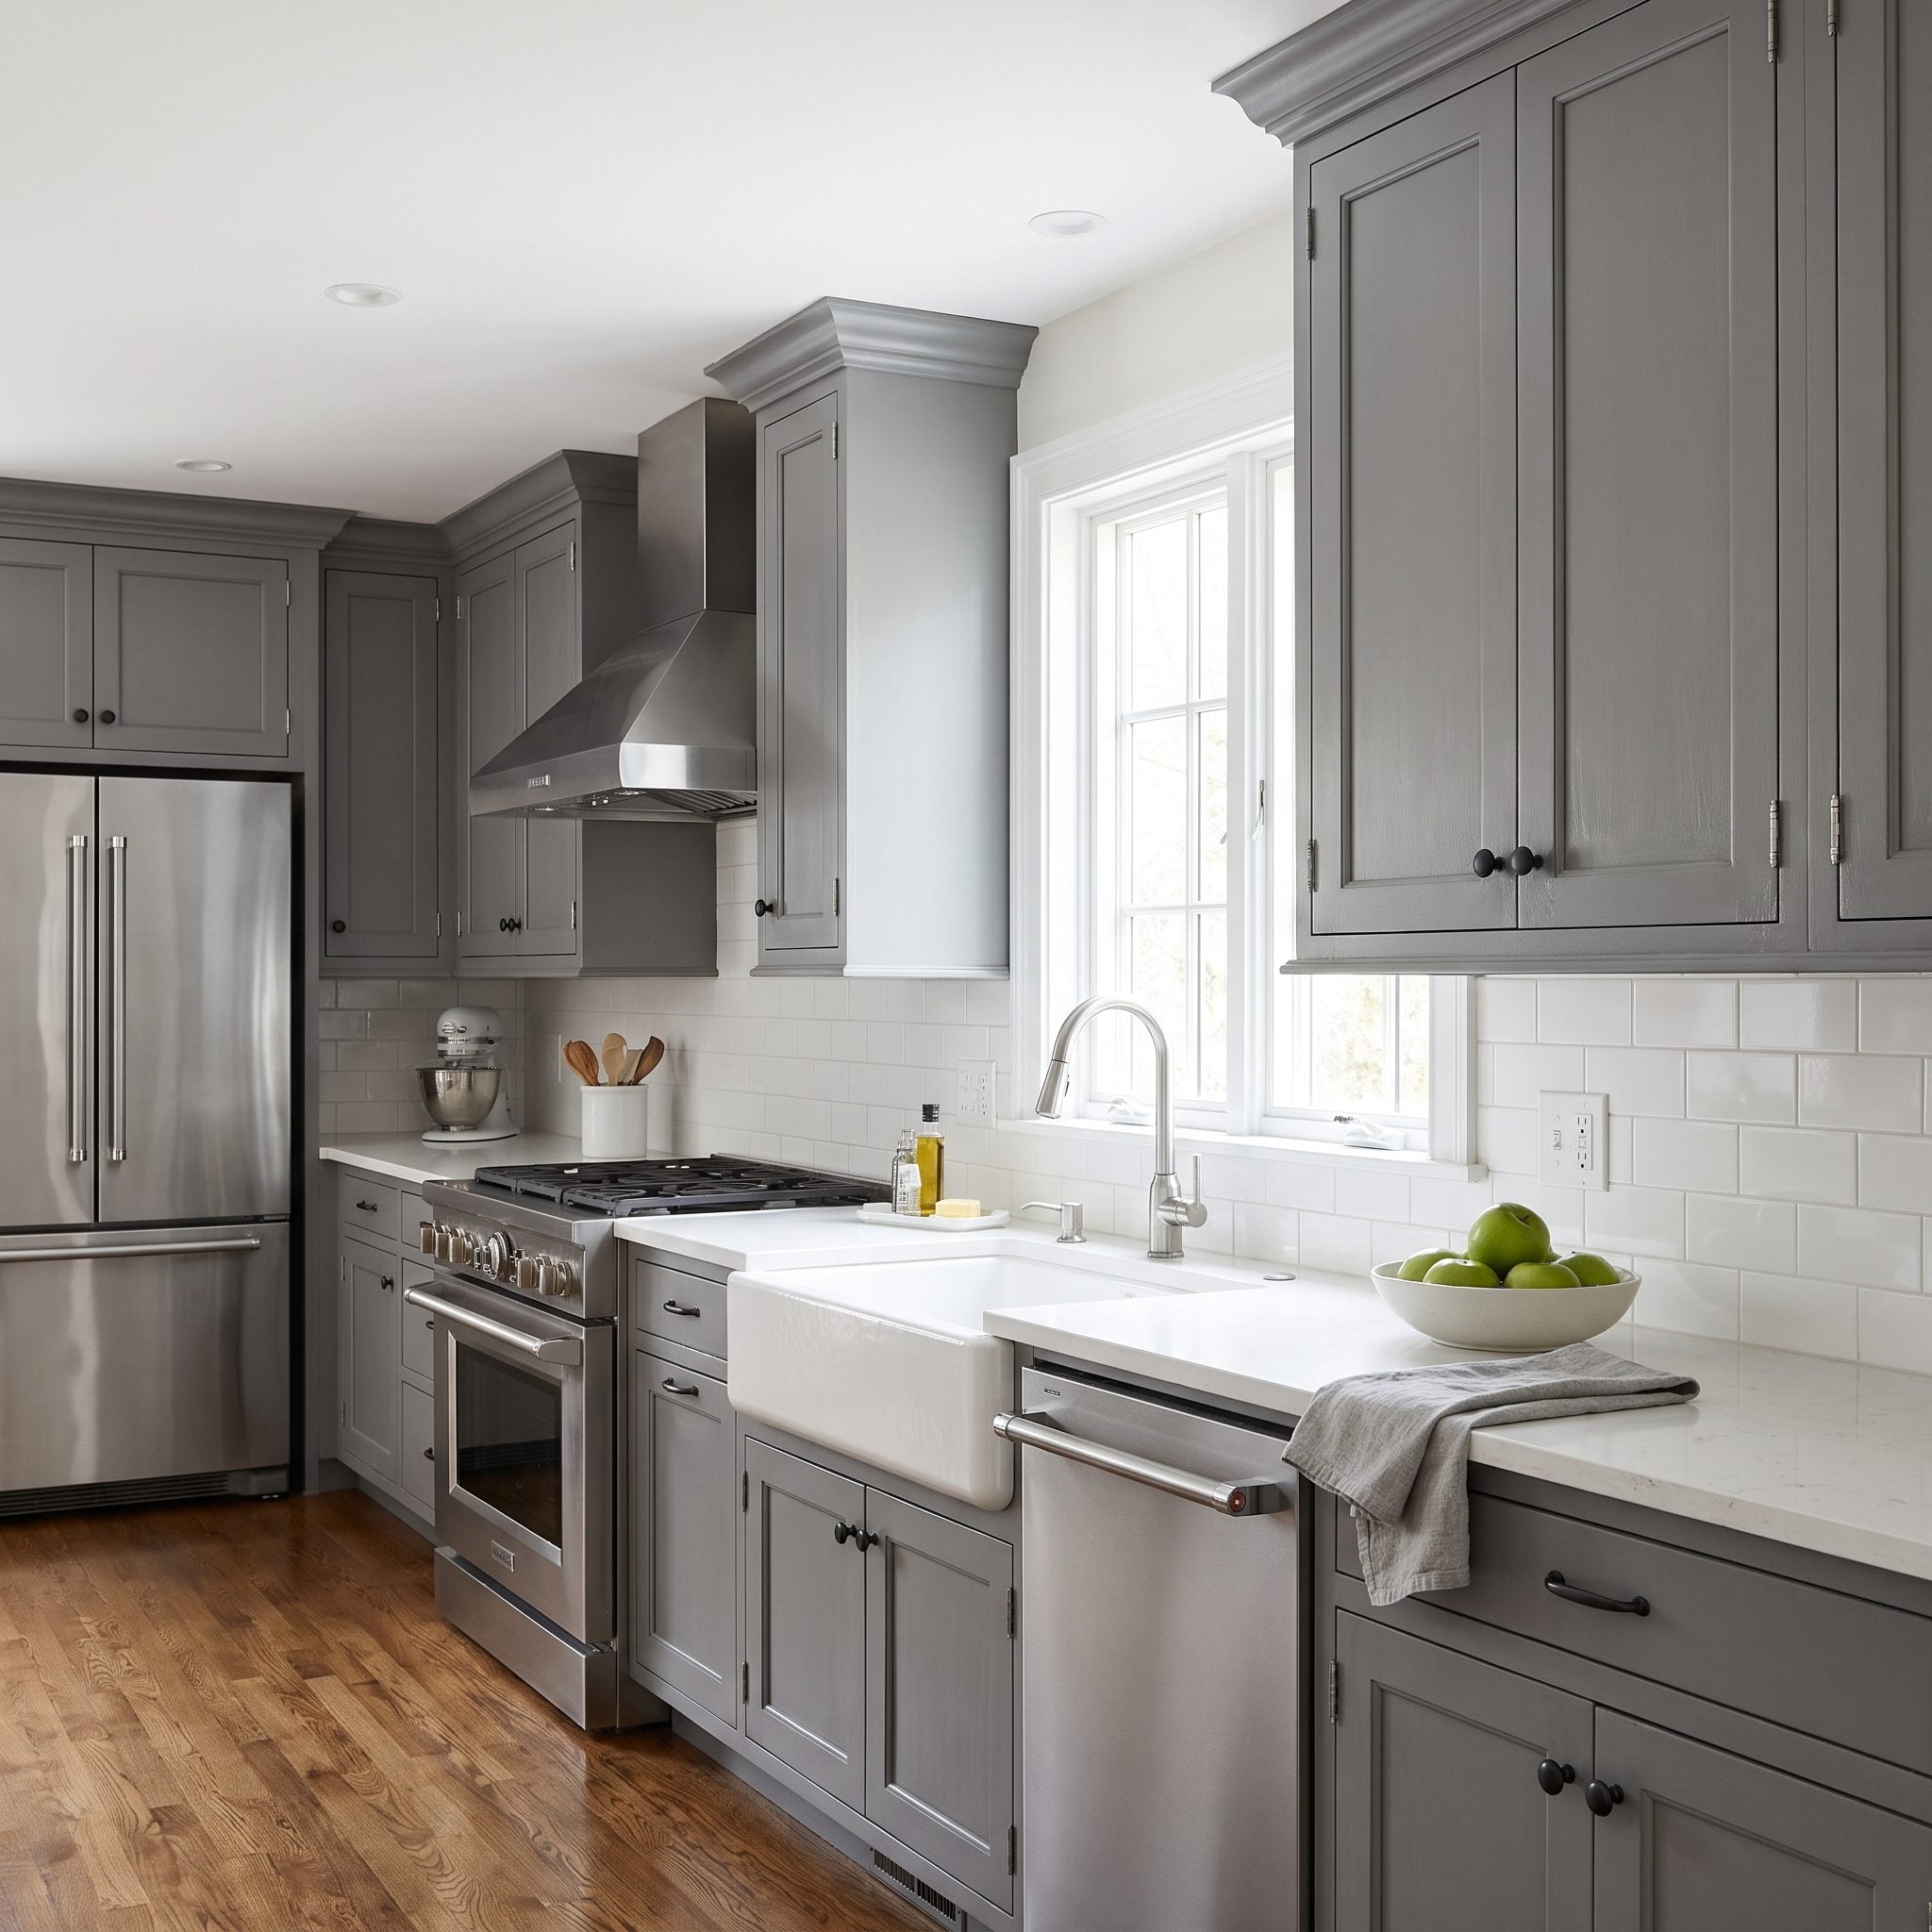
Cabinets can be painted in place, but removing doors and drawer fronts usually gives you far more control. Hinges stay clean, edges become accessible and you aren’t trying to produce a smooth finish while working around adjoining doors.
Set up a logical work area for the doors, remove drawer fronts where practical and keep hardware organized. The extra disassembly feels slow at the beginning and wonderfully efficient when you’re not cutting paint around twelve hinges later.
19. Setting Up a Dirty, Dusty Painting Area
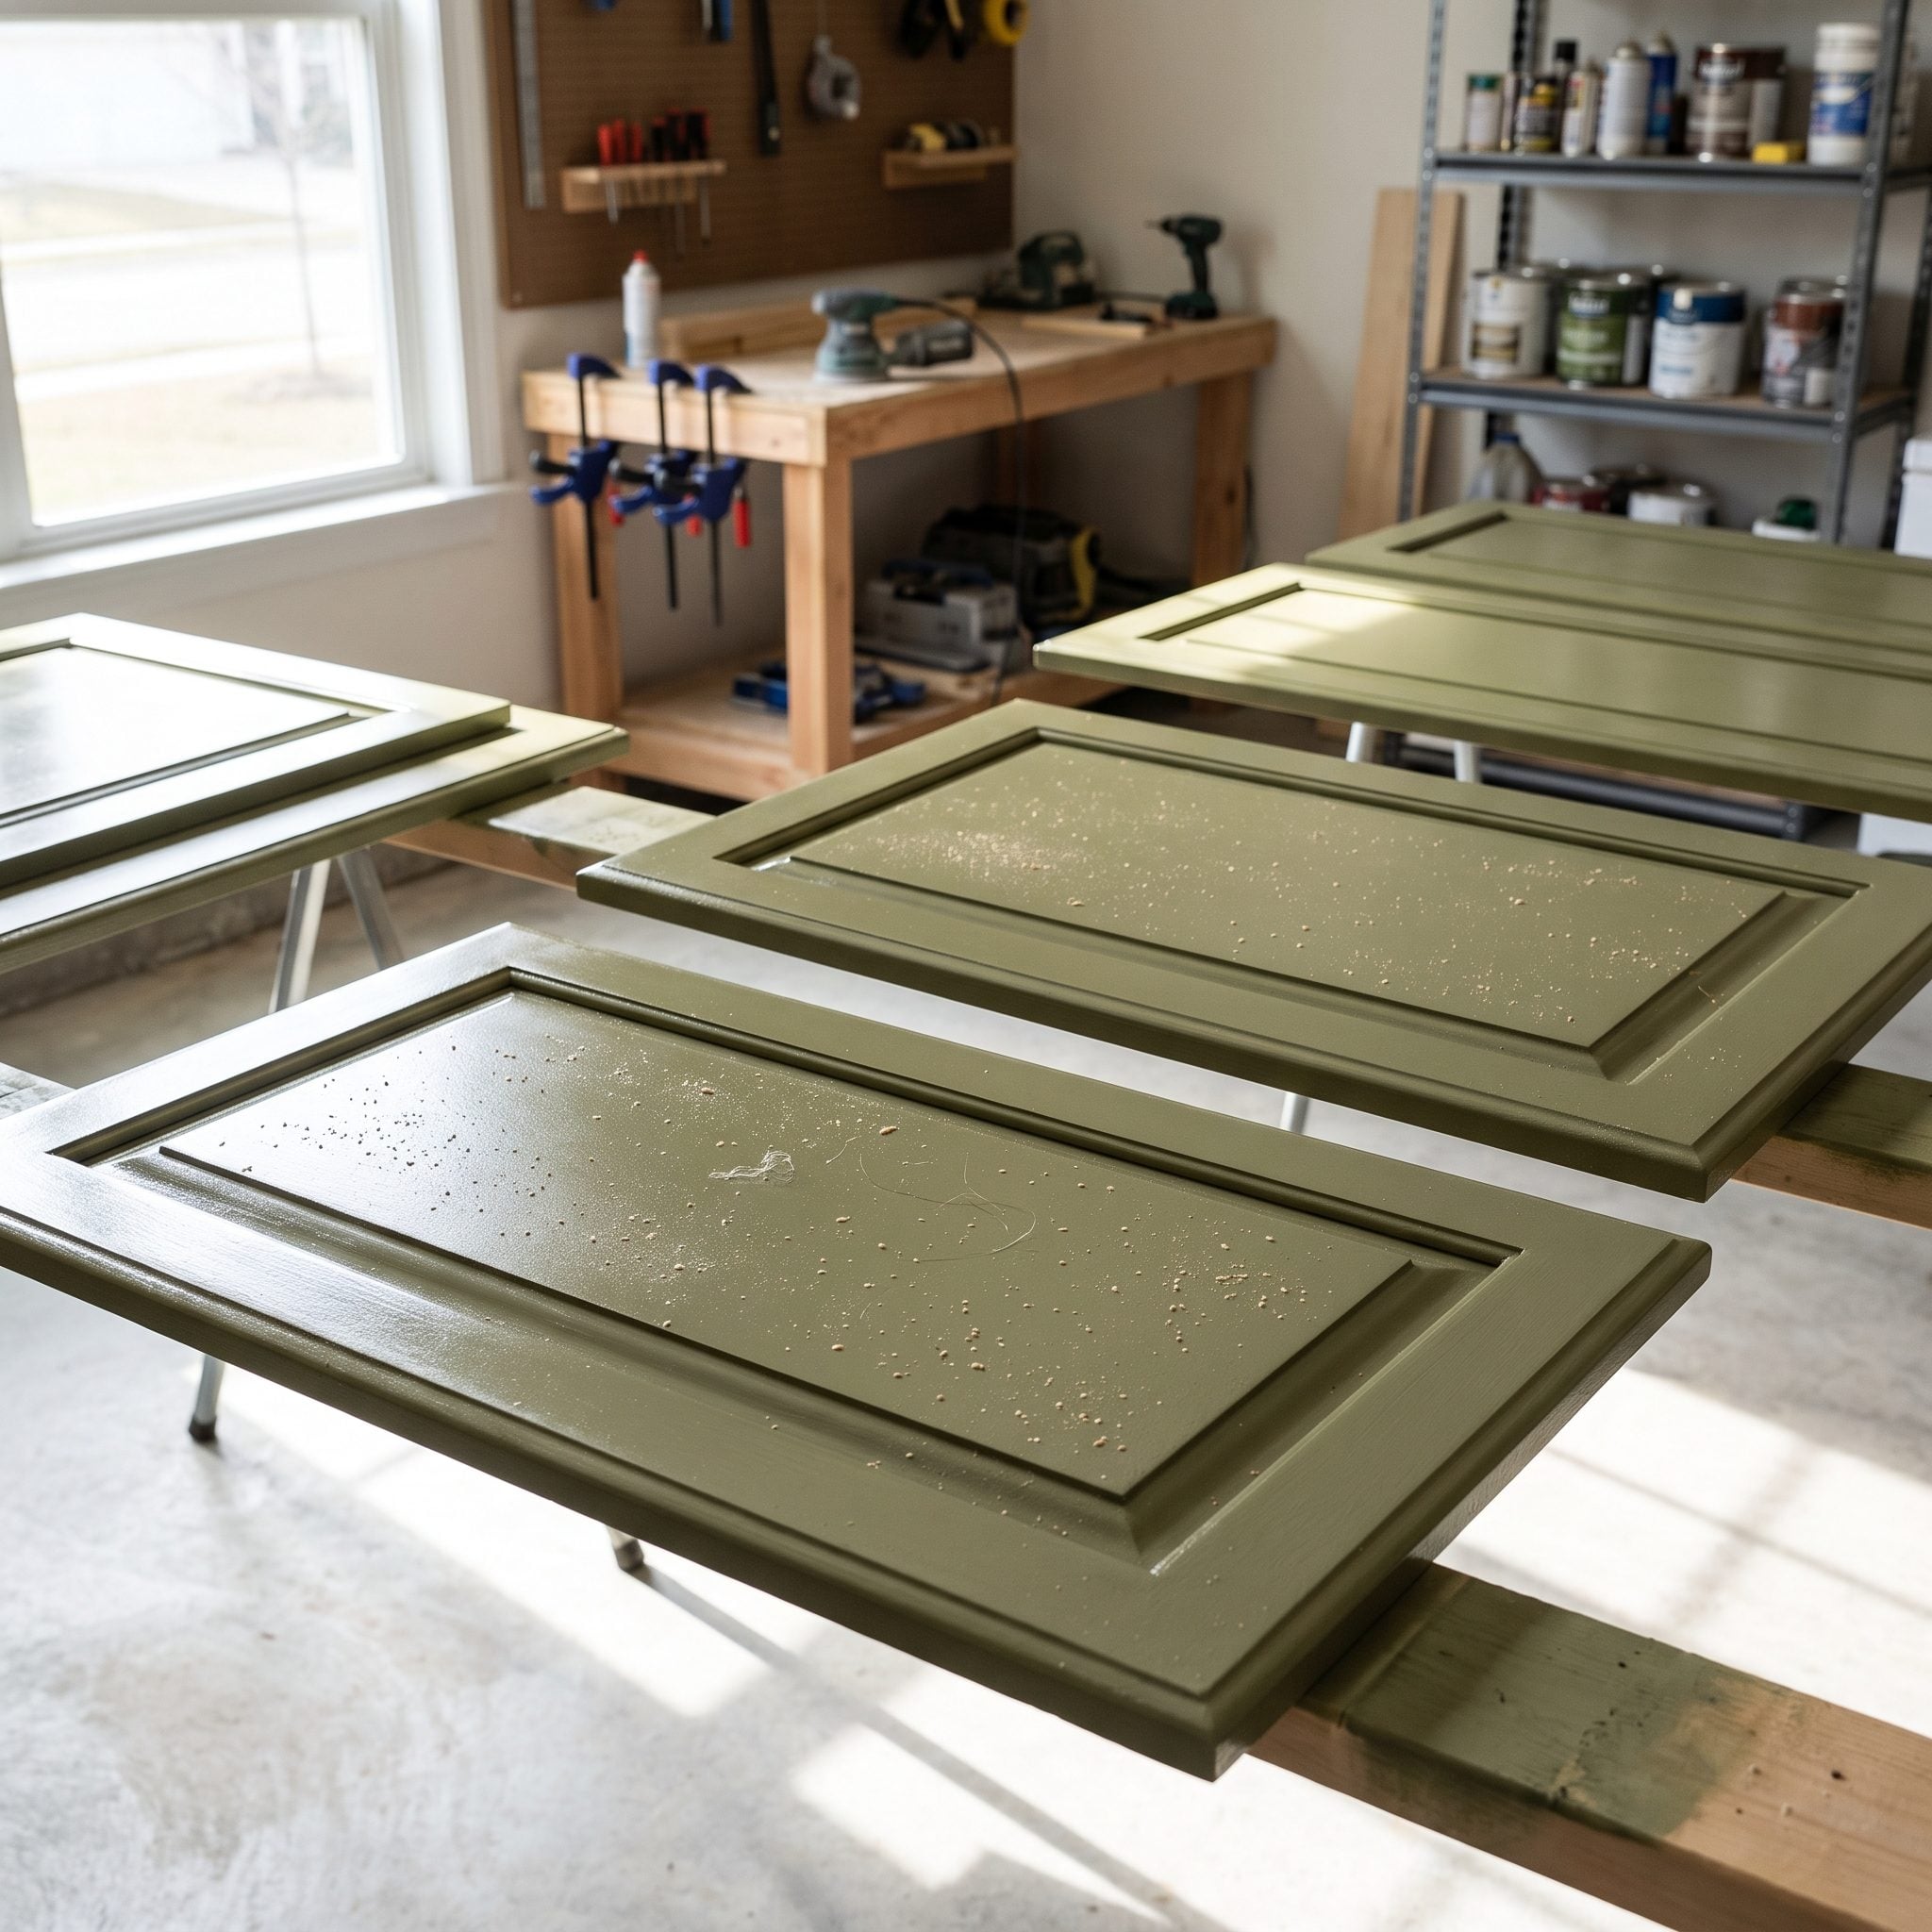
Wet paint is an excellent collector of everything you hoped nobody would notice. Sawdust, lint, hair and airborne debris become permanent little monuments the moment they land.
Vacuum and damp-wipe the work area before coating. Keep sanding away from wet finishes and provide the ventilation required by the product without blasting dust across the doors with uncontrolled airflow.
18. Not Labeling Every Door, Drawer, and Hinge Location
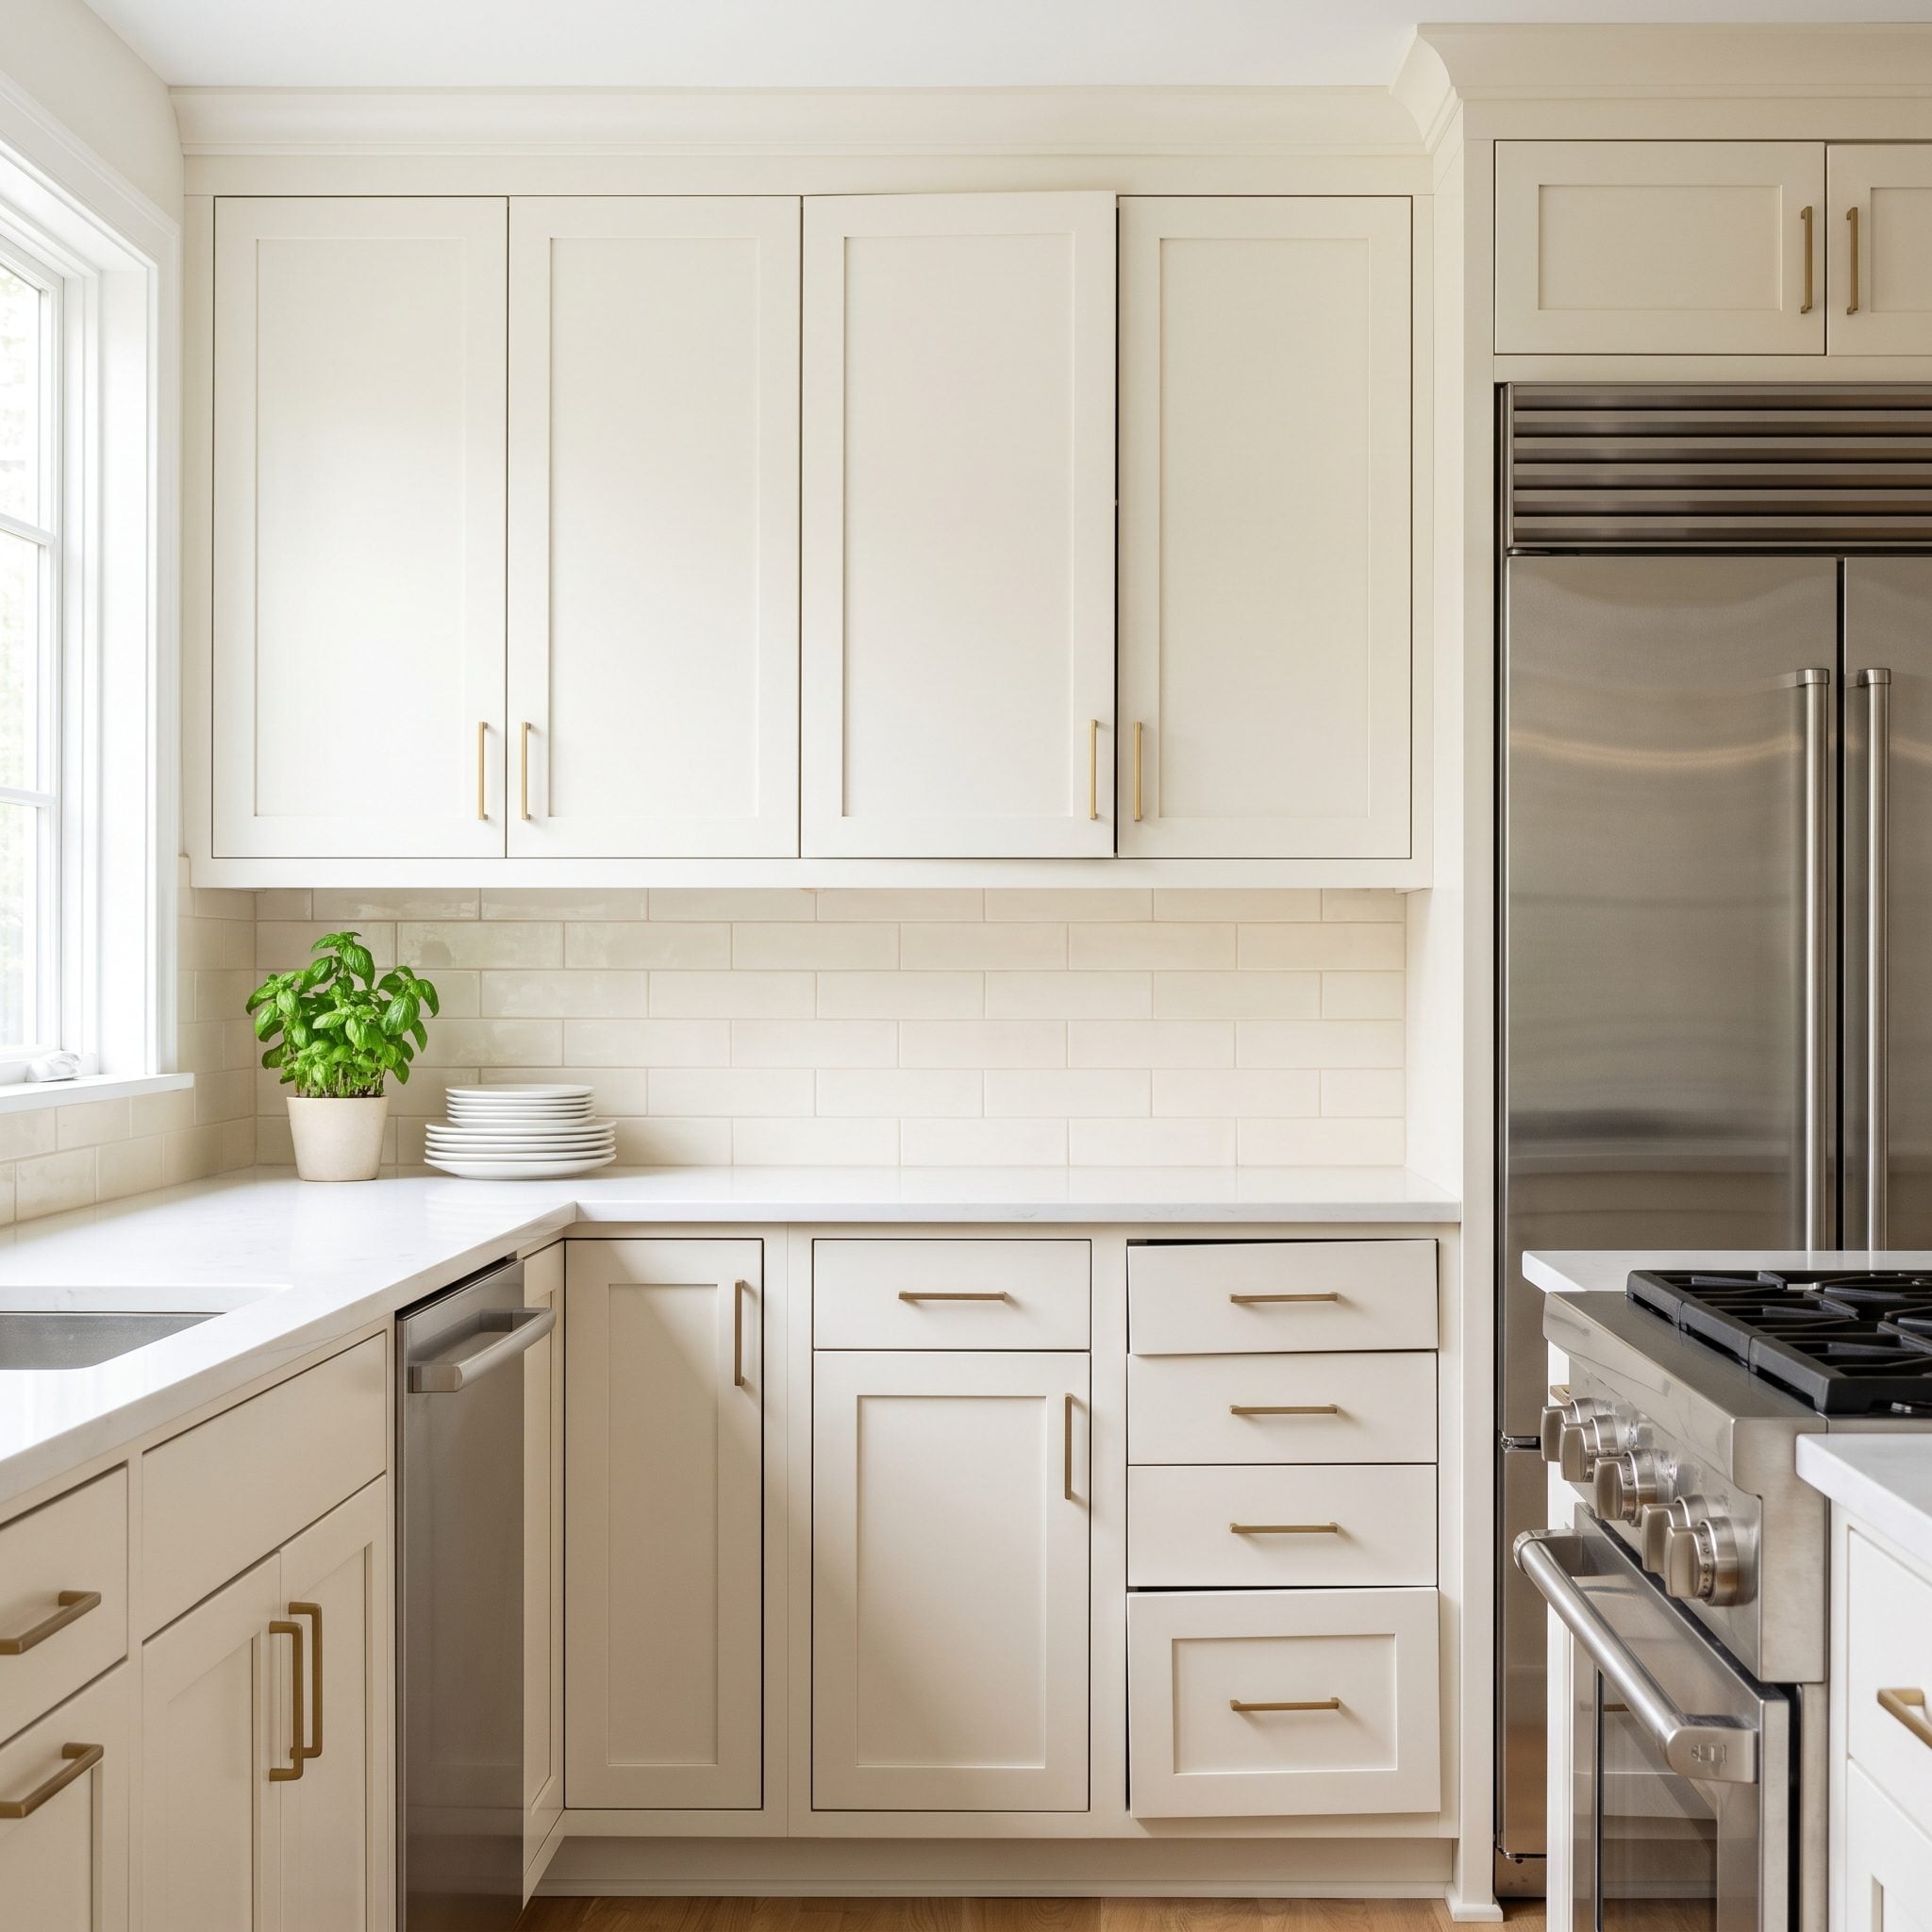
Don’t assume identical-looking doors will be painless to swap. Cabinet openings, hinge adjustments and years of settling can make reassembly surprisingly fussy even when dimensions appear the same.
Number the doors and drawer fronts, make a simple layout map and keep hinges or hardware grouped by location when that matters to the system. A wide reference photo before disassembly takes seconds and becomes surprisingly valuable two weekends later.
17. Failing to Protect the Rest of the Kitchen
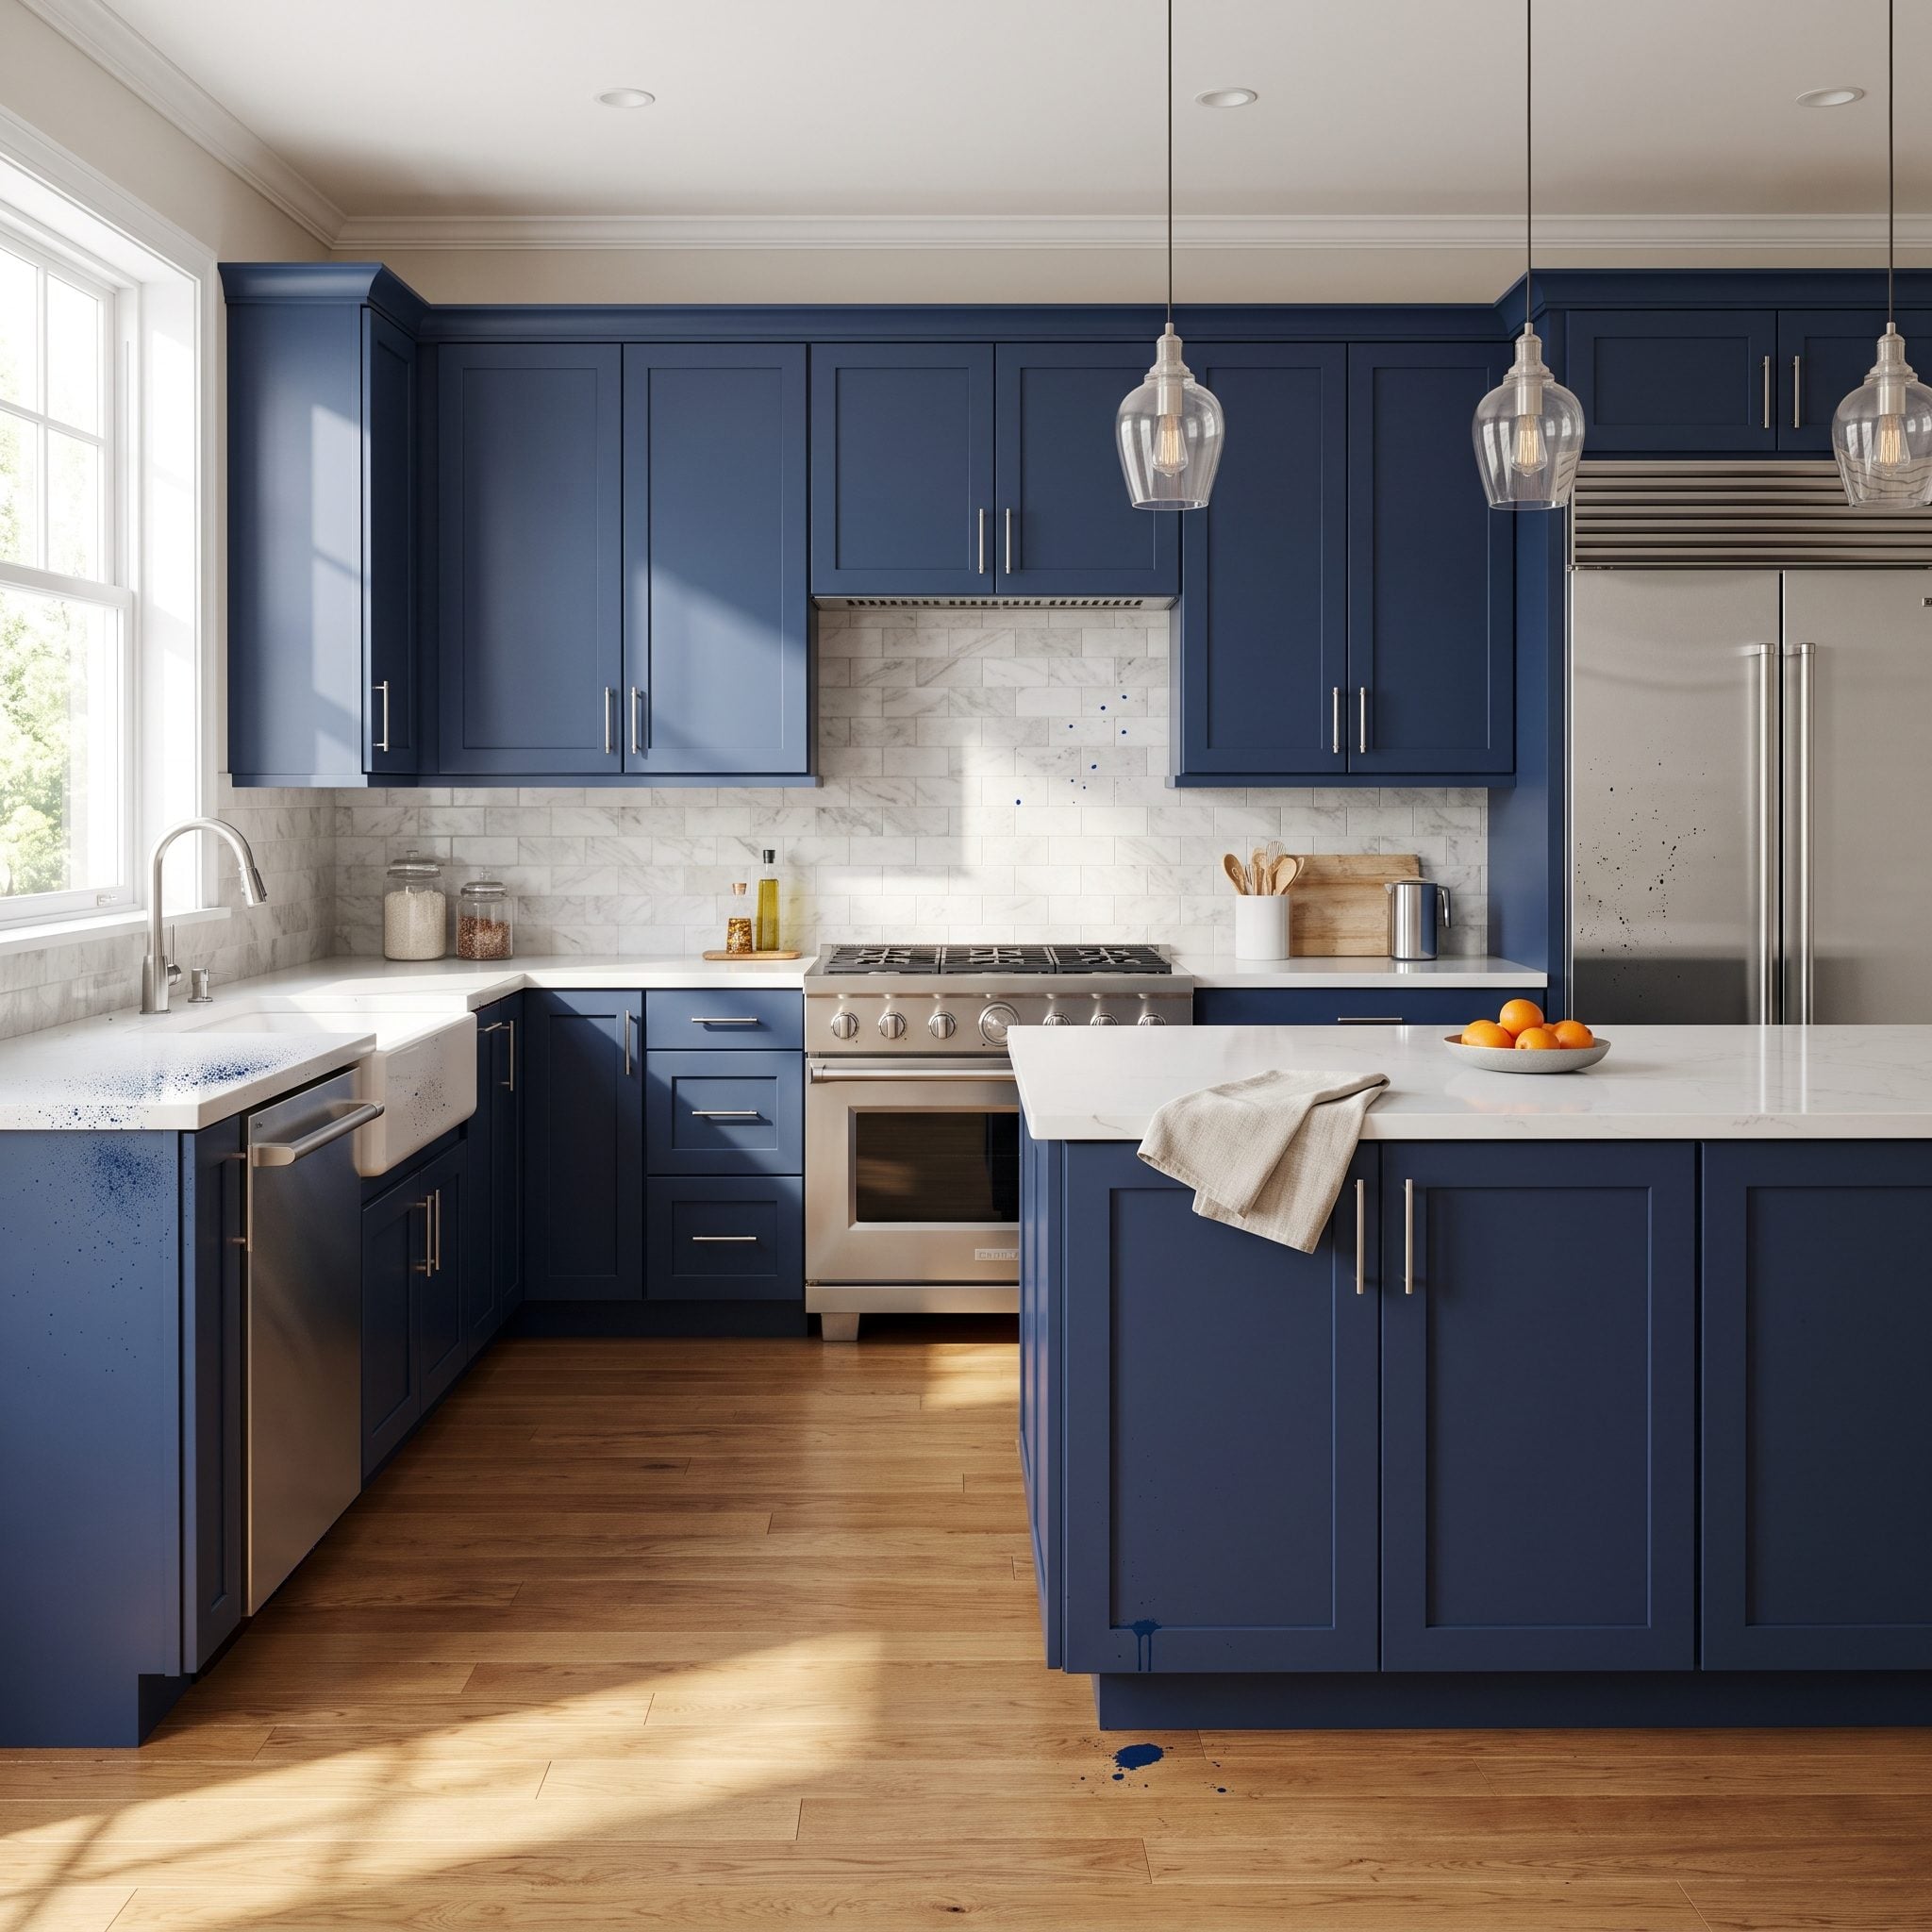
Cabinet obsession has a way of making the rest of the kitchen disappear—right until overspray lands on the refrigerator or a brush flicks navy enamel across the floor.
Mask counters, appliances, backsplash edges and floors according to the application method you’re using. Spraying demands especially careful containment and ventilation; brushing and rolling still create drips and spatter.
Whether you’re planning a full small kitchen makeover or changing only the cabinet color, protecting everything you aren’t painting belongs on the prep list.
16. Painting Over Hinges, Handles, and Hardware
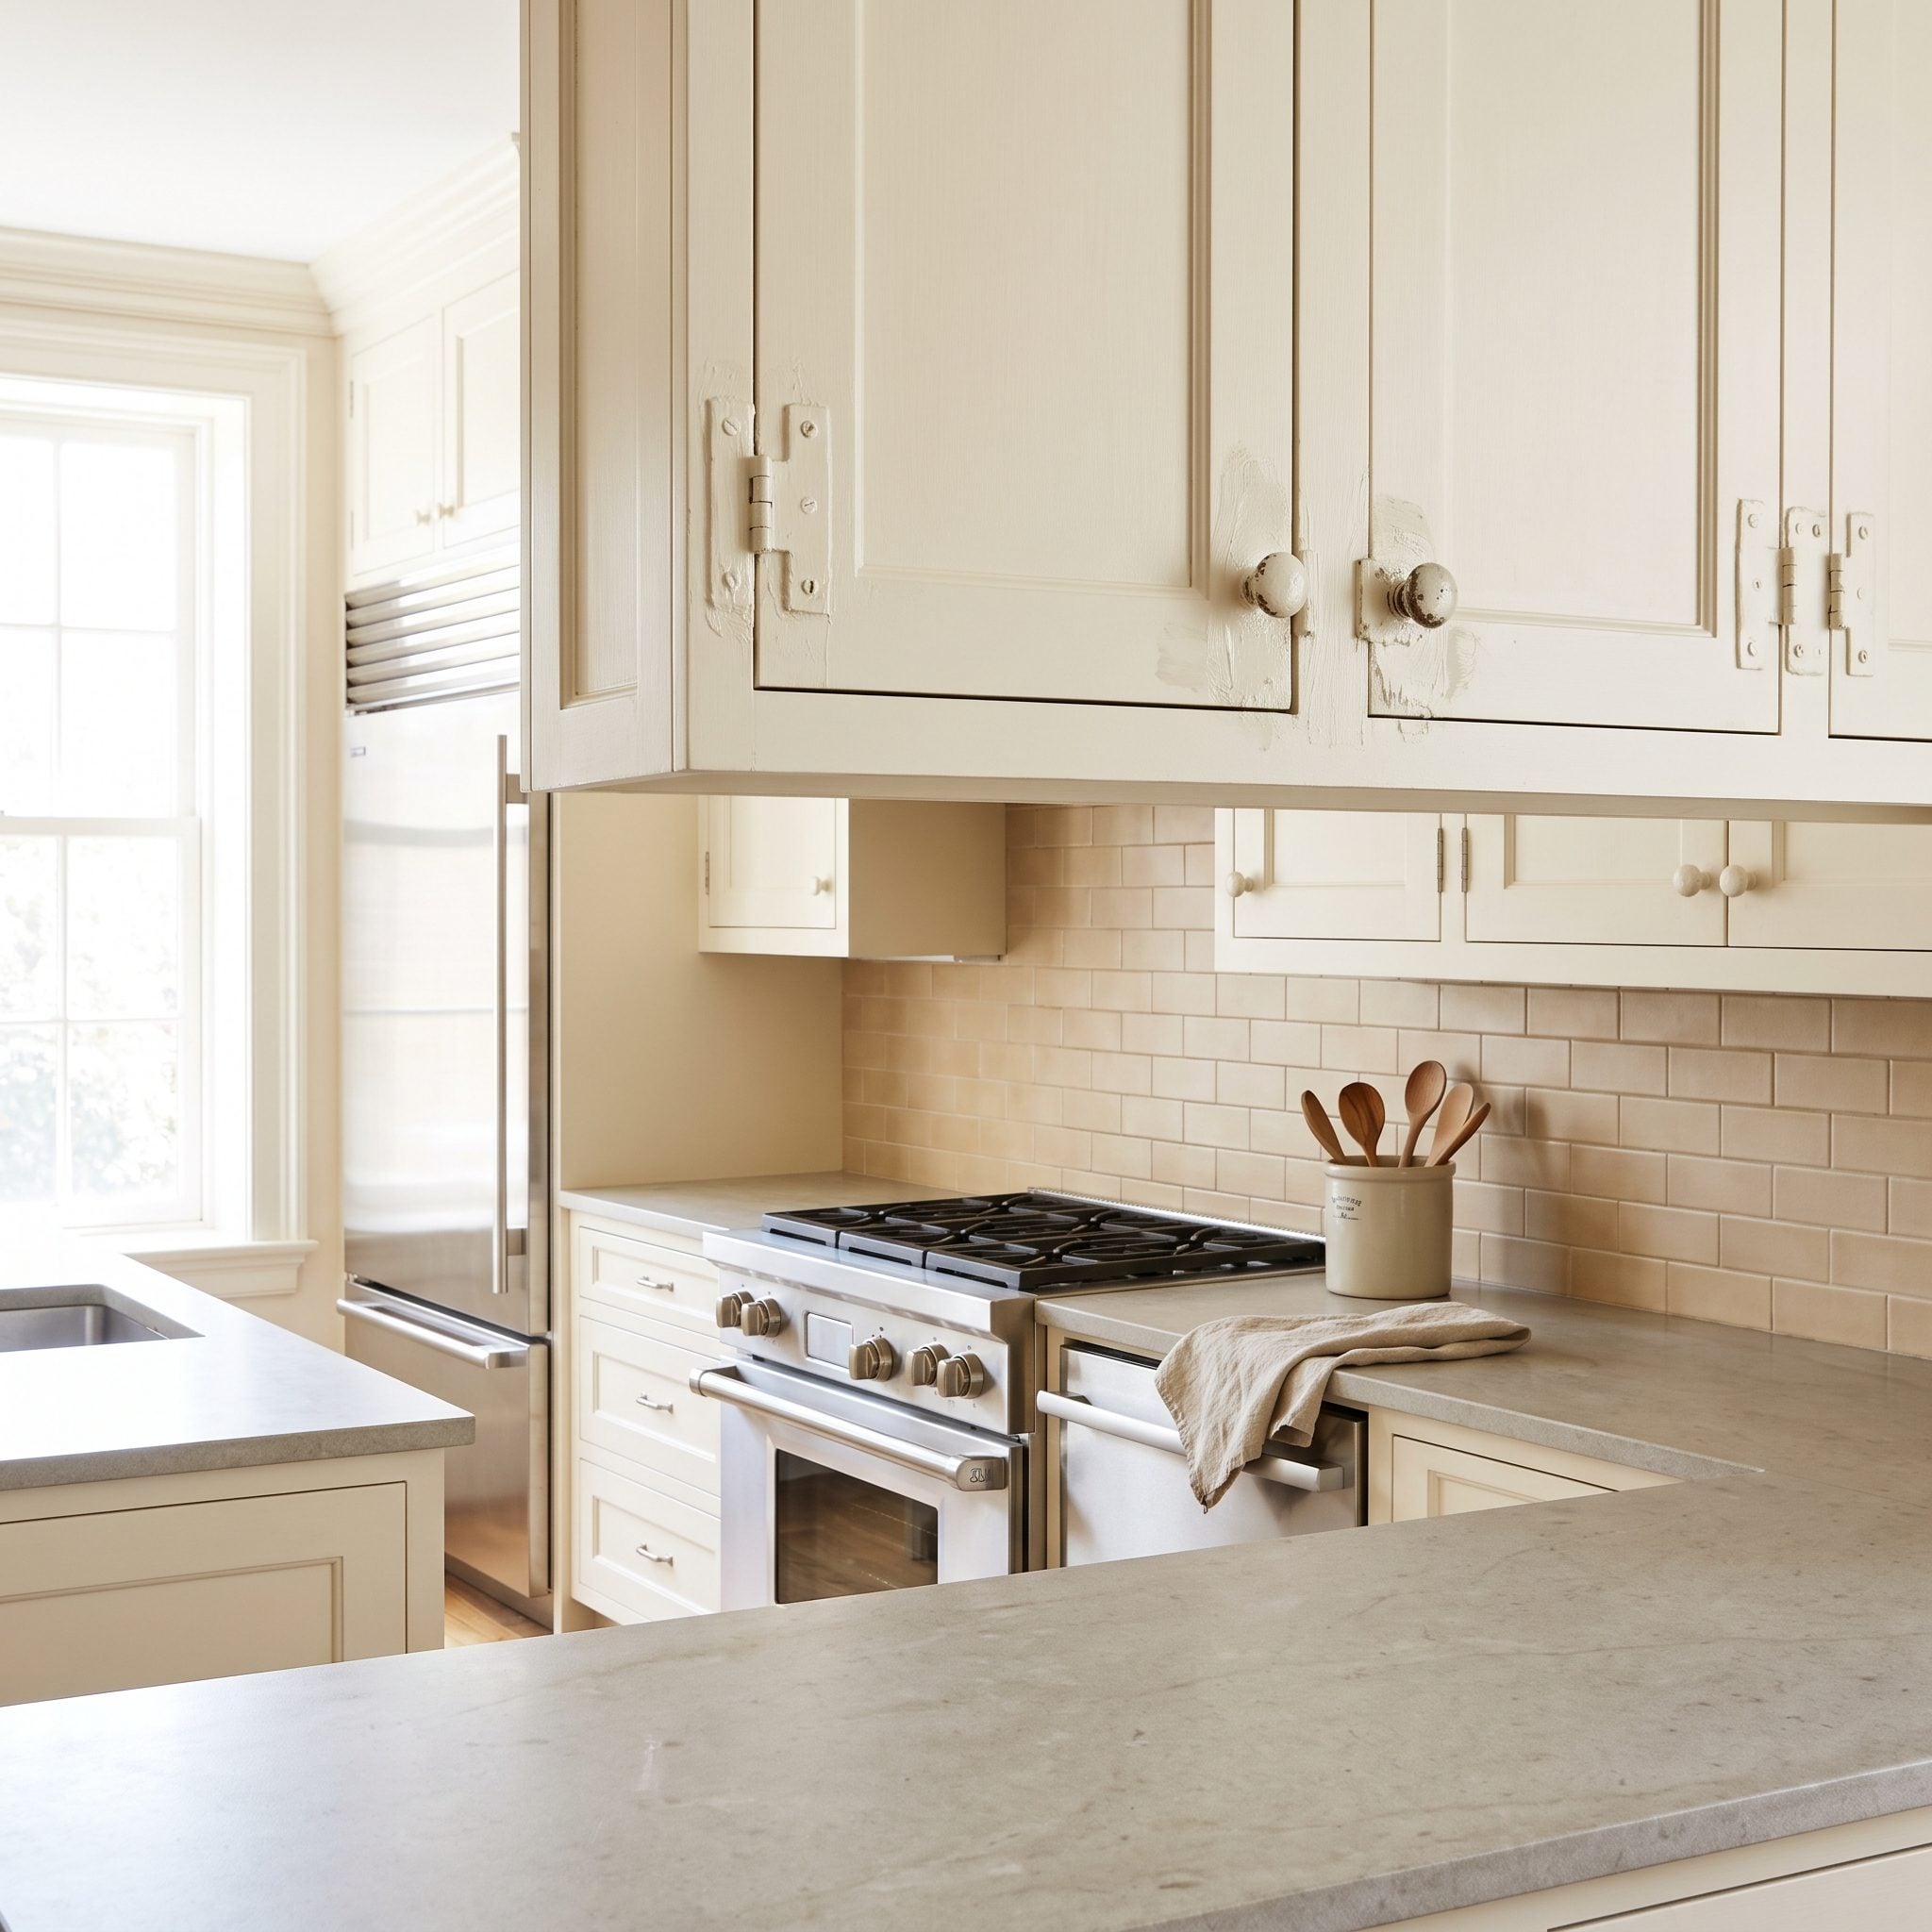
Nothing advertises a rushed paint job quite like a hinge wearing the same coat as the door. Paint buildup can chip, interfere with moving parts and turn screw heads into tiny archaeological digs.
Remove knobs, pulls and hinges when practical. Clean and reuse hardware worth keeping or replace it while the doors are already off. A screwdriver is considerably cheaper than spending the next decade staring at cream-painted hinge barrels.
15. Using Ordinary Wall Paint on Hard-Working Cabinets
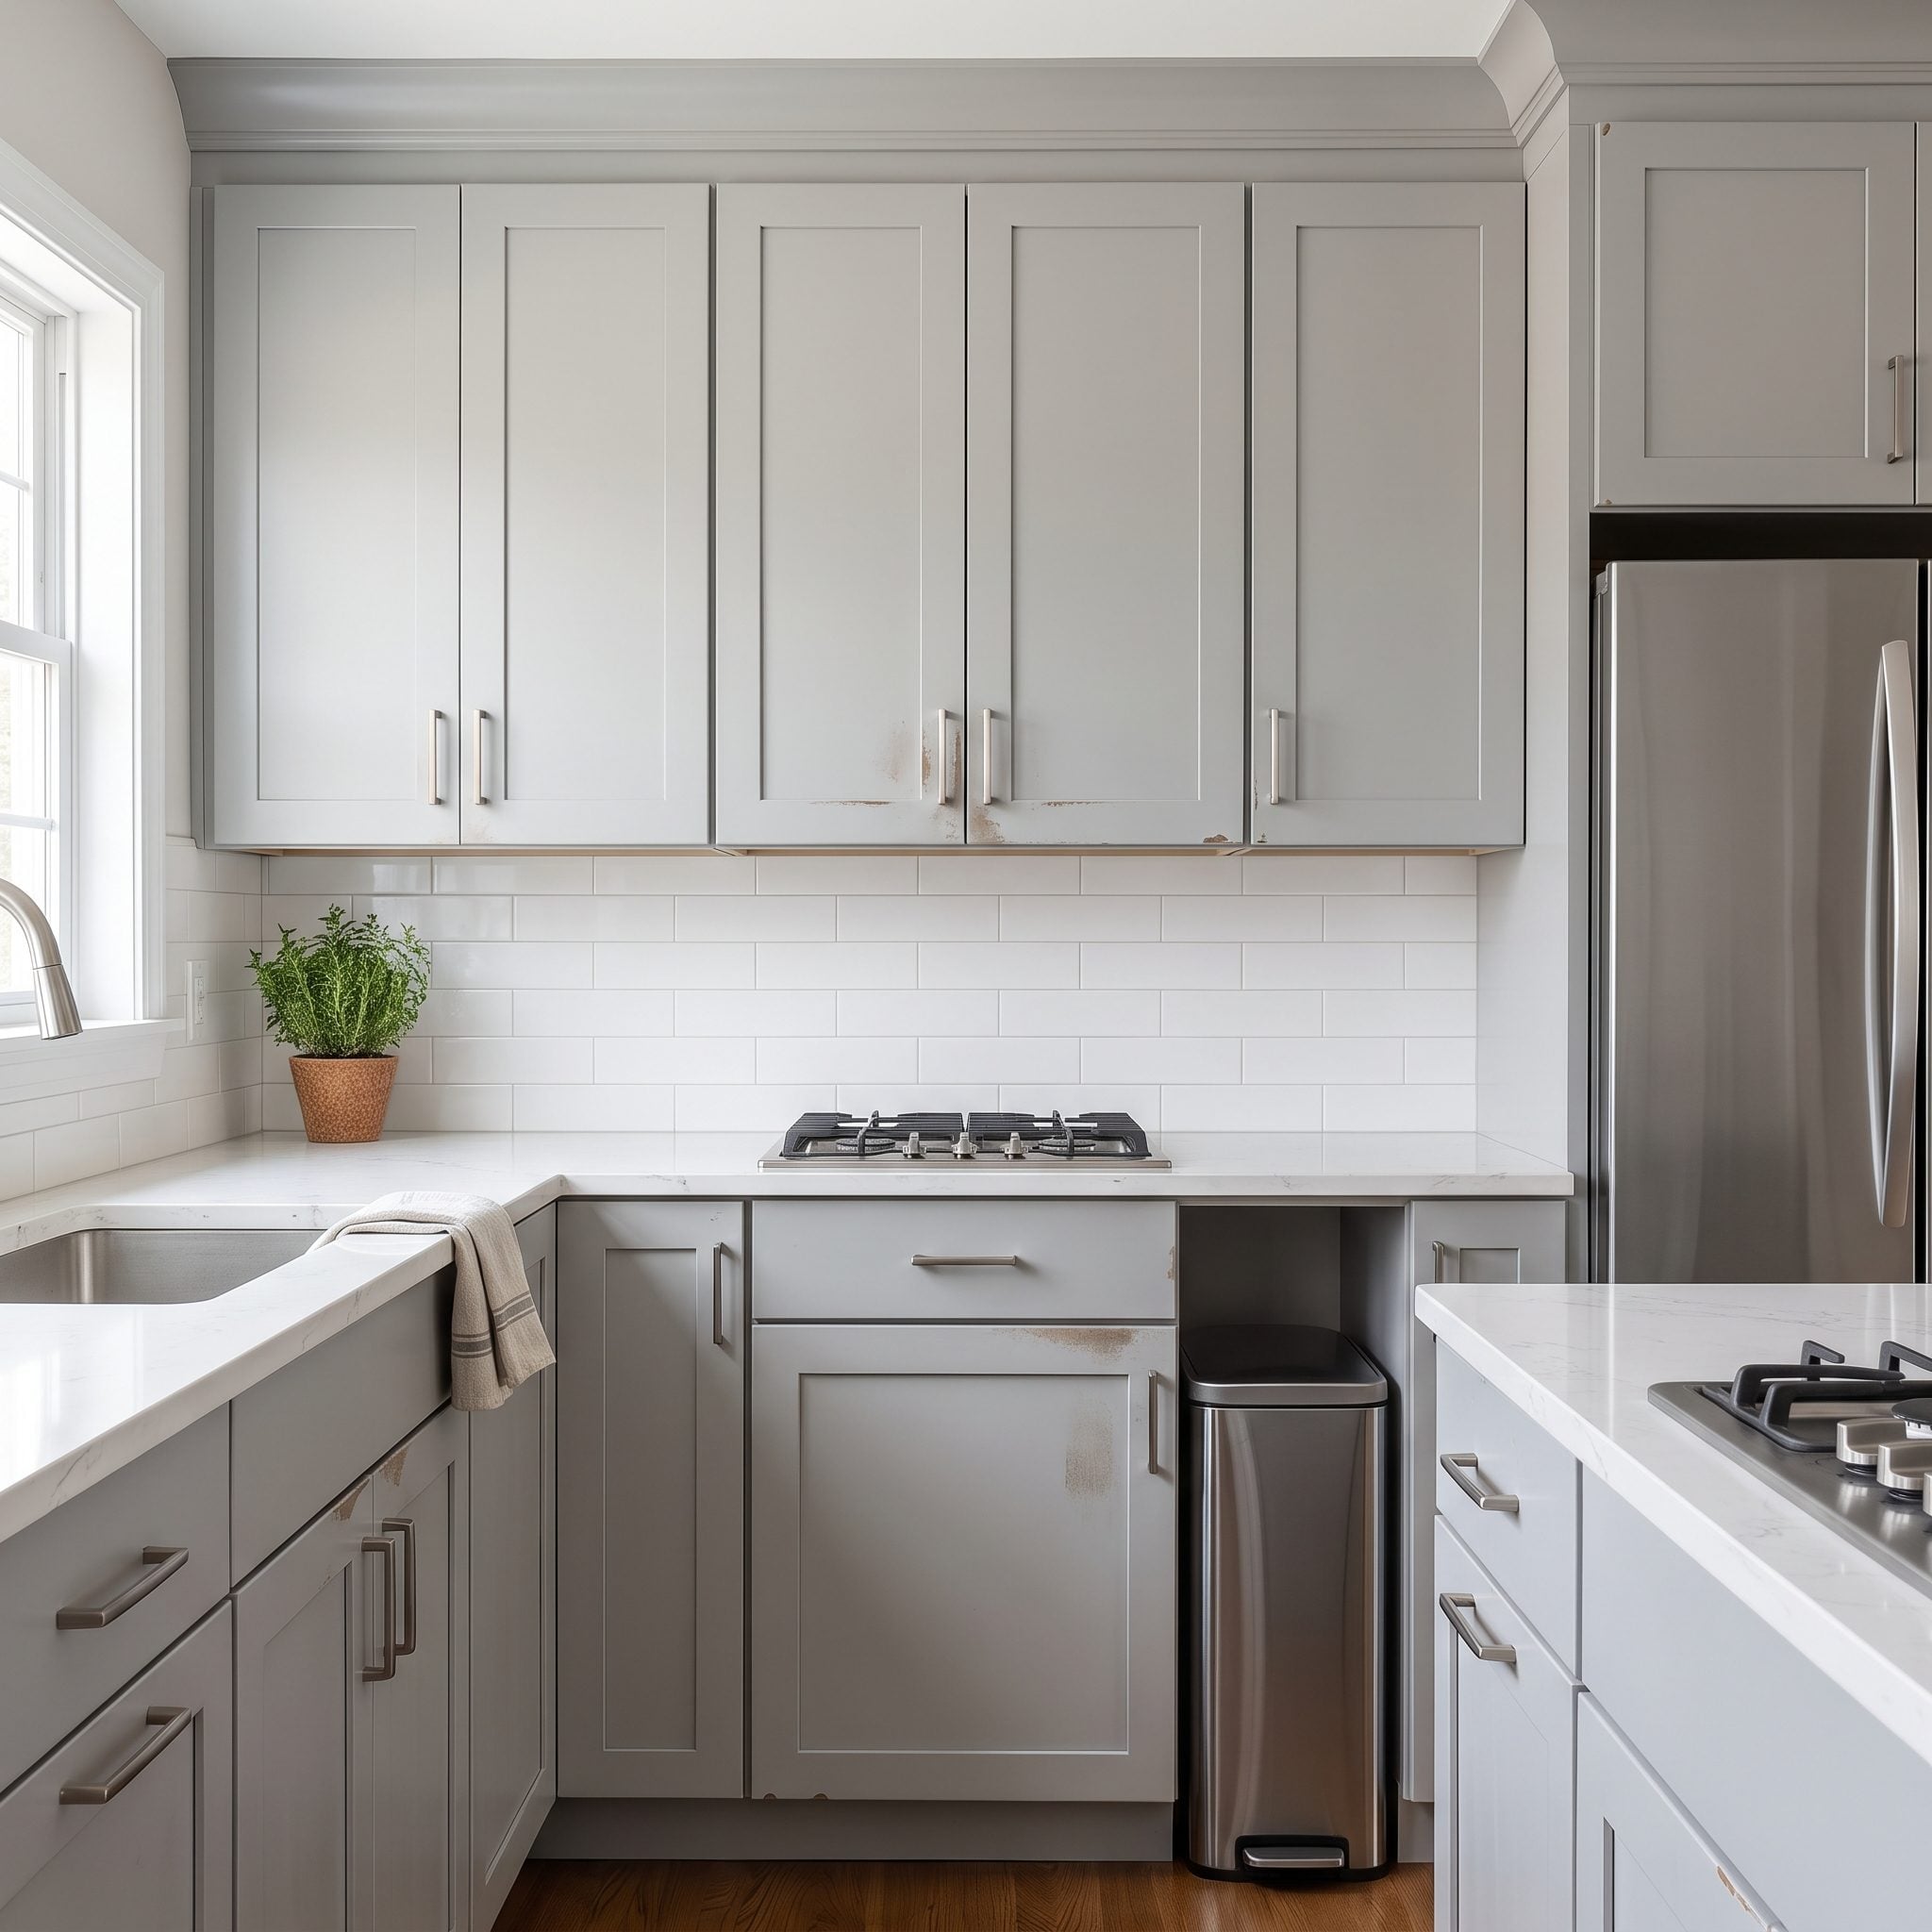
Walls mostly sit there behaving themselves. Cabinet doors get grabbed, wiped, bumped, scrubbed and closed thousands of times. The coating has a completely different job description.
Choose a durable trim, door, cabinet or enamel product specifically rated by the manufacturer for hard-wearing surfaces. Waterborne alkyds, acrylic-alkyd hybrids and other cabinet-oriented enamels are common options. The right product depends on the substrate and system.
A gorgeous muted kitchen design deserves a finish chosen for contact and cleaning, not merely because the leftover wall paint happens to be the right color.
14. Leaving Doors Upright While Painting Them
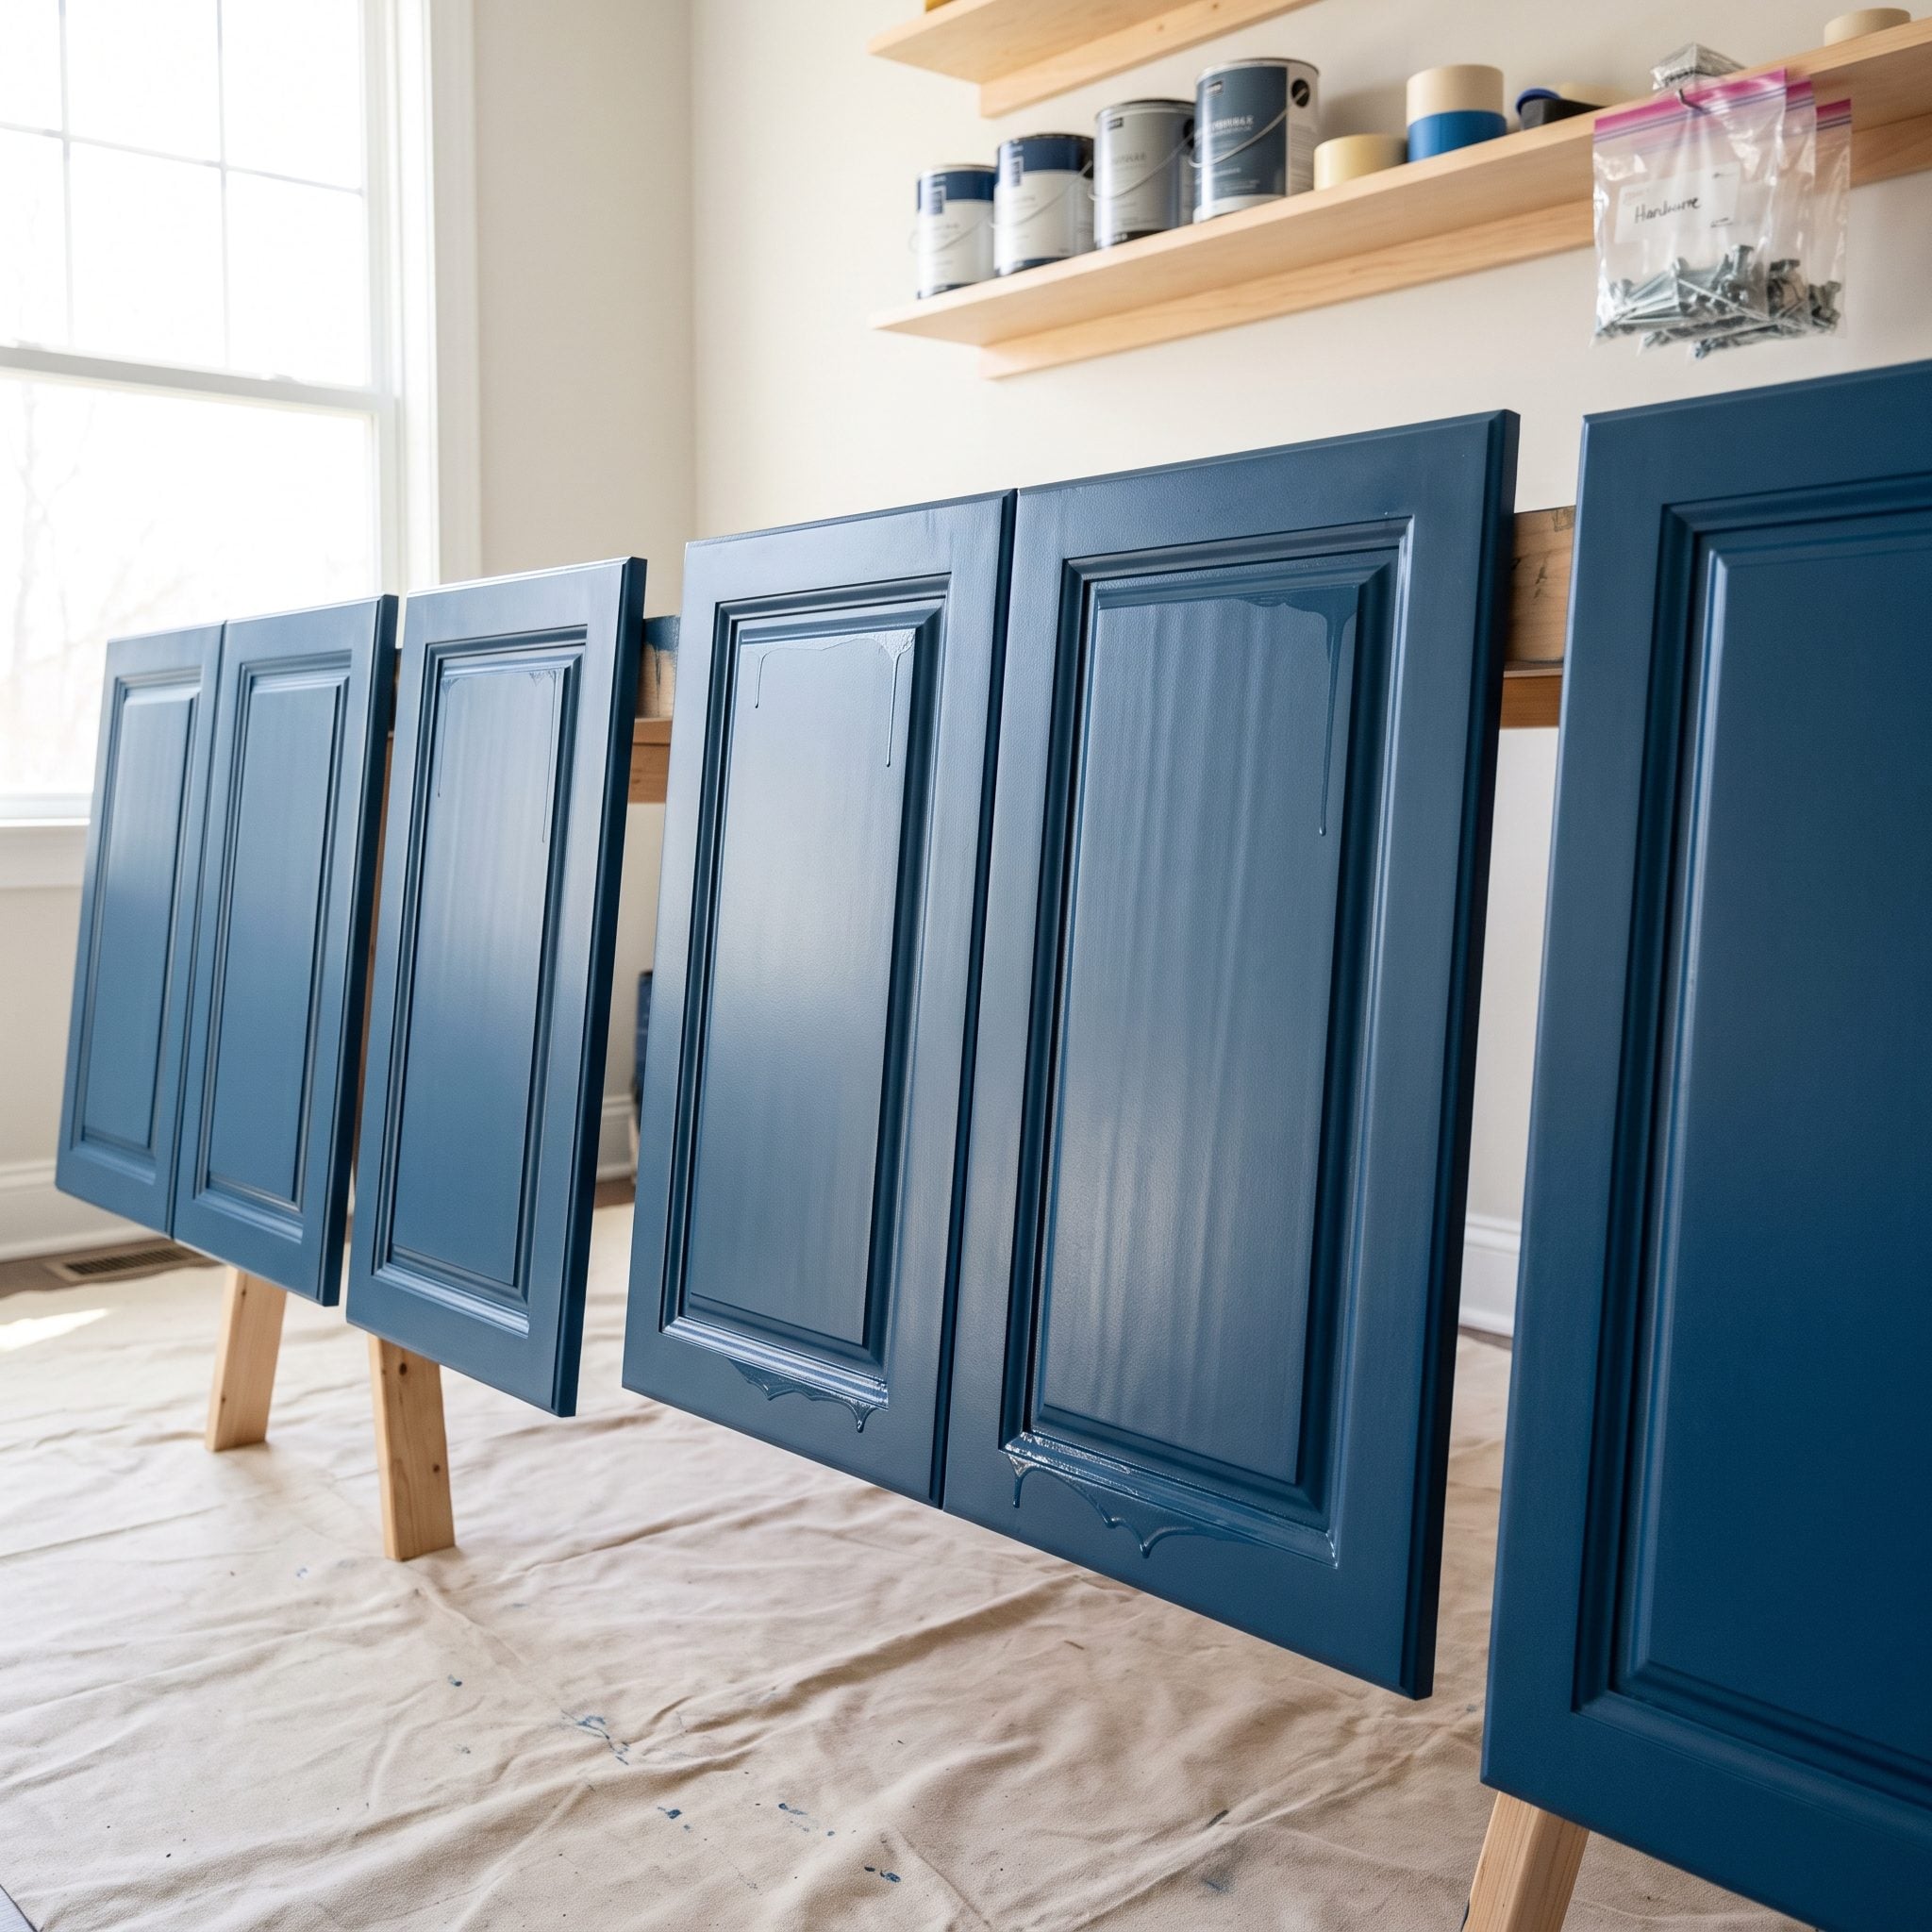
Vertical doors can be coated successfully—professional sprayers do it all the time—but wet films become less forgiving when too much material is applied. Gravity turns excess paint into runs, curtains and heavy buildup along lower rails.
For many DIY brush-and-roll jobs, working on doors horizontally makes controlling the film easier. If you spray vertically, use the coating thickness and technique recommended for the product and watch profiles and corners carefully for sagging.
13. Choosing Paint Based Only on Sheen
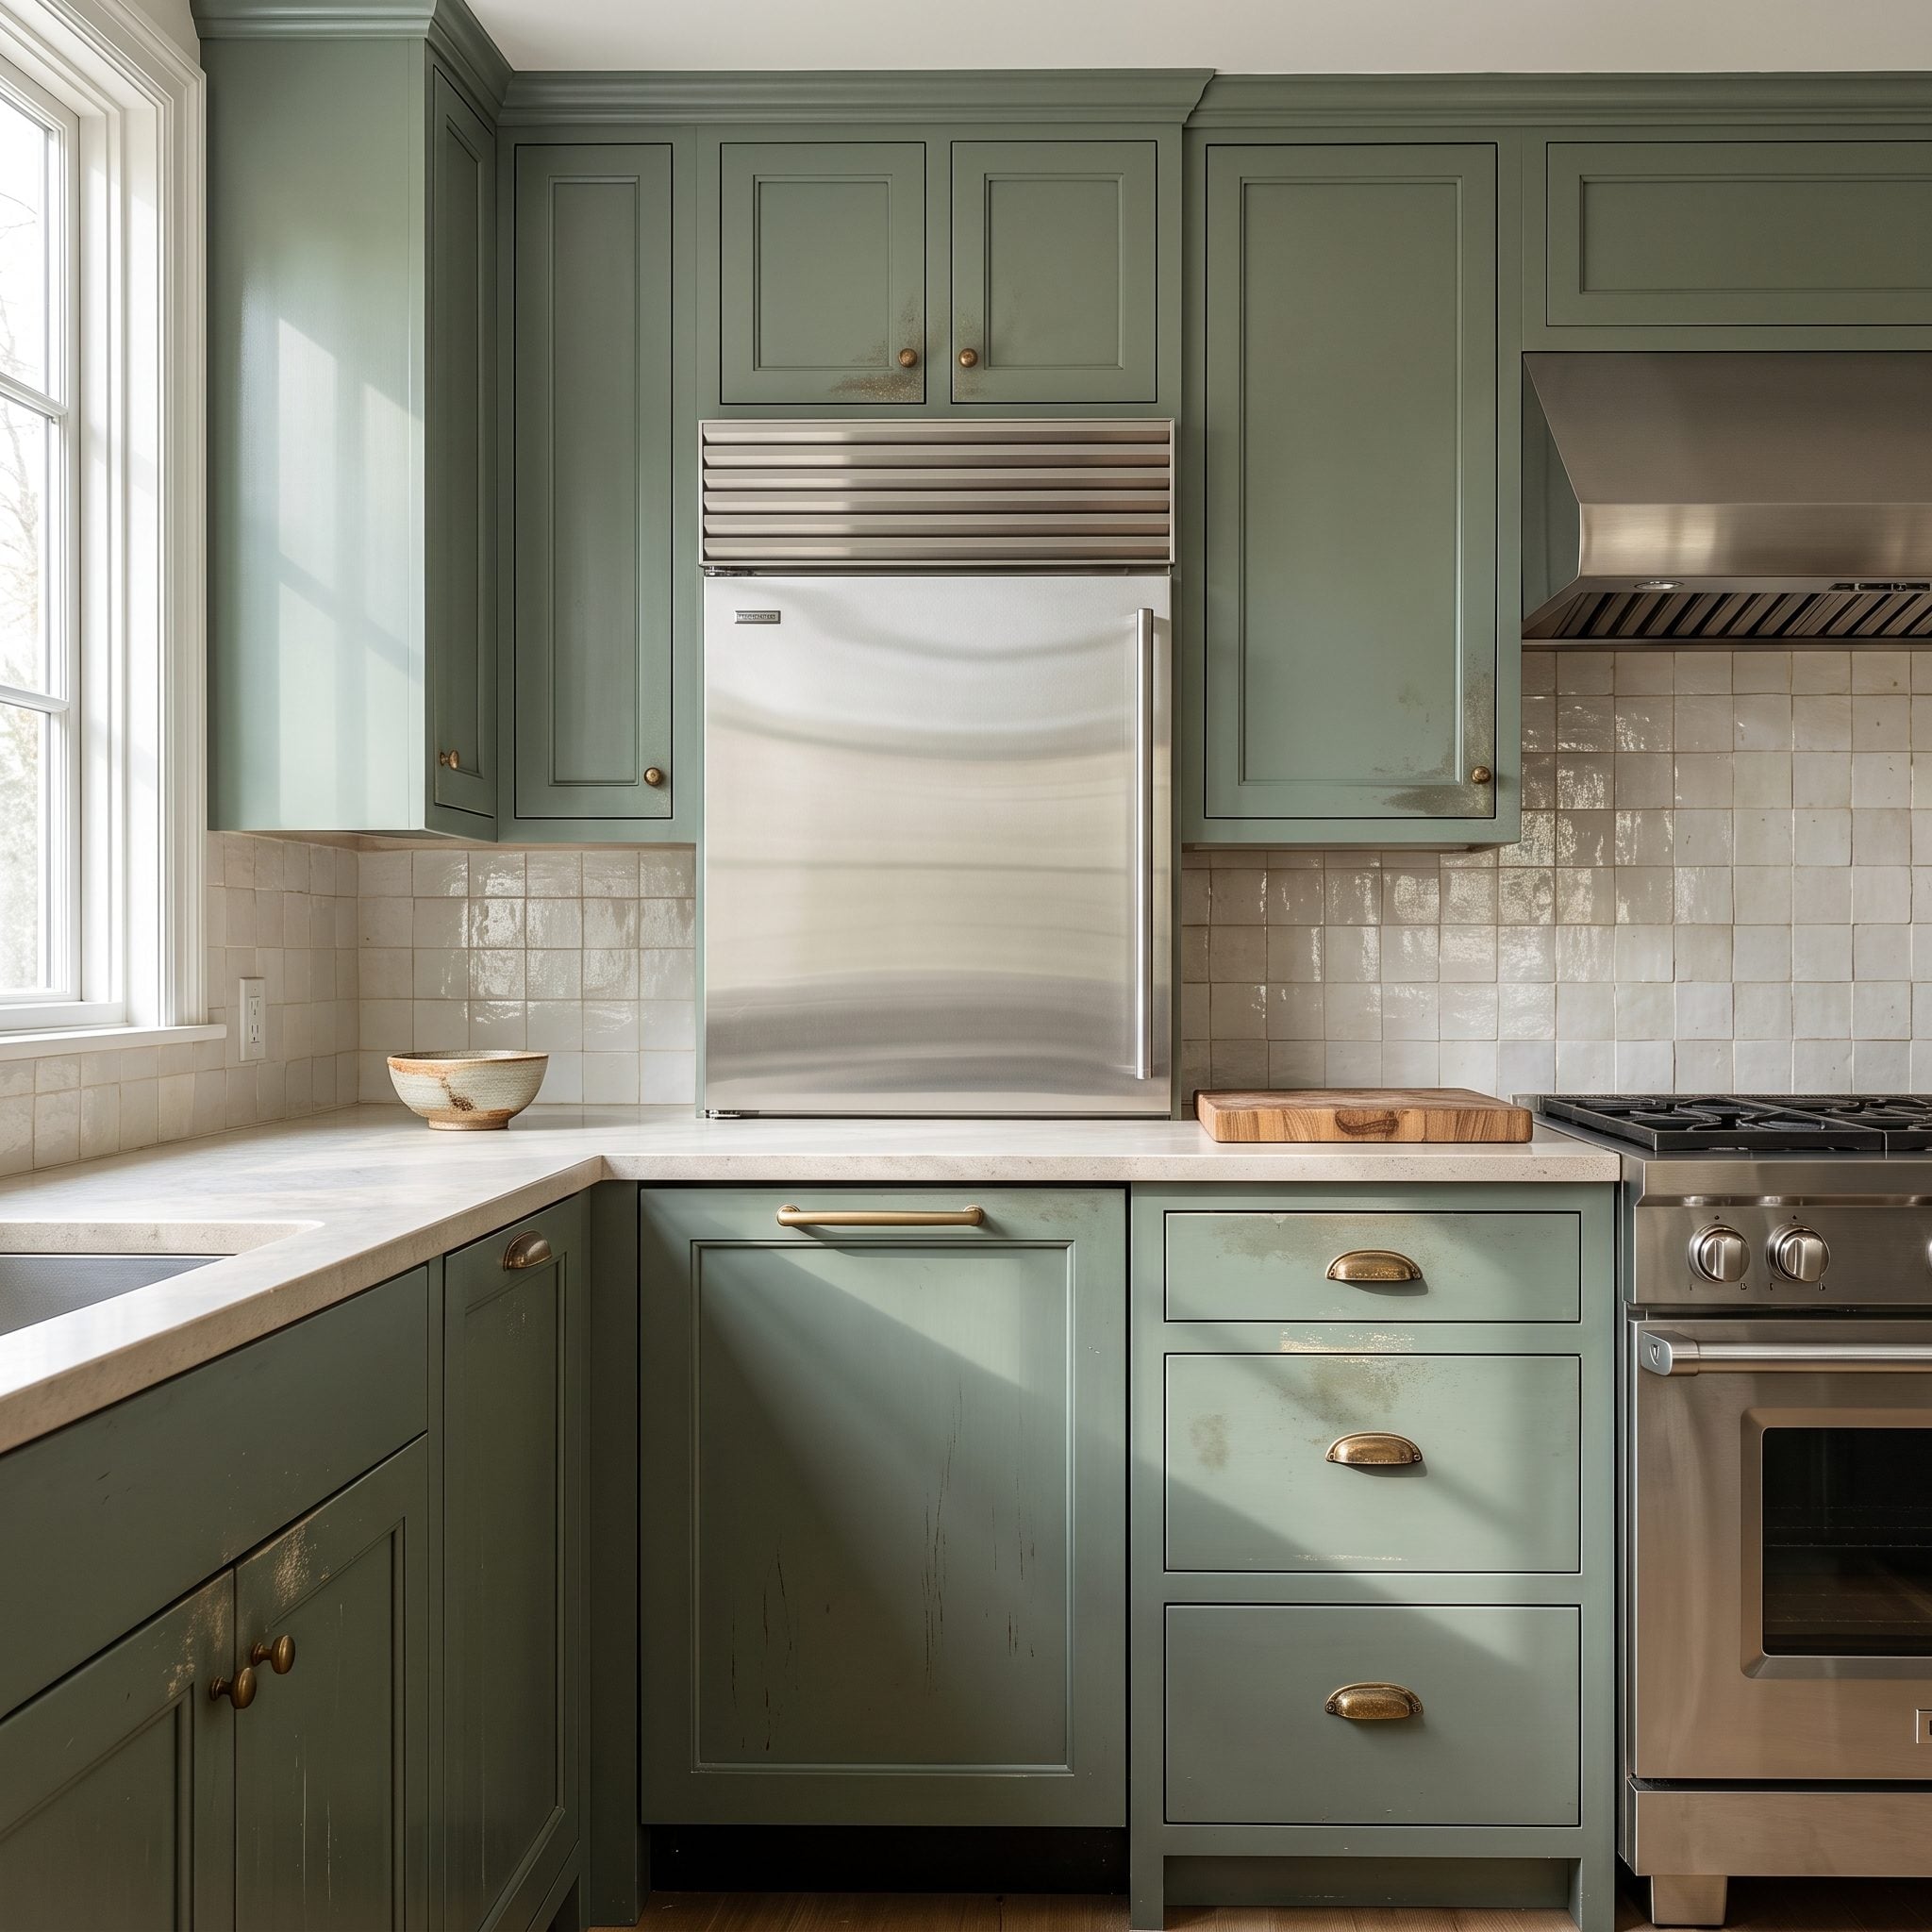
Satin tells you how much light the finish reflects. It does not tell you whether the coating was formulated to survive greasy fingerprints, dish soap and repeated wiping.
Two paints can share the same sheen and have completely different durability. Pick the coating chemistry for the job first; then select satin, semi-gloss or another available finish within that product line.
That order of decisions matters far more than chasing the magic sheen somebody on a decorating forum swore would solve everything.
12. Using the Wrong Roller or Brush Technique
🔥 Would you like to save this?
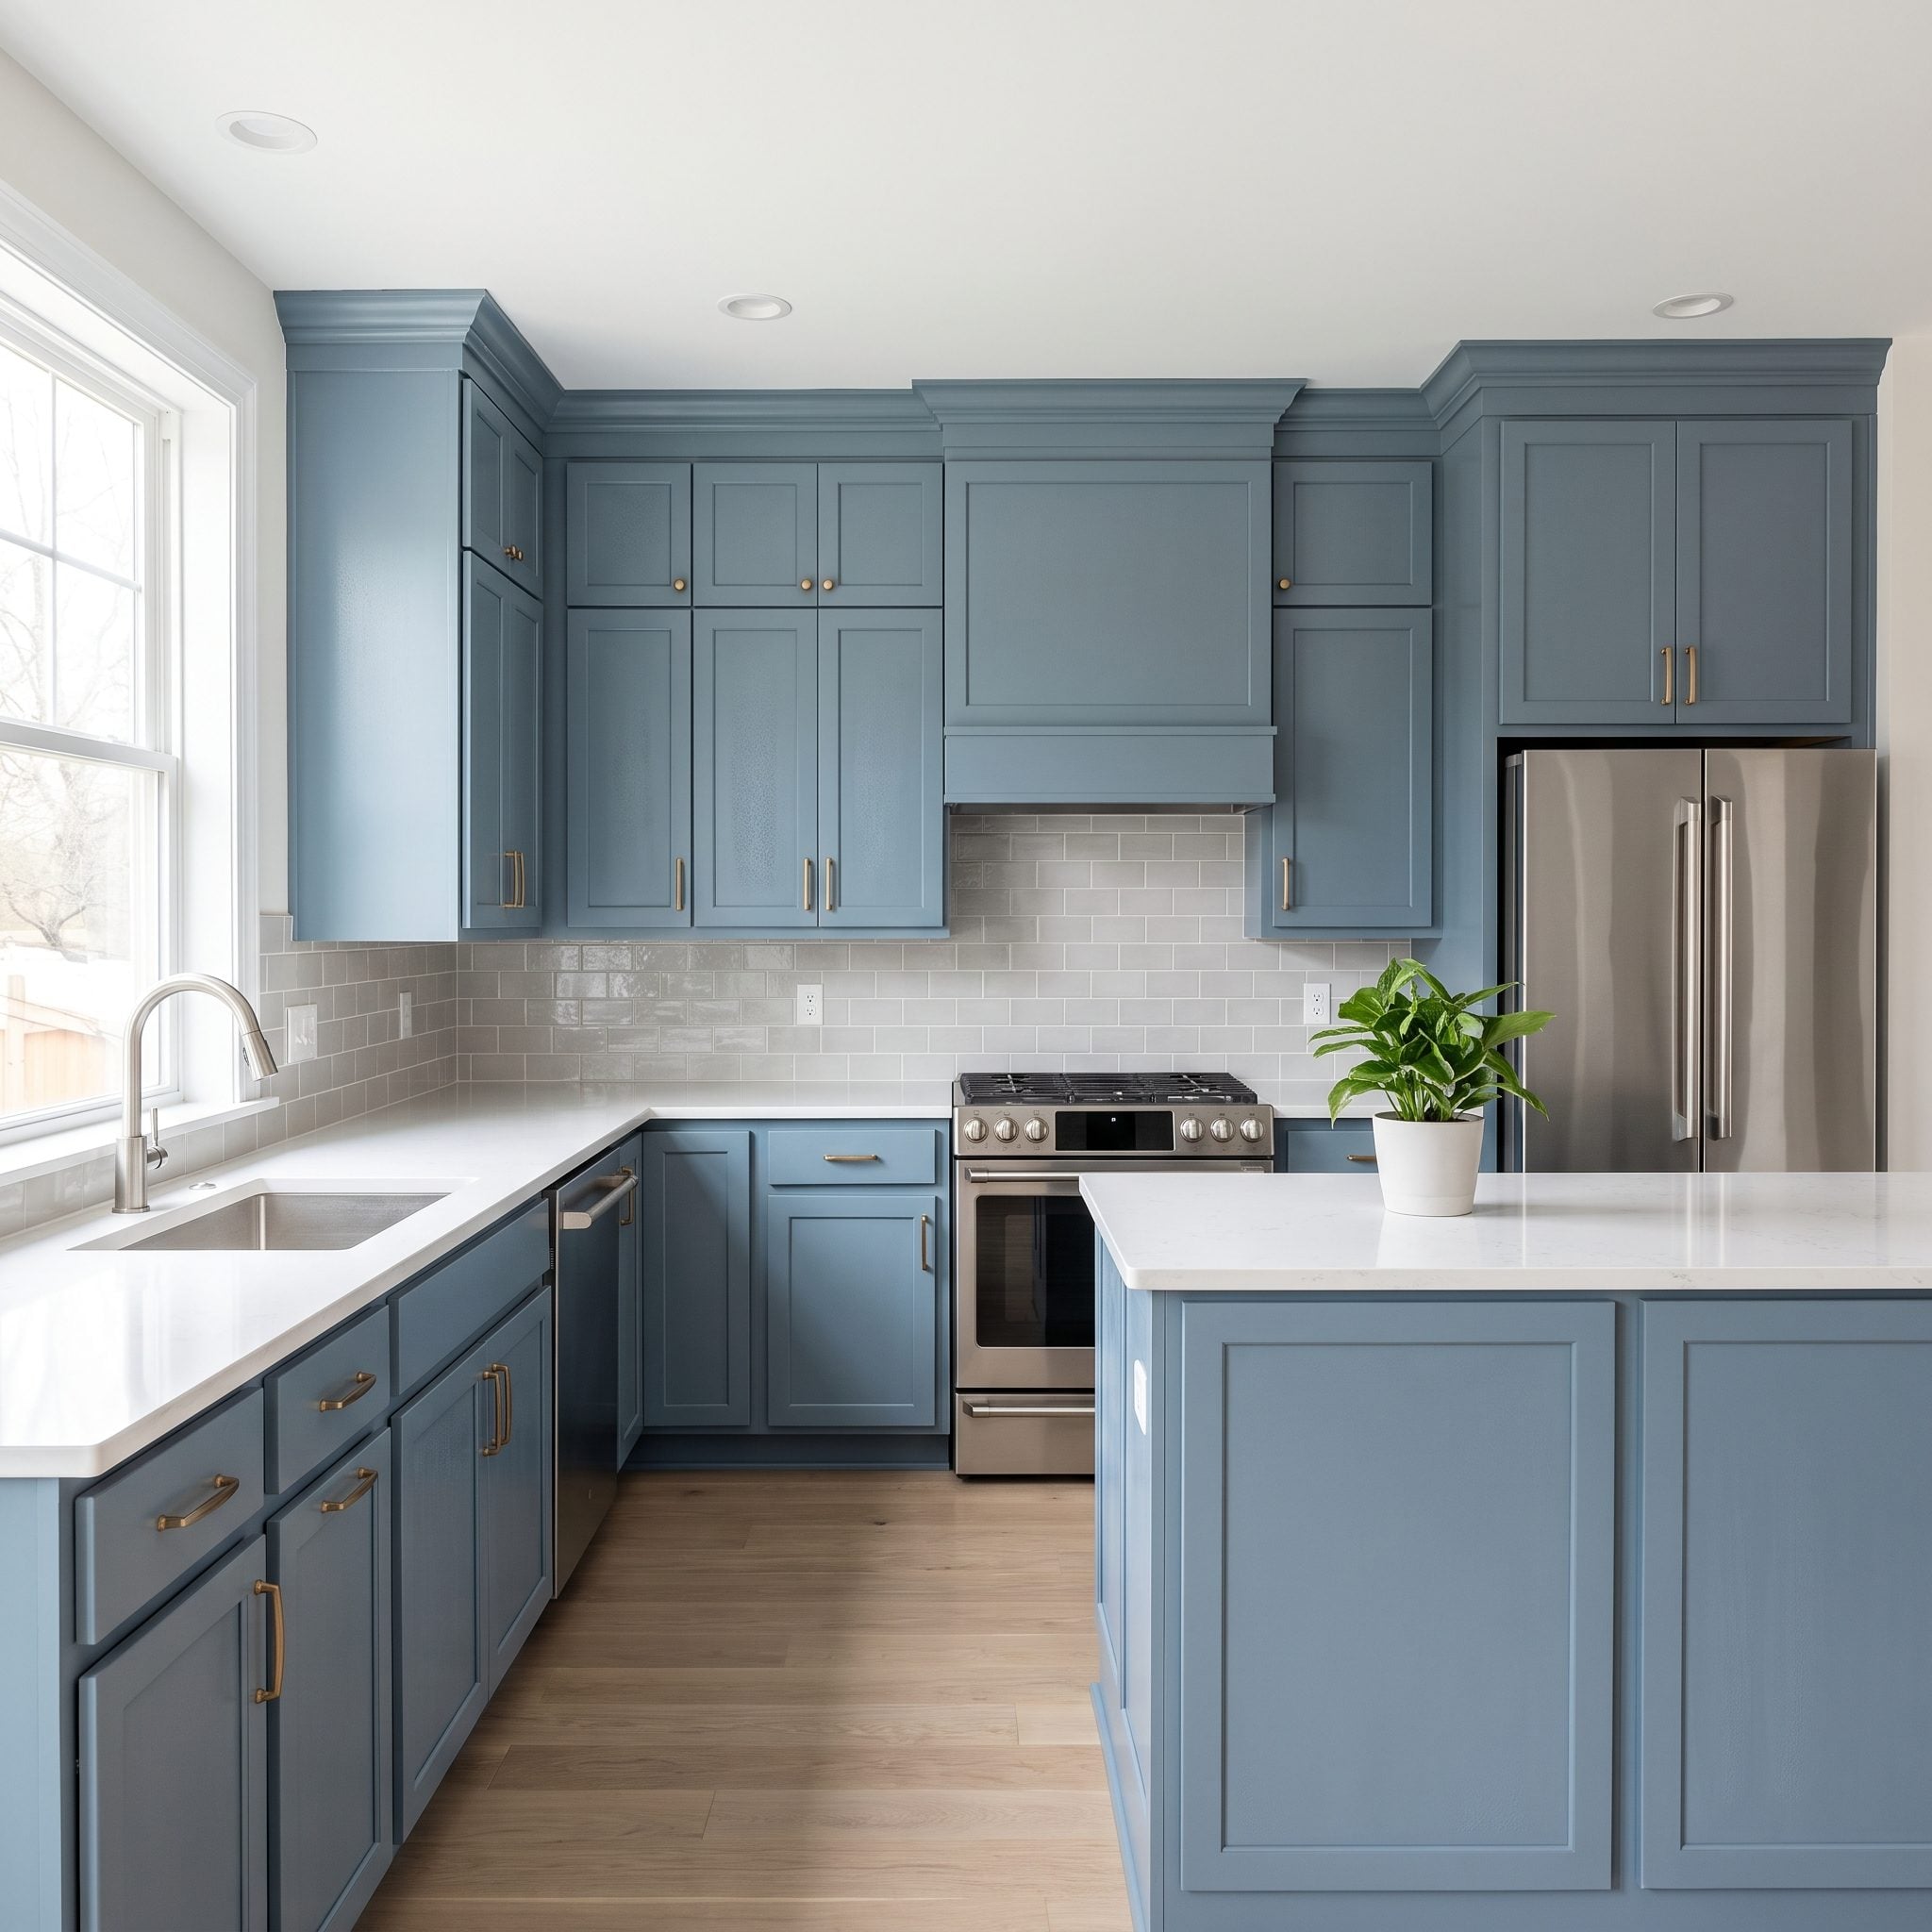
Tool, paint and technique have to cooperate. A roller that leaves too much texture, an overloaded brush or repeated passes through paint that is already setting can advertise the DIY process every time sunlight crosses the door.
Use the applicator recommended for your coating. Fine foam and high-density microfiber mini rollers are common cabinet choices, while a quality synthetic brush often handles profiles well with waterborne products. Spraying can produce an excellent finish too, but it requires masking, ventilation, equipment setup and technique of its own.
On a traditional kitchen Shaker door, the best tool is the one that applies the specified film evenly without burying the profile.
11. Applying Paint Too Thickly
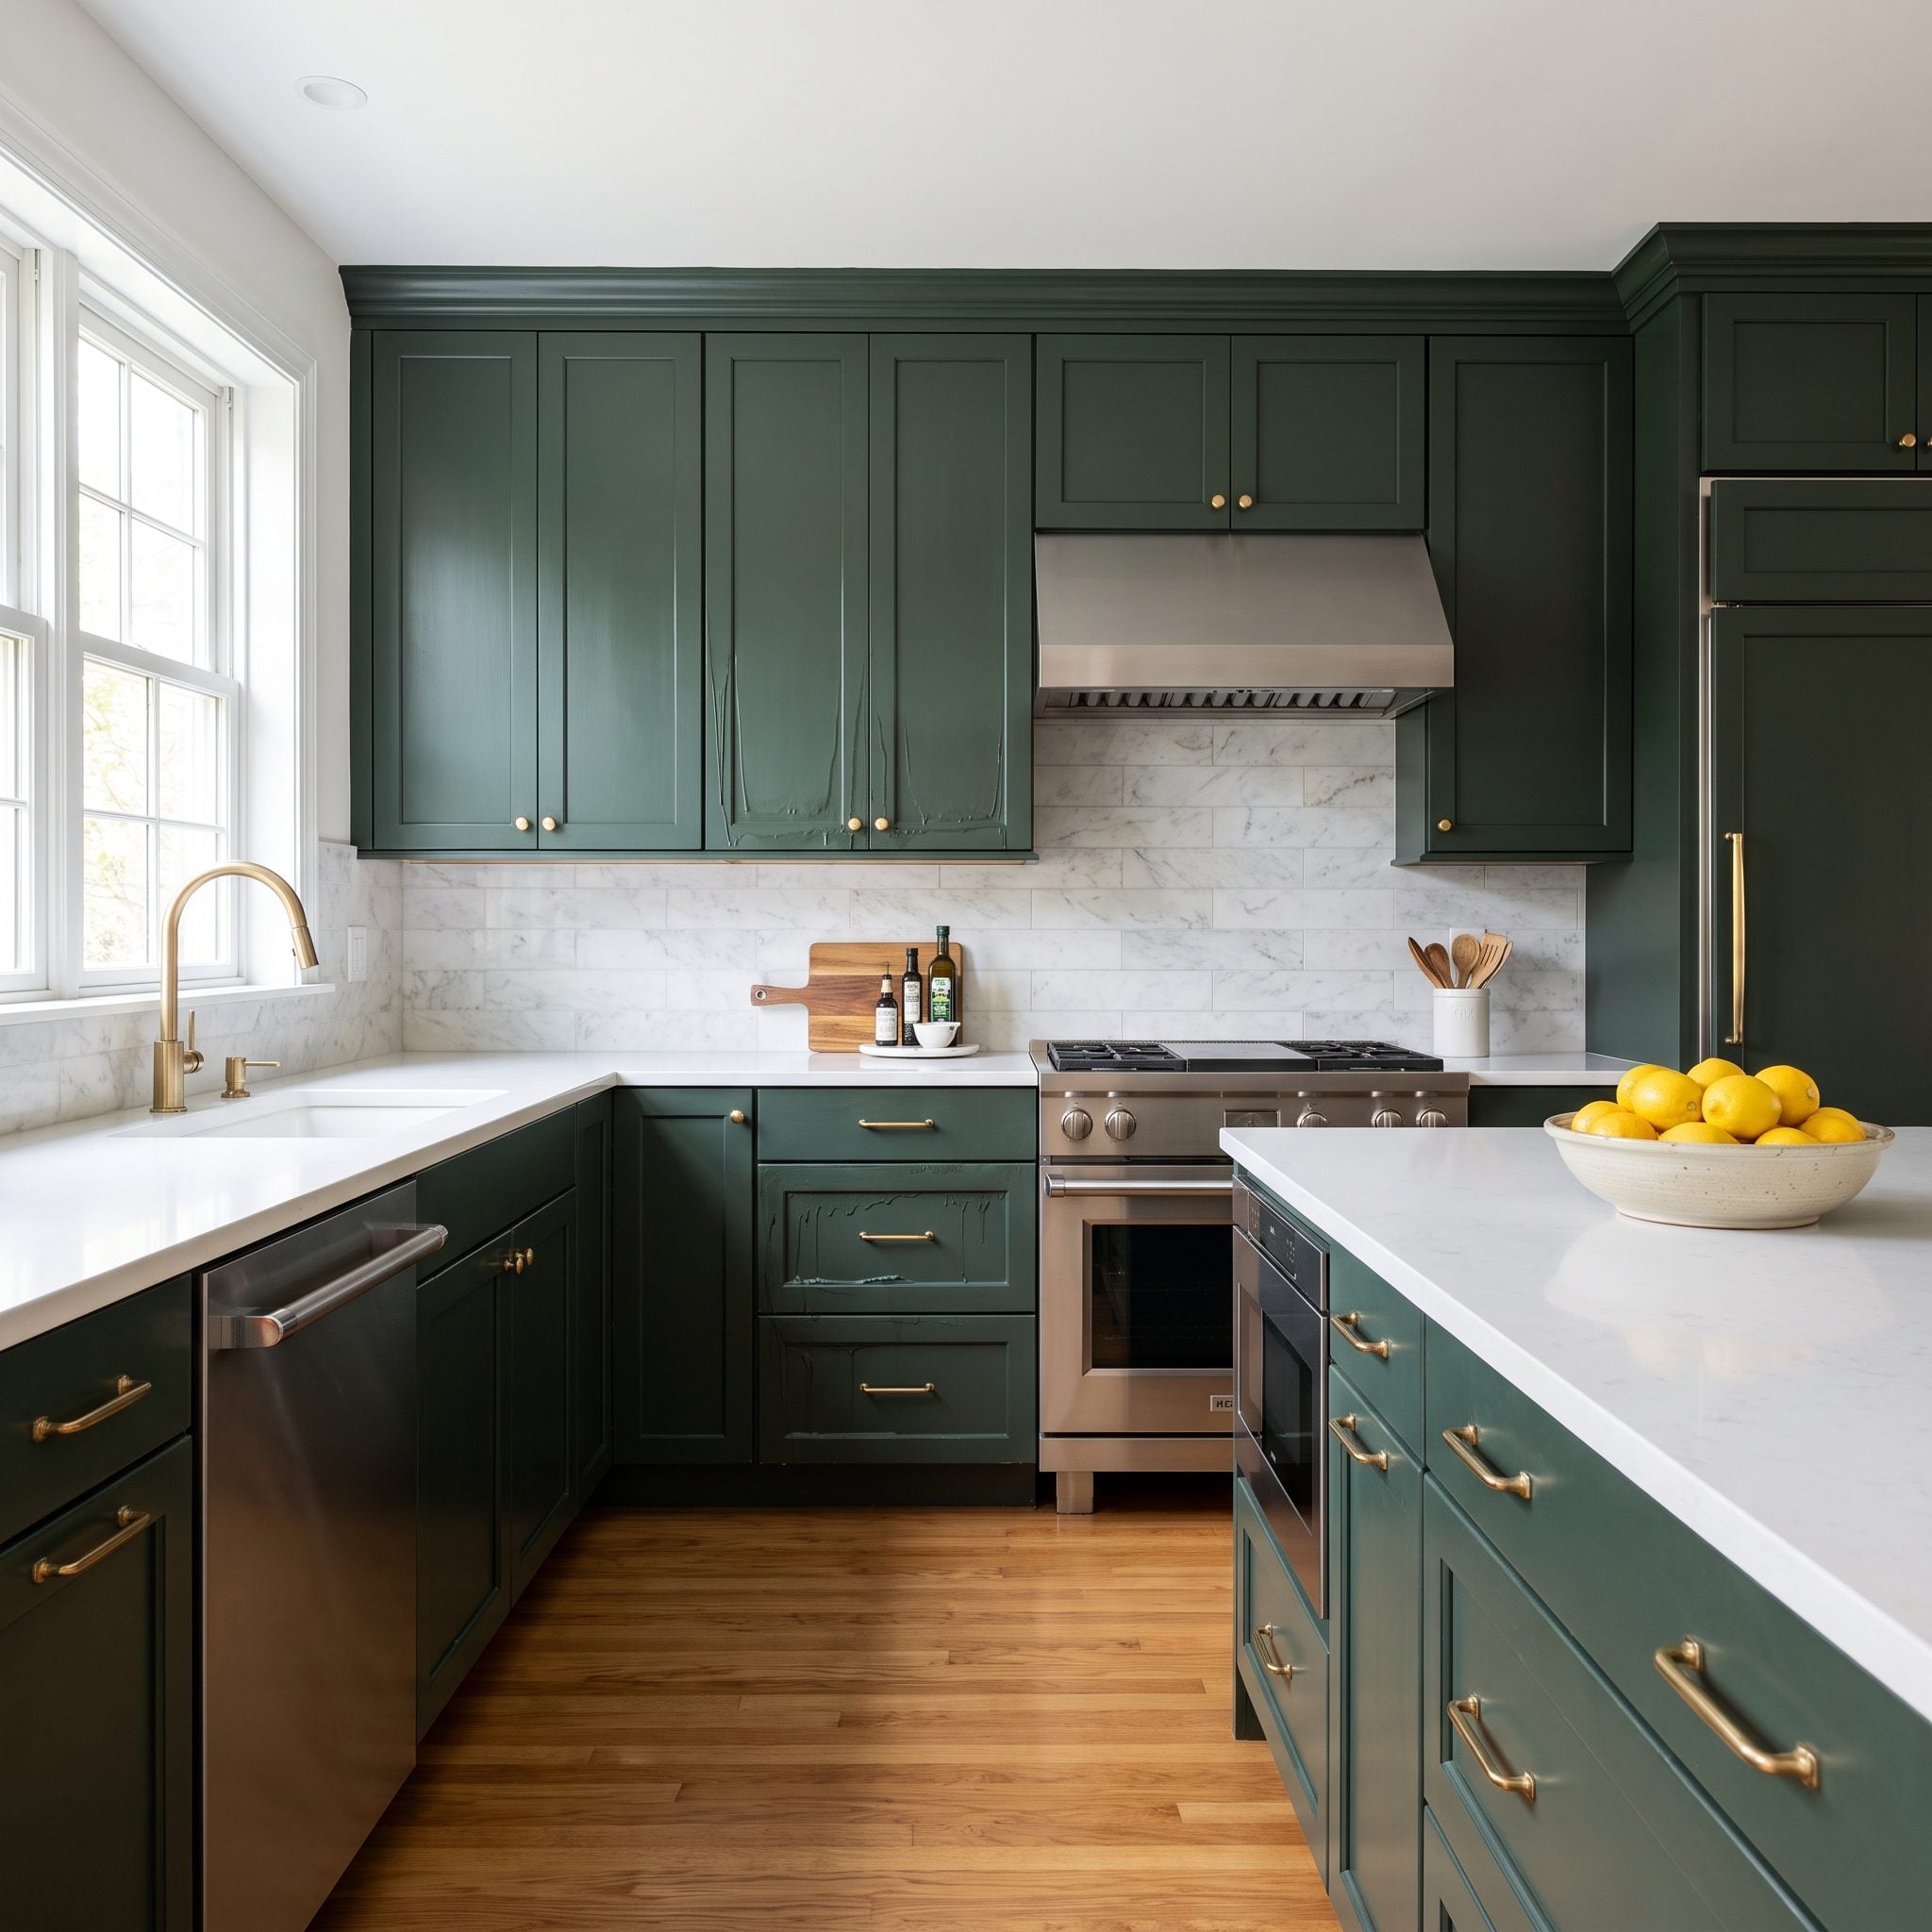
More paint does not mean better coverage. Beyond the recommended film thickness, it means runs, sags, swollen-looking corners and a finish that takes far longer to harden.
Several properly applied coats are usually safer than trying to achieve full opacity in one heroic pass. Let the product level as designed instead of burying the door beneath enough enamel to qualify as frosting.
10. Ignoring Door and Drawer Edges
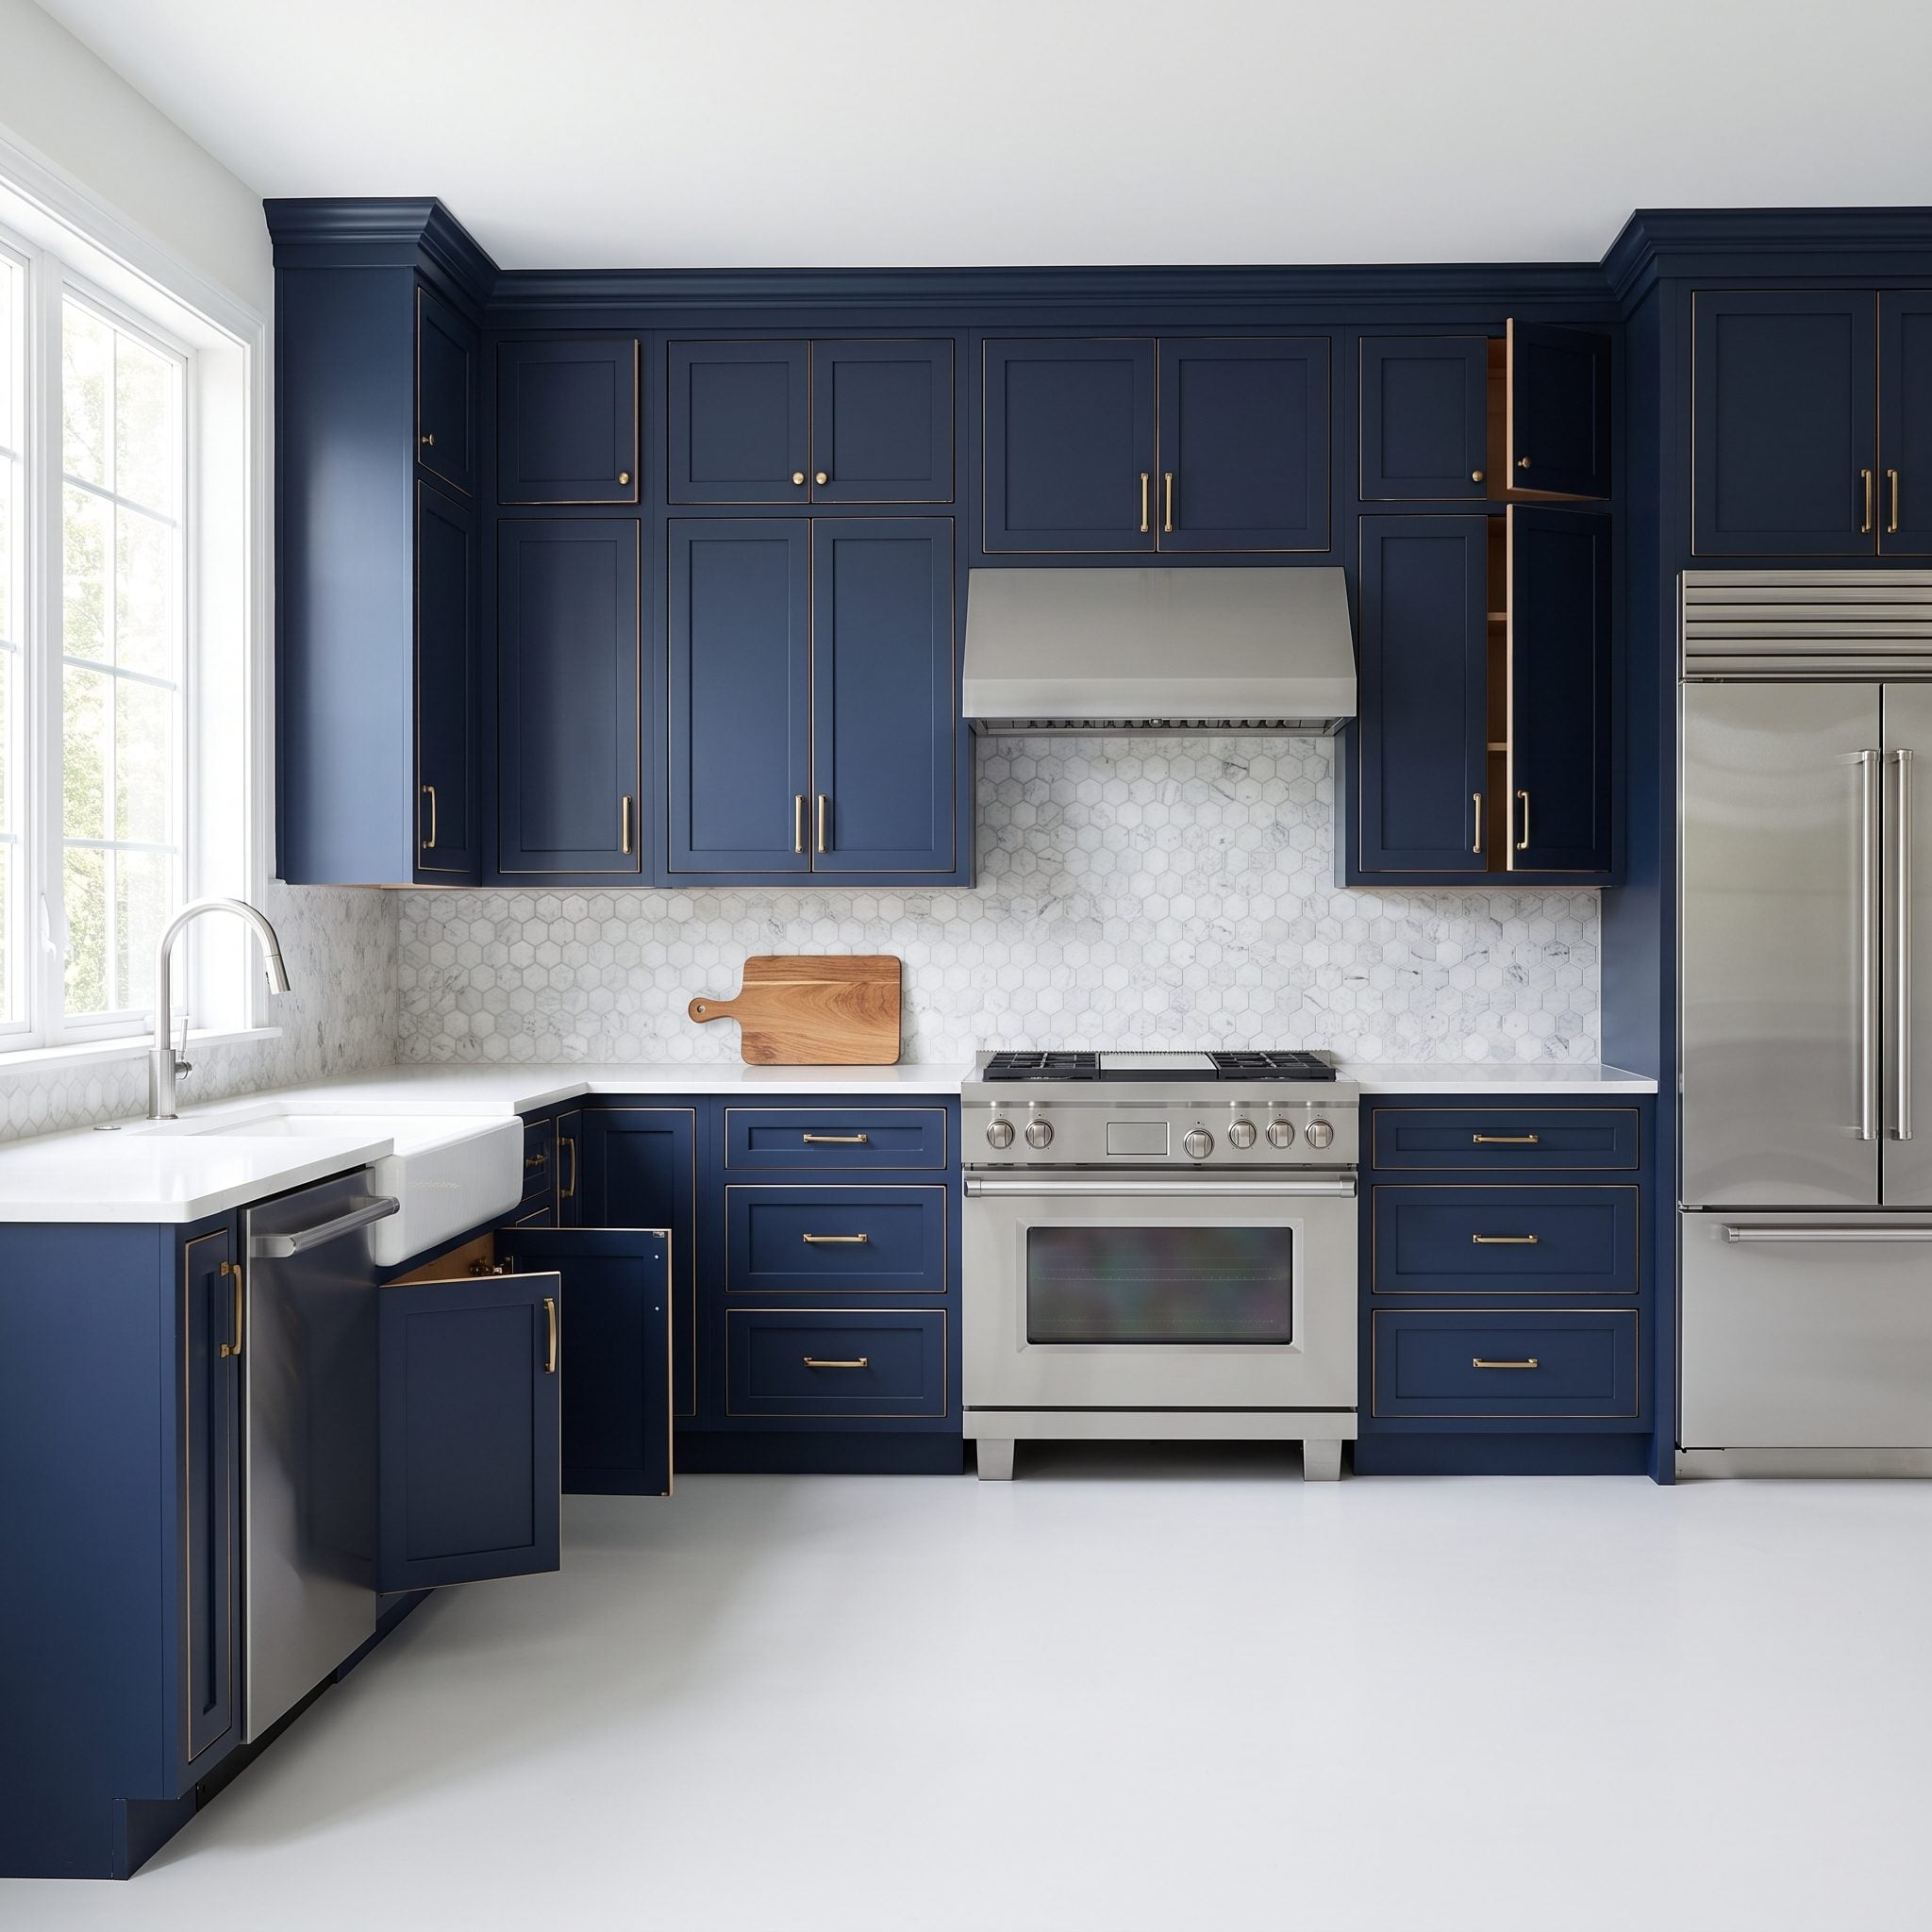
The front gets photographed. The edge gets touched. Neglect the perimeter and every opened navy door flashes a pale strip that undermines an otherwise careful finish.
Plan how you’ll coat faces, edges and backs before starting. Check the perimeter under low-angle light and correct thin spots according to the recoat instructions before reinstalling anything.
9. Overworking the Paint While It Is Starting to Set
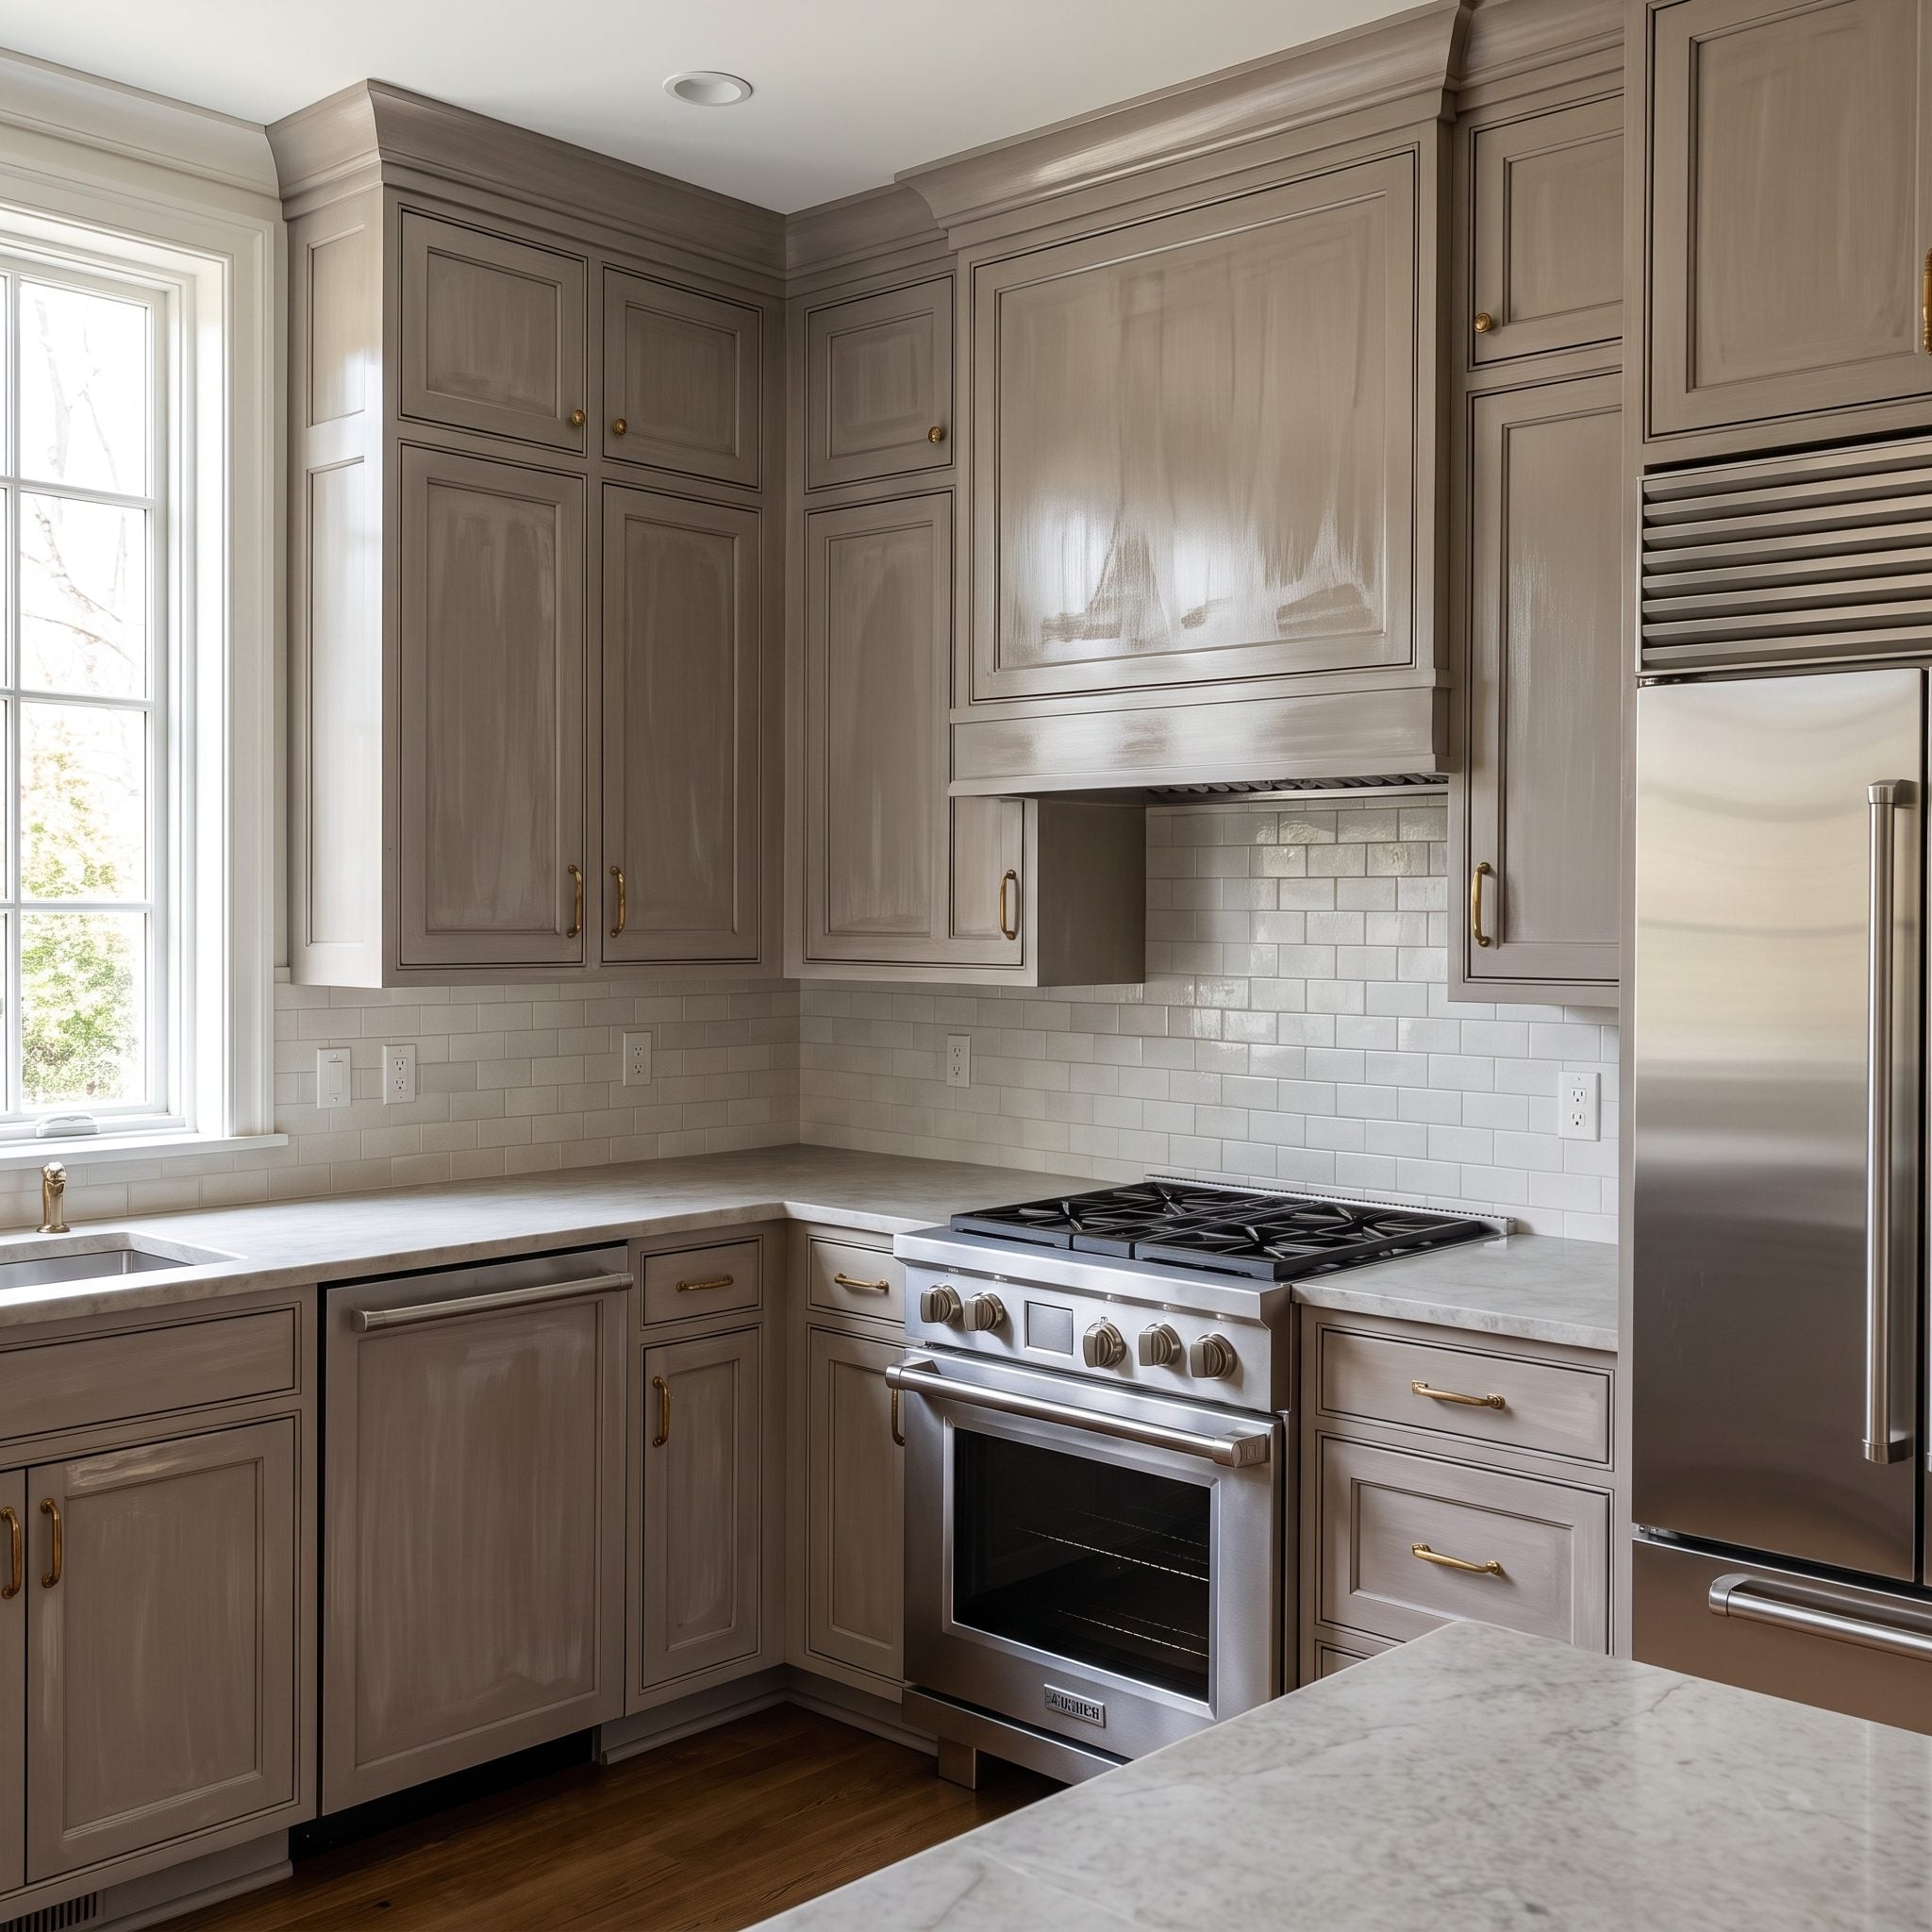
Every coating has an open time, and the clock changes with product, temperature, humidity, airflow and application thickness. Once the film begins setting, repeated brushing can tear into what was already leveling nicely.
Drag marks, lap lines and uneven sheen often begin with one irresistible thought: I’ll just fix that tiny spot.
Lay down the coating efficiently, make the final pass recommended for your application method and leave it alone. Sometimes the hardest cabinet-painting technique is walking out of the room.
8. Letting Paint Pool in Corners and Decorative Profiles
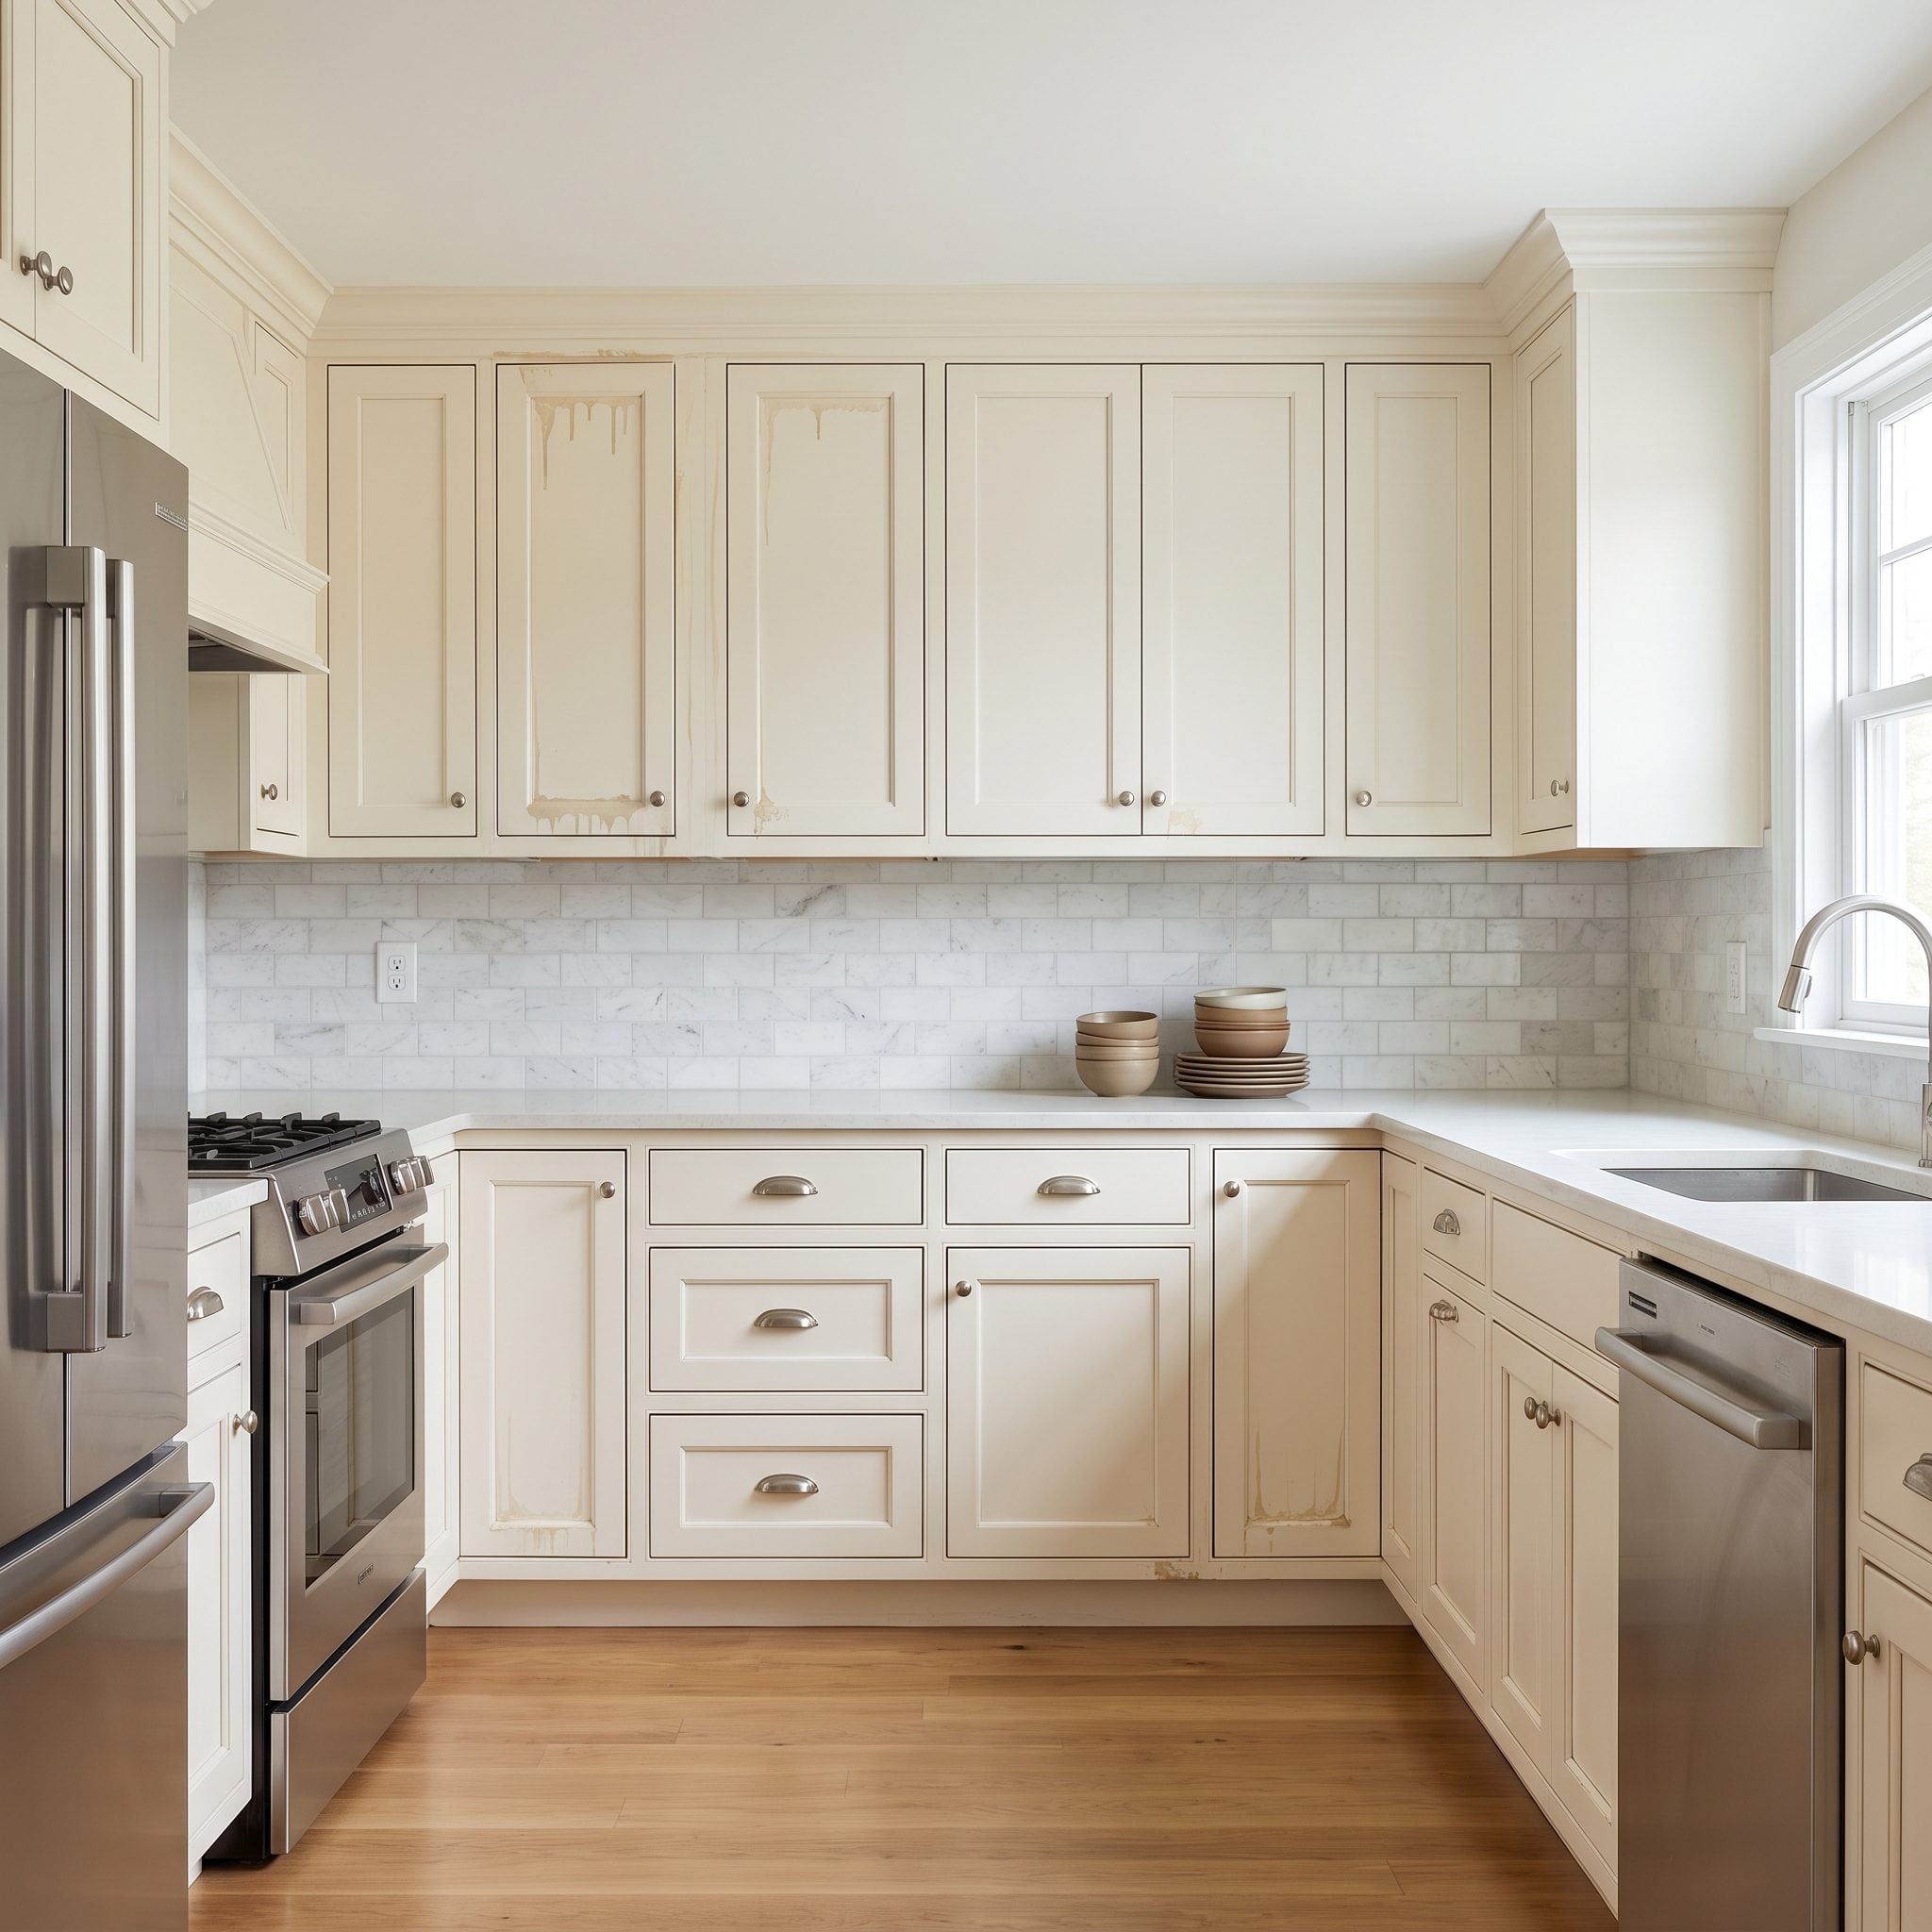
Shaker doors and decorative profiles are excellent little reservoirs. Push too much paint into an inside corner and it settles into a rounded ridge that softens the very detail the door was designed to show.
Work recesses carefully, pull excess material out of corners before it begins setting and keep the film especially controlled wherever several surfaces meet. Crisp shadow lines need less paint than your instincts may suggest.
7. Rushing the Manufacturer’s Recoat Window
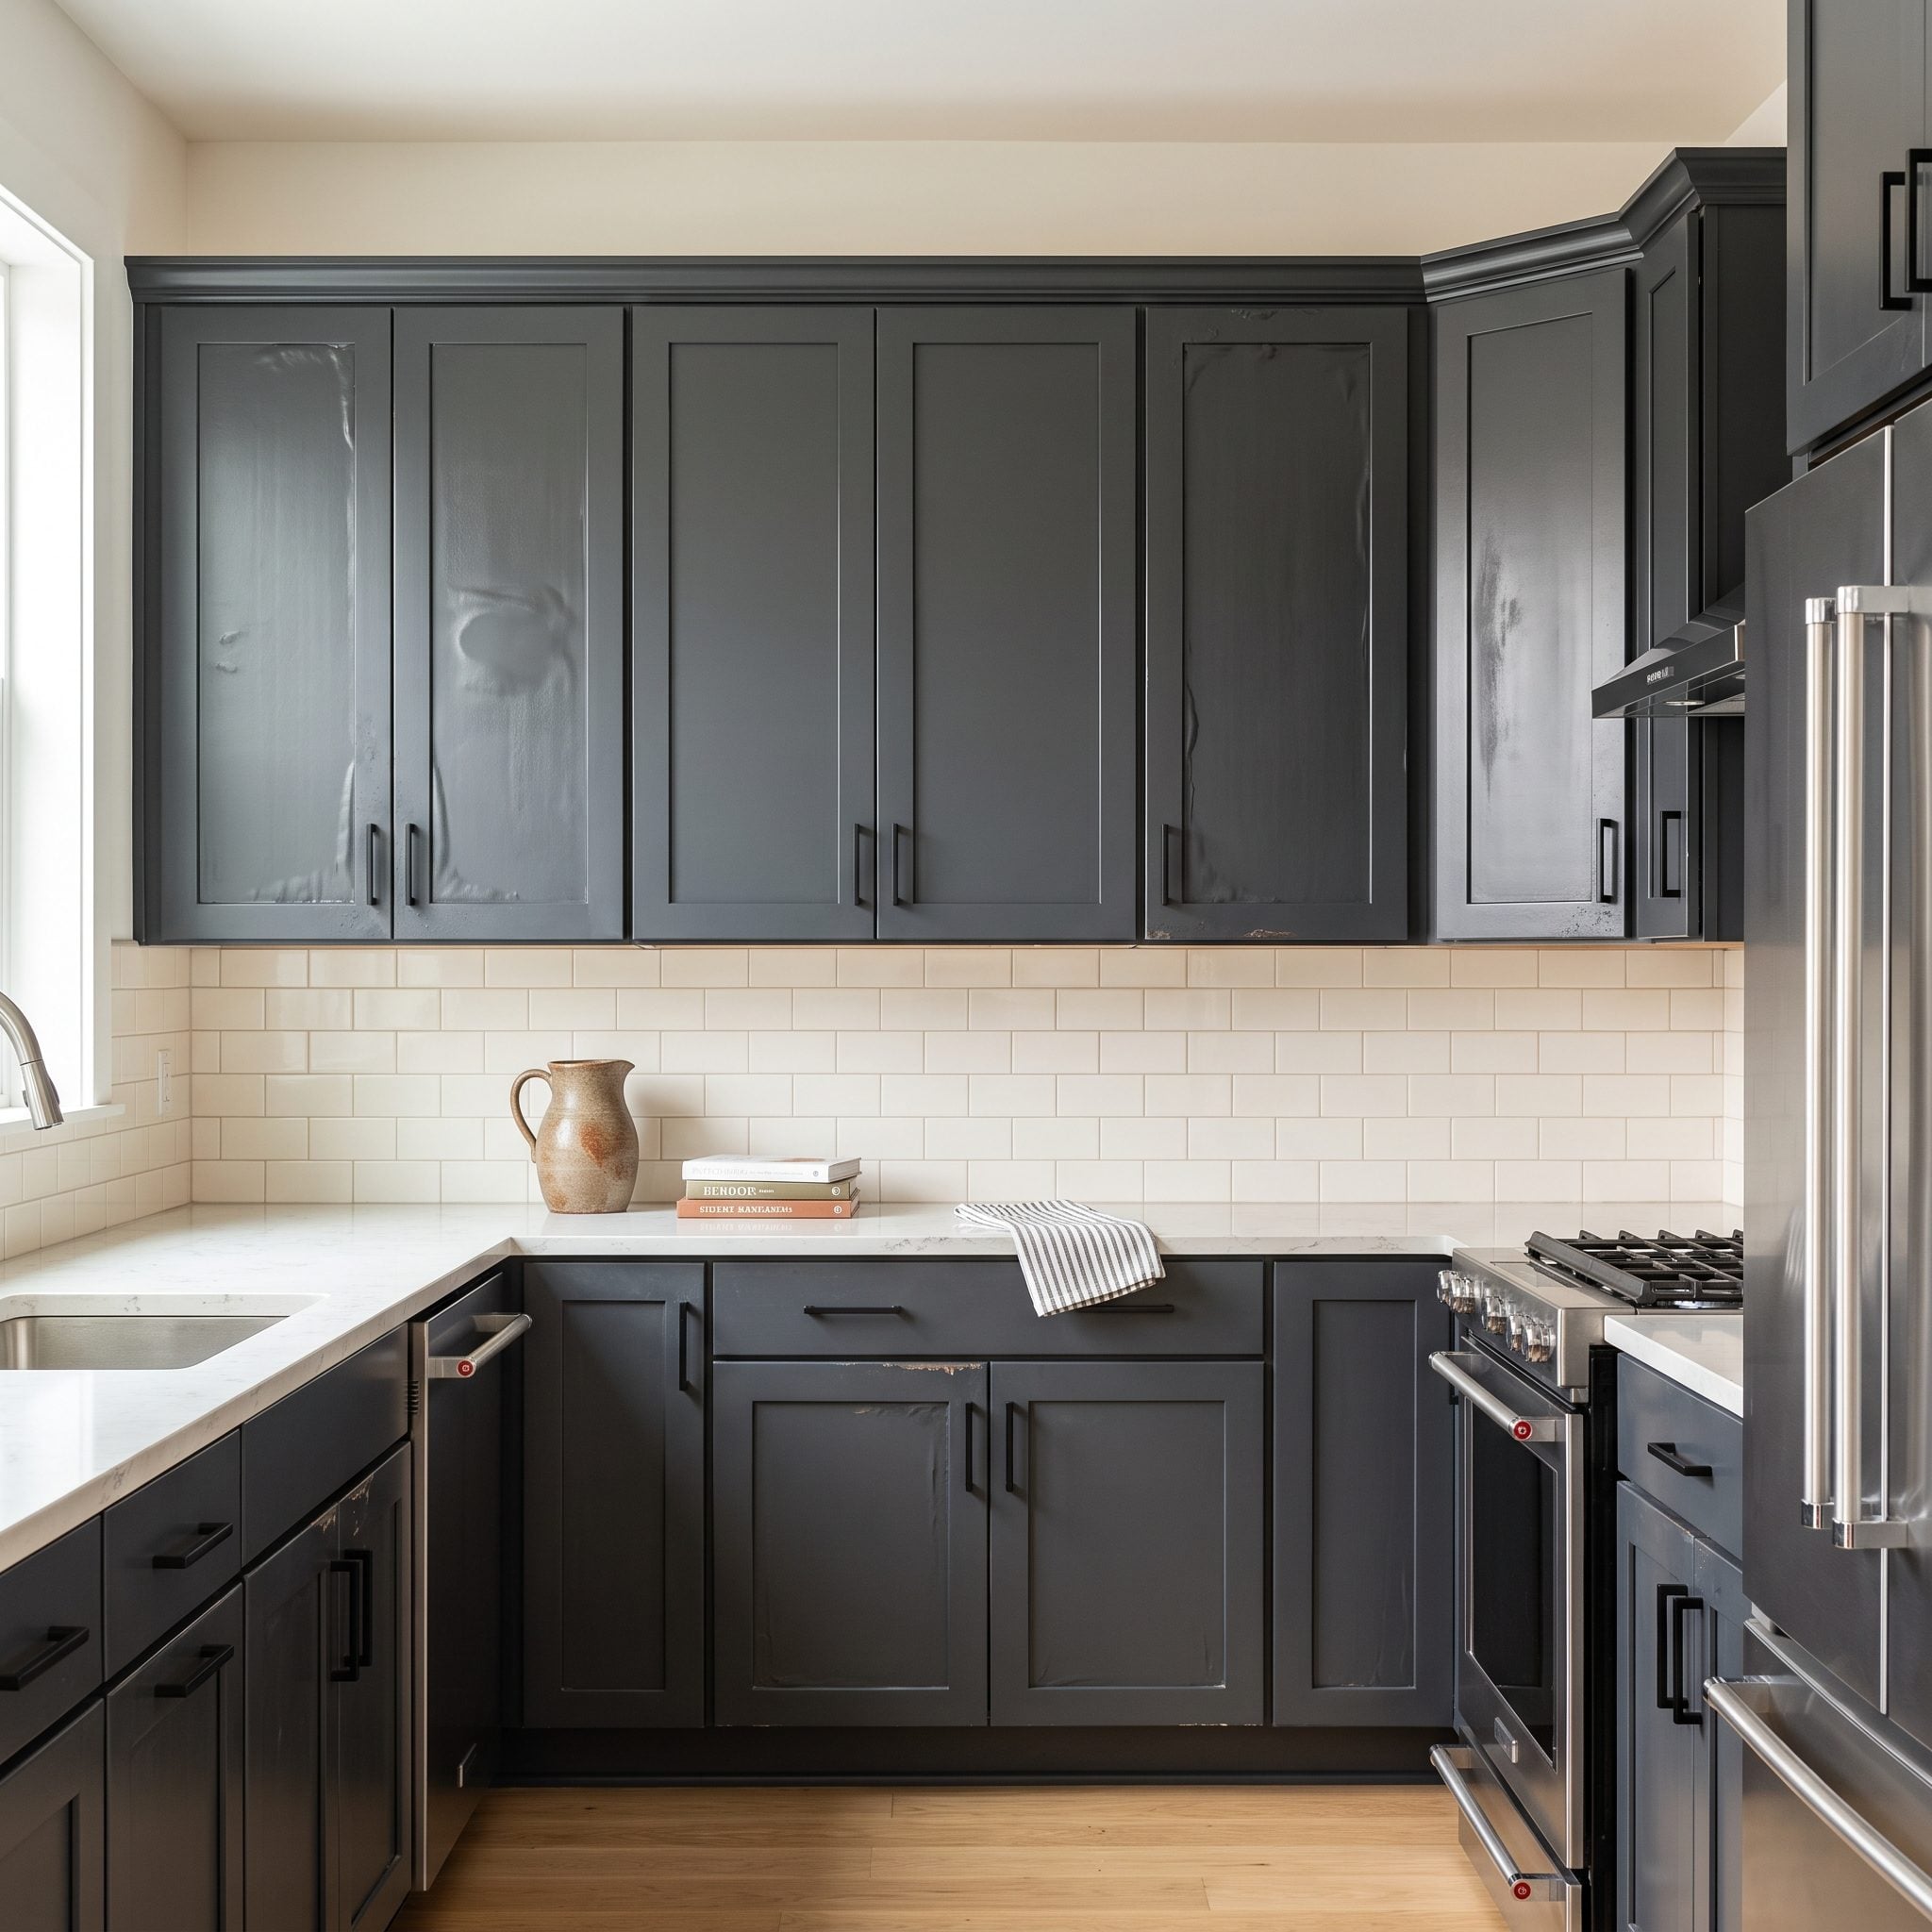
The label may give you several different times: touch-dry, recoat, handling and full cure. Those numbers are not interchangeable.
Apply another coat too soon and the lower film may still be vulnerable. Depending on the product, trapped moisture or solvent, disturbed film formation or simple mechanical dragging can leave wrinkles, soft spots and uneven sheen.
Read the actual label. Adjust expectations for cool or humid conditions when the manufacturer tells you to. Cabinet paint has no interest in how badly you want the kitchen back tonight.
6. Skipping the Necessary Smoothing Between Coats
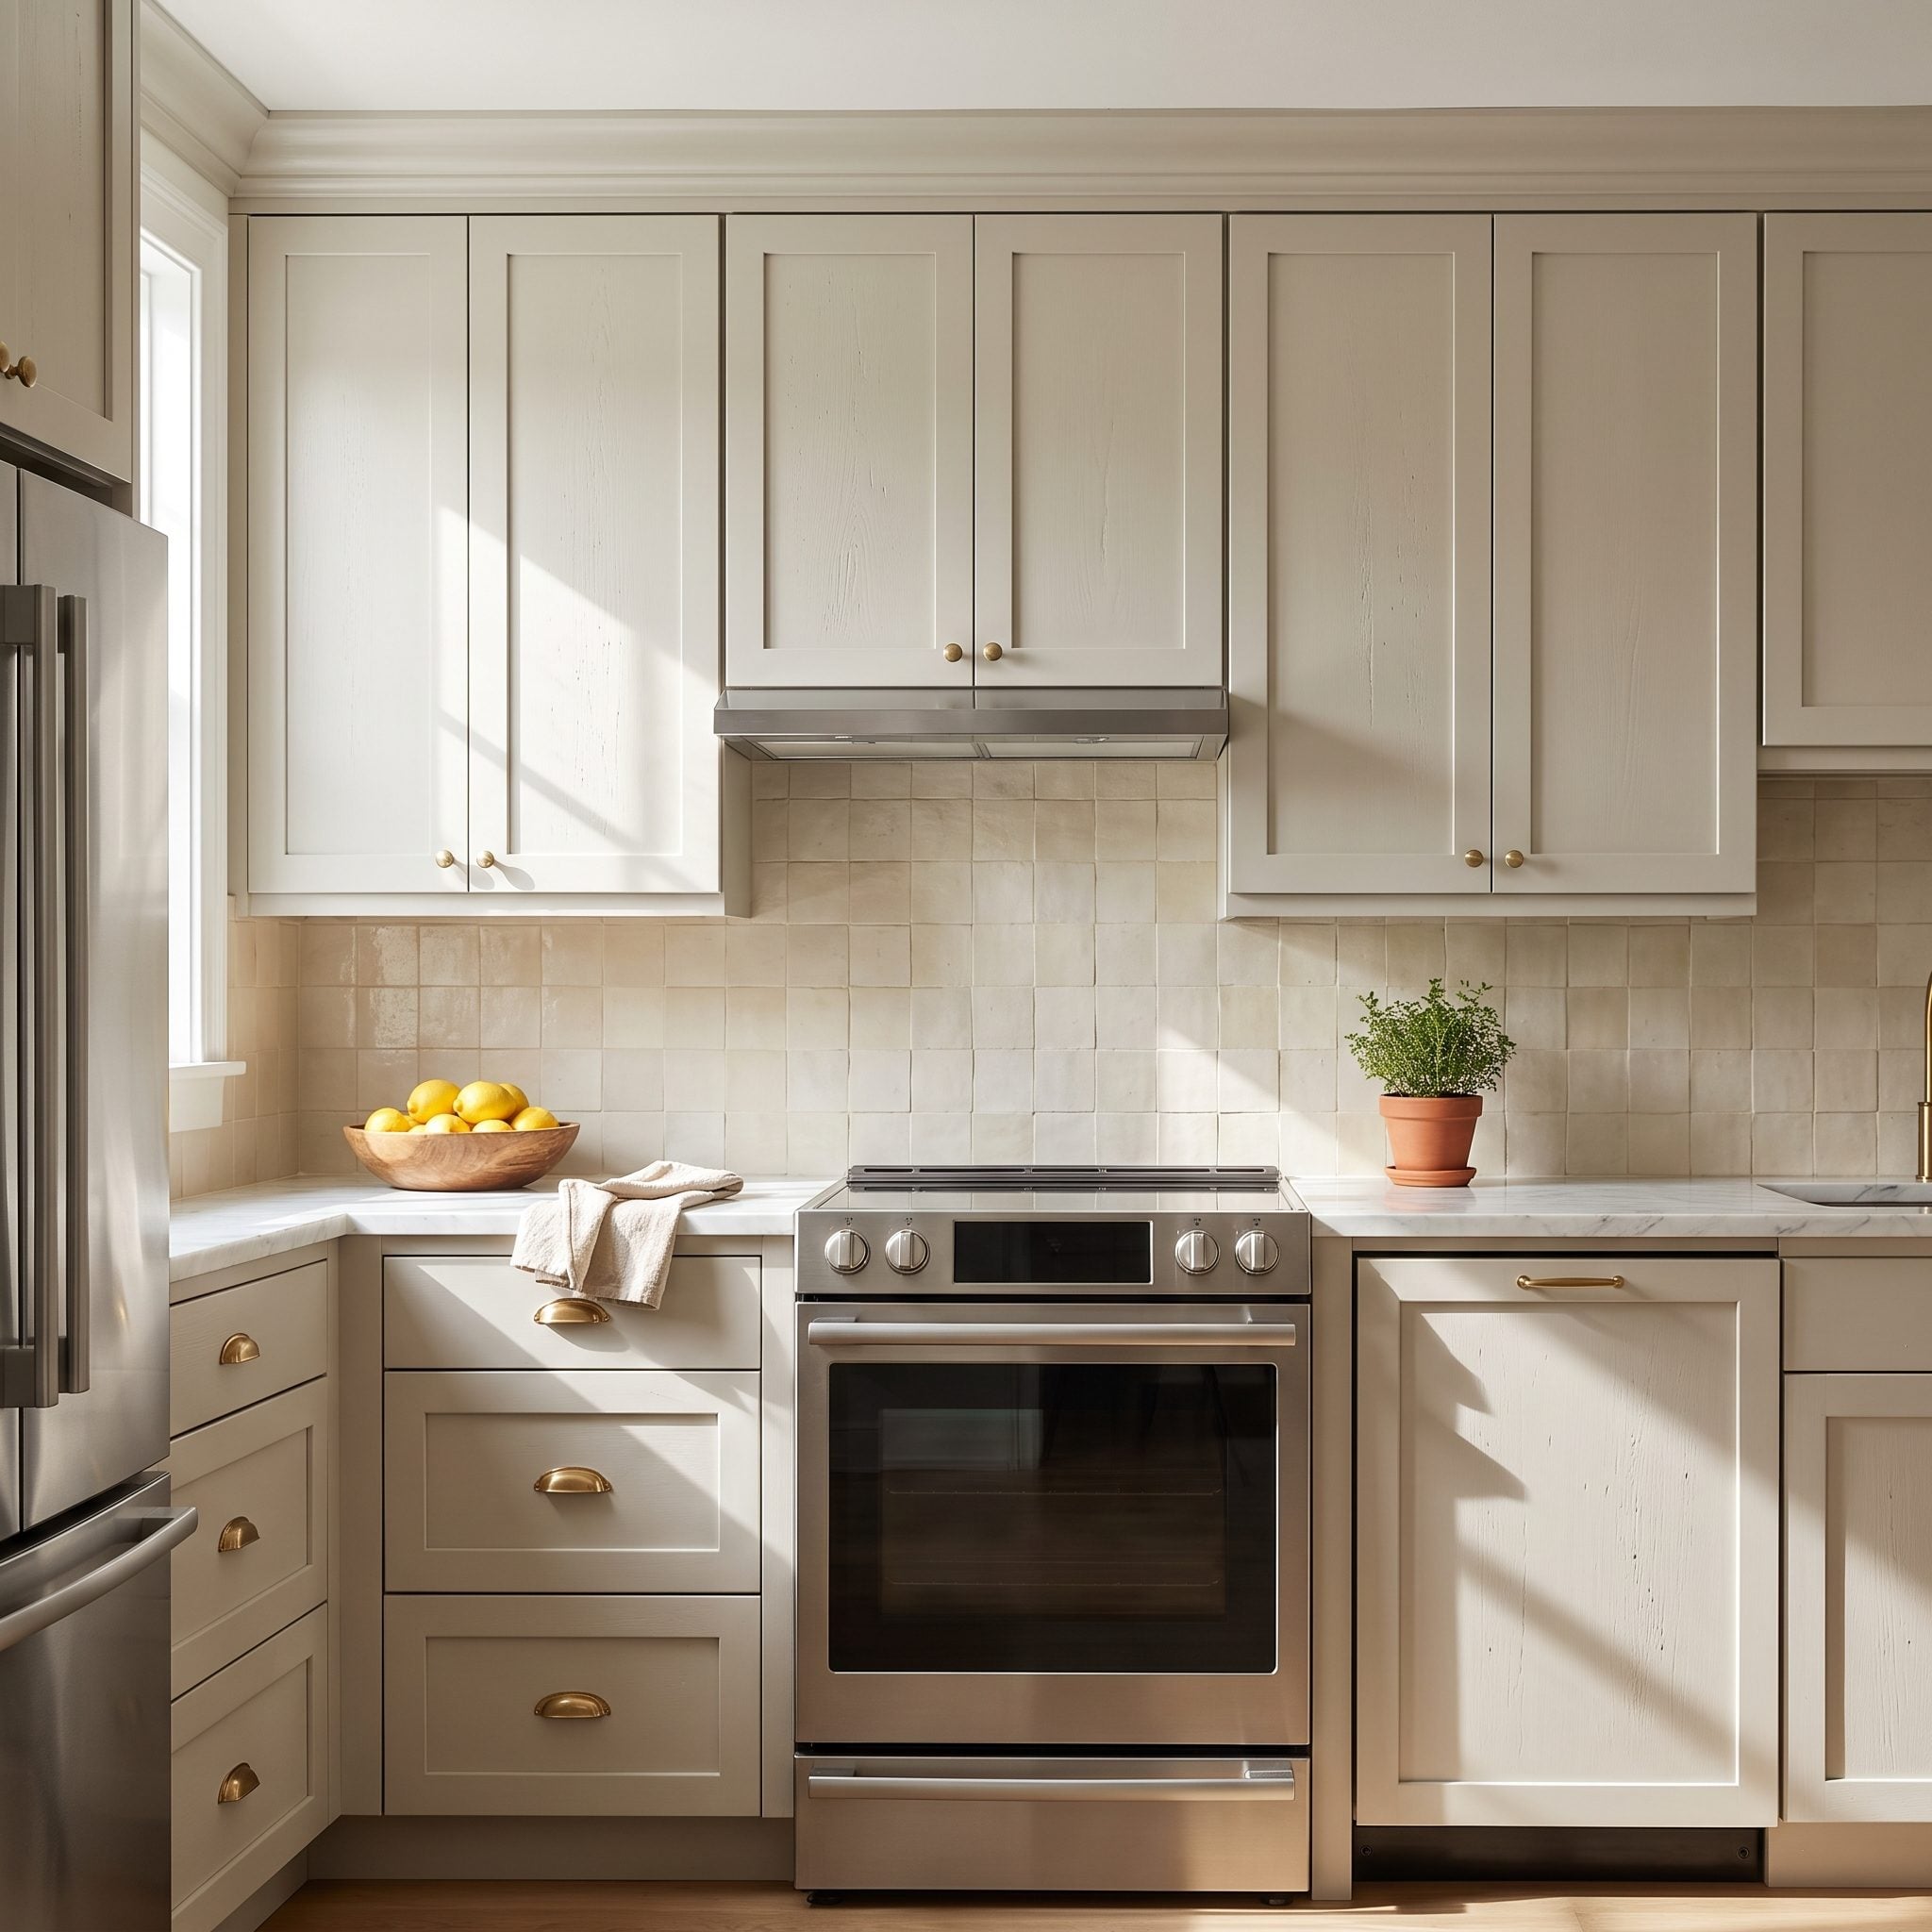
Not every coating requires sanding between every coat, but roughness does not improve by being buried. Dust nibs, raised grain on raw wood and occasional roller texture can stack from one layer to the next.
Follow the product’s recoat instructions. When light smoothing is recommended—or when the dry surface has obvious nibs—use the specified fine abrasive, remove the residue completely and then continue.
Run your hand across the finish and inspect it under raking light. A good cabinet surface should feel controlled before the final coat makes every flaw more permanent.
5. Confusing ‘Dry to Touch’ With ‘Fully Cured’
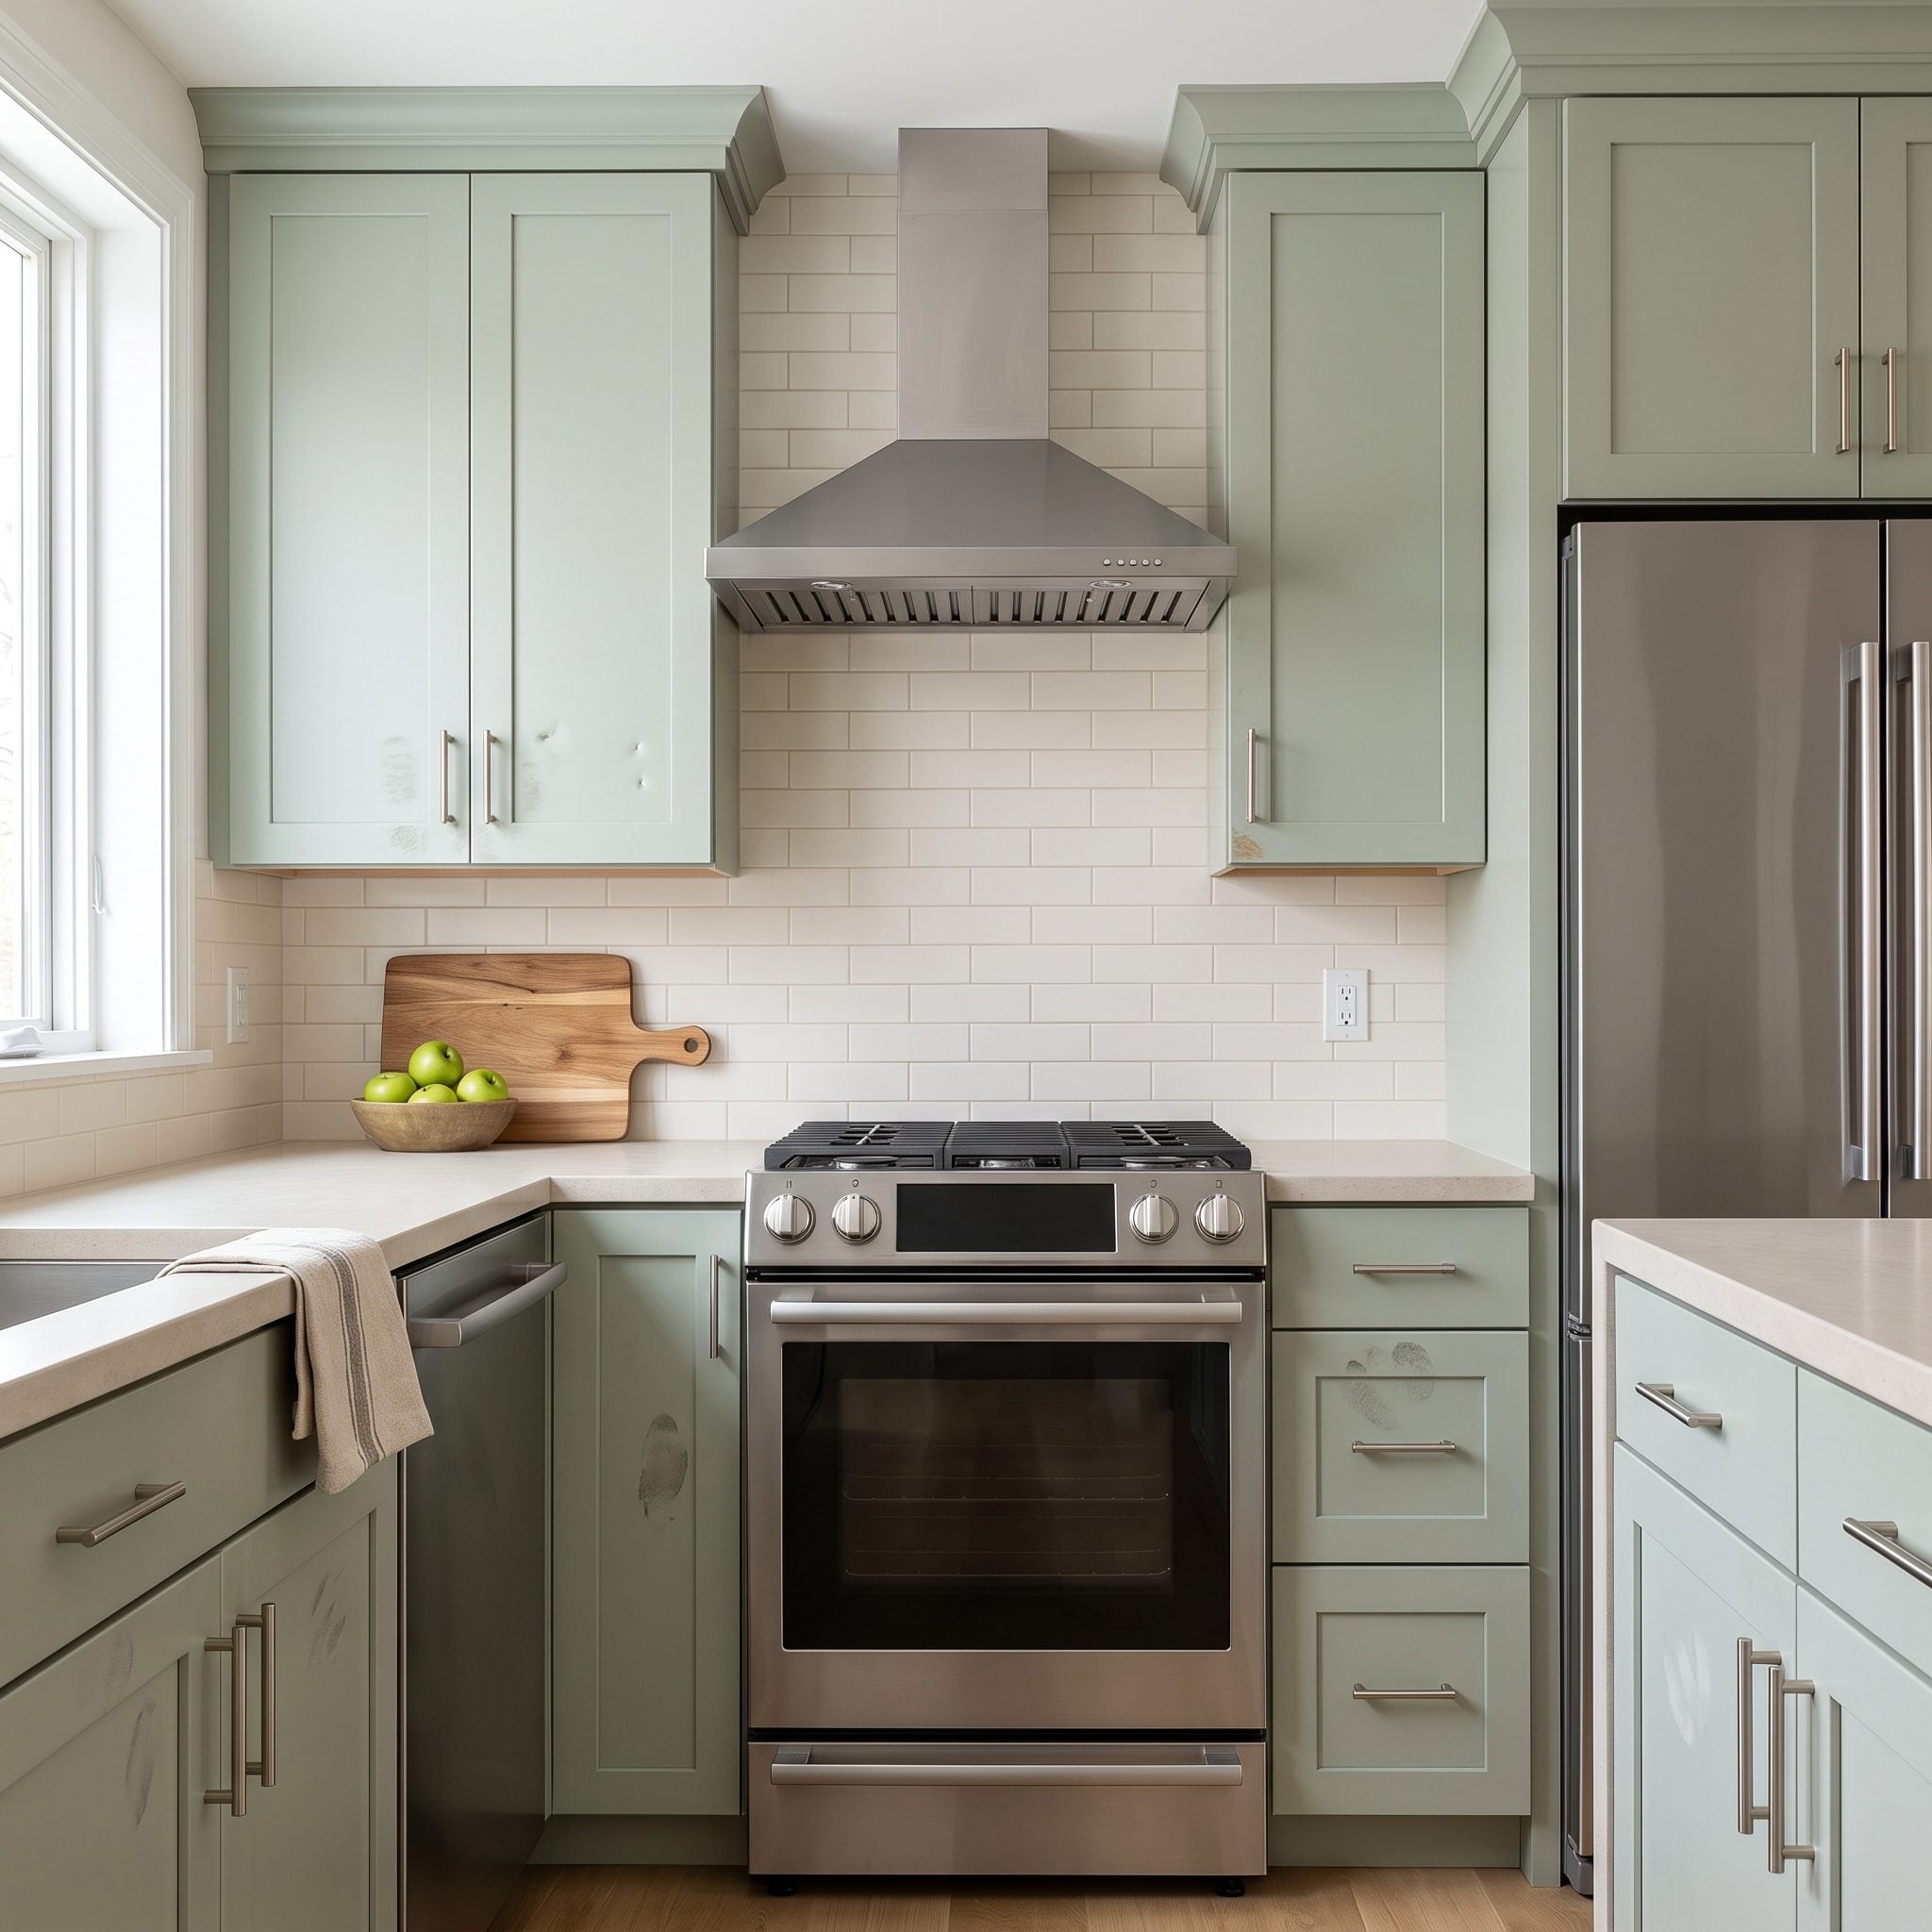
The surface feels dry, which creates a powerful and dangerous illusion: finished.
Touch-dry simply means you can touch the surface without transferring wet paint. Full hardness develops later—sometimes in days, sometimes over several weeks, depending on the coating, thickness and conditions.
During that intermediate period, pulls can dent the film, doors can stick where they touch and routine knocks can leave marks a fully cured finish would tolerate much better. On a small kitchen makeover, where every door earns its keep, that vulnerable window matters.
4. Ignoring How the Cabinet Color Works With Fixed Finishes
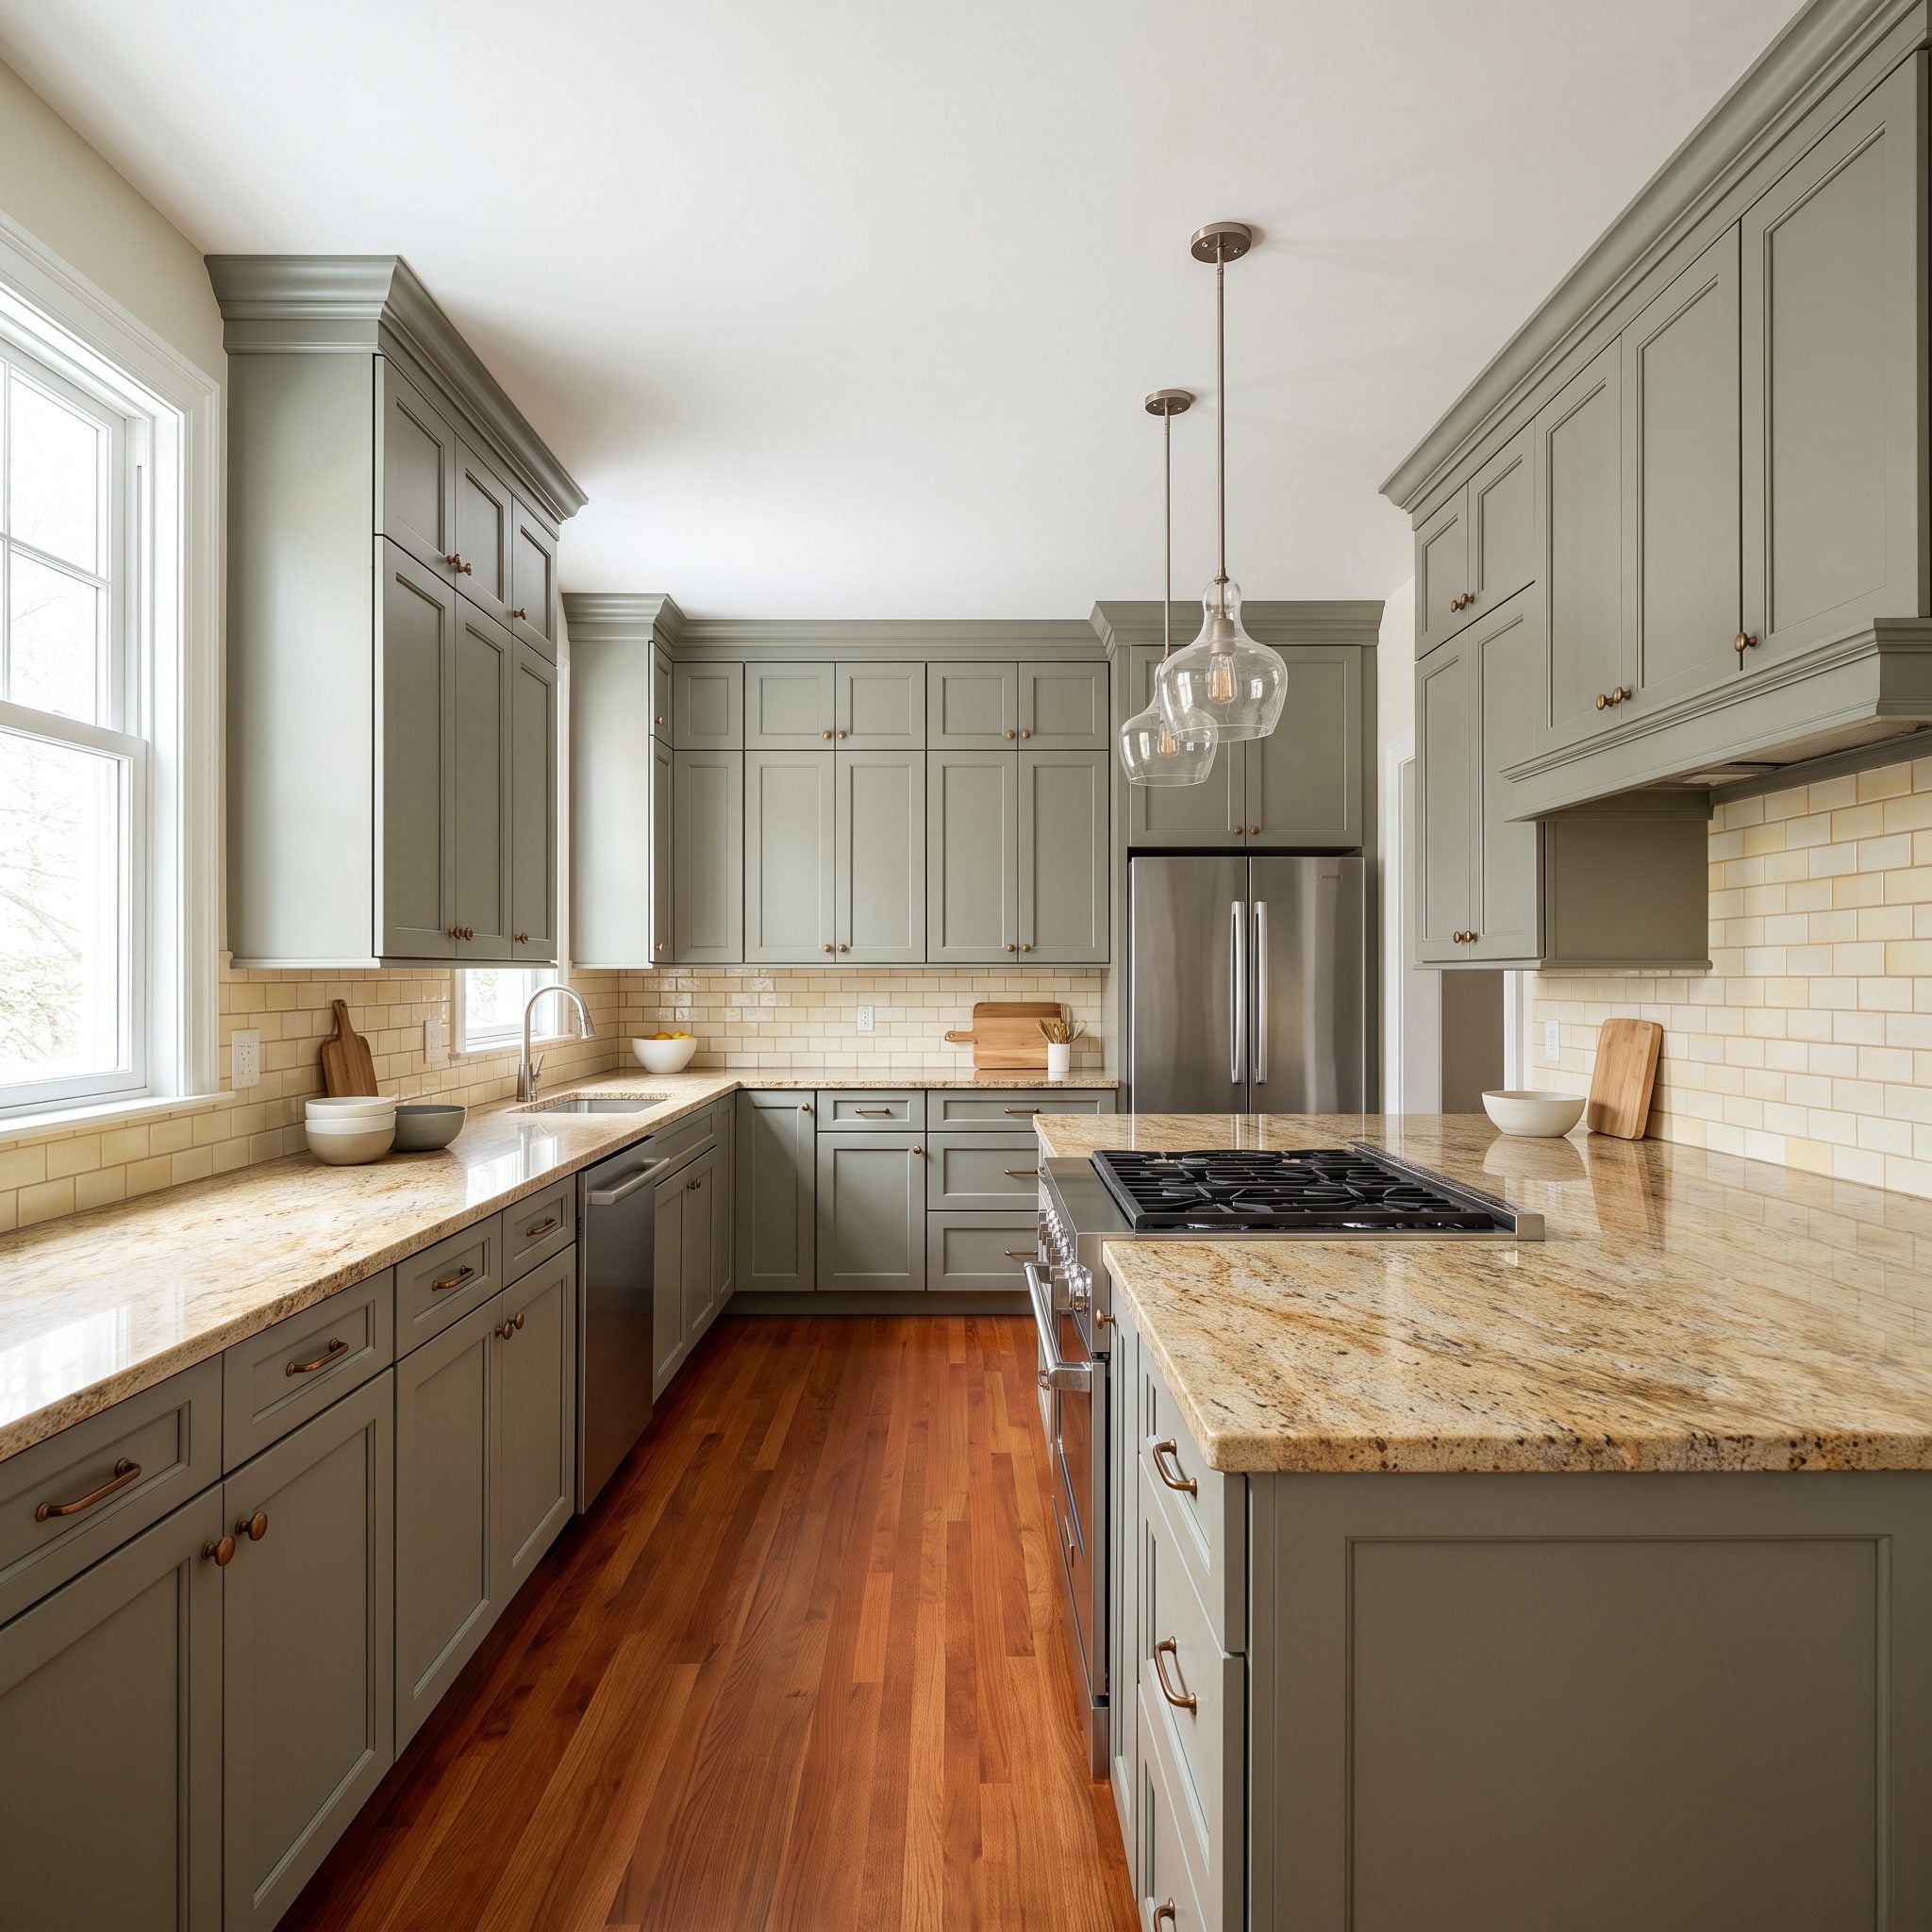
The paint can be technically flawless and still make the room argue with itself. Cabinet color lives beside countertops, flooring, backsplash tile and appliances that may be staying exactly where they are.
A cool green-gray beside gold-flecked granite and red-brown flooring can create tension—or, in the right scheme, useful contrast. The point is not that warm finishes demand warm cabinets. It’s that undertones need to be evaluated together instead of one sample at a time.
Gather whatever fixed-finish samples you can and compare the cabinet color against the whole group under the kitchen’s actual lighting. The room gets one vote, not four separate elections.
3. Reinstalling Doors and Hardware Before the Finish Hardens
🔥 Would you like to save this?
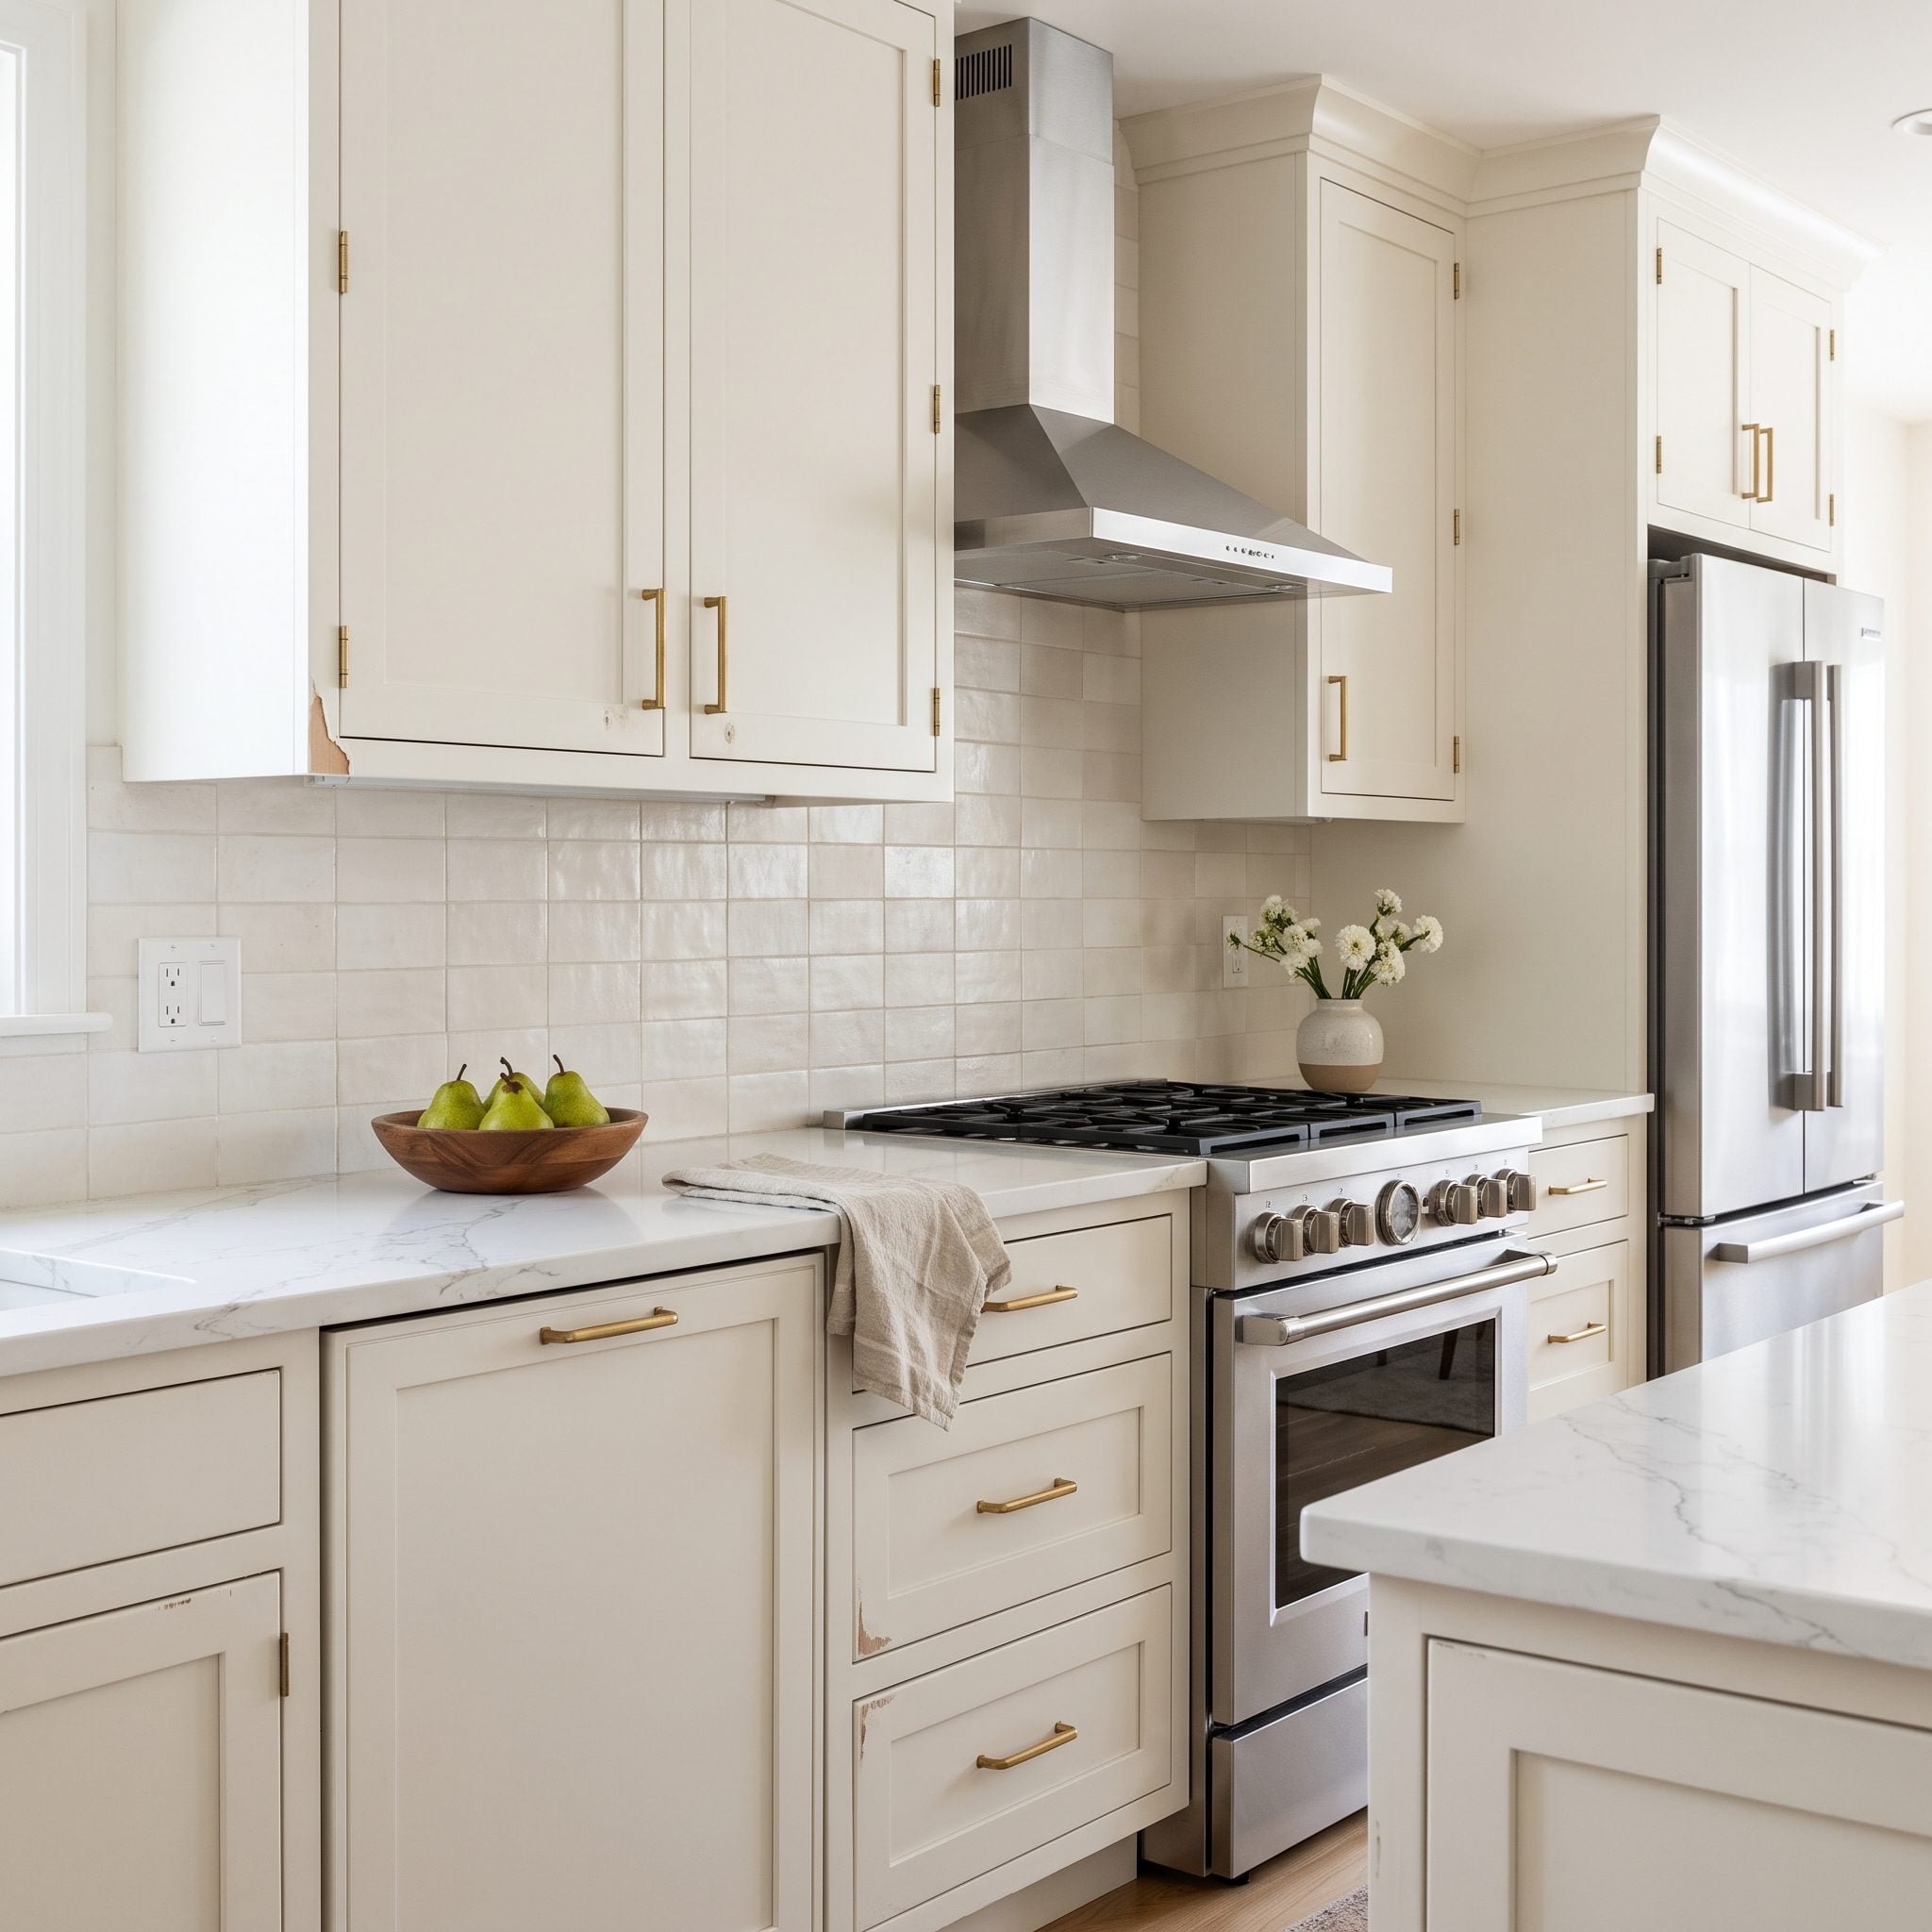
The doors look perfect leaning against the wall. This is precisely when impatience becomes expensive.
Hinges and pulls concentrate pressure in small areas. Tightened hardware can imprint a finish that hasn’t developed enough hardness, while adjacent doors may stick where fresh coatings touch.
Use the coating manufacturer’s handling and reassembly guidance rather than a universal number of days. The correct wait feels annoyingly long right up until you compare it with repainting a damaged door.
2. Scrubbing and Abusing the Finish in Its First Weeks
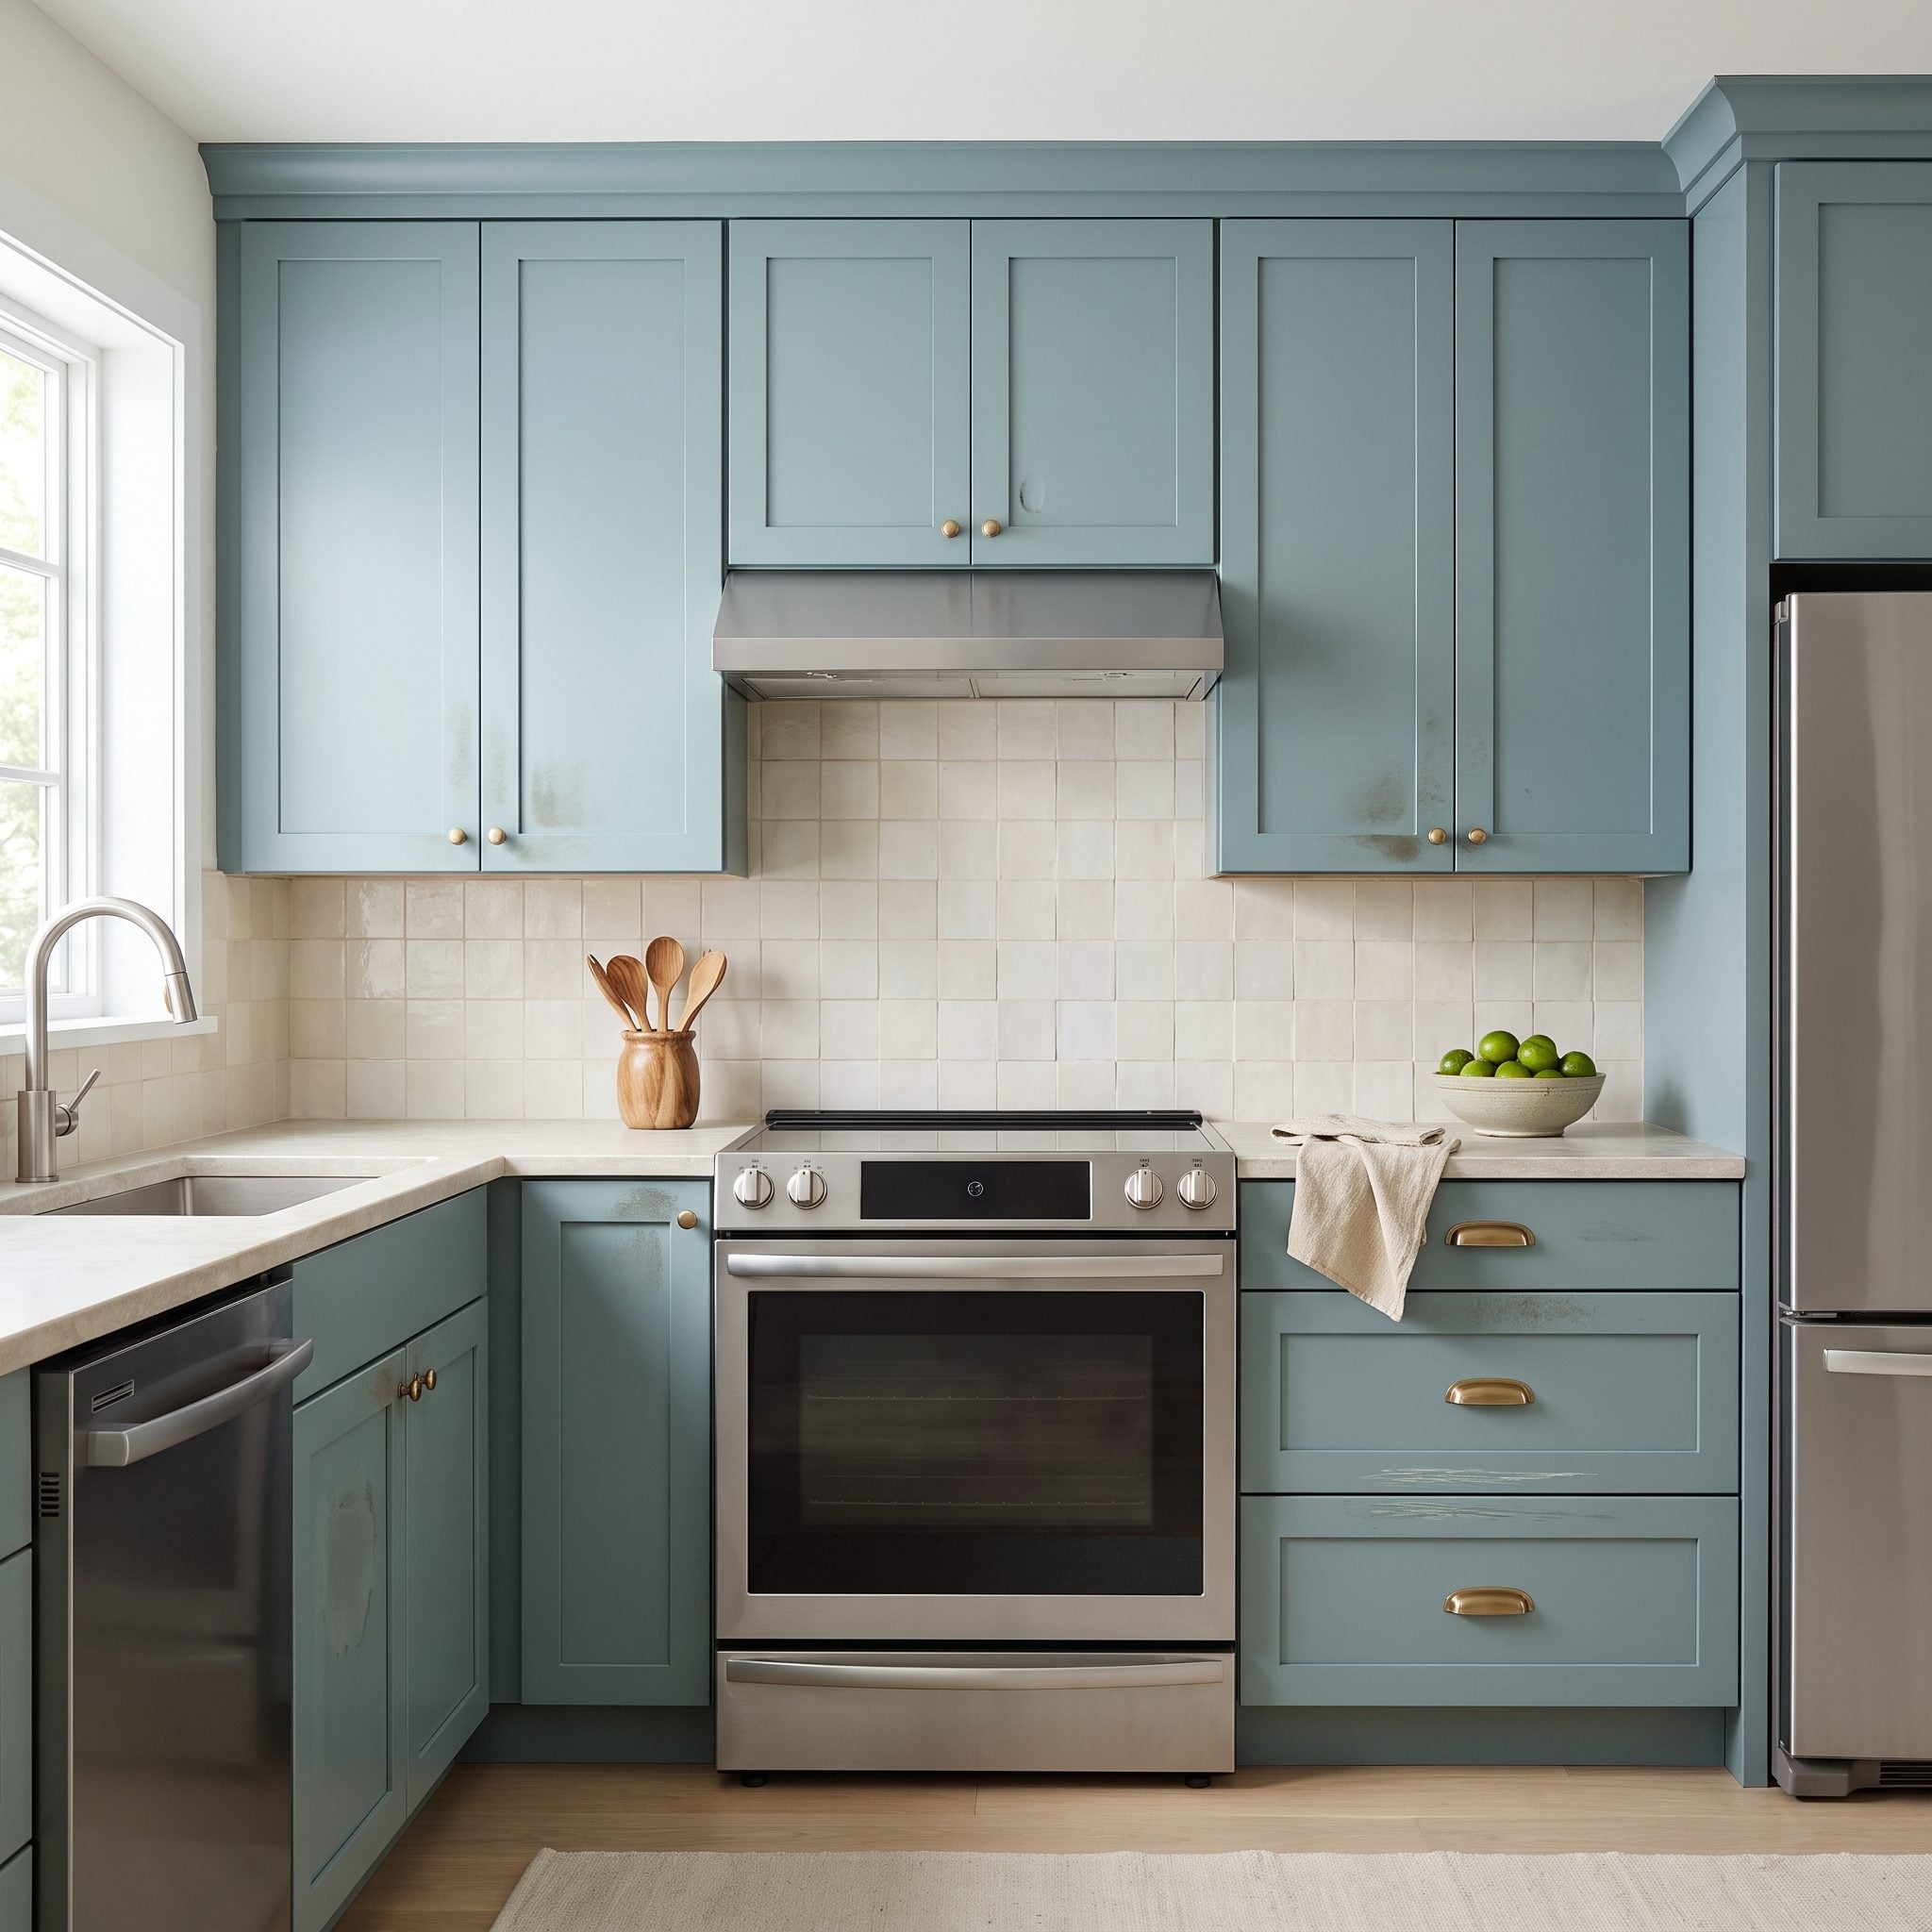
A newly painted cabinet can look tougher than it is. Until the coating reaches the hardness specified by the manufacturer, abrasive cleaning and prolonged moisture deserve caution.
Use the gentlest cleaning method permitted during the early cure period. Blot spills promptly with a soft cloth, avoid aggressive scrub pads and don’t leave damp towels pressed against fresh doors.
Once fully cured, a quality cabinet coating should tolerate normal kitchen cleaning far better. Until then, give your traditional kitchen ideas a little time to finish becoming real.
1. Nailing the Paint While Ignoring Bad Alignment and Cheap Hardware
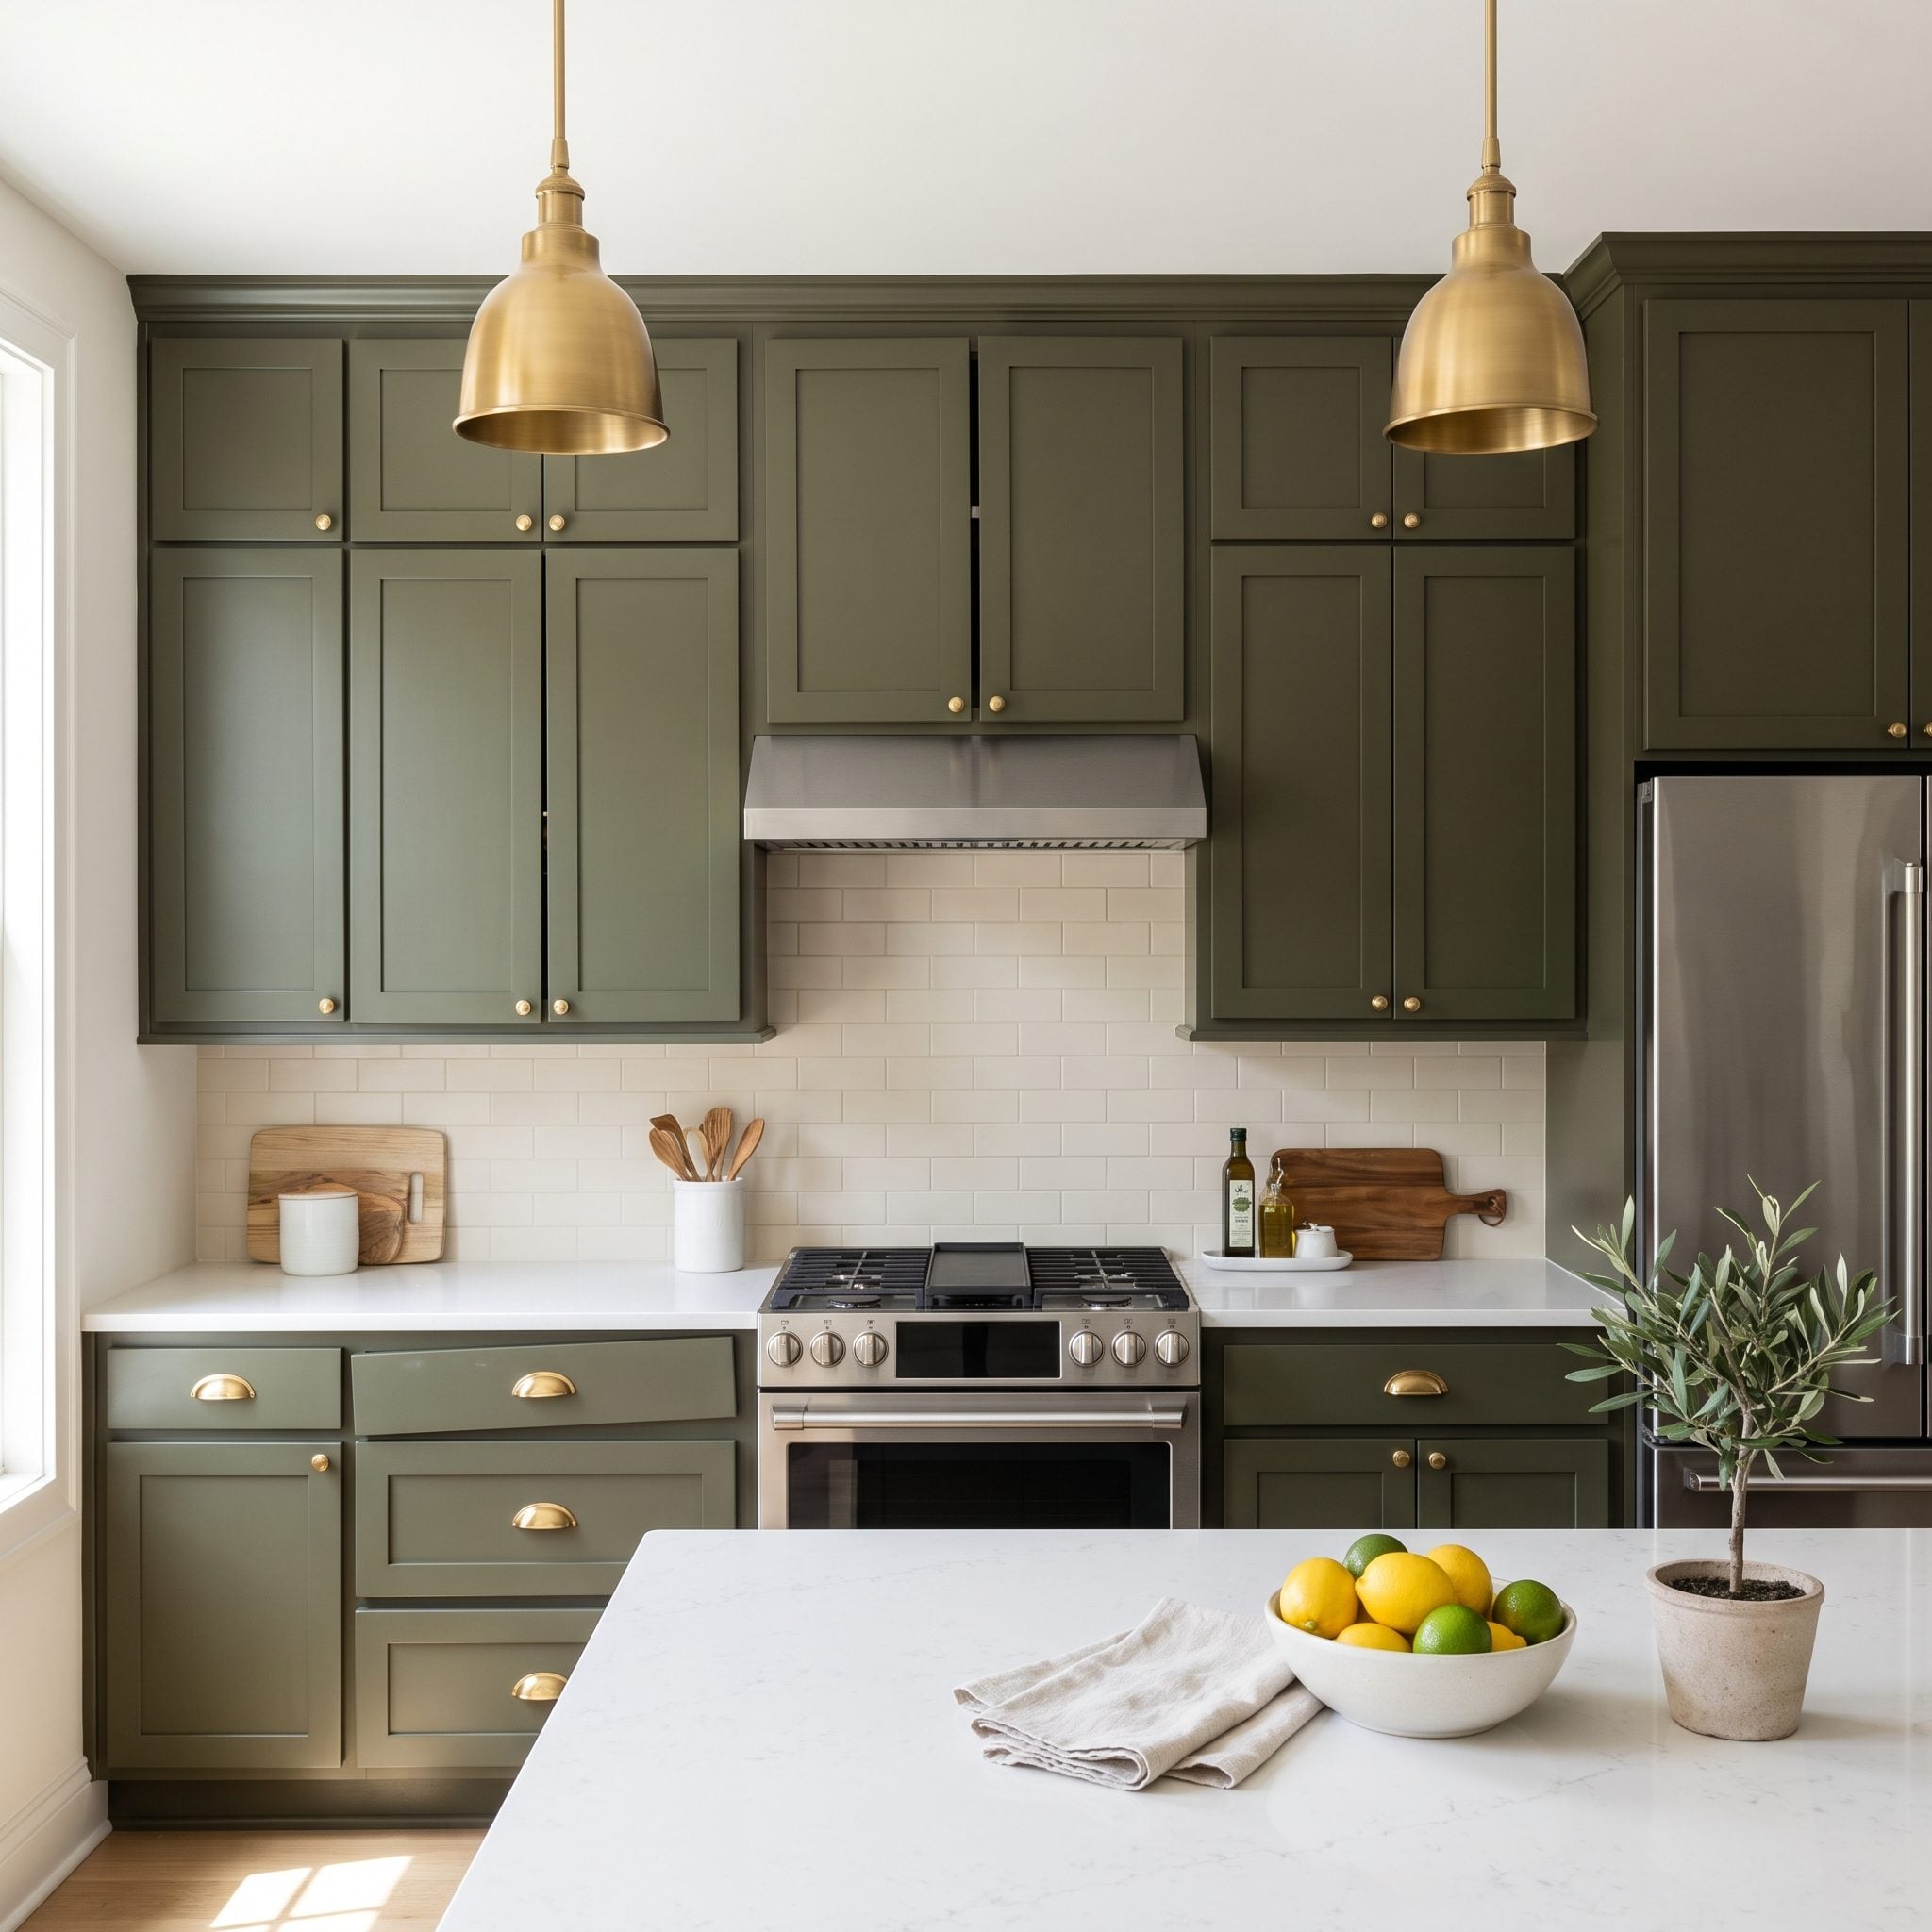
You can execute every coating step beautifully and still end with a kitchen that feels off. That’s what makes the final mistake so irritating: the paint may be innocent.
Uneven reveals, one low door, a crooked drawer front, a door sitting proud and pulls installed at slightly different heights register before anyone gets close enough to admire the finish.
Nobody notices a flawless finish first. Everybody notices a crooked door.
Many concealed European-style hinges provide three-way adjustment for height, side-to-side position and depth, though hinge designs vary. Use the adjustments your hardware provides, check the reveals with a level and install pulls with a template so repeated positions actually repeat.
Spend money on hardware that suits the doors, then give alignment the same attention you gave primer and paint. Finishing the color and walking away before the doors are squared is like tailoring a suit and stopping before the buttons go on.