🔥 Would you like to save this?
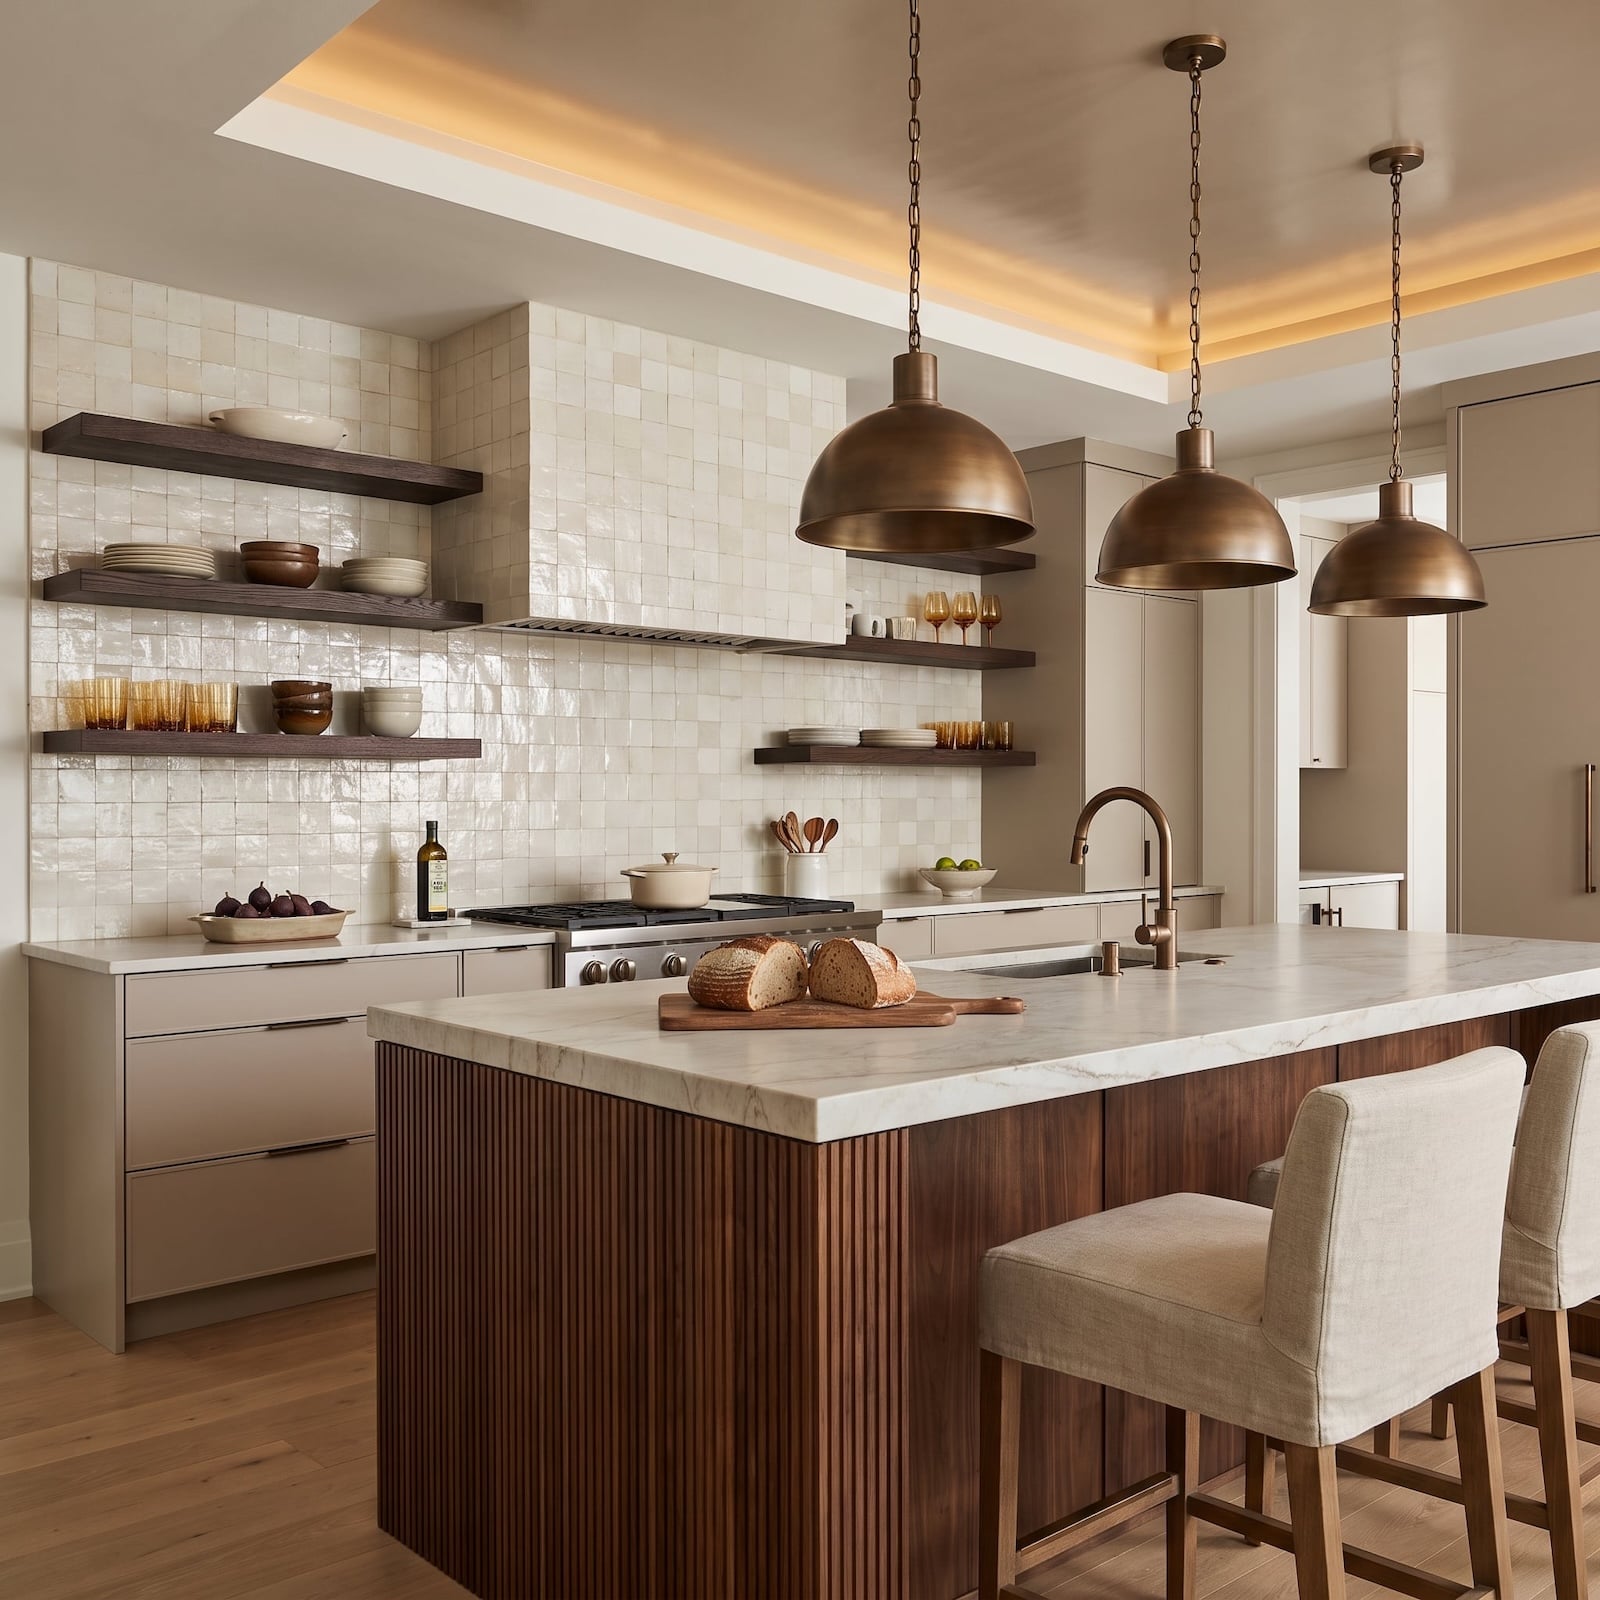
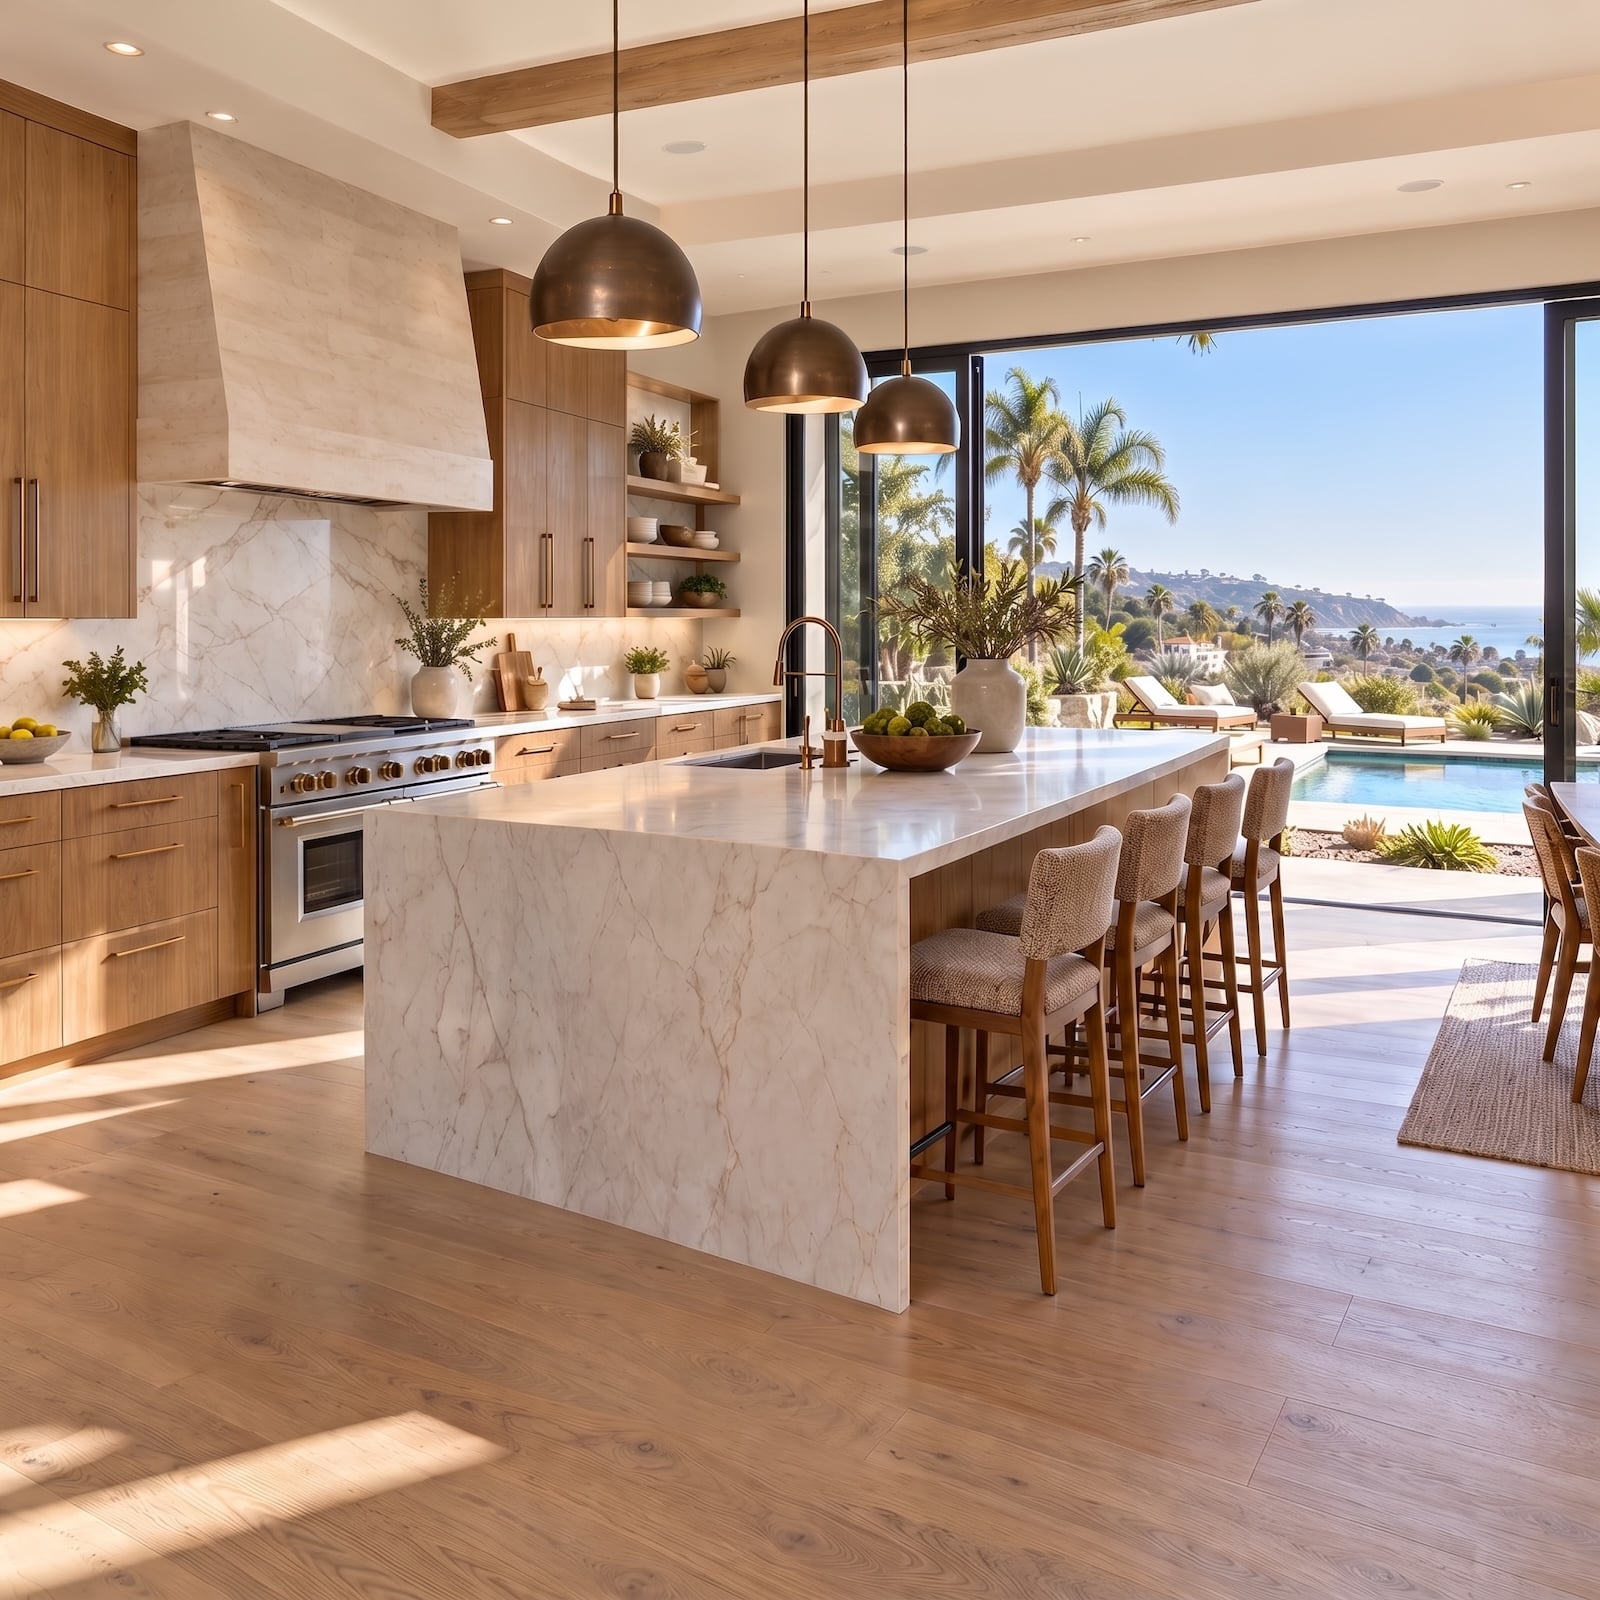
A kitchen island has the authority of a wall and the appetite of a room. Sized well, it anchors the composition. Too large, and even a beautiful slab becomes a blockade. Good proportion begins at floor level. Refrigerator doors swing, dishwashers open, stools pull back, and people need a clear route through the kitchen. A plan that measures only closed cabinets captures the drawing, not the room in motion.
Then function meets finish. The sink needs landing space; the cooktop needs room for pans; storage has to be reachable; lighting has to fall where the work happens. Stone and cabinetry can give an island presence, but they cannot make those demands disappear.
In order to come up with the very specific design ideas, we create most designs with the assistance of state-of-the-art AI interior design software. Also, assume links that take you off the site are affiliate links such as links to Amazon. this means we may earn a commission if you buy something.
An island has to earn its footprint: enough surface to work, enough clearance to move, and a clear reason for every feature it carries.
The Island Was So Wide Nobody Could Comfortably Reach the Center
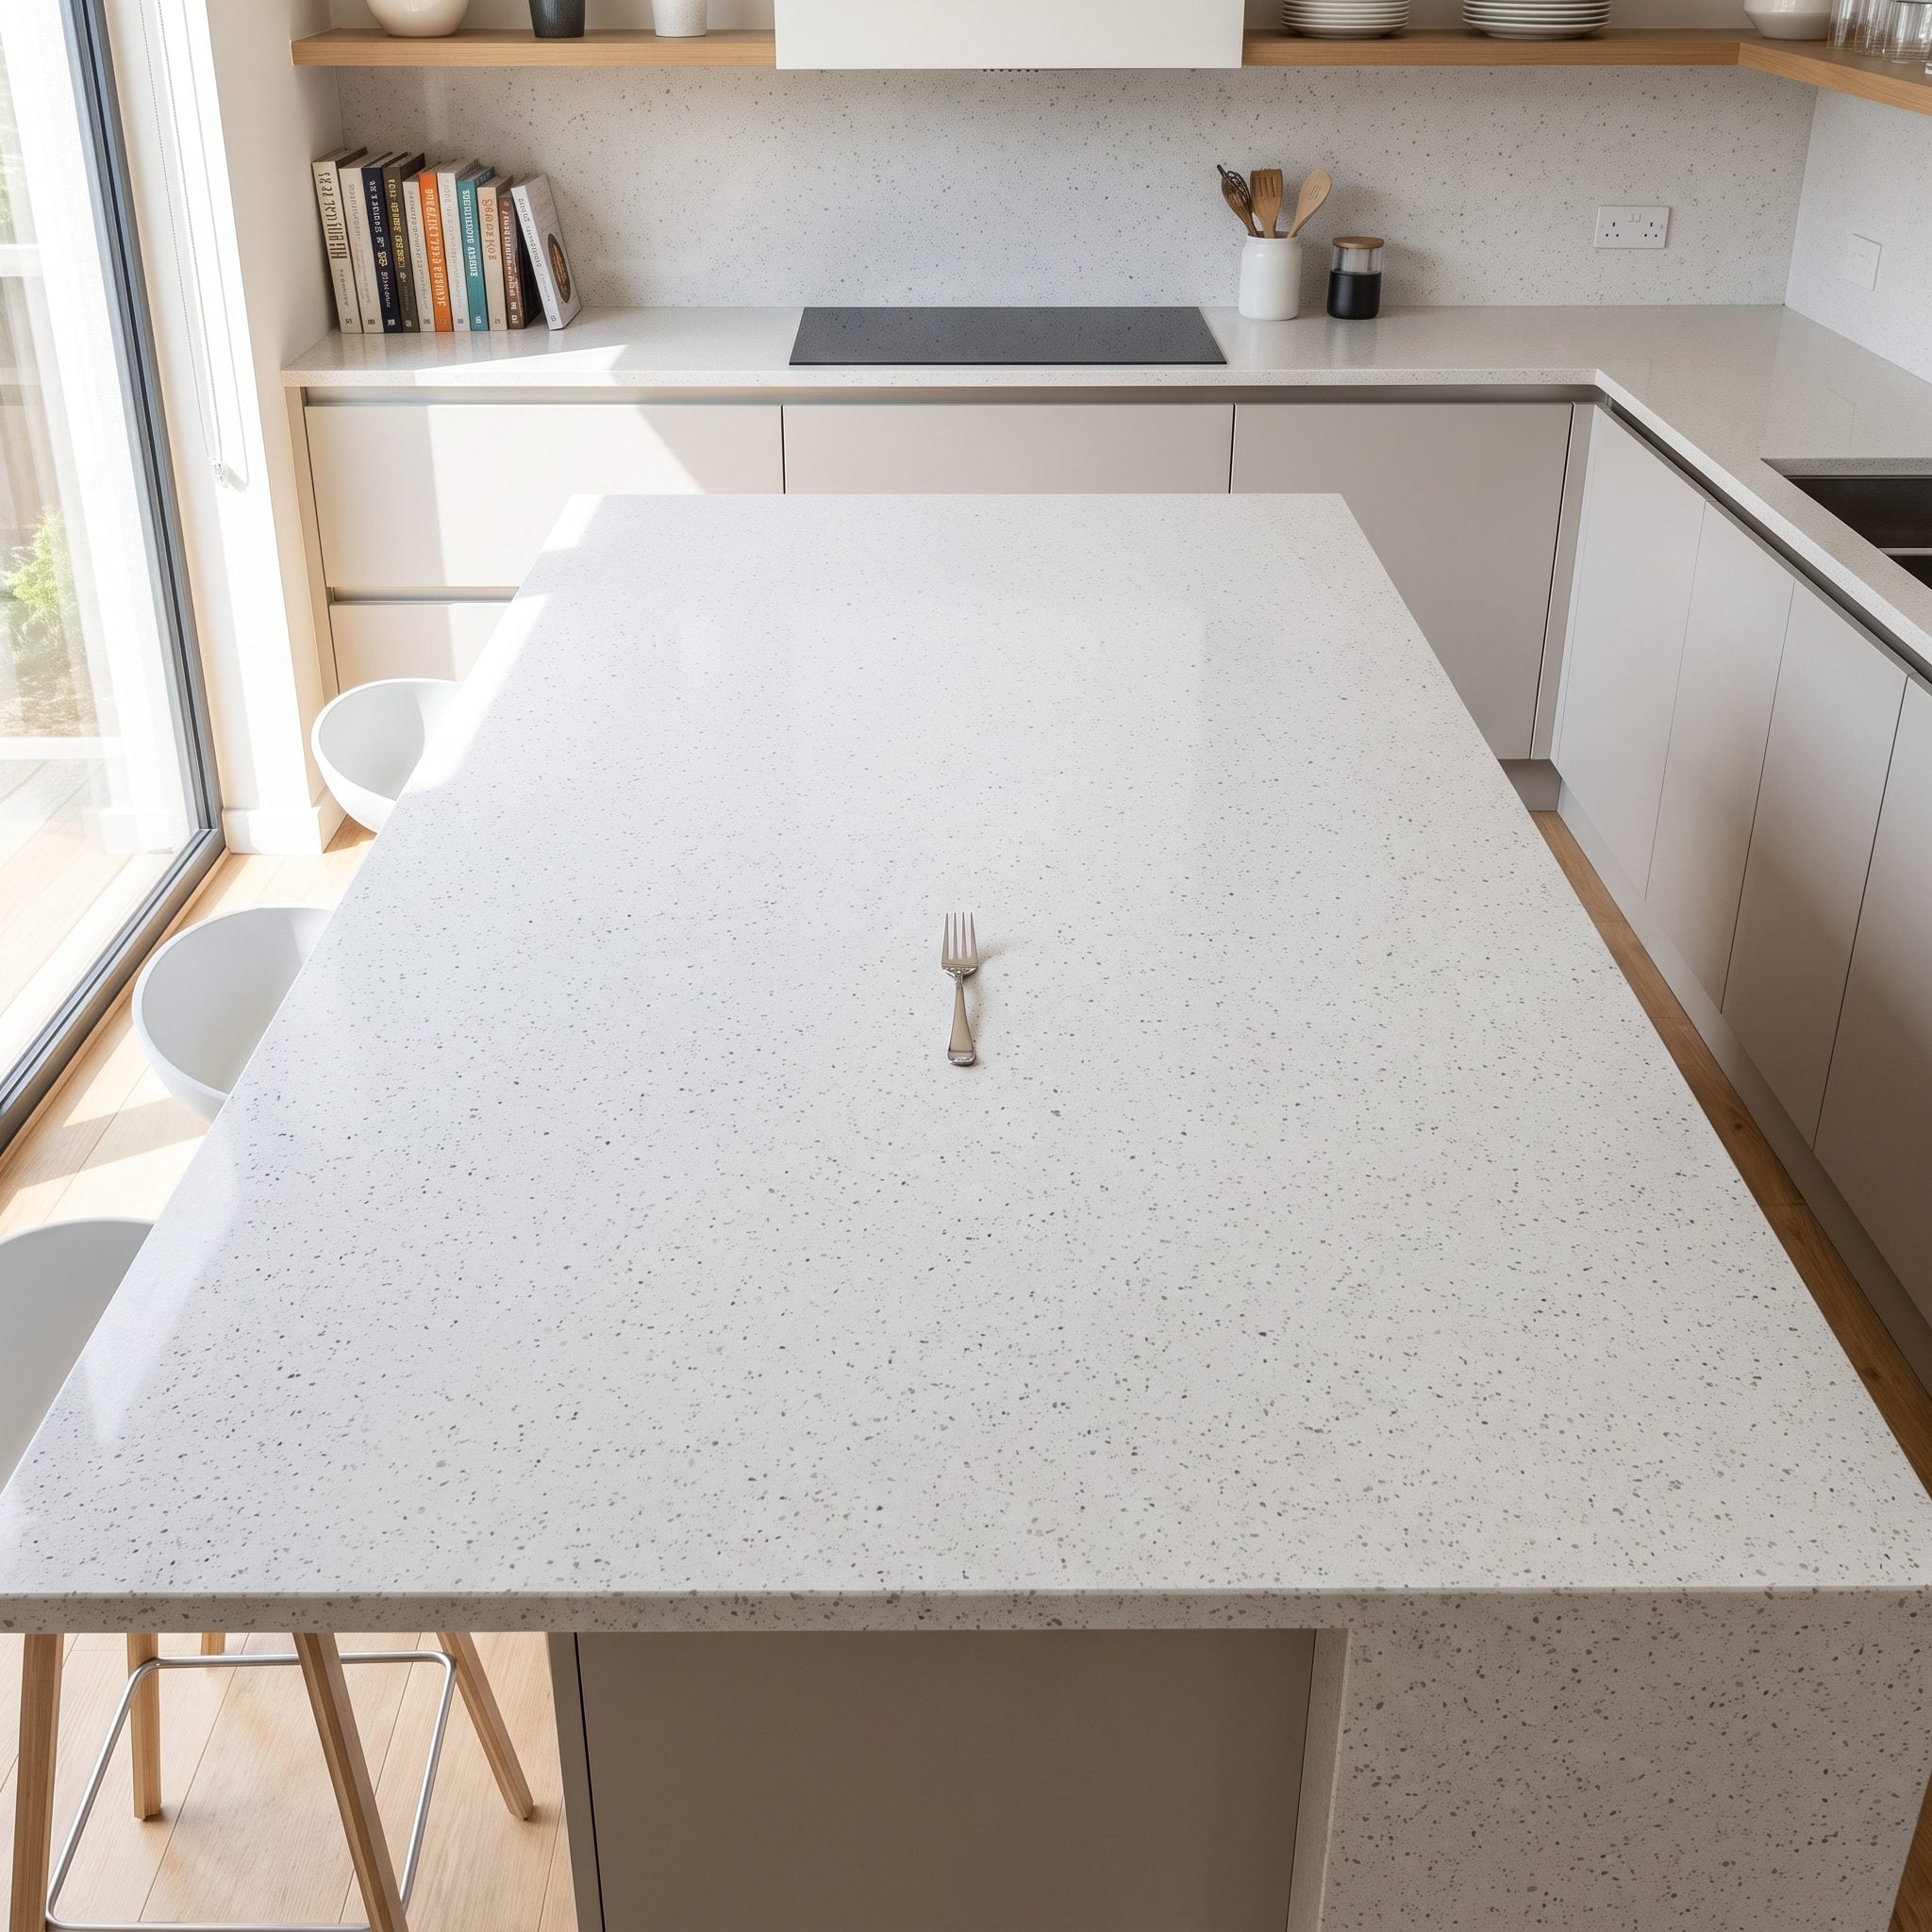
An island that is too deep can turn its middle into hard-to-reach storage or counter space. The problem depends on how the surface is used: prep work, serving, display, and storage each call for a different reach and access pattern.
Before setting the depth, decide what belongs at the center and how it will be reached from each side. Keep frequently used tools and ingredients within a comfortable reach, and use drawers or access from both sides when the island’s width makes a single cabinet run impractical.
The Island Looked Perfect, Until Two People Tried to Pass Each Other
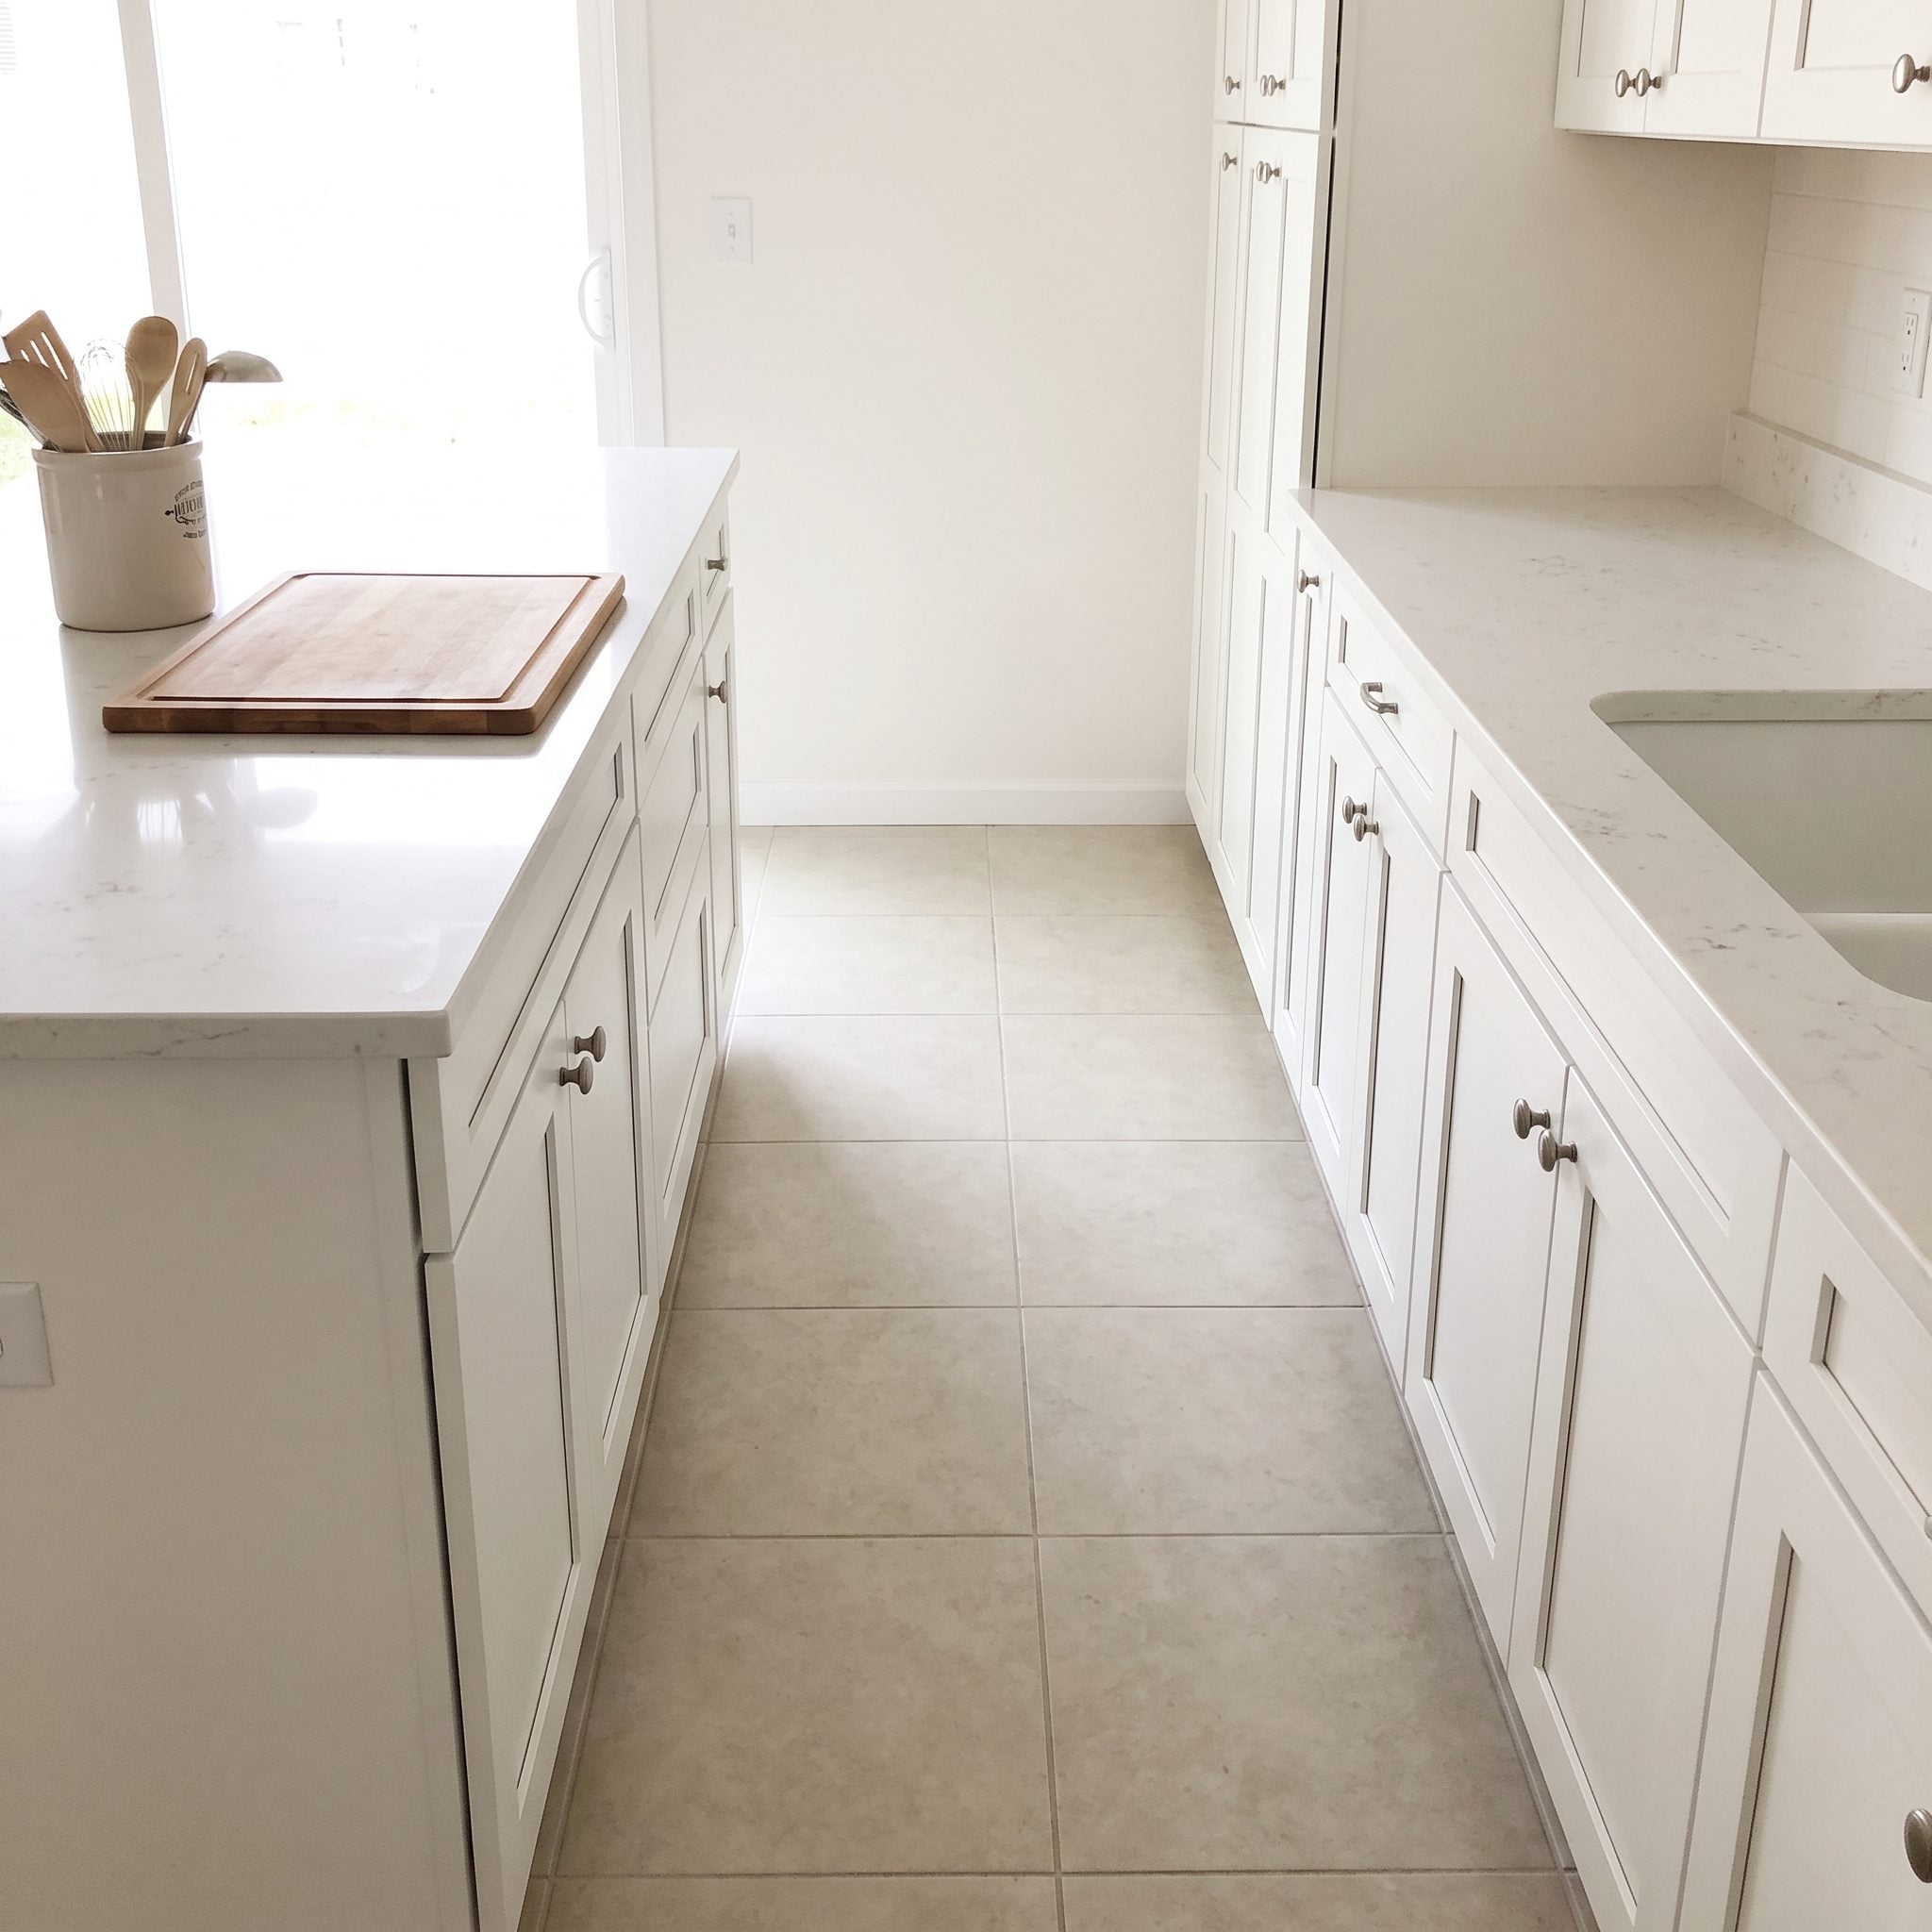
A generous island can still leave a pinched work aisle. The useful measurement is the clear distance between opposing counters or appliances, taken at the points where people actually work. A common NKBA planning guideline calls for 42 inches in a one-cook work aisle and 48 inches when more than one cook uses it. Those are recommendations, not universal code requirements.
Measure the finished faces, then test the route with cabinet doors, drawers, and appliance doors open. If the island makes the working path awkward, reduce its footprint or reconsider its position before choosing a larger slab.
The Sink Was Put in the Island Without Enough Landing Space

A sink needs counter space for dishes, drained cookware, and ingredients. NKBA planning guidance recommends at least 24 inches of landing area on one side and 18 inches on the other. The exact arrangement depends on the sink size, nearby appliances, and whether the island is used for prep or cleanup.
Keep the landing areas clear of seating and cooktop zones where possible. An island sink can work well when its plumbing, usable counter, and cleanup route are planned together.
A Structural Column Was Ignored Instead of Incorporated Into the Layout
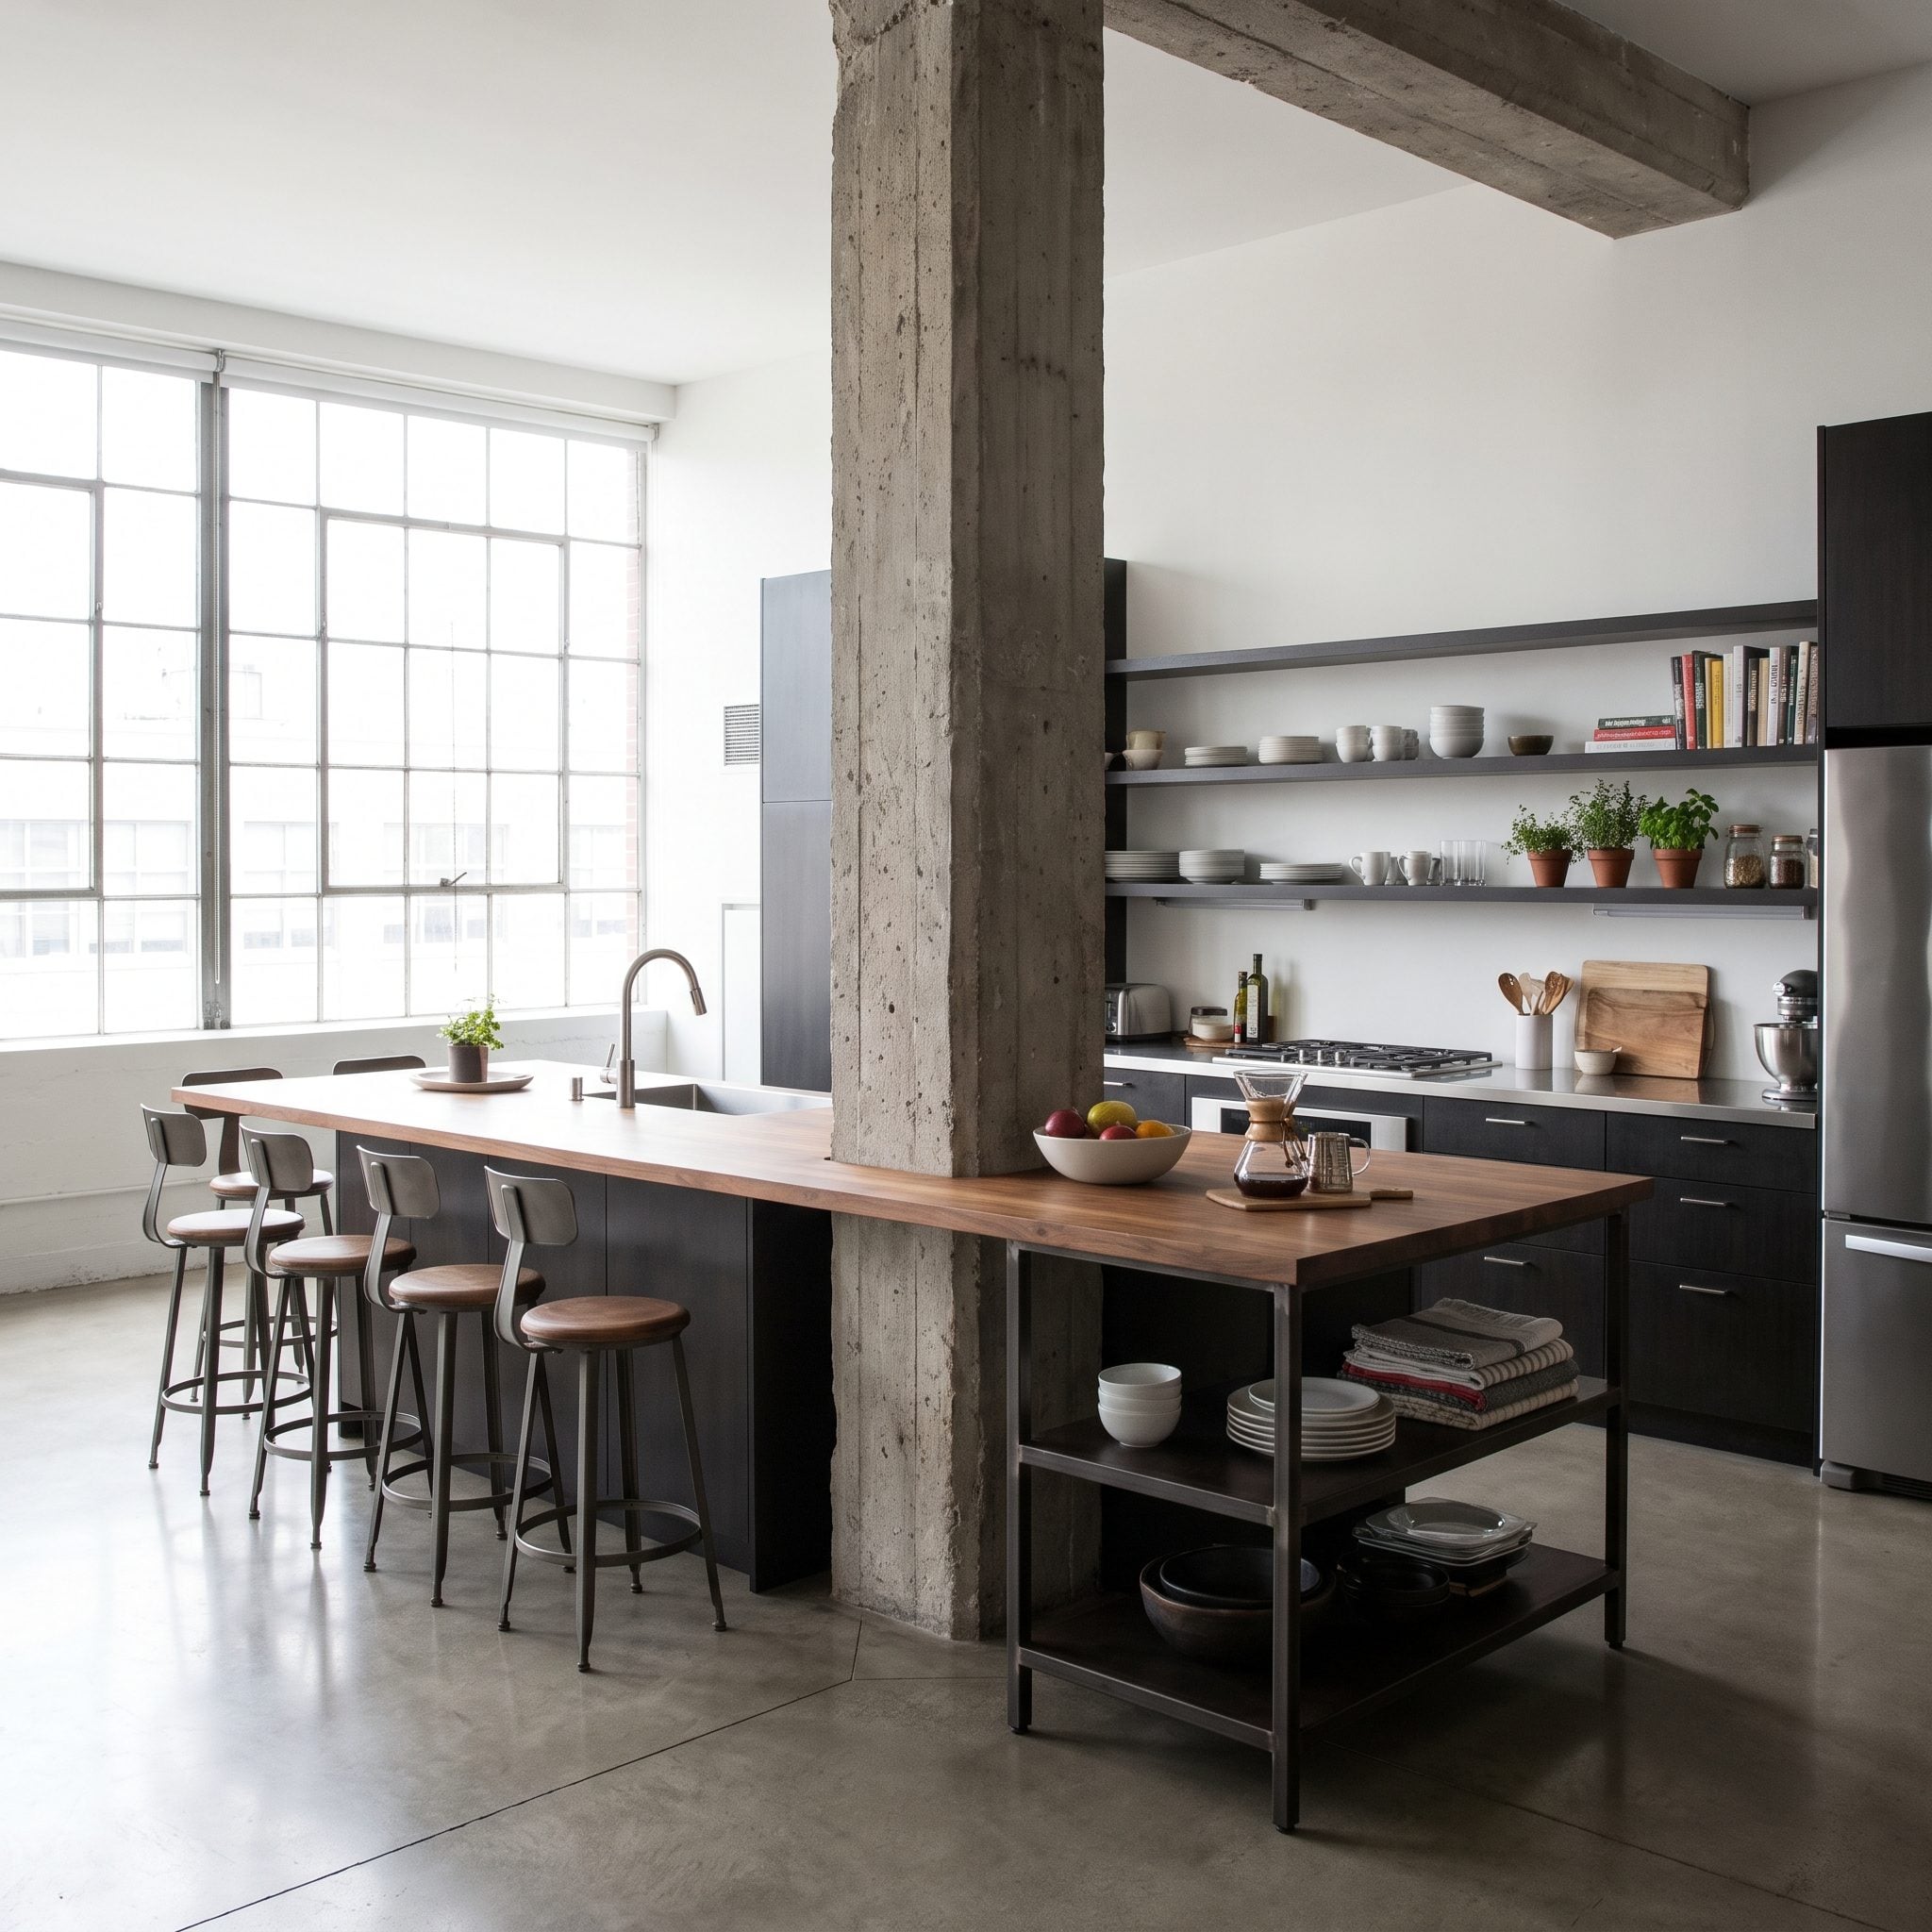
A structural column can determine where an island fits. Leaving a narrow, awkward gap beside it may create unusable floor space; building the island around it may make the column feel intentional, but that option depends on structure, circulation, and construction details.
Have a qualified professional confirm whether the column is structural and what changes are possible. If it cannot move, test layouts that align it with cabinetry or use a deliberate finish so the column reads as part of the room.
The Counter Stools Fit, Until Someone Actually Sat in Them
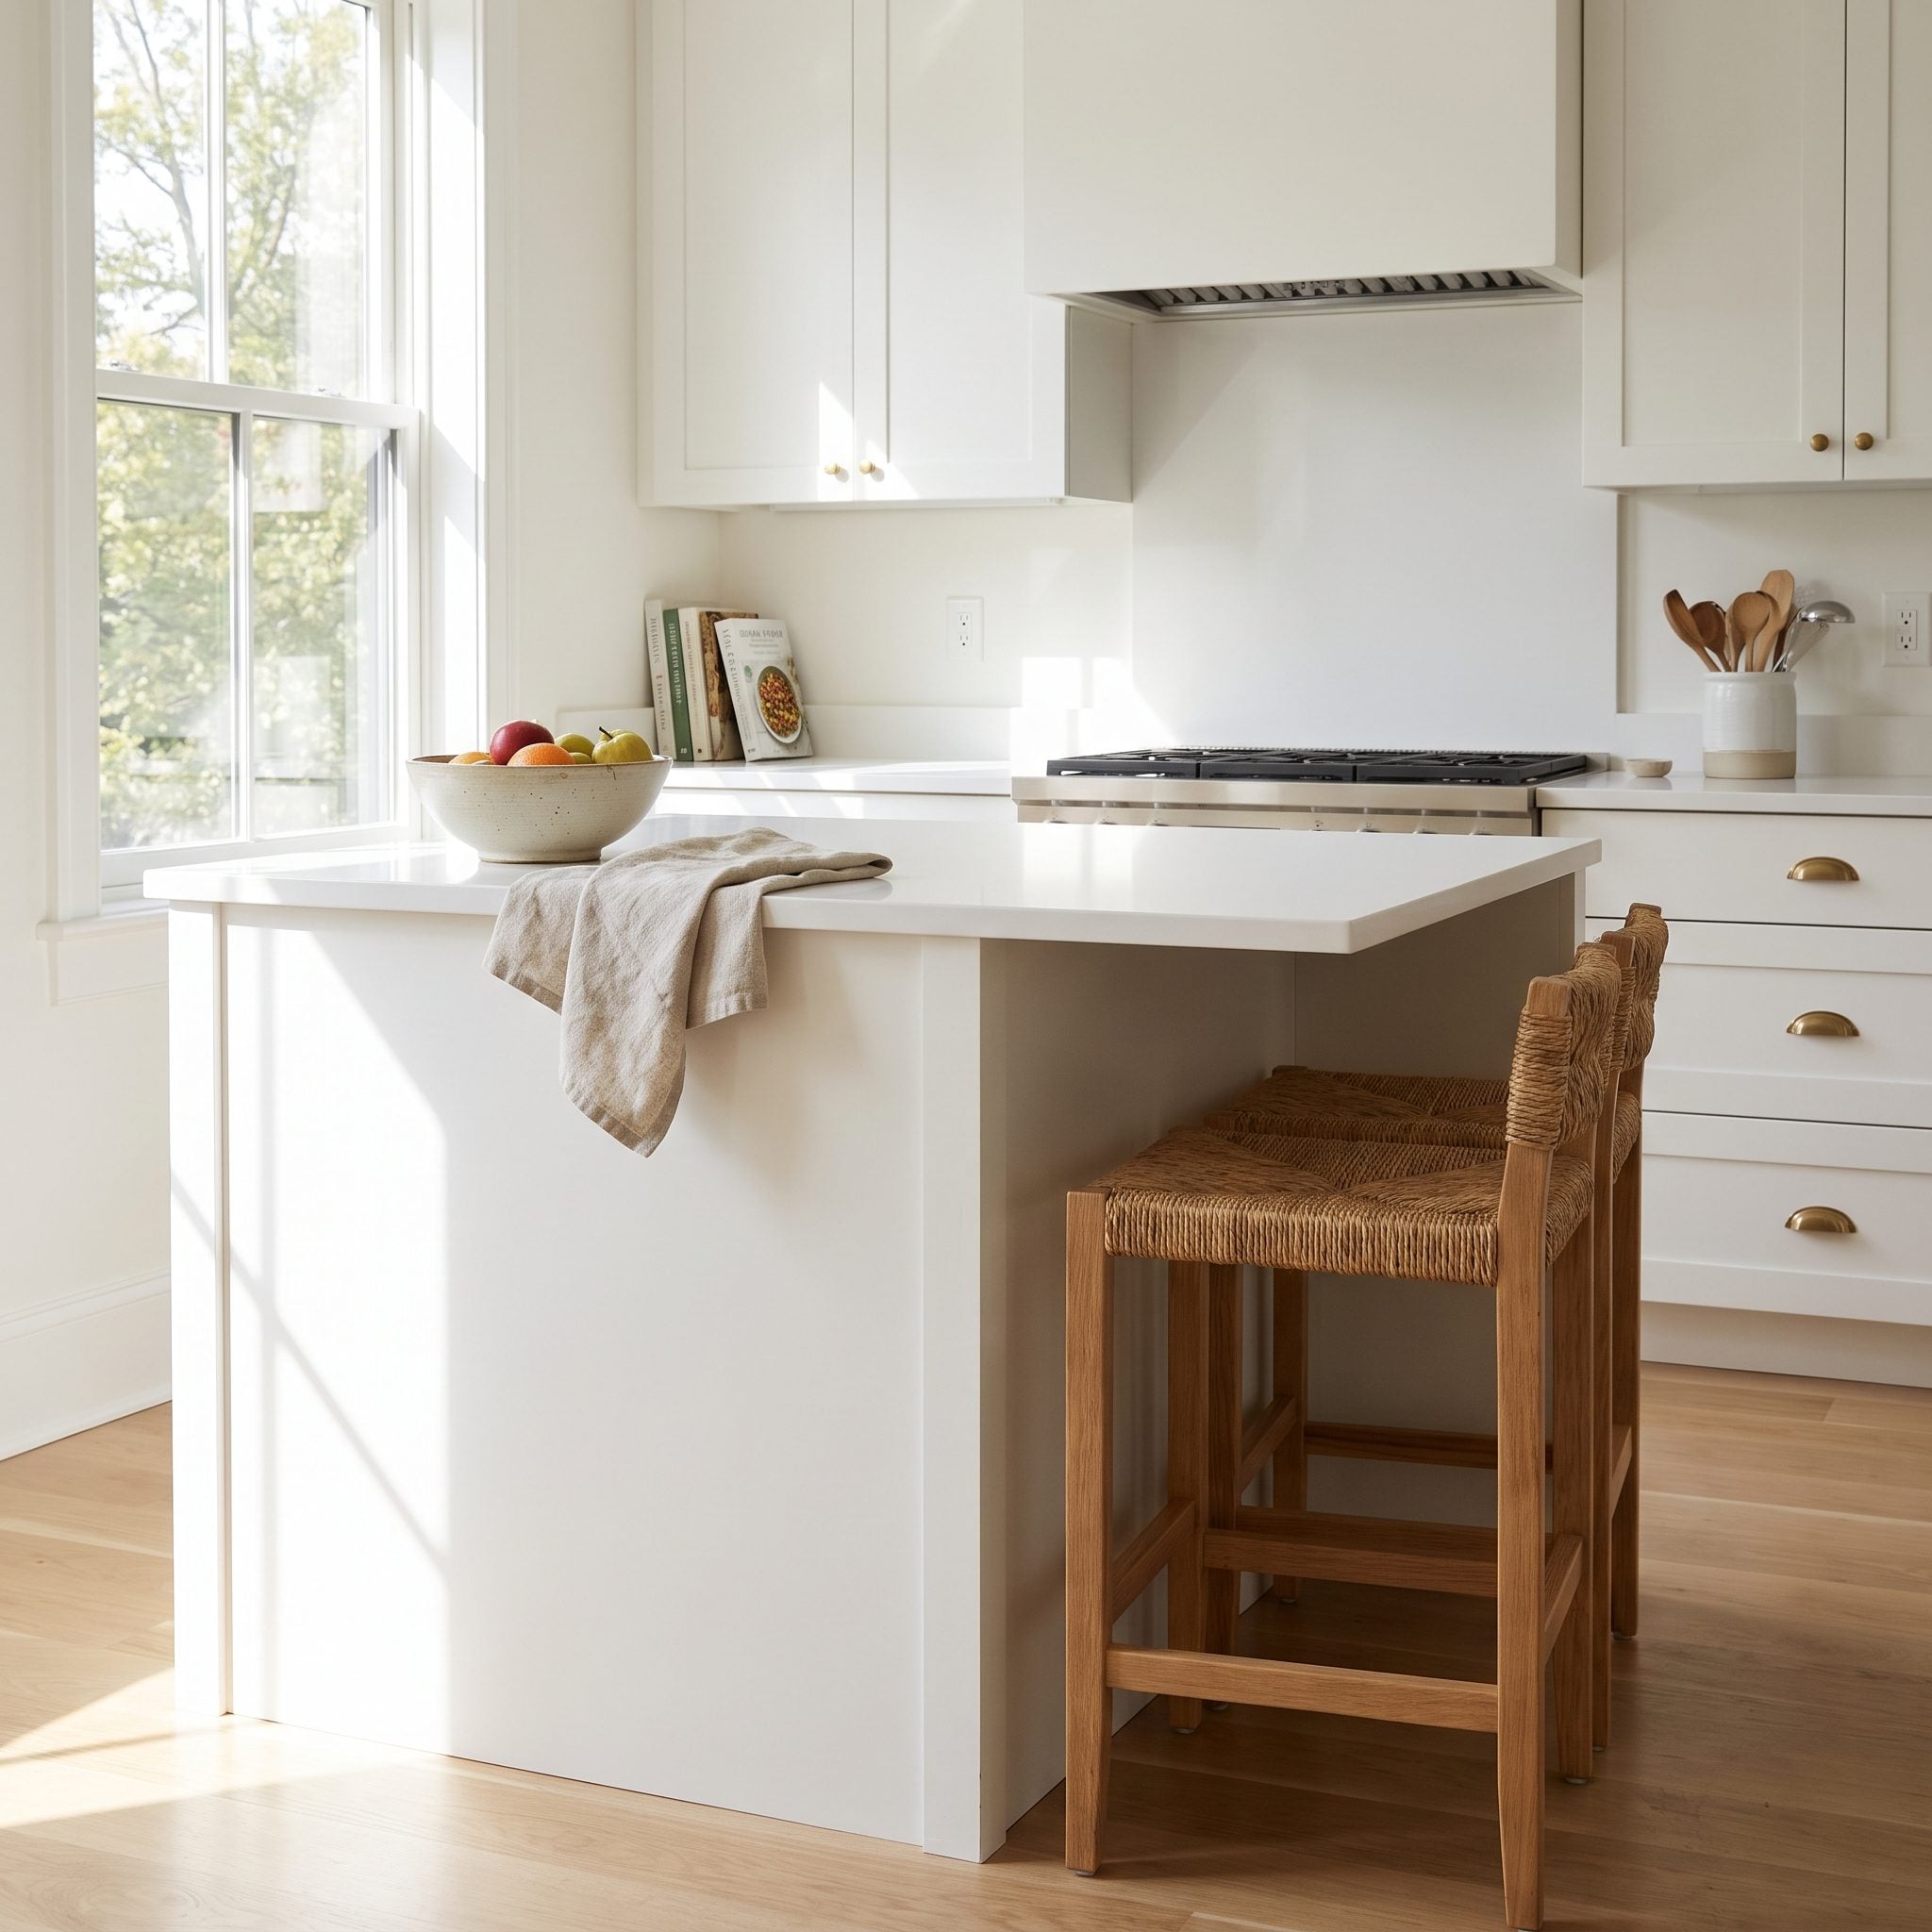
A stool can fit beneath an overhang and still be uncomfortable at the counter. Match the stool’s seat height to the counter height, then check legroom beneath the top and the distance between the seat and counter edge. A 36-inch counter commonly pairs with a counter-height stool around 24 to 26 inches; confirm dimensions with the stool manufacturer.
Tape the stool footprint on the floor and include the space needed to pull it out. That small check reveals whether seating will leave a clear route and whether the overhang offers usable knee room.
The Refrigerator Door Opened Straight Into Island Traffic
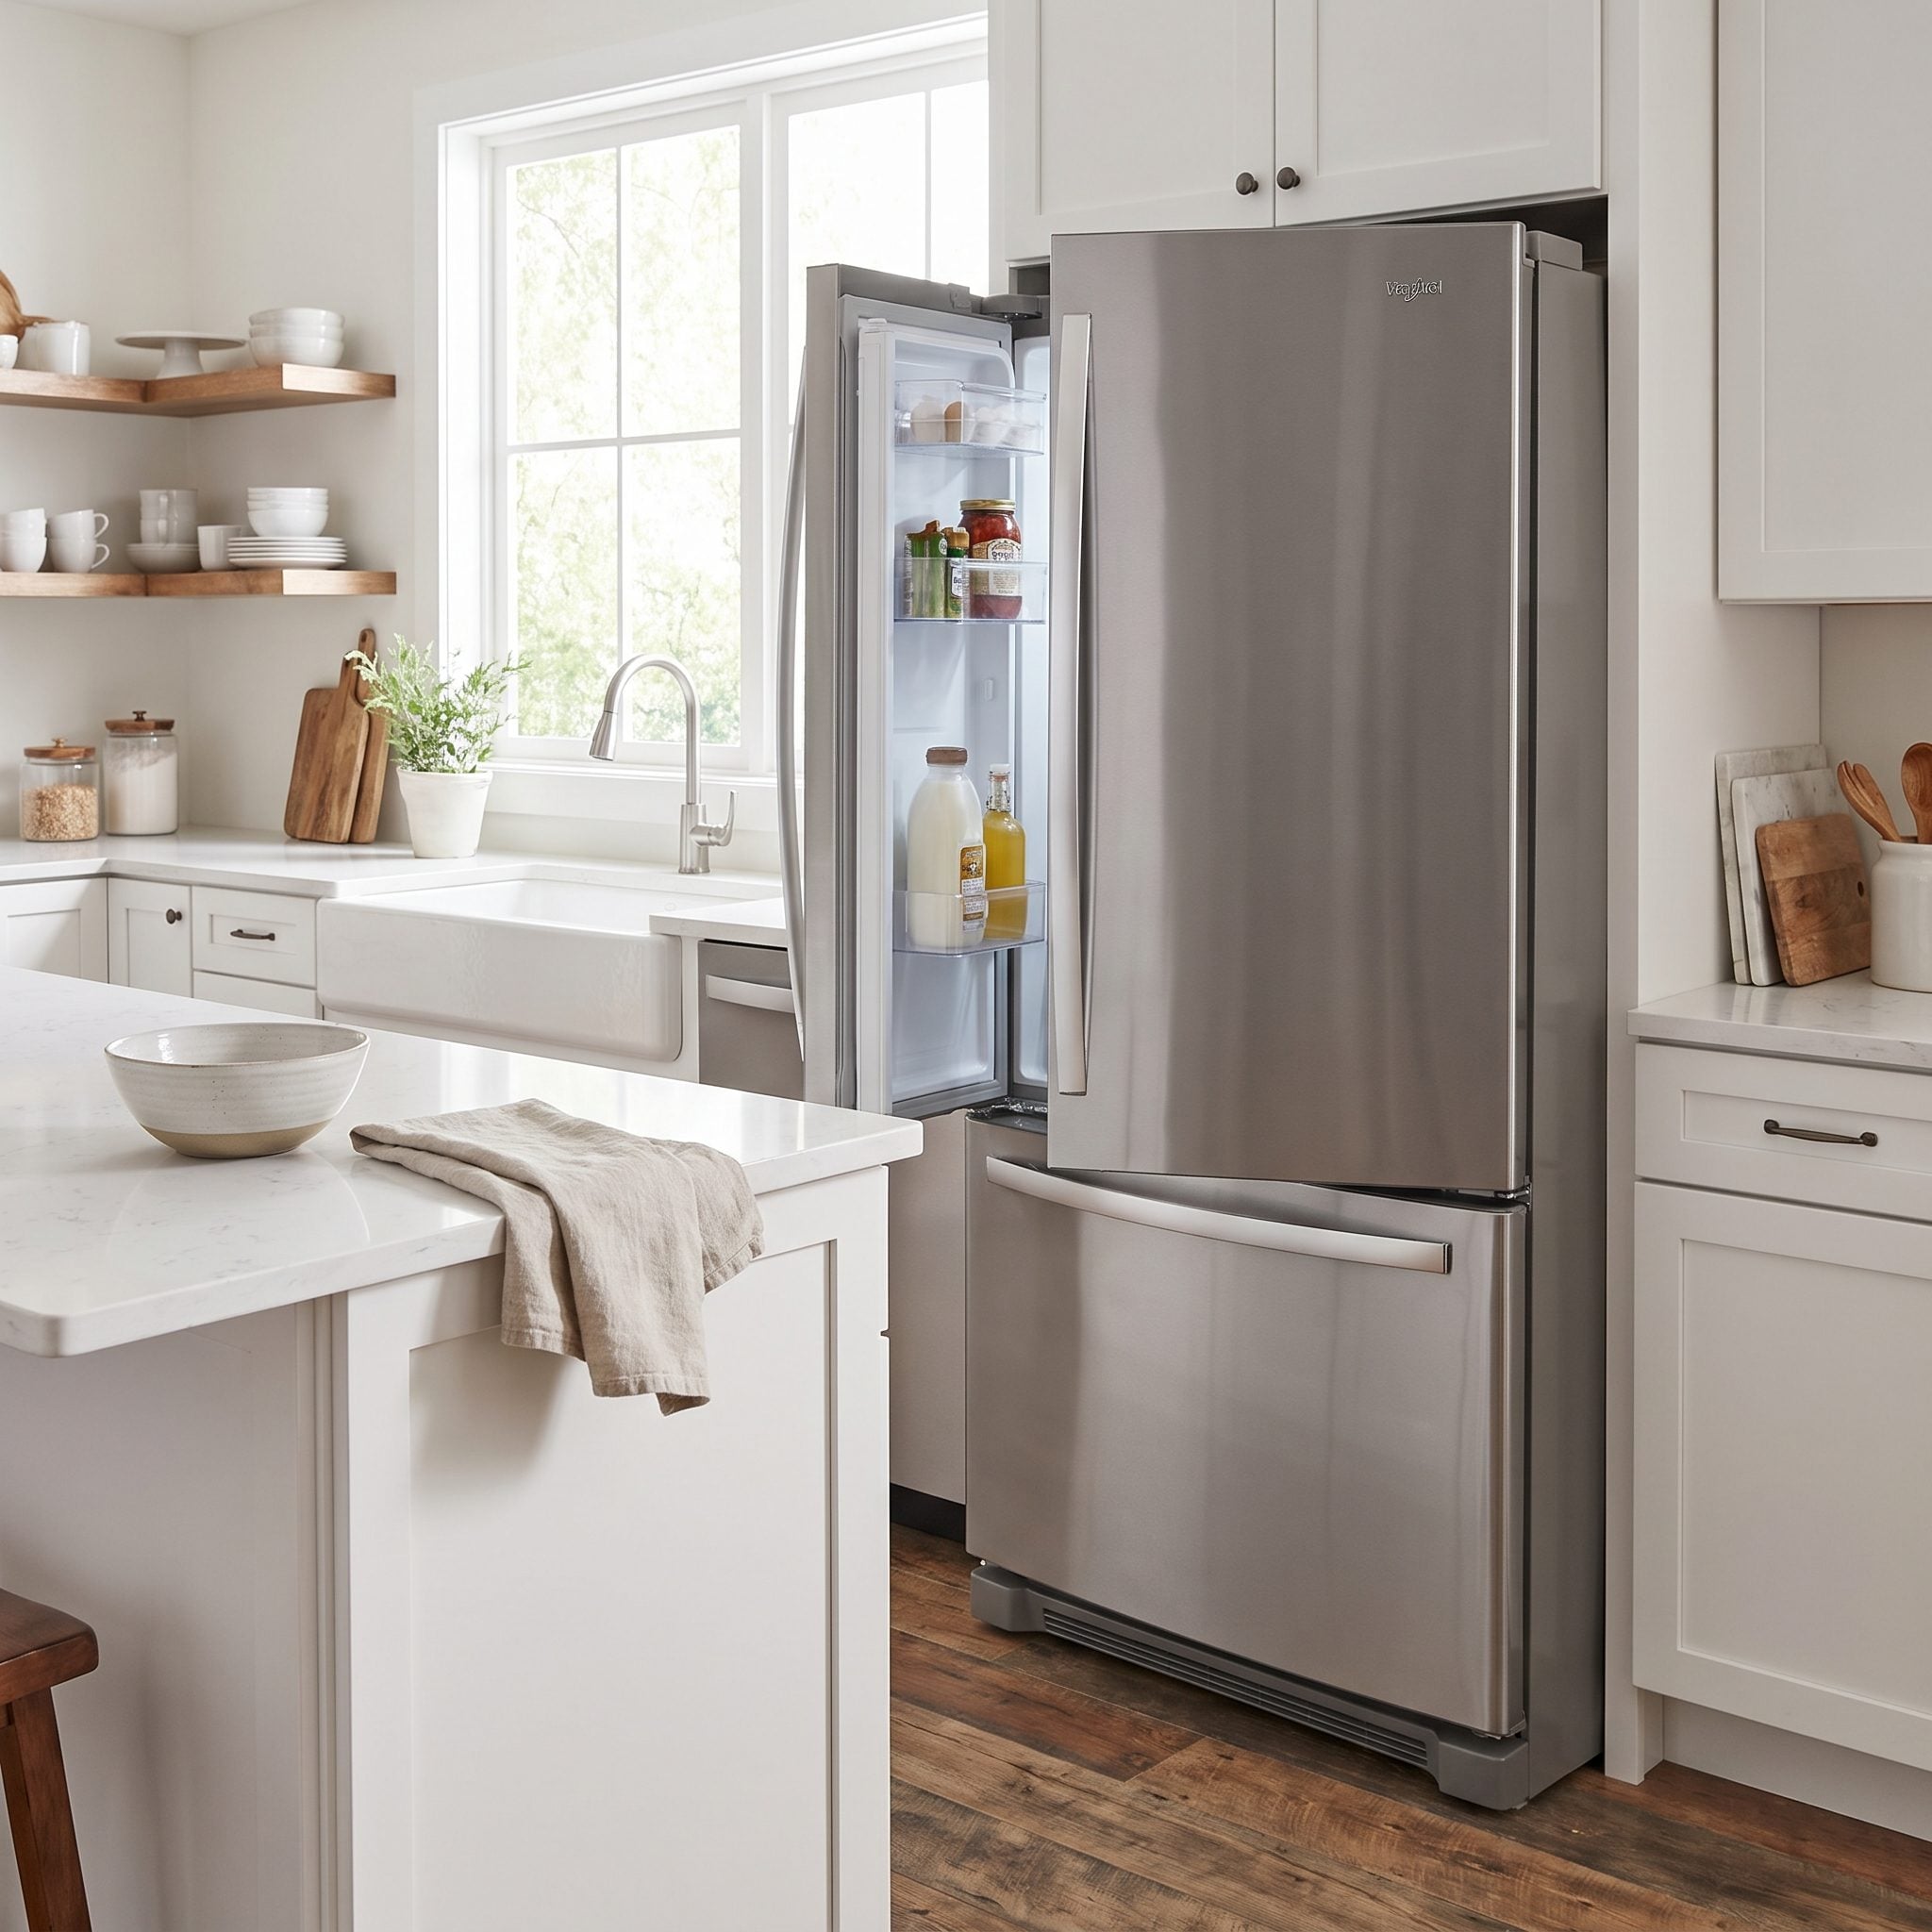
Refrigerator doors need room to swing, and the required clearance varies by model, hinge, handle, and adjacent cabinet. A French-door refrigerator may have narrow doors, but the handles and door bins still need space; some models also require extra room for drawers to open fully.
Use the manufacturer’s installation guide and trace the actual swing before fixing the island location. Keep the refrigerator accessible without letting its open doors consume the main route. A run of navy cabinetry can make the island feel visually lighter, as these navy-blue kitchen ideas demonstrate.
The Pendant Lights Were Centered on the Room Instead of the Actual Island
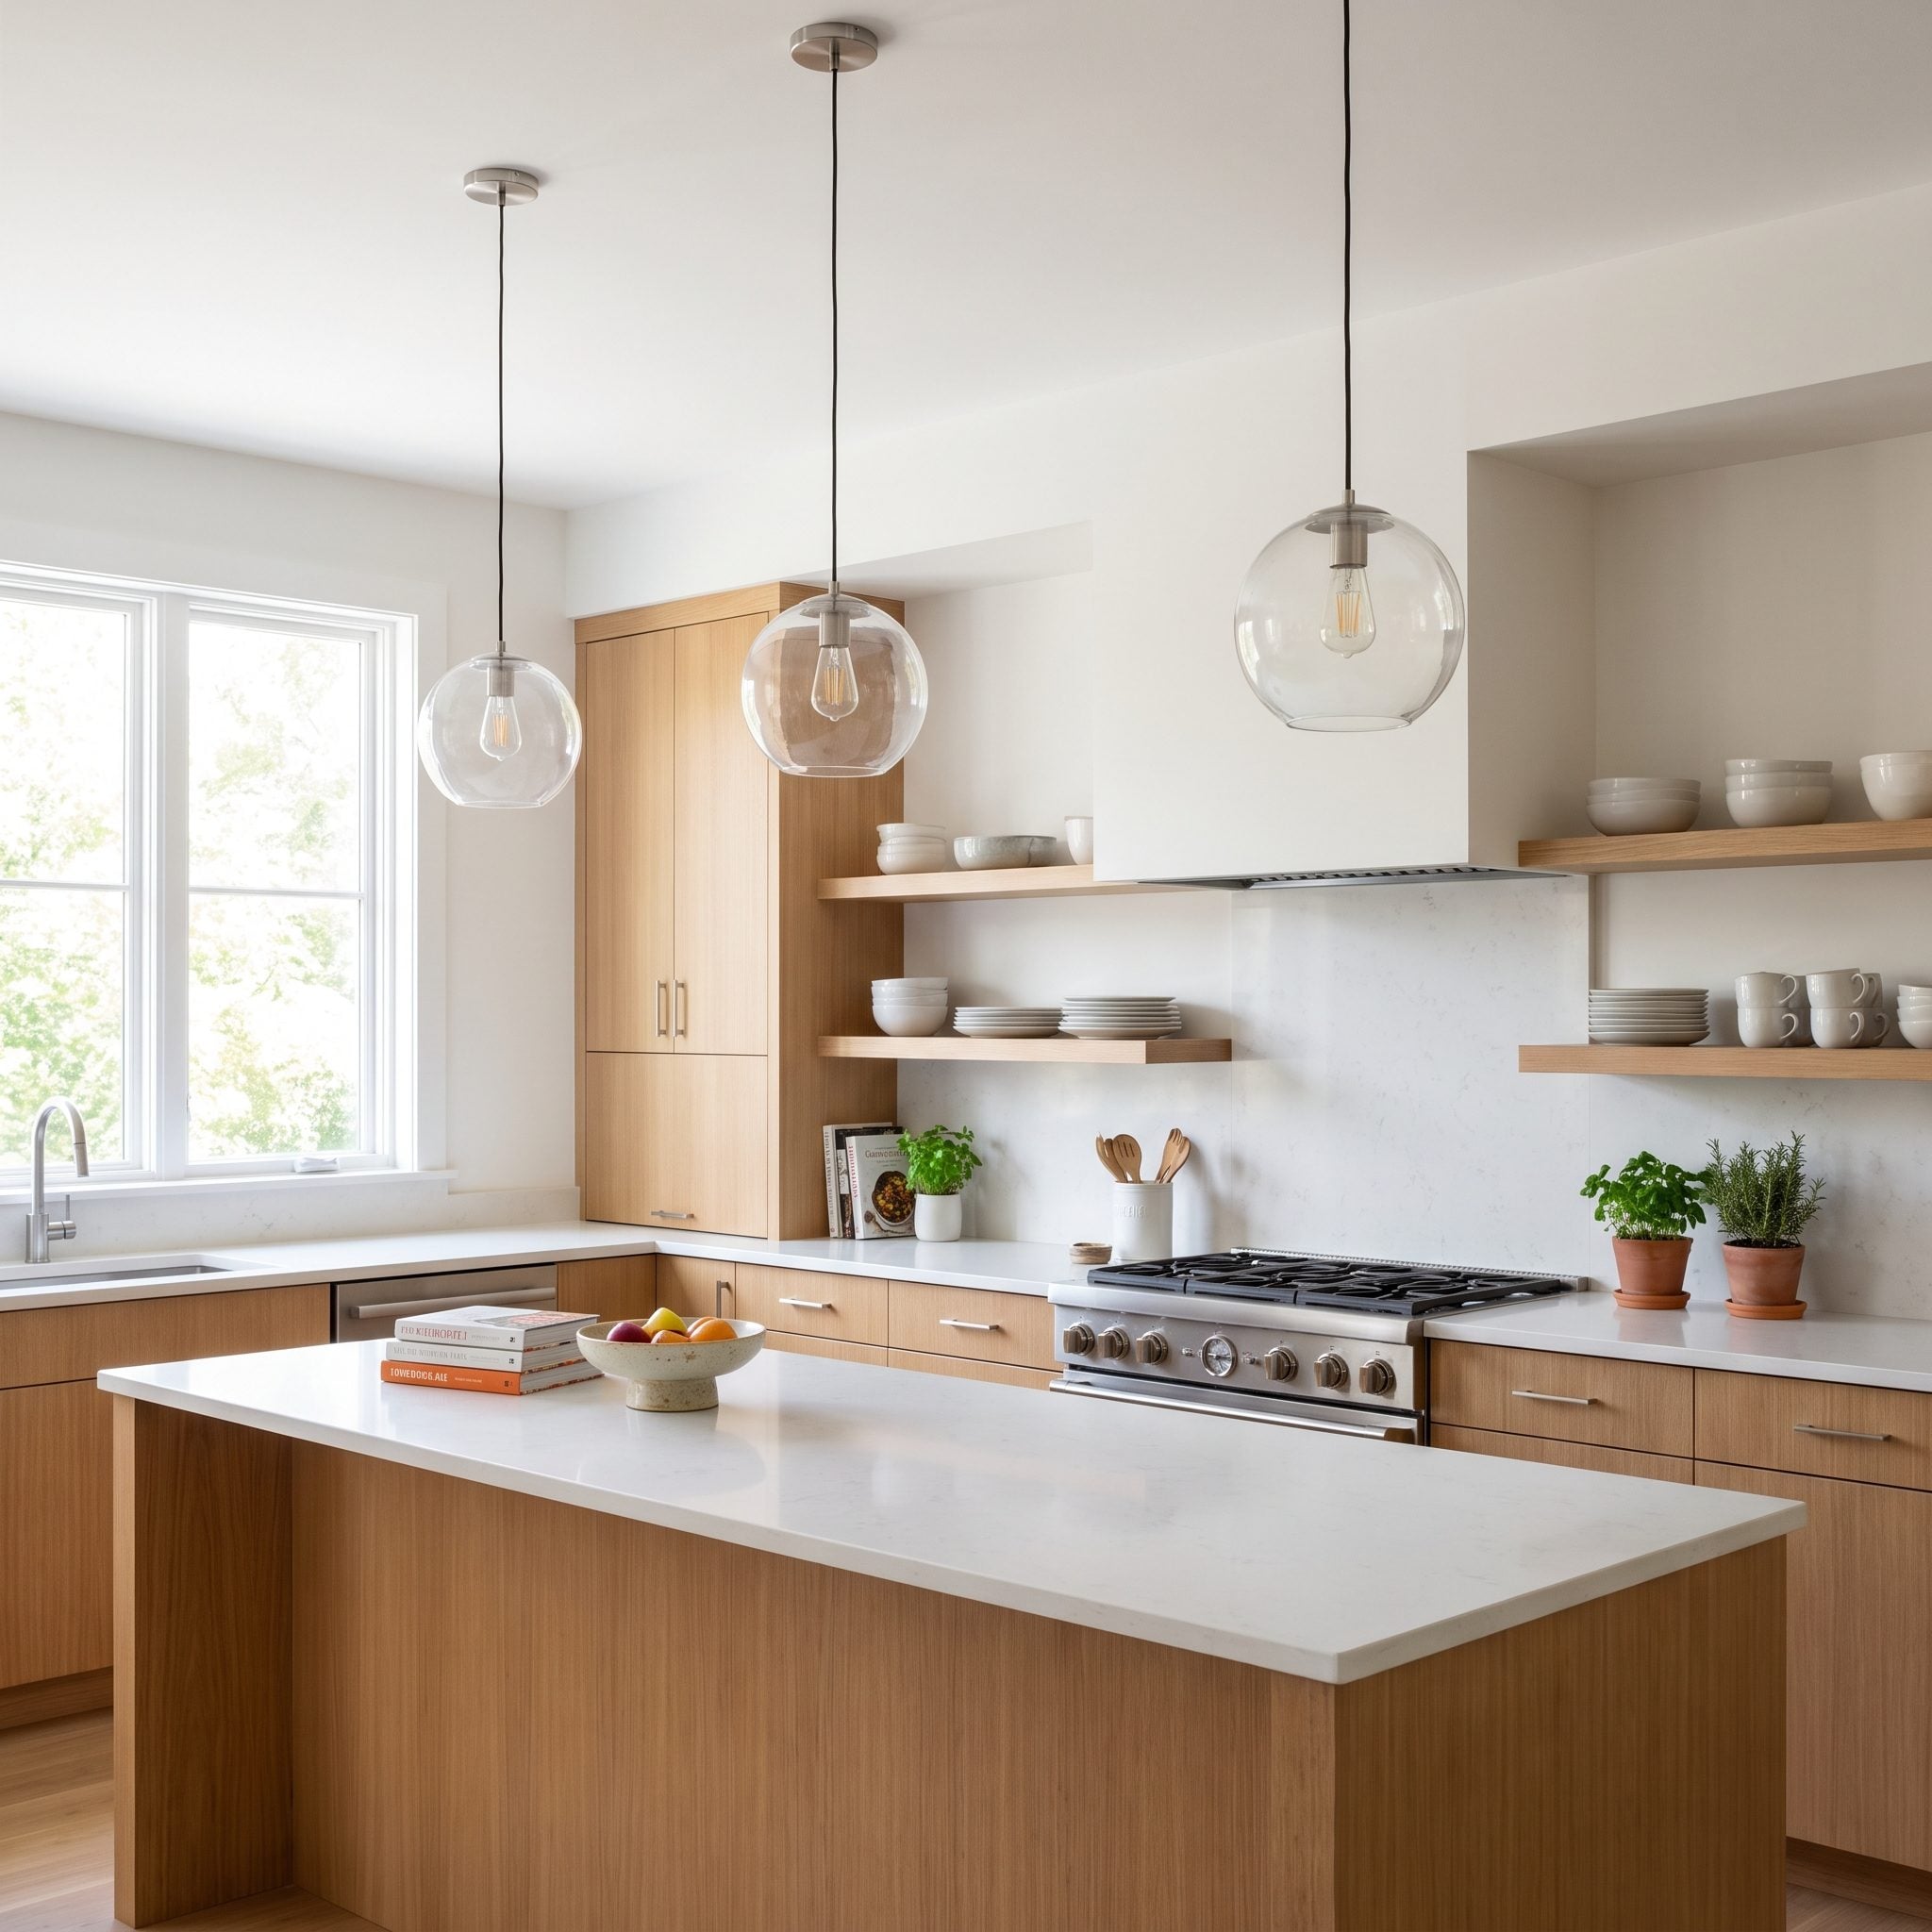
Pendant lights should be planned in relation to the island’s work surface, not just the room’s ceiling center. A fixture centered over empty floor can leave the counter poorly lit and make the composition feel off balance.
Lay out the fixtures against the island dimensions and ceiling height. Spacing and hanging height depend on the fixture size, light output, sightlines, and other lighting; verify the plan before electrical boxes are installed.
The Dishwasher Door Turned the Aisle Into a Dead End
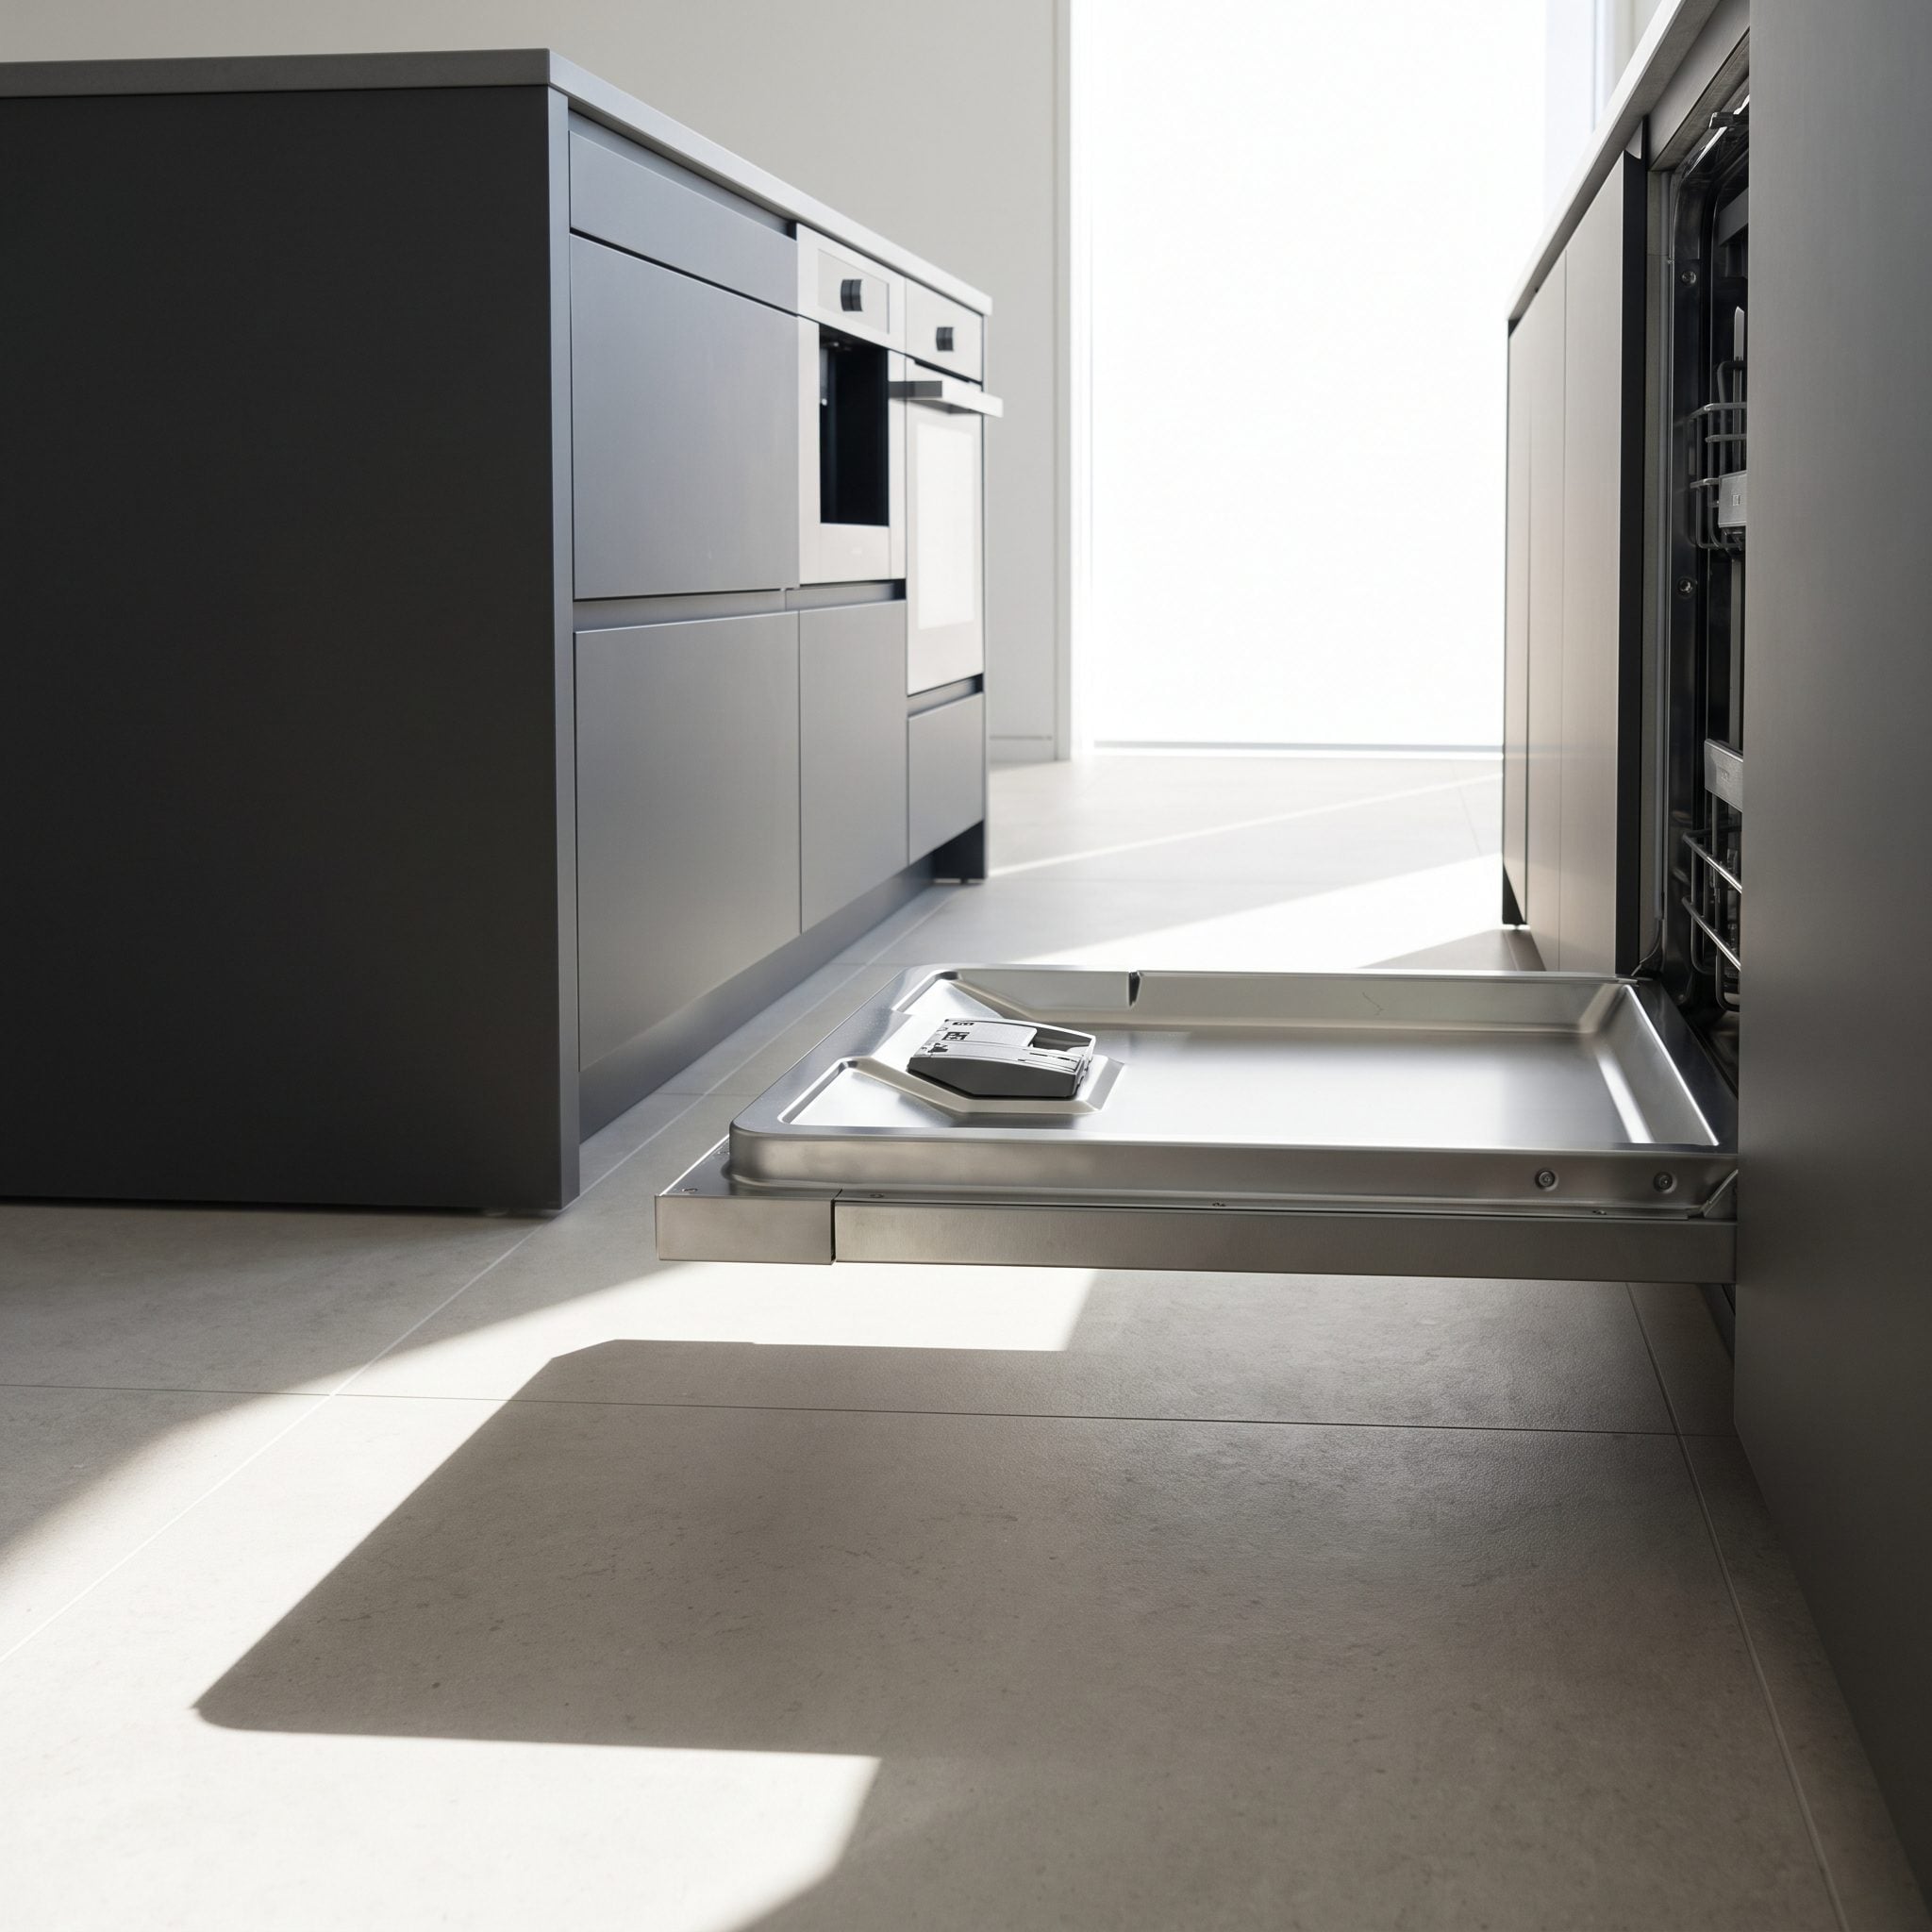
An open dishwasher door occupies floor space and needs a standing area for loading. NKBA guidance recommends at least 21 inches of standing space between the dishwasher edge and a perpendicular counter, appliance, or cabinet. That measure addresses access at the open appliance; it is different from the general 42-inch work-aisle recommendation.
Check the dishwasher’s door depth and the nearby route together. The door should open fully, leave enough room to load, and avoid blocking the only way through the kitchen.
Everyone Had to Walk Around the Island Just to Reach the Fridge
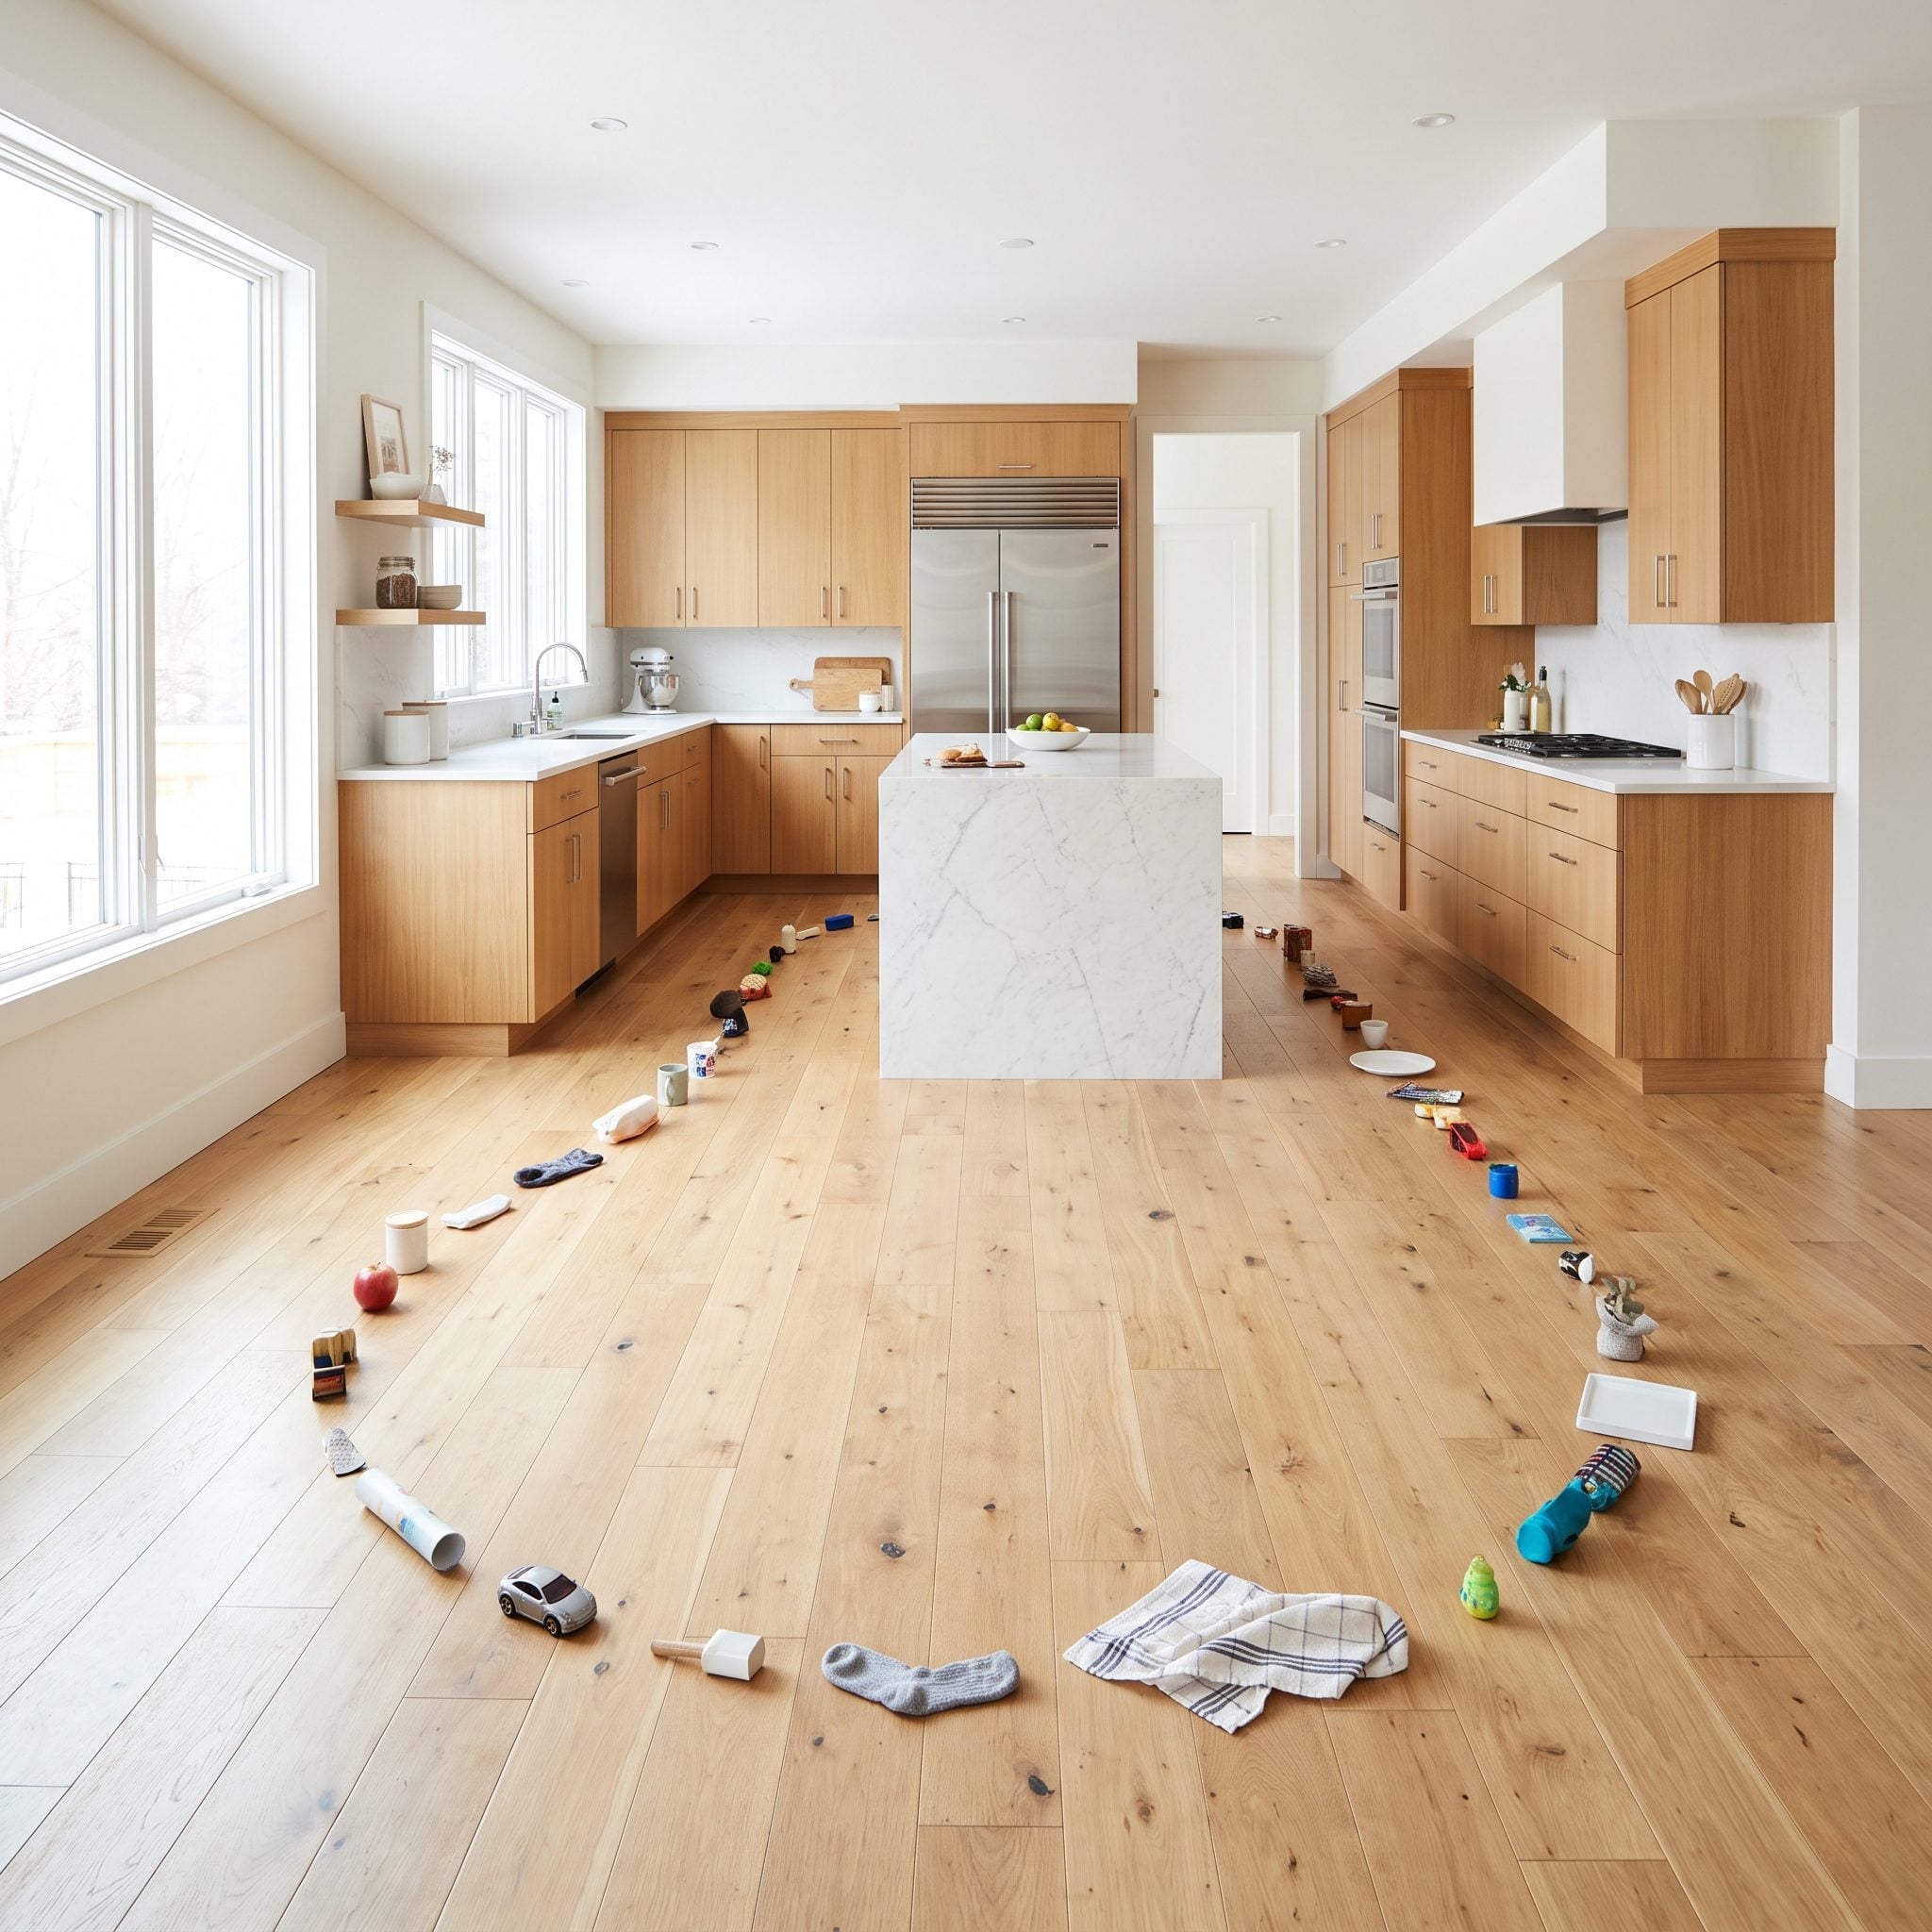
An island can divide a kitchen without improving how it works. If the refrigerator sits beyond the island’s far end, routine trips may require a long detour, while the island itself blocks a direct route from adjoining rooms.
Look at the paths between the refrigerator, sink, dining area, and kitchen entrance. A good plan gives people a clear way to reach the refrigerator while keeping through-traffic away from the busiest cooking and prep areas.
Deep Cabinets Created Storage Nobody Could Easily Reach
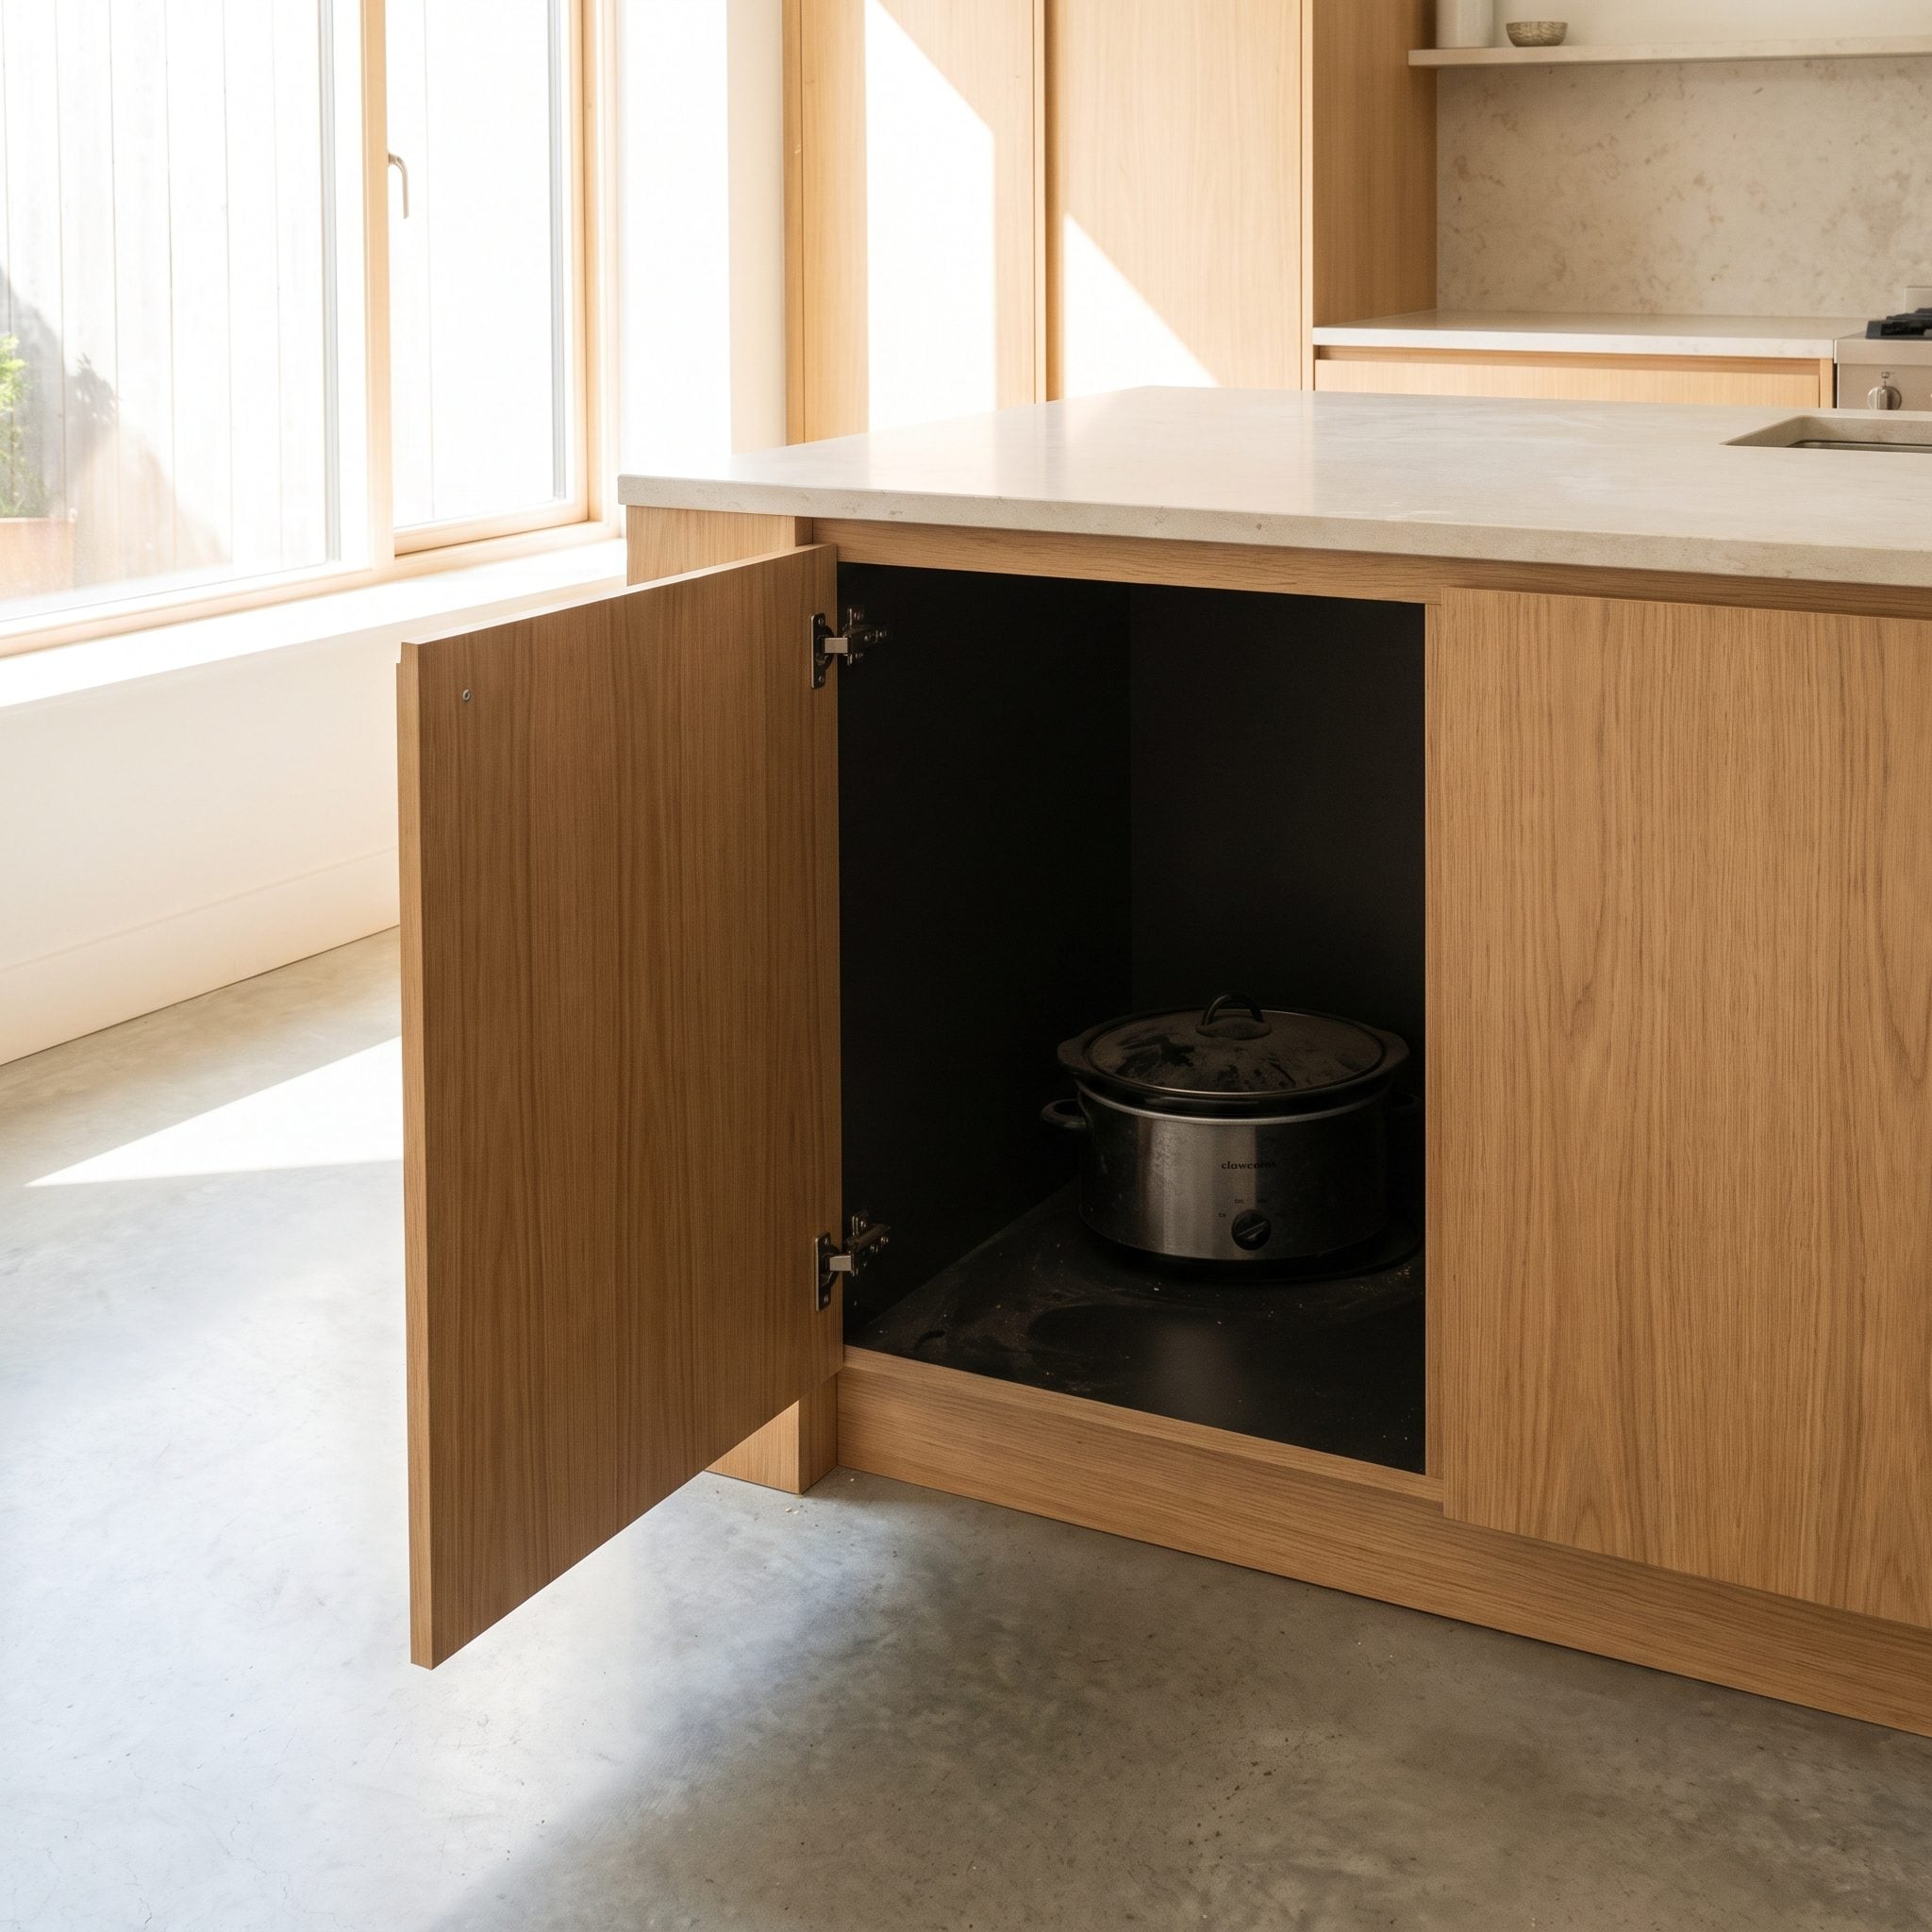
Deep island cabinets can hold large appliances, but fixed shelves may bury items behind the front row. Storage capacity matters less when reaching the back requires moving everything in front.
Use full-extension drawers, roll-outs, or cabinets accessible from both sides when they suit the contents. Decide what will be stored there before specifying the interior; cookware, trays, and small appliances need different shelf and drawer arrangements.
The Cooktop Put Hot Pans Inches From Seated Kids and Guests
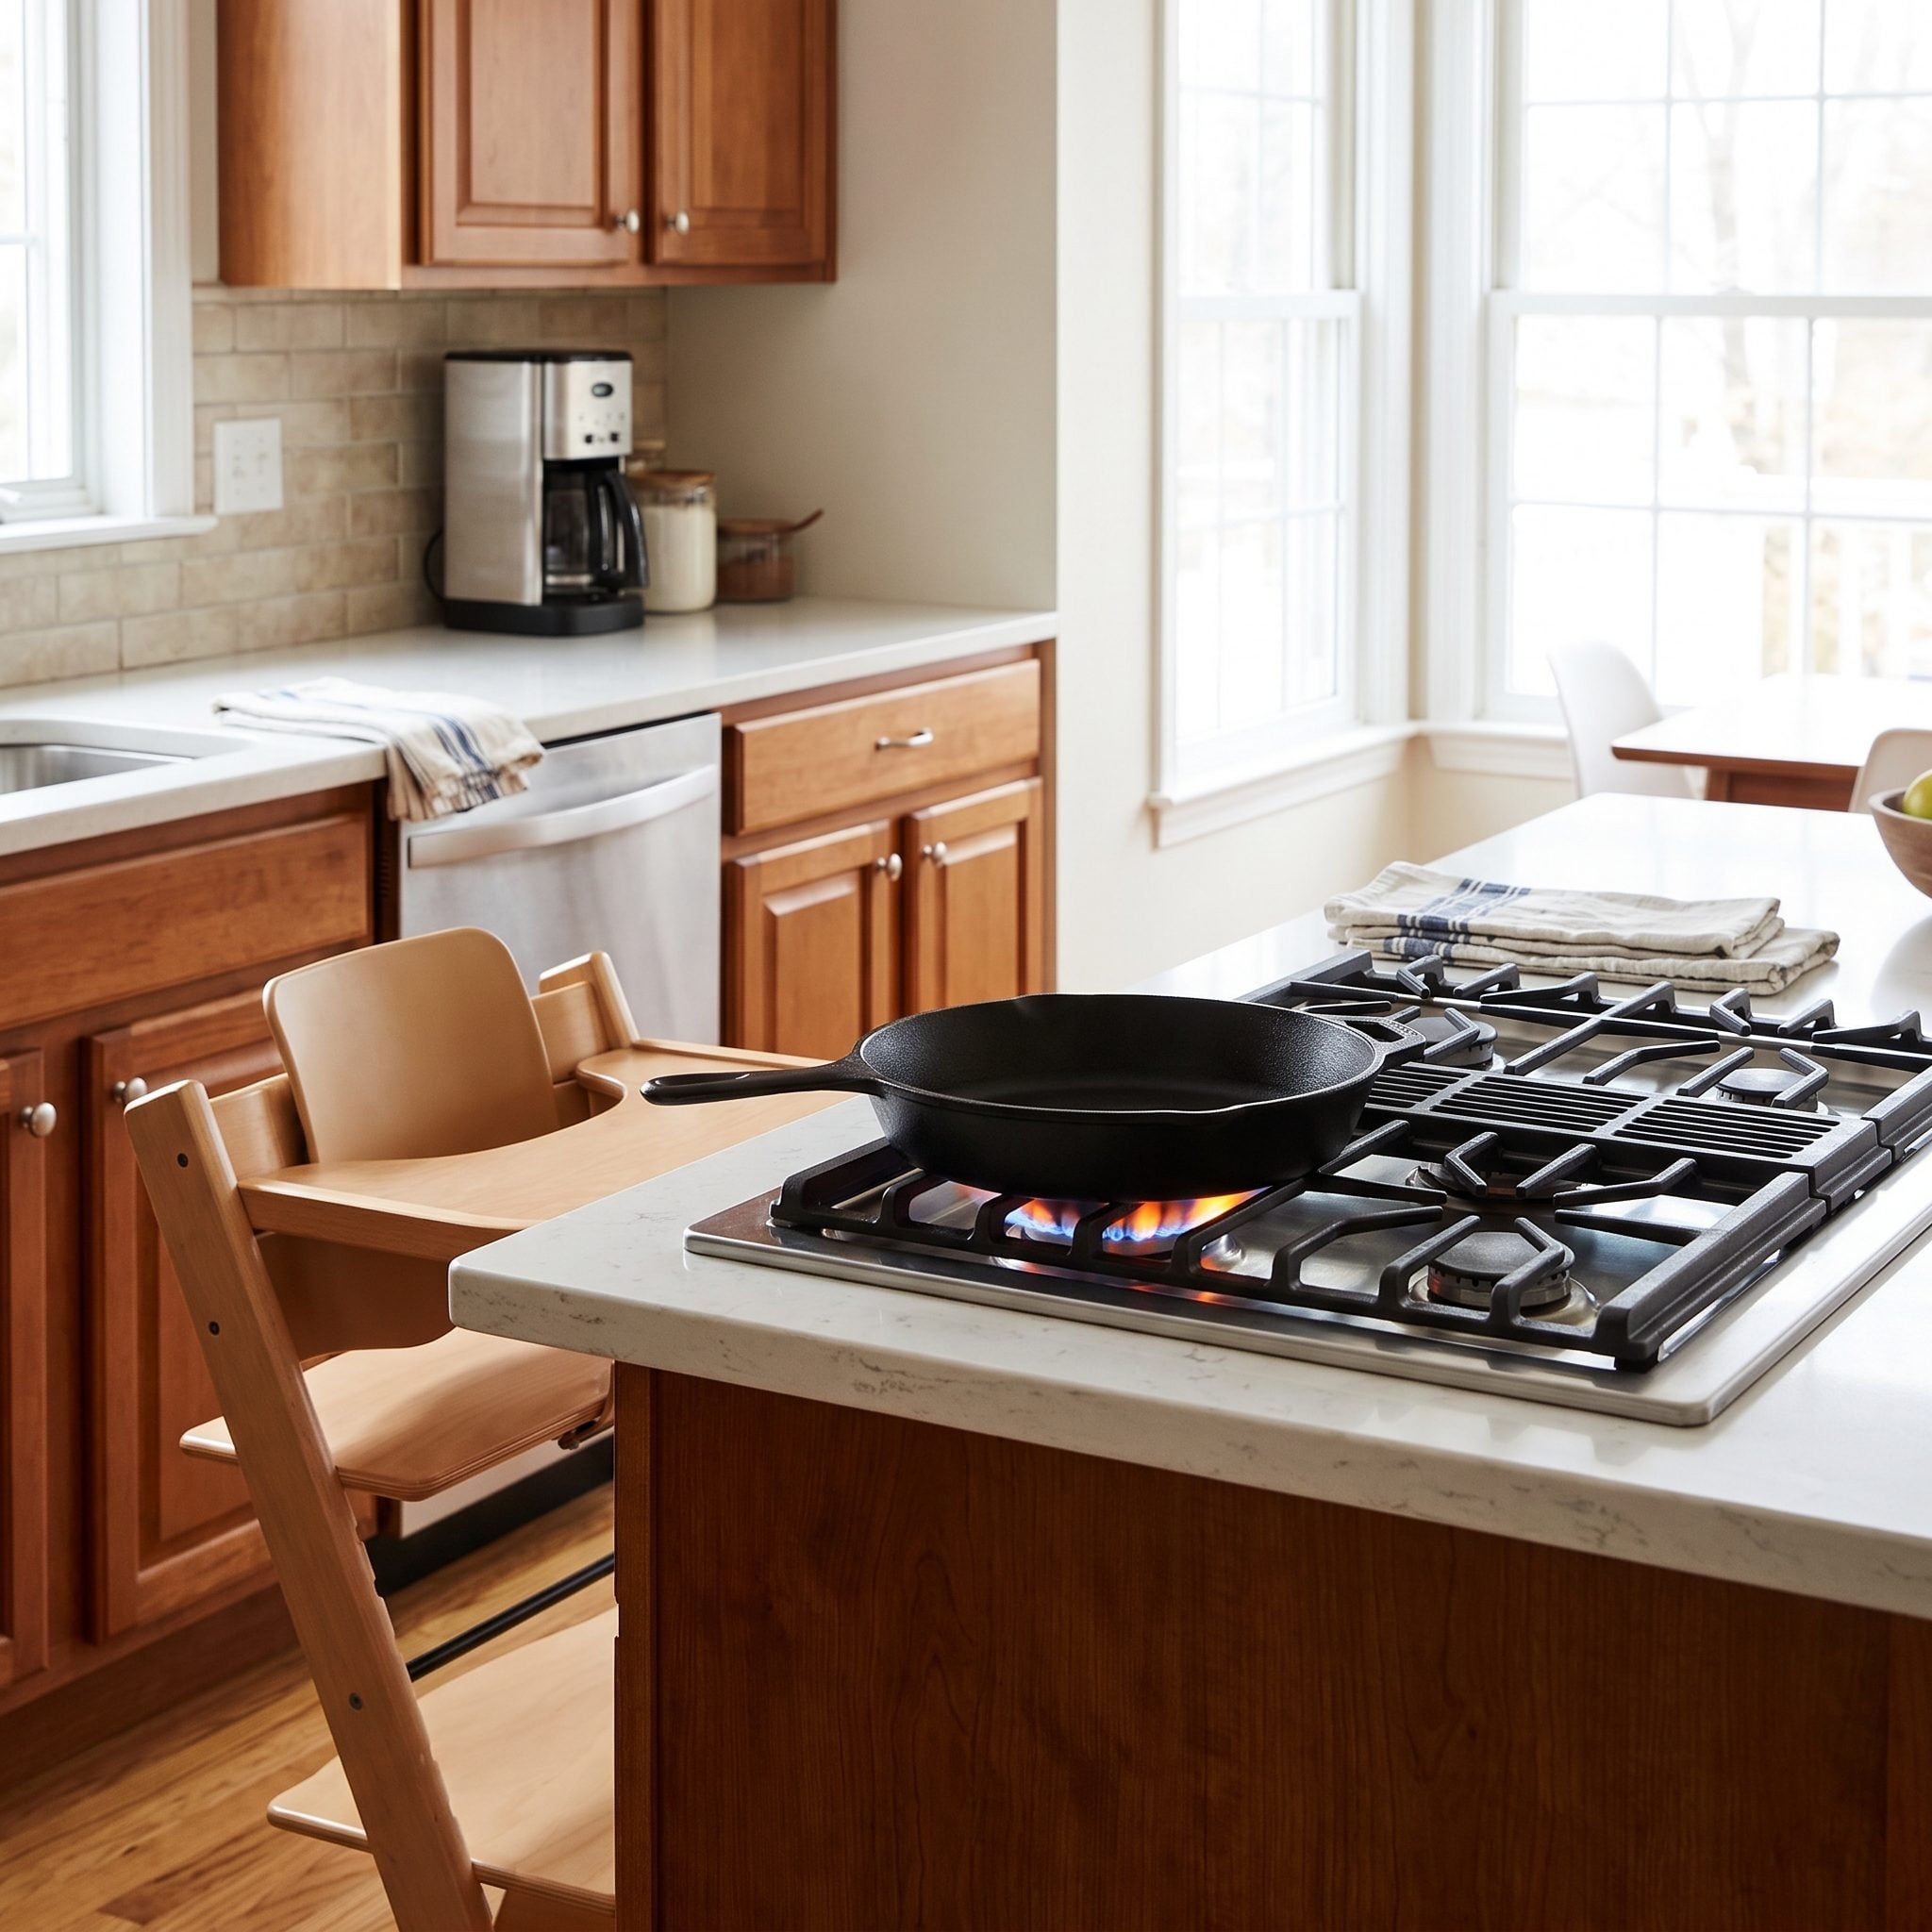
A cooktop beside island seating puts heat, cookware, and moving people close together. A raised bar or a narrow strip of counter is not a substitute for required appliance clearances, and it does not guarantee protection from hot pans or spills.
Where possible, separate seating from the cooking surface. Follow the cooktop manufacturer’s installation instructions and have a qualified kitchen designer or installer review the layout, especially when children regularly use the seating.
The Floor Wasn’t Finished Beneath the Old Island Footprint
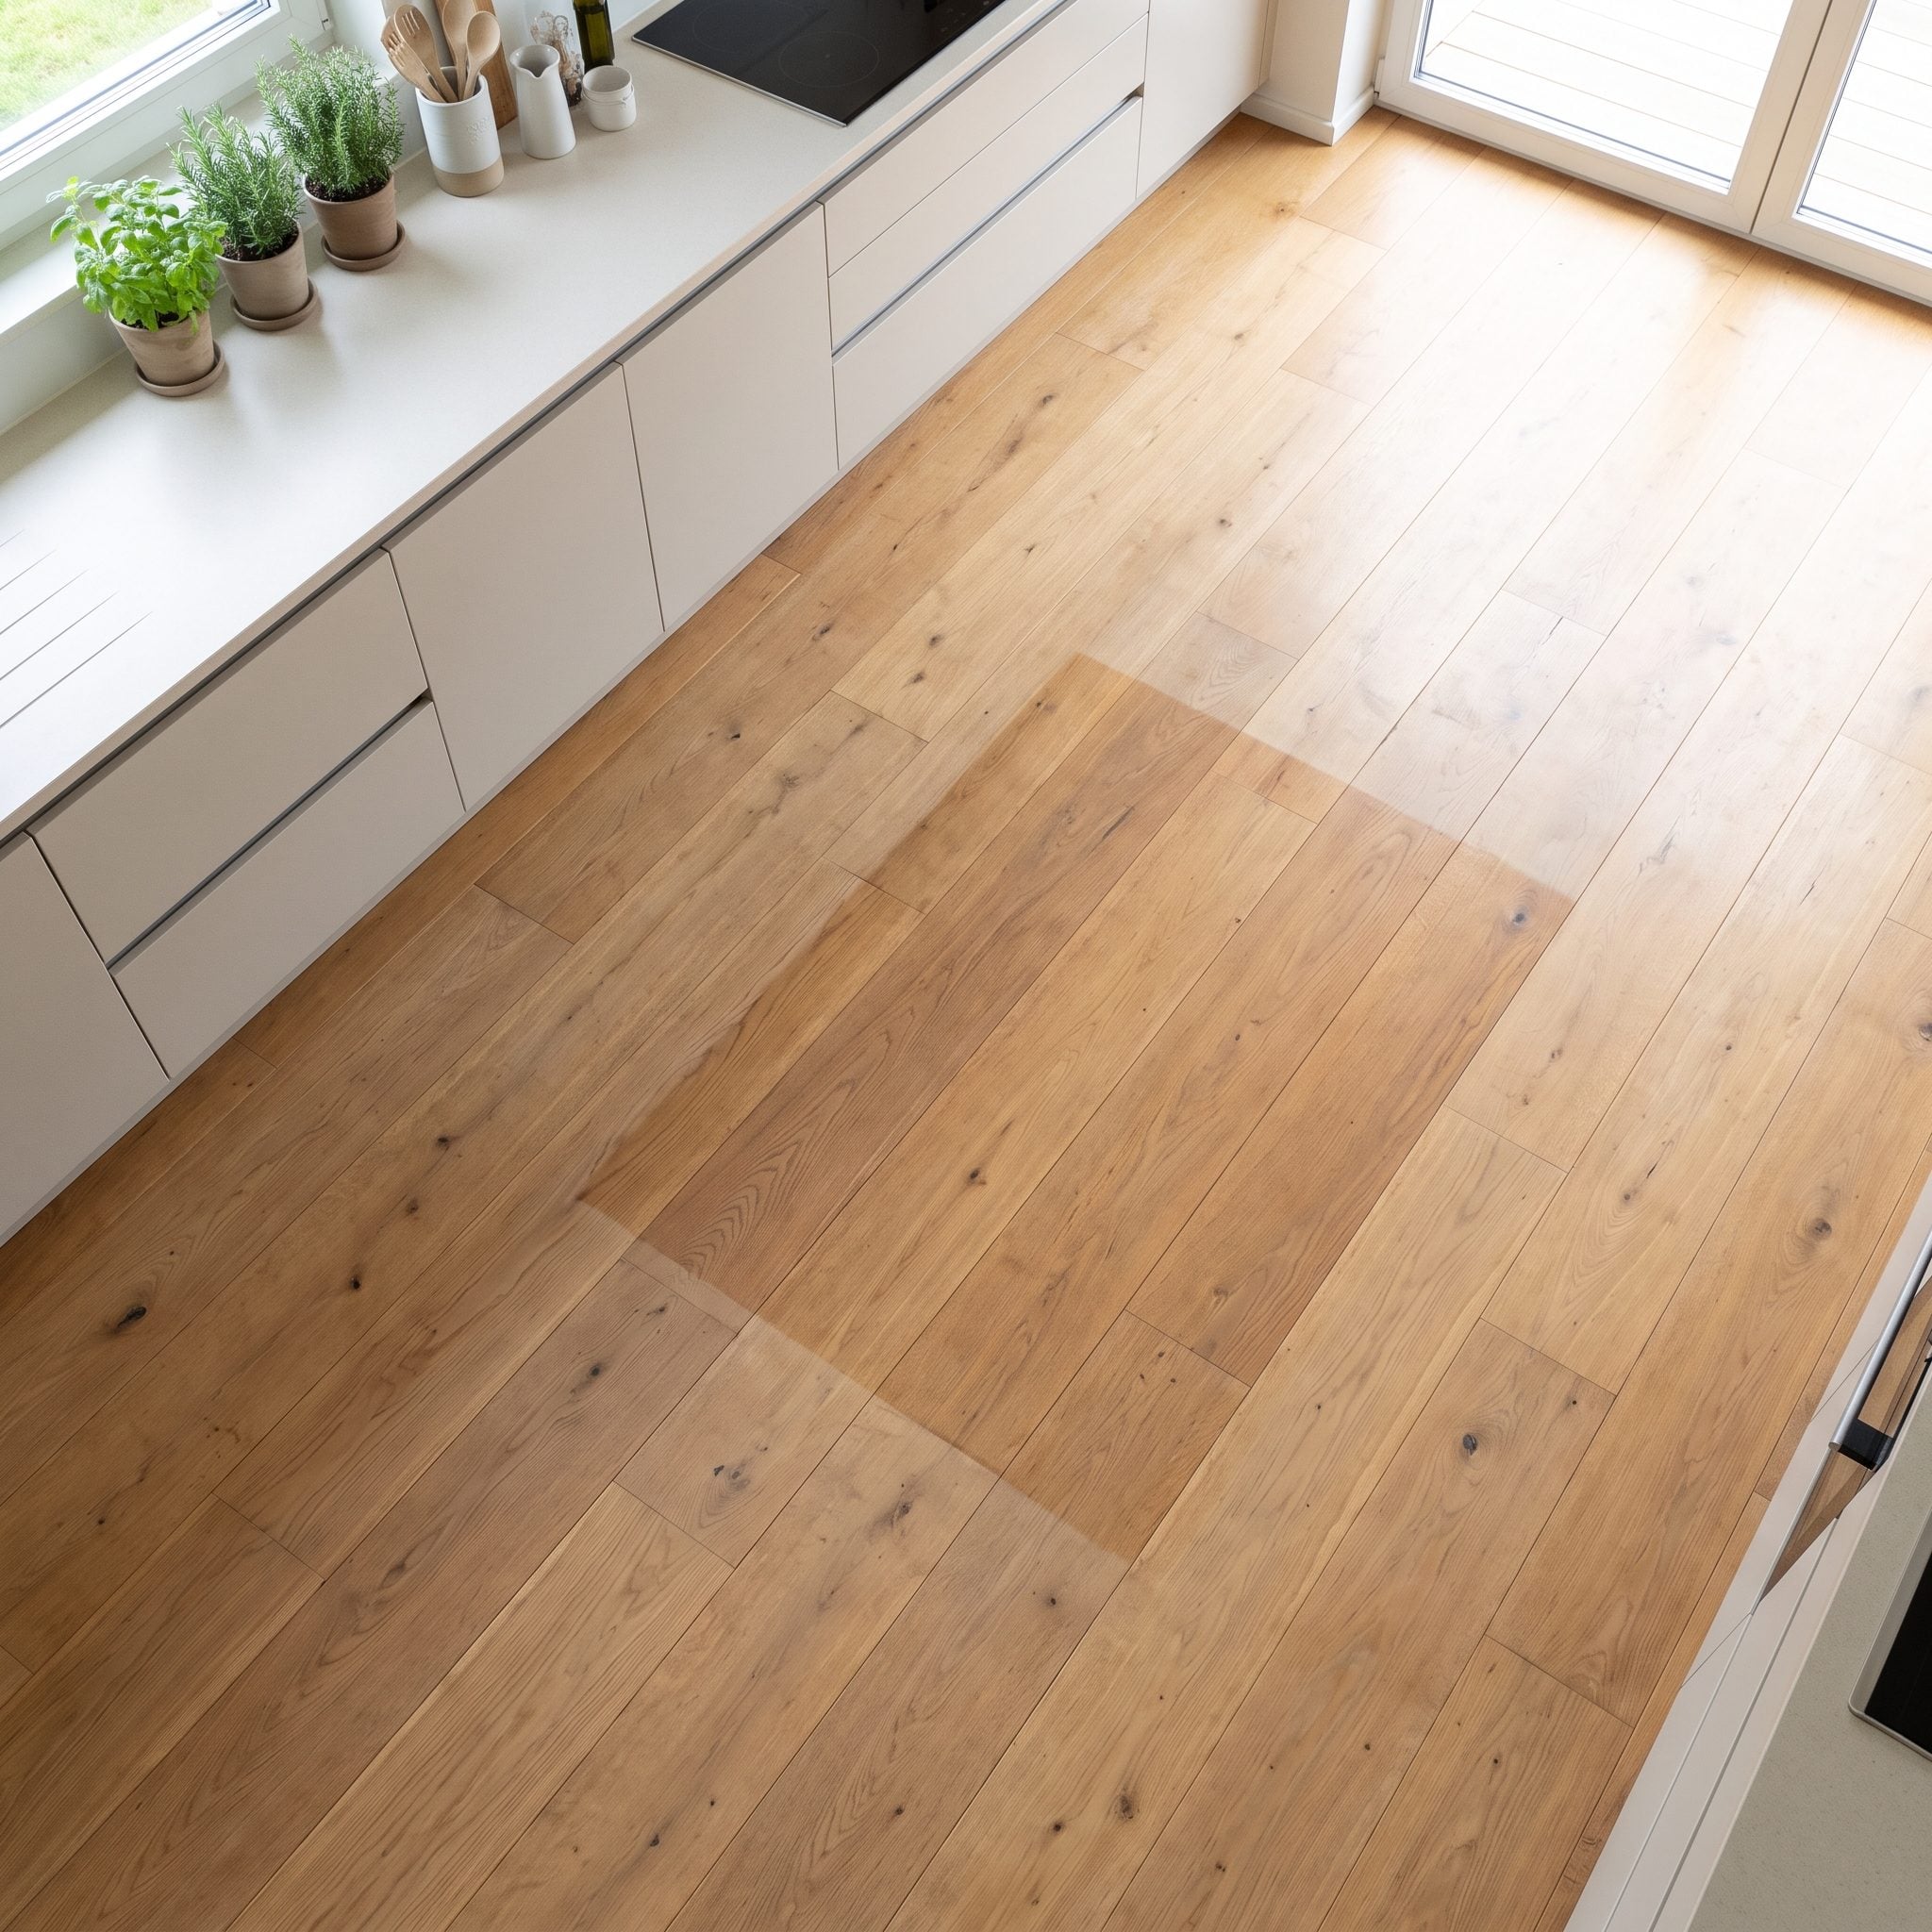
An existing island may conceal flooring that was never installed beneath it, or an area with a different finish or wear pattern. Moving or shrinking the island can expose that boundary. Sunlight and aging can also change the visible color of wood flooring.
Before ordering a replacement, check what lies beneath the current footprint and whether the flooring continues under the cabinets. A flooring professional can assess whether a patch, refinishing, or a different island footprint will give the cleanest result.
The Counter Overhang Was Too Shallow for Comfortable Knees
🔥 Would you like to save this?
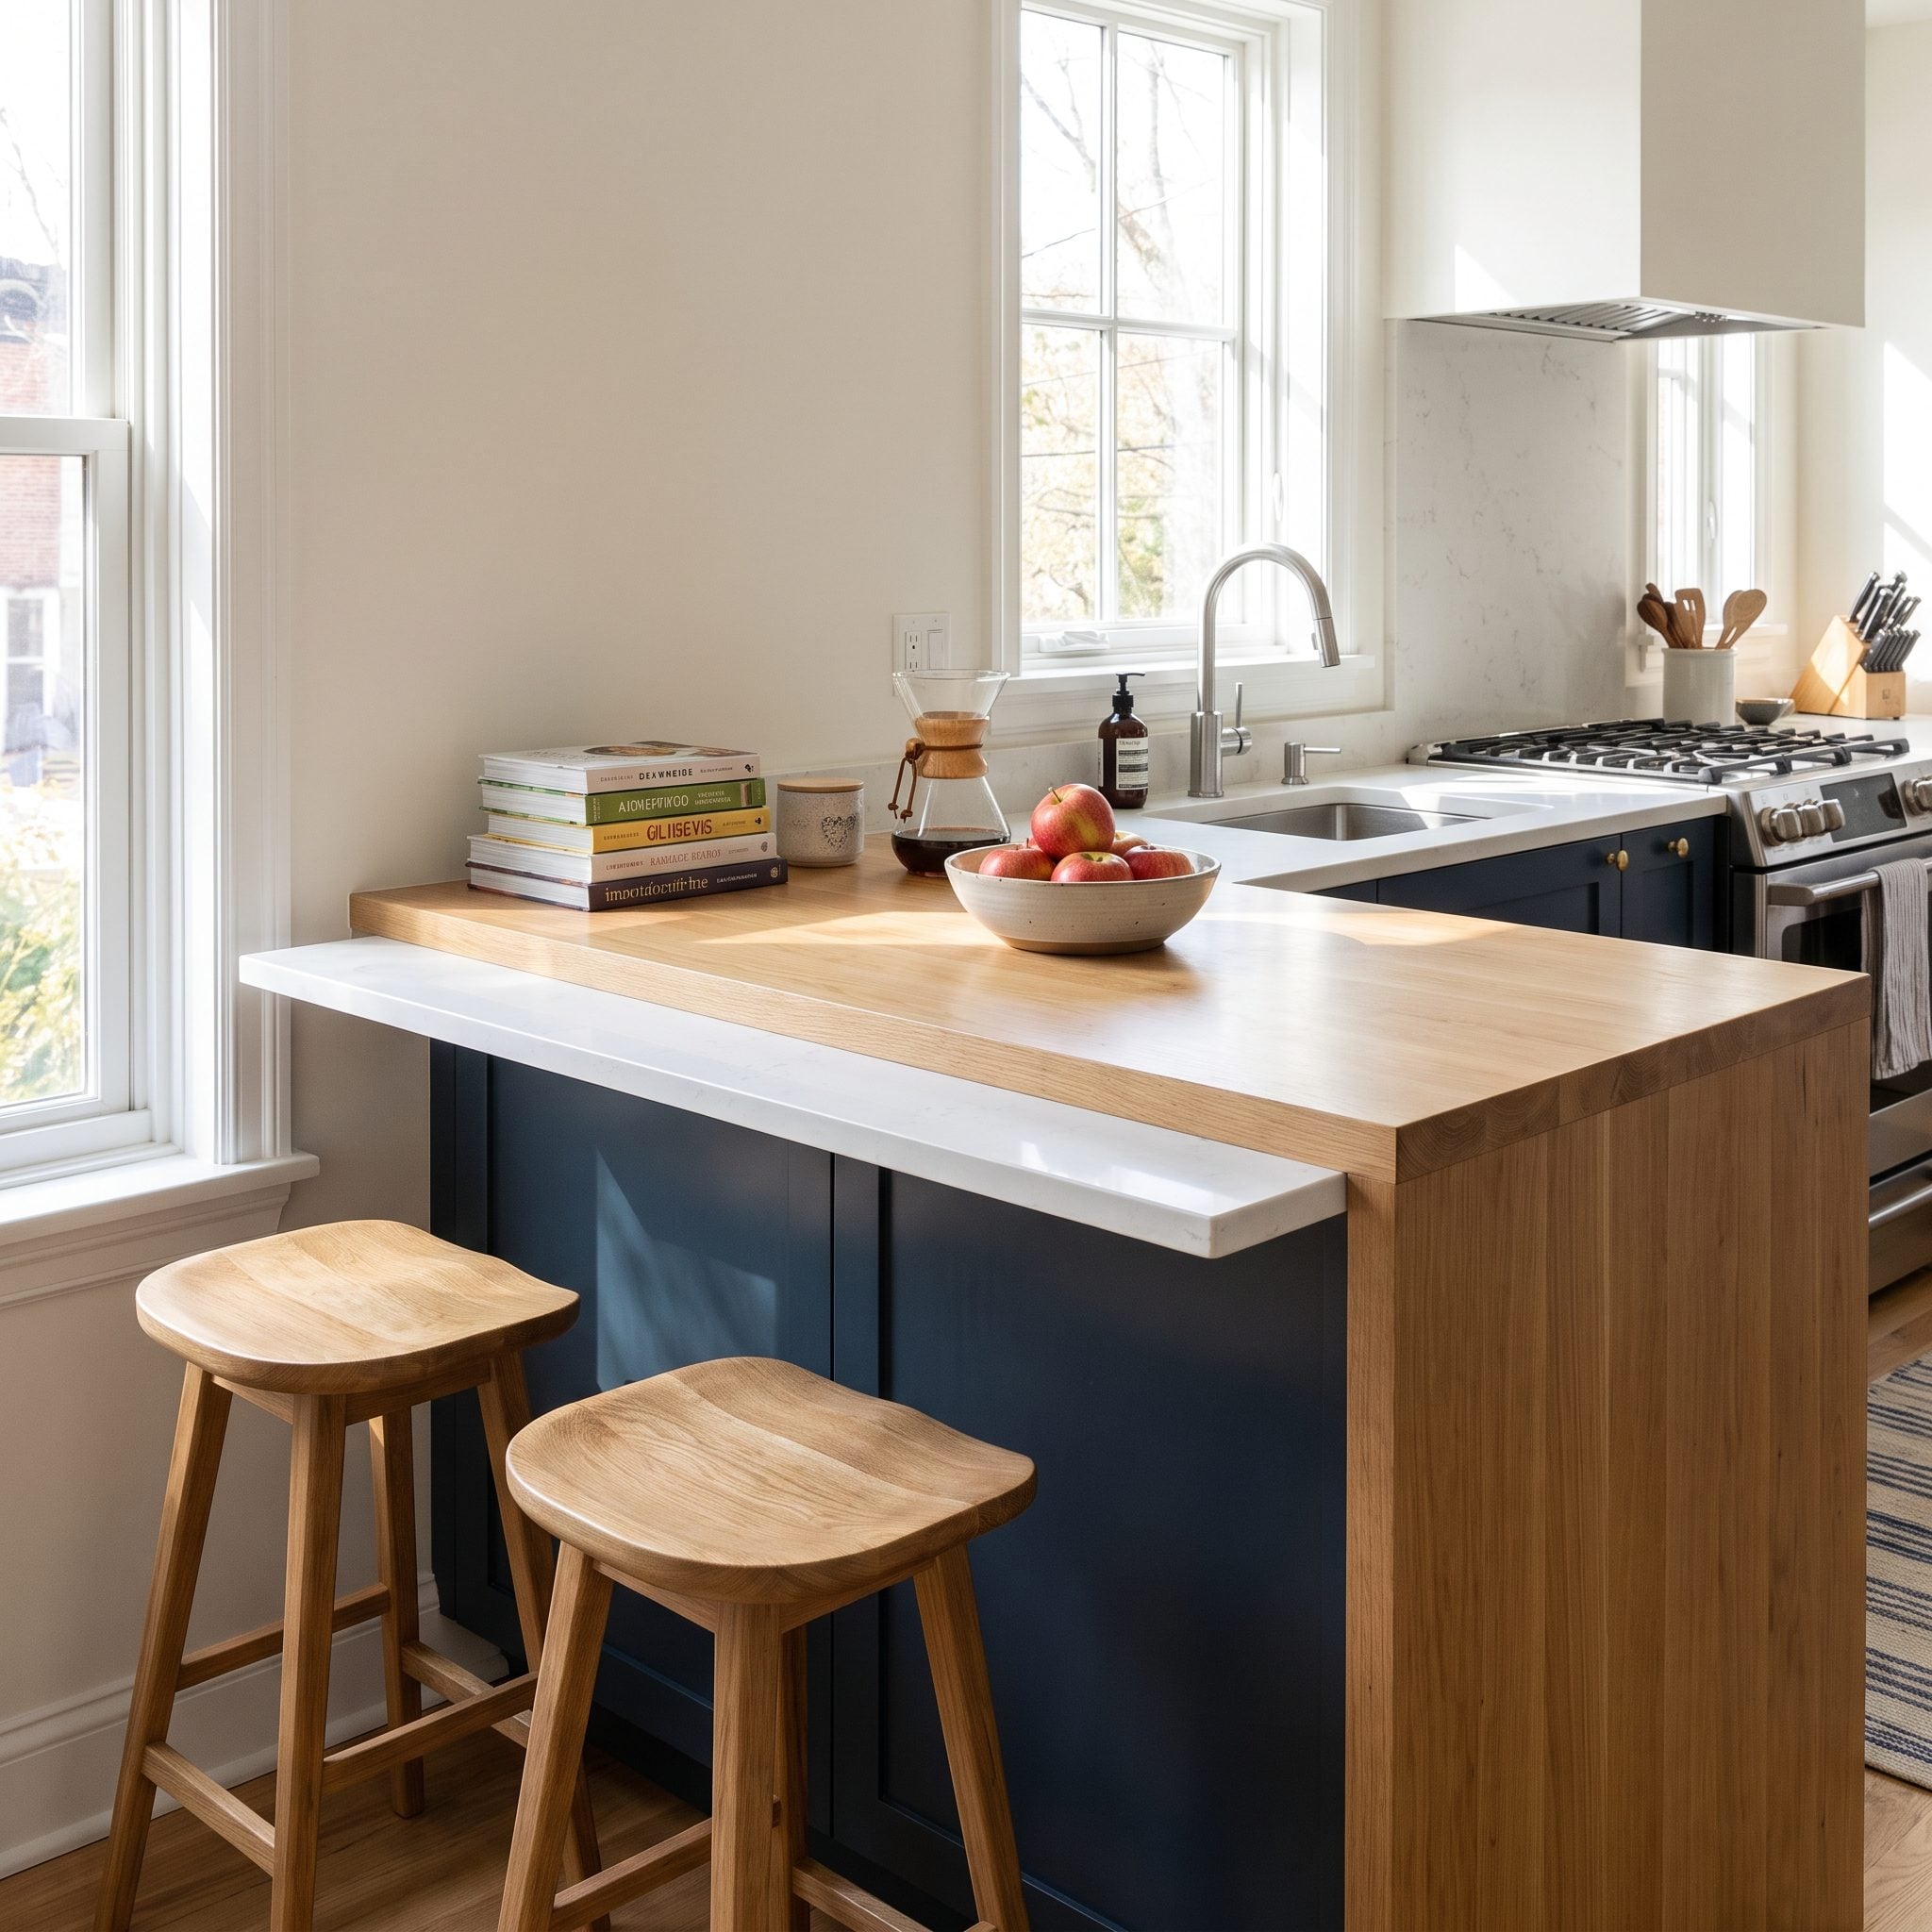
An overhang that looks generous on a drawing may leave little room for knees once someone sits down. For a standard 36-inch counter, NKBA guidance recommends 15 inches of knee-space depth; at a 42-inch counter, its recommendation is 12 inches. Those are planning guidelines, not guarantees of comfort for every person or stool.
Confirm the countertop support with the fabricator and cabinet installer. A deeper overhang does not automatically require one particular bracket; support depends on the material, thickness, span, and construction.
The Island Interrupted the Natural Route Between Sink, Range, and Refrigerator
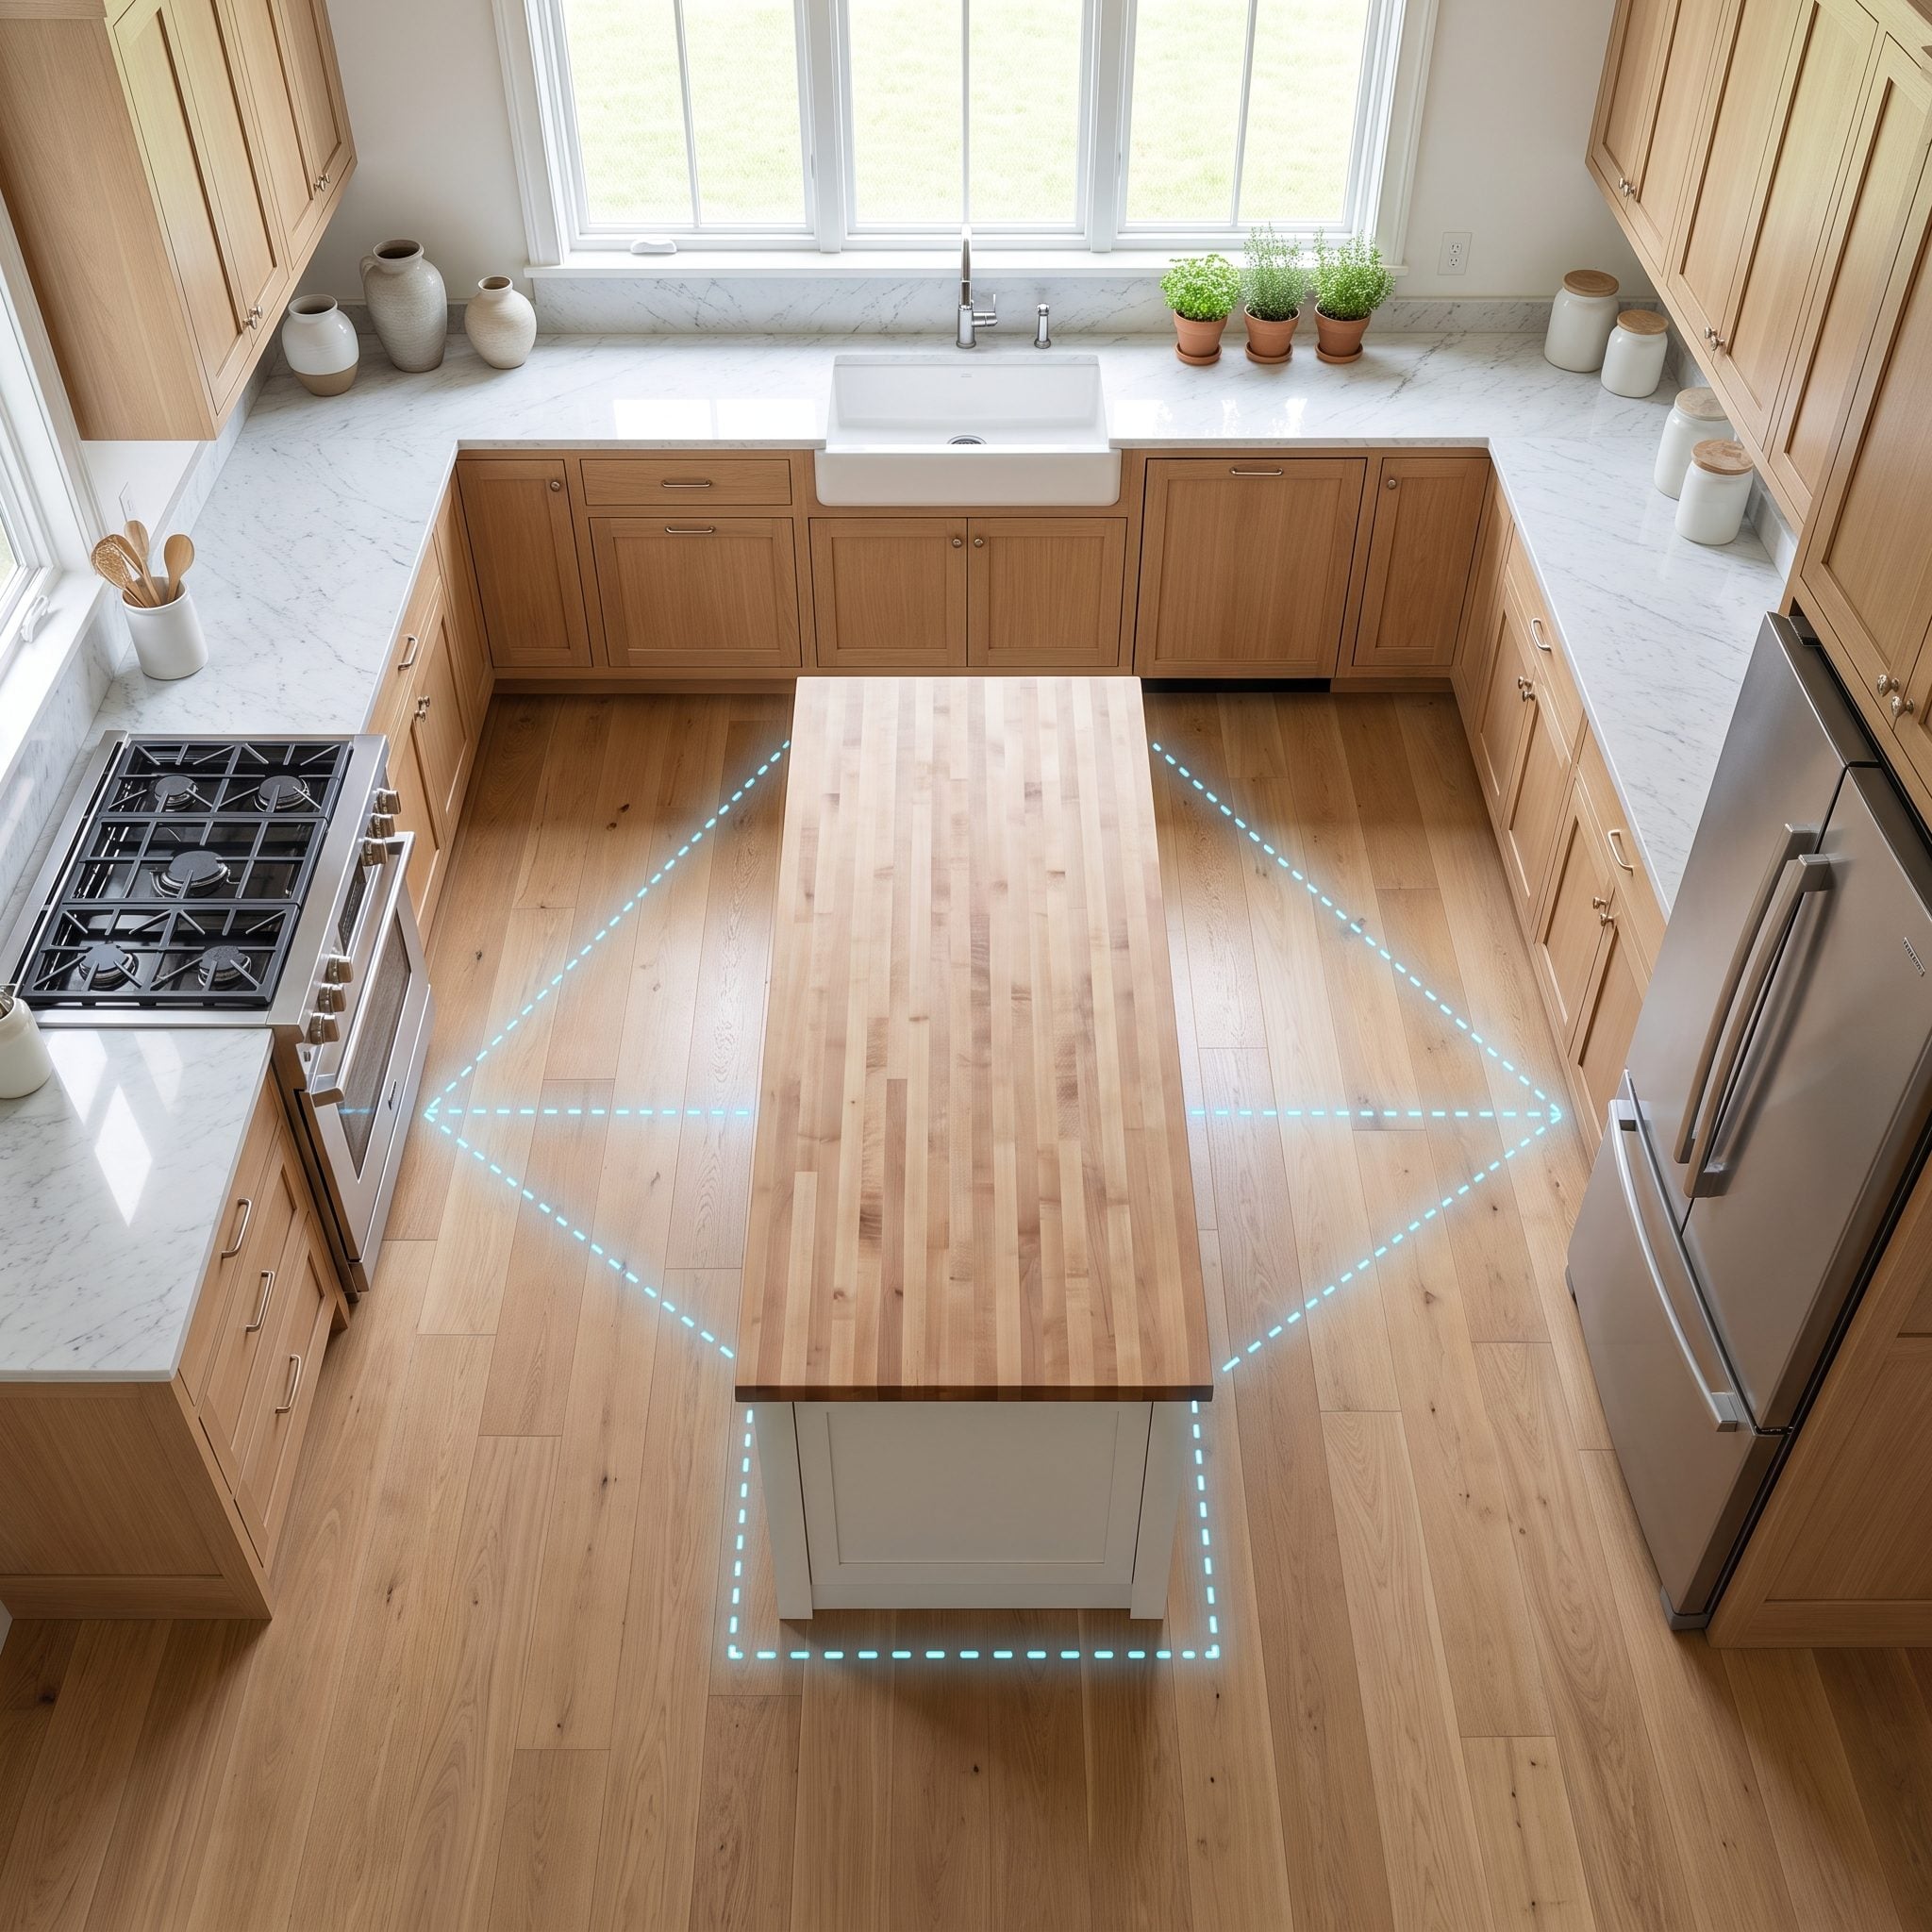
The sink, range, and refrigerator form a useful planning triangle, but its dimensions are guidelines rather than a prescription for every kitchen. NKBA guidance commonly places each leg between 4 and 9 feet, with a combined distance no greater than 26 feet. An island can improve this work zone or interrupt it, depending on its position.
Draw the three routes on the plan and check whether the island blocks a direct working path or forces routine movement through another cook’s station. The layout should support the actual workflow, not preserve a triangle at any cost. Compare the circulation with other kitchen design approaches before committing.
The Trash Pullout Opened Into the Cook’s Standing Space
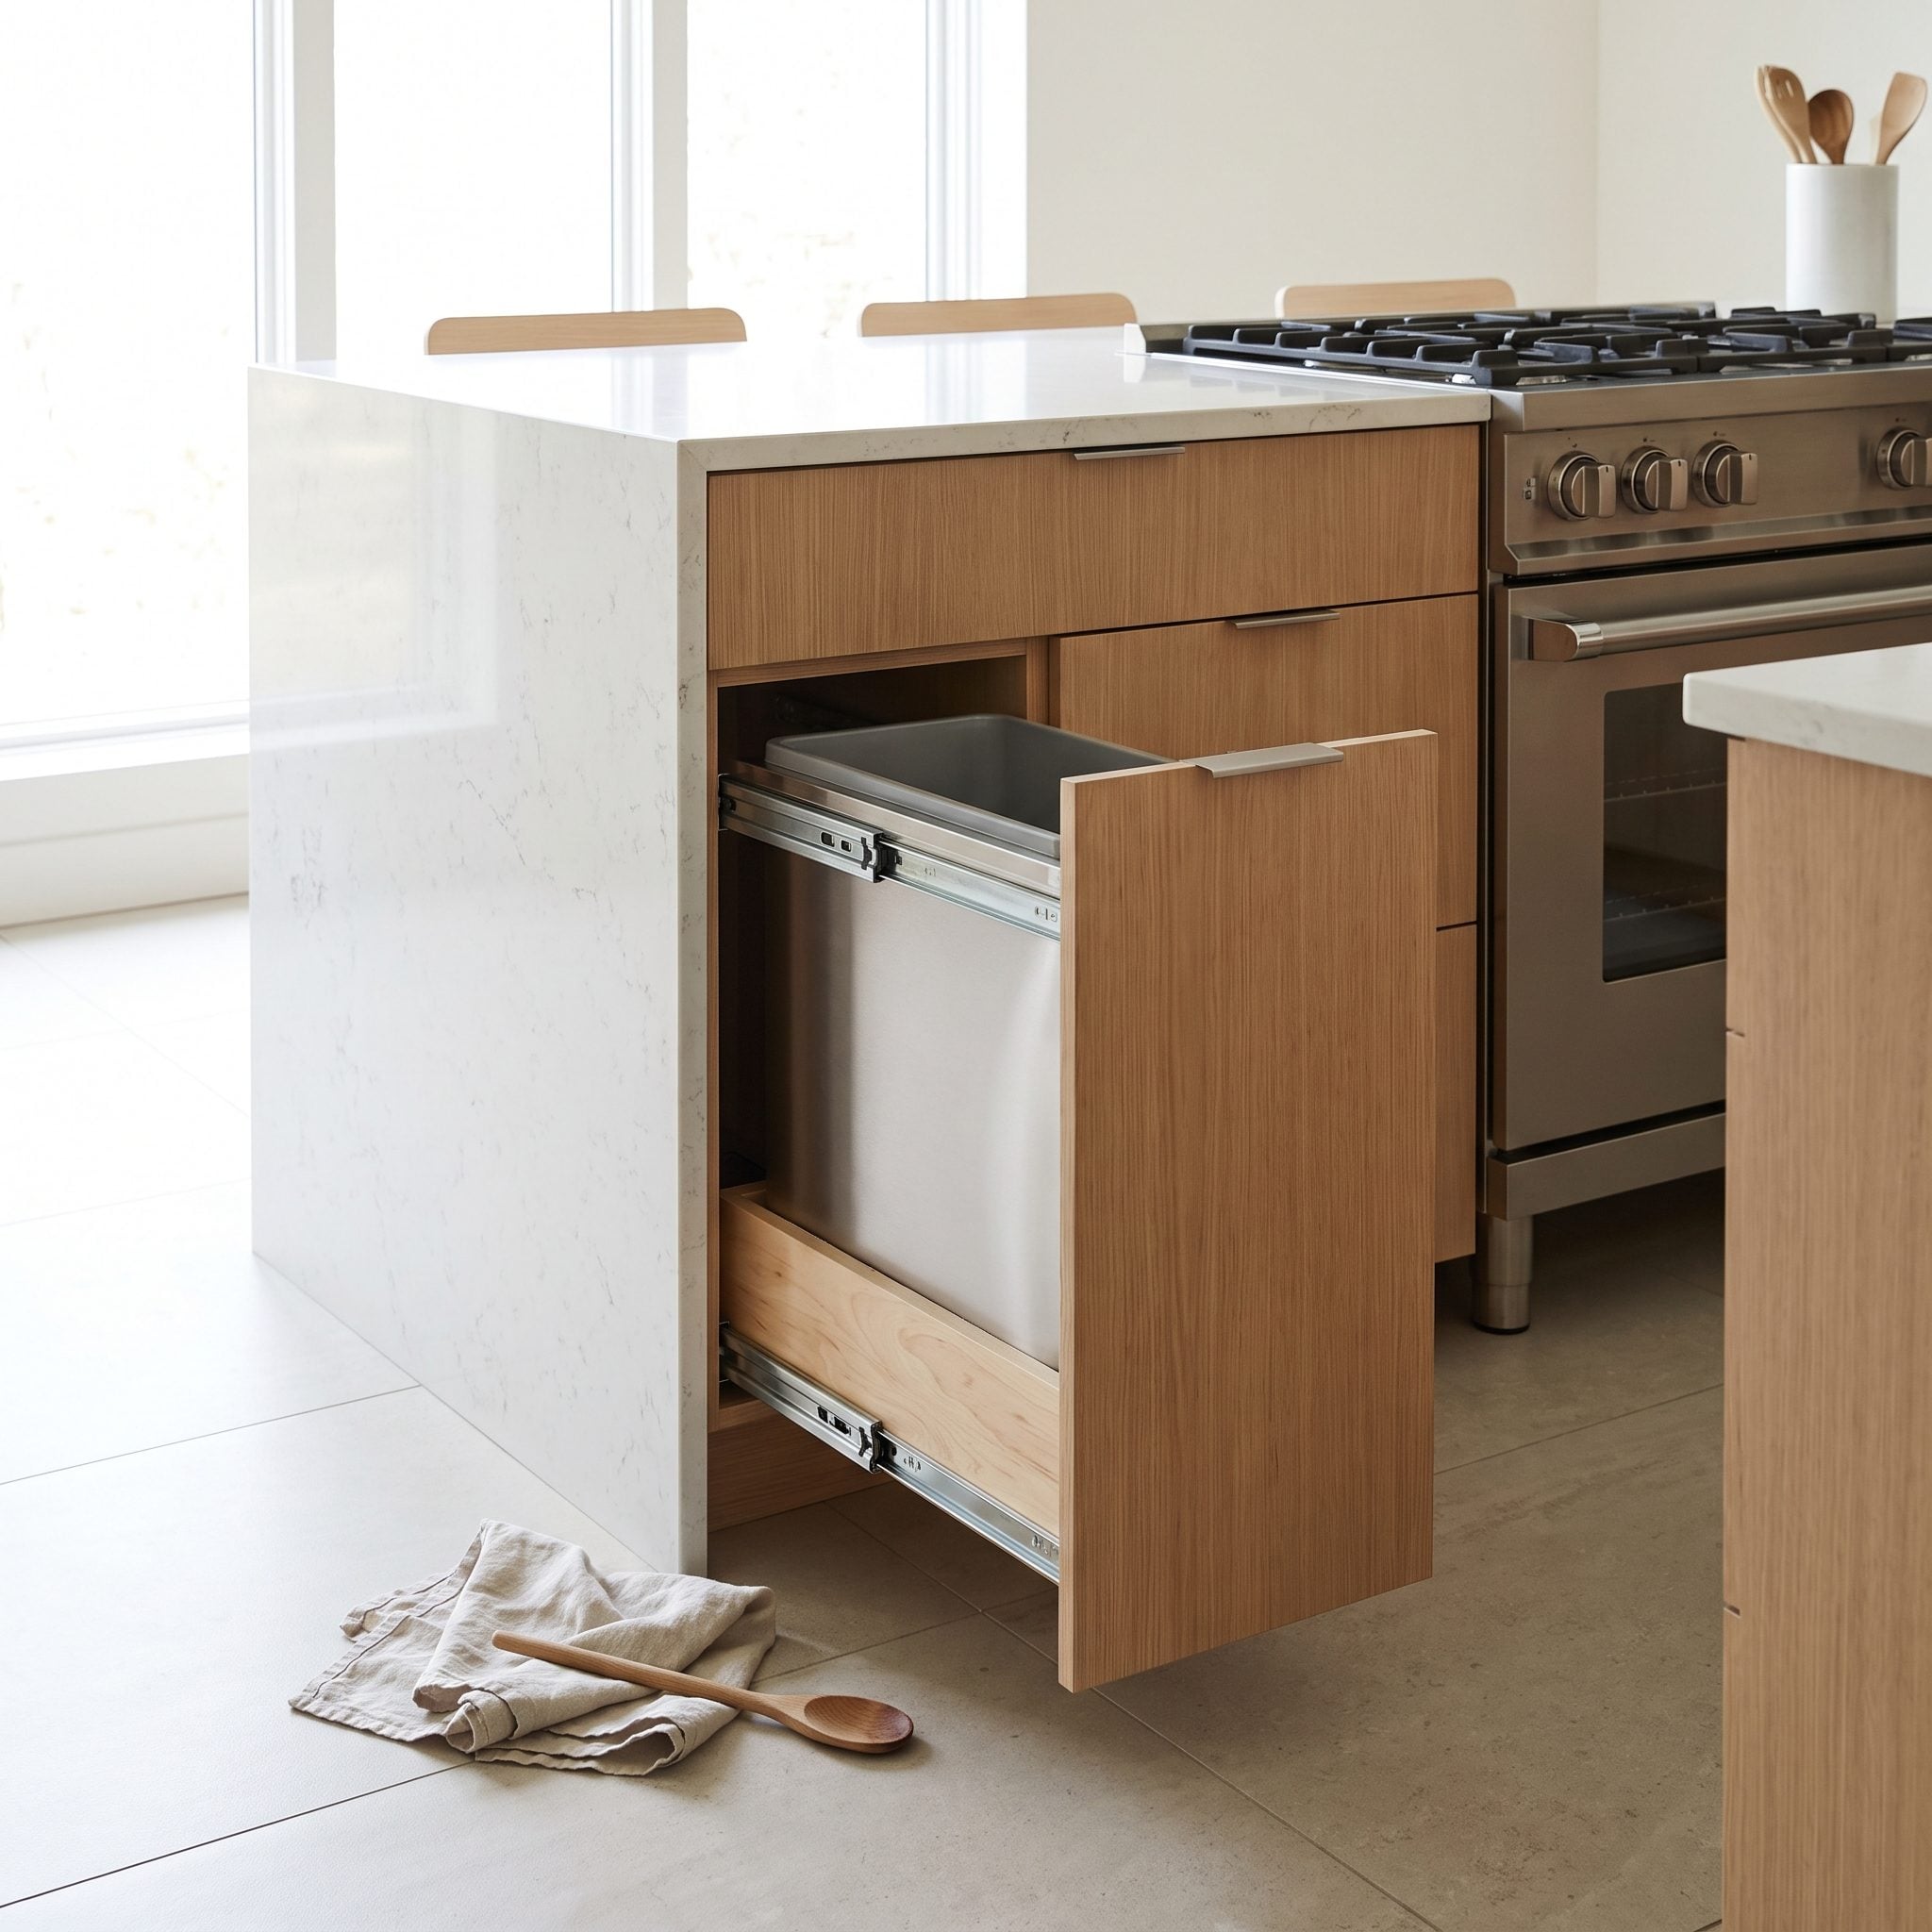
A trash pullout is useful near prep and cleanup, but its open door and bin need a place to occupy. If they sit in the cook’s working position or block a main route, ordinary disposal interrupts the task and narrows the aisle.
Place the pullout near the sink or prep surface when practical, then test its full extension against the range, dishwasher, and nearby drawers. The open position matters as much as the closed cabinet face.
A Permanent Island Got Poured Where a Table Would Have Served Better
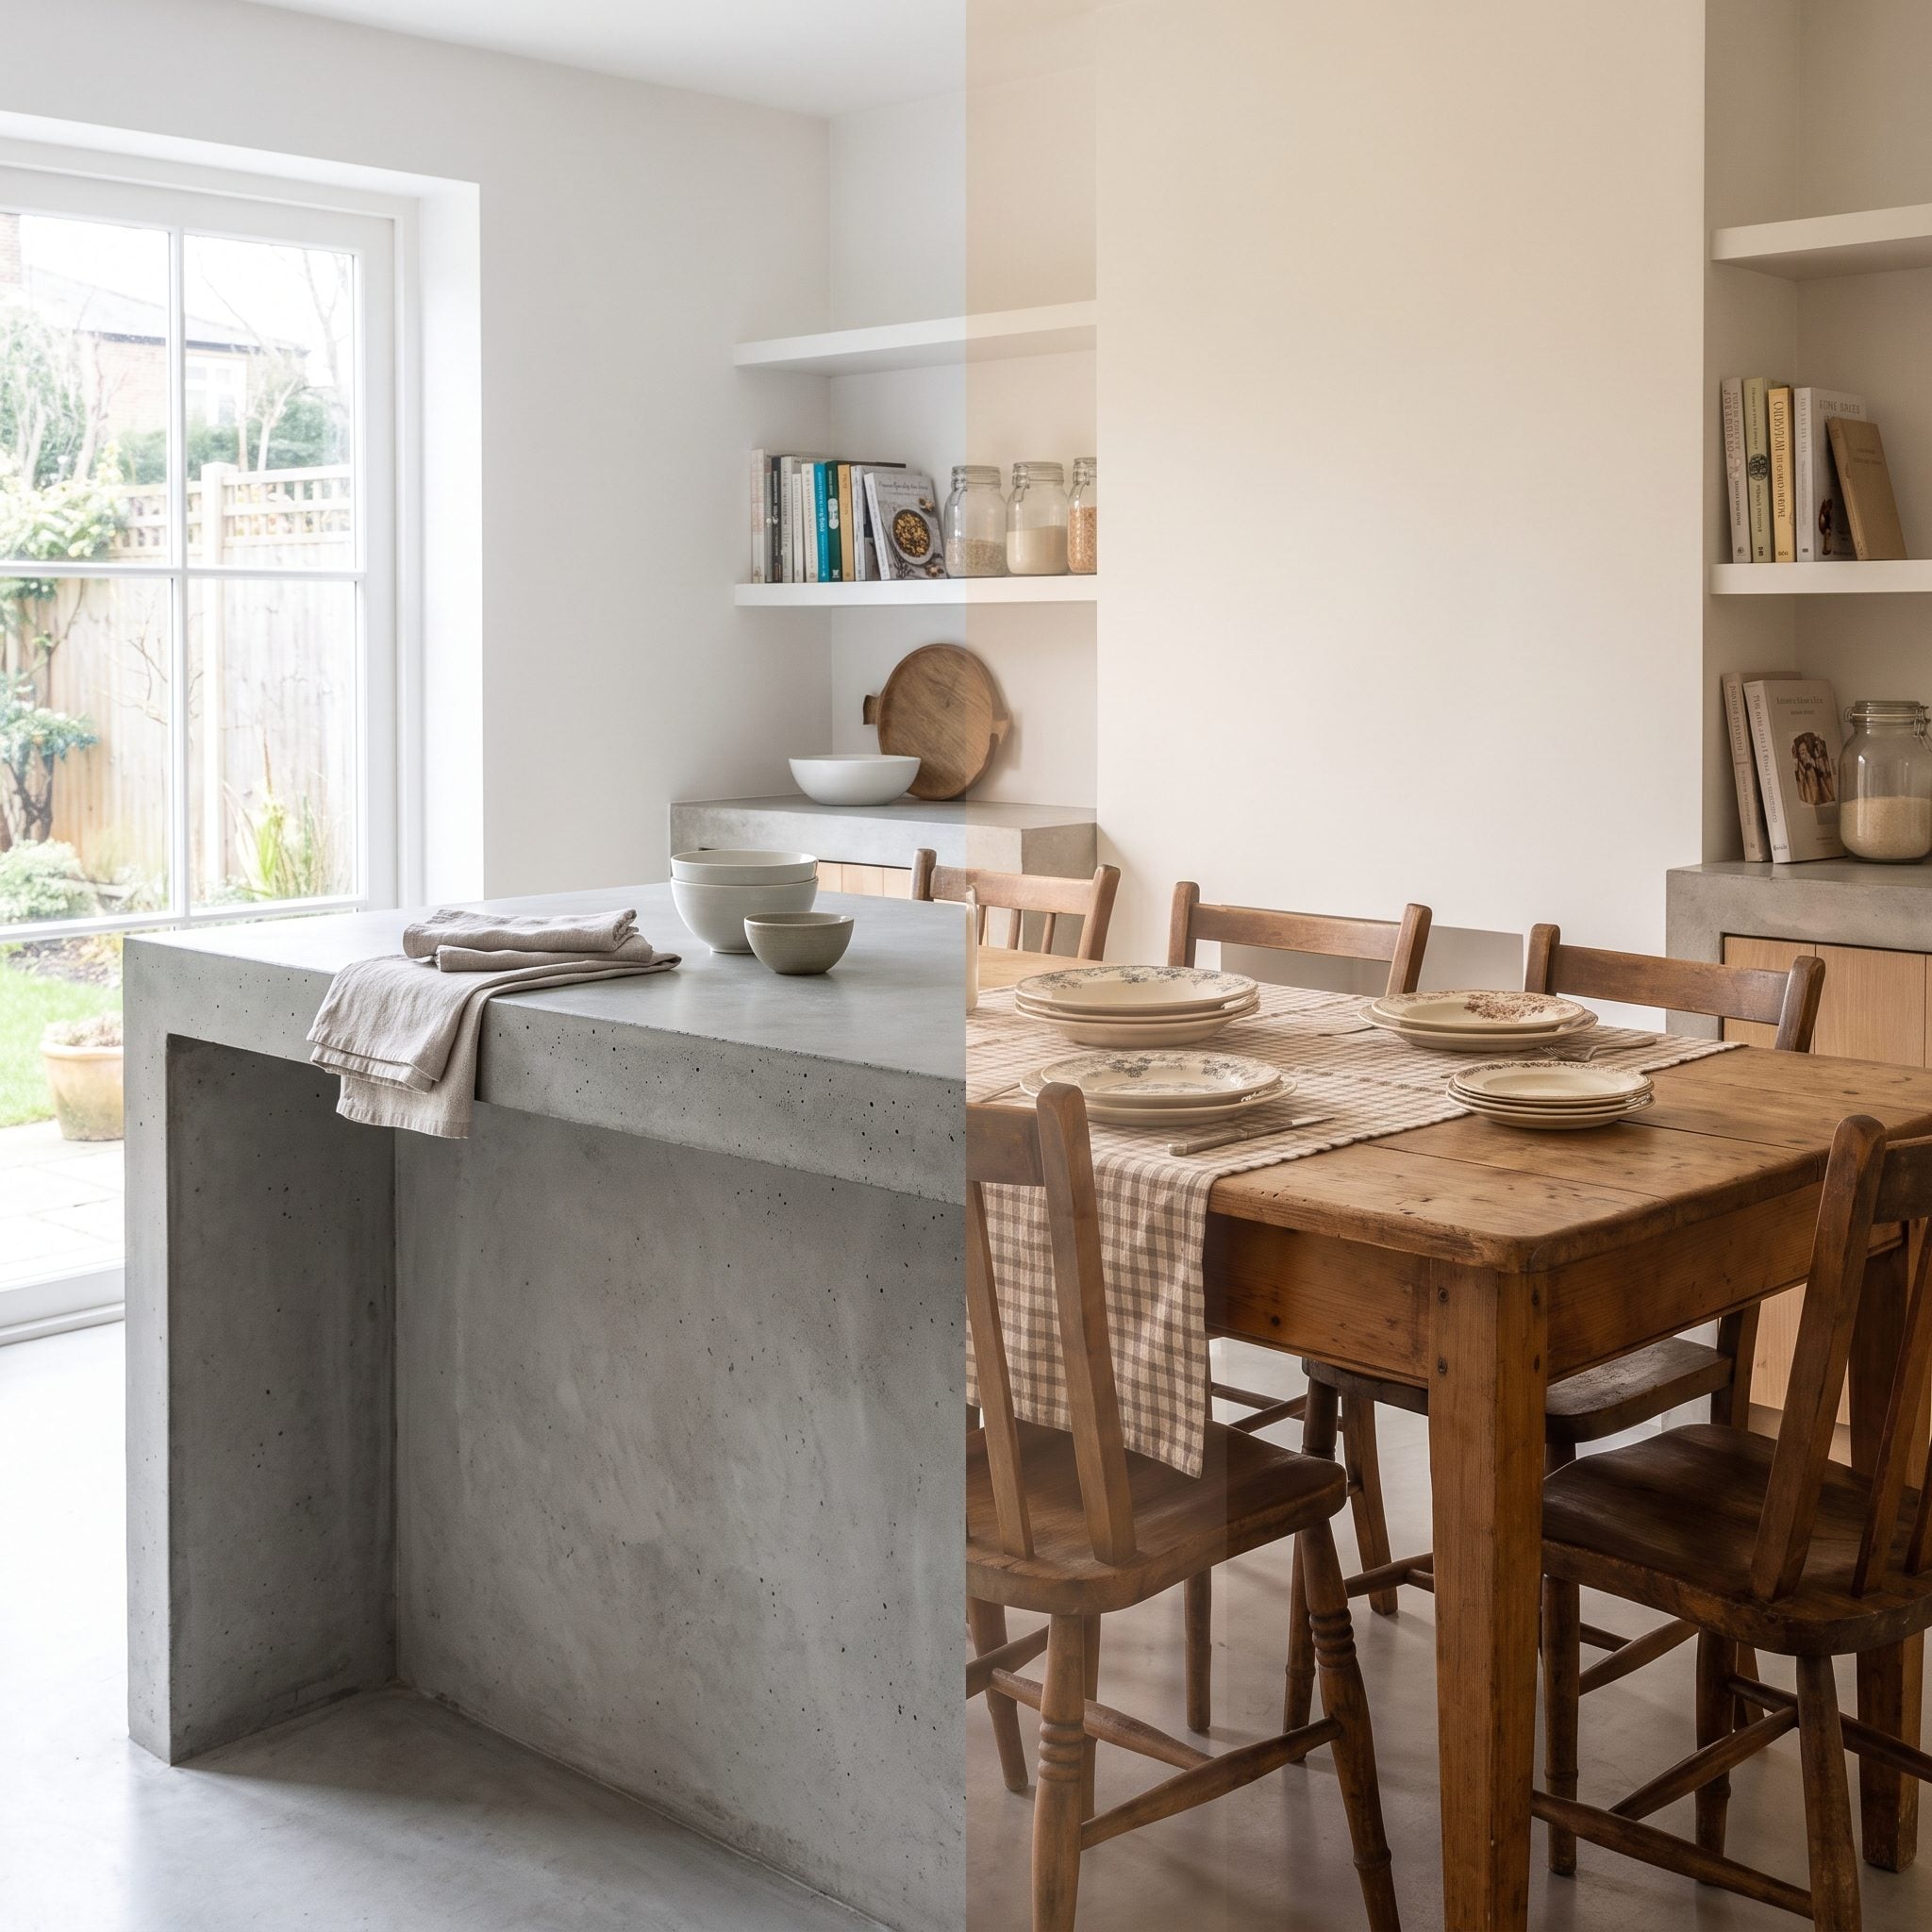
A fixed island is not the only way to add a work surface. In a kitchen that needs flexible seating or a more open route, a movable worktable or freestanding table may suit the room better and can be repositioned as needs change.
Compare the island’s storage and prep value with the floor area it permanently occupies. For a narrow room or a kitchen that serves several purposes, flexibility may matter more than another built-in cabinet run. These kitchen examples show how different island shapes affect the room.
The Oven Door Left Nowhere Safe for the Cook to Stand
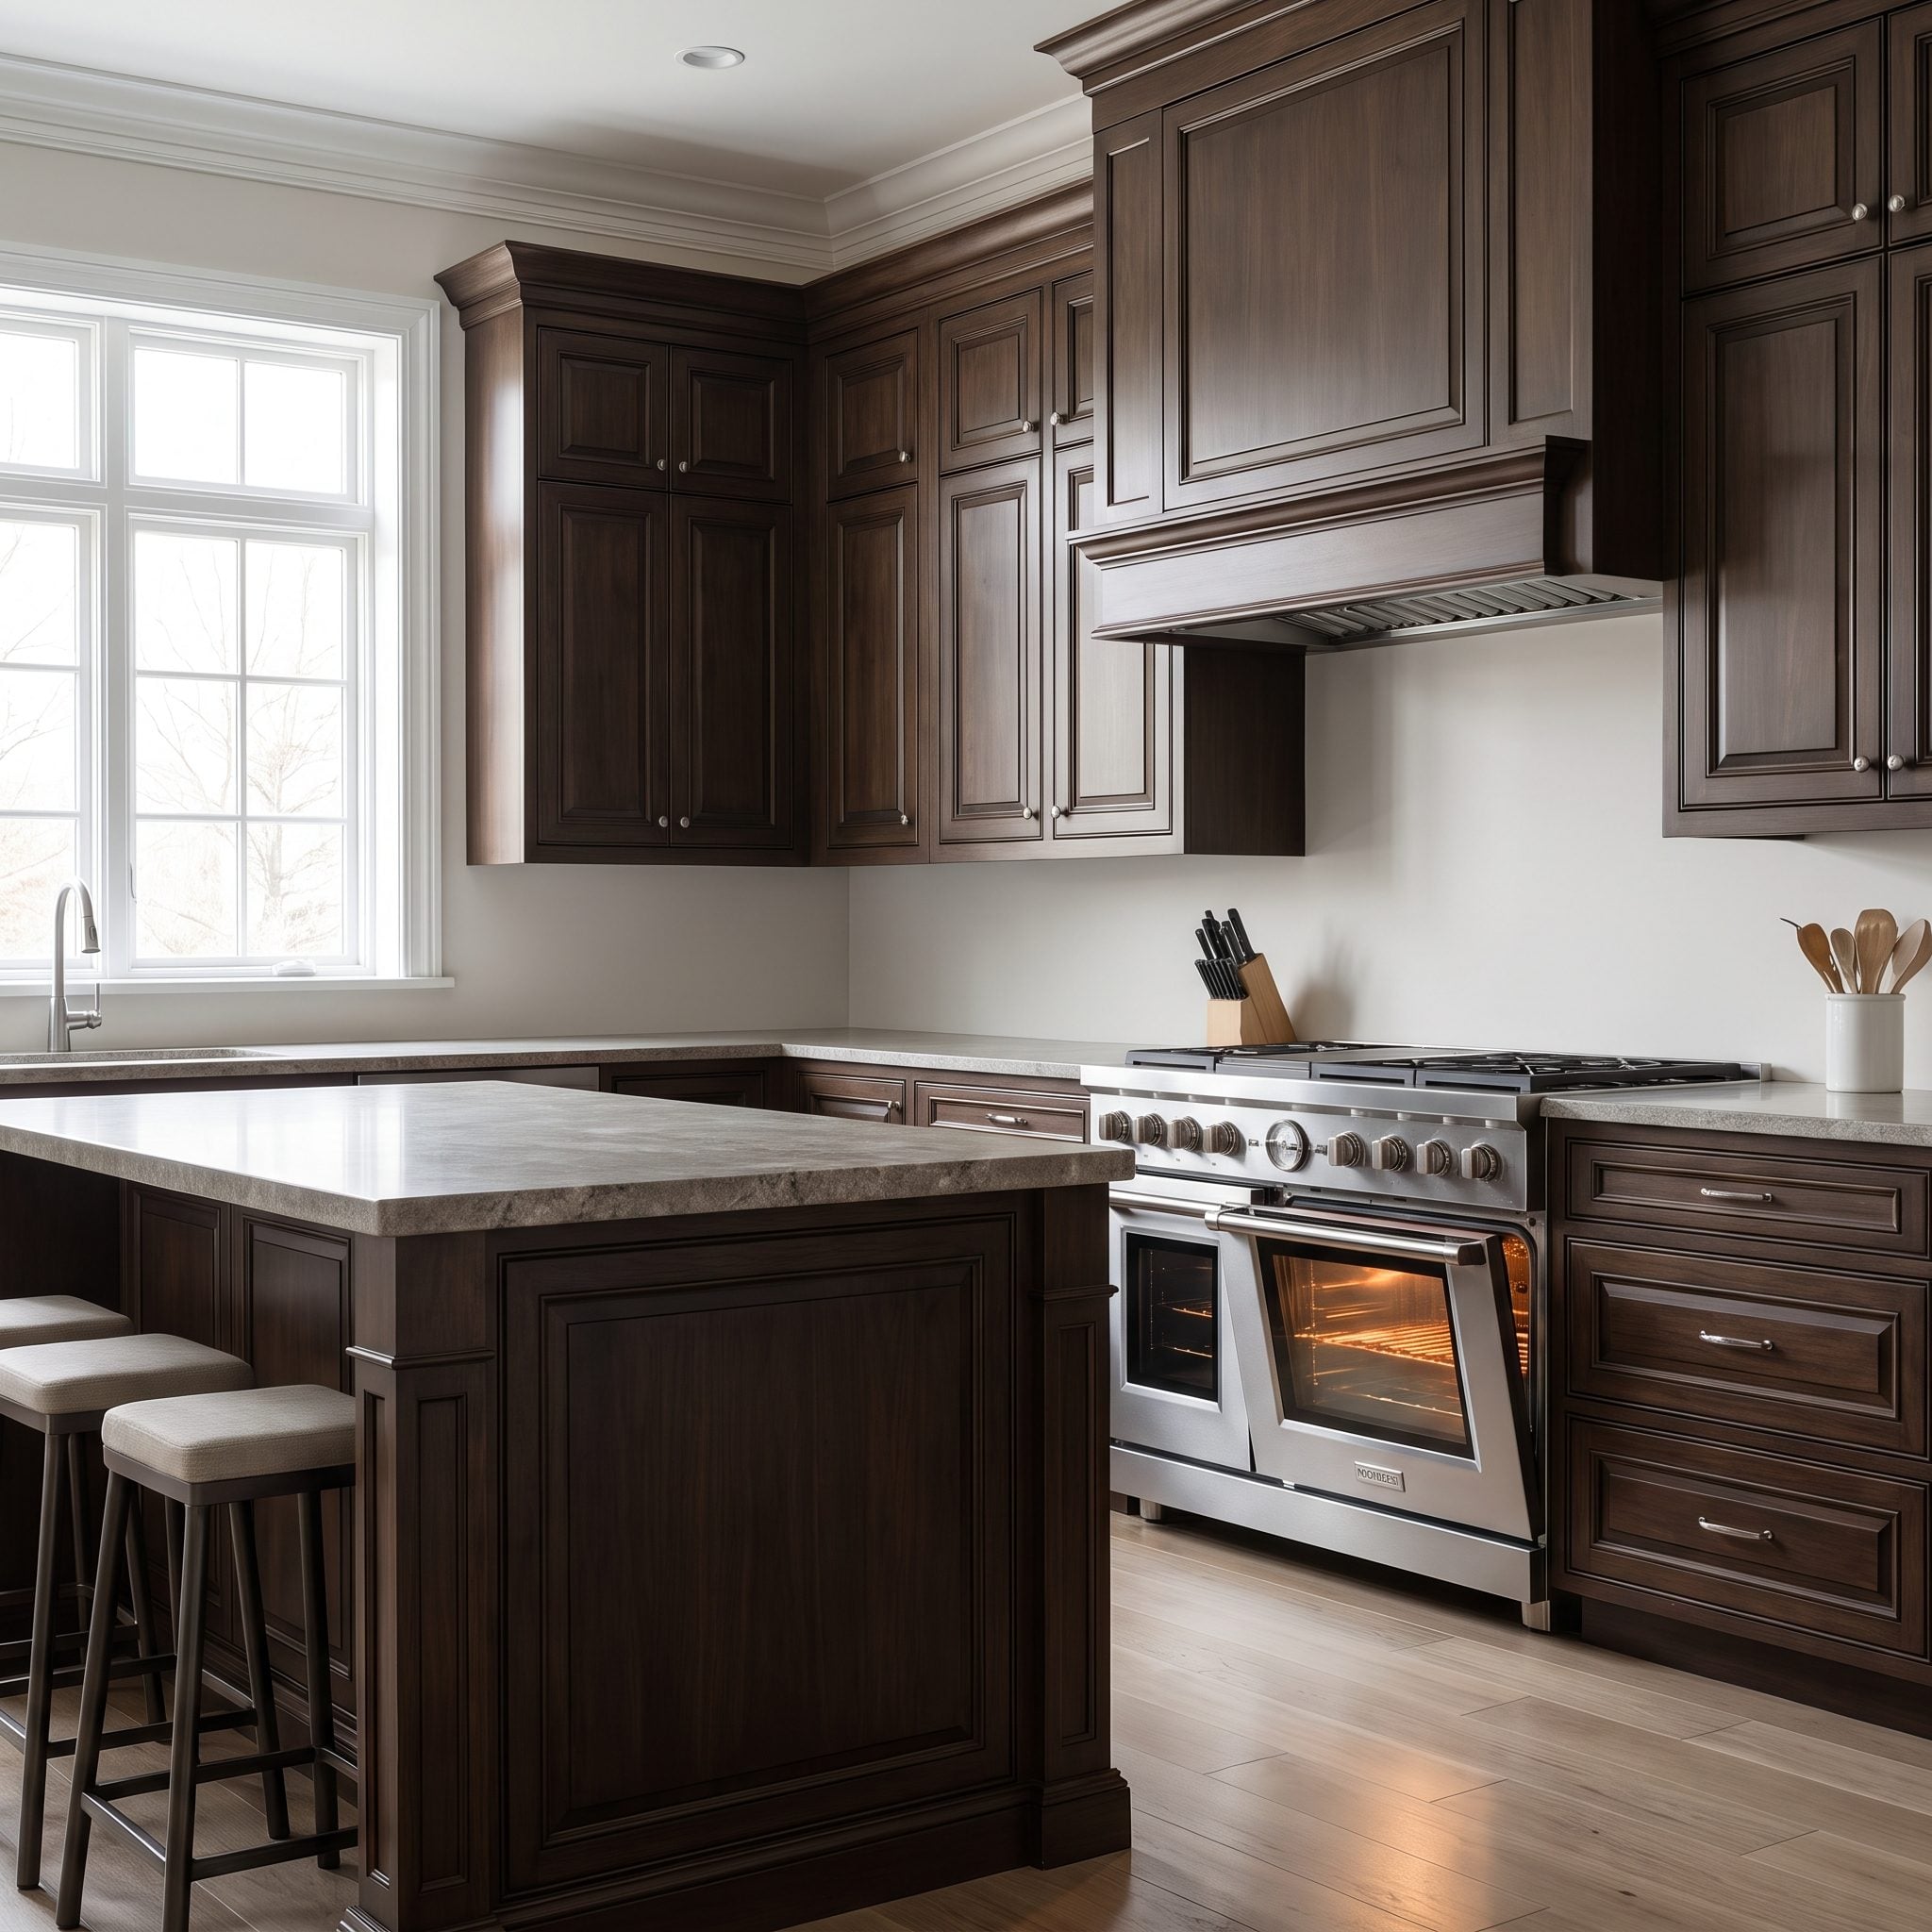
An open oven door changes the working space in front of the range. The exterior door is hot, but its surface temperature is not the oven’s set temperature; describing it as a “450-degree door” confuses the two. A cook also needs room to stand, open the door, and handle hot cookware without being pressed against the island.
Treat aisle dimensions as general planning guidance, not an oven-specific safety clearance. Check the range and oven installation instructions, and make sure the door can open fully while the cook has a stable place to stand and set down a hot pan.
The Island Seating Faced a Wall Instead of the People in the Room
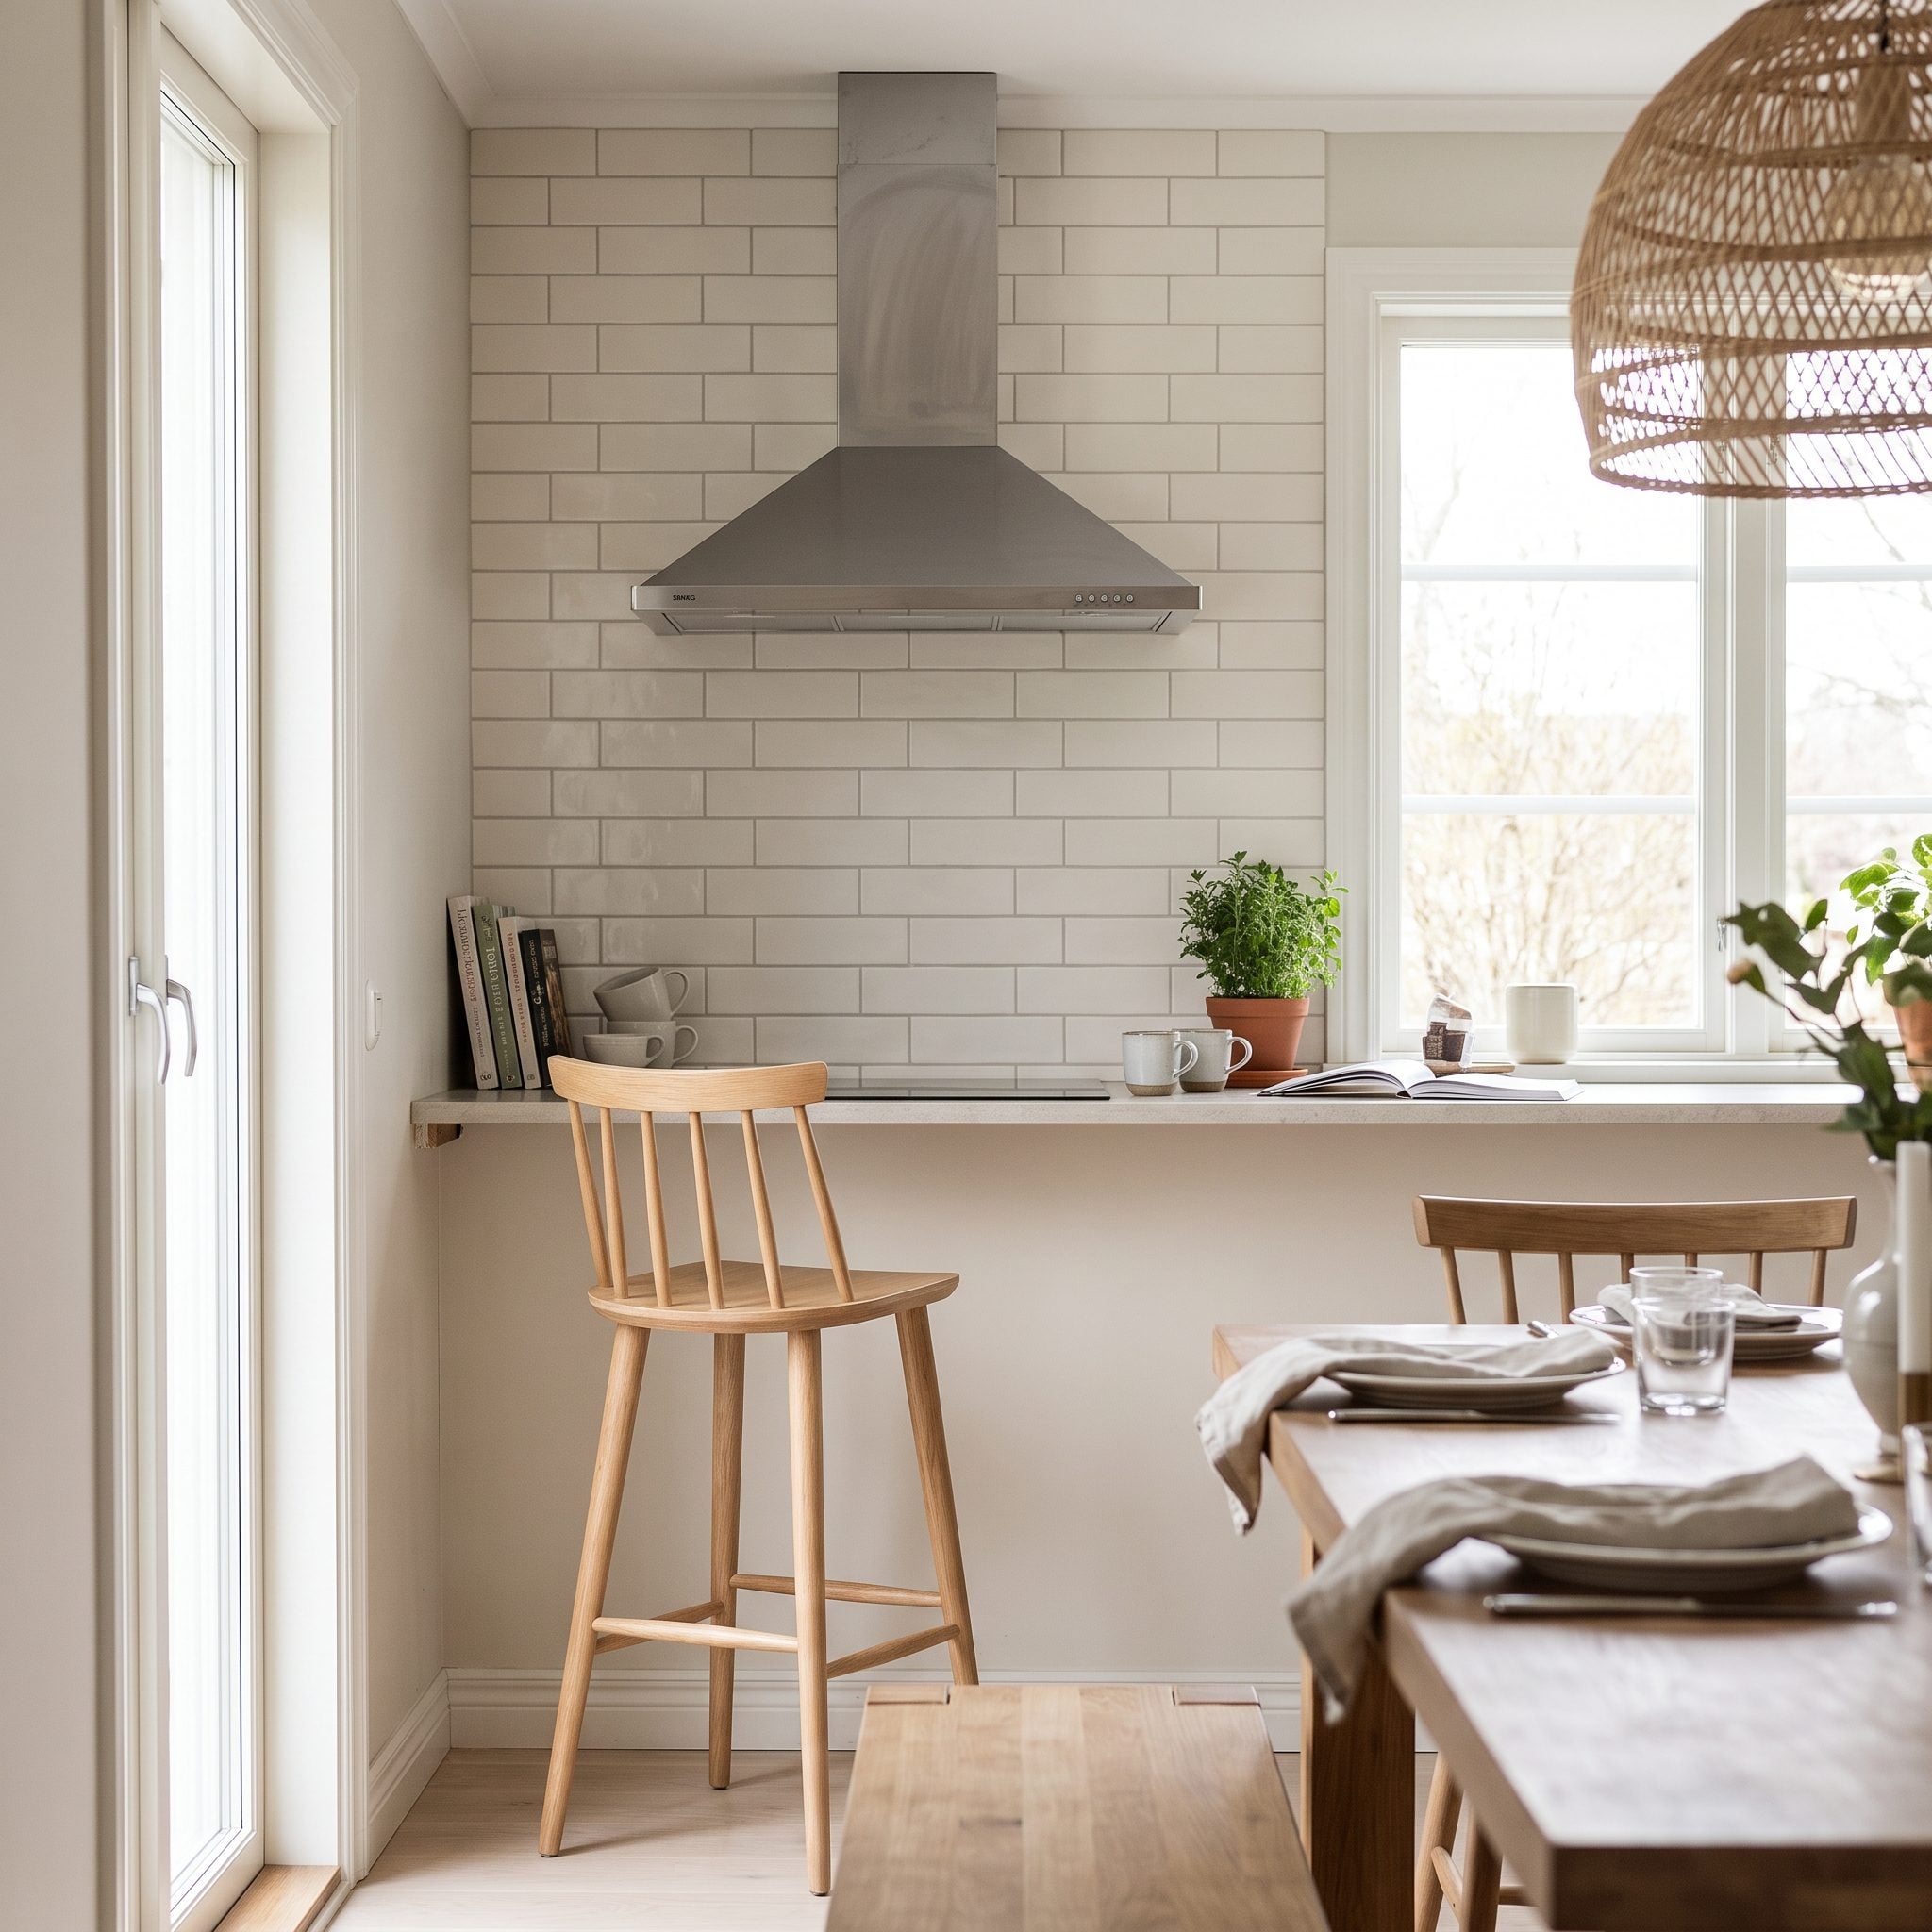
The direction of the stools changes what island seating is for. Facing a wall or cooking zone may be right for a quick perch, but it offers less connection to an adjoining dining or living area.
Choose the orientation around the room’s use and sightlines. If the island is meant for conversation, turn the seats toward the people and activity that matter; if it is primarily a work counter, prioritize clearances and safe separation from cooking.
The Walkway Was Measured, but Nobody Measured With the Cabinets Open
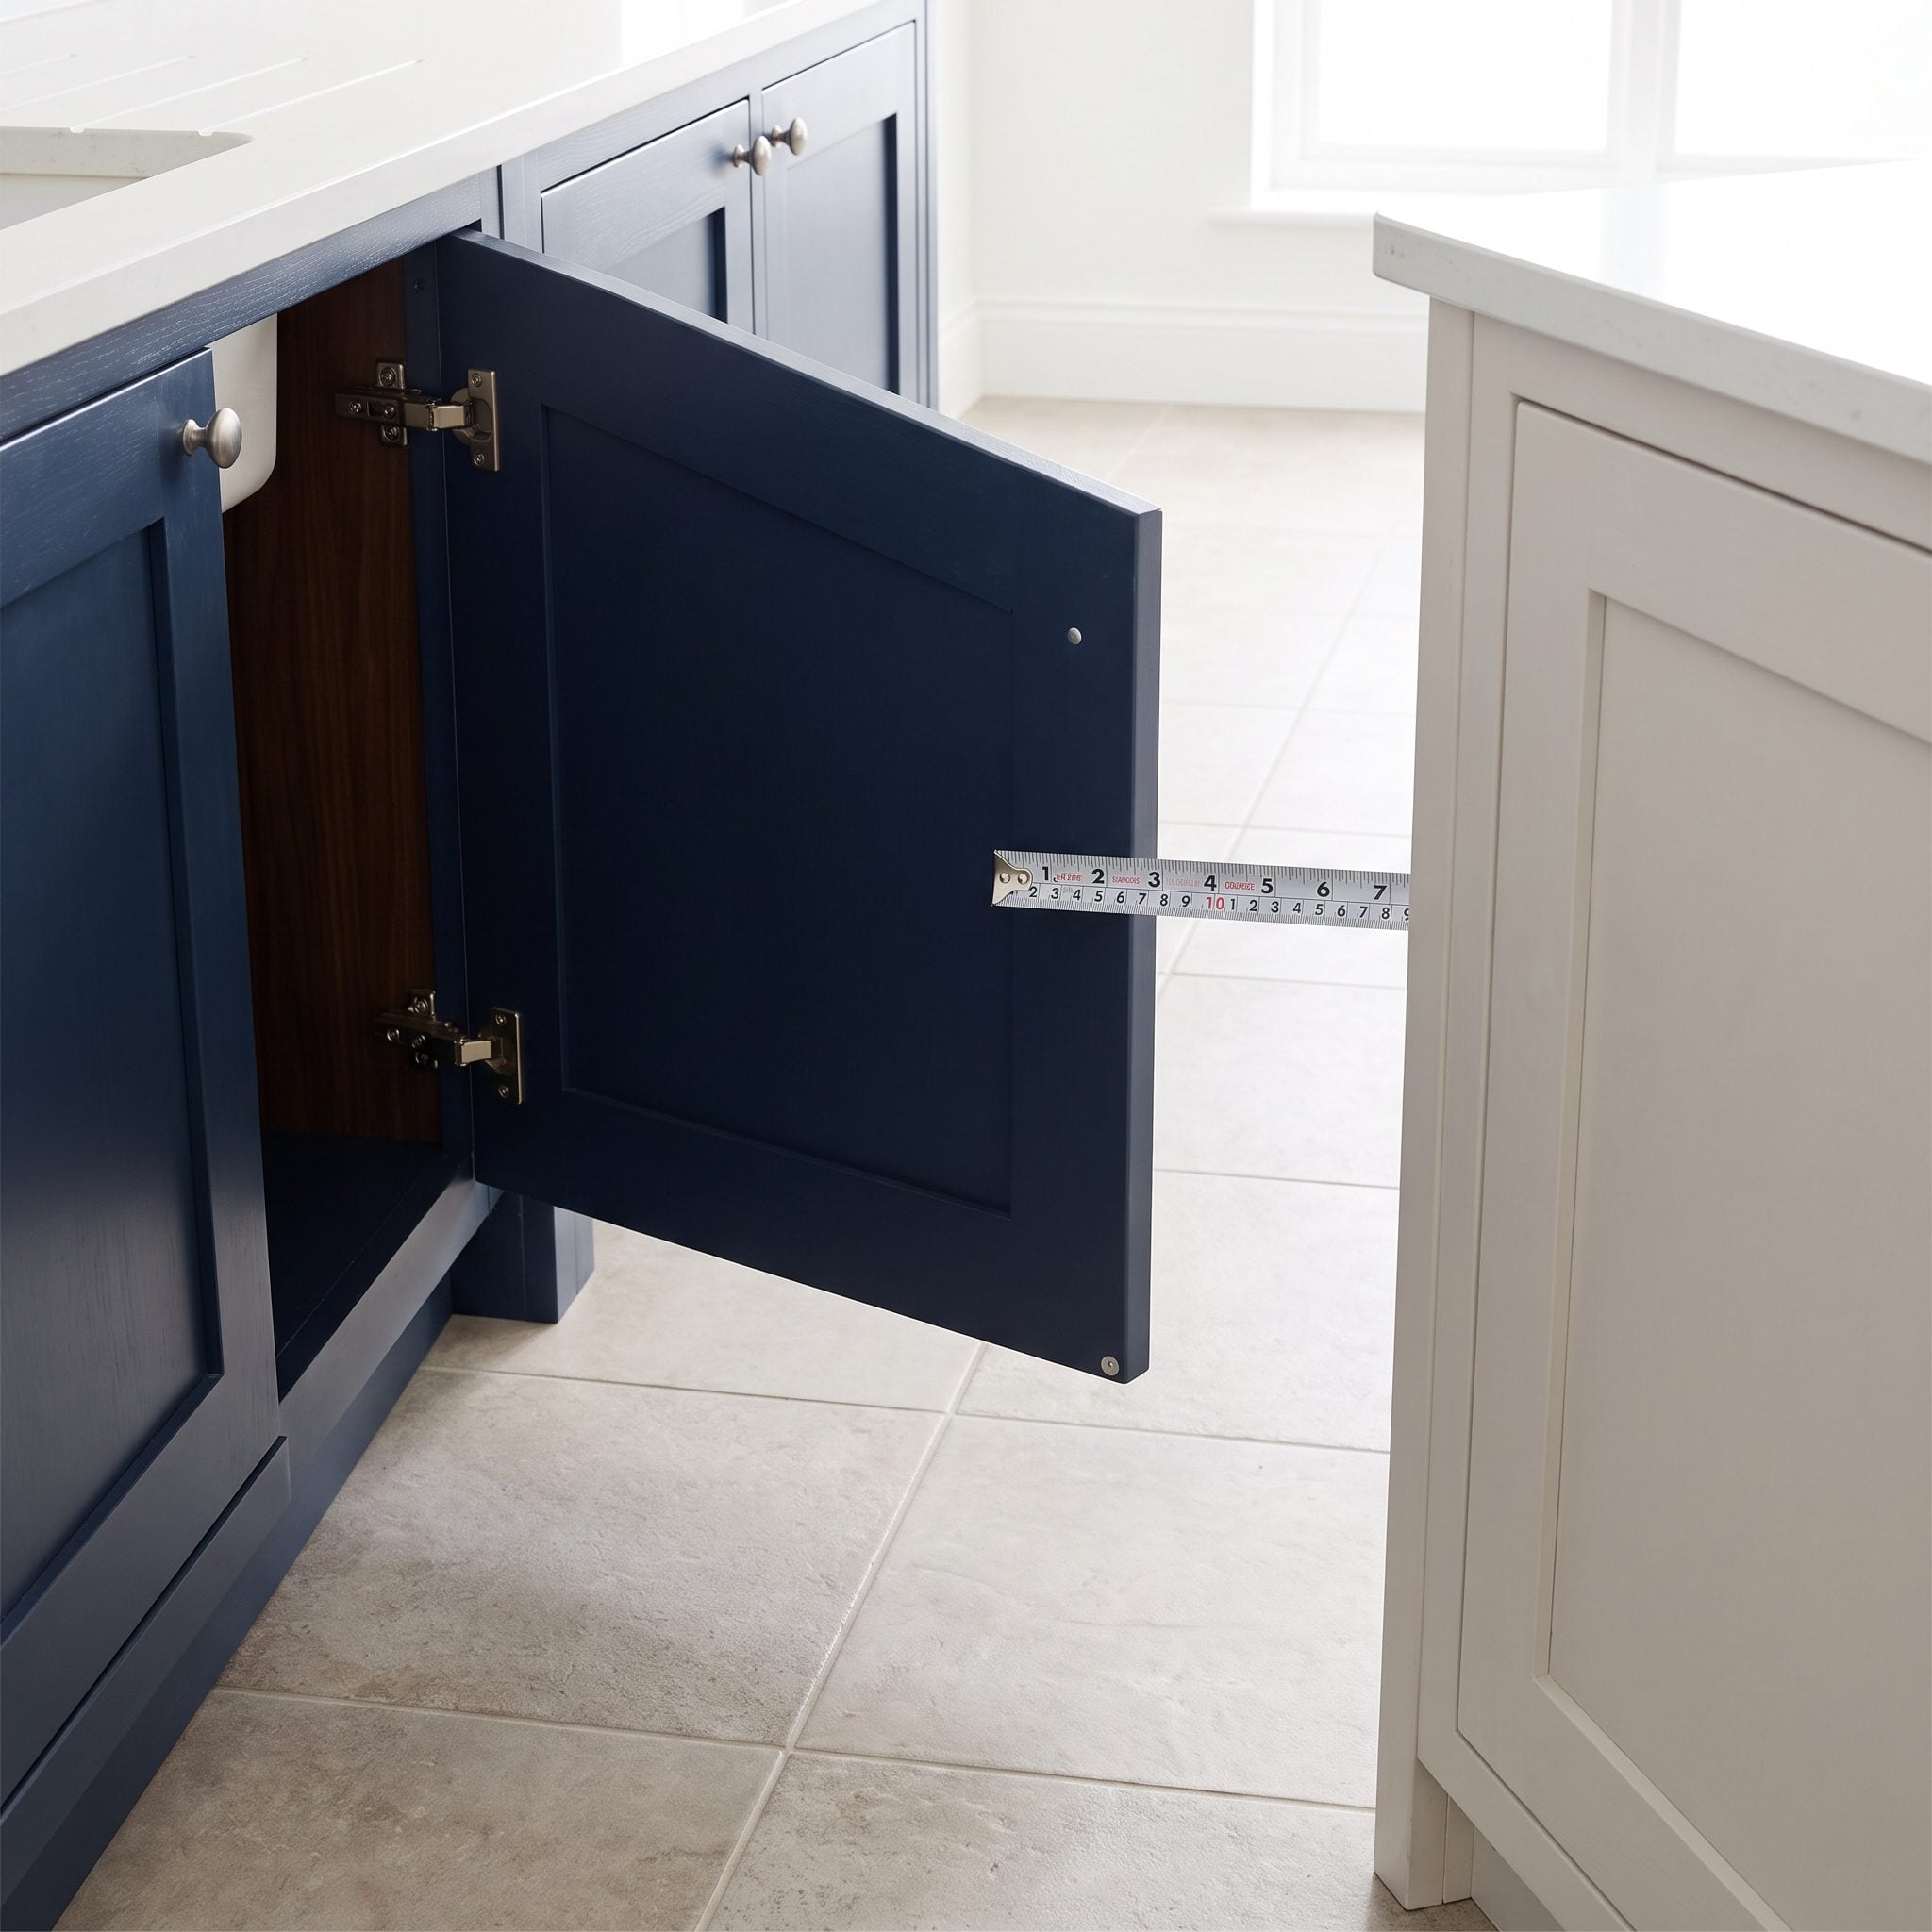
A closed cabinet is only part of the layout. An open drawer, sink cabinet, or pullout projects into the aisle and can change how much room remains to stand or pass. The plan should account for those moving parts, especially opposite a dishwasher or another frequently used cabinet.
Mark the doors and drawer fronts at their full extension on the floor plan, then compare that position with the actual aisle. This is a practical clearance check; there is no single added allowance that fits every cabinet and kitchen.
Too Many Stools Were Squeezed Onto One Side
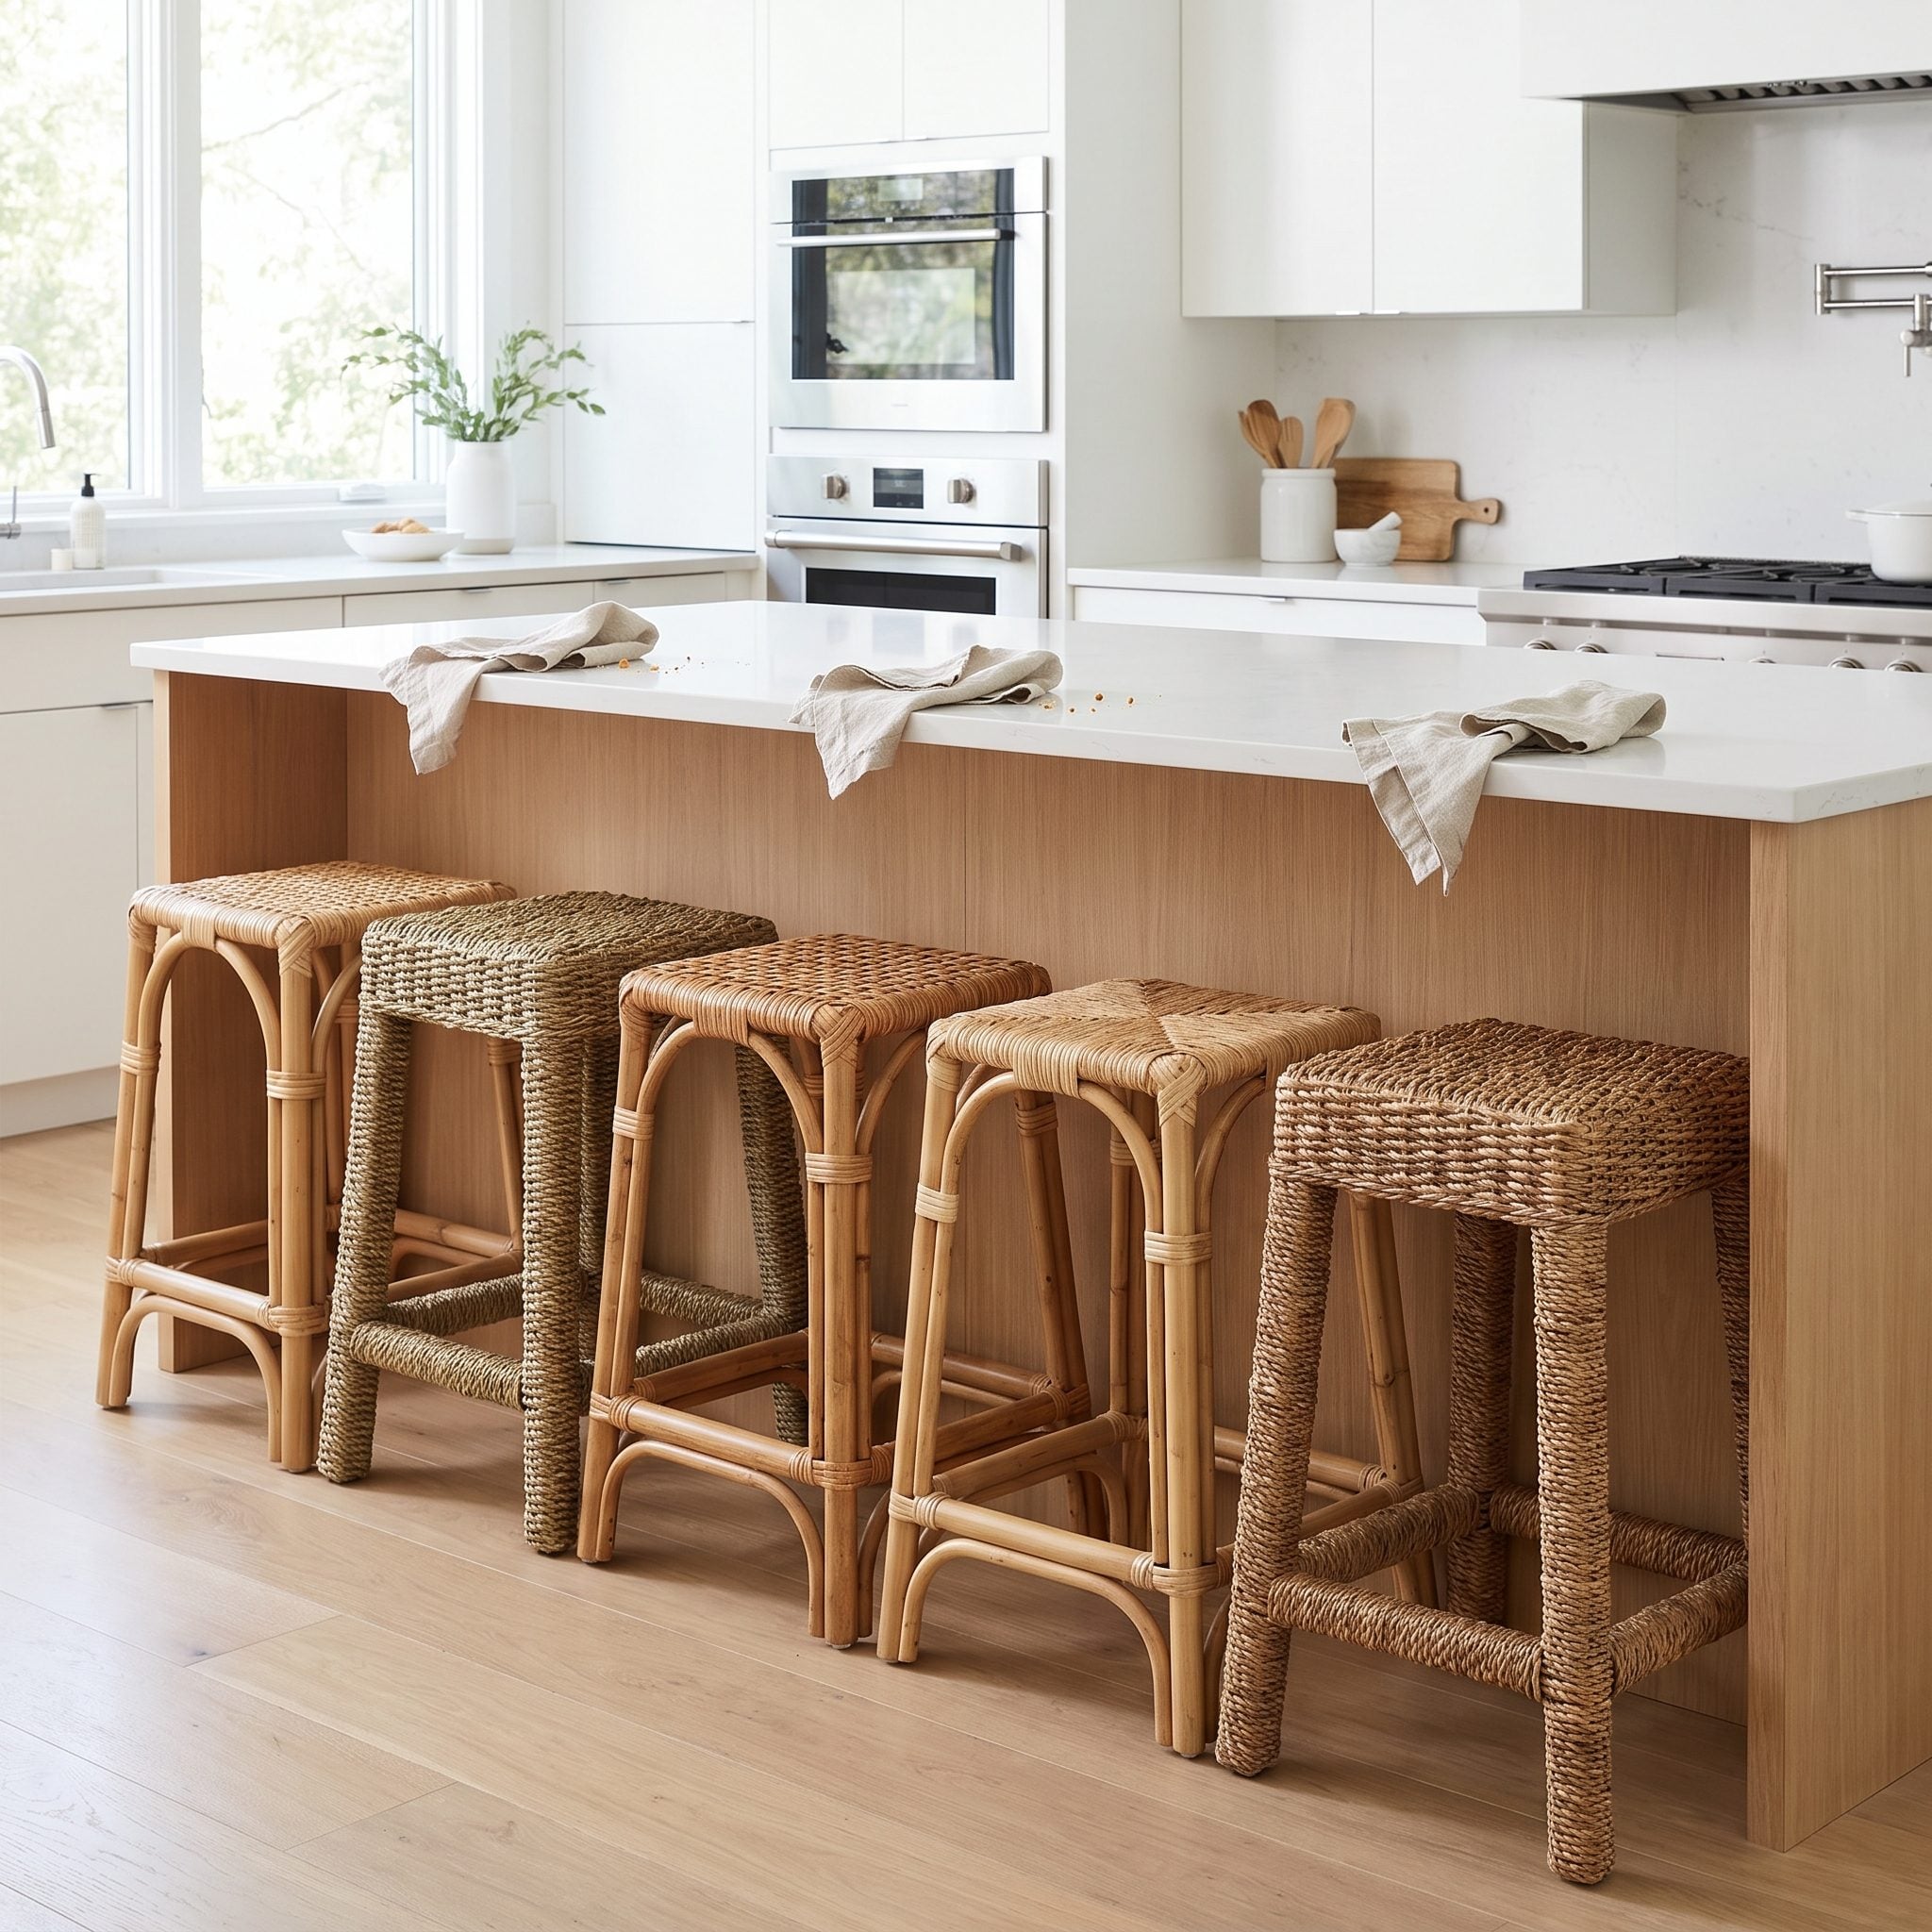
Seat count depends on island length, stool width, and the elbow room people need. A common planning range is roughly 24 to 30 inches of counter width per seat, with wider spacing for broad stools or more comfortable dining.
Divide the usable seating length by the desired space per person, then check the end positions and neighboring walkways. The result may be fewer stools, but each seat will have room to function.
Plumbing and Ventilation Turned a Simple Island Into a Much Bigger Project
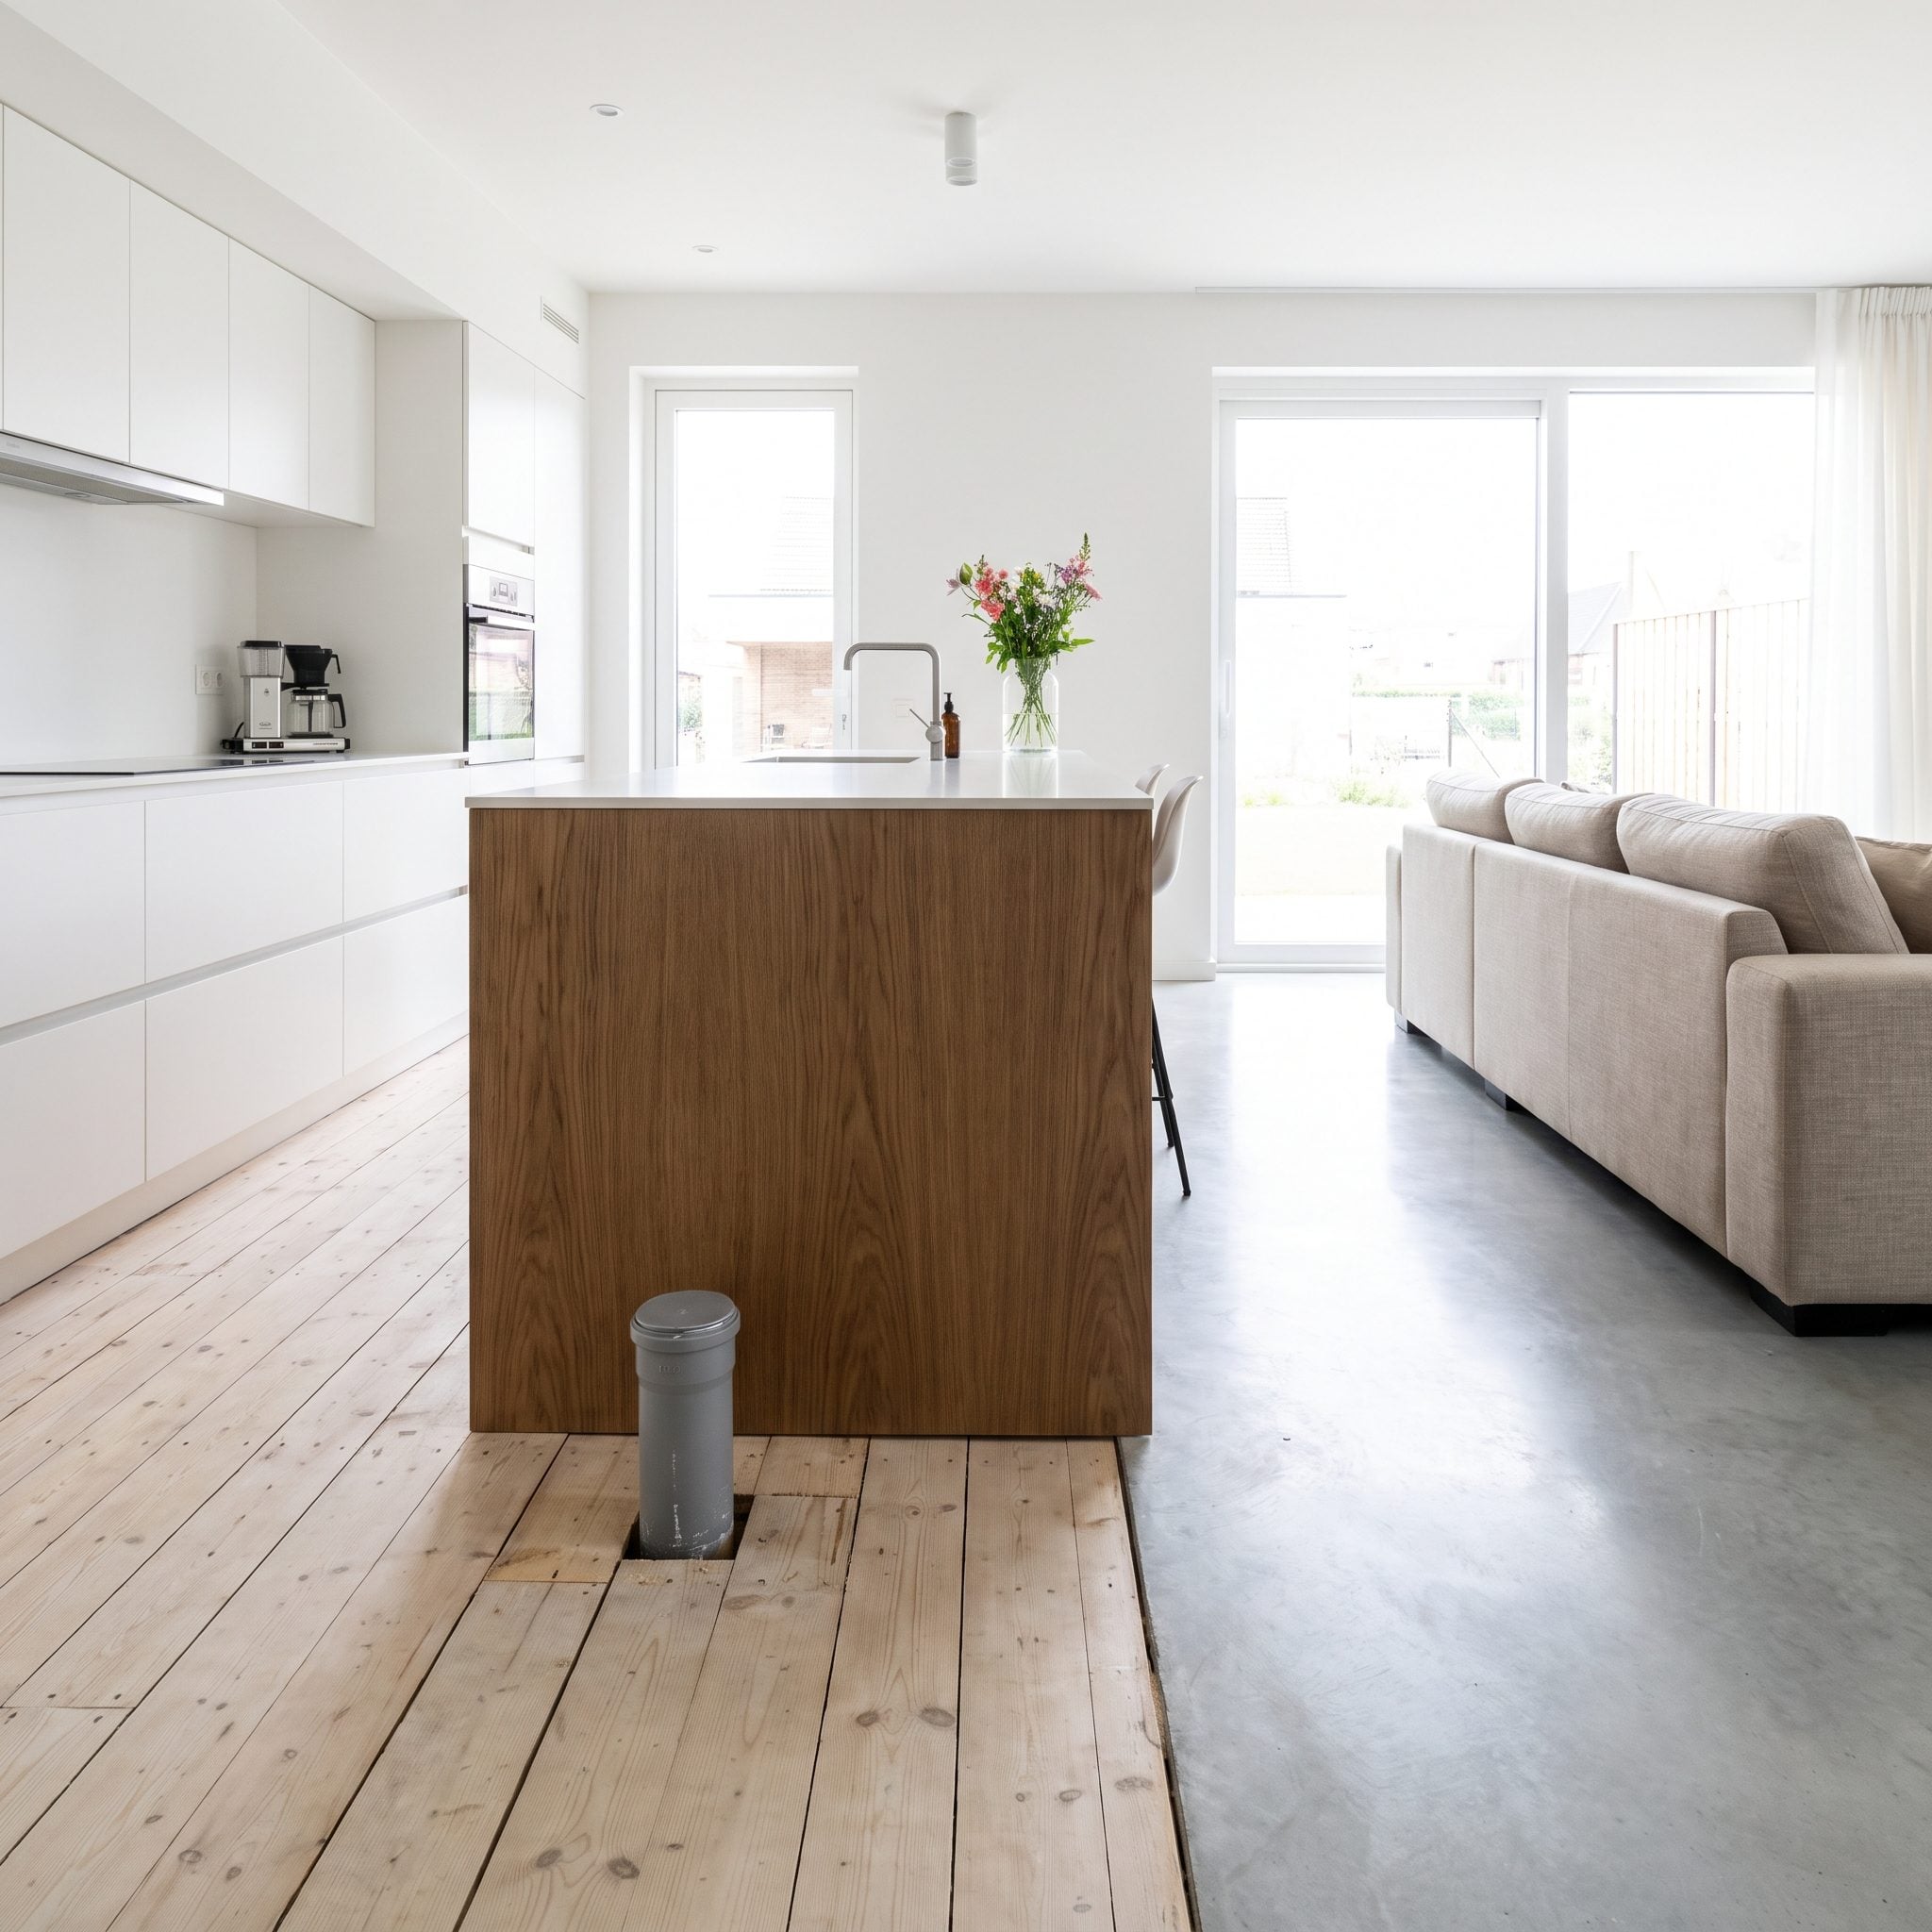
An island sink or cooktop can add work beyond the cabinets. A sink may require supply, drain, and vent connections; a cooktop may require a ventilation system and an approved exhaust route. The cost and construction depend on the house, appliance, and local requirements.
Before settling the layout, ask a plumber, electrician, and ventilation professional to assess the route. A slab foundation can make new under-floor plumbing more involved, but trenching is not inevitable in every project.
The Kitchen Entrance Became a Bottleneck
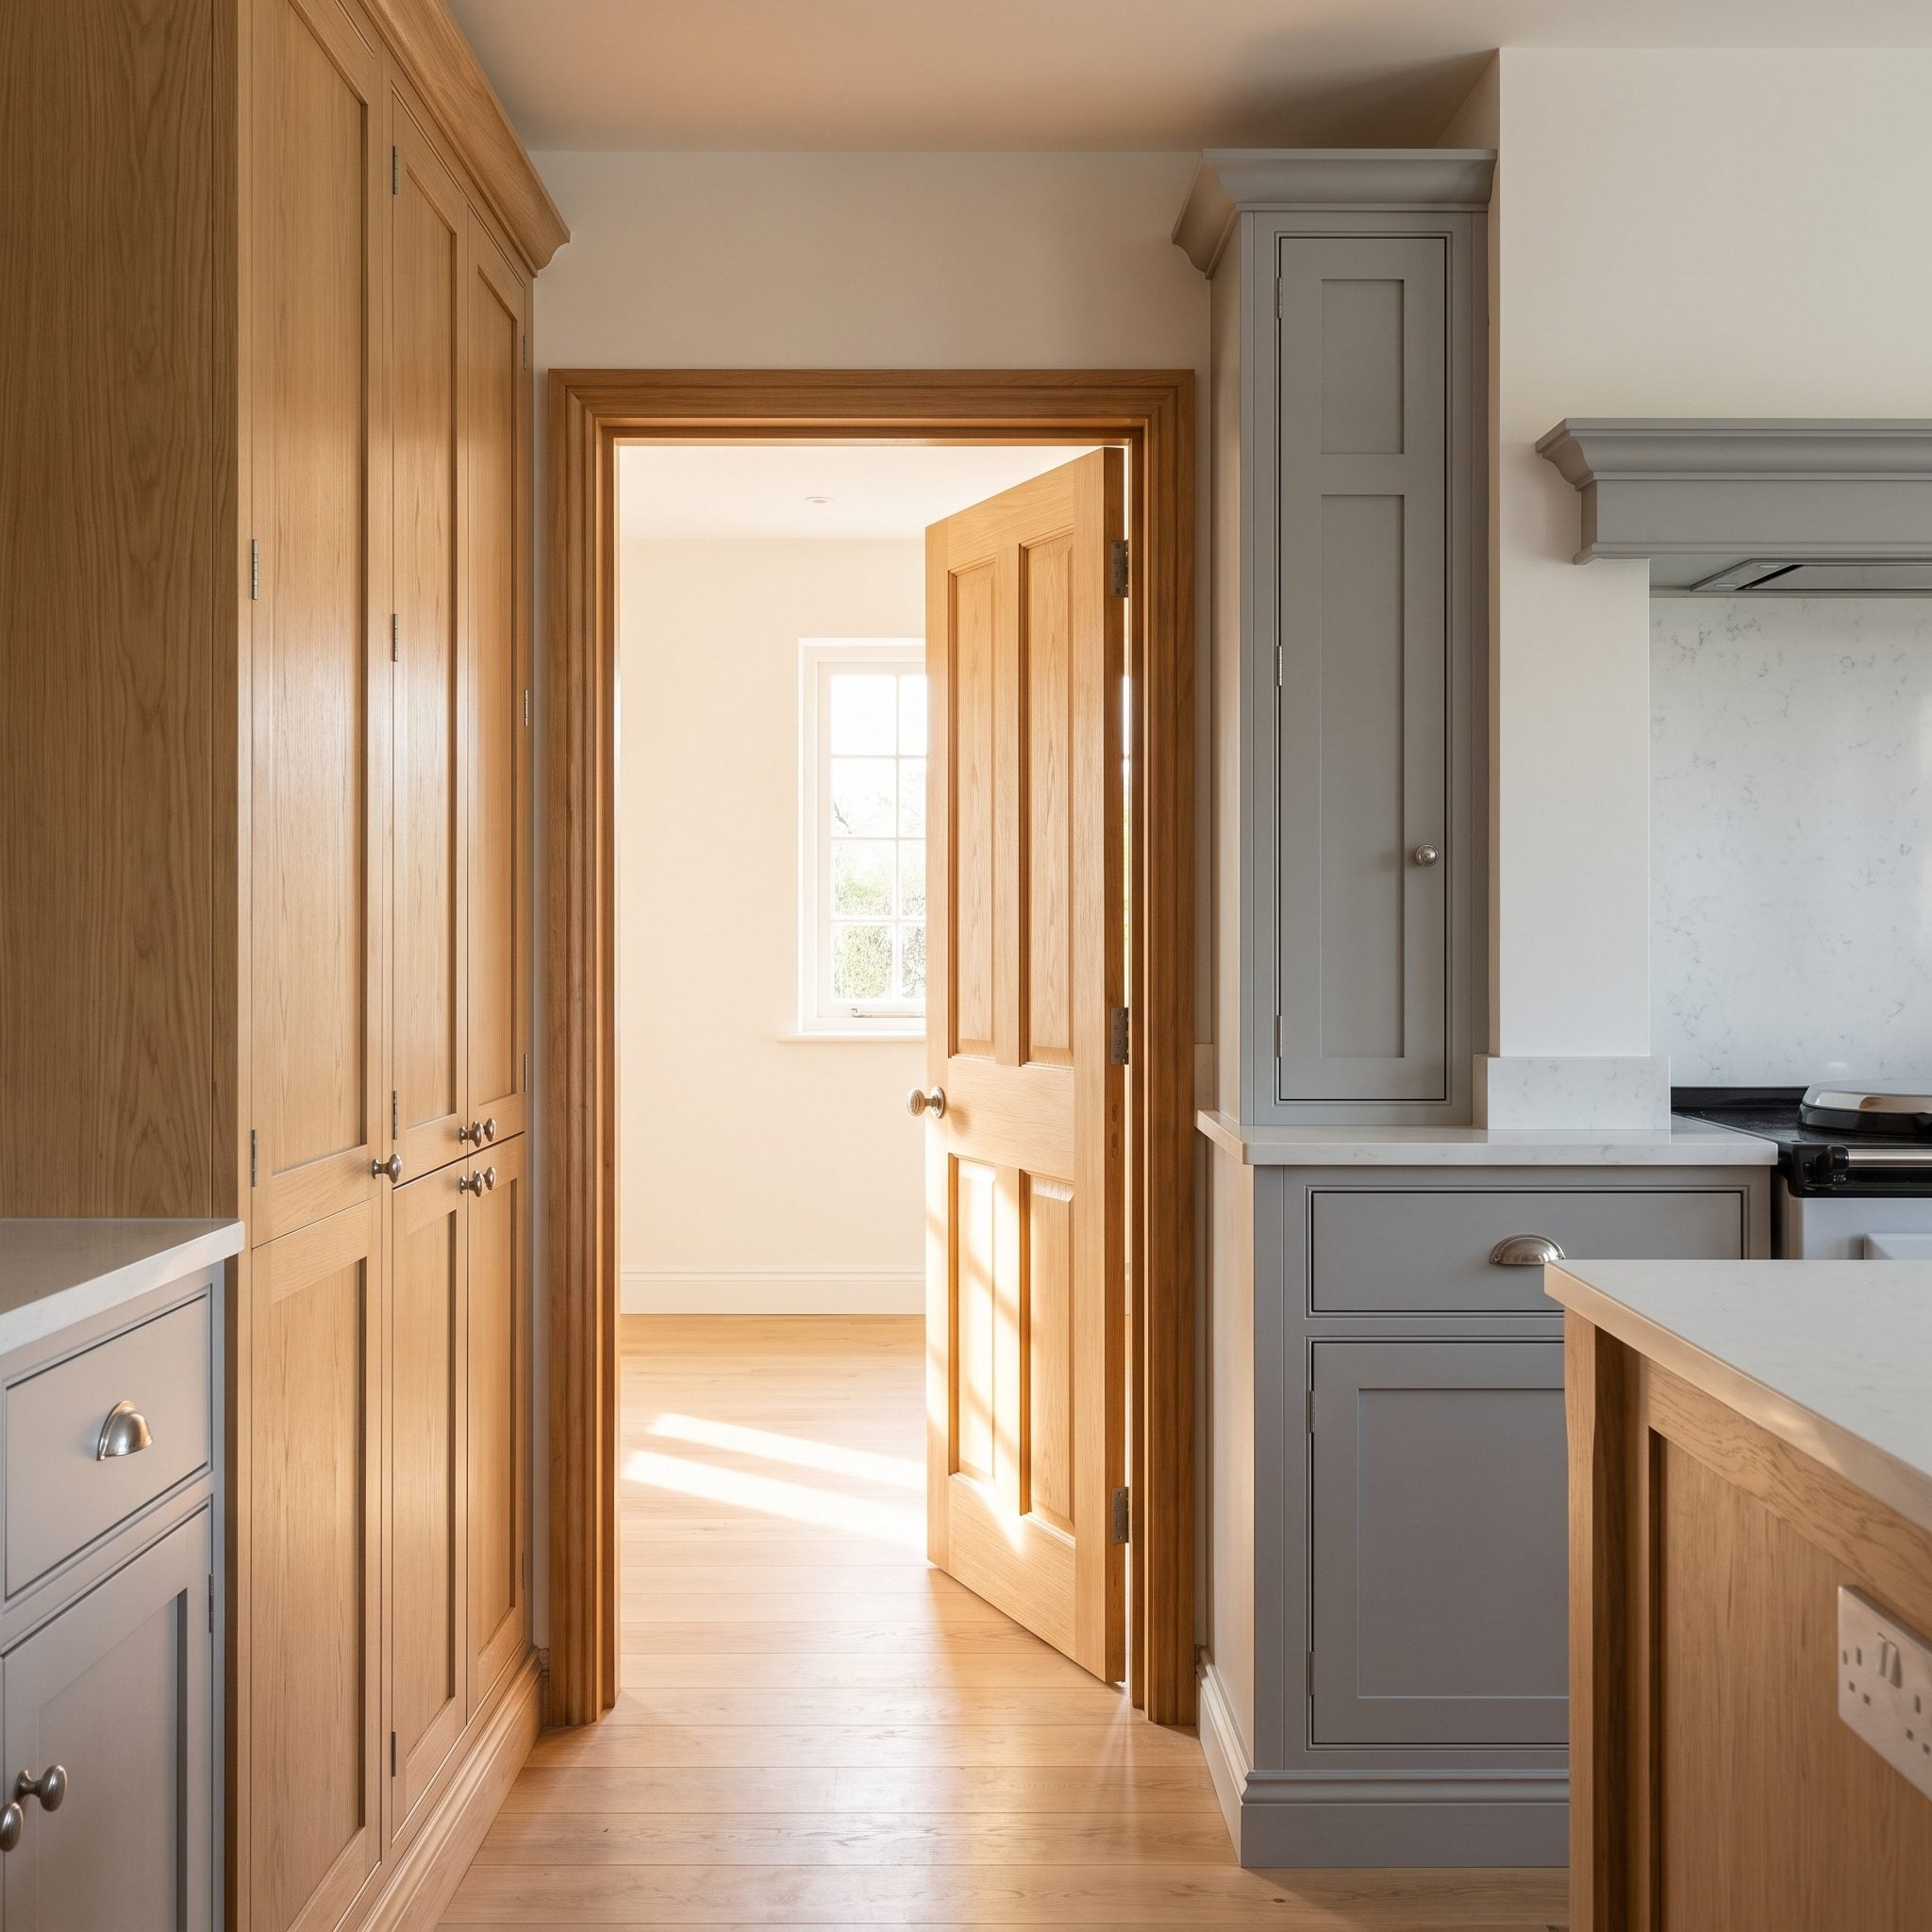
A narrow entrance can make an otherwise generous kitchen feel cramped. The right clearance depends on whether the space is a passageway or a working aisle; a work-aisle recommendation should not be applied automatically to every doorway.
Measure the opening and the usable route beside the island, including door swings and nearby appliances. Keep the entrance clear enough for the way the household uses it, and verify local accessibility or building requirements where they apply.
The Cooktop Was Added Without Enough Safe Counter Around It
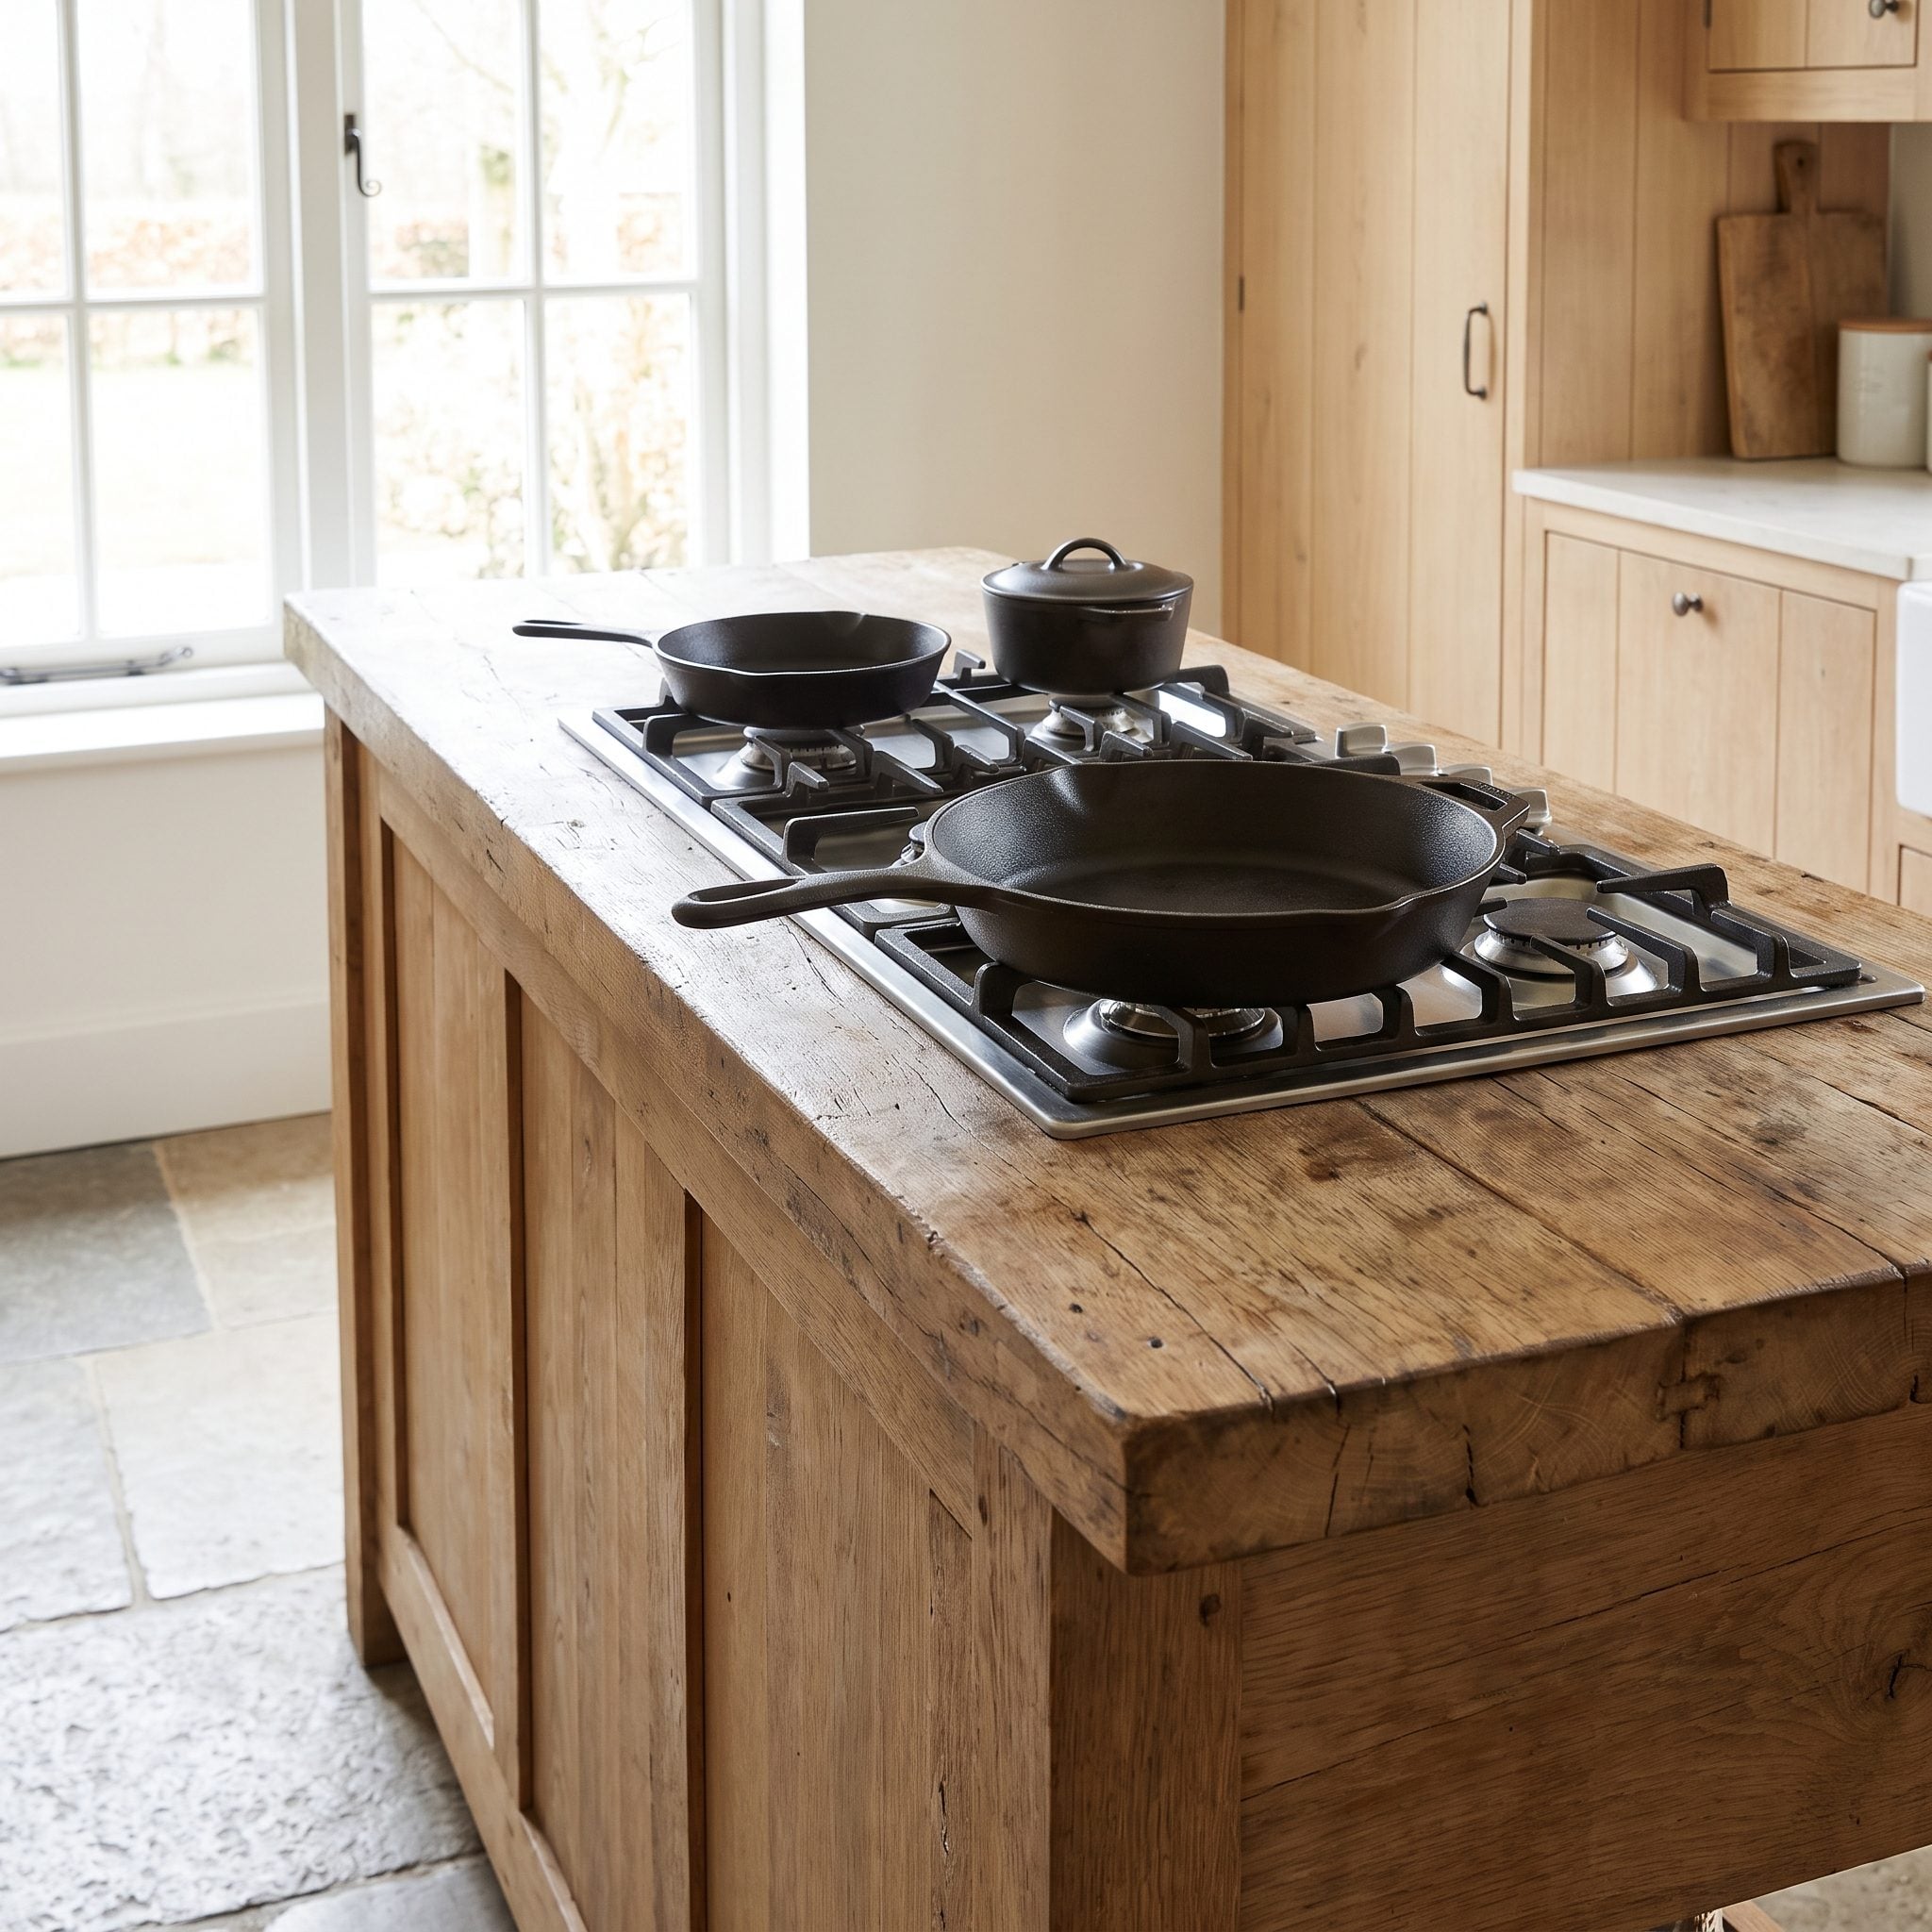
A cooktop needs clear counter space for ingredients and hot cookware, plus the clearances required by the appliance. NKBA planning guidance commonly recommends 12 inches of landing space on one side and 15 inches on the other; manufacturer instructions and local requirements take precedence for the specific model.
Keep pan handles and hot landing surfaces away from the island edge and seated areas. Compare the cooktop’s footprint, ventilation plan, and remaining prep surface before placing it in the island. More examples of kitchen design can help clarify which functions belong together.
Drawers on Opposite Sides Collided When Both Were Open
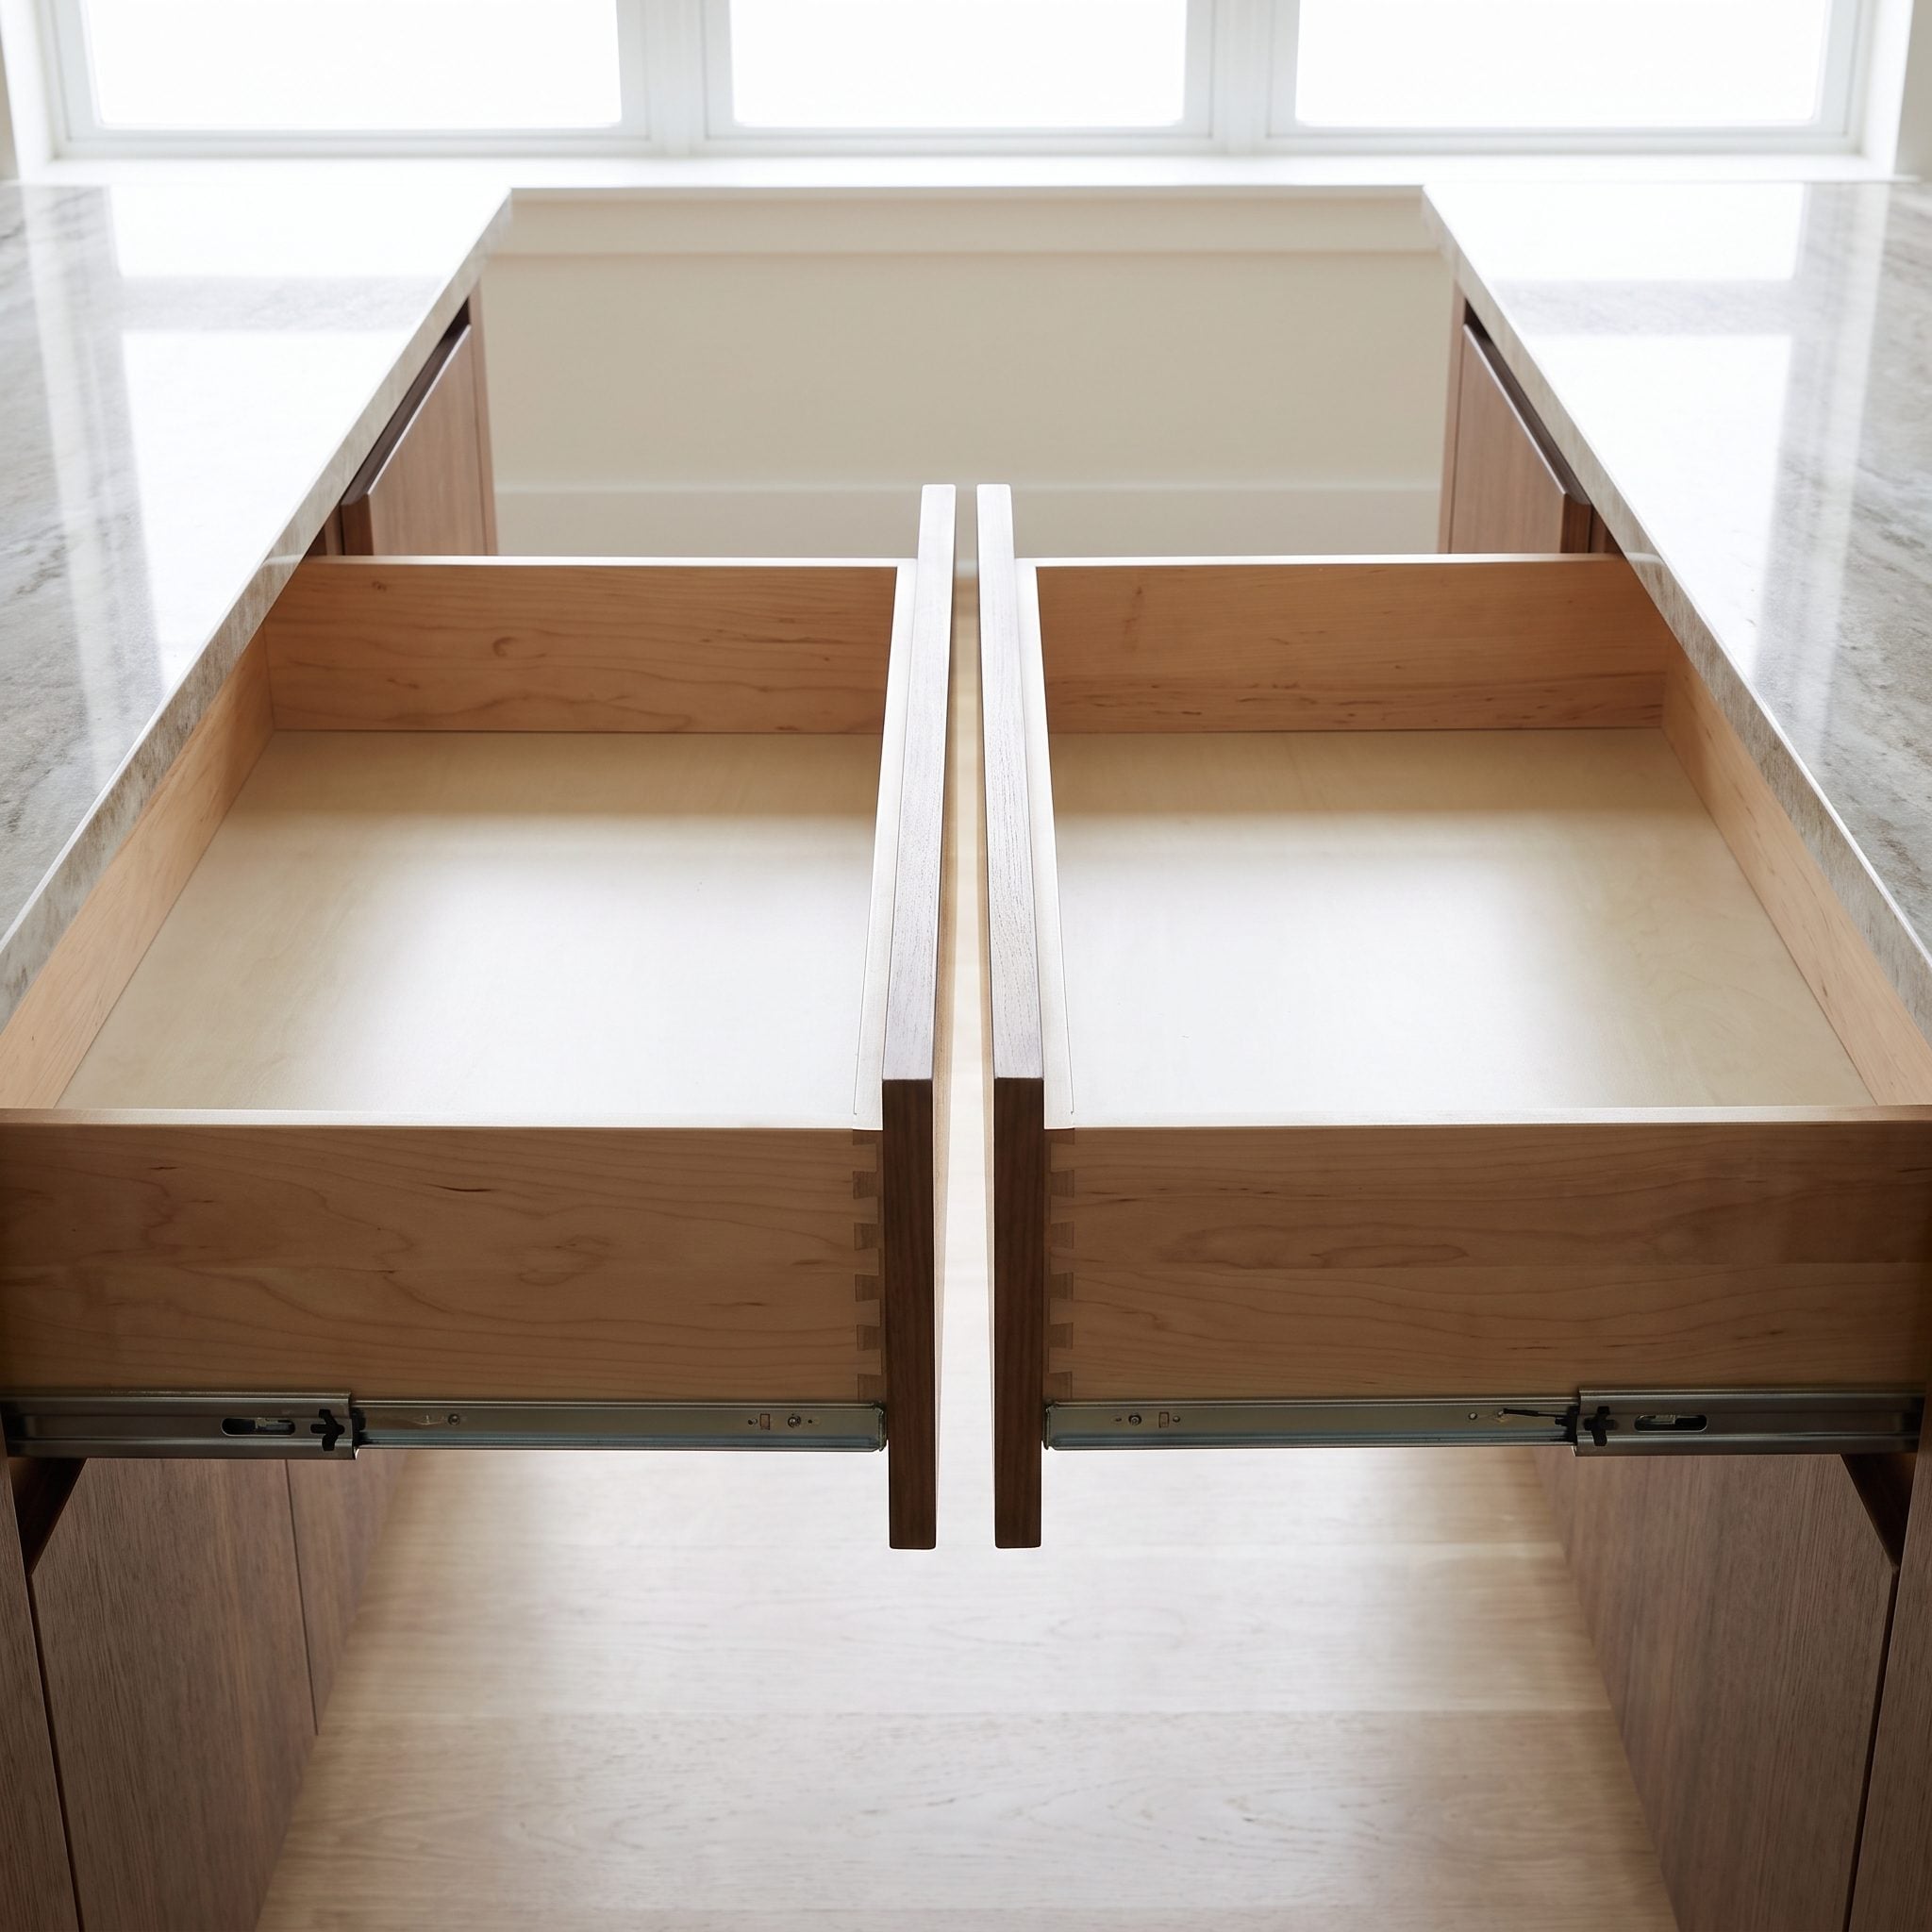
Drawers placed back-to-back need enough island depth for their boxes, hardware, and any central supports. If the cabinet layout is too shallow, opposing drawers can interfere inside the island even when their fronts open into separate rooms.
Have the cabinet plan show drawer-box depth and the island’s internal construction, not just the exterior dimensions. Staggering drawers or using shallower boxes may solve a clash, but the cabinetmaker should verify the fit before fabrication.
The Island Was So Long That Walking Around the End Became Annoying
🔥 Would you like to save this?
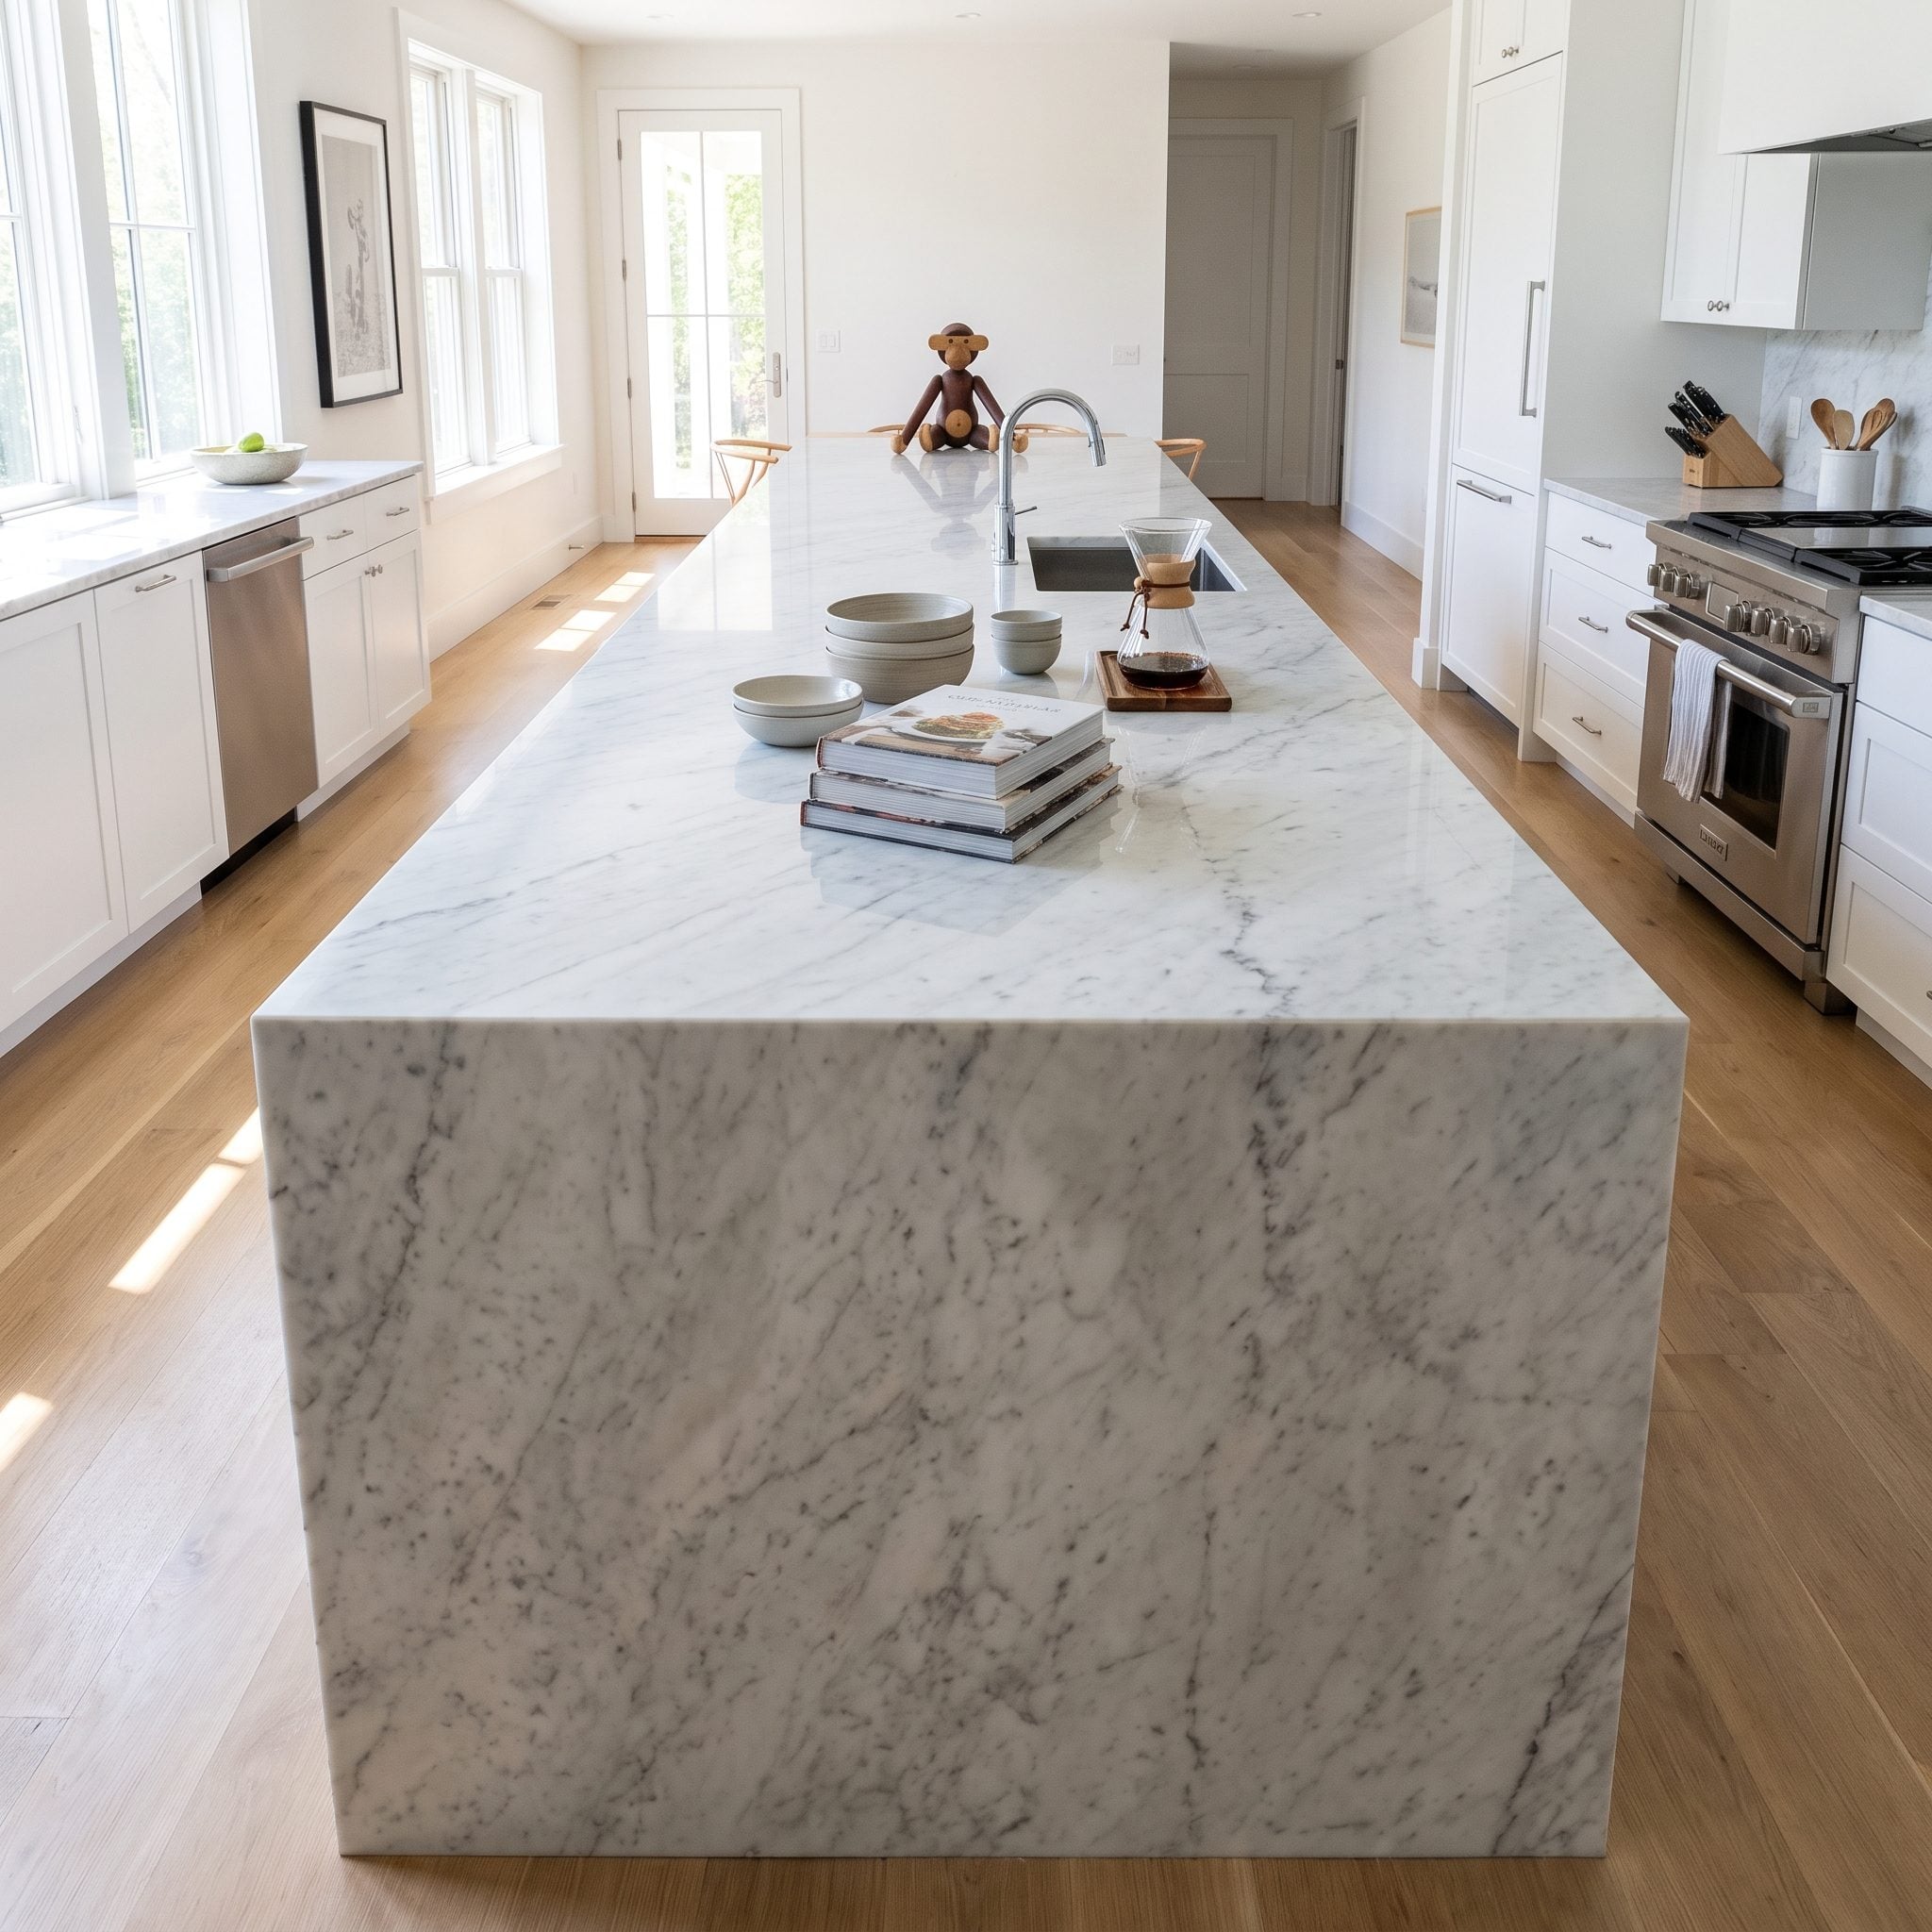
Length adds counter space, but it can also make the island a barrier between one side of the kitchen and the other. There is no universal eight-foot cutoff: the useful length depends on the room, the aisle widths, the island’s purpose, and how people move around its ends.
Check both end routes on the plan and at full scale. If the island interrupts circulation, shorten it, shift it, or consider separate work surfaces. For a range of finishes and footprints, browse these kitchen makeover ideas.
People Sitting at the Island Blocked the Main Walkway

Seating and circulation compete for the same floor area. When stools face a main passage, people walking behind seated diners need more room than an empty aisle suggests. NKBA guidance recommends 44 inches to walk behind a seated person; a smaller clearance may allow access to the counter without comfortable pass-through.
Place stools where they do not occupy the kitchen’s primary route. Measure from the island edge to the opposite obstruction with a person seated and the stool pulled out.
Electrical Outlets Were Considered Only After the Island Was Designed

Island power should be considered before cabinetry and stone are finalized, but outlet requirements vary by jurisdiction and code edition. The 2024 International Residential Code no longer requires a receptacle outlet on a kitchen island, and it restricts below-counter outlet placement where that code applies. Confirm the rules adopted locally with a licensed electrician.
If an outlet is planned, decide how it will serve appliances without disrupting the counter or creating a cord across a work area. Check the permitted location before choosing an end panel, countertop device, or other solution.
The Island Blocked a Pantry or Cabinet Door
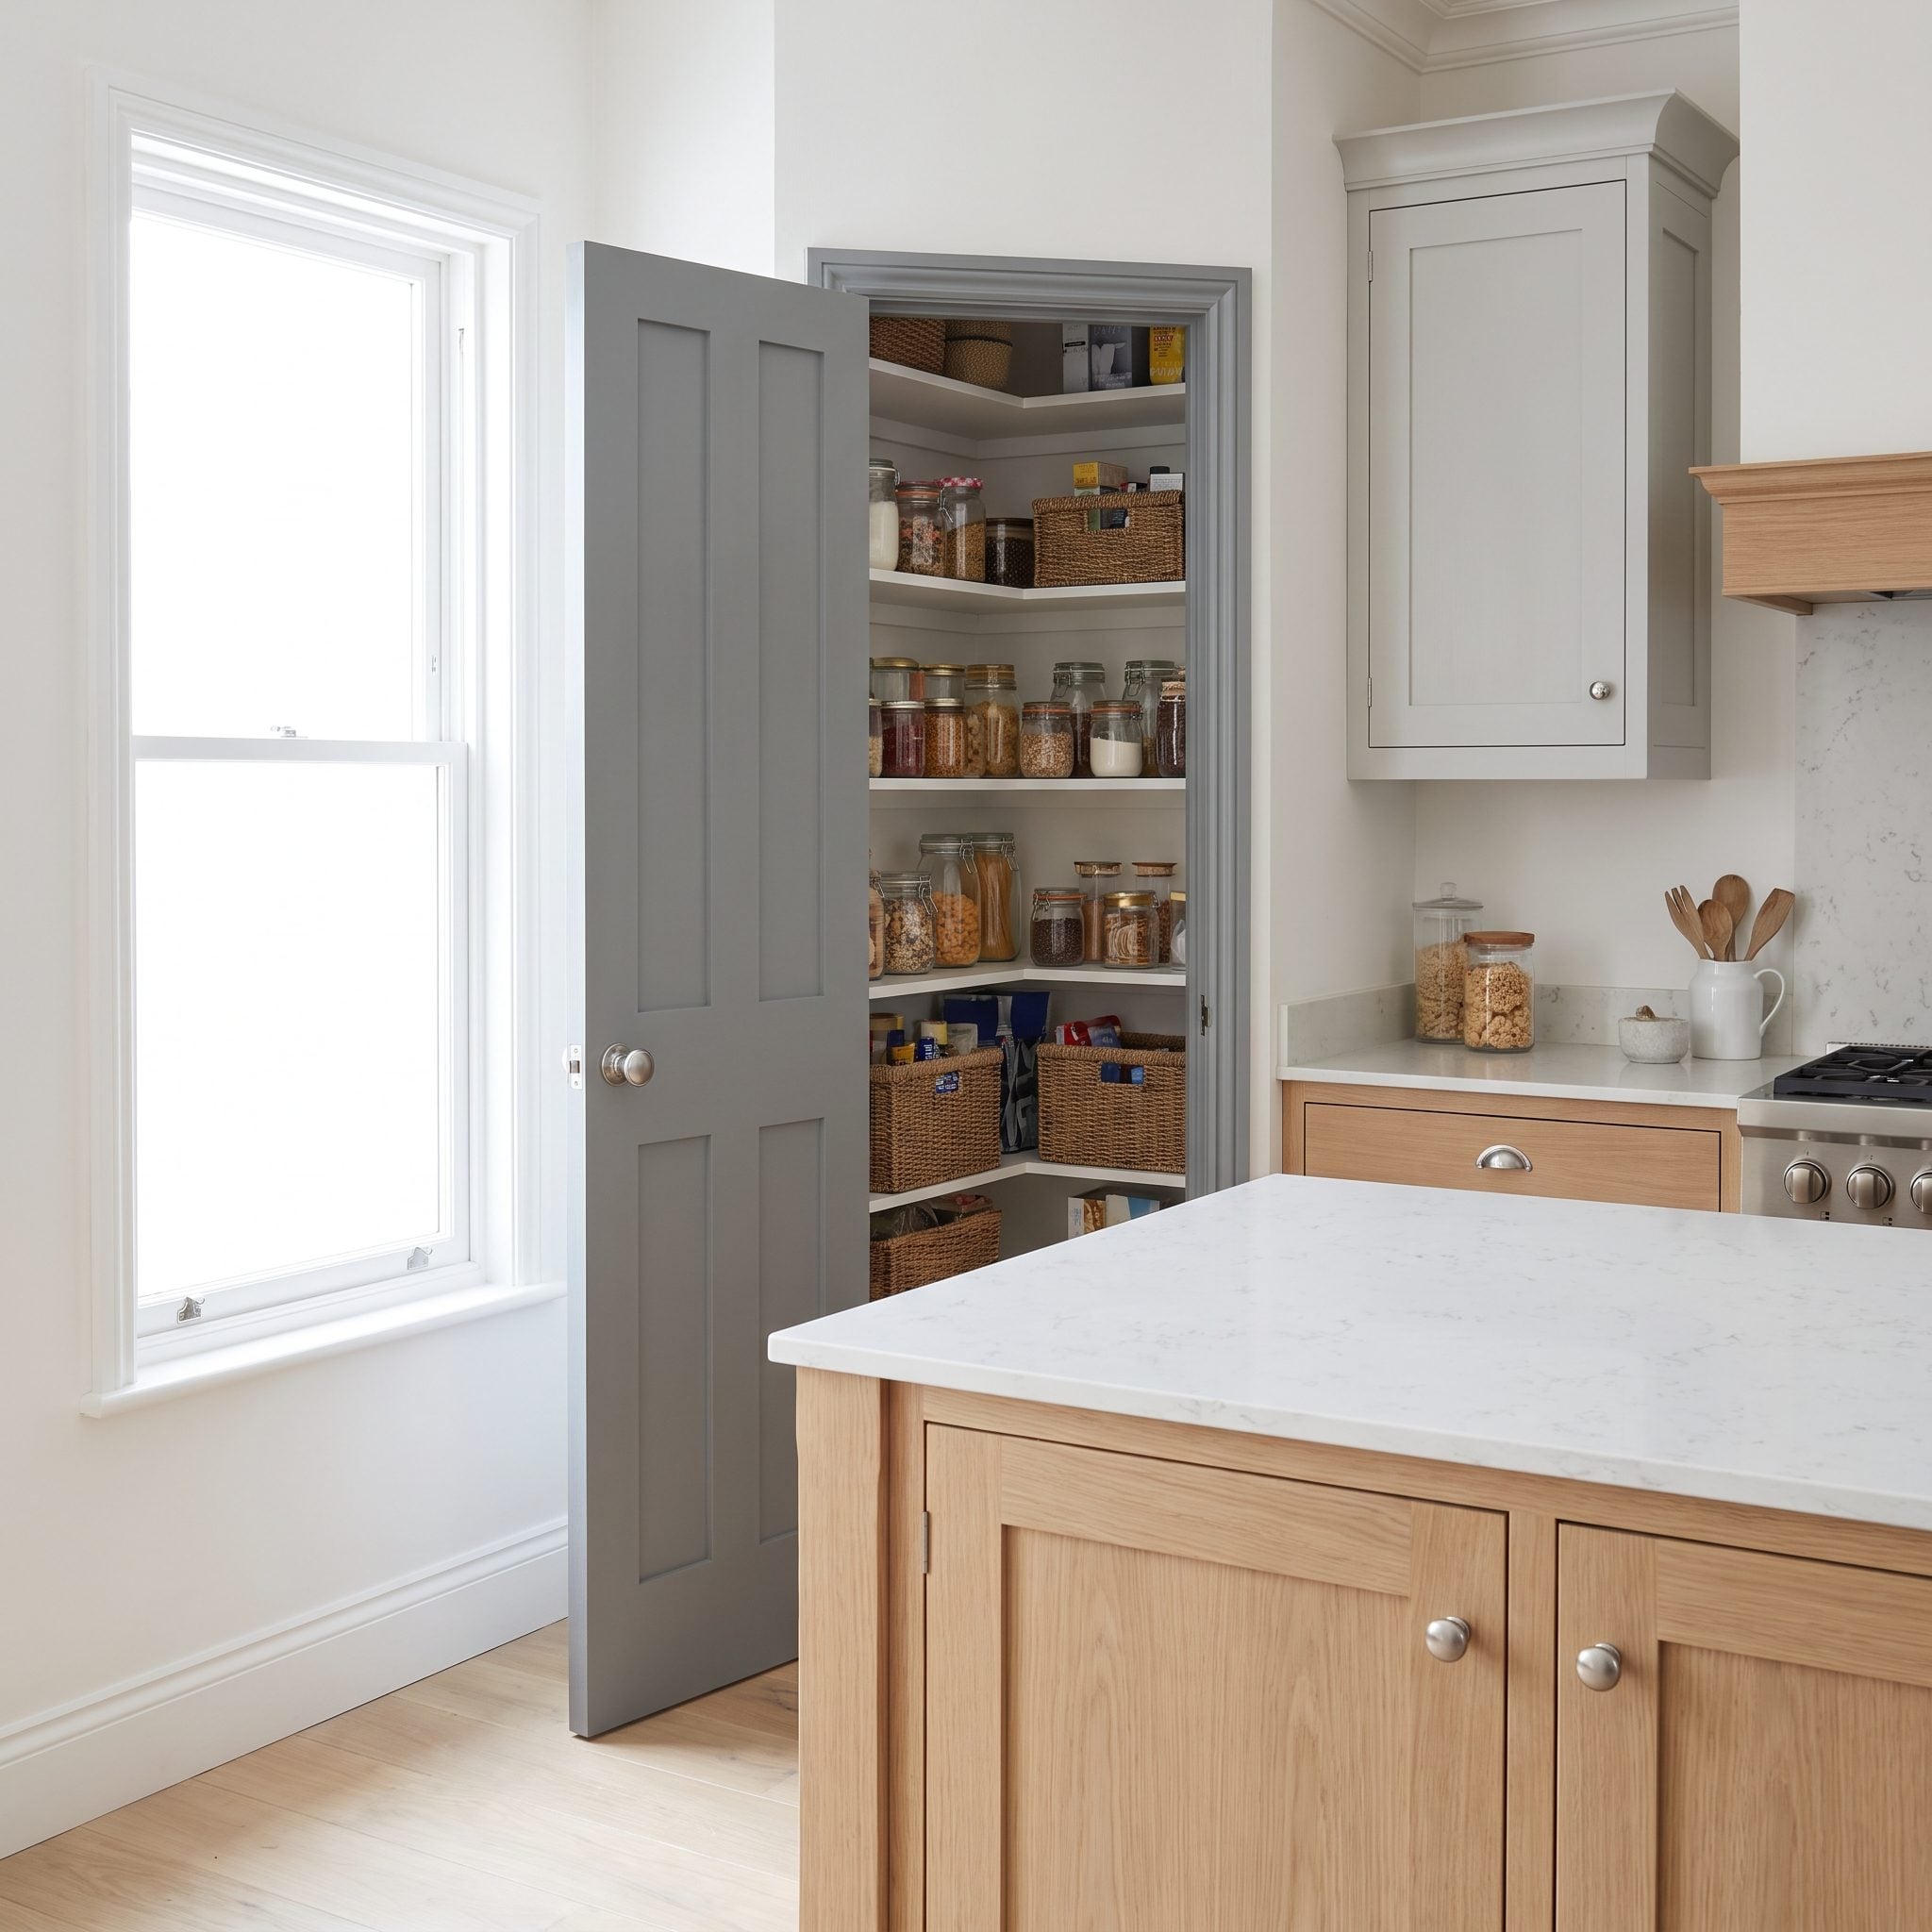
An island can interfere with a pantry, cabinet, or appliance door even when the closed aisle looks wide enough. The door needs its full swing, and someone needs room to stand in front of the shelves or drawers.
Mark the door arc and standing area on the plan. Check the pantry with its door open and drawers extended, then adjust the island or door configuration if access is restricted.
The Island Turned the Main Family Traffic Route Into the Cooking Zone
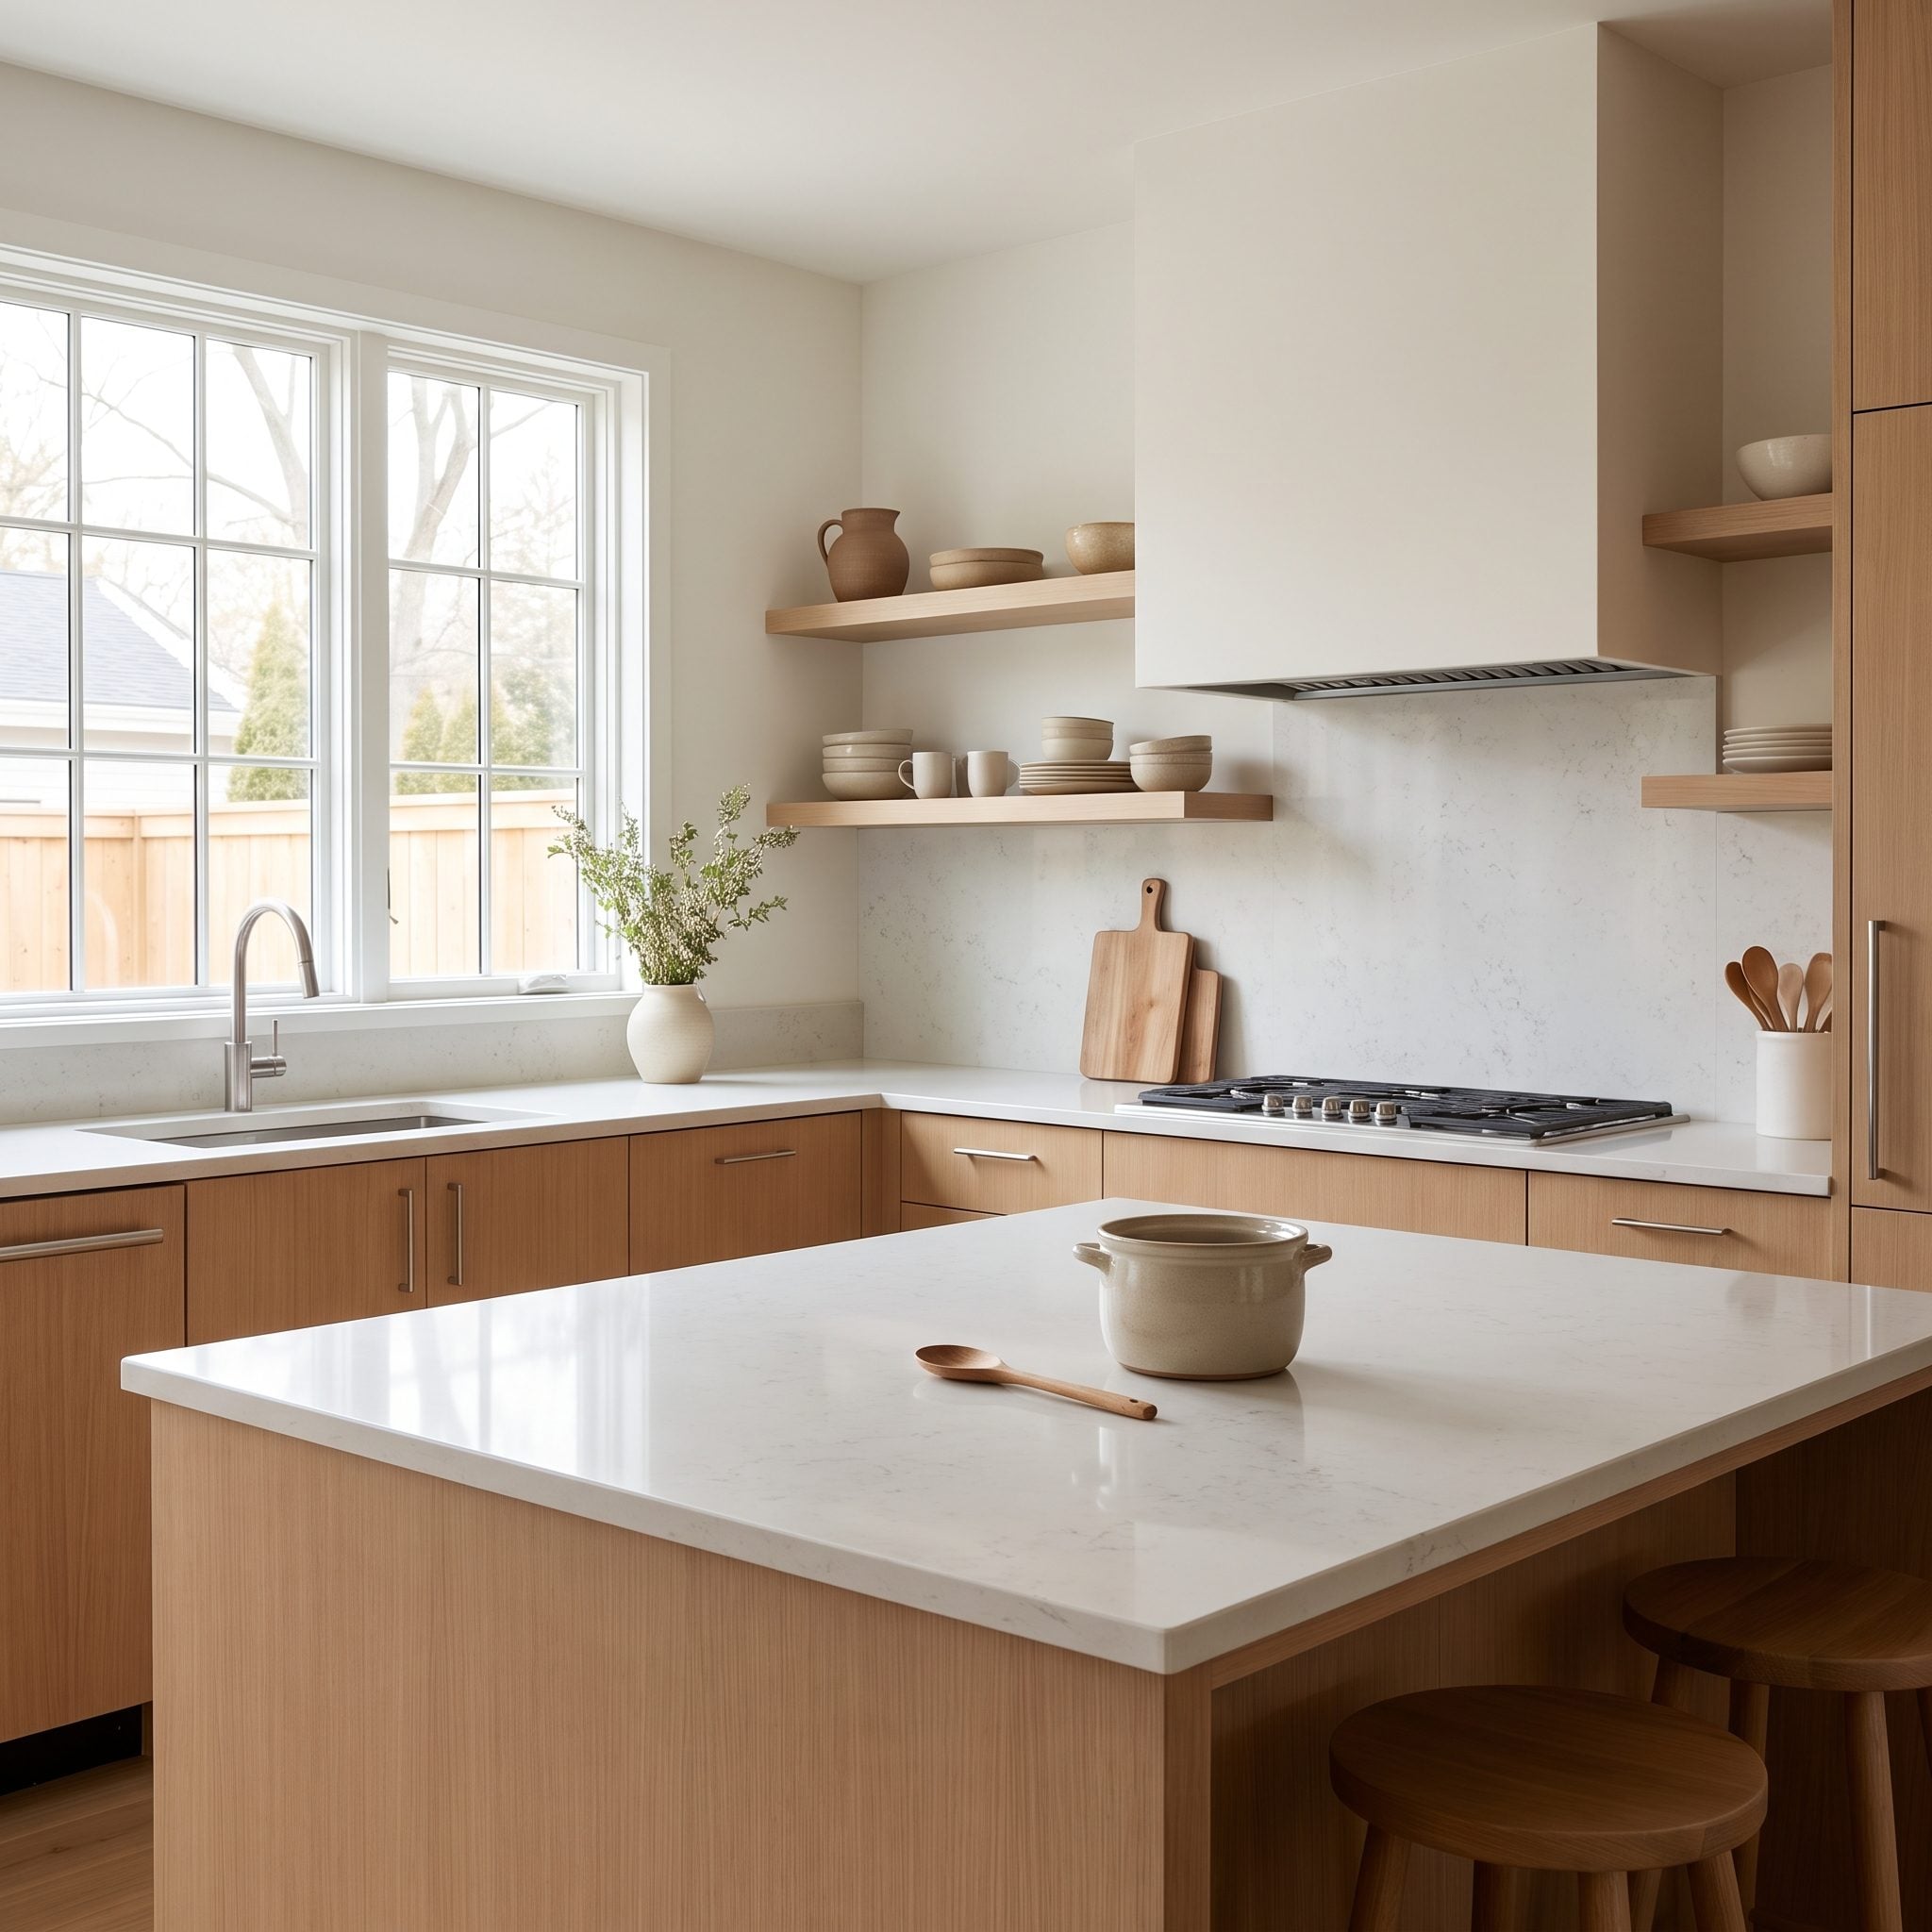
An island should not force the main route between rooms through the hottest or busiest part of the kitchen. When a through-path crosses the range, oven, or primary prep surface, ordinary movement can interfere with cooking and increase the chance of a collision.
Trace the route from each doorway to the rooms beyond. If it cuts through the work zone, shift the island, relocate a work area, or preserve a clearer path around the perimeter.
The Bigger Island Stole the Space Needed for Comfortable Aisles
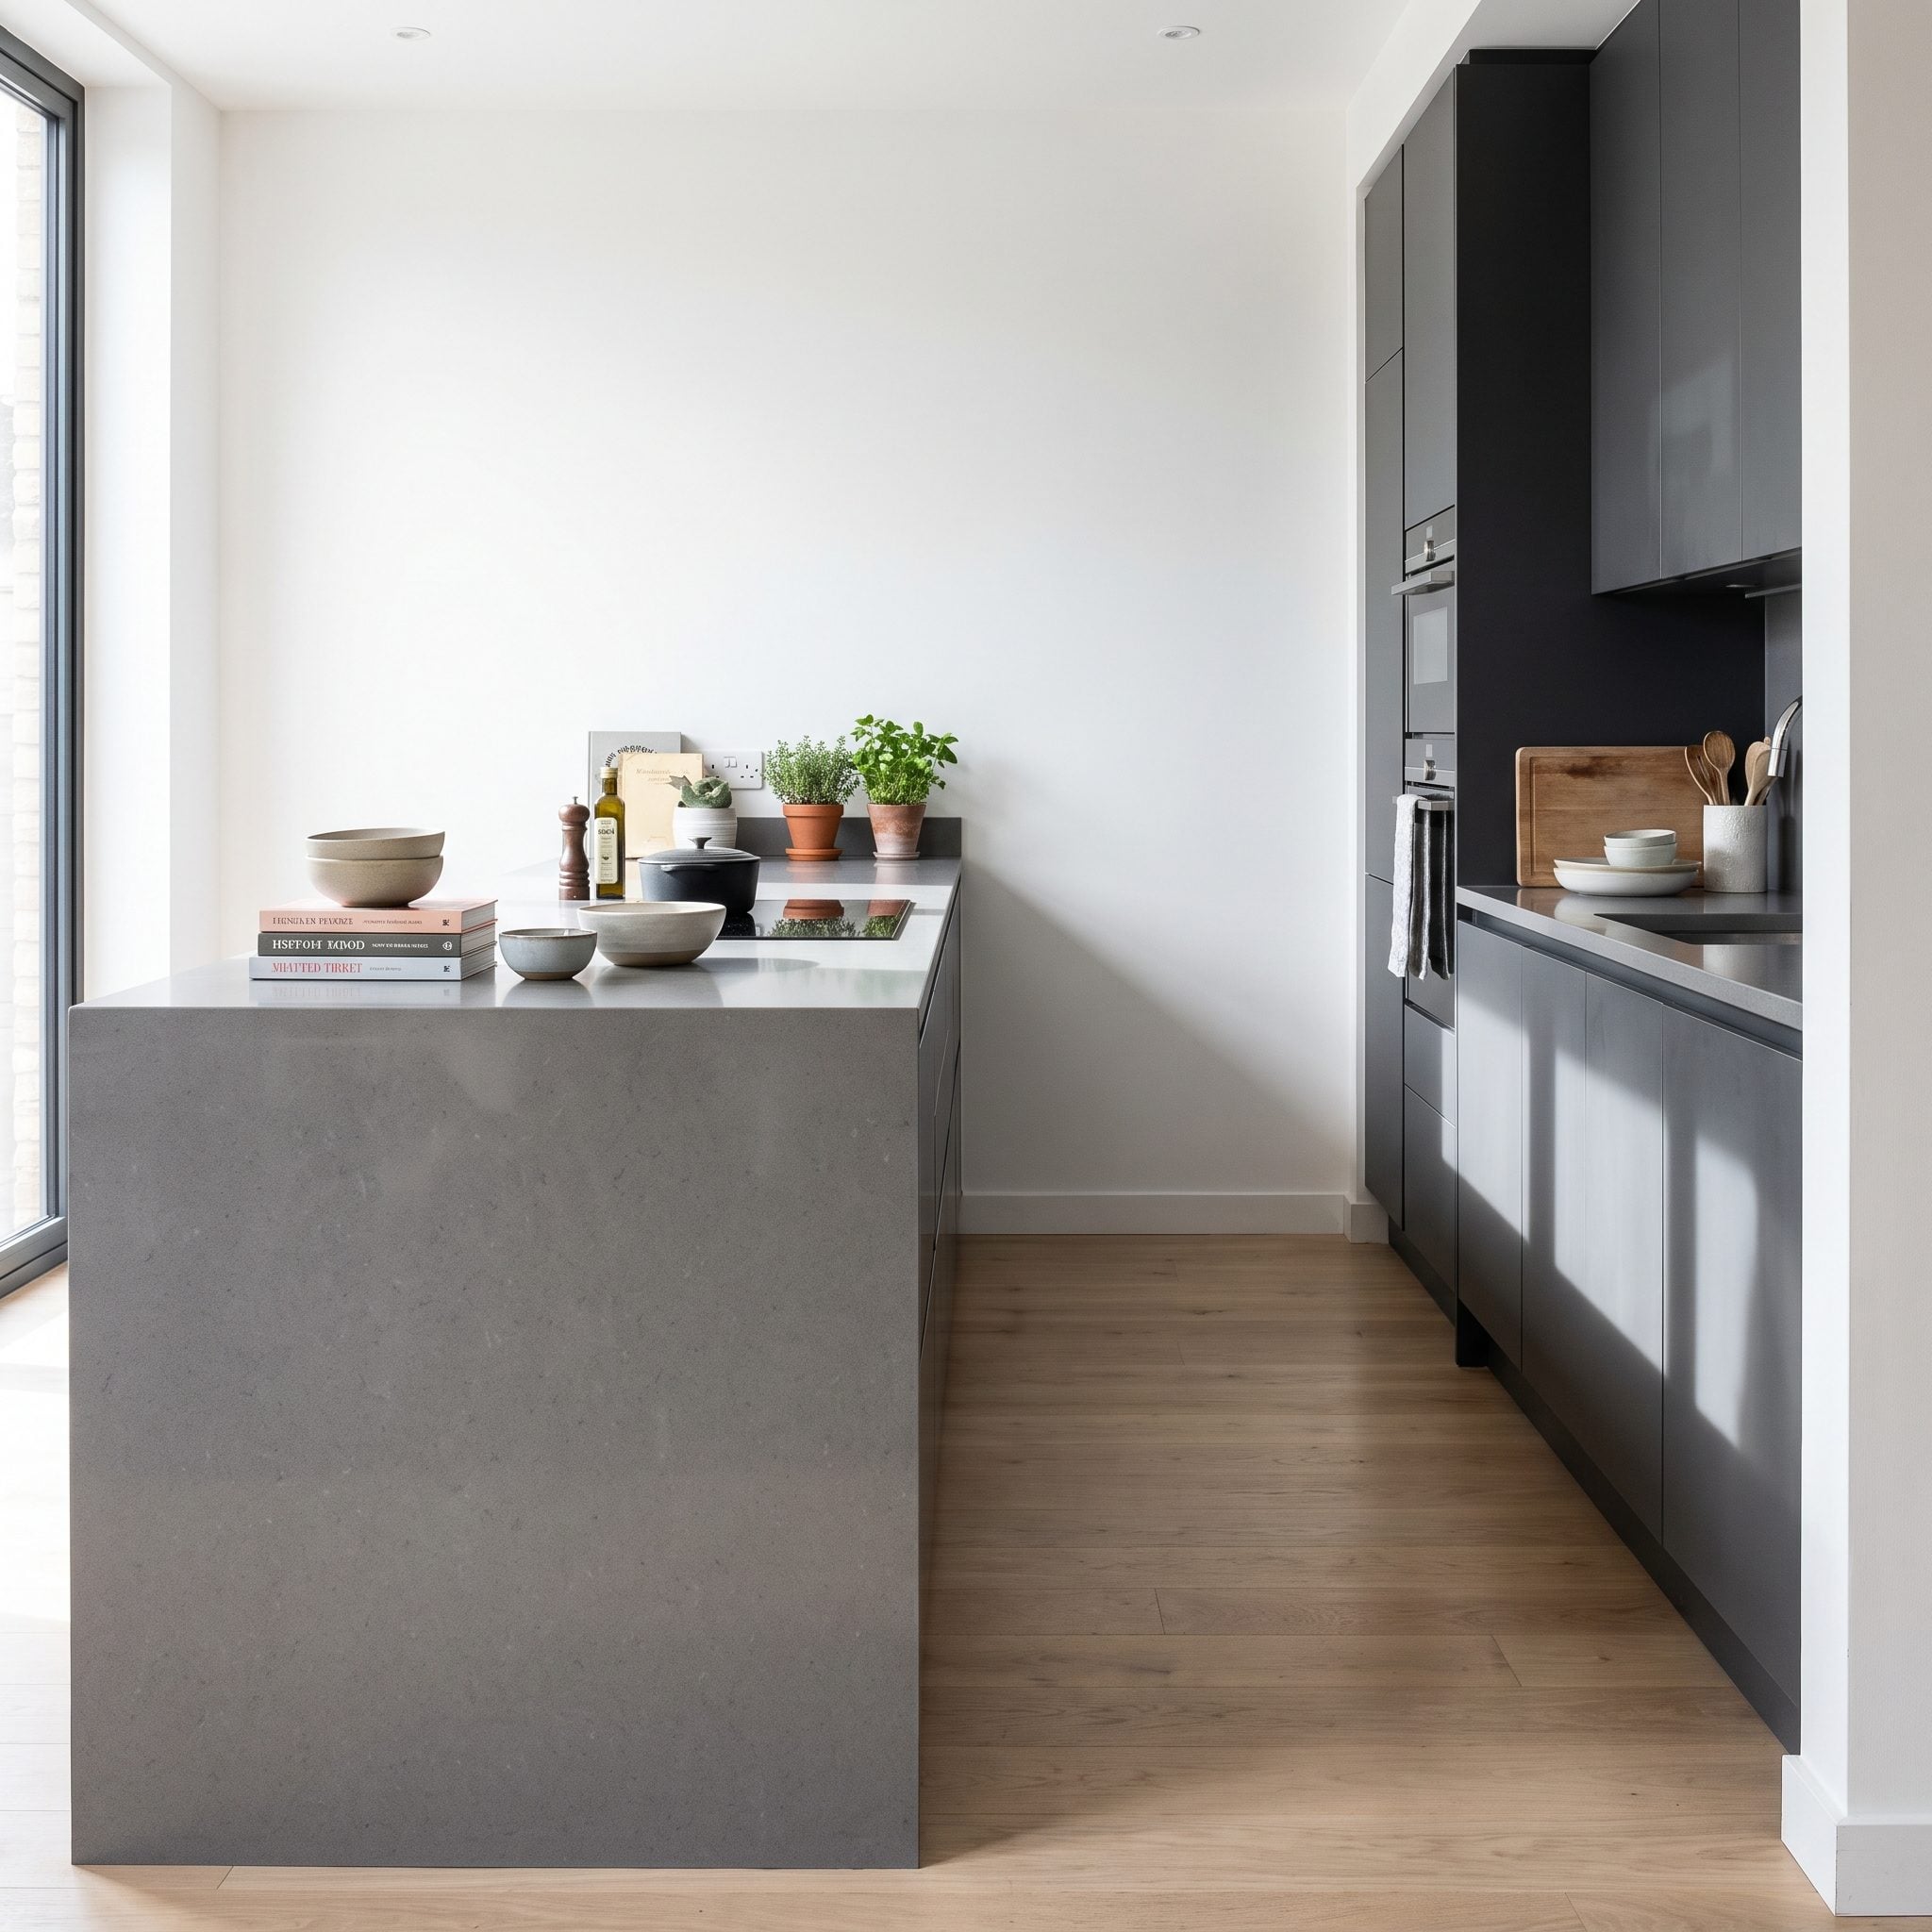
An island should be sized to the room that contains it. If its footprint forces the surrounding work aisles below a comfortable width, extra counter space may cost more in circulation than it provides in utility. NKBA’s common planning targets are 42 inches for a one-cook work aisle and 48 inches for an aisle used by multiple cooks.
Measure between finished counter edges and account for handles, appliance doors, and the work the aisle must support. The navy palette in these kitchen examples is one way to give cabinetry presence without making the island itself oversized.
The Island Tried to Hold the Sink, Cooktop, Seating, Storage, and Trash All at Once
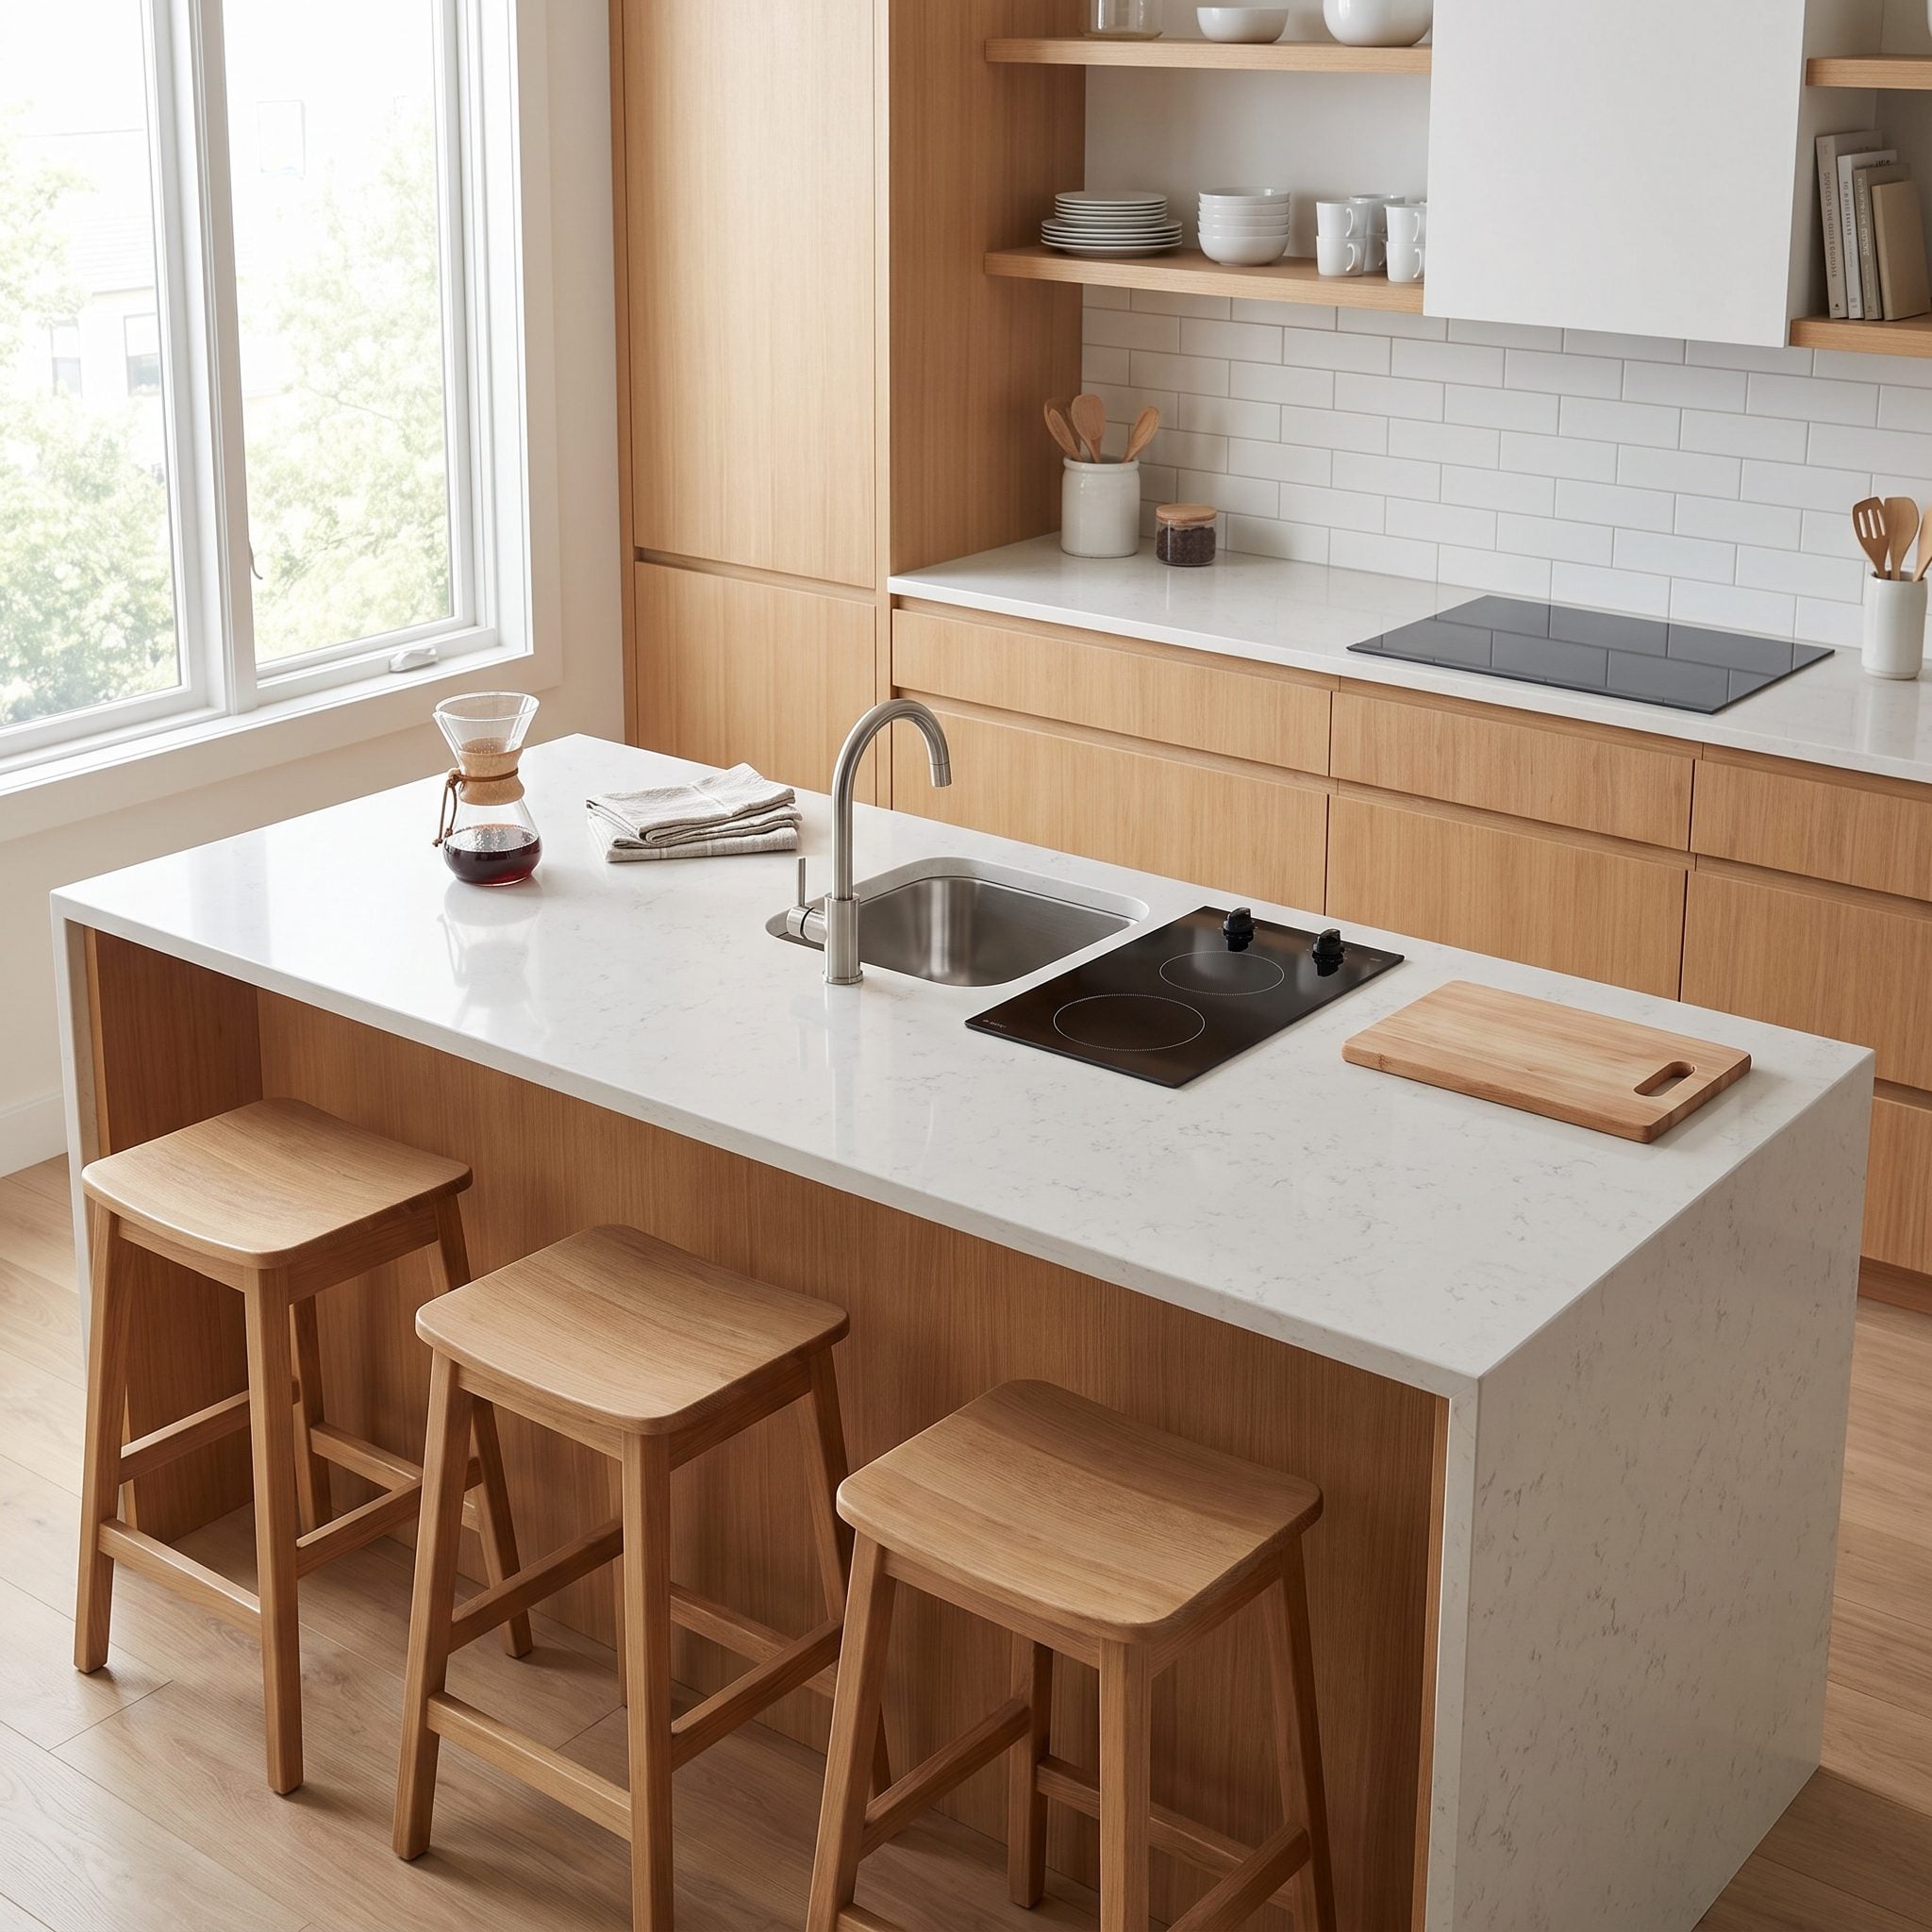
Each function takes space: the sink needs landing areas, the cooktop needs clearances, seating needs knee room, and storage needs accessible doors or drawers. Putting every feature on one island can leave little continuous counter for actual preparation.
Choose the island’s primary job first. Add a second function only when the remaining surface, clearances, and traffic paths still work. A focused layout often serves more purposes in practice than a crowded one.
The Island Had Seating, but No Usable Work Surface for a Seated Cook
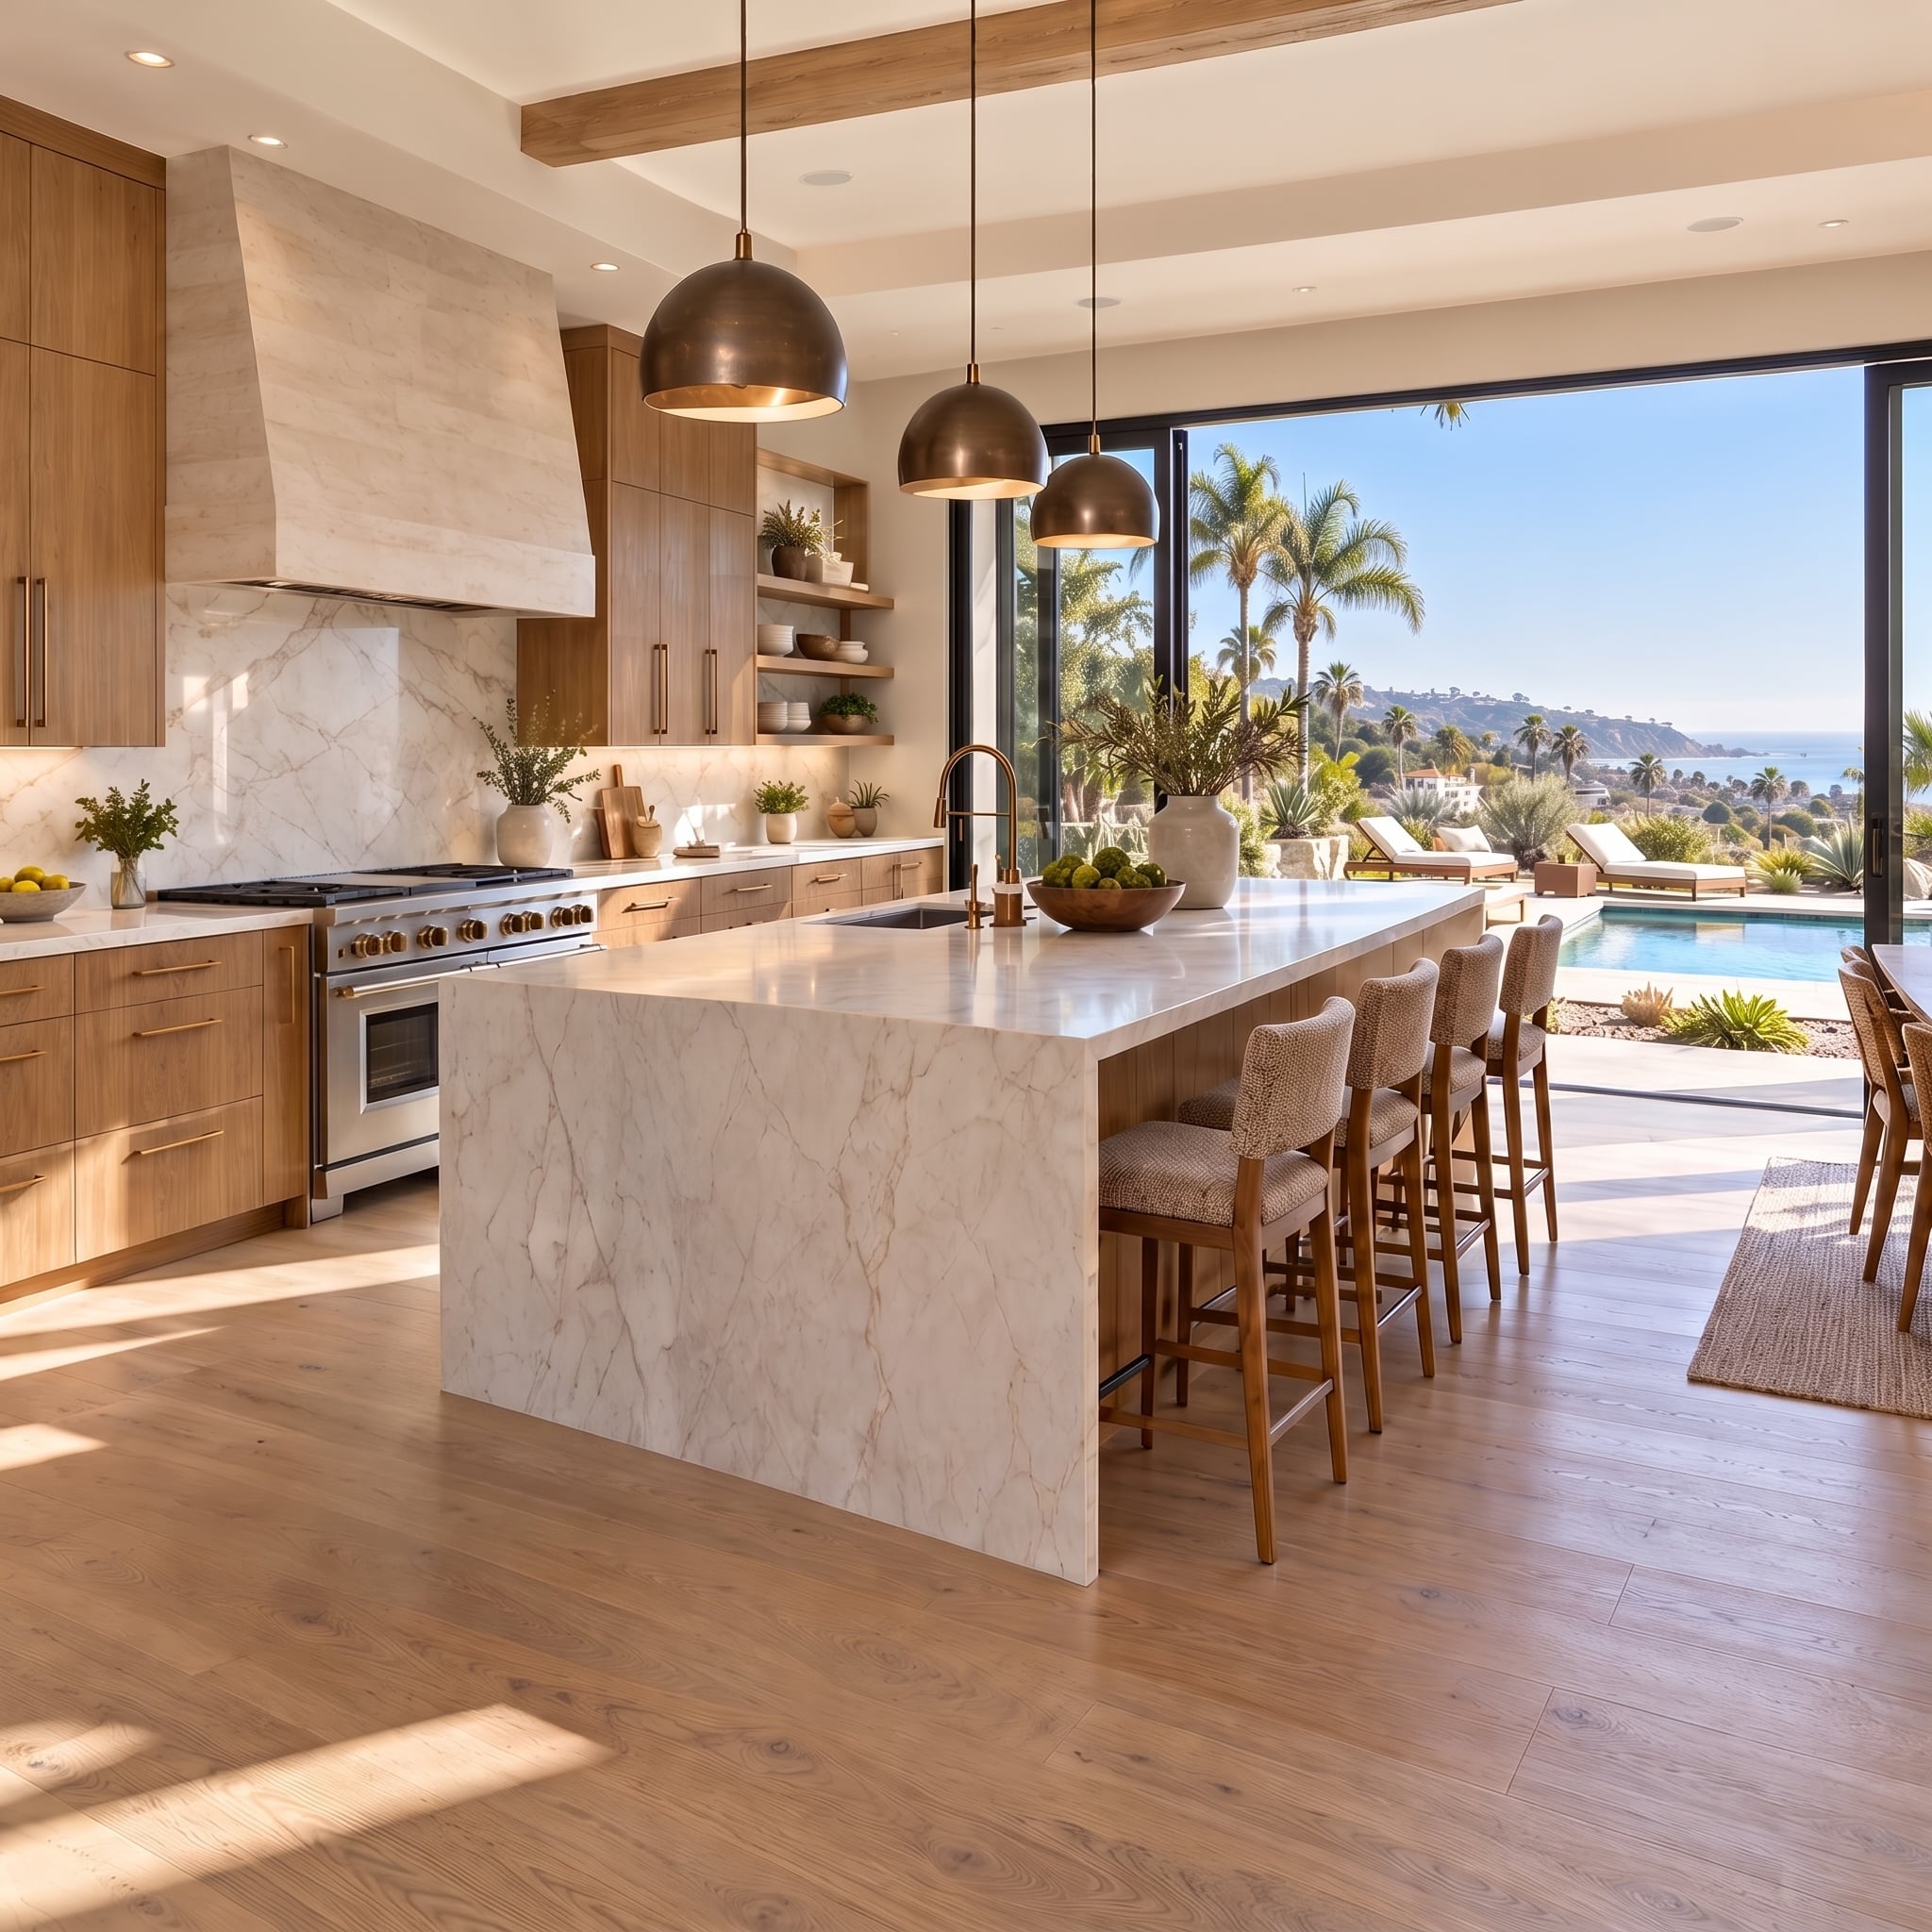
A more adaptable island considers the approach, knee clearance, counter height, reach, and storage together. A clear route and a work section at an appropriate height can make the island useful to more people without sacrificing its visual presence.
Nobody Taped Out the Island at Full Size Before Signing the Order
🔥 Would you like to save this?
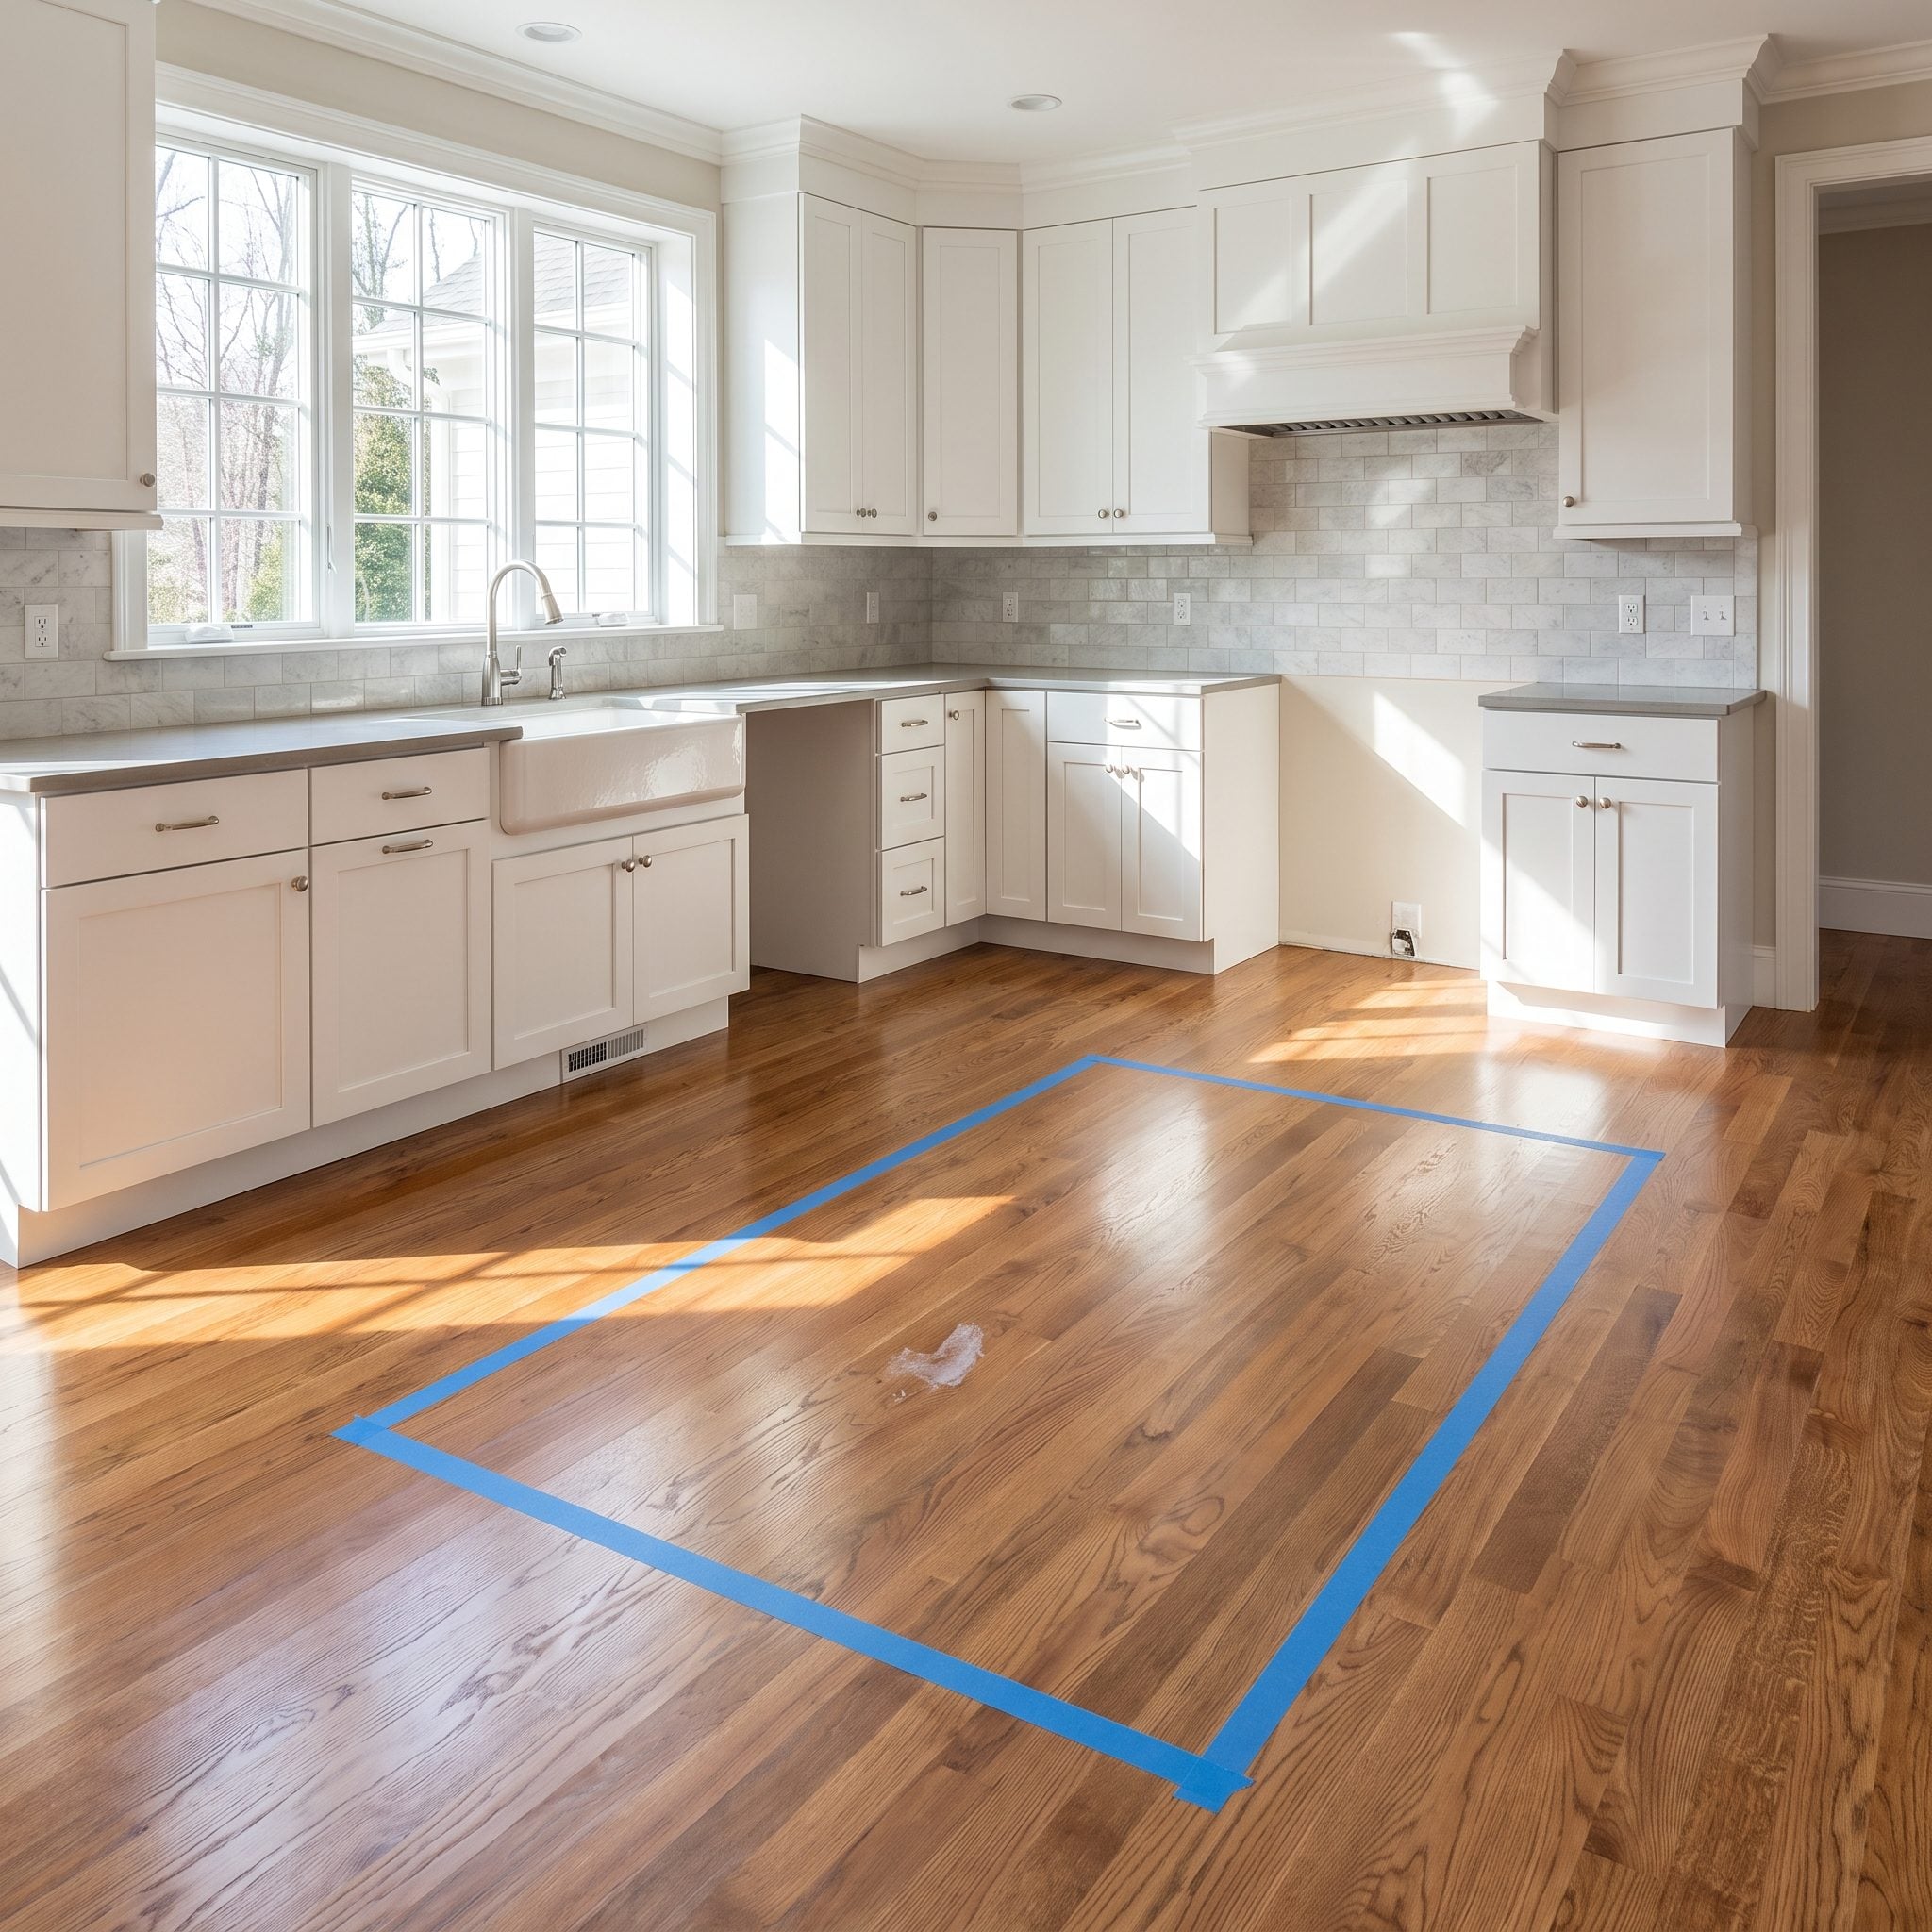
A floor plan makes an island’s footprint look abstractly neat. A full-size outline makes its scale, corners, and clearances easier to judge. Tape the proposed perimeter on the floor, then mark stools, cabinet fronts, and appliance doors at their open positions.
Test the routes with the doors and drawers extended and check whether the island leaves enough room for the tasks it is meant to support. Adjust the outline before the order is final; changing a taped footprint is simpler than changing installed cabinetry.