🔥 Would you like to save this?
The water always gets a vote. A walk-in shower can look immaculate on day one — stone lined up, glass floating, brass polished — while one badly planned seam, drain connection, slope, or penetration waits behind the tile for its moment.
That is why the expensive decisions are not always the important ones. Before you fall in love with a slab, a rain head, or a curbless opening, look at the parts that decide whether the shower drains, stays dry where it should, and still makes sense ten years from now. These 29 mistakes range from hidden waterproofing failures to maddening everyday annoyances, and several are easiest to prevent before the walls ever close.
In order to come up with the very specific design ideas, we create most designs with the assistance of state-of-the-art AI interior design software. Also, assume links that take you off the site are affiliate links such as links to Amazon. this means we may earn a commission if you buy something.
29. Waterproofing the Walls but Neglecting the Shower Pan

The floor is where every shower eventually reports for duty. Water hits the walls, runs down the tile, collects underfoot, and heads for the drain. Treat the pan as a separate afterthought and you create a vulnerable seam exactly where the wettest surfaces meet.
The pan and walls need to function as one continuous waterproof assembly, with the floor membrane or approved pan system tied into the wall waterproofing and drain exactly as that system requires. The tile can be gorgeous. The envelope underneath has to be boringly complete.
28. Putting the Controls Where You Get Soaked Turning the Shower On

This mistake does not rot a stud. It just annoys you every morning for the life of the bathroom. Put the valve directly under the showerhead and turning on the water becomes a small negotiation with a cold blast.
Locate the controls where they can be reached from the entry without stepping into the spray, while still meeting the fixture manufacturer’s installation requirements. It sounds obvious on paper. On framing day, plumbing routes have a remarkable ability to become the plan unless somebody stops them.
27. Getting the Shower-Floor Slope Wrong

Too little pitch and water lingers. Too much and the floor starts feeling like a ramp. A common target — and a requirement in many codes — is about a quarter inch of fall per foot toward the drain, but the exact assembly still has to follow local code and the waterproofing system being used.
What matters visually is consistency. Corners, perimeter edges, and the area around a brass shower drain all need positive drainage instead of little reverse pitches that trap water where the grout meets the wall.
26. Ordering the Glass Before the Finished Tile Is Installed

Custom glass is measured against finished reality, not optimistic framing dimensions. Tile thickness, mortar, wall irregularities, curb caps, and out-of-plumb surfaces all change the opening by just enough to matter when a glass panel is being fabricated to fit.
Finish the tile, let the installer measure the actual opening, then order the glass. A few days of patience is easier to absorb than a panel that arrives beautifully polished and stubbornly the wrong size.
25. Mixing Waterproofing Components That Weren’t Approved to Work Together

Foam pan from one line, sheet membrane from another, drain from somewhere else, seam treatment from whatever was left in the truck: every piece can look perfectly respectable on its own while the connections between them become one big question mark.
Some mixed products are approved and compatible. Others are not. The safe move is to use a tested system or verify in writing that the specific combination is accepted by the manufacturers and does not compromise the installation requirements or warranty.
24. Making the Shower Too Small to Feel Like a Walk-In

A walk-in shower should survive normal human movement: turning around, washing your hair, bending for a bottle, raising an elbow without introducing it to a wall.
Shrink the footprint too aggressively and the expensive glass-and-stone idea starts behaving like a phone booth. Room dimensions, entry width, fixture projections, and the amount of open space all matter more than the label on the plan. The same spatial ease that makes a neutral walk-in closet feel calm applies here too: circulation needs actual room, not merely the suggestion of it.
23. Failing to Integrate the Waterproofing Properly With the Drain

The drain is the intentional hole in an otherwise waterproof floor. That makes the transition around it one of the places where assembly details matter most.
Surface-applied systems commonly use bonding-flange drains that connect directly to the membrane; traditional liner systems use clamping drains and a different sequence. Neither approach forgives improvisation. The drain and waterproofing need to be installed as a compatible assembly so water reaches the pipe instead of the floor structure beside it.
22. Putting a Shower Niche Where Plumbing or Framing Makes It Problematic

That perfect rectangle in the tile elevation still has to exist inside a real wall. Pipes, wiring, structural framing, insulation, and exterior-wall requirements can all occupy the exact cavity where the shampoo was supposed to live.
The easiest niche location is usually one with clear stud space and no mechanical or structural conflict. Find it during framing, then size and block the opening deliberately. Discovering a drain stack behind the dream niche after the tile layout is settled is how elegant elevations become emergency compromises.
21. Going Curbless Without Planning the Floor Structure First

Curbless looks effortless because the hard work has been buried. The bathroom floor meets the shower without a step, yet the wet area still needs enough pitch to drain. That elevation difference has to come from somewhere.
Depending on the structure and shower system, the solution may involve a recessed slab, lowered or redesigned subfloor, an engineered shower tray, or framing changes reviewed for structural and code compliance. This is not a detail to invent after the room is already framed.
20. Choosing Slippery Tile for the Shower Floor

A polished tile that feels civilized under dry shoes can become a different animal under wet bare feet and soap. Size alone does not decide whether a shower tile is safe; surface texture, wet-area suitability, slip-resistance testing, grout joints, and the way the floor is laid all matter.
Small mosaics are popular because the extra grout joints add texture and conform easily to complex slopes, but larger tiles can also work when they are rated for wet floors and detailed correctly. Buy for the shower you will stand in, not the wall display you admired under showroom lighting.
19. Choosing the Drain Location After the Framing Is Finished

A drain location that looks perfect on a rendering can land directly over a joist, inside a beam zone, or somewhere the plumbing route becomes needlessly ugly. By then the floor is framed and everybody starts discussing compromises that should never have reached the room.
Coordinate drain position, joist direction, trap location, and plumbing route before the floor closes. Moving a drain on paper is effortless. Moving structure or finished plumbing is where the invoices develop personality.
18. Forgetting the Fan That Has to Dry the Whole Room

The least glamorous fixture in the bathroom may be the one doing the most after the shower stops. Steam that hangs around settles on ceilings, walls, trim, grout, and everything else that never volunteered to become part of the wet zone.
Choose an exhaust fan sized and ducted according to the room, local requirements, and the manufacturer’s instructions, and vent it outdoors rather than into an attic or other enclosed space. A timer or humidity control can keep it running after the water shuts off without requiring anybody to remember.
17. Adding Multiple Shower Heads Without Checking Pressure, Flow, and Hot-Water Supply

🔥 Would you like to save this?
Rain head, handheld, body sprays: the showroom turns them all on and suddenly one shower feels like private weather. At home, those fixtures still depend on the supply piping, available pressure, valve capacity, drainage, and hot-water system behind the wall.
Have the plumber calculate the expected simultaneous flow before the rough-in is finalized. The answer may affect pipe sizing, valve selection, water-heater capacity, or how many fixtures make sense at once. This is the glamorous part of the shower being forced to meet arithmetic.
16. Building the Curb Without Sloping Its Top Toward the Shower

A curb can look perfectly level and still be wrong. Water lands on that little horizontal surface every time the shower runs, and the top needs a slight pitch back toward the wet area instead of feeding splashes toward the bathroom floor.
The important detail is that the waterproofed surface below the finish should carry the slope too; tilting only the decorative cap does not correct a flat waterproofing layer underneath. Check the direction before the tile or stone goes on, while changing it is still cheap.
The curb is also one of the easiest places to accidentally puncture the waterproofing you just got right. A wood-framed curb is not automatically a bad curb, and a foam curb is not magic — the failure happens when fasteners pierce vulnerable waterproofing on the top or inside face, giving water a direct route into material that was supposed to stay dry. Follow the approved assembly for whichever curb system is being used, and resist the urge to solve a loose piece with one heroic screw through the place that matters most.
15. Putting Unsealed Fasteners Through the Waterproofing

The curb is only one place a fastener can betray an otherwise careful waterproofing job. Grab bars, glass hardware, shelves, benches, and fixtures all need secure attachment; the mistake is letting a penetration pass through the waterproof layer without the blocking, sealant, gasket, or system detail required to keep that hole watertight.
Plan attachment points while the walls are open. Add solid backing where the teak shower bench, glass, bars, or brass shower fixture will land, then seal every necessary penetration according to the waterproofing and hardware instructions.
14. Installing the Shower Head at the Wrong Height

There is no universal body waiting under your showerhead. A rough-in height that feels perfect for one household can be irritatingly low for another, especially when the tallest user, shower arm, head style, and ceiling height were never considered together.
Choose the mounting height around the actual people using the room and the fixture itself. A wall-mounted head, rain head, and ceiling-mounted fixture all create different clearances and spray experiences. Measure before rough-in; nobody enjoys discovering the problem with wet hair and finished tile.
13. Blocking the Drain’s Weep Holes in a Traditional Shower Pan

Traditional liner-and-mortar shower pans handle moisture differently from modern surface-applied systems. Water that reaches the mortar bed is supposed to migrate to weep passages at the clamping drain and escape.
Pack those passages solid with mortar and the bed can stay wetter than intended. Pea gravel, tile spacers, or manufactured weep protectors are commonly used to keep the drainage paths open, depending on the assembly. This advice belongs specifically to traditional pans; a different waterproofing system may use a completely different drain detail.
12. Building a Shower With Nowhere to Put Anything

The render contains one sculptural bottle. Real life arrives with shampoo, conditioner, soap, a razor, maybe three products nobody admits buying, and suddenly the floor has become the shelf.
Plan storage while the framing is visible. A niche, ledge, bench, corner shelf, or other properly waterproofed solution can be integrated into the tile instead of added as an afterthought. Height should suit the people and products actually using the shower, not a mysterious universal number somebody copied from the last job.
11. Creating Low Spots Where Water Never Fully Drains

This is different from getting the overall slope wrong. A floor can pitch correctly toward the drain and still contain one shallow birdbath in a corner where the mortar or tile dips just enough to hold yesterday’s shower.
Check the formed substrate and finished tile for continuous drainage rather than trusting the center line alone. Localized low spots collect water, soap residue, and grime, and they turn one square foot of an otherwise excellent shower into the patch you notice every morning.
10. Building a Shower Bench That Holds Water

A bench is a horizontal surface living inside a rainstorm. Make the seat dead flat and every shower leaves water sitting against grout, corners, and whatever bottles were abandoned there.
The waterproofed bench surface should be fully integrated with the shower system and pitched slightly toward the wet area so water sheds instead of lingering. Treat it with the same seriousness as the curb and niche. It may look like furniture, but water sees another ledge.
9. Picking a Linear Drain Just Because It Looks Better

Linear drains can be excellent design tools. In many layouts they allow a single-plane floor slope, which can make larger-format tile much easier to use without the complicated cuts often required around a center point drain.
That does not make a linear drain automatically superior. Placement, drain capacity, waterproofing integration, cleaning access, floor geometry, and installation tolerances all matter. Large tile can also be used with center drains when the layout and cuts are planned appropriately. Choose the drain because it suits the whole floor assembly, not because the grate photographed well.
8. Skipping the Blocking for Grab Bars You’ll Want Later

Grab-bar planning is cheap when the studs are exposed and irritating when the tile is finished. Solid backing placed in useful locations gives future hardware something substantial to fasten into instead of forcing a later installer to improvise around hollow wall cavities.
You do not have to install a bar today. You are simply preserving the option. Coordinate the blocking with the hardware and applicable accessibility or structural requirements, then photograph the wall before it disappears.
7. Assuming the Waterproofing Ends Where the Curb Would Have Been

A curb gives the wet zone a physical boundary. Remove it, as most curbless designs do, and the waterproofing has to decide on its own where the shower actually “ends” — an assumption that gets a room in trouble when the membrane simply stops at the spot the curb used to occupy.
Waterproofing may need to extend beyond the nominal shower opening depending on the system, room layout, local code, glass configuration, and expected splash area. The exact distance is not universal. The principle is: do not let escaping water reach an unprotected floor simply because it crossed an imaginary line in the plan.
6. Drowning the Room in Grout Lines You’ll Be Scrubbing Forever

Penny rounds and tiny mosaics can look fantastic, but every additional joint is another textured line where soap film and mineral residue can collect. The visual payoff is real. So is the cleaning surface area.
Use small tile where its flexibility or texture earns the maintenance, and consider larger tile or panels on broad walls where fewer joints make life easier. Grout type matters too: epoxy and other high-performance grouts can be less porous and more stain-resistant than conventional cement grout, but no grout makes soap scum retire permanently.
5. Using a Drain That Can’t Keep Up With the Shower’s Water Output

🔥 Would you like to save this?
A rain head, body sprays, and handheld can send far more water into the pan than one modest showerhead. Whether the drain can keep up depends on the entire drainage assembly — drain rating, trap and pipe size, pipe slope, fixture flow, and local plumbing requirements.
Add up the fixtures that can operate at the same time and have the plumber size the drainage system accordingly. A larger drain body or different layout may be appropriate, but the answer should come from the numbers for this shower, not from the assumption that “two-inch” automatically means enough or not enough.
4. Waterproofing a Niche’s Corners the Same Way You Waterproof a Flat Wall

A niche cuts a box into the wet wall and adds inside corners, outside corners, seams, and a horizontal sill in one compact package — geometry a flat wall never has to deal with. Waterproof it the same way you’d waterproof an open wall section, and those extra corners become exactly where sloppy detailing announces itself later.
Seal the entire recess with the approved membrane or prefabricated niche system, including corners and transitions, and give the bottom waterproofed surface a slight pitch toward the shower so water does not sit behind the tile. The shampoo shelf should drain before the shampoo arrives.
3. Skipping the Flood Test Before Installing Tile

This is the moment to discover a problem: after the waterproofing is complete and before hundreds of pounds of tile hide it. The pan is temporarily plugged and filled according to the test procedure, then monitored for water loss.
Test duration and procedure vary by jurisdiction and waterproofing system, so follow the applicable requirements rather than treating one number as universal. Whatever the prescribed test is, doing it before tile turns a possible leak into a repair instead of a demolition.
The best time to find a waterproofing failure is while the waterproofing is still visible.
2. Making an Open Shower Too Short to Contain the Spray

Doorless showers depend on geometry. Spray pattern, head position, water pressure, glass, entry width, and the distance between the water source and the opening all decide how much water escapes.
A deeper wet zone generally gives spray more room to fall and drain before it reaches the bathroom, but there is no magic dimension that works for every fixture. Lay out the shower around the actual head and enclosure plan, not around the seductive idea that removing a door automatically makes water behave.
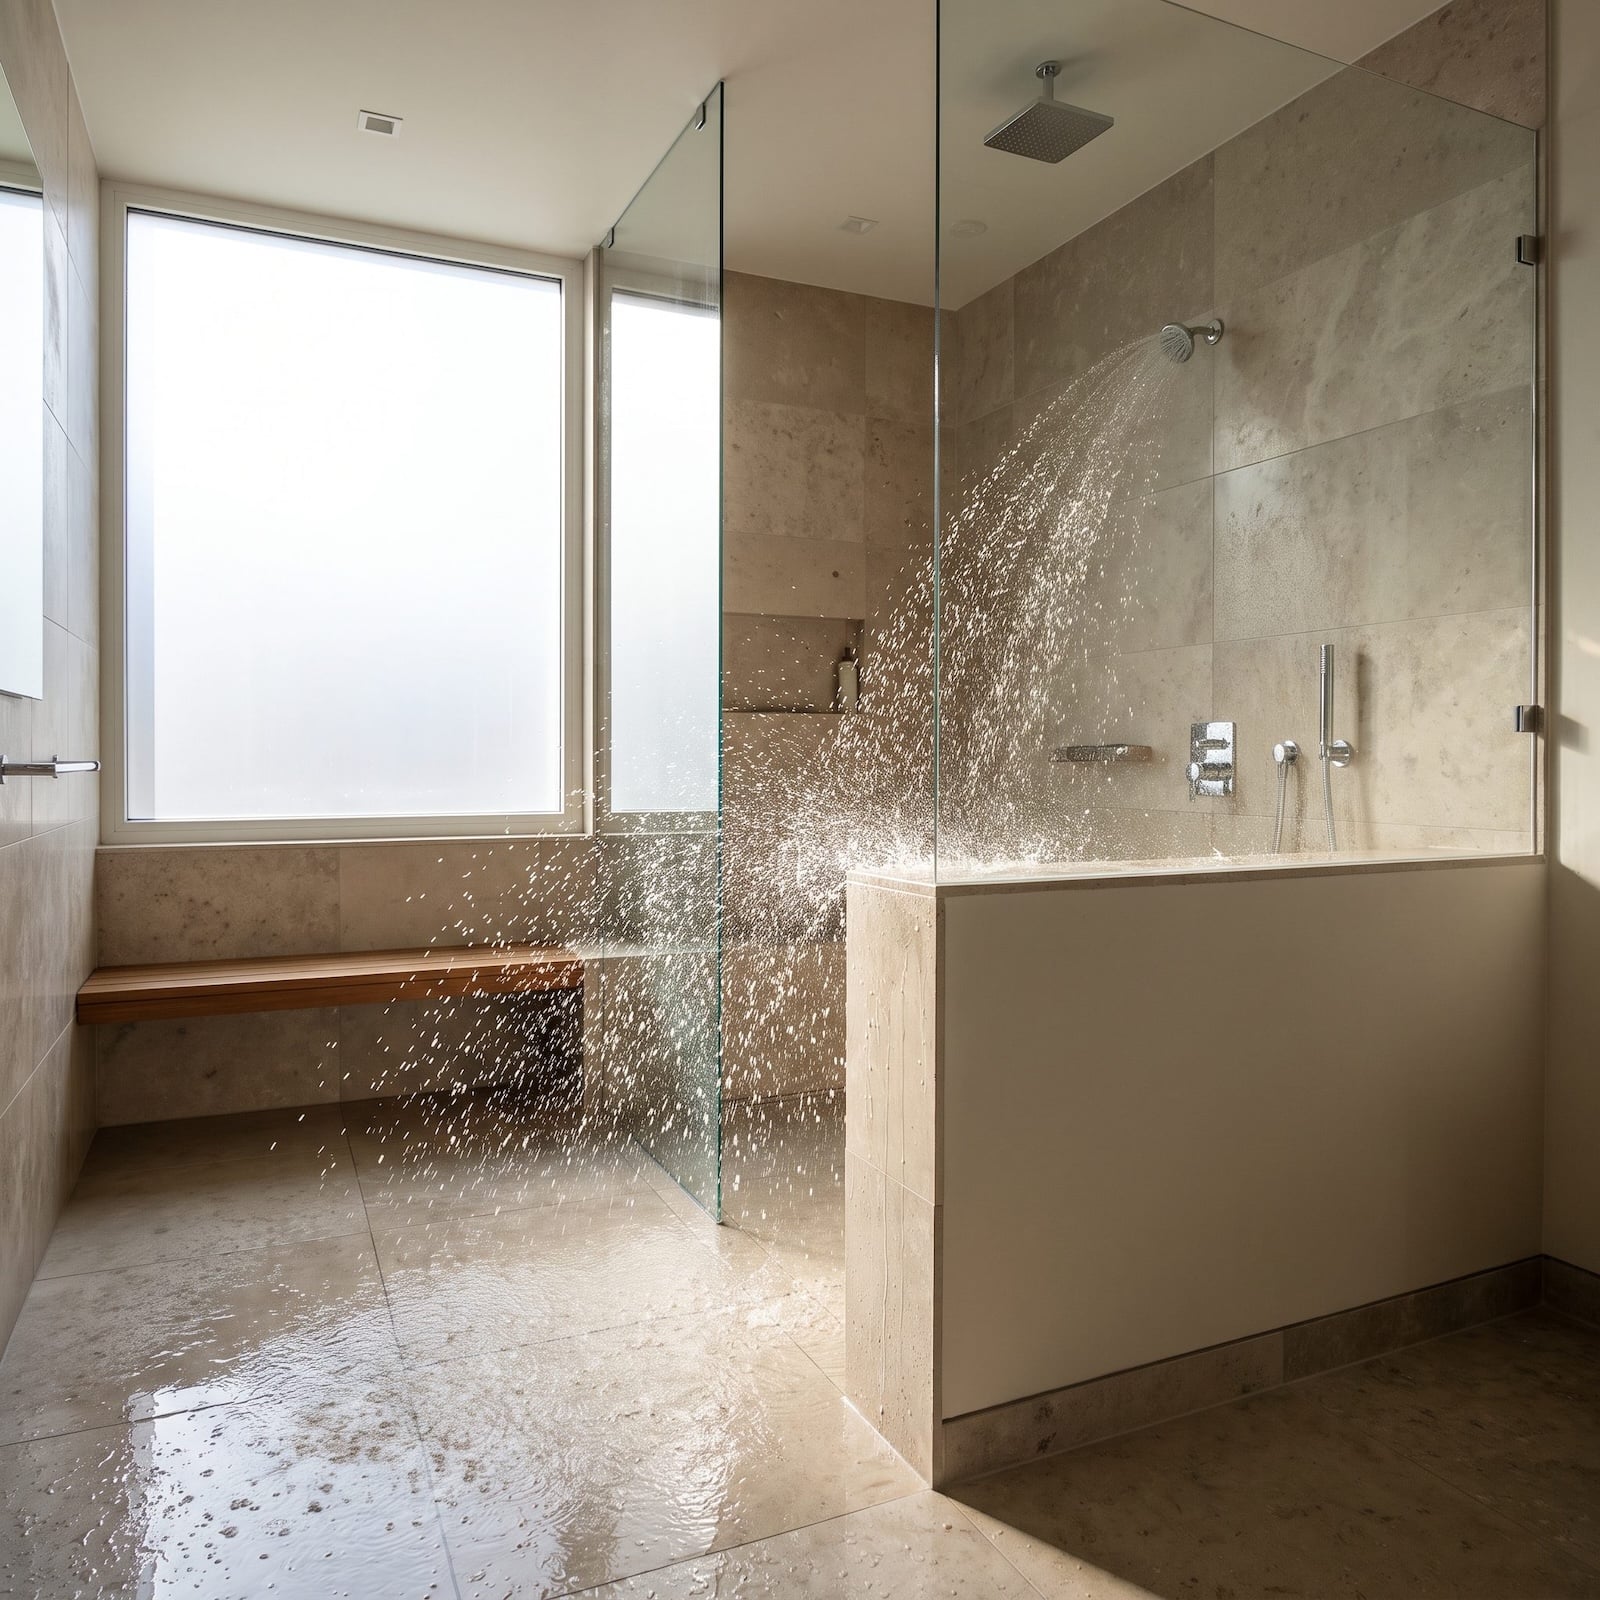
Head position matters just as much as depth. When possible, aim the primary spray toward a solid wet-area wall and away from the open entry, then account for splash and rebound as well as the obvious stream — a shower that’s deep enough on paper can still soak the floor if the water is pointed at the door instead of the tile.
1. Assuming Tile and Grout Are the Waterproofing

Tile is the finish. Grout fills the joints. Neither replaces the waterproof assembly behind or beneath them. Different tiles absorb different amounts of moisture, and grout performance varies, but the shower still needs a properly designed waterproof layer independent of the decorative surface.
That is the uncomfortable priority when the budget is being divided. Spend all your attention on marble porcelain tile and almost none on the membrane, drain transitions, seams, corners, and penetrations, and you have optimized the part everyone sees while gambling on the part protecting the house.
The finished shower gets all the photographs. The successful shower is the one that becomes boring after that — water goes where it should, the room dries, the controls make sense, nothing puddles in a corner, and nobody has to think about what is happening behind the tile. That is the standard worth building for.