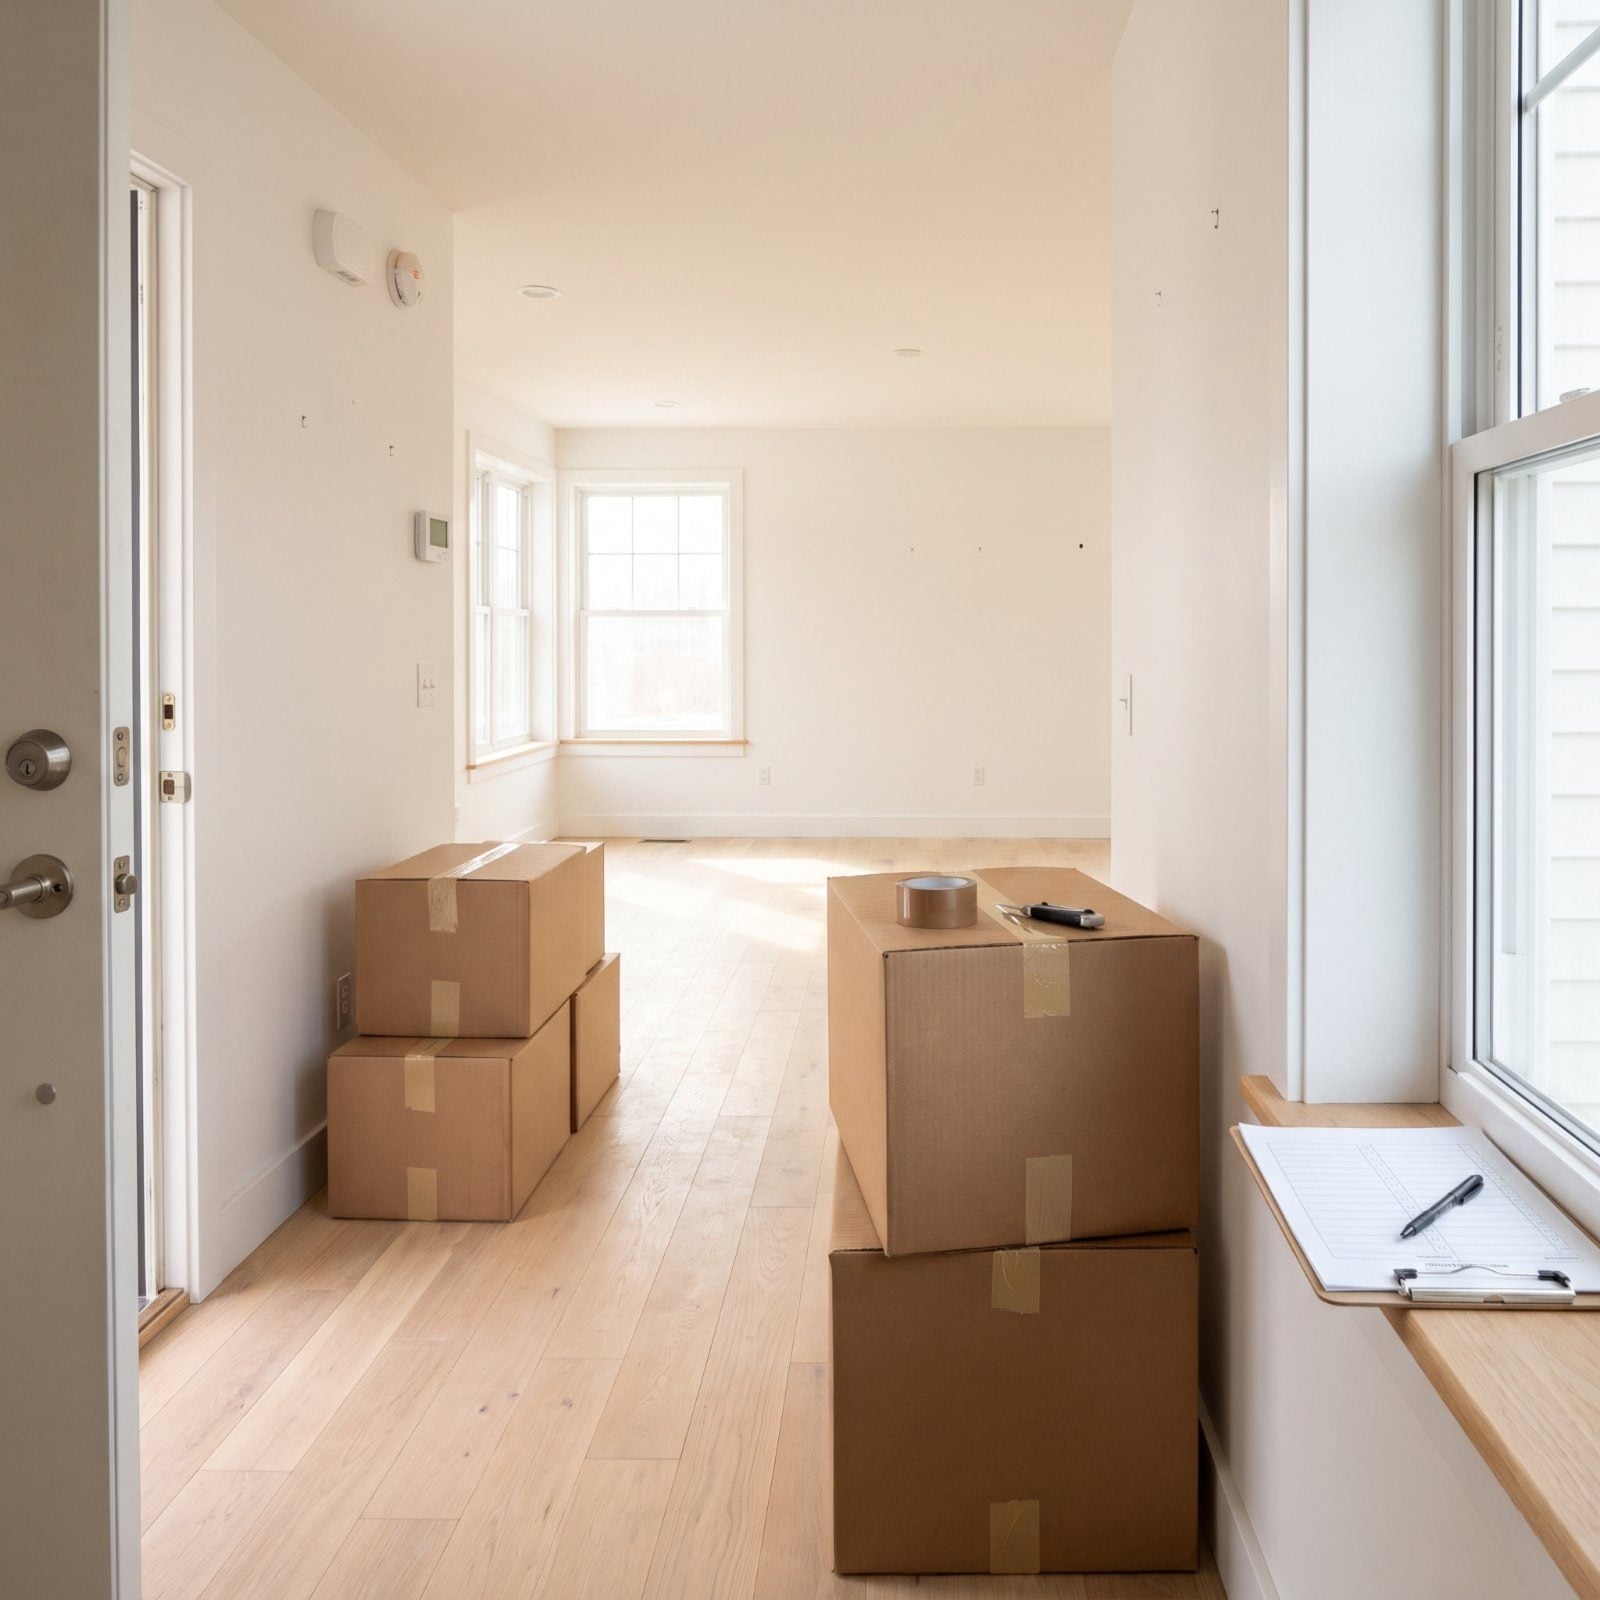
The keys are warm in your hand and every instinct says start ripping tape off boxes. Don’t. That first hour in an empty house is the only hour you’ll get where nothing is yours yet and nothing is in the way. Skip these checks and you quietly inherit the previous owner’s problems: a lock they still have a key to, a smoke alarm chirping out its last breath, a repair that got promised over a handshake and never happened. Walk the house first.
45. Photograph Every Room’s Existing Condition

Walk every room with your phone before a single thing comes off a truck. The scratch on the hardwood, the ding in the drywall, the cracked tile by the tub — all of it. Photograph it now and it’s documented as pre-existing. Skip it and the movers’ dolly gets blamed, or you forget which scuffs were already there when you go to sell.
In order to come up with the very specific design ideas, we create most designs with the assistance of state-of-the-art AI interior design software. Also, assume links that take you off the site are affiliate links such as links to Amazon. this means we may earn a commission if you buy something.
Shoot wide for context, then close for the damage, and let your phone stamp the date. Open the closets and cabinet interiors too, because people always forget the insides.
44. Confirm All Agreed Repairs Were Completed
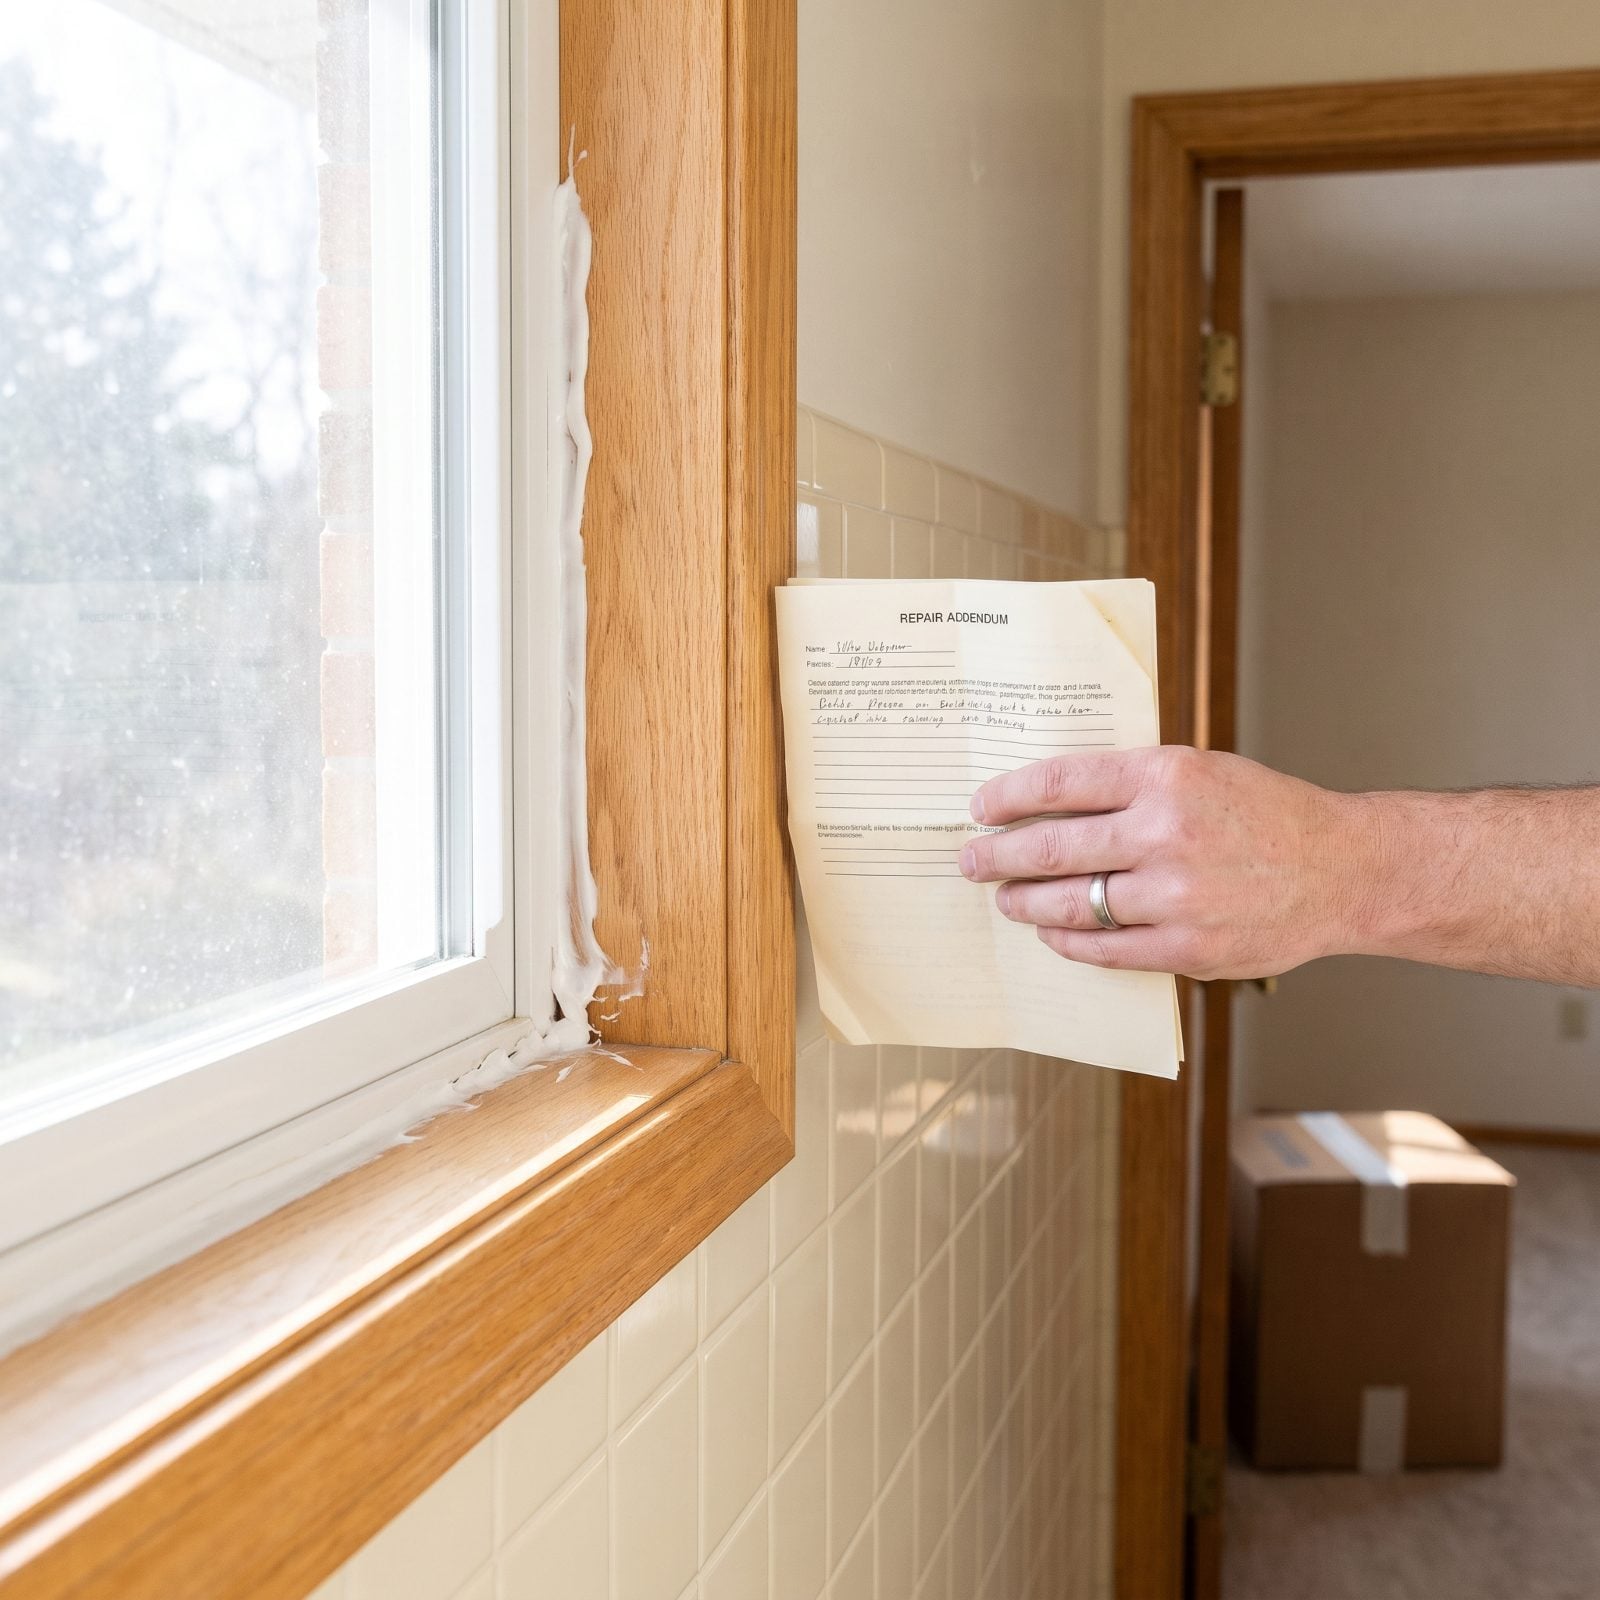
Sellers agree to fix the leaky faucet, the broken window latch, the GFCI outlet. Then closing happens, everyone’s exhausted, and nobody checks. A “repaired” water heater can easily turn out to be the same unit with a fresh wipe-down.
Pull up your inspection response or repair addendum and go line by line. Run the faucet. Flip the switch. Open the latch. A licensed contractor should have left a receipt or invoice behind — no receipt, no proof it happened.
Catch it on day one and you still have leverage. Catch it in a month and it’s your problem now.
43. Inventory Included Appliances And Fixtures
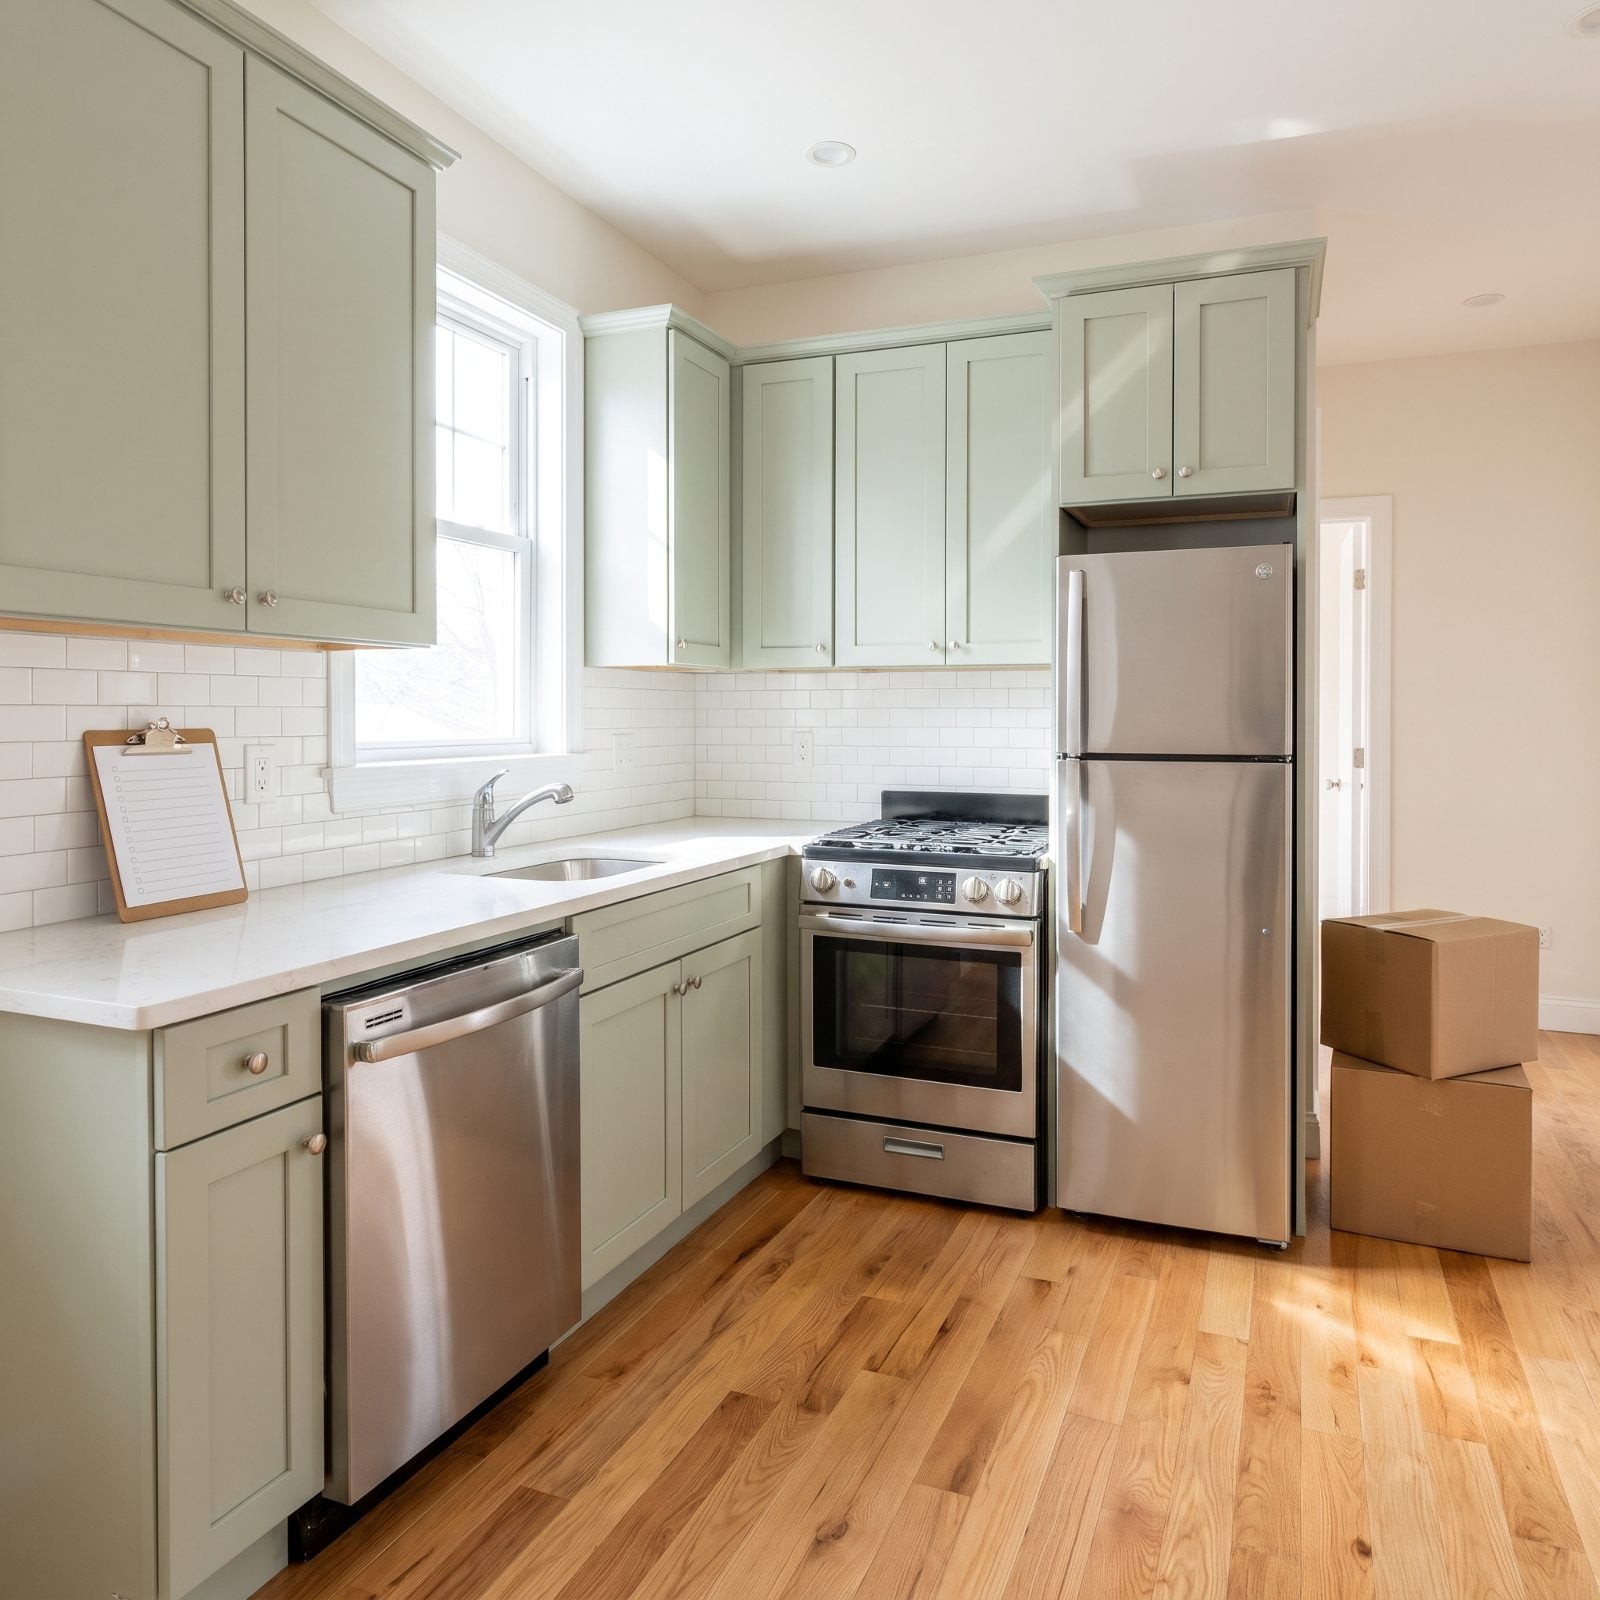
The purchase contract said the washer, dryer, fridge and that fancy pendant light stayed. Did they? A move-out is the easiest time in the world to swap a good appliance for a dead one, or to “accidentally” take the chandelier.
Walk the house with the contract’s inclusions list. Open the fridge, run a dishwasher cycle, confirm the range in the kitchen is actually the one you bought. Compare model and serial numbers against the listing photos if you’ve got them. A stainless refrigerator and matching stainless gas range are the two items that get swapped most.
Light fixtures count too. A hardwired fixture is personal property only if the contract excludes it, otherwise it conveys. Confirm every one is still hanging.
42. Photograph Current Utility Meter Readings
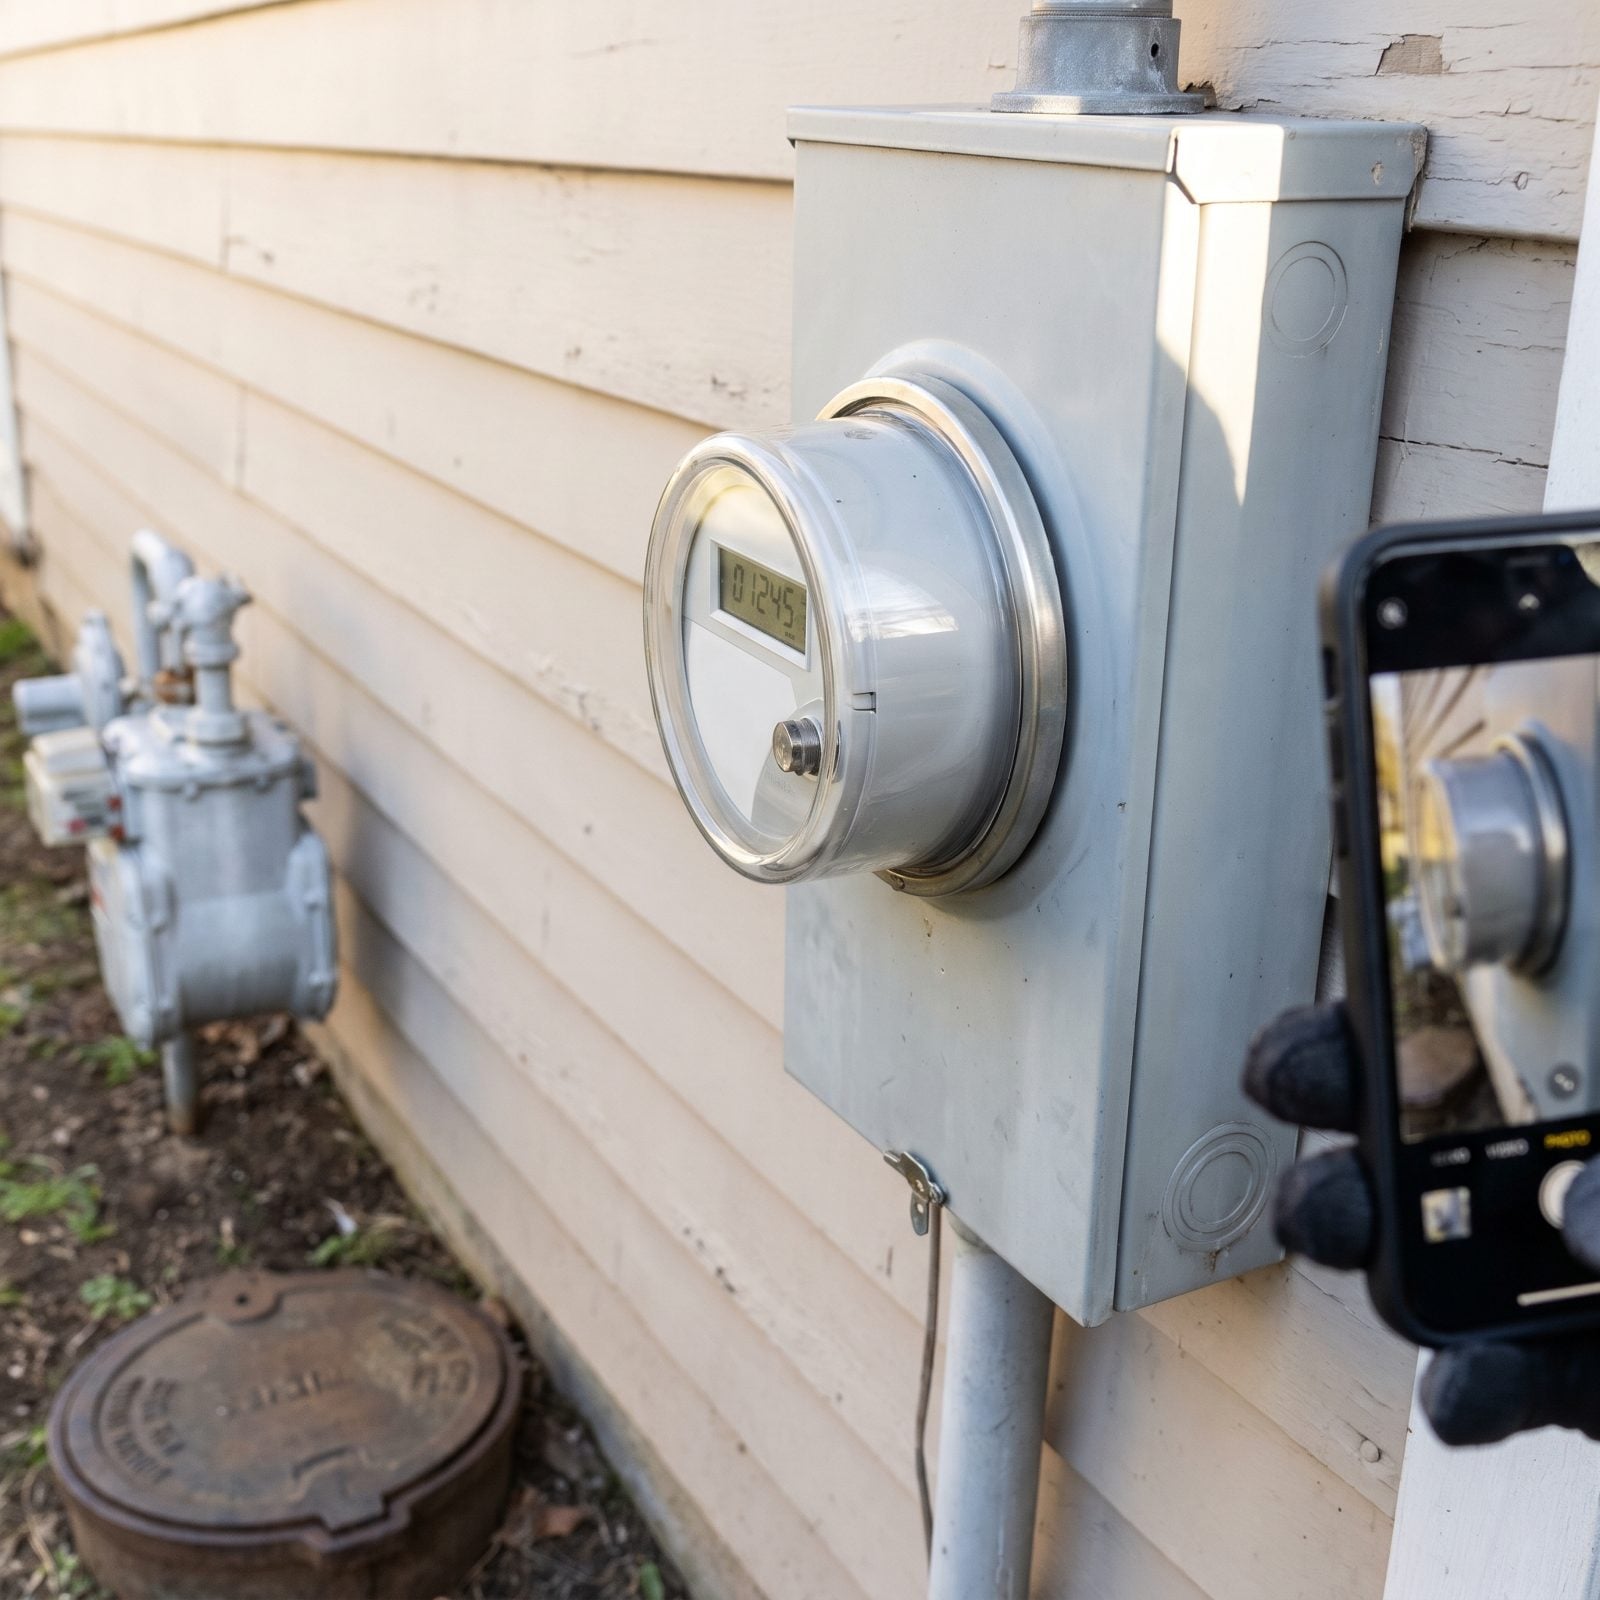
Photograph the electric, gas, and water meters the moment you take possession. That reading is your baseline — the line between what the previous owner used and what you owe.
Billing cycles never line up with closing dates, and utility companies just estimate when nobody reports an actual number. A clear dated photo of each meter lets you dispute a bloated first bill with proof instead of a shrug.
Find the water meter too — usually a lid in the yard or out near the street. Knowing where it sits now saves you a frantic hunt later when a pipe lets go and you’re scrambling for the shutoff.
41. Replace Exterior Door Lock Cylinders
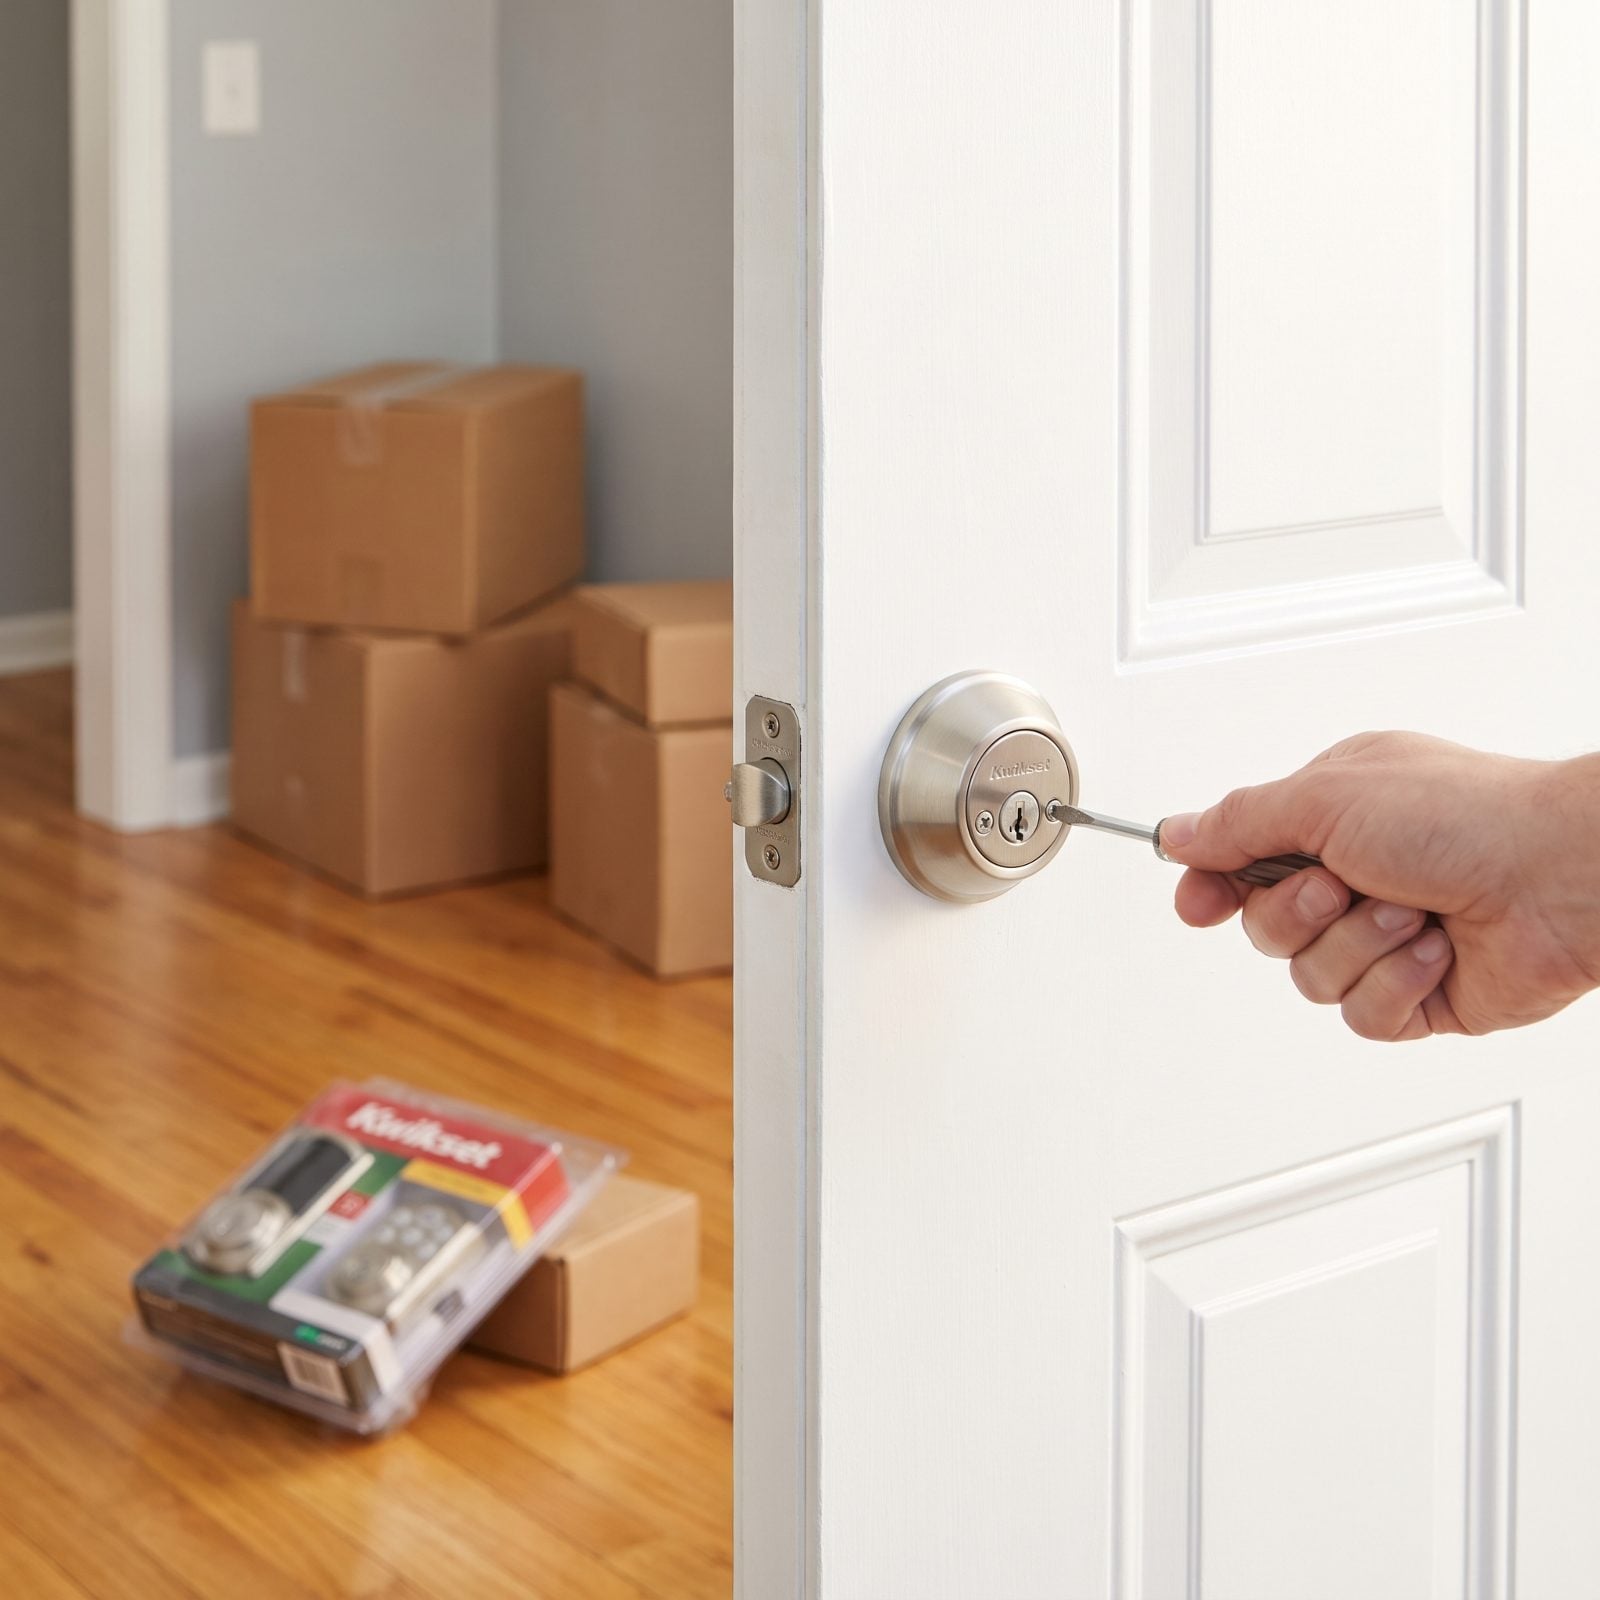
You have no idea how many keys to this house are floating around out there. The old owners, their kids, a cleaner, a dog walker, a neighbor “just in case.” Every one of them can still walk in.
Re-key or replace the cylinders on every exterior door before your first night. A satin nickel deadbolt set runs modest money, and a basic re-key kit lets you handle it in an afternoon with the slim re-keying tool that slips into the lock face. Don’t forget the door from the garage into the house — people always secure the front and leave that one wide open.
The locks that came with the house belong to everyone who’s ever lived there until you change them.
40. Reset Garage Door Opener Codes
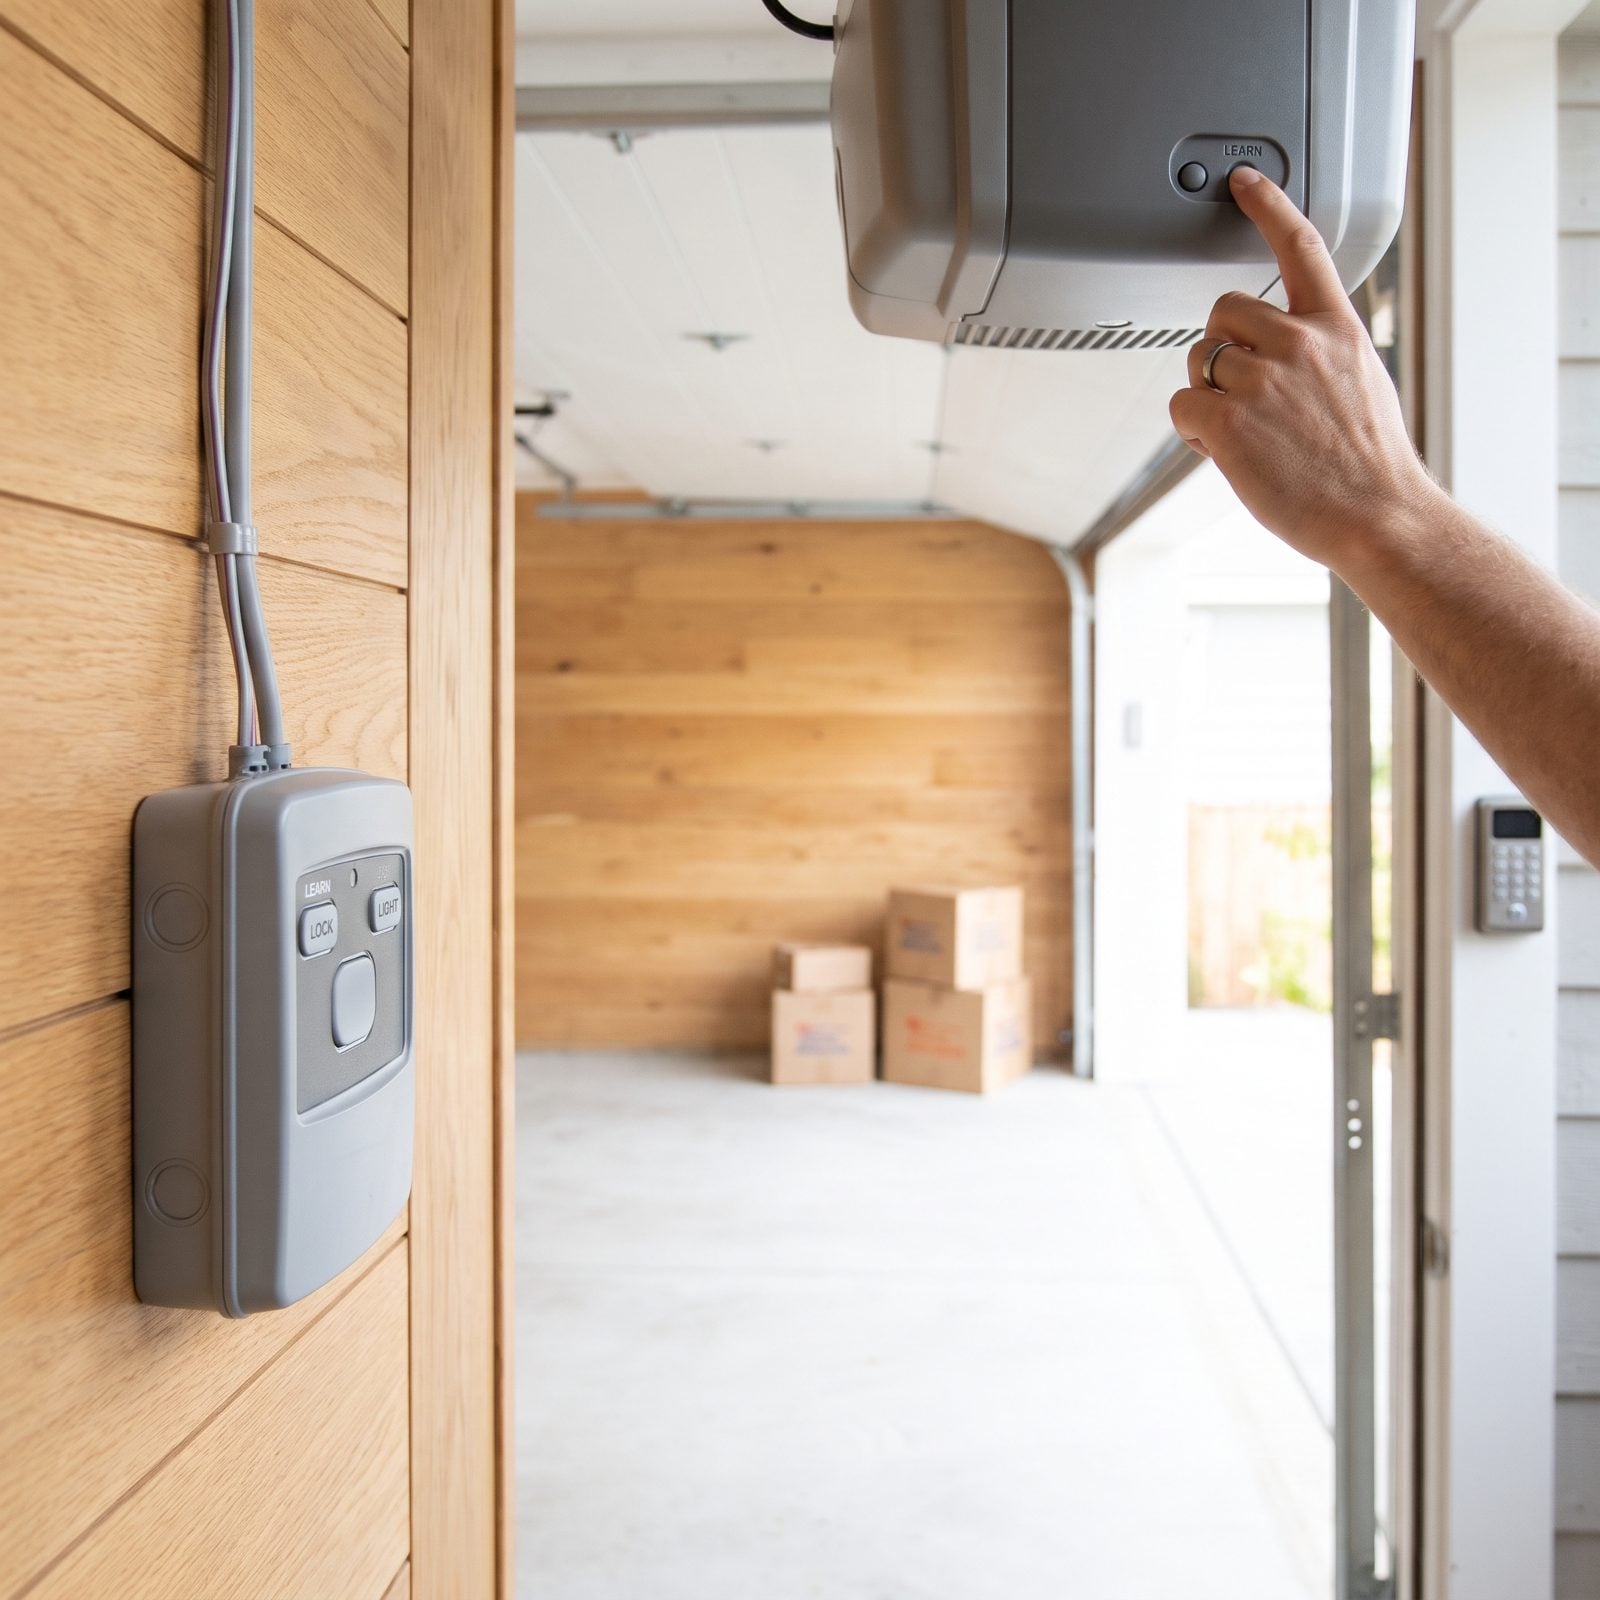
Garage remotes are the security hole everyone forgets. The old owners kept their clip-on remotes, the exterior keypad still runs their code, and a garage often opens straight into your house.
Clear every programmed remote by holding the opener’s learn button until the light blinks, then re-pair only your own. Set a fresh keypad PIN while you’re up there. Is the opener more than a decade old and running a fixed code instead of a rolling one? Flag it — older systems can be grabbed right out of the air.
39. Reprogram Smart Locks And Keypads

A smart lock is only as secure as its guest list, and you didn’t write it. Old codes, a previous owner’s phone still paired, auto-unlock geofences tied to their car — all of it can survive the sale untouched.
Do a full factory reset on every smart lock and video doorbell, then set each one up fresh under your own account. Delete every stored user, generate new codes, and check whether the device is still linked to someone else’s cloud login. Change the Wi-Fi password while you’re at it.
A smart doorbell can keep streaming video to the seller’s phone for weeks after closing if nobody thinks to reset it.
38. Verify All Windows Lock Securely
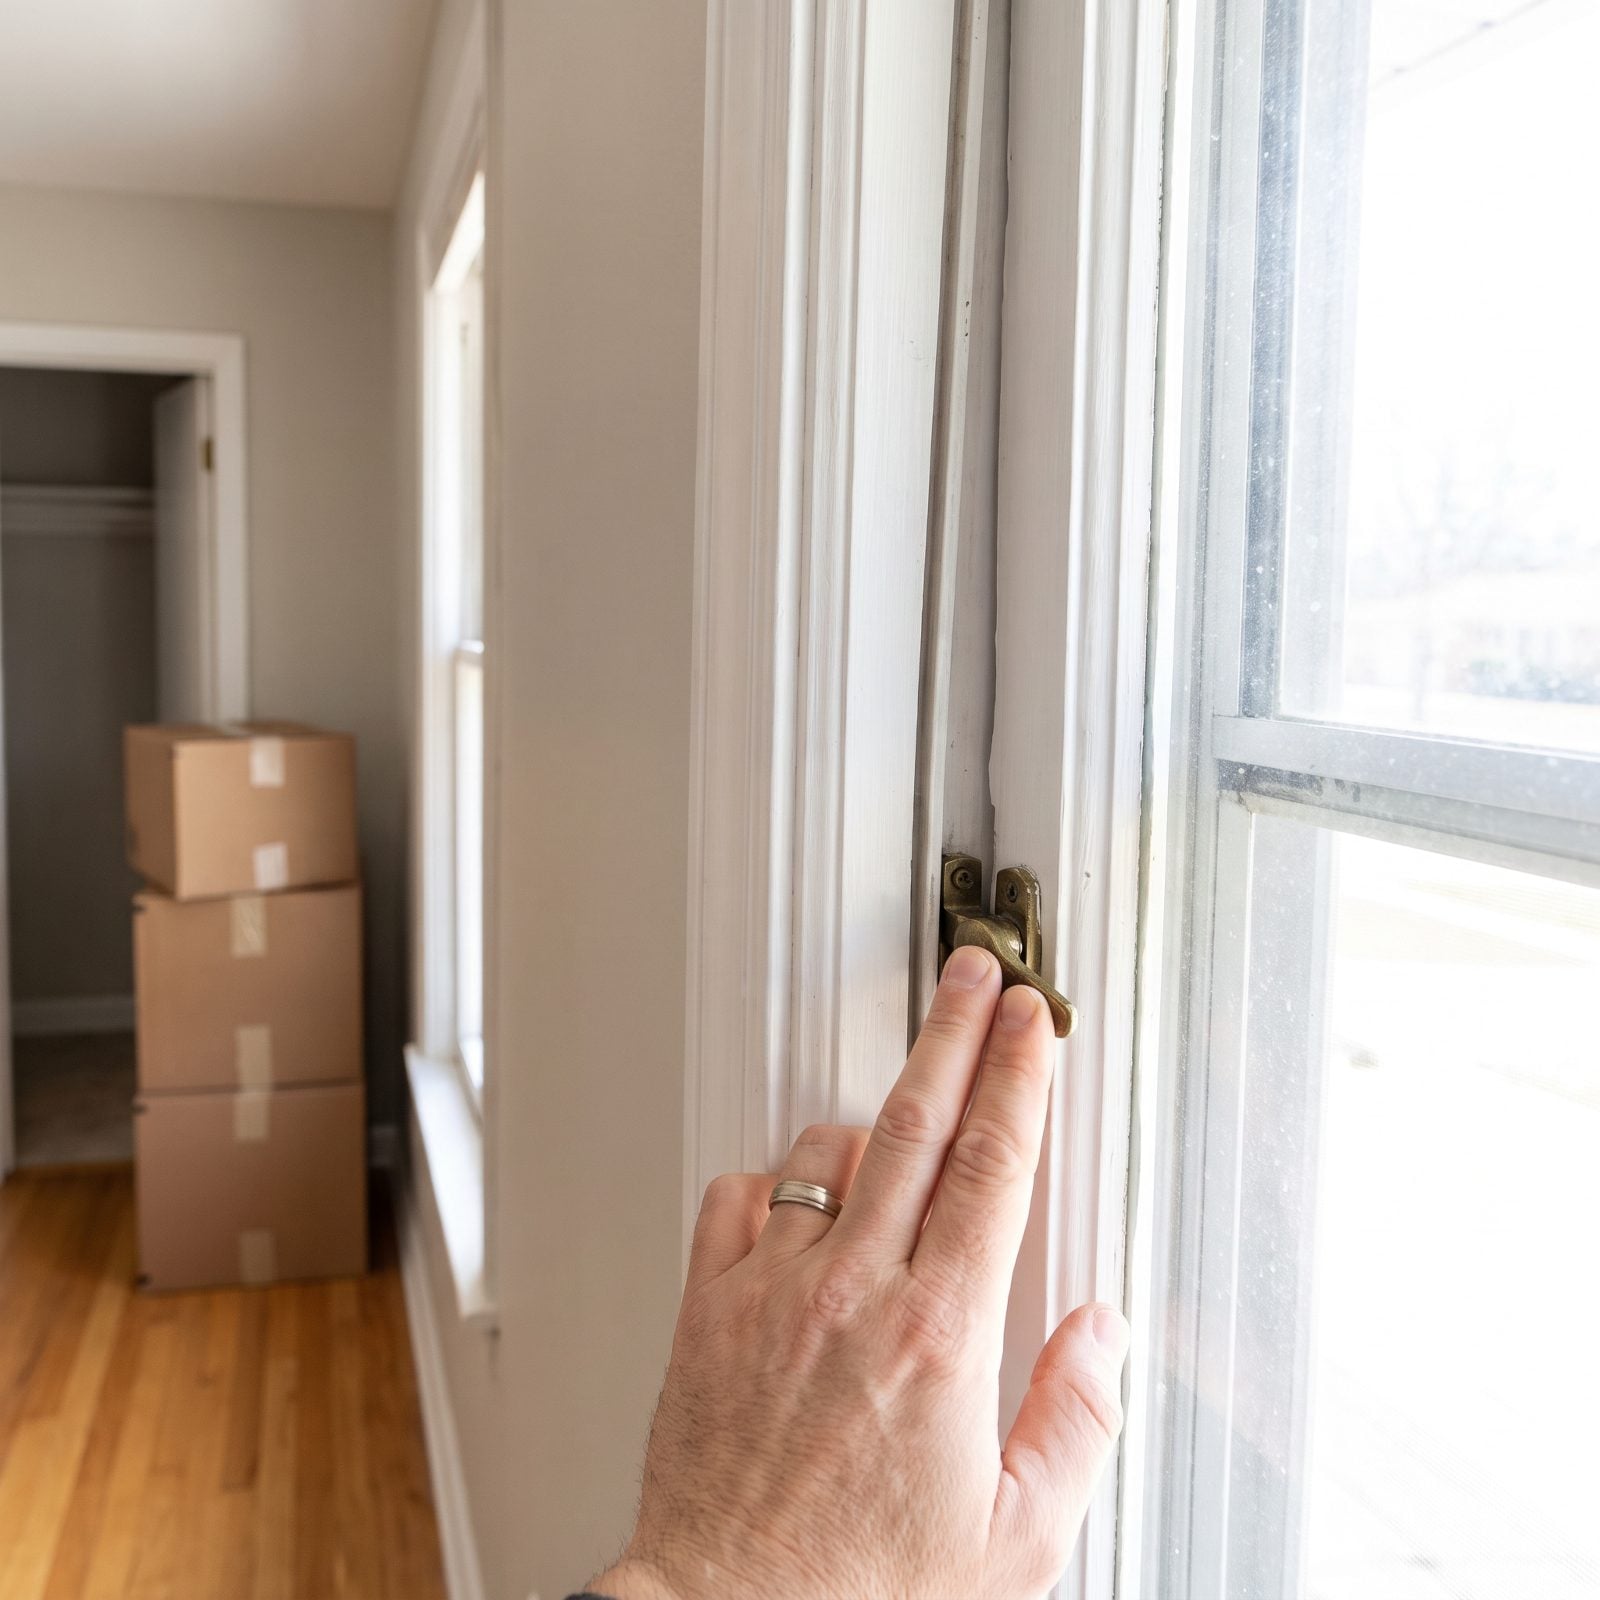
Go window to window and actually throw every latch, ground-floor windows especially. A latch that’s painted shut, warped, or simply broken is an open invitation, and you won’t know until you test it one at a time.
Push up on sashes you assumed were locked. Feel for the ones that rattle or won’t fully seat. Older double-hungs often have latches that spin freely without engaging anything at all.
While you’re there, note the windows painted or swollen shut that won’t open. Those are an escape problem in a fire, which matters every bit as much as the security side.
37. Test Every Smoke Alarm
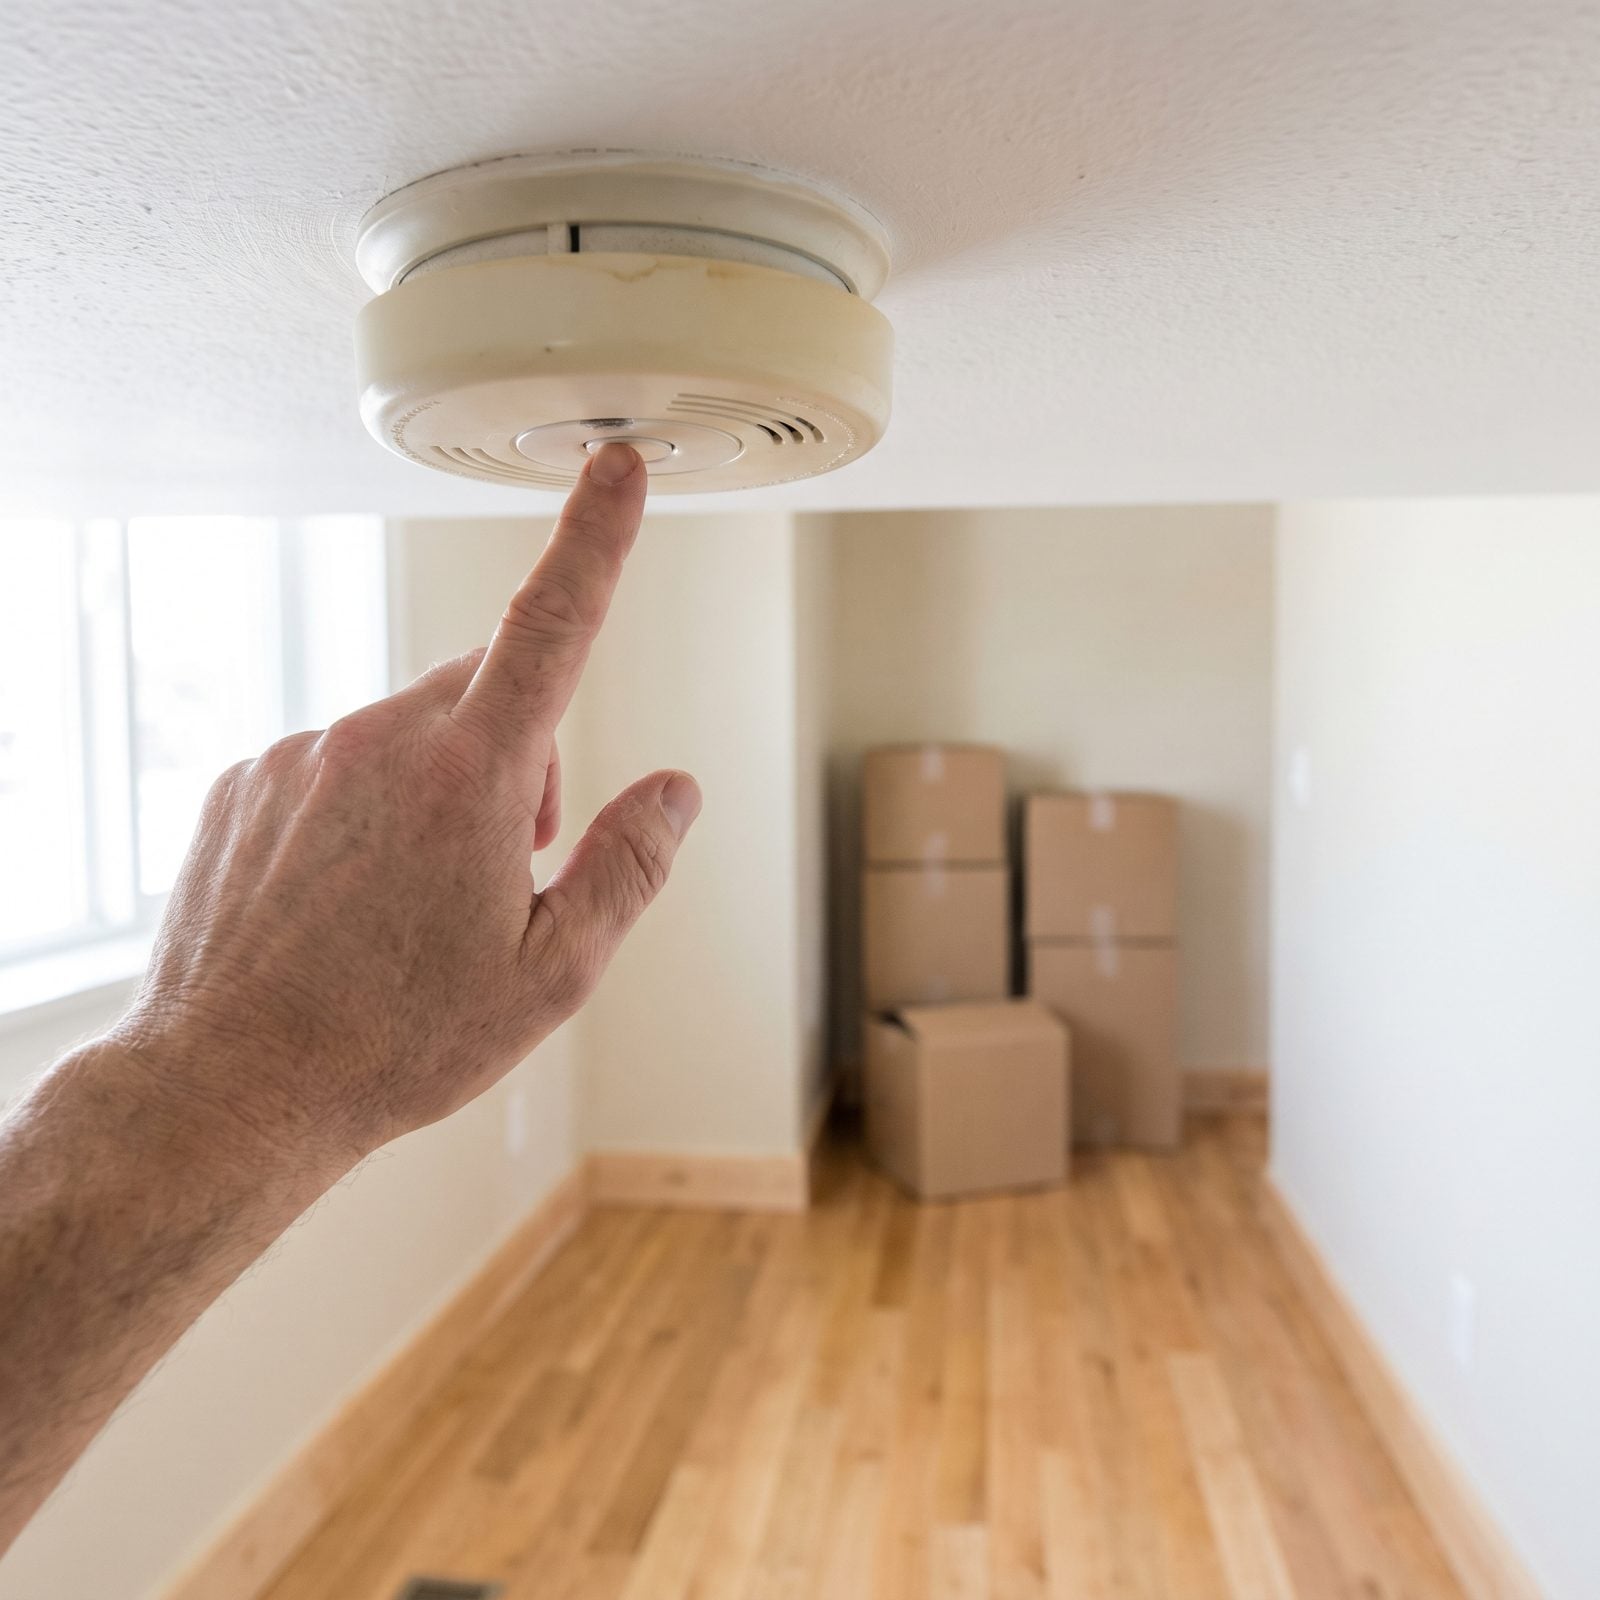
Press the test button on every smoke alarm in the house. All of them. A chirp or dead silence tells you which batteries are gone, and a unit that won’t sound at all tells you something worse.
Flip each one off its bracket and read the date stamped on the back. Smoke alarms expire. Most are done around ten years in, and the sensor degrades whether the battery is fresh or not. No date you can find? It’s old enough to replace.
Interconnected alarms should all sound when you test one. If only the one under your finger goes off, the chain is broken.
36. Test Carbon Monoxide Detectors
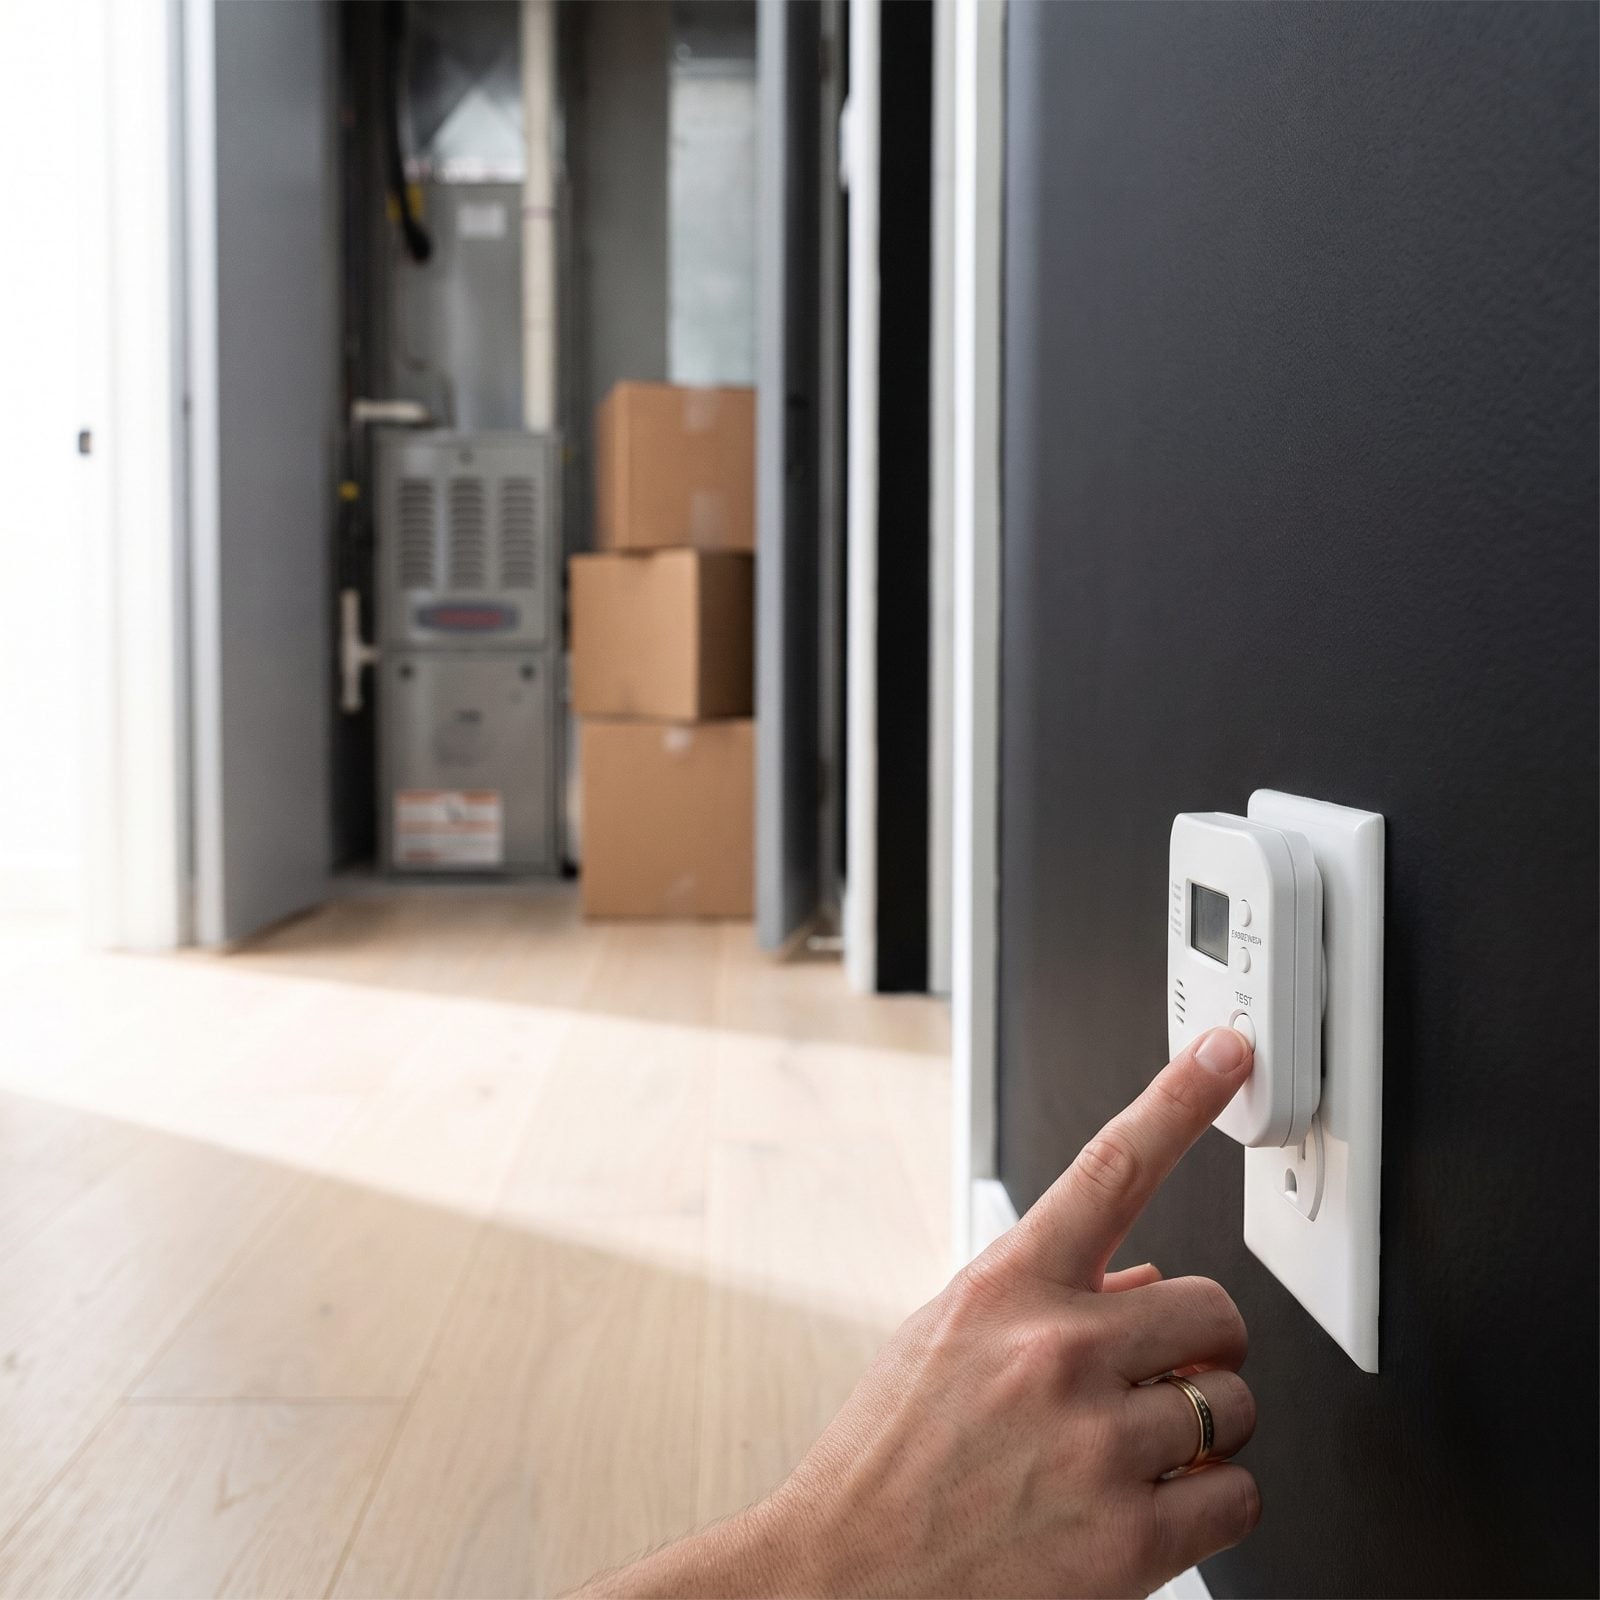
Carbon monoxide gives no warning. No smell, no sound, nothing until people get sick. The detector is the only thing standing between your family and a cracked furnace heat exchanger or a blocked flue.
Press test on every CO unit, and first make sure you actually have them. Any home with a gas furnace, gas water heater, gas range, fireplace, or an attached garage needs them — ideally one on each level and near the bedrooms.
Check the manufacture date here too. CO sensors wear out faster than smoke sensors, often in five to seven years, and an expired one reads clean while protecting nothing.
35. Check Fire Extinguisher Charge Dates
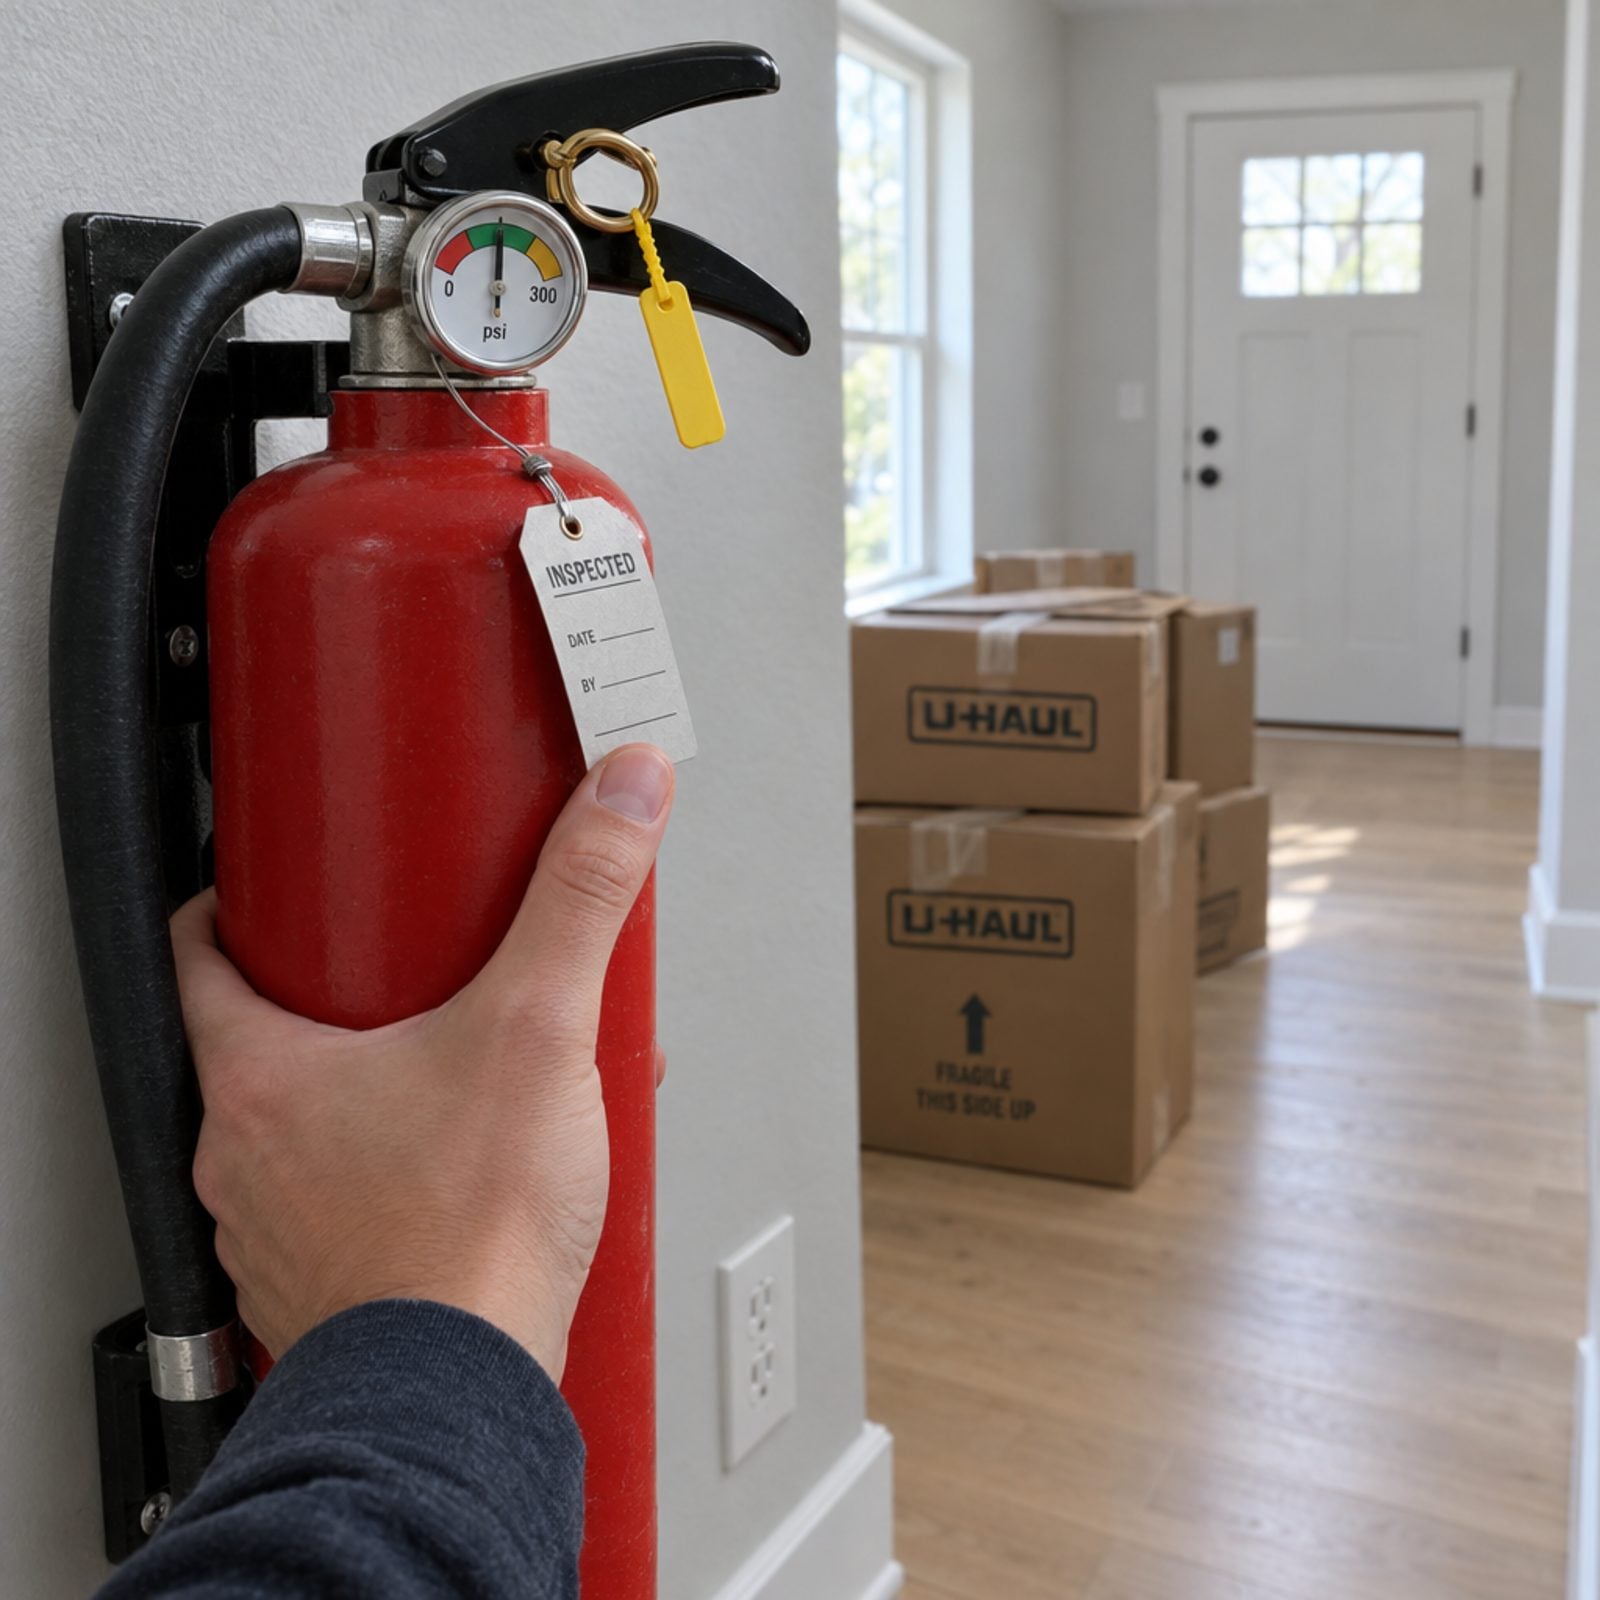
That little dial on the extinguisher is worth ten seconds of your day. An extinguisher reading in the red zone is a paperweight, and the middle of a grease fire is a lousy time to find out.
Look at the gauge. The needle should sit square in the green. Flip the cylinder and find the manufacture date stamped near the bottom; most dry-chemical units last about a decade before they need replacing, and plenty want professional servicing well before then. Here’s the step everyone skips: give it a firm shake. Dry chemical settles into a hard cake at the bottom after years hanging on a hook, and a caked extinguisher coughs out a sad puff instead of a smothering blanket.
34. Locate The Main Water Shutoff
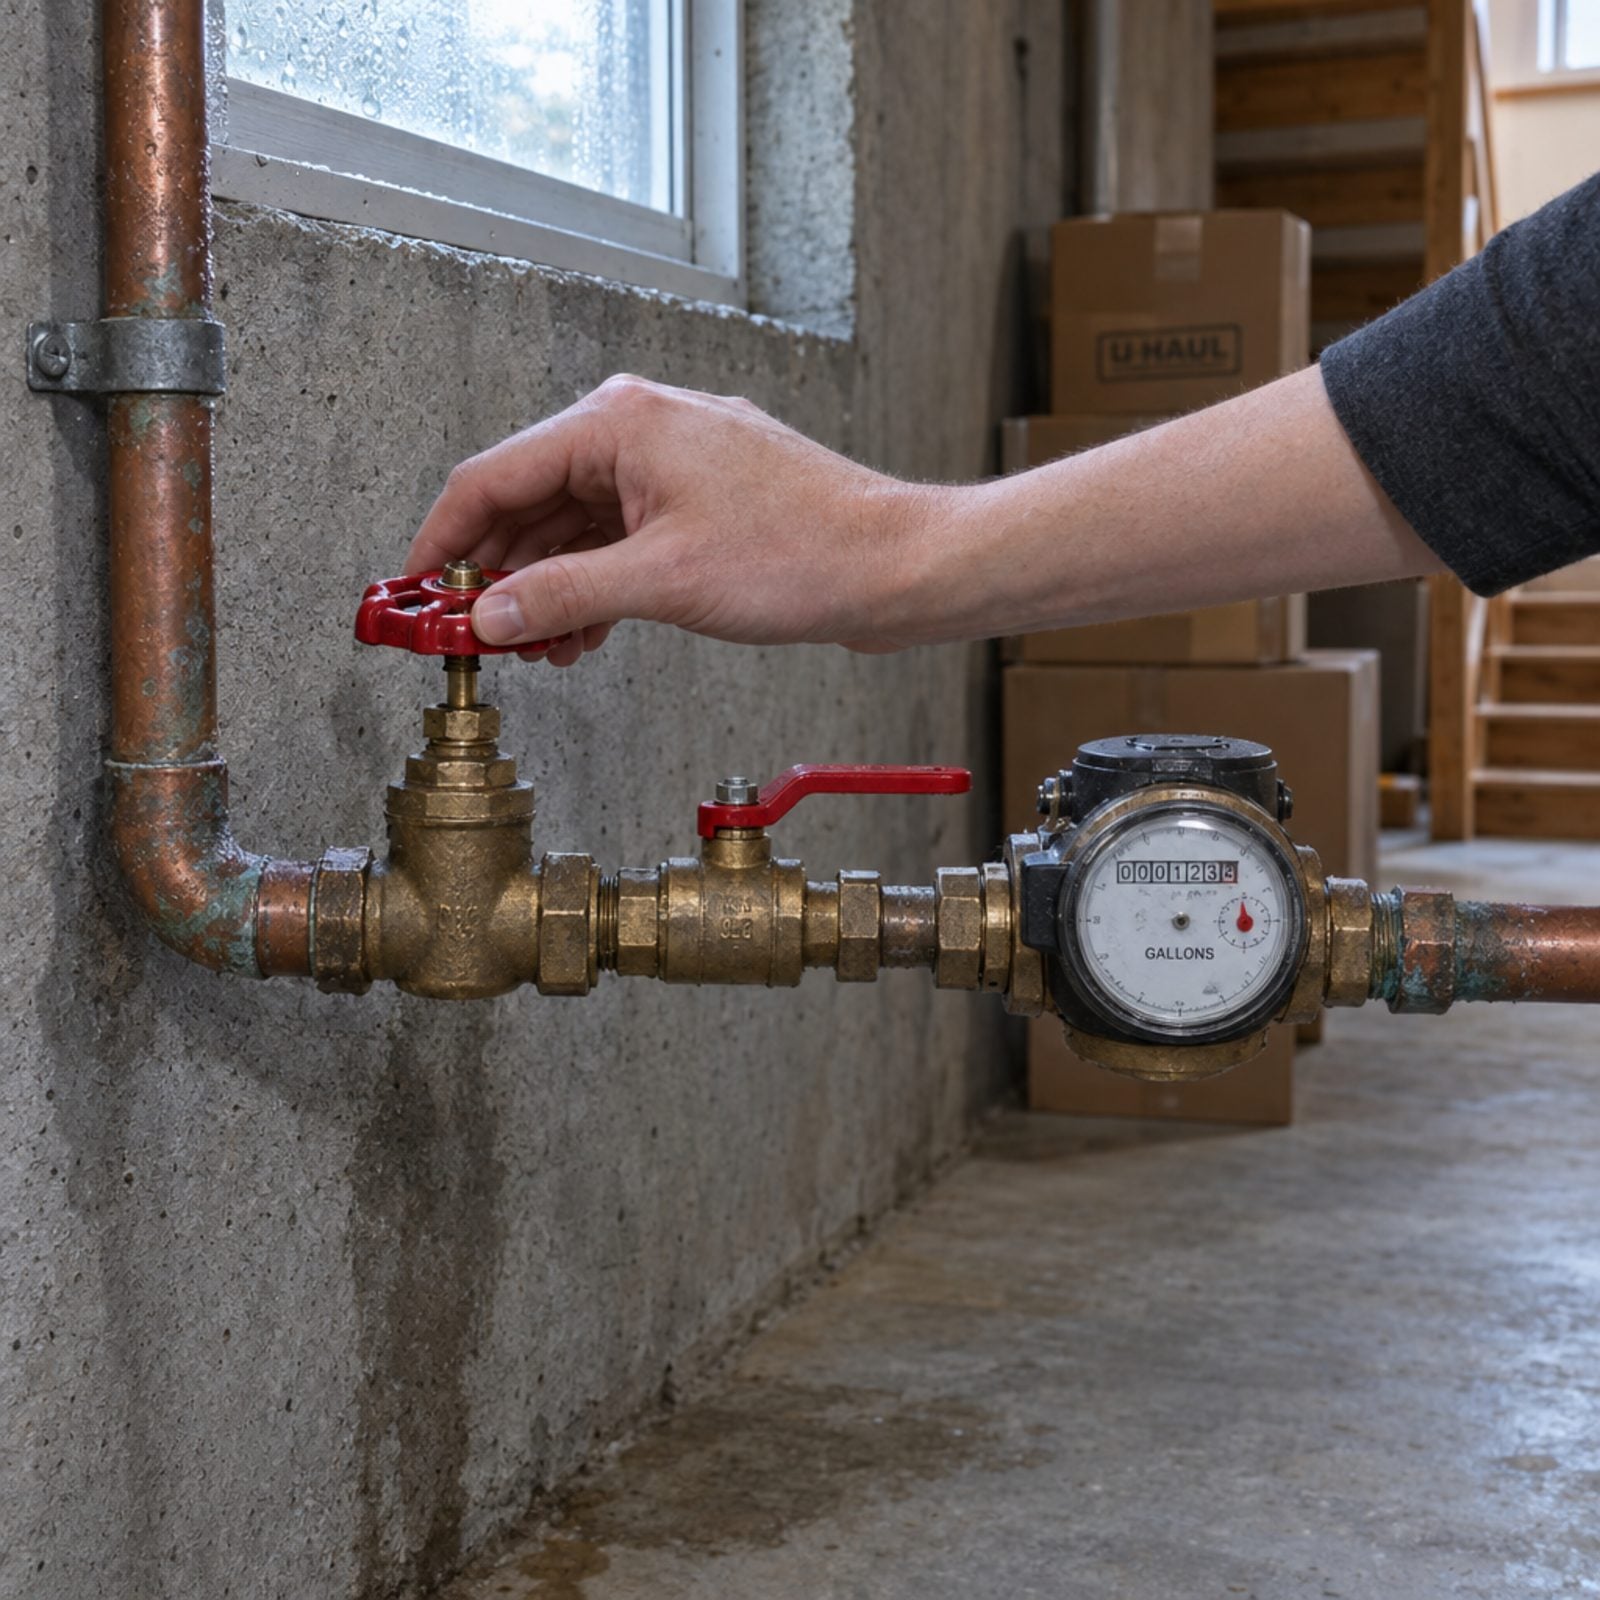
Find this before you need it, not during. A burst supply line pushes gallons a minute into your subfloor, and the damage clock starts the second it lets go.
Trace the main line in from where it enters the house — a basement wall, a utility closet, or near the water heater in slab homes. You’re hunting for either a round gate wheel or a lever-style ball valve. Turn it all the way, then open a faucet upstairs to confirm the water actually quits. Does the valve spin freely forever with no resistance? It may be broken inside, and that’s worth flagging on day one.
33. Locate The Electrical Service Panel
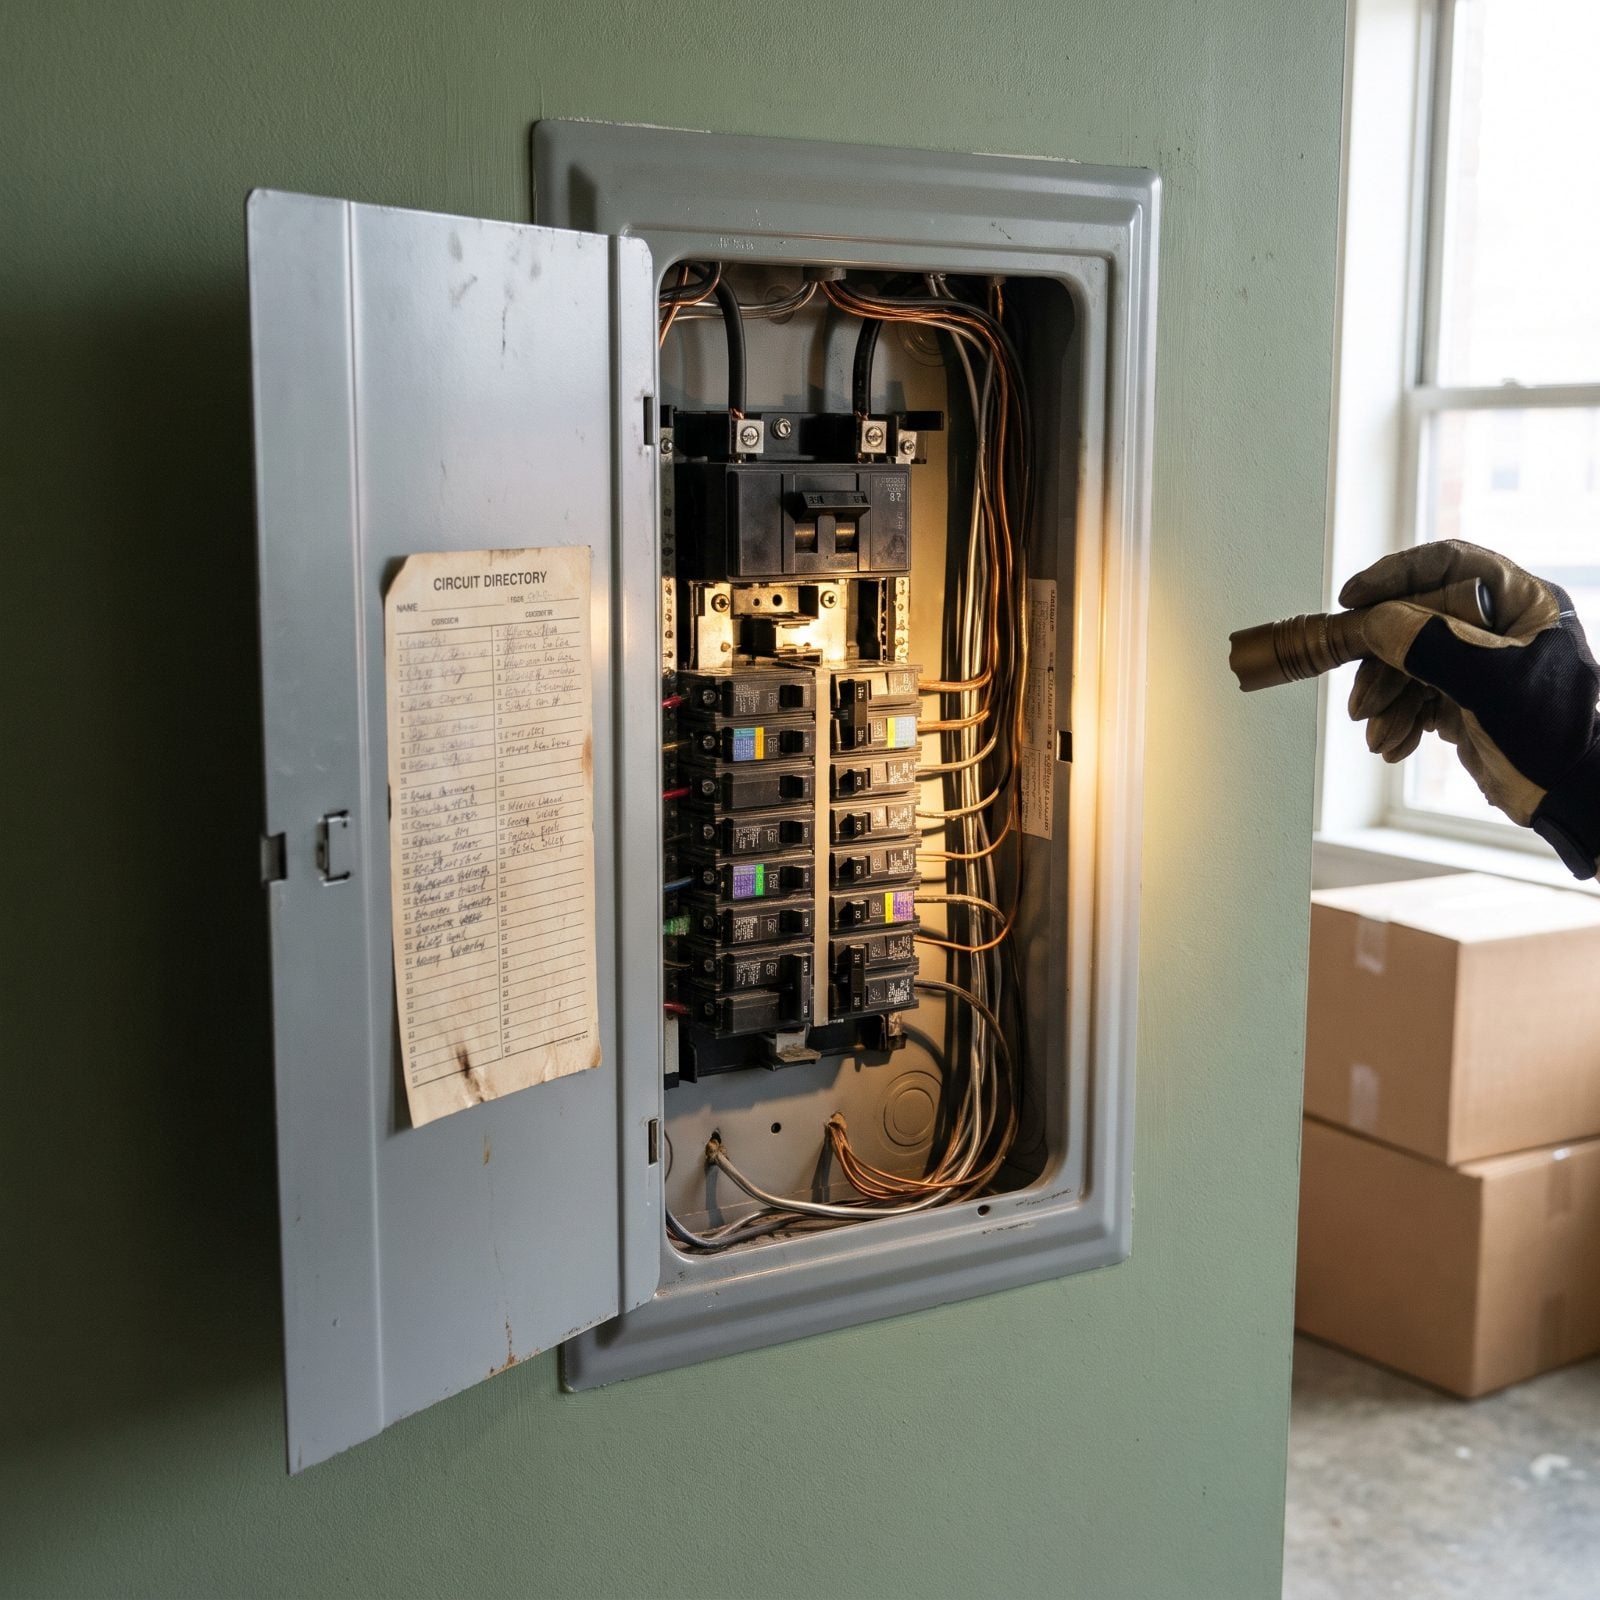
The panel runs the whole house, and most people never open the door until something trips at 11pm. Open it in daylight, calm, before boxes block the path.
If the inner cover plate is missing, the wiring and breaker terminals sit exposed behind the outer door. Don’t reach in; have an electrician fit a proper cover. Then check that the breakers look seated and nothing smells hot or looks scorched. A main breaker rated 100 to 200 amps covers most homes. If the handwritten directory taped inside the door is an unreadable scrawl, plan to relabel every circuit. Count the breakers and scan for trouble: corroded bus bars, double-tapped breakers with two wires jammed under one screw, or that dreaded rust streak telling you water’s been getting in.
Know where this thing lives and keep the floor in front of it clear — code wants roughly three feet of open space here. Your future self, fumbling in the dark, will thank you.
32. Label Any Unmarked Circuit Breakers
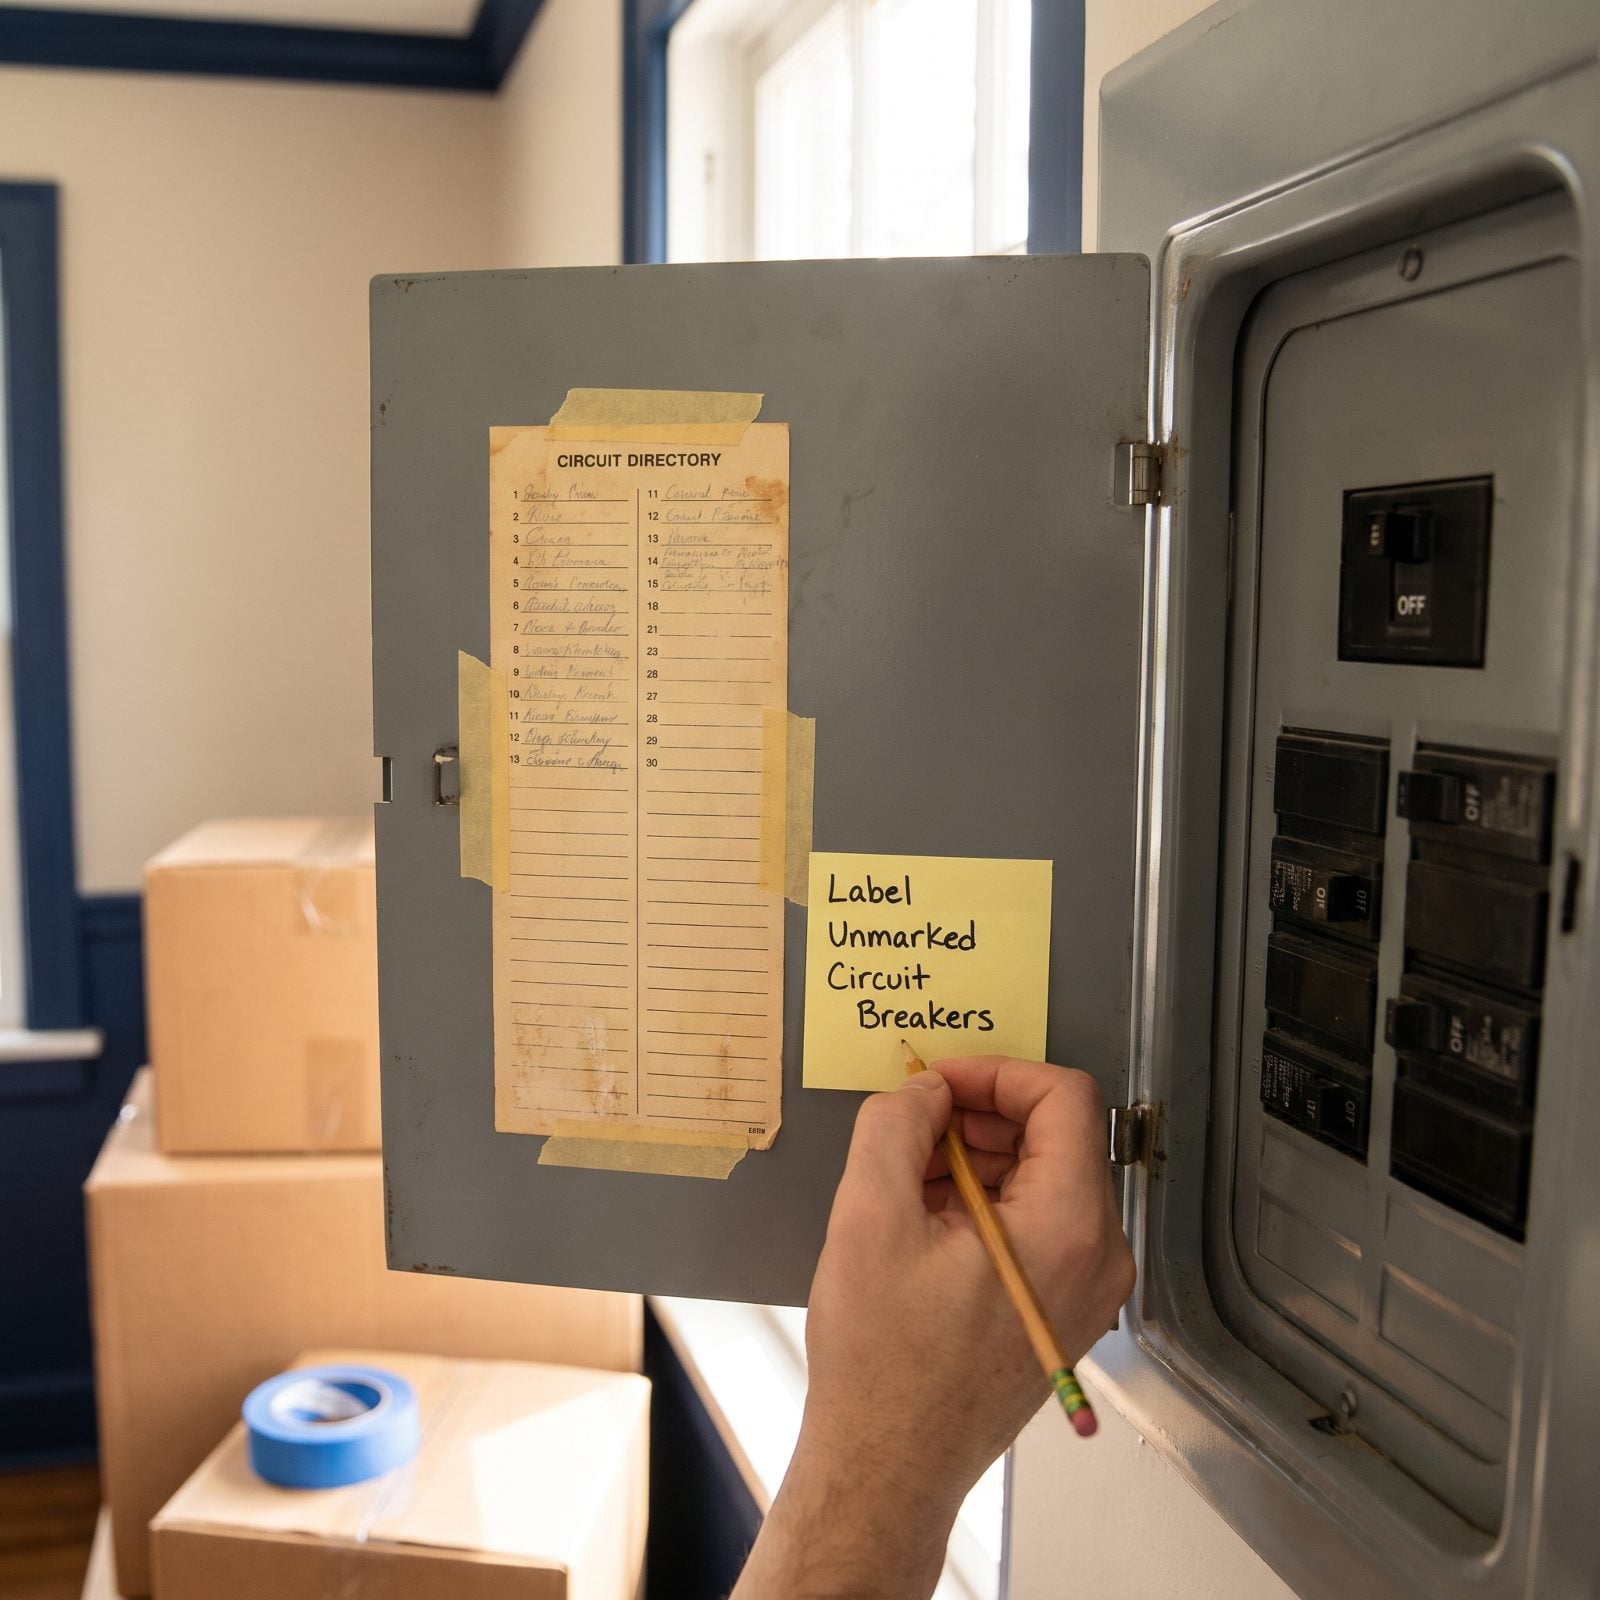
Half the panels out there have a directory that reads “kitchen?” and “bedroom maybe.” Mapping it properly takes one patient afternoon and spares you a hundred small frustrations down the line.
Grab a helper and a phone. Flip one breaker off, then walk the house finding what died — which outlets, which lights, the microwave, the garage door. Call it out, write it down, flip it back. A plug-in outlet tester or a cheap lamp confirms dead circuits fast.
Here’s what trips people up: outlets don’t always group by room. One breaker might run half a bedroom plus the bathroom across the hall. Label by what actually loses power, not by what you assume should.
31. Find The Main Gas Shutoff
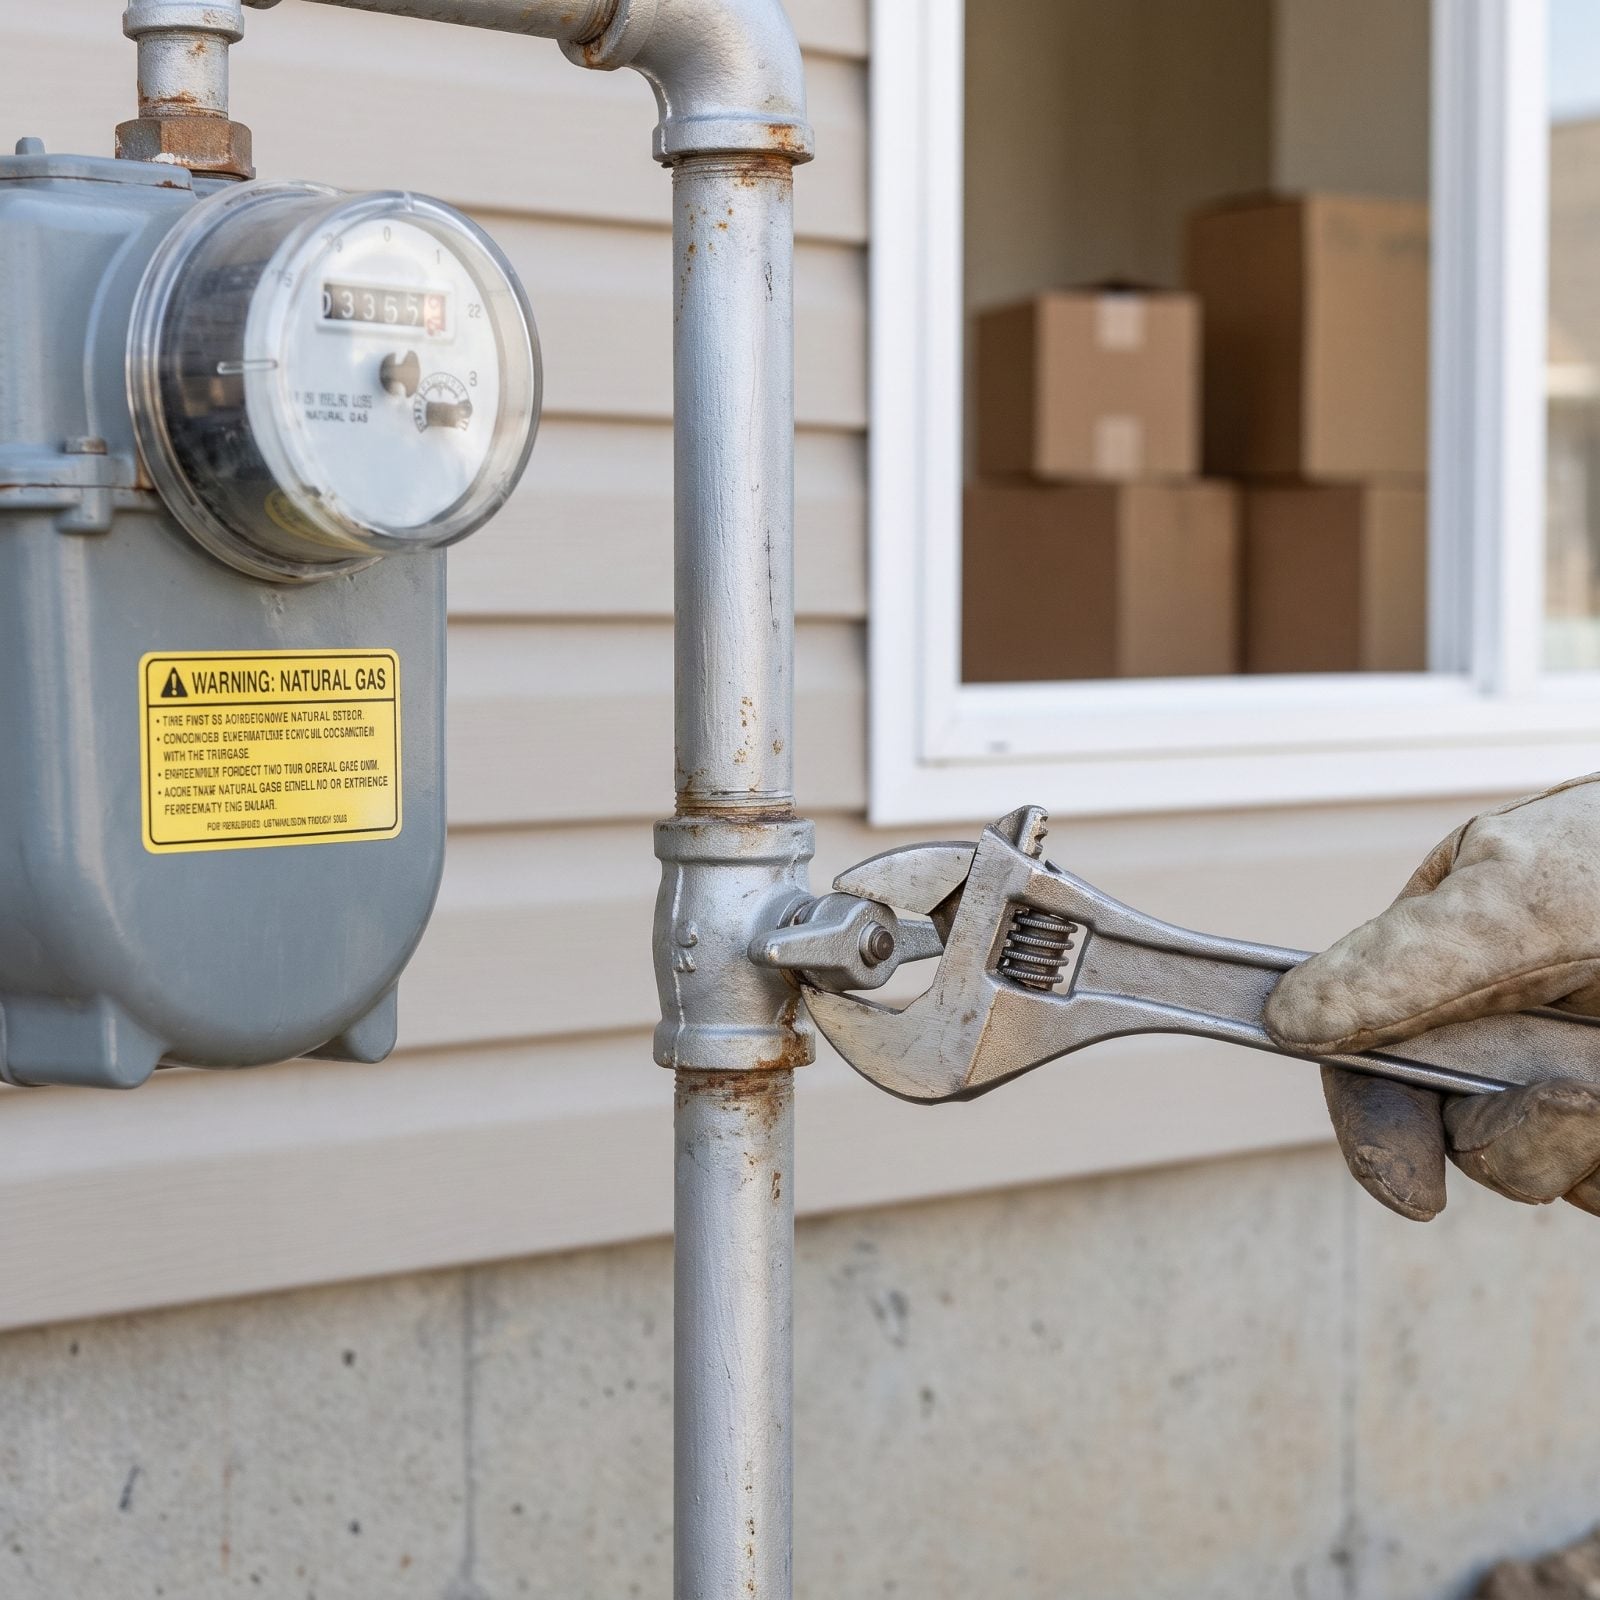
If the house runs on gas, this is non-negotiable knowledge. Smell that rotten-egg warning and freeze because you don’t know where the valve hides? That’s exactly the wrong moment to be learning.
The main shutoff sits on the gas pipe near the meter, usually outside — a small valve stem jutting out of a tee fitting on the pipe. A quarter turn shuts it off. Most need a wrench to turn, and a sturdy adjustable wrench clamped on will do the job, so keep one hanging nearby, not buried in a toolbox three boxes deep.
Don’t flip it off just to practice unless you know how to relight every pilot. Locate it, confirm the wrench fits, move on. Smelling gas? Leave first. Call the utility from outside.
30. Locate The Sewer Cleanout Access
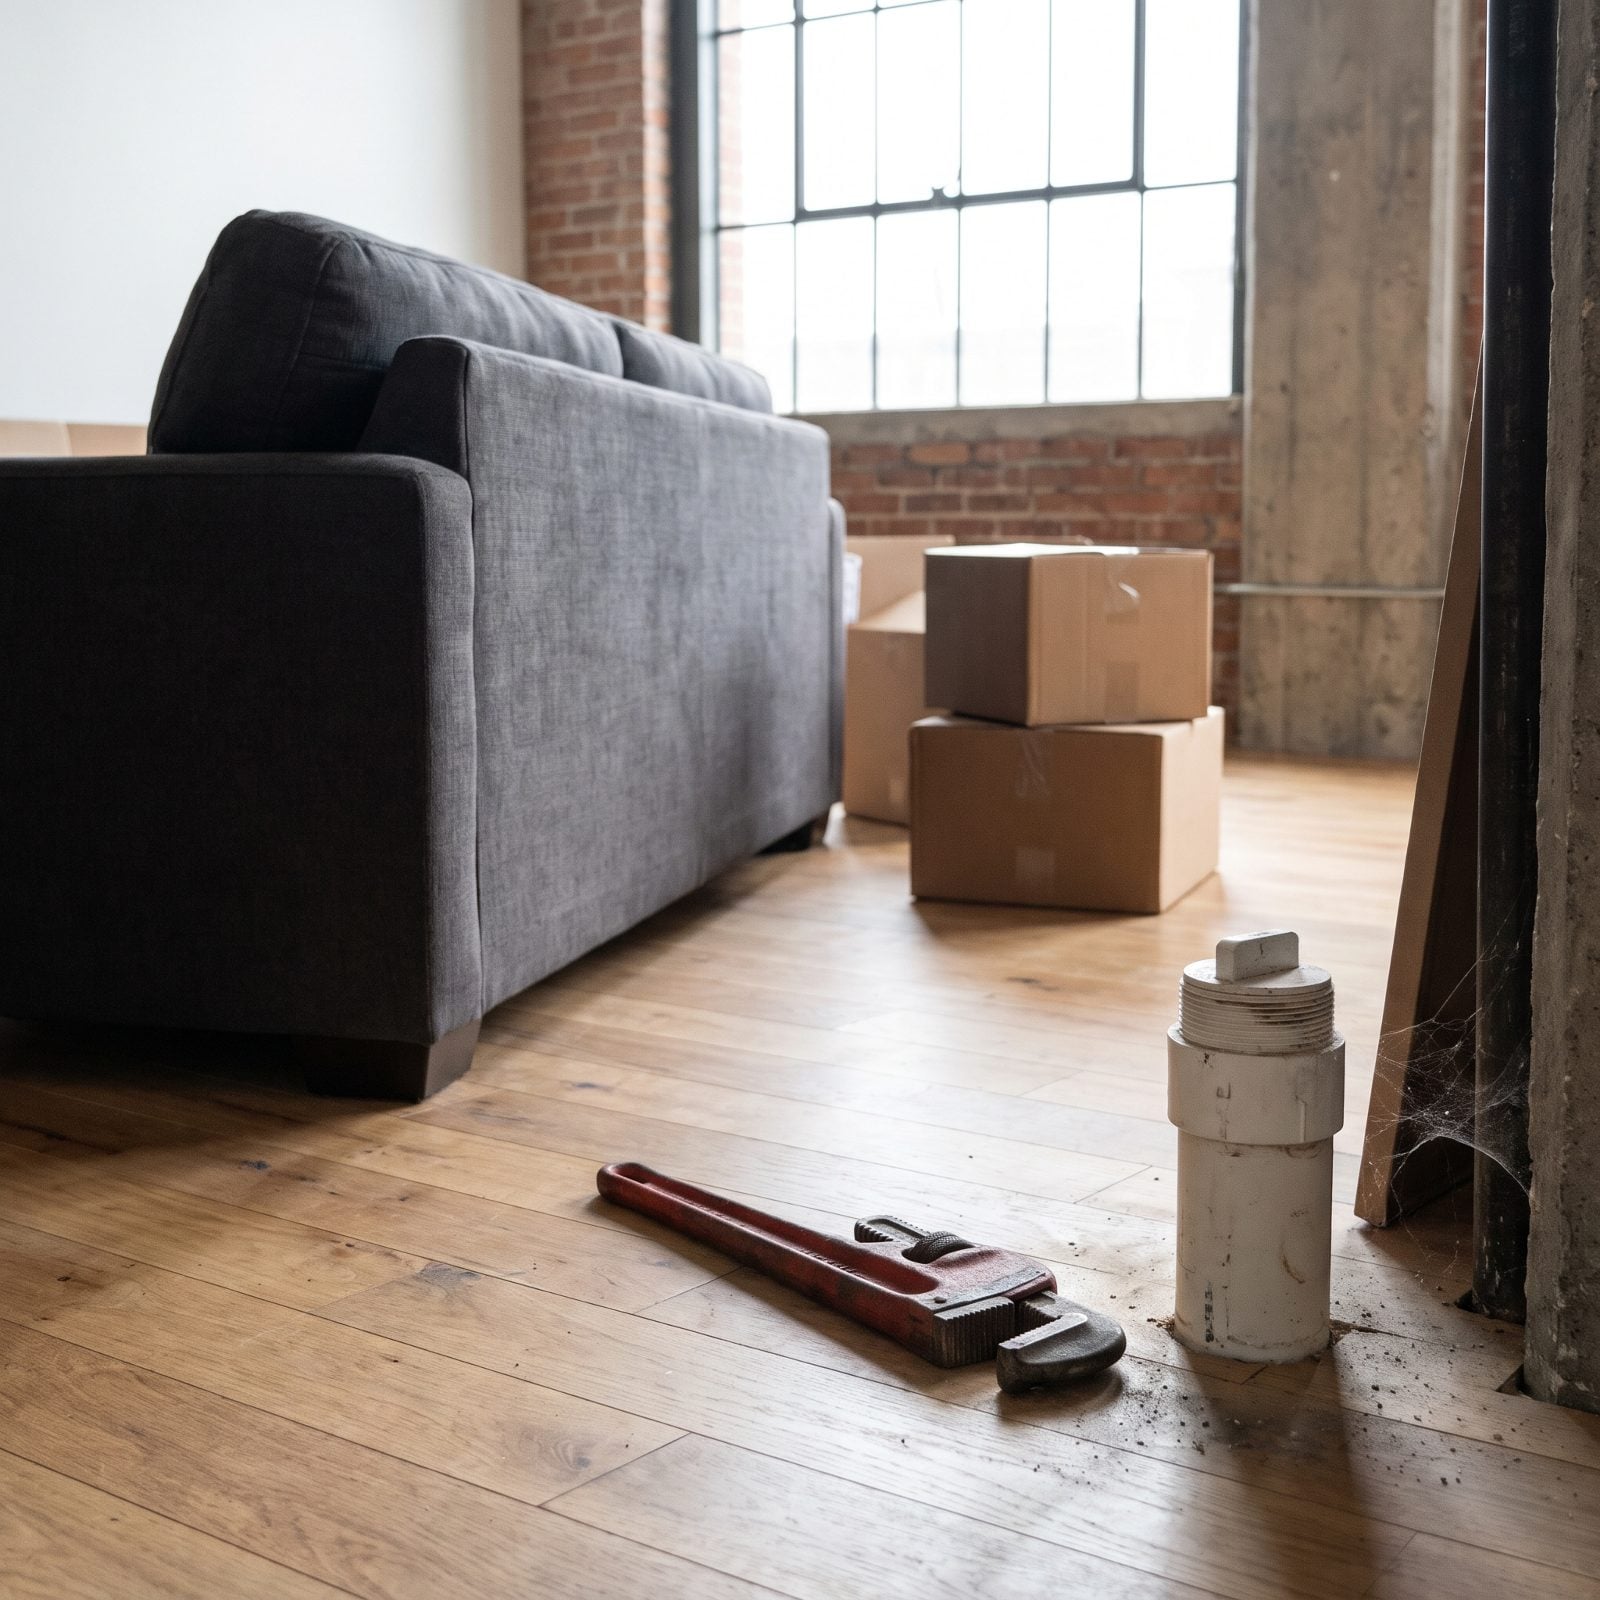
Nobody thinks about the sewer cleanout until a drain backs up and a plumber asks where it is. Then you’re both crouched in the yard, poking at the dirt, while the sink overflows upstairs.
It’s a capped pipe — usually white PVC or a brass plug — giving direct access to the main sewer line. Check the basement near where waste pipes exit, in a utility area, or outside along the foundation. Knowing its spot can shave real money off a drain-clearing call, since the plumber heads straight for it instead of hunting.
29. Turn On Every Indoor Faucet
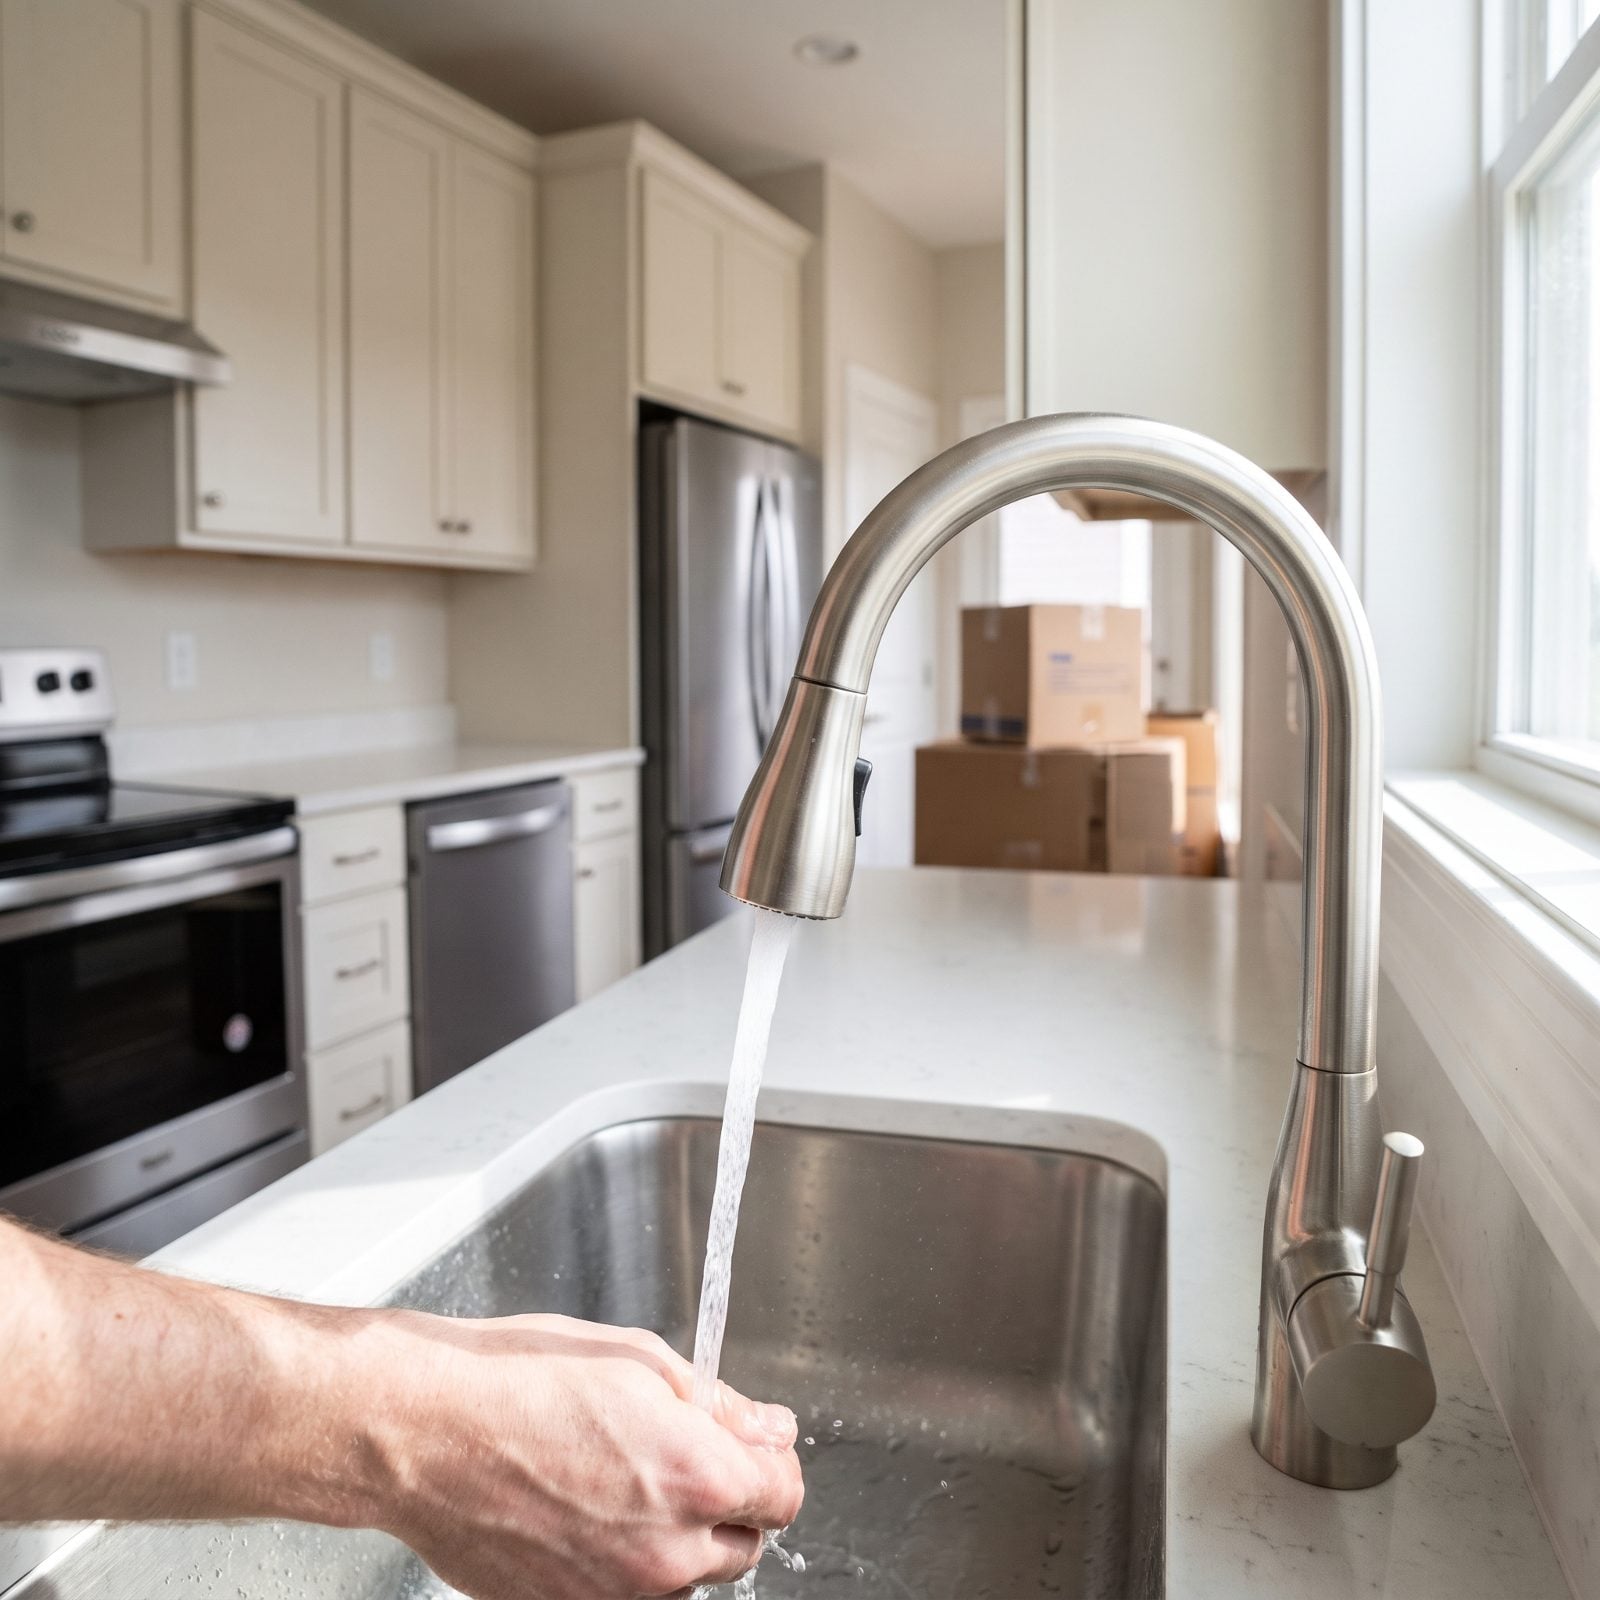
Run every faucet the day you arrive — hot and cold, kitchen to the farthest bathroom. You’re testing three things at once: pressure, temperature, and what the water looks like coming out.
Let it run a full minute. Brown or rusty water in a vacant house usually clears, but if it stays cloudy or the pressure barely trickles, you’ve found something worth chasing before you unpack a single box. Note how long hot water takes to reach the distant taps, because a slow crawl can mean an undersized or aging heater. The kitchen is the natural place to start since you’ll use it most and spot issues fastest.
Sputtering and spitting air? A line somewhere is full of it — often harmless after a vacancy, sometimes not.
28. Check Beneath Sinks For Leaks
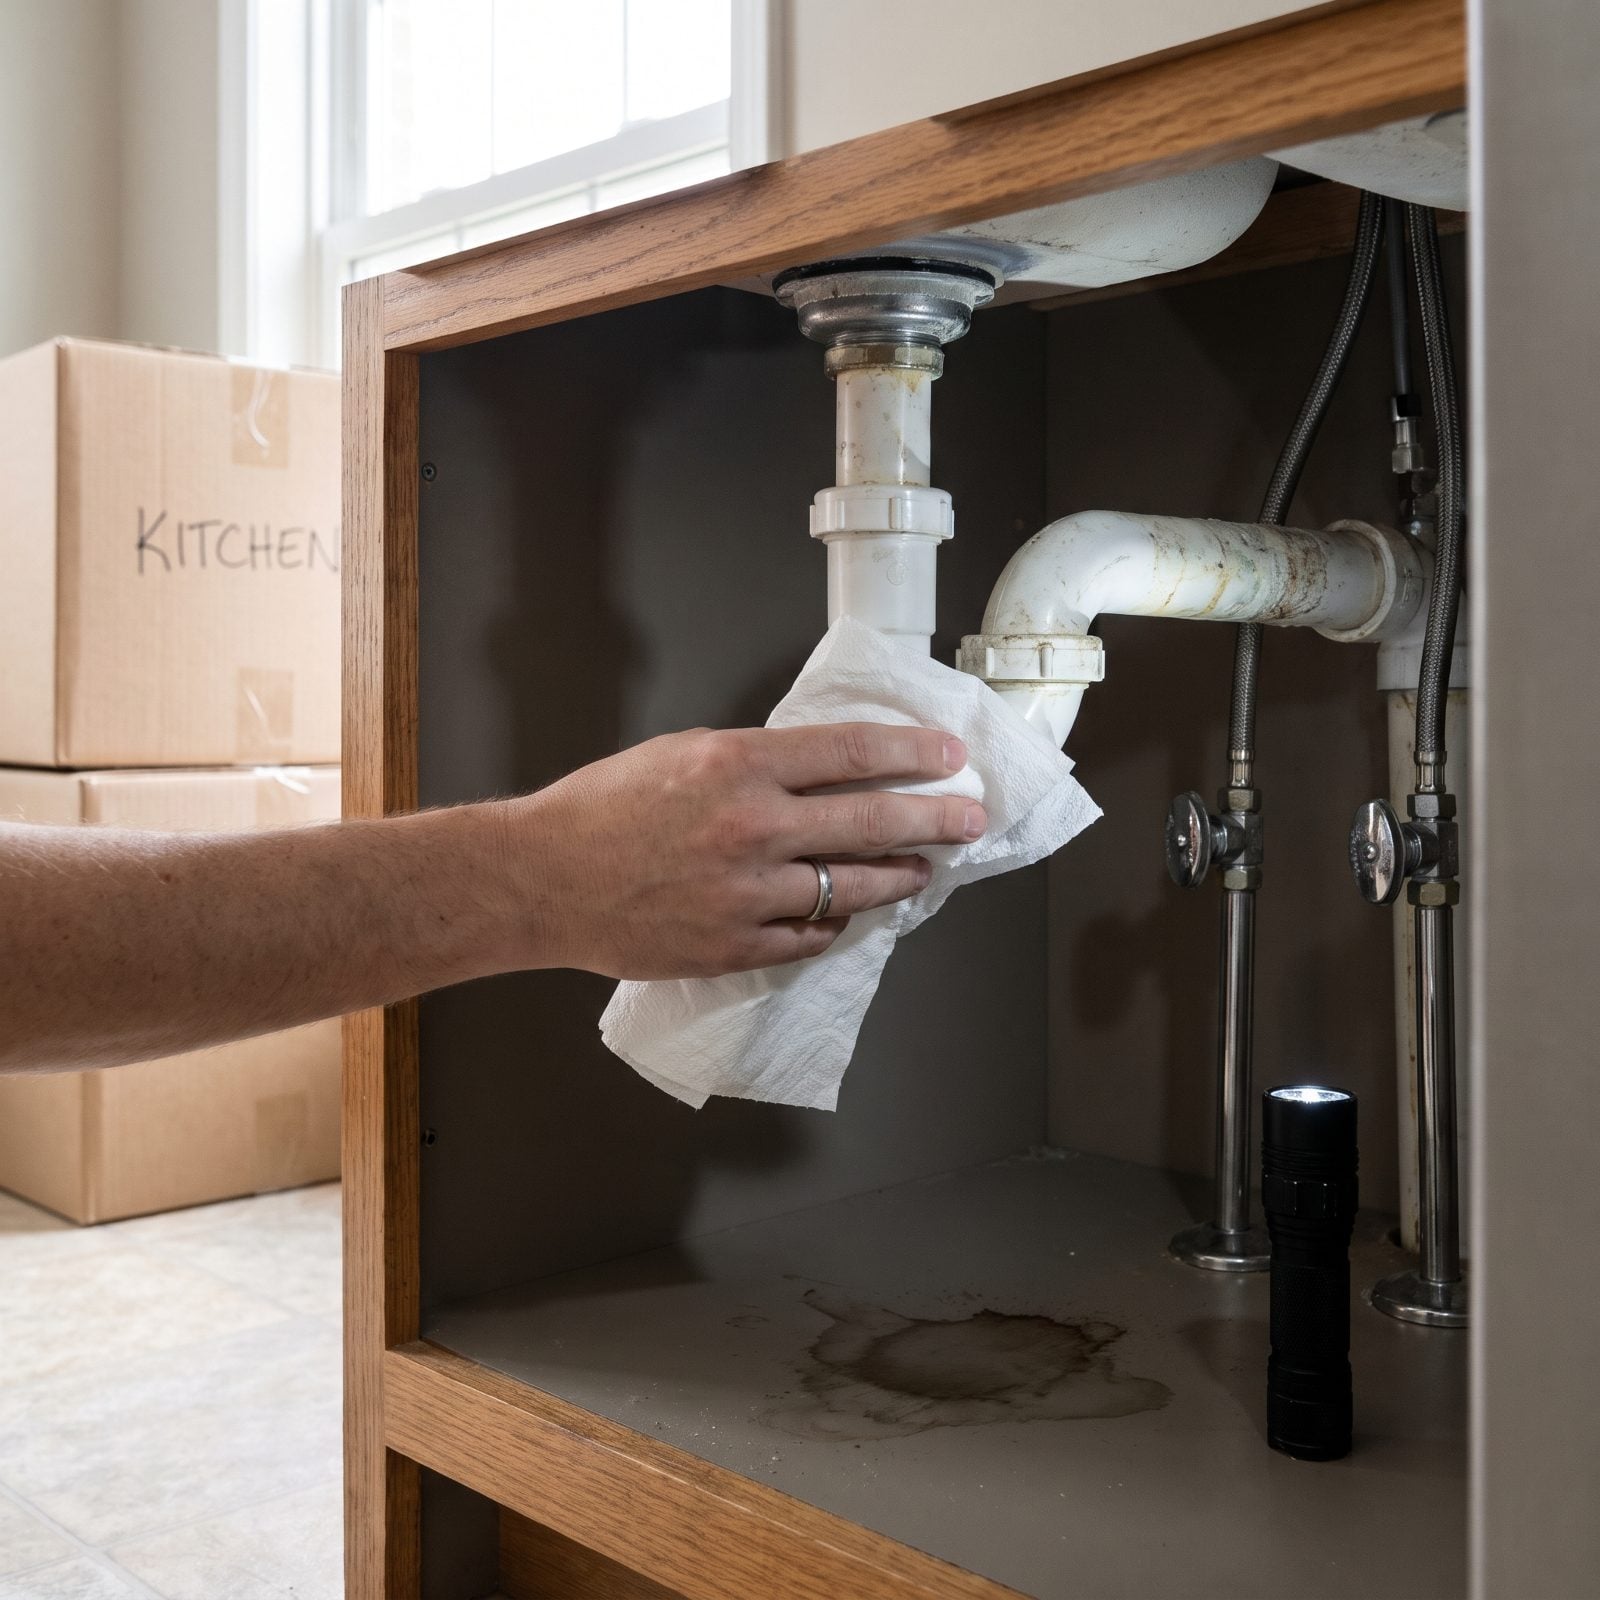
Under-sink leaks are sneaky. They don’t flood — they weep, slow enough that the cabinet floor swells and blackens before anyone catches the smell.
Open every sink cabinet and look at the base. A warped, stained, or spongy bottom means a leak that’s been working away for months. Run the water a minute, dry the trap and supply joints with a paper towel, then watch for beads forming. Check the shutoff valves too; those little chrome stops are a classic slow-drip culprit.
27. Flush Every Toilet Twice
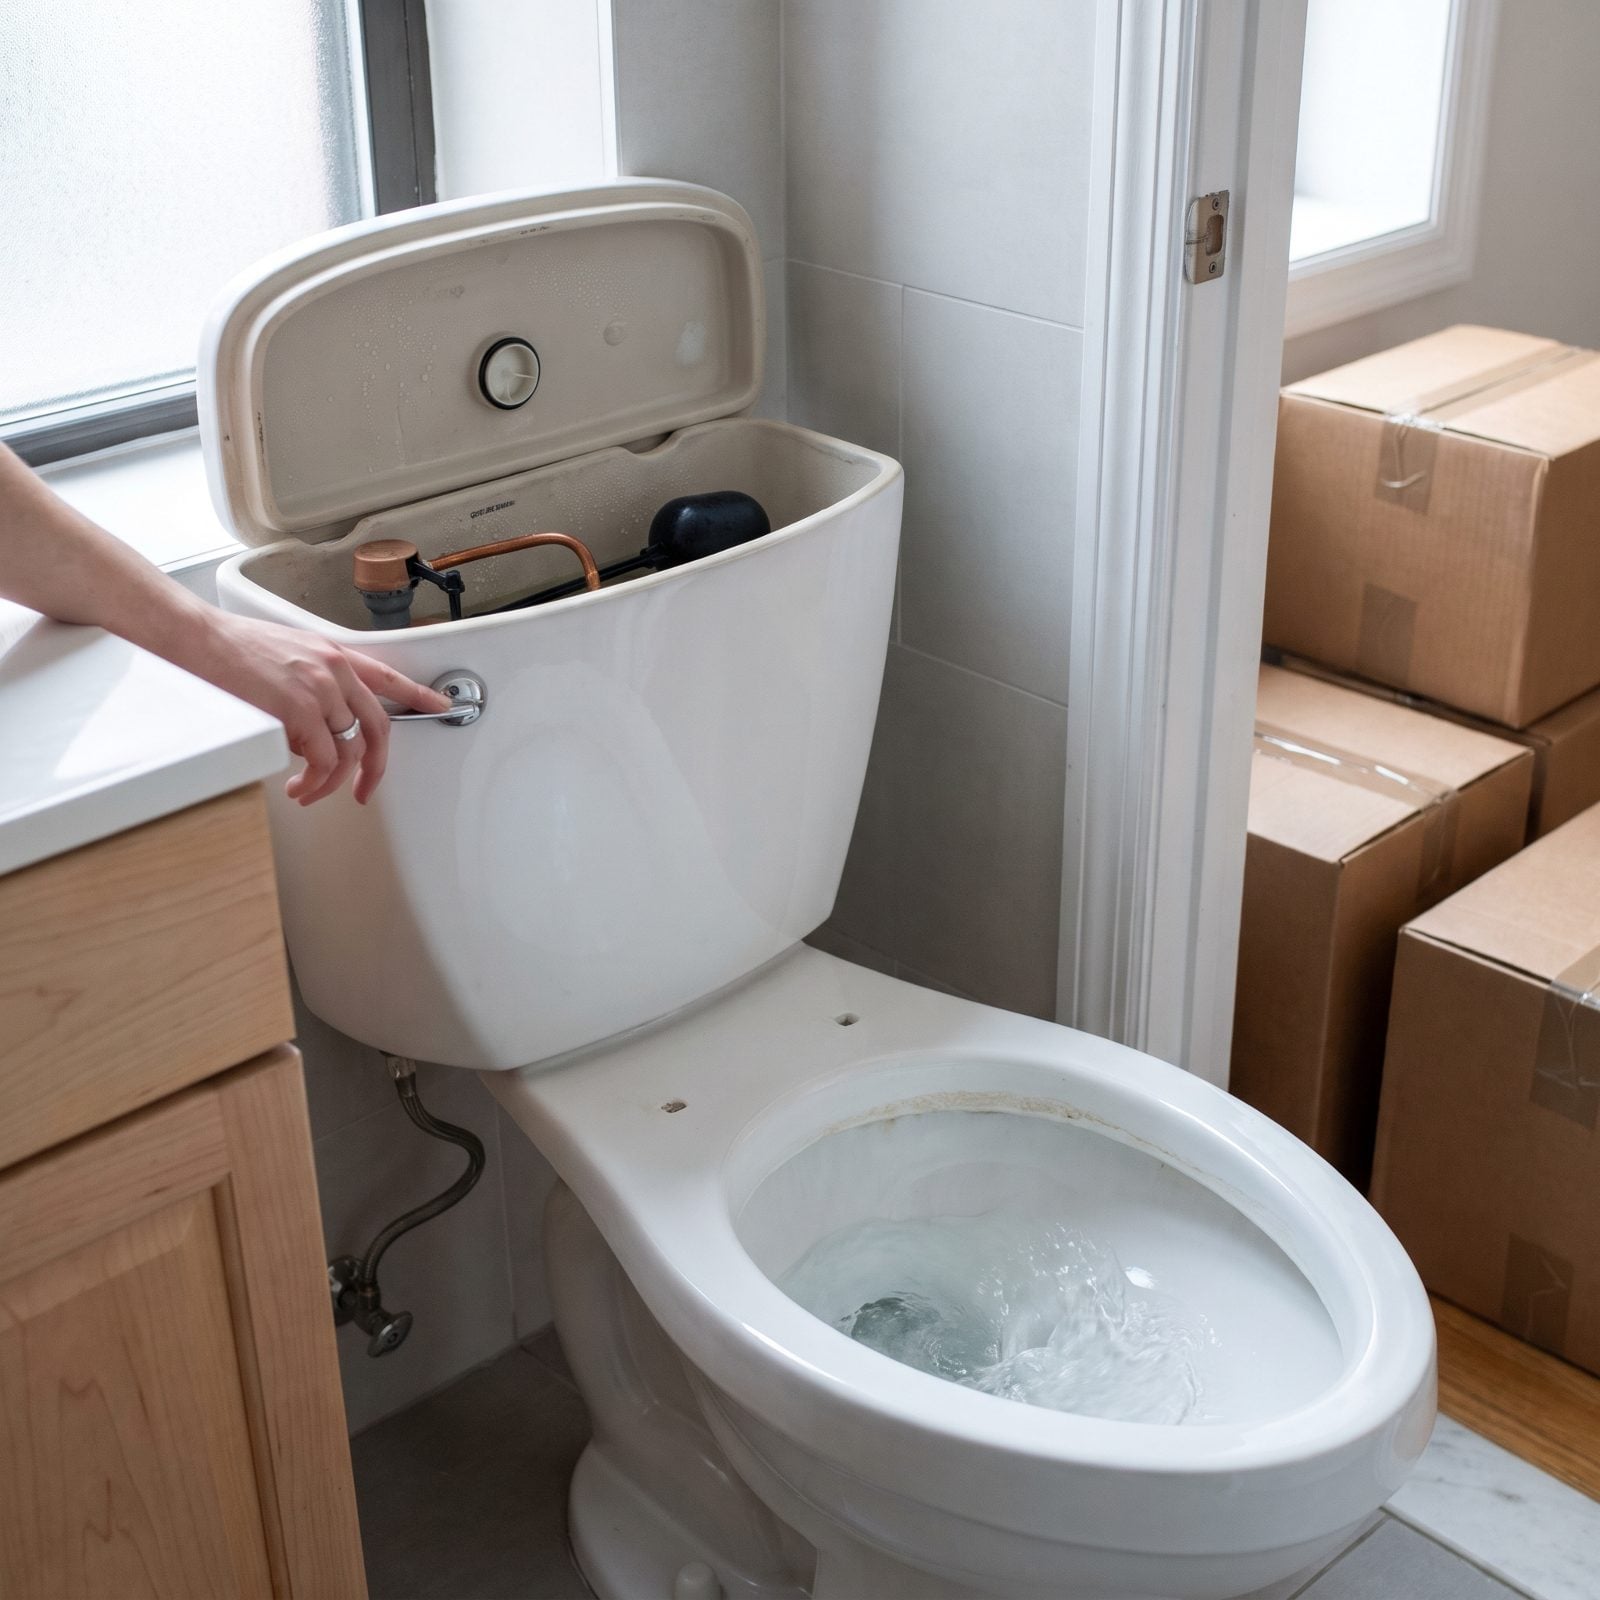
One flush tells you the toilet works. Two flushes tell you whether it works twice — a different and more useful fact.
Flush, watch it refill, flush again. You want the bowl clearing with force, the tank filling and shutting off cleanly, and nothing still running after it should stop. A toilet that hisses or trickles long past refilling is leaking, and a running one wastes a shocking amount of water over a month. Lift the tank lid and watch the flapper seat fully. And while you’re down there, rock the bowl gently with your knees. If it shifts, the wax ring or floor flange may be giving out — a repair you’d much rather catch before it rots the subfloor.
26. Test Bathtub And Shower Drains
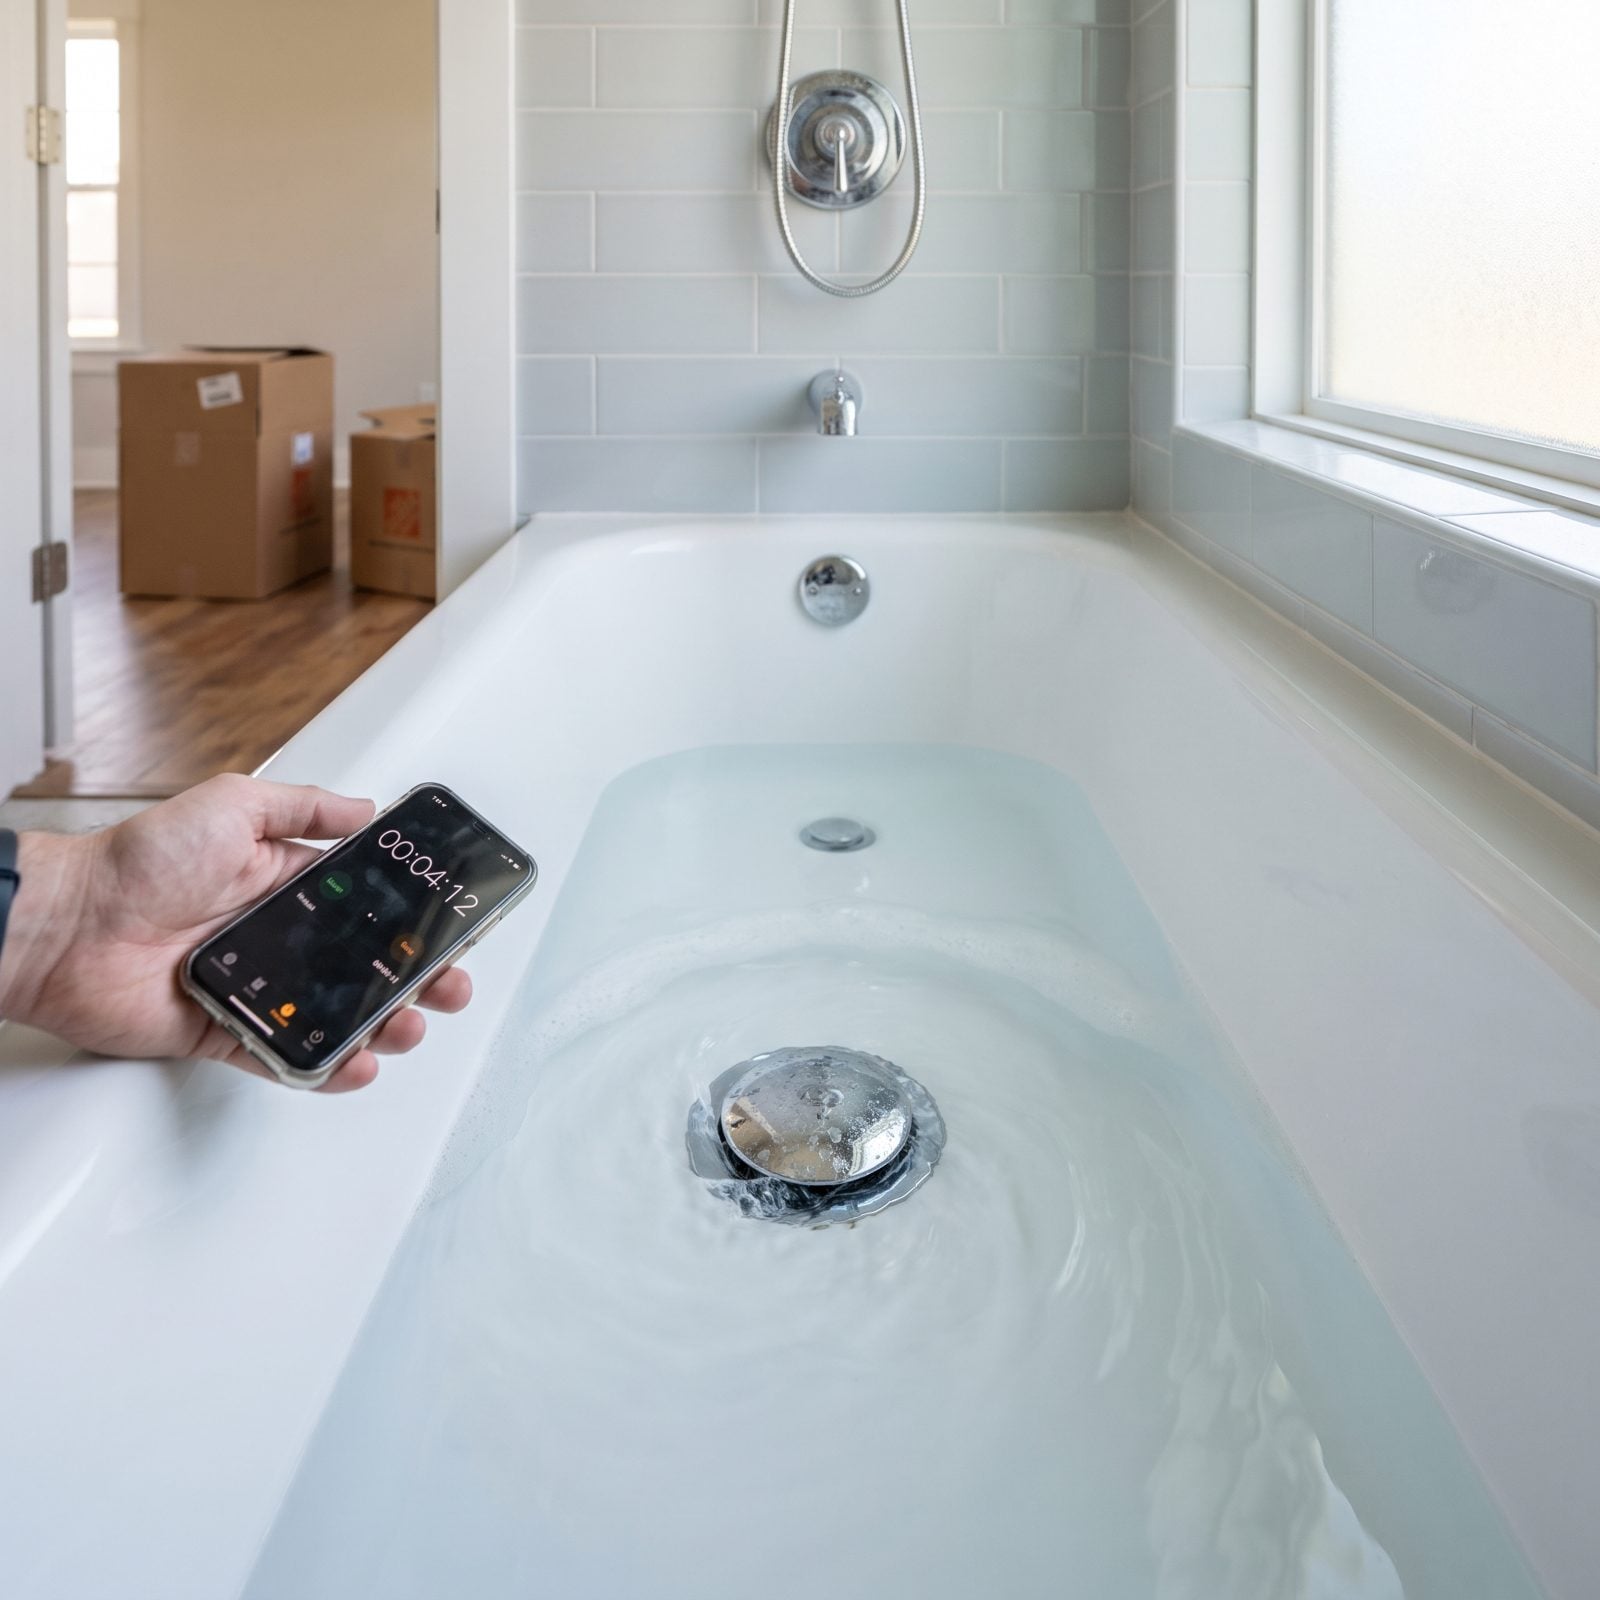
Slow drains are the house whispering about a clog that’s already halfway formed. Better to hear it now than ankle-deep in gray water during your first shower.
Fill the tub a few inches, pull the stopper, and watch. Water should spin down fast and clear — no gurgle, no backup bubbling up somewhere else. Do the same for the shower. A sluggish drain in a vacant home usually means hair and soap left by the last owners, which is an easy fix. But a drain that burps air or backs into a nearby fixture points at the main line, and that is neither easy nor cheap.
A drain that pulls clean and silent is one less surprise waiting in the walls.
25. Inspect The Water Heater For Leaks
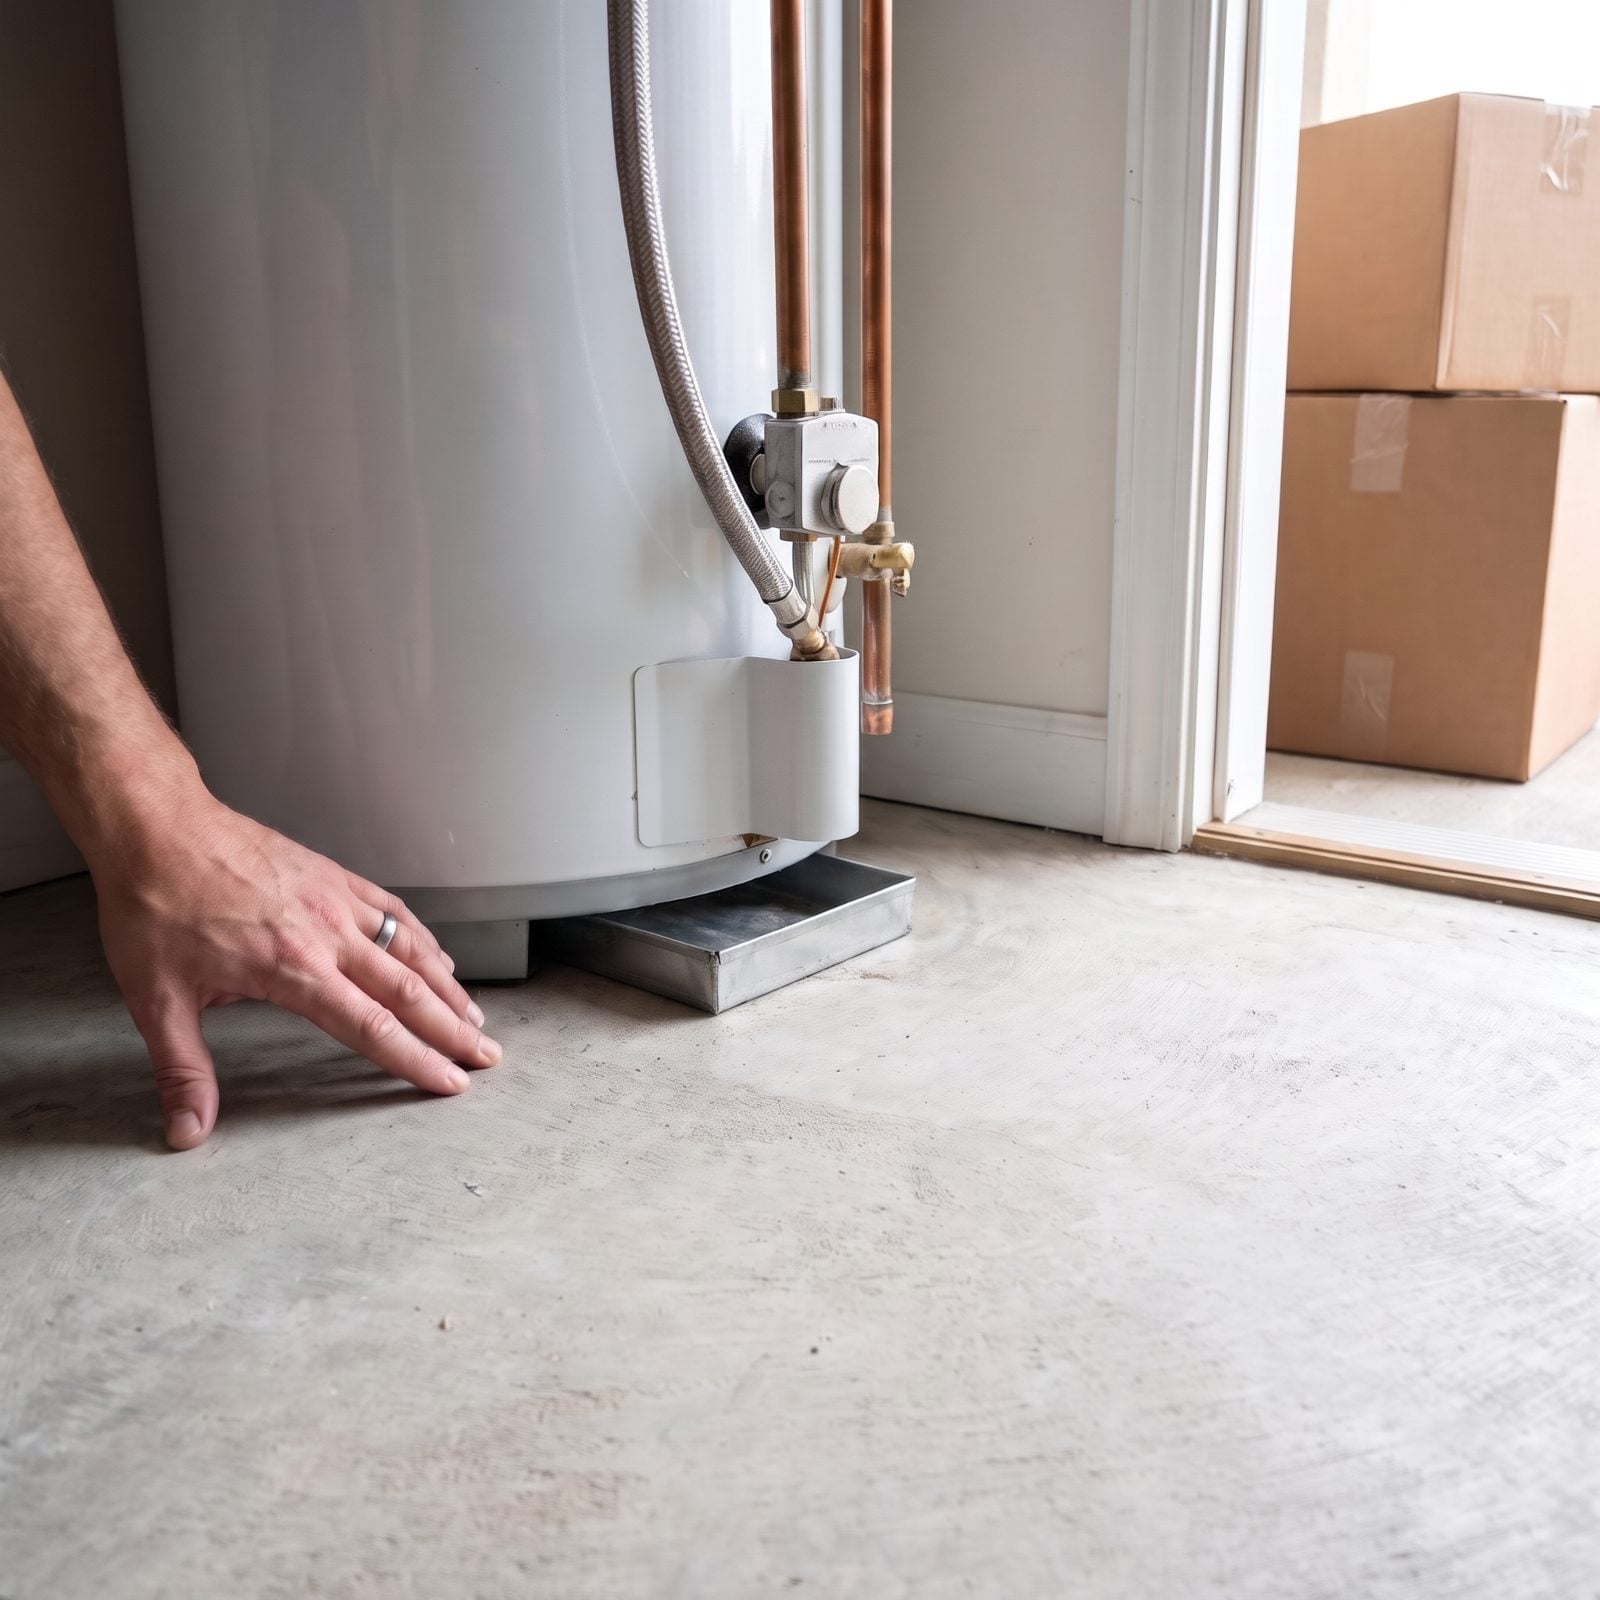
Water heaters rarely announce their failures. They weep quietly from a seam or a fitting for weeks before they let go, and by the time you spot the warped floorboards the tank is already done.
Get down low with a flashlight and run your hand along the base, the brass fittings, the copper pipes and the braided line running down the side of the tank, and the metal drain pan poking out beside it. Dry is good. Any damp, any white crust of mineral deposit, any rust streak running down from a joint means a slow leak that’s been at it a while.
Check the manufacture date on the label while you’re down there. A storage tank like this runs roughly a decade. If yours is pushing the limit and sitting in a finished space, budget for replacement now rather than mopping later.
24. Check Water Pressure At Multiple Fixtures
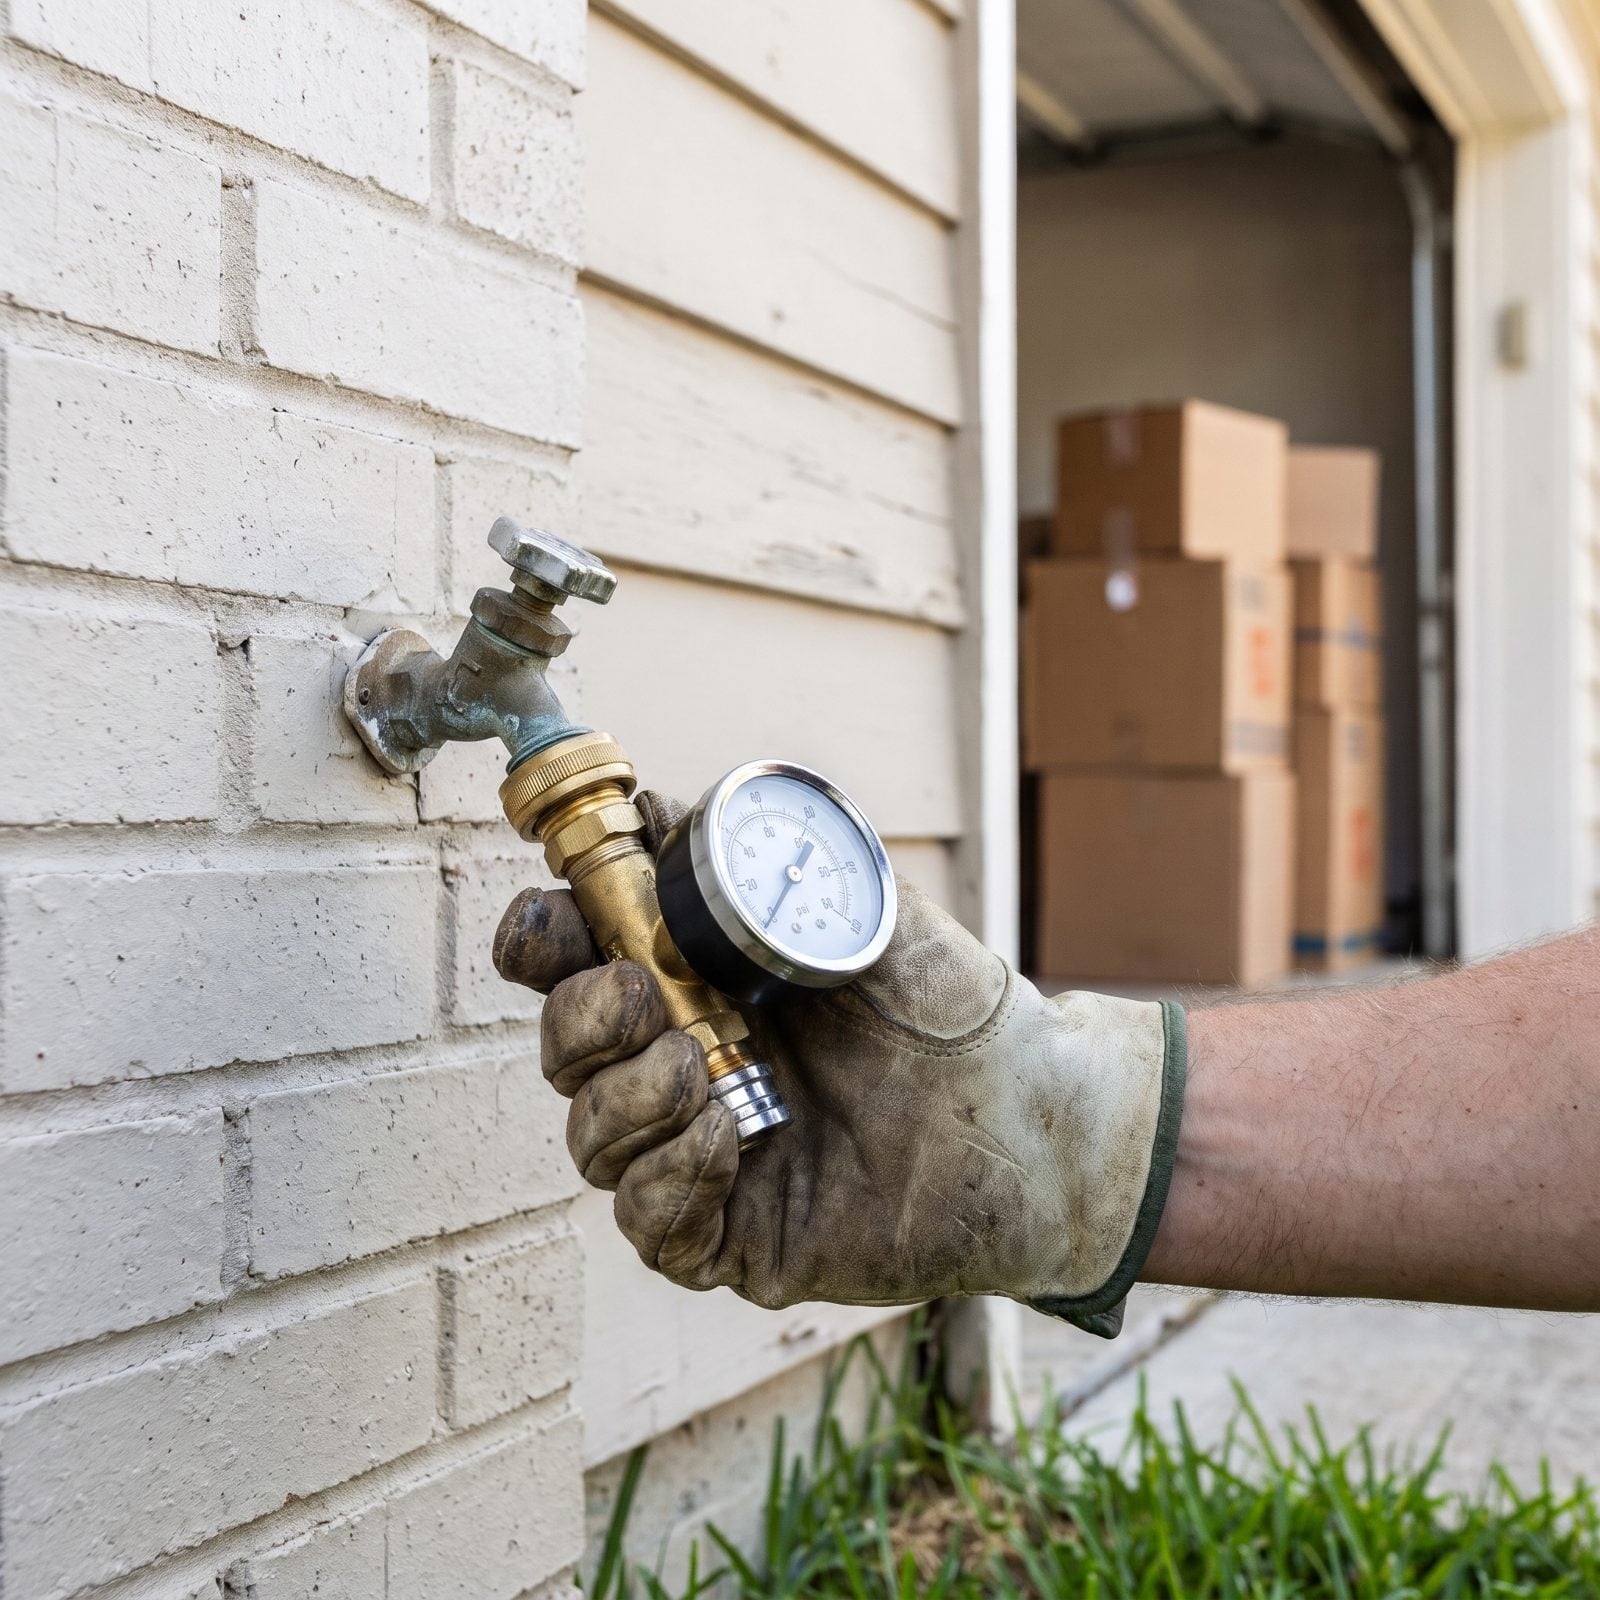
Weak pressure turns every shower into a disappointment and every dishwasher cycle into a slog. Test it properly instead of guessing.
A cheap brass pressure gauge screws right onto an outdoor hose bibb and costs less than lunch. Healthy residential pressure sits between 40 and 60 psi. Below 40, fixtures feel anemic. Go above 80 and you’re quietly shredding your appliances, hoses, and valves from the inside out.
Here’s the part most new owners skip. Open two fixtures at once — run the kitchen tap while someone flushes a toilet or starts the shower. If the stream collapses to a trickle, you’ve got a supply or pipe-size problem, not just a pressure number. Static pressure can read fine and still fall apart the second real demand shows up.
If the pressure checks out and you still want a better shower, most of our readers said they would choose a combo shower head, with rain heads picked by only 11%.
23. Verify The Sump Pump Activates
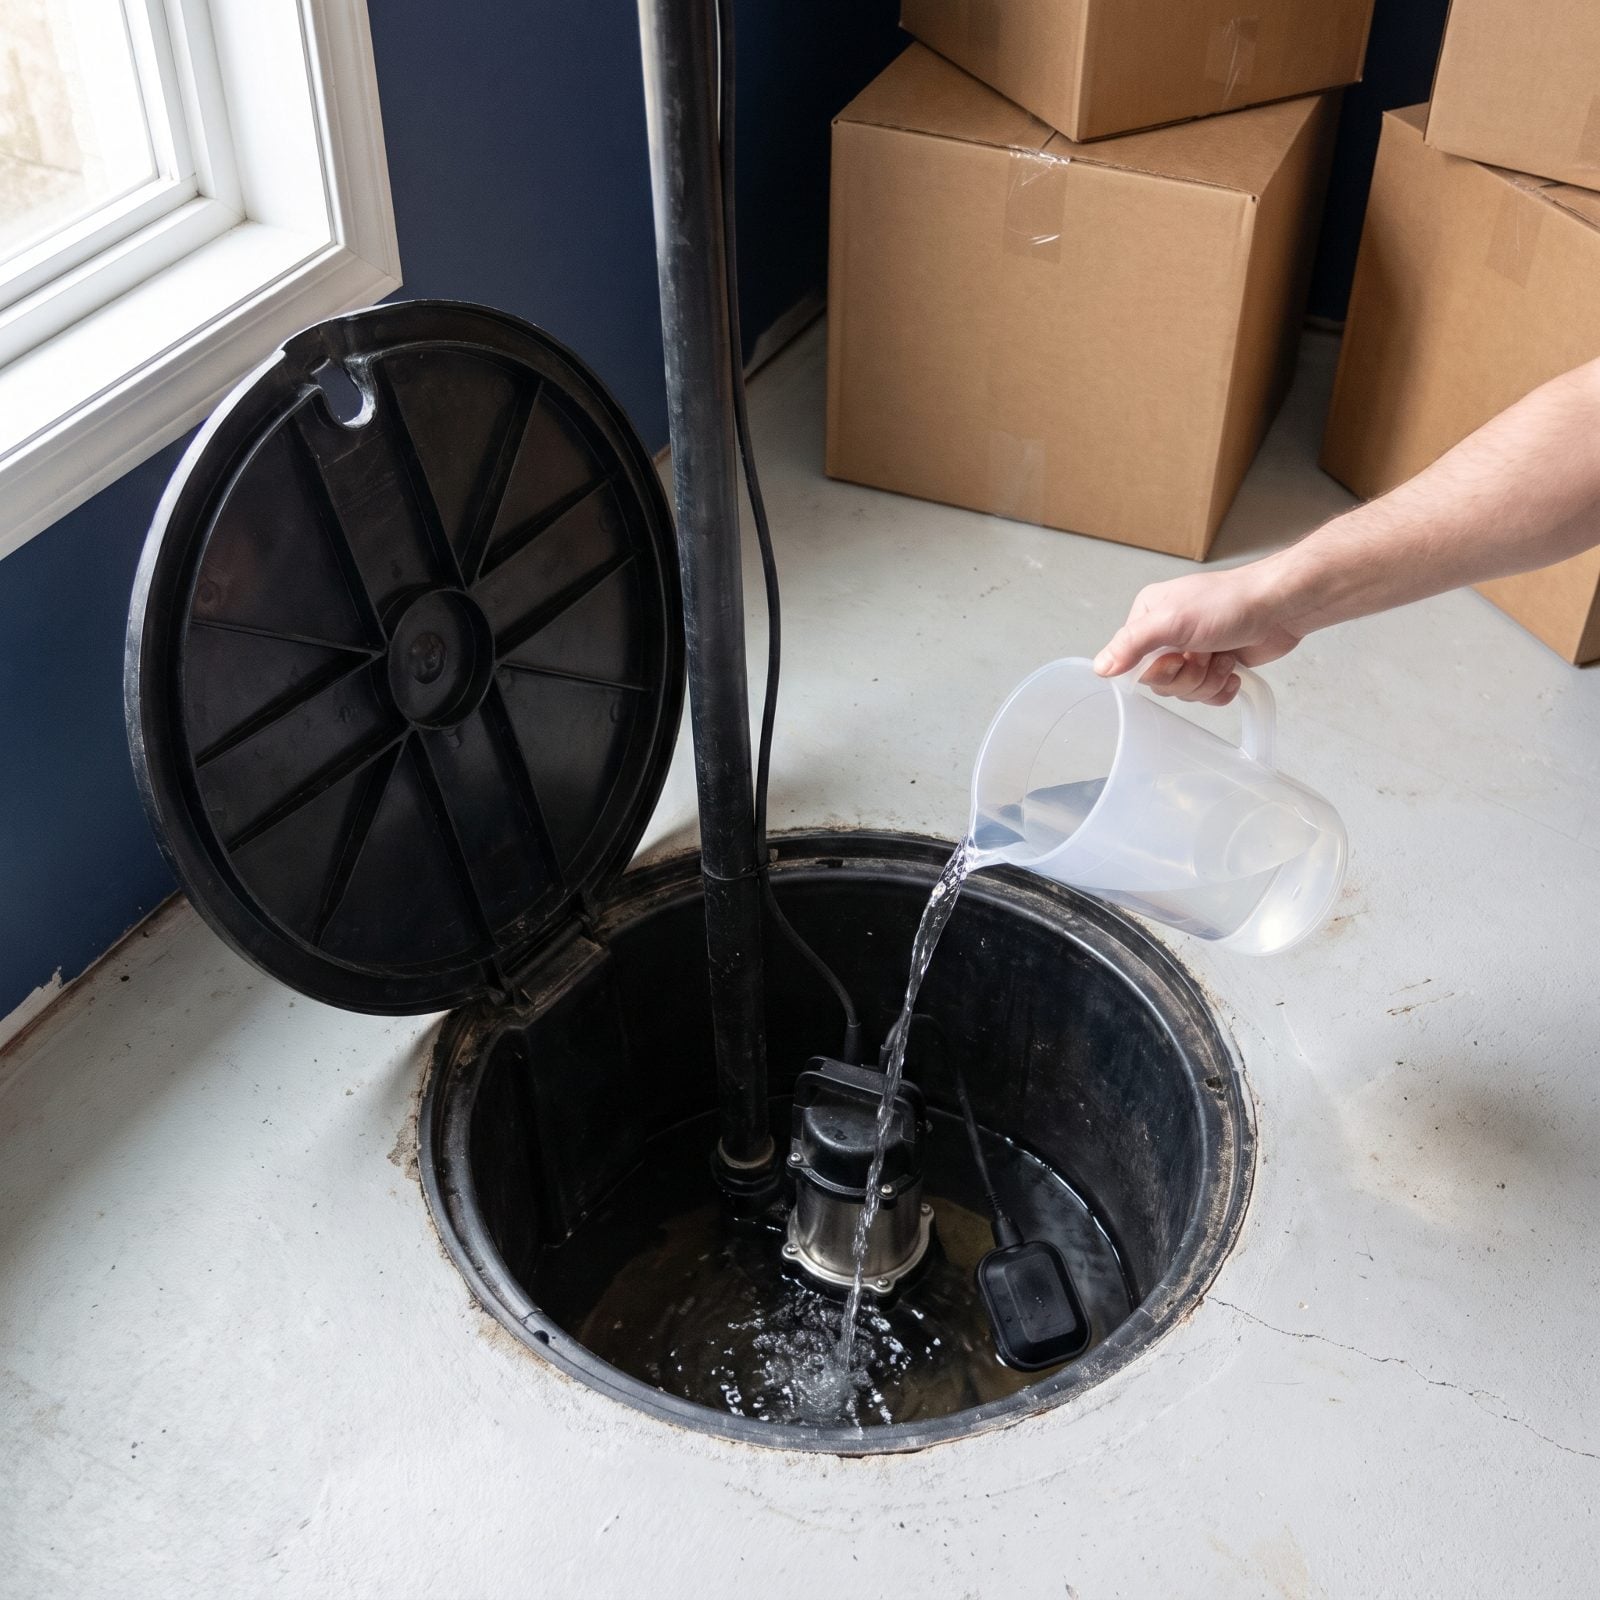
A sump pump sits in a hole doing nothing for months, which is exactly why nobody tests it until the basement is already ankle-deep. Don’t learn this the expensive way.
Lift the pit lid and pour a bucket of water in slowly. The float rises, the pump kicks on with a hum, water vanishes down the discharge pipe, and then the thing shuts itself off. The whole cycle takes seconds.
If it doesn’t start, if it grinds without pumping, or if the float is jammed against the pit wall, you’ve got a dead pump on your hands. Then walk outside and confirm the discharge pipe dumps water well away from the foundation — not into a puddle that drains right back where it came from.
22. Test The Basement Floor Drain
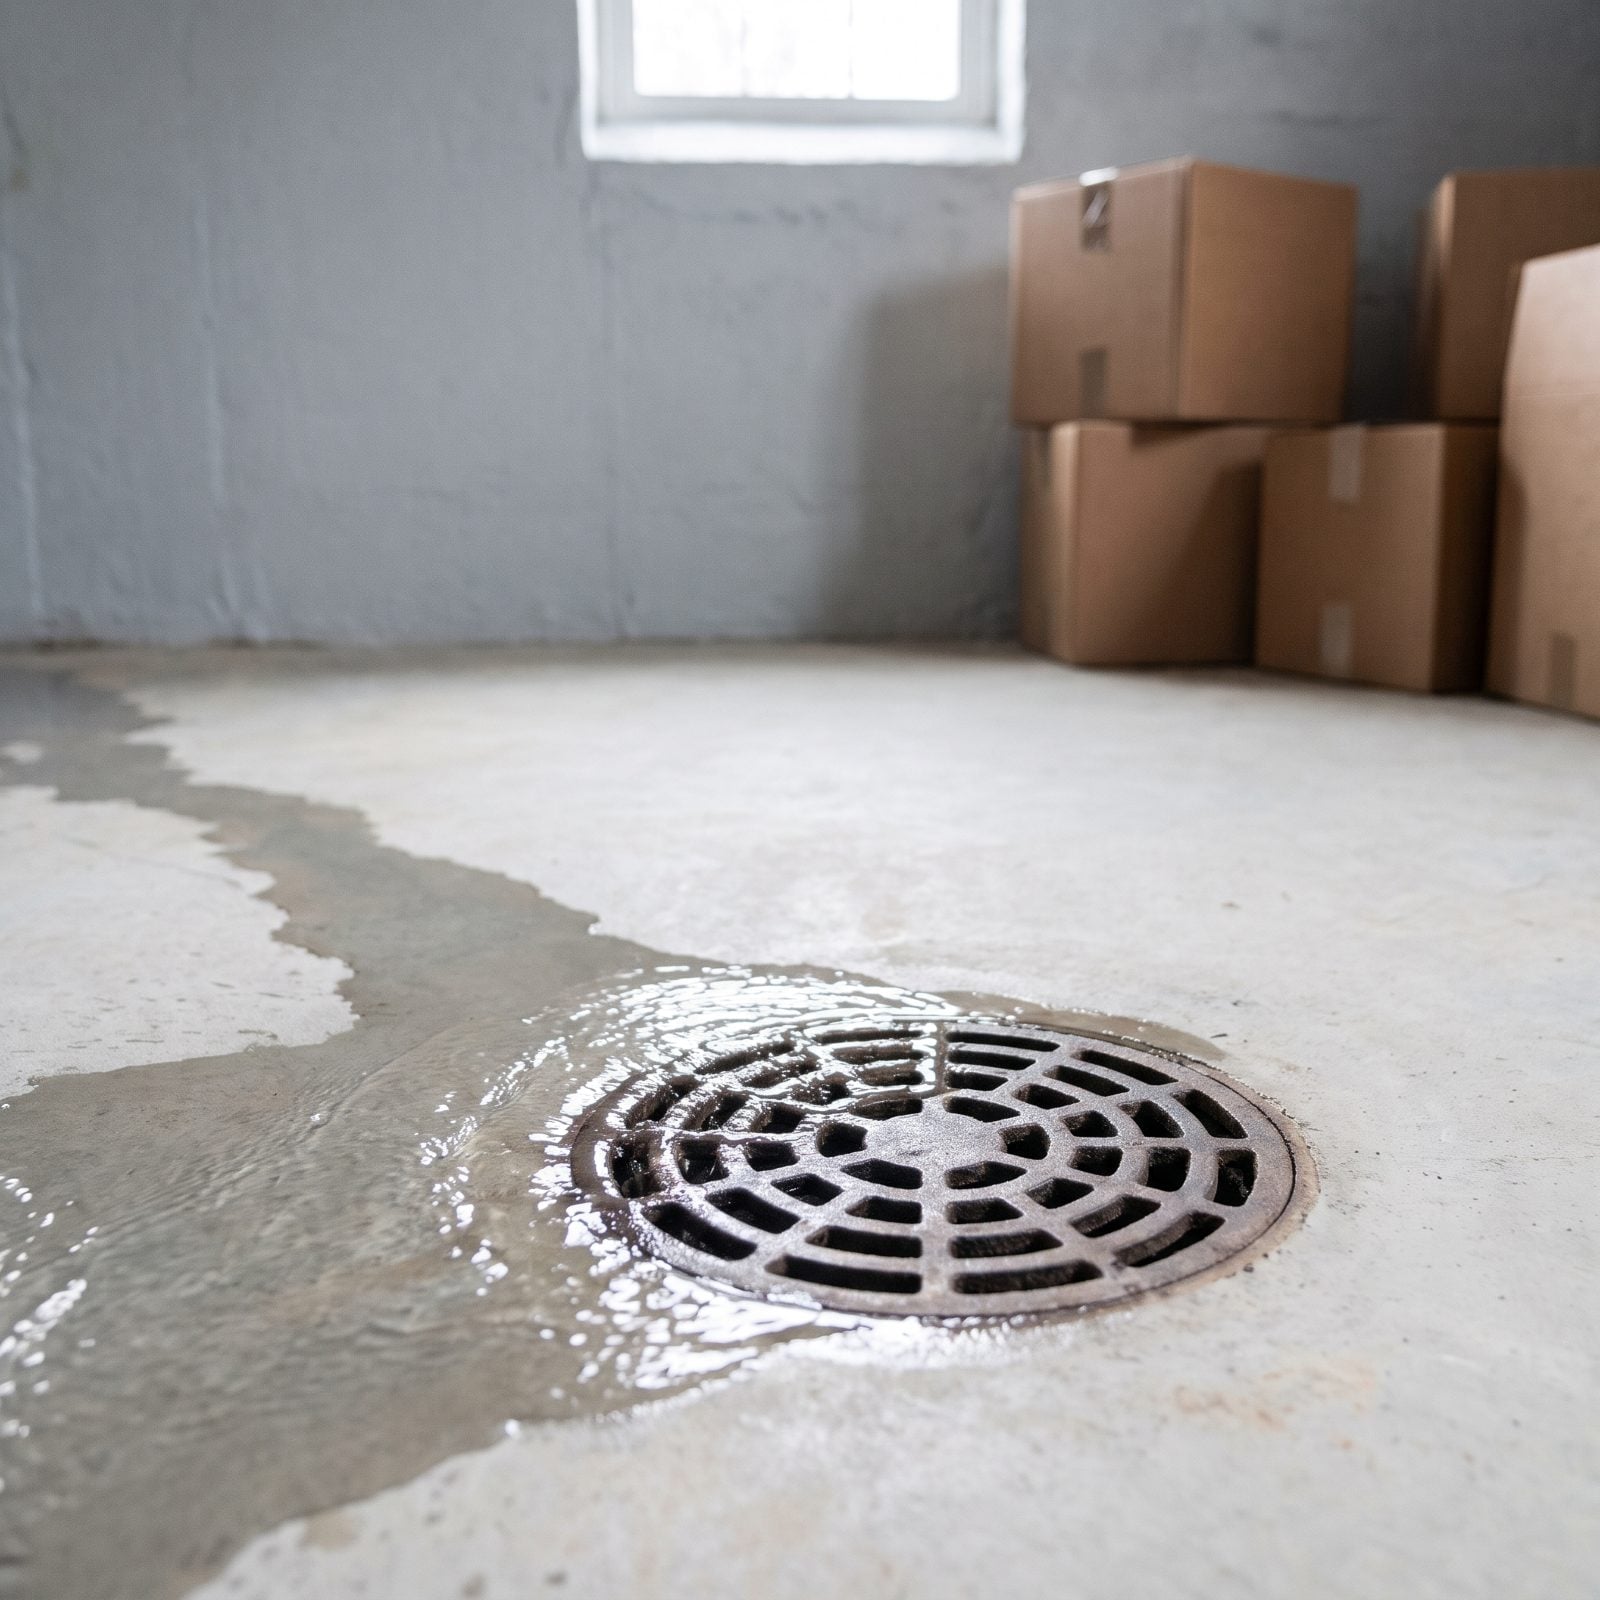
That innocent-looking grate in the basement floor is your last line of defense when the water heater lets go or a hose bursts upstairs. Clogged or dried out, and the water has nowhere to go but across your subfloor.
Pour a few quarts across the floor toward the drain and watch. It should swallow the water without hesitation. Slow drainage means a partial clog, and standing water means it’s blocked outright.
Now the detail almost everyone misses: that drain has a trap under it, and if the house sat vacant, the trap dried out. A dry trap lets sewer gas rise straight into the basement. So pour a quart in to refill it even if it drains perfectly.
21. Run A Short Dishwasher Cycle
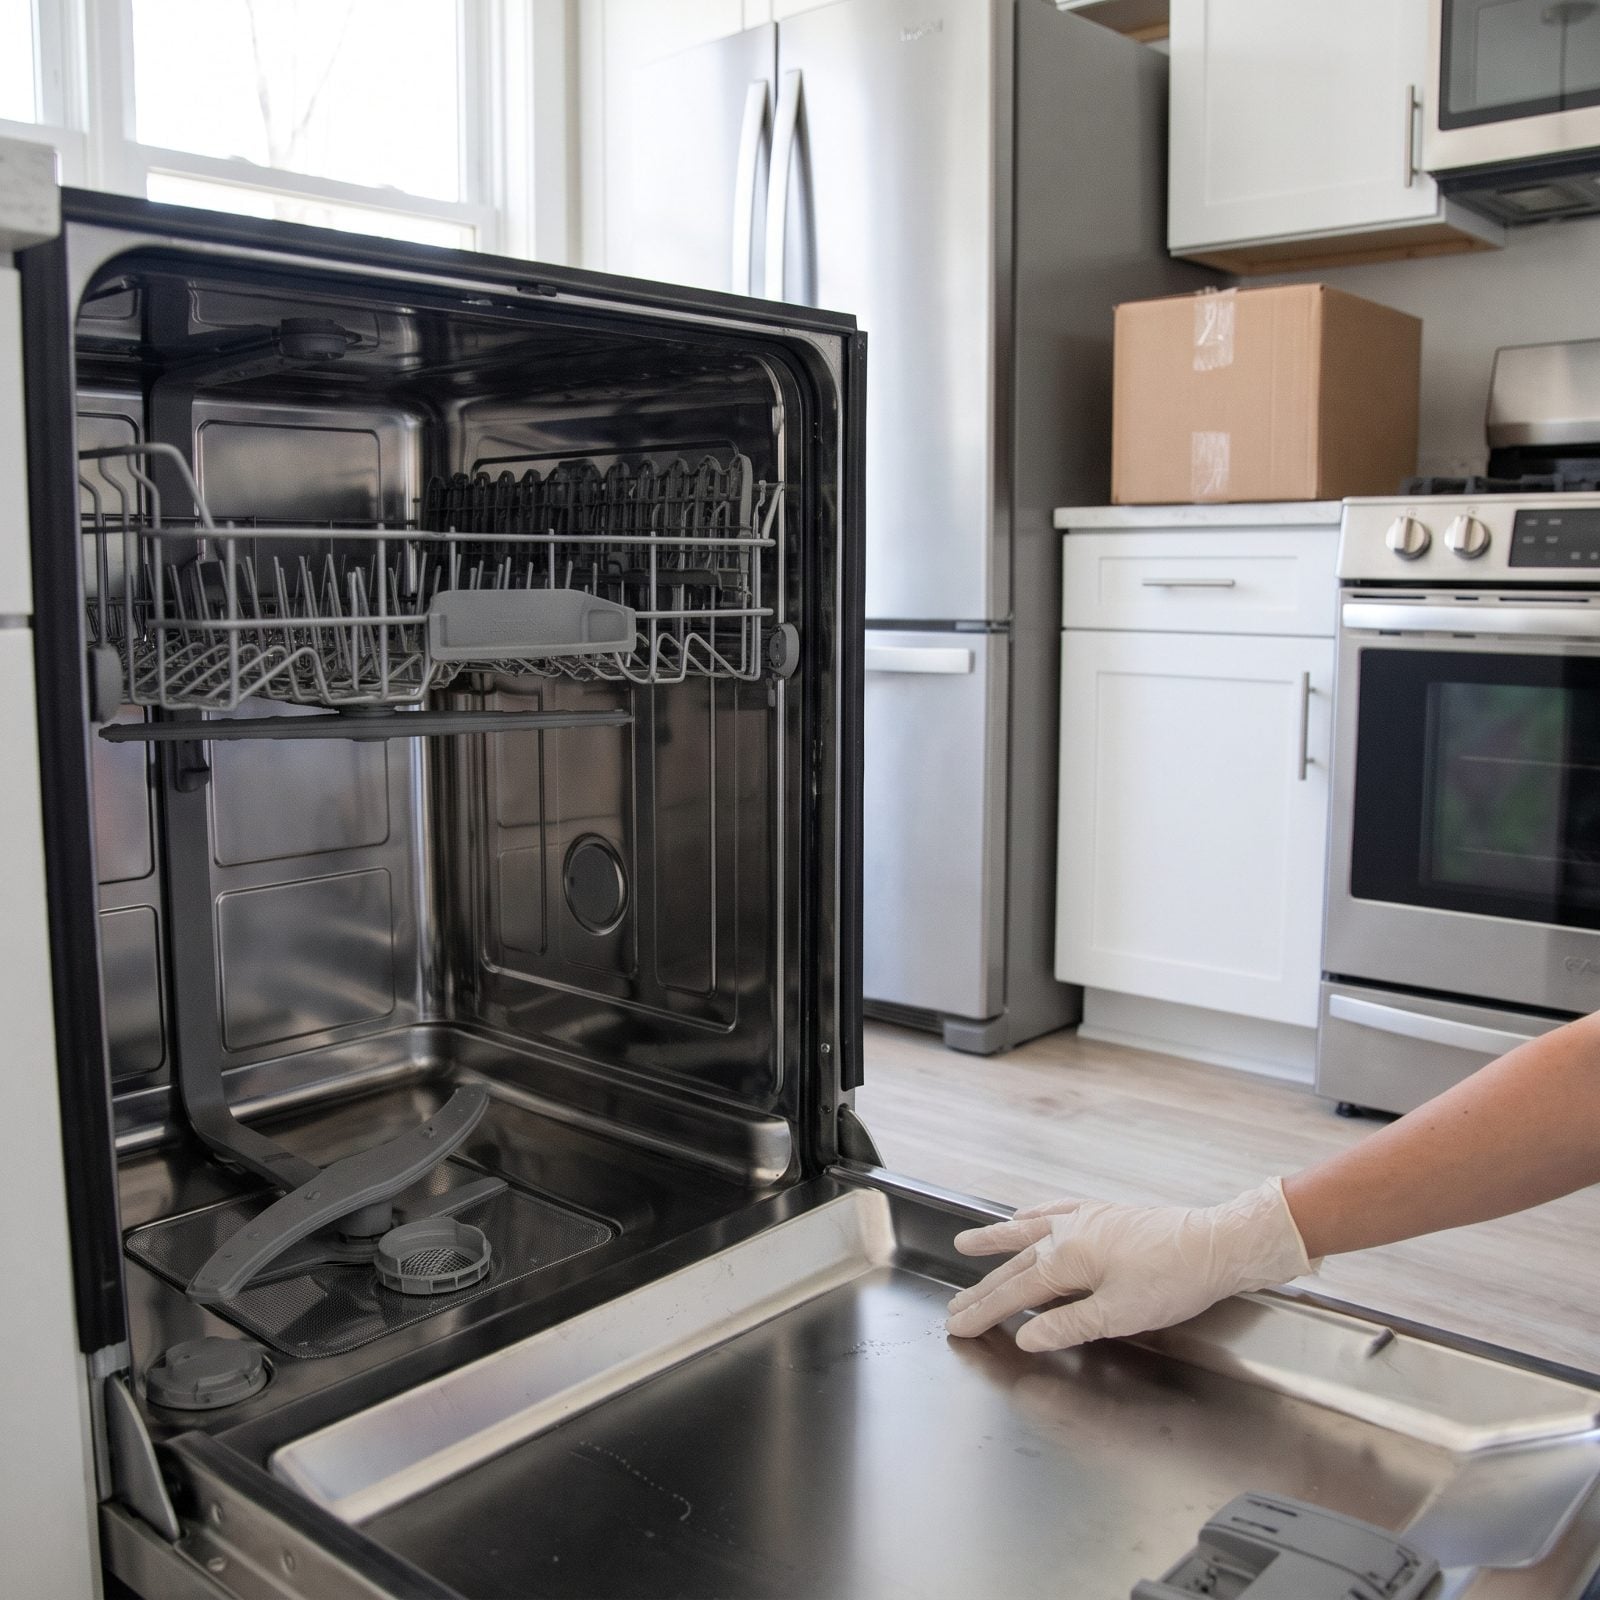
Empty dishwasher, short cycle, and then stand there and actually watch it. Boring, yes. Cheaper than the alternative.
Listen for the fill, the wash, and the pump-out, and hunt for anything wet on the floor in front of the unit. The door gasket, the supply line under the sink, and the drain hose connection are the three usual culprits. A bead of water at the kick plate after a cycle means a slow leak that will warp the cabinet floor long before you ever smell it.
Open it mid-cycle and look for standing water in the base. Water that won’t drain points at a clogged filter or a kinked drain hose. The kitchen is the priciest room to repair after a water event, so this ten-minute check pays for itself on the spot.
20. Inspect Washing Machine Supply Hoses
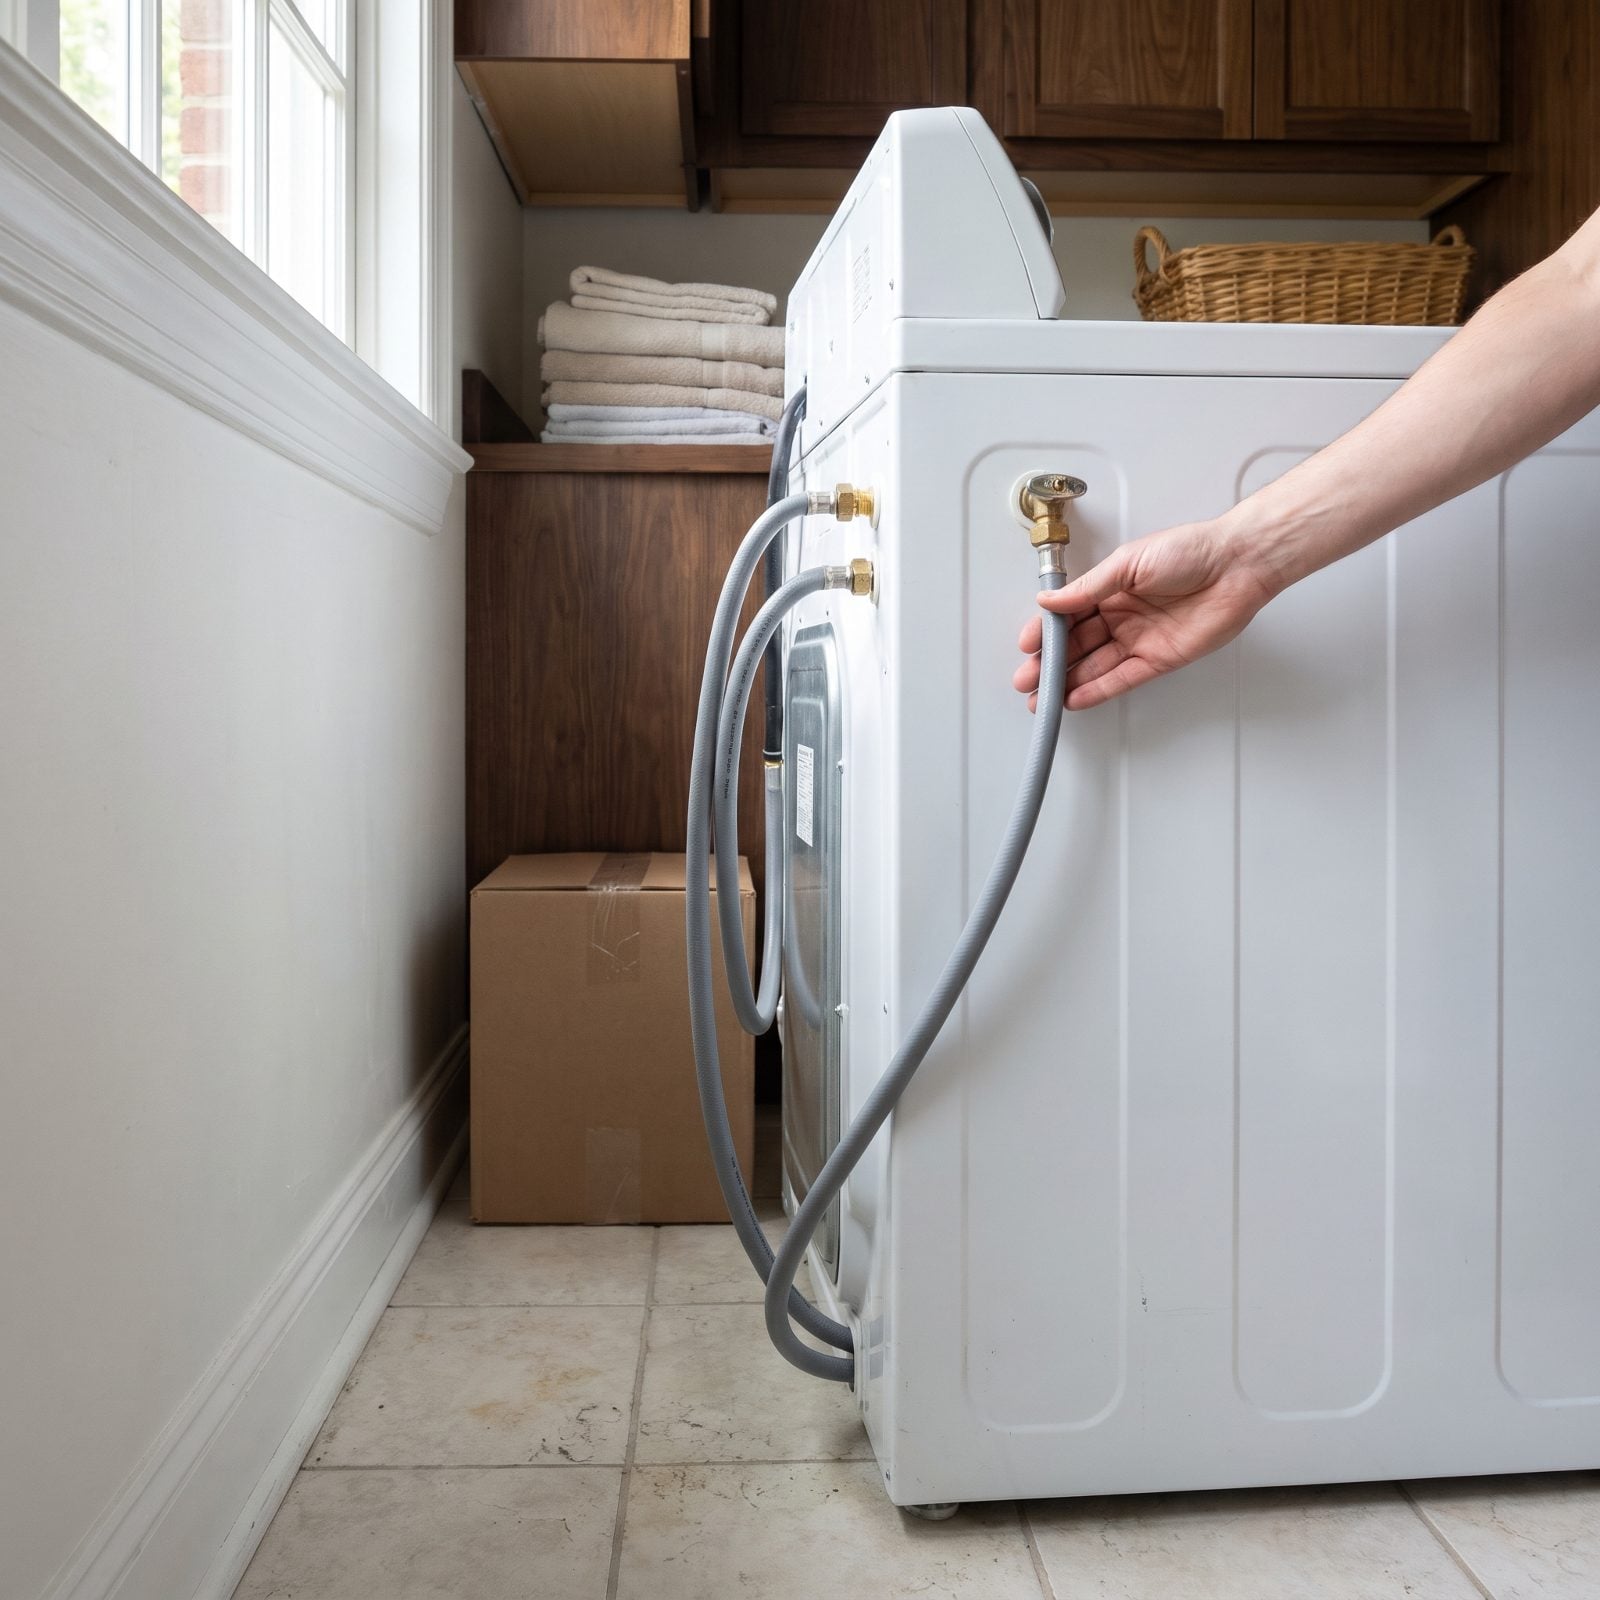
Burst washing machine hoses flood more homes than almost any other single failure, and they almost always go when nobody’s home. The hose spends years under constant pressure, swelling and stiffening until a weak spot finally gives.
Pull the machine out and look at the hoses behind it. Squeeze them. They should feel firm but flexible — never brittle, bulging, or cracked at the fittings. Rubber hoses have a shelf life. If they’re the old grey rubber type and more than five years old, replace them before you wash a single load.
Swap them for braided stainless steel lines. They cost a few dollars more and they don’t blow. And while you’re back there, make sure the shutoff valves actually turn, because a stuck valve is useless the moment you need it.
19. Test The Laundry Drain Standpipe
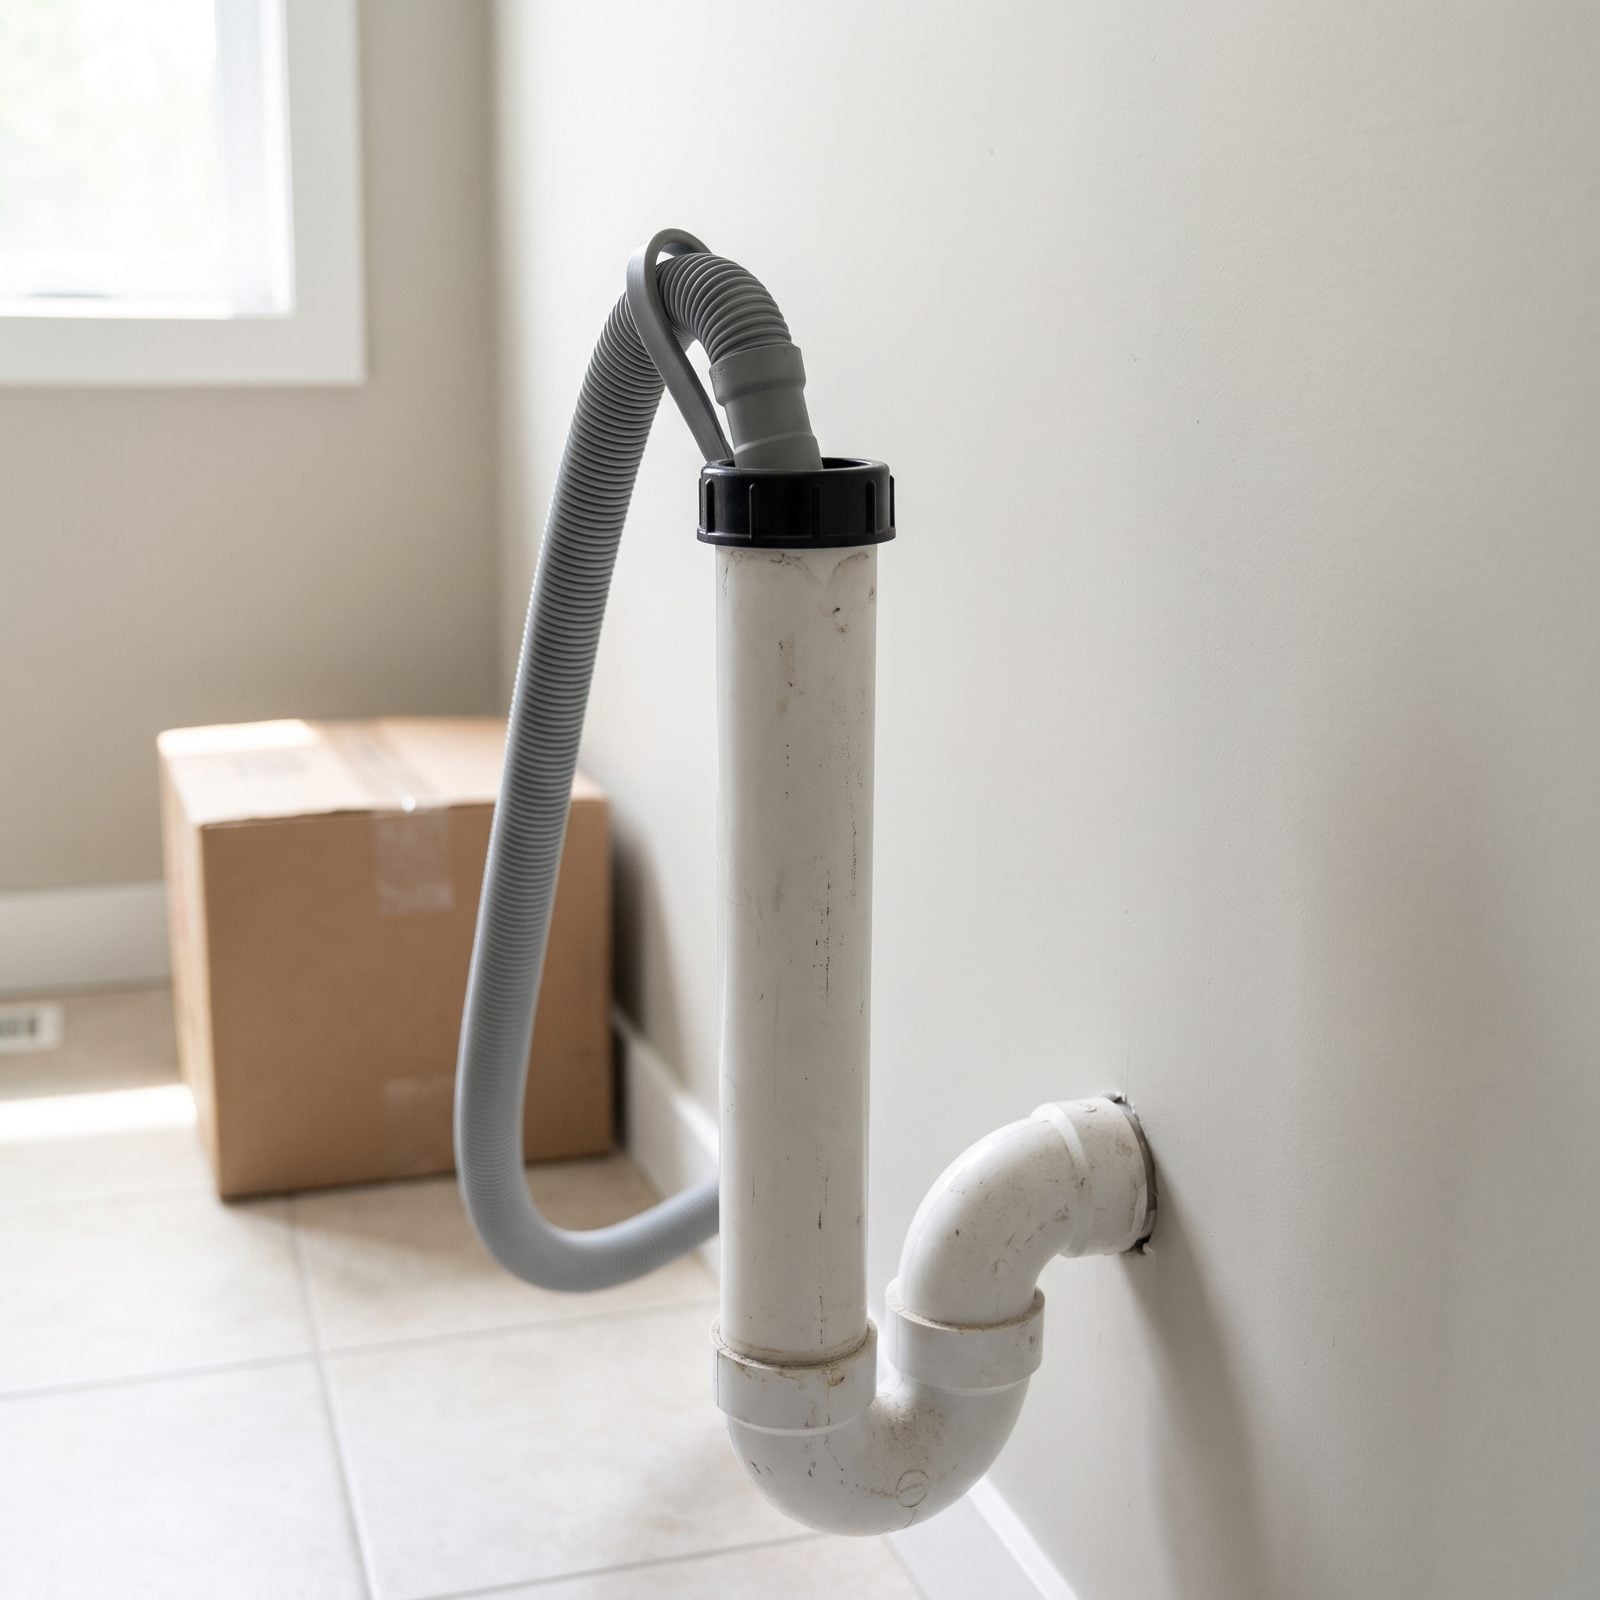
The standpipe is that white pipe the washer’s drain hose hooks into, and when it backs up, it backs up fast. A washing machine dumps water far quicker than a sink, so a partial clog a bathroom drain would shrug off turns into an overflowing geyser here.
Start a cycle, let the washer fill, and watch the pump-out stage. The standpipe should swallow the surge without water rising near the top or spilling over the rim.
Lint, old detergent gunk, and sometimes a dead trap are the usual suspects. If water climbs the pipe during drain, good news — you’ve caught a clog before it ruined your first load and your laundry room floor.
18. Clean The Dryer Vent Before Use
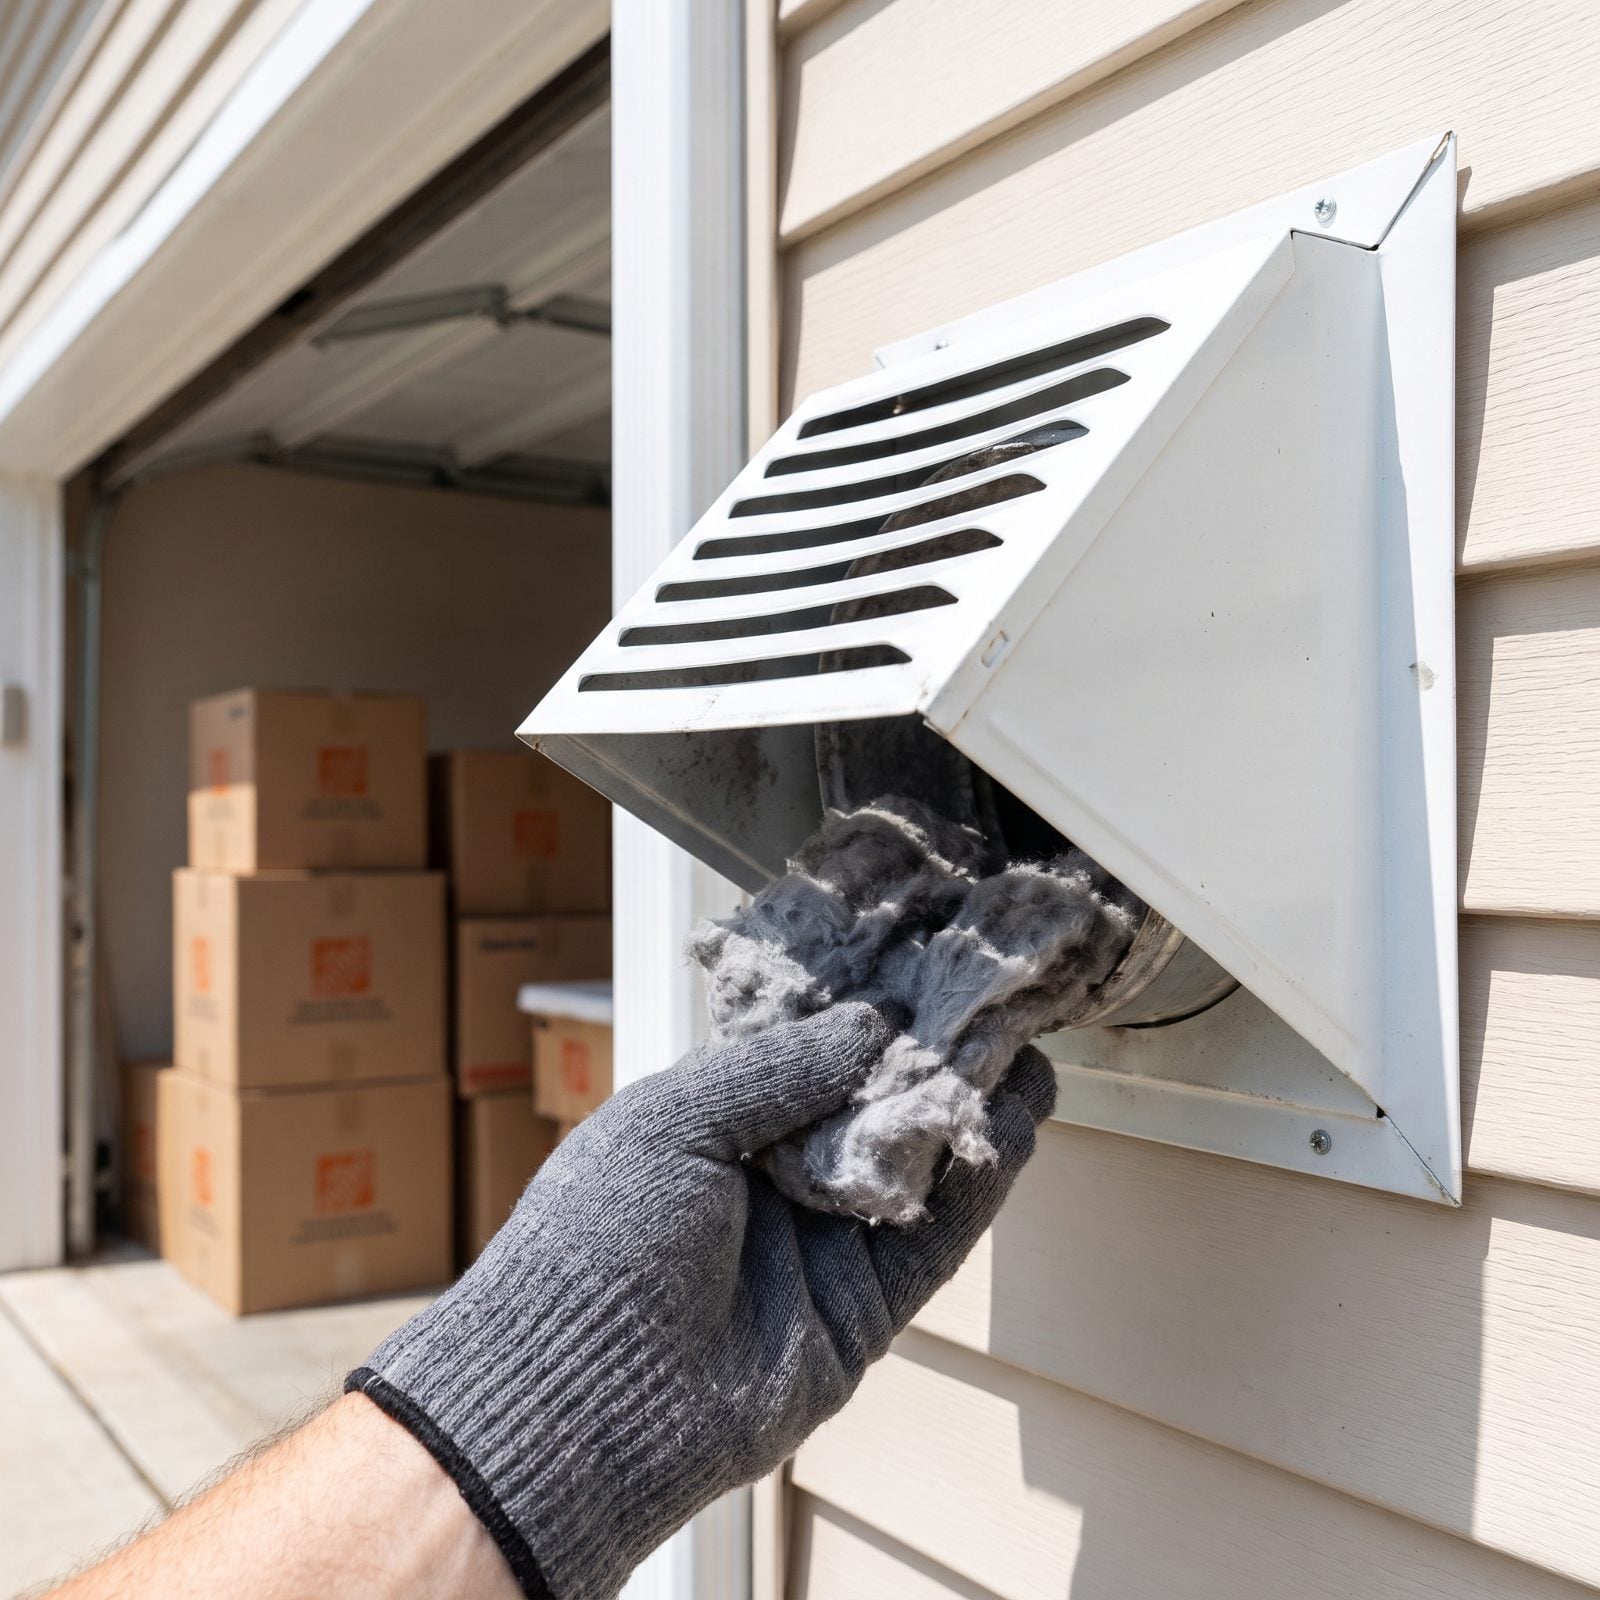
You have no idea how the last owner treated the dryer vent, and a packed vent is a genuine fire hazard, not just an inconvenience. Lint is basically kindling, and it collects in the duct behind the machine where nobody ever bothers to look.
Pull the dryer out and disconnect the duct. Clear the flexible hose, the wall port, and the exterior hood. Then walk outside and open the vent flap: it should move freely and push out a strong stream of air when the dryer runs. A flap crusted shut with lint means the whole run is choked.
Ditch any white vinyl or thin foil ducting you find. It sags, it traps lint, it melts. Rigid or semi-rigid metal duct is the only acceptable kind.
17. Verify Safe Refrigerator Temperature
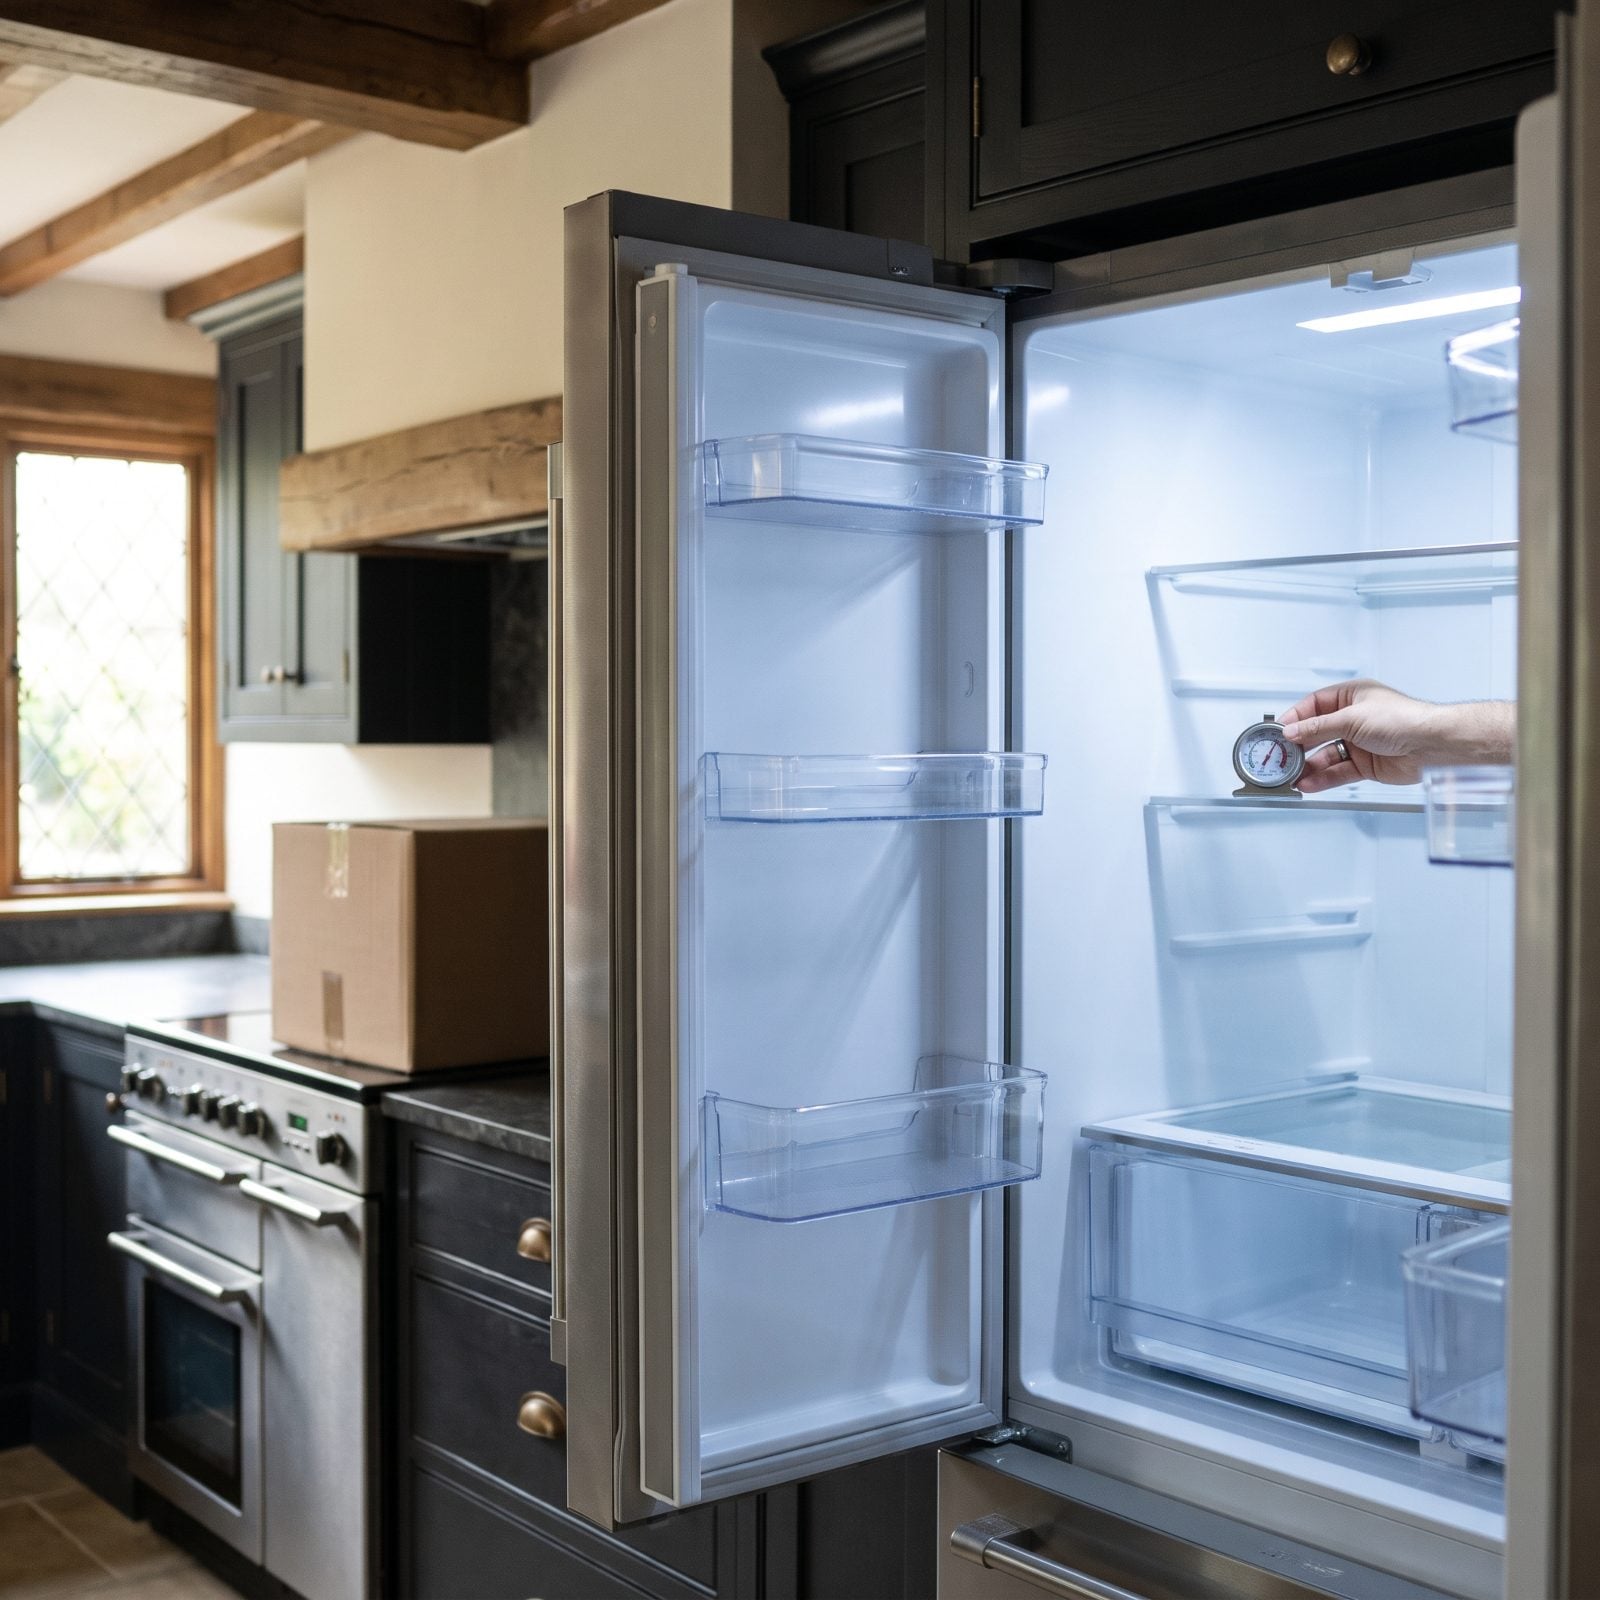
Before you stock a single grocery, confirm the fridge actually holds a safe temperature. A unit that reads cold at the dial but hovers at 45 degrees inside is quietly spoiling food and running up your bill.
Drop a cheap appliance thermometer on a middle shelf and give it a few hours — ideally overnight — before you load up. The fridge should settle at or below 40 degrees and the freezer at zero. Anything warmer points at a failing compressor, a worn door gasket, or dirty condenser coils.
Then test the door seal with the old dollar-bill trick: close the door on a bill and try to pull it out. If it slides free with no resistance, the gasket’s shot and the fridge is fighting a losing battle against room air every minute of the day.
16. Confirm The Oven Heats Accurately
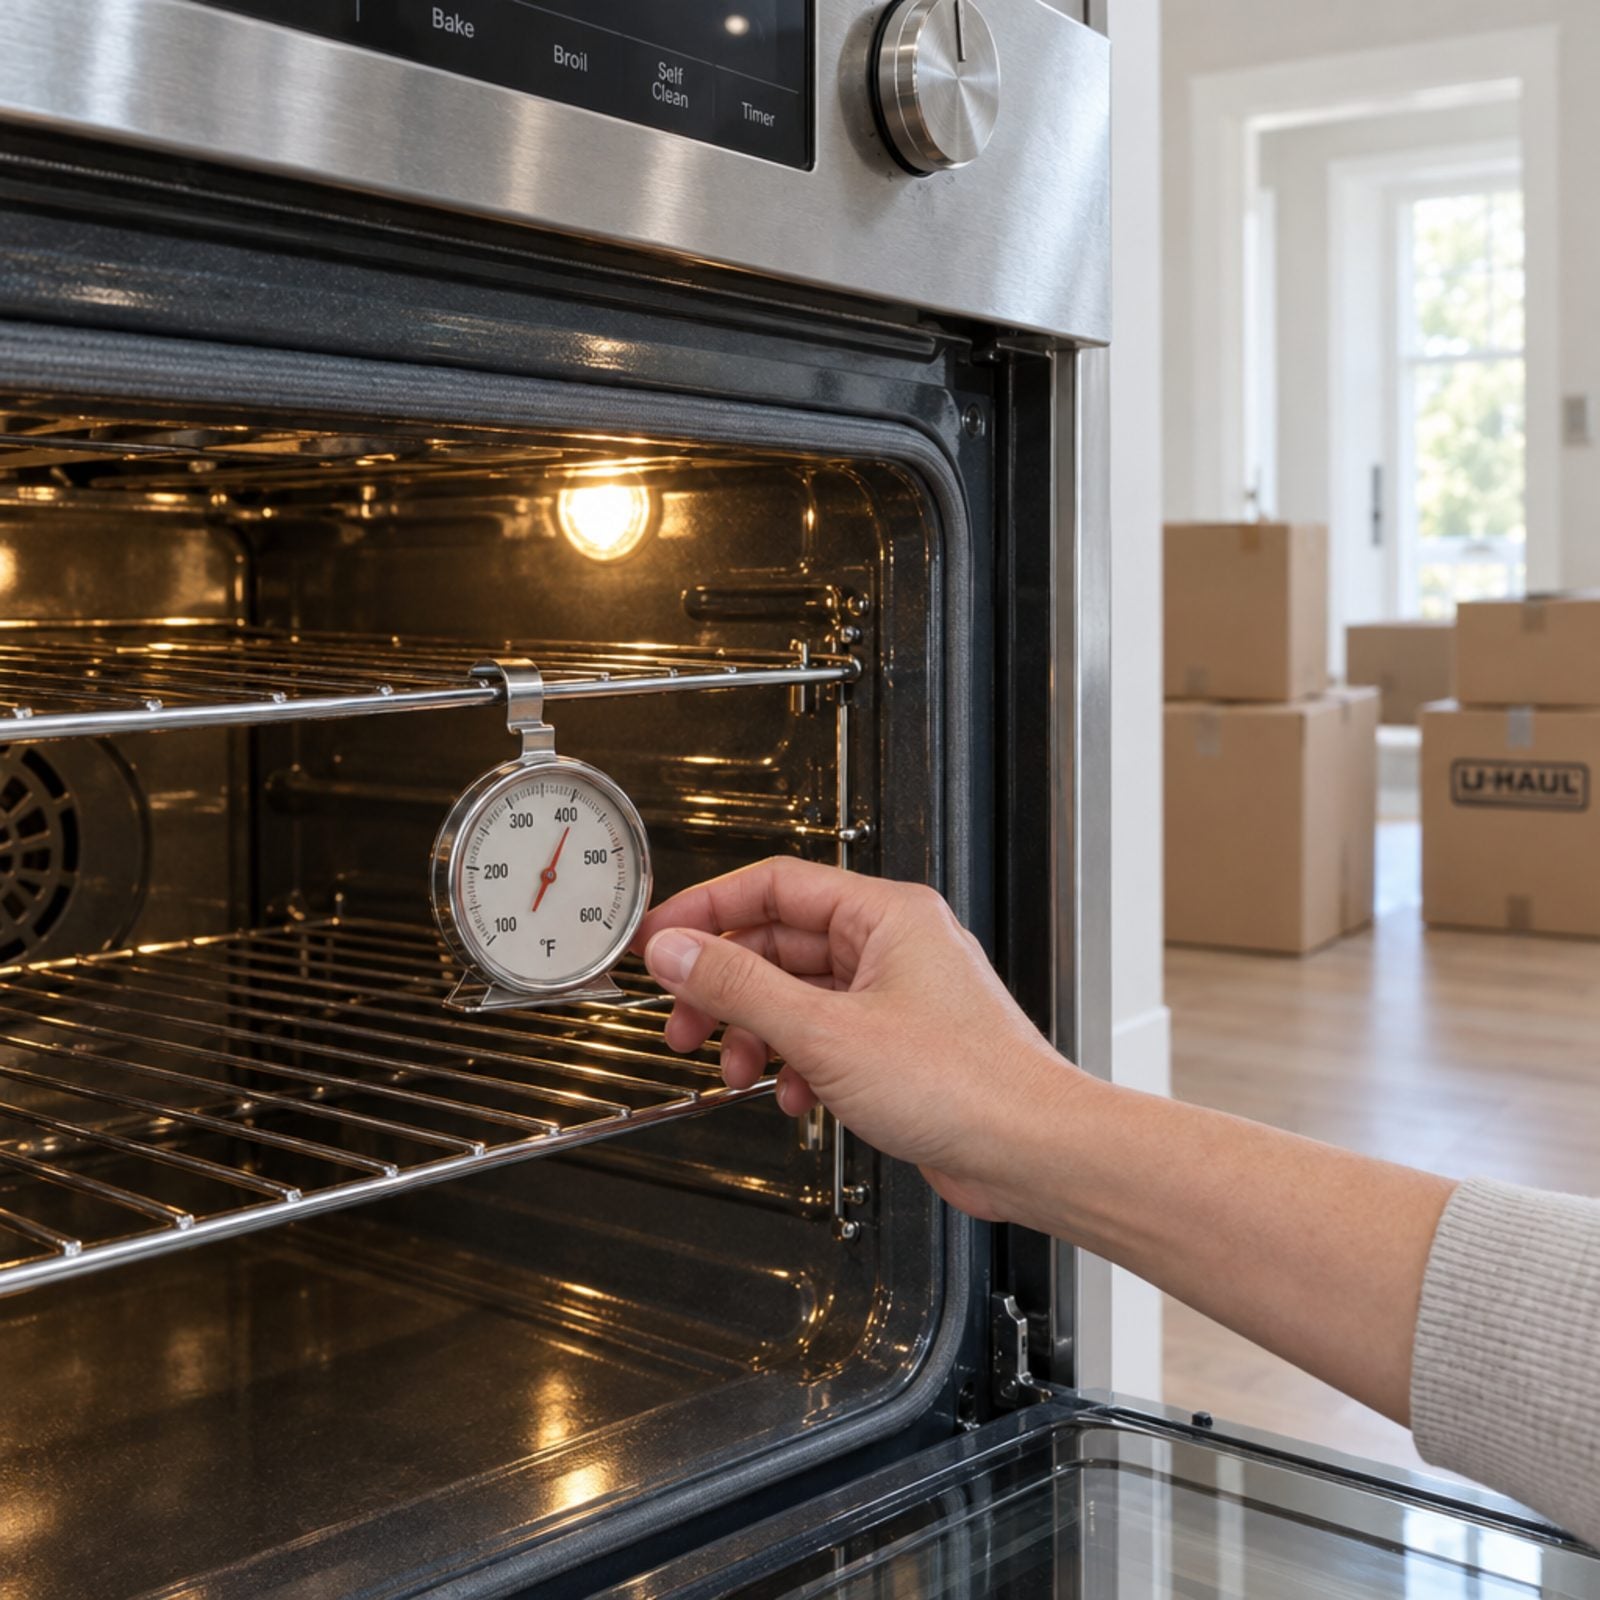
Ovens lie. A dial that reads 350 can actually run 50 degrees cooler, and you won’t find out until your first roast comes out raw in the middle. Before a single box opens, hang a cheap oven thermometer from the center rack, set the dial to 350, and wait a full 20 minutes for the element to cycle. Read the gauge. More than 25 degrees off means the oven needs recalibration.
And here’s the step most people skip. Run it again at a higher temp, say 425. Some ovens are dead accurate down low and wildly off up high, so a single reading tells you almost nothing.
15. Check The Range Hood Exhaust
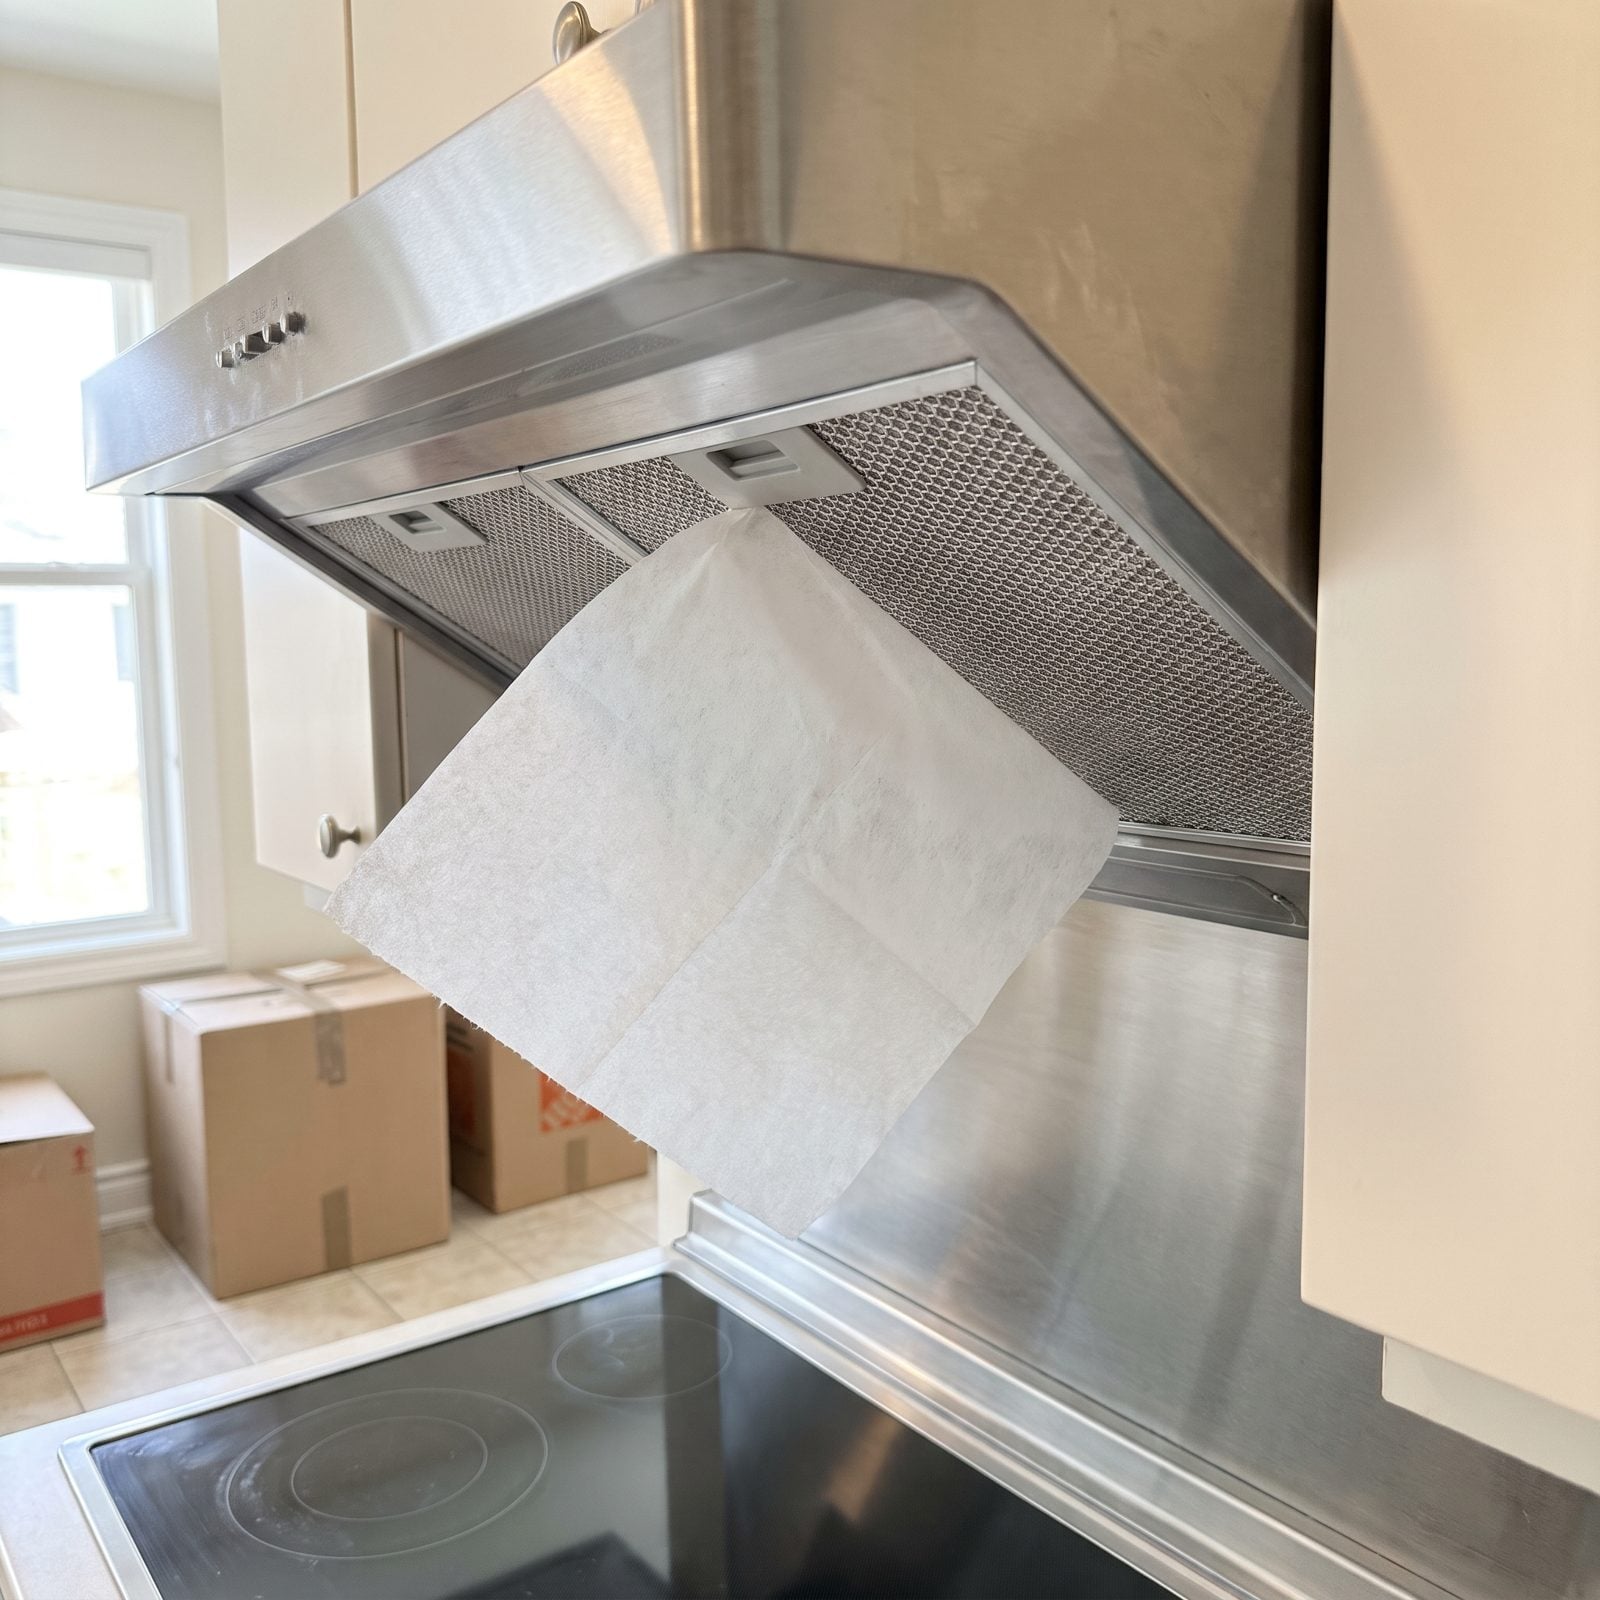
That shiny range hood might be recirculating air right back into your face instead of venting it outside. Plenty of them do, especially in older homes where nobody ever ran ductwork to the exterior. Crank the fan to high and hold a single sheet of tissue, or a strip of toilet paper, up to the vent. Stick firmly and your suction is good. Barely flutter and you’ve got a weak fan, a clogged filter, or a hood that isn’t actually ducted anywhere.
Then go outside and find the exterior vent cap. Feel for airflow. If nothing’s moving out there while the fan roars inside, the exhaust is dumping into the cabinet or attic, which is exactly where grease and moisture go to cause problems later.
If the hood turns out to be recirculating and you decide to replace it, our readers were split on which they would buy, with hidden, wood and stainless hoods close to a coin toss.
14. Confirm The HVAC Heats And Cools
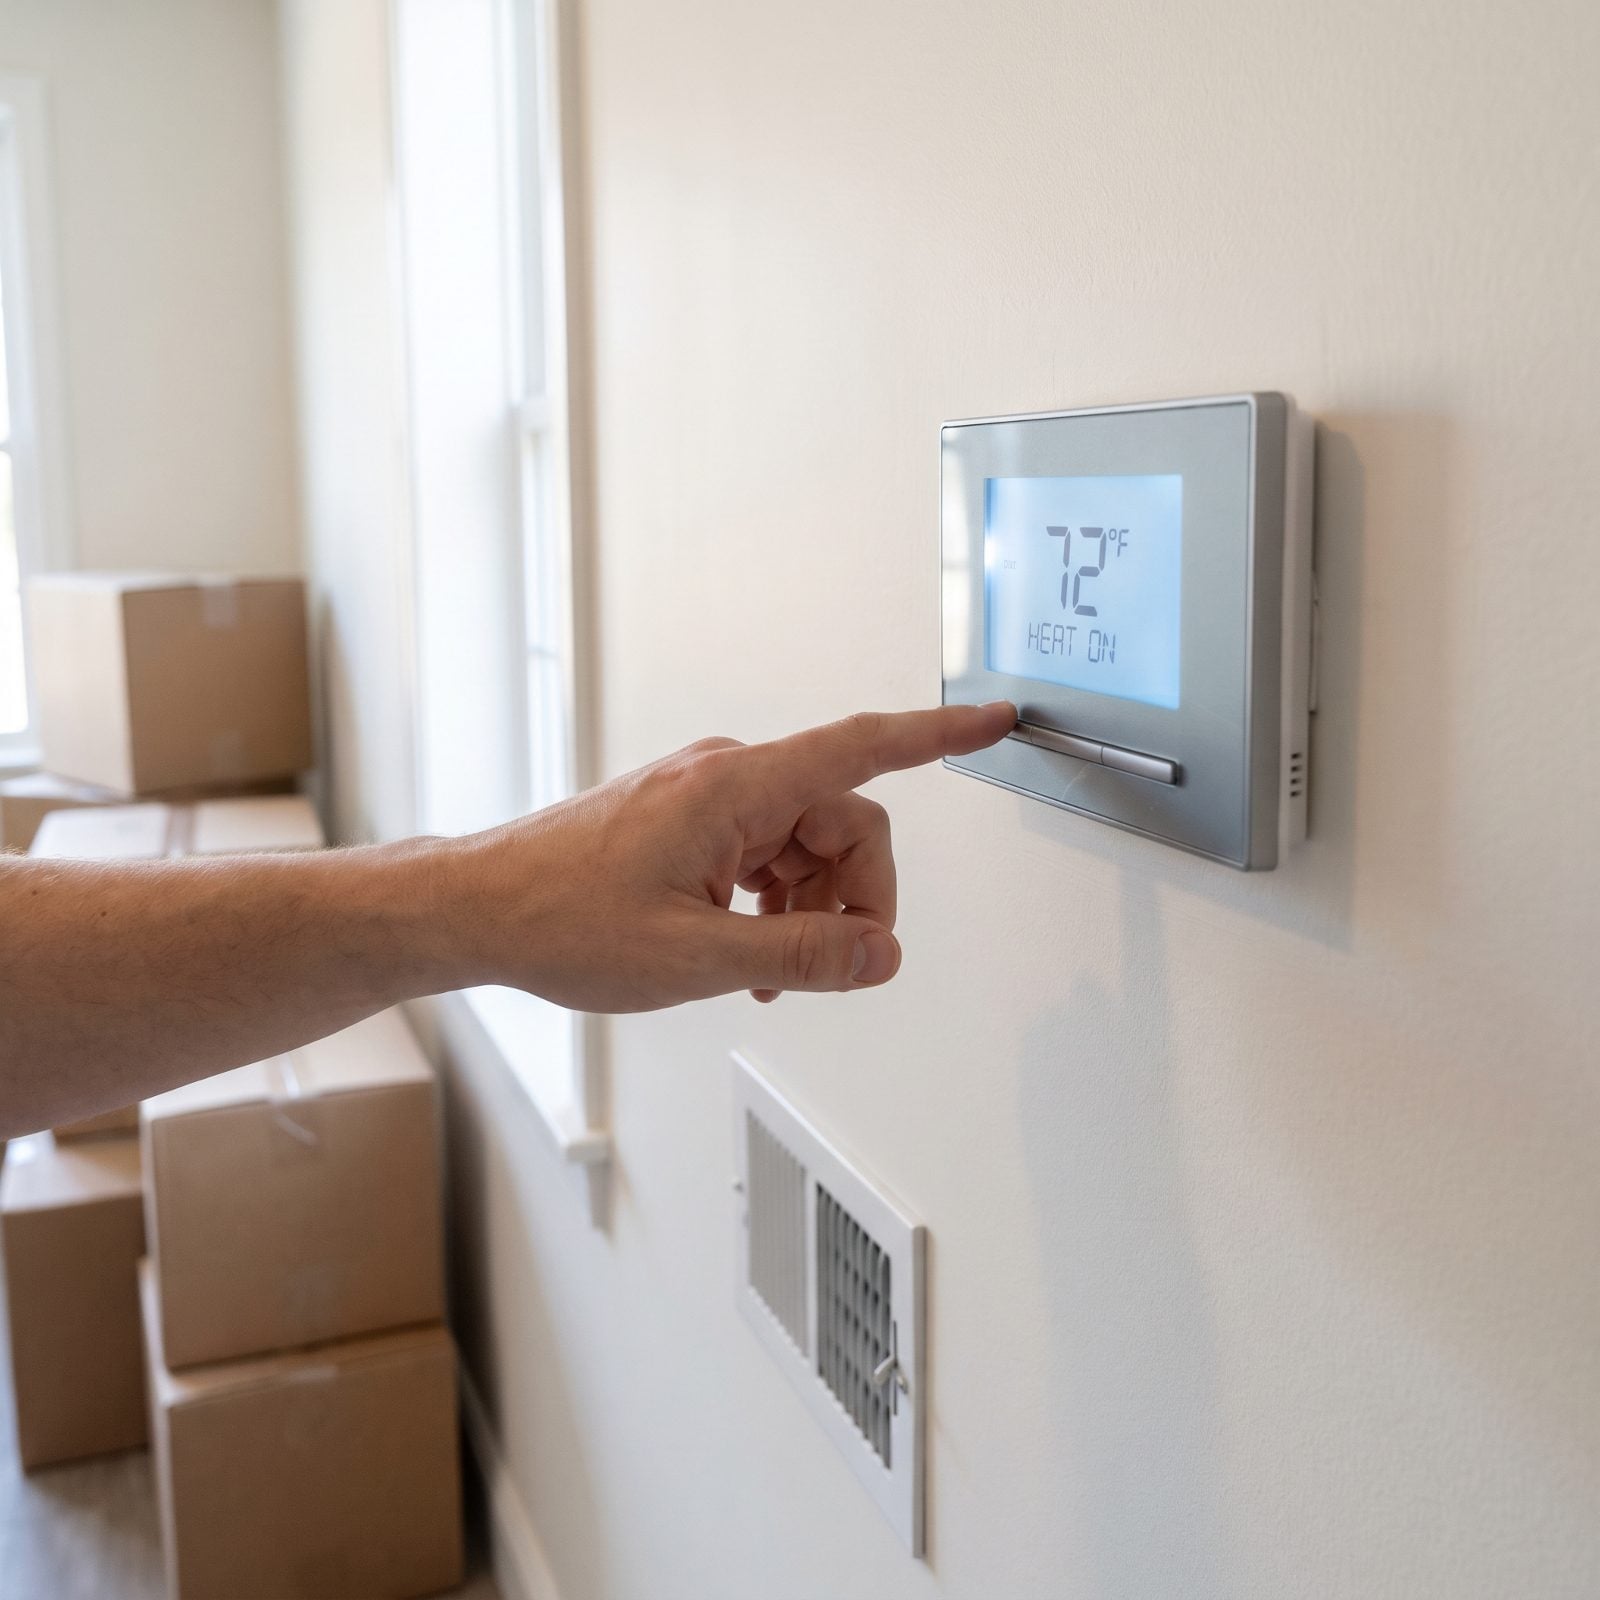
Test heating and cooling on day one, even if it’s a mild 70 out and you don’t need either right now. What you really don’t want is to discover in January that the furnace is dead, or in July that the compressor gave up, long after the previous owner has vanished and the warranty window has quietly closed.
Set the thermostat to heat and give it about 10 minutes. Warm air should come from the supply vents. Switch to cool, drop the setpoint, wait again. You want cold air, and the outdoor unit should kick on with a steady hum.
13. Replace The HVAC Filter Immediately
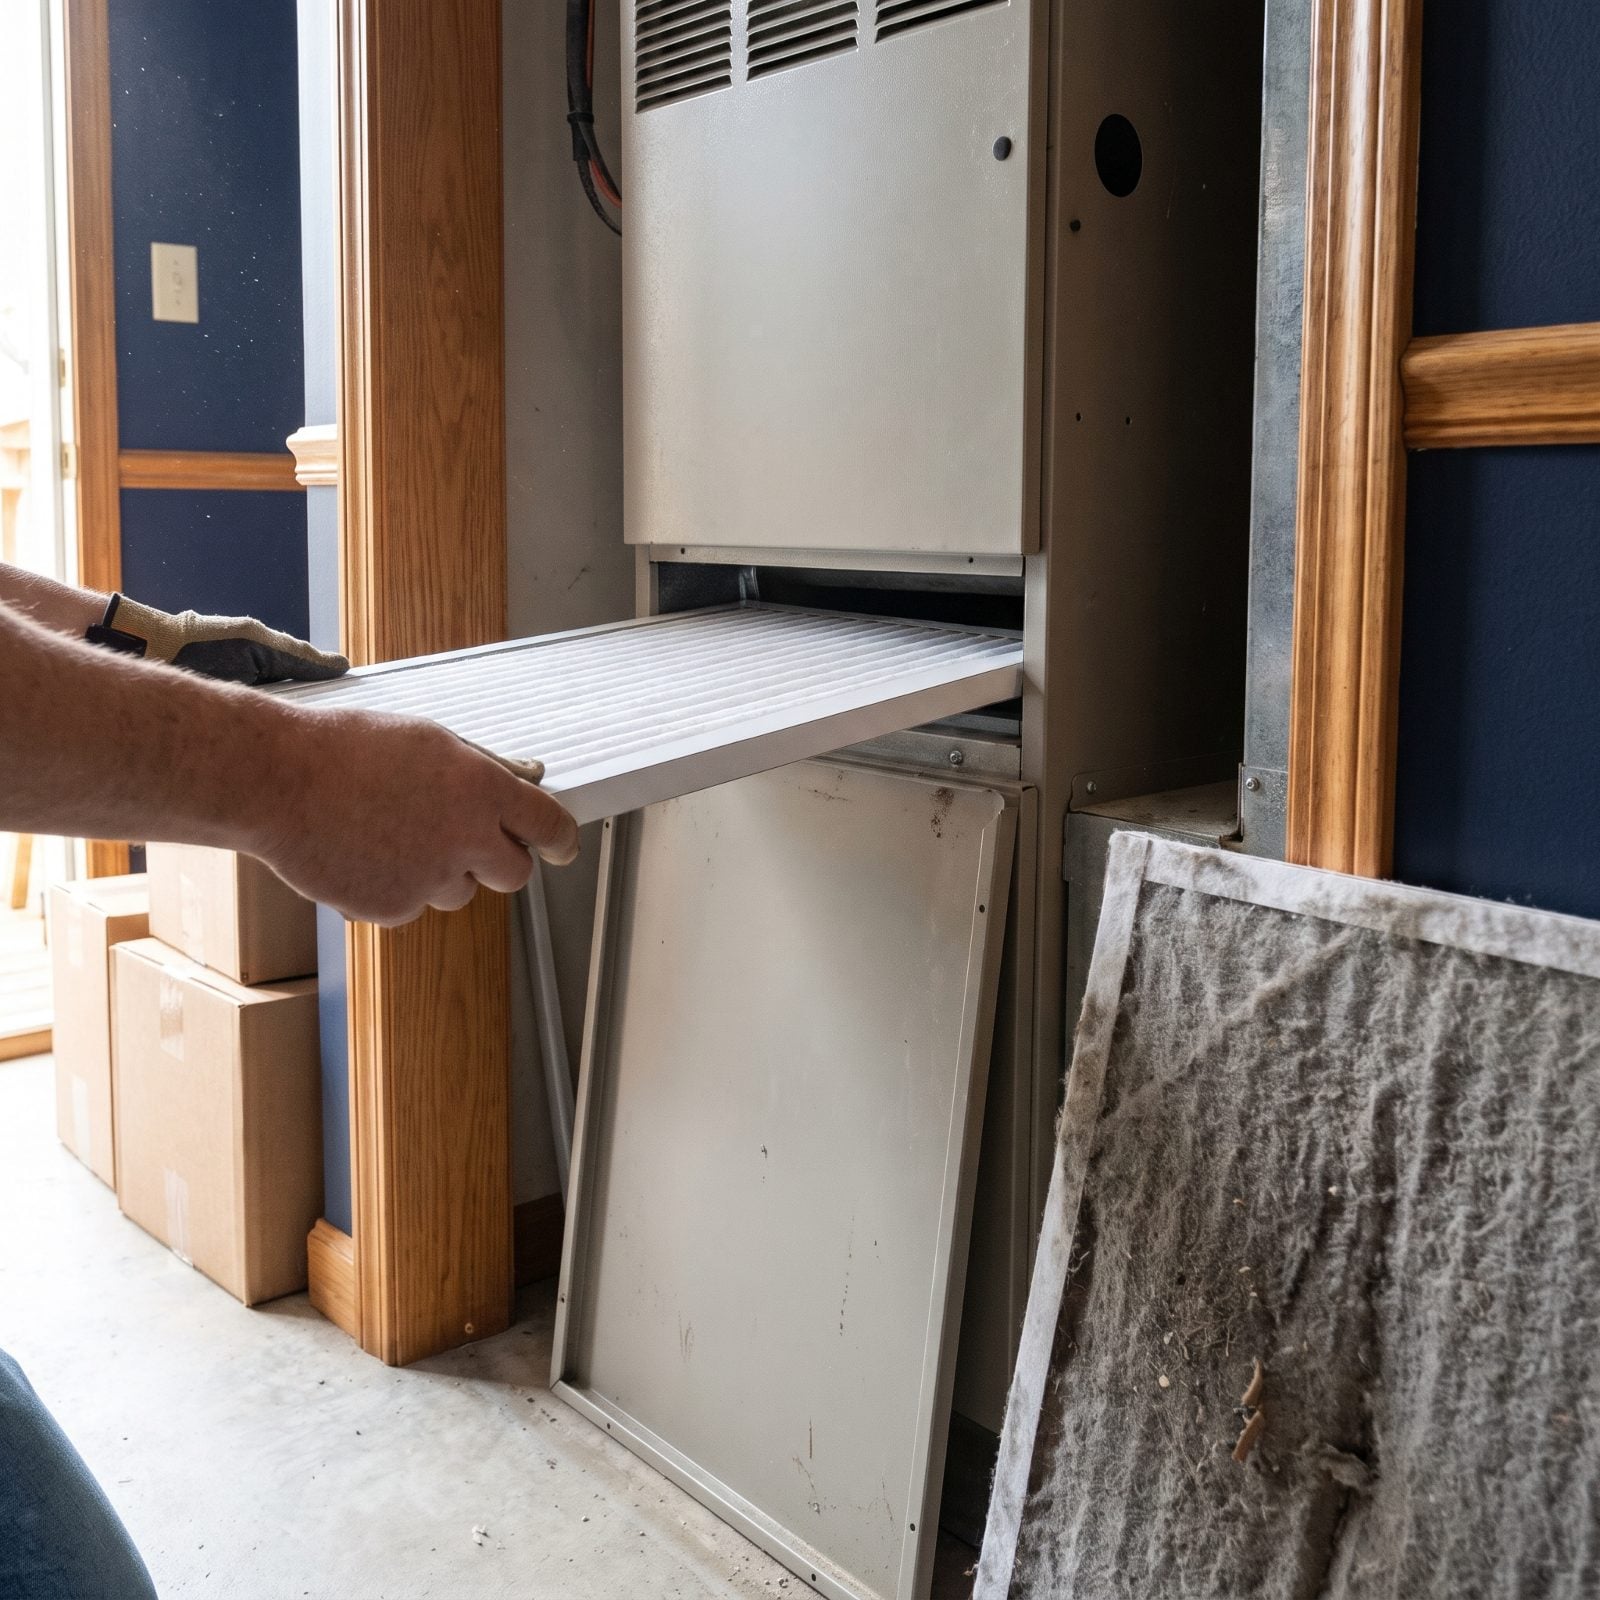
Pull the HVAC filter the moment you can get at it. I’ve yet to see one left behind by a previous owner that wasn’t a grey felted mat of dust, pet hair, and whatever else drifted through the house over the last year. A clogged filter chokes airflow, strains the blower motor, and runs up your energy bill for no good reason.
Slide a fresh one in, matched to the size printed on the frame of the old one. And watch the arrow stamped on the edge, because it points toward the furnace, in the direction of airflow. Install it backward and it does half its job.
12. Test Standard Outlets With A Tester
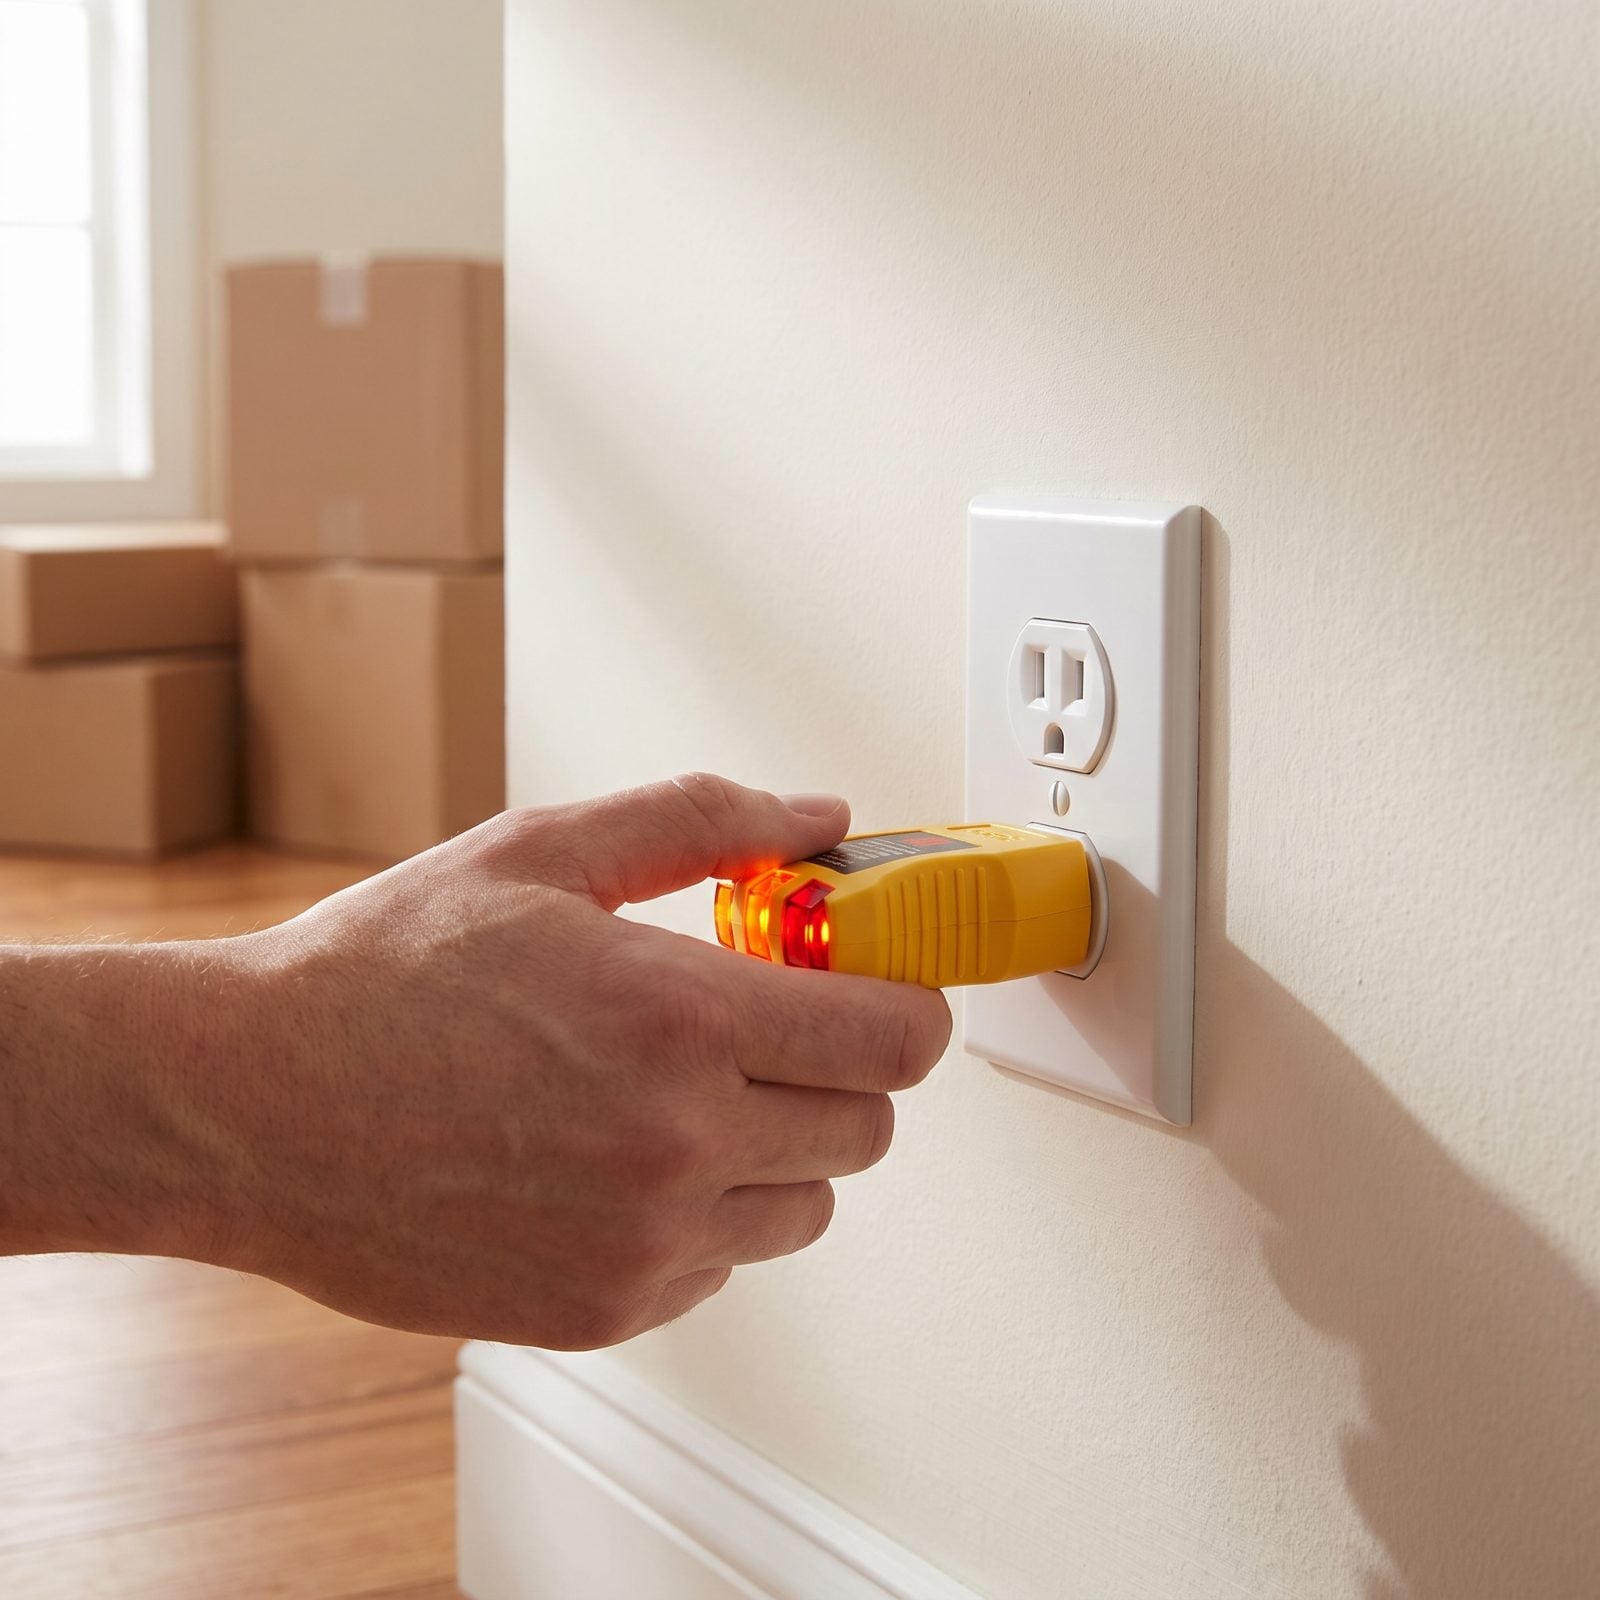
A three-dollar outlet tester is the best money you’ll spend on moving day. Plug it into every receptacle in the house, one by one, and read the little light pattern. It tells you instantly whether the wiring is correct, reversed, or missing a ground entirely.
Reversed polarity and open grounds turn up constantly in older homes, and the maddening part is how normal they look. The outlet powers your lamp just fine while quietly posing a shock or fire risk behind the wall.
Don’t rush this one. A full lap through every room, closets and garage included, takes maybe 20 minutes and catches problems no amount of squinting could ever reveal.
11. Verify GFCI Outlets Trip Properly
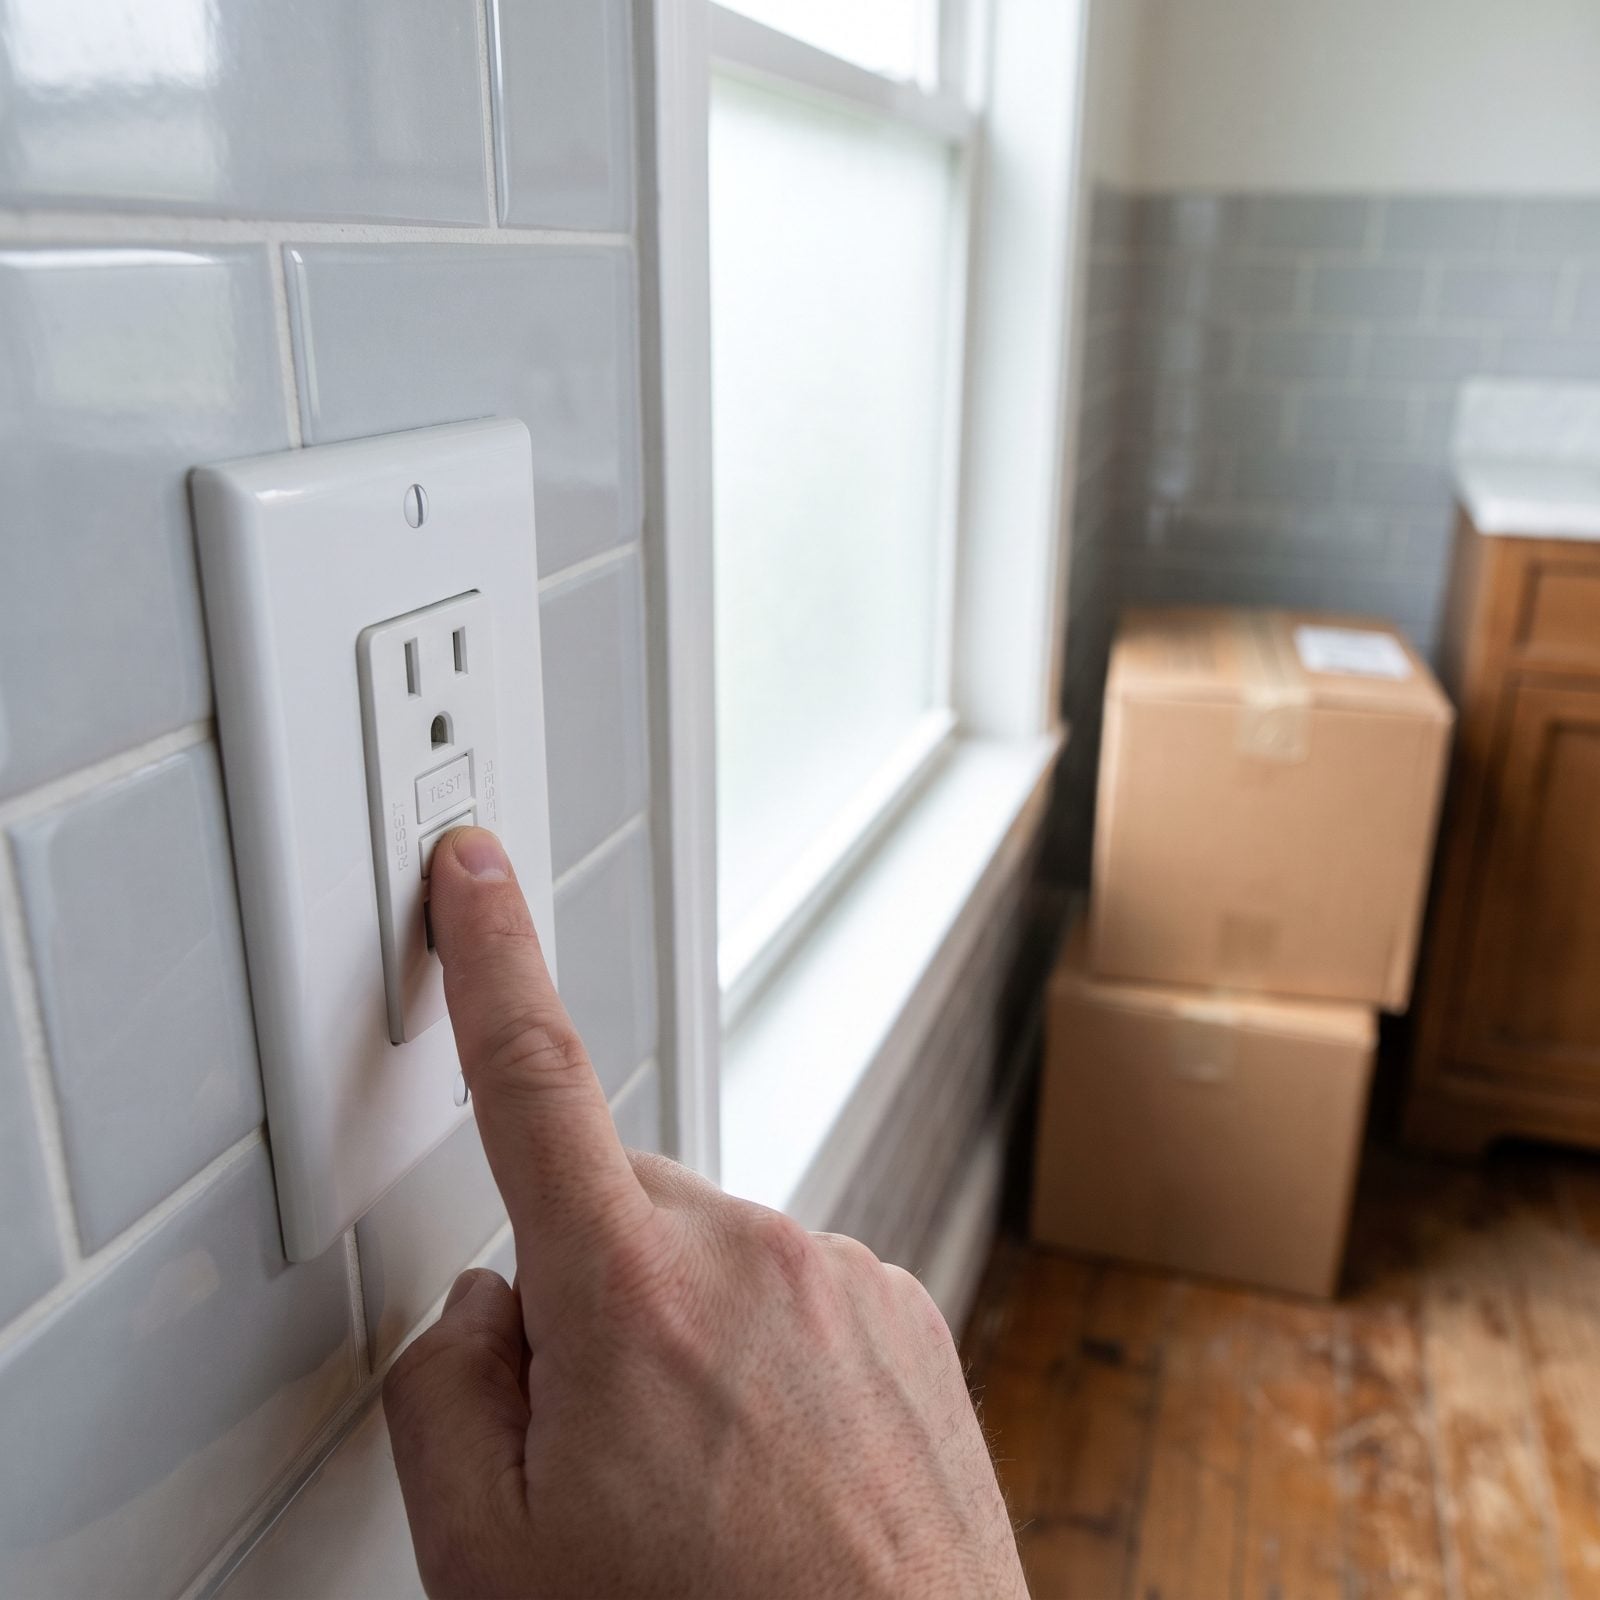
GFCI outlets are the ones near water, so bathrooms, kitchens, garages, and outside, and they’re built to cut power in a fraction of a second when current leaks where it shouldn’t. That’s the feature standing between you and a very bad day involving a hair dryer and a wet counter. But they wear out, and a dead one hands you a false sense of safety.
Press TEST. The RESET button should pop out and power should cut off. Confirm it with your outlet tester or a plugged-in lamp, then press RESET to restore it. Nothing happening when you hit TEST? That outlet isn’t protecting anyone anymore and needs replacing.
10. Test AFCI Breakers At The Panel
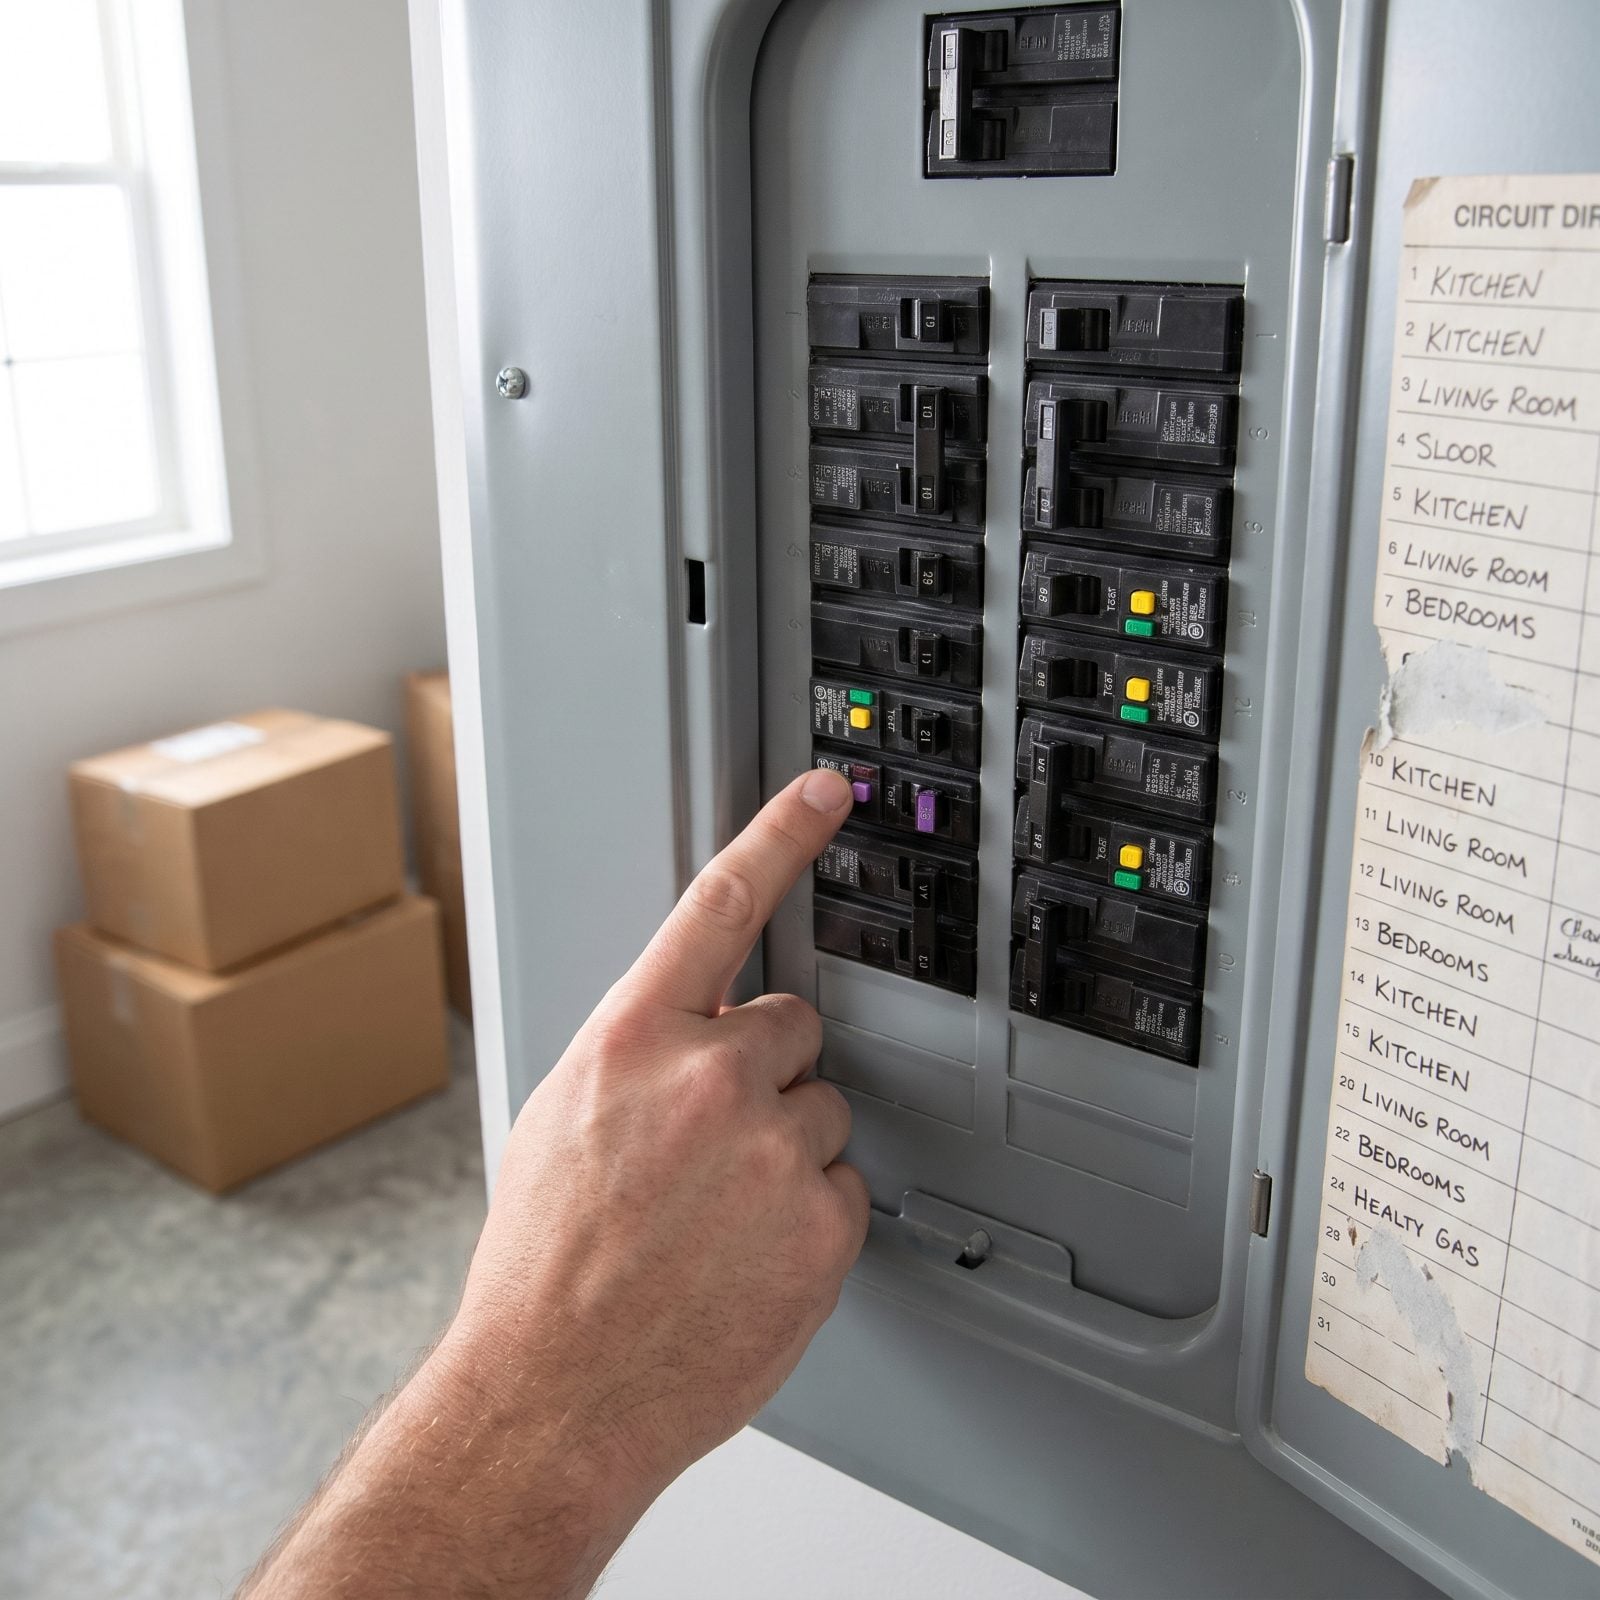
AFCI breakers are the quiet heroes of a modern panel. They watch for the kind of arcing fault, the sort thrown off by a frayed cord or a loose connection, that starts fires inside walls where you’d never see it coming. Newer homes run them on bedroom and living area circuits, yet most people never touch the panel and never know whether they actually work.
Open the panel door and find the breakers with a small test button on their face. Press it. The breaker should trip to the off or middle position. Flip it fully off, then back on to reset. A breaker that won’t trip when you test it has lost its protection.
If opening a live panel makes you uneasy, trust that instinct. Pressing a test button is fine. Poking around inside is a job for an electrician.
9. Look For Ceiling Water Stains
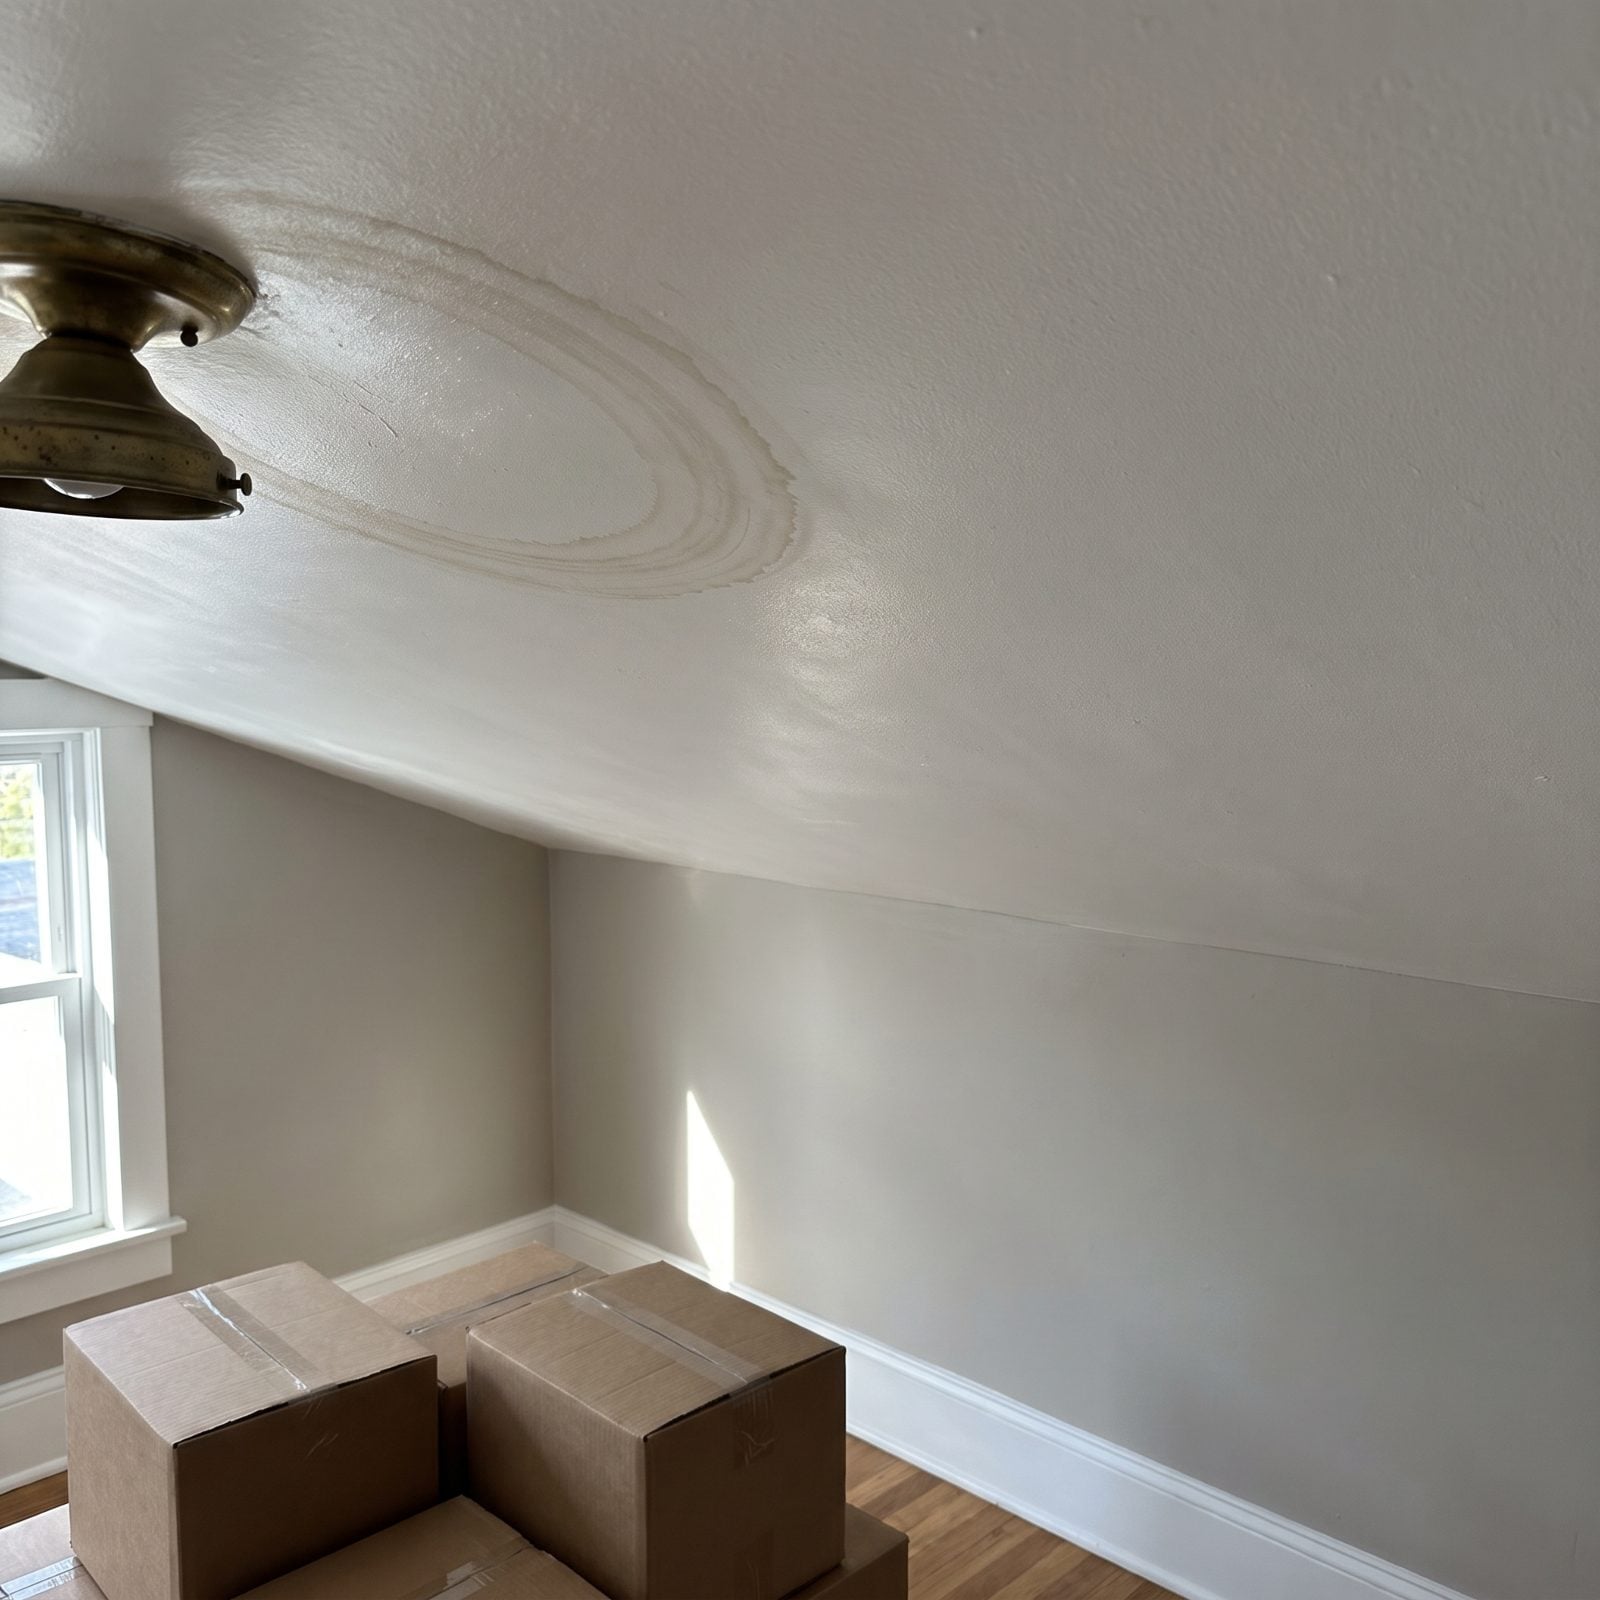
Walk every room and look up before you look anywhere else. A brown or yellowish ring on the ceiling is water telling you it got in somewhere, whether a roof leak, a leaky pipe upstairs, or an overflowing bathtub. Fresh paint over a stain is a classic seller move, so study any patch that looks newer or whiter than the ceiling around it.
Catch the light at a low angle. Stains and patched spots jump out far more readily when daylight rakes across the surface than when you stare straight at them.
8. Inspect Basement Walls For Moisture
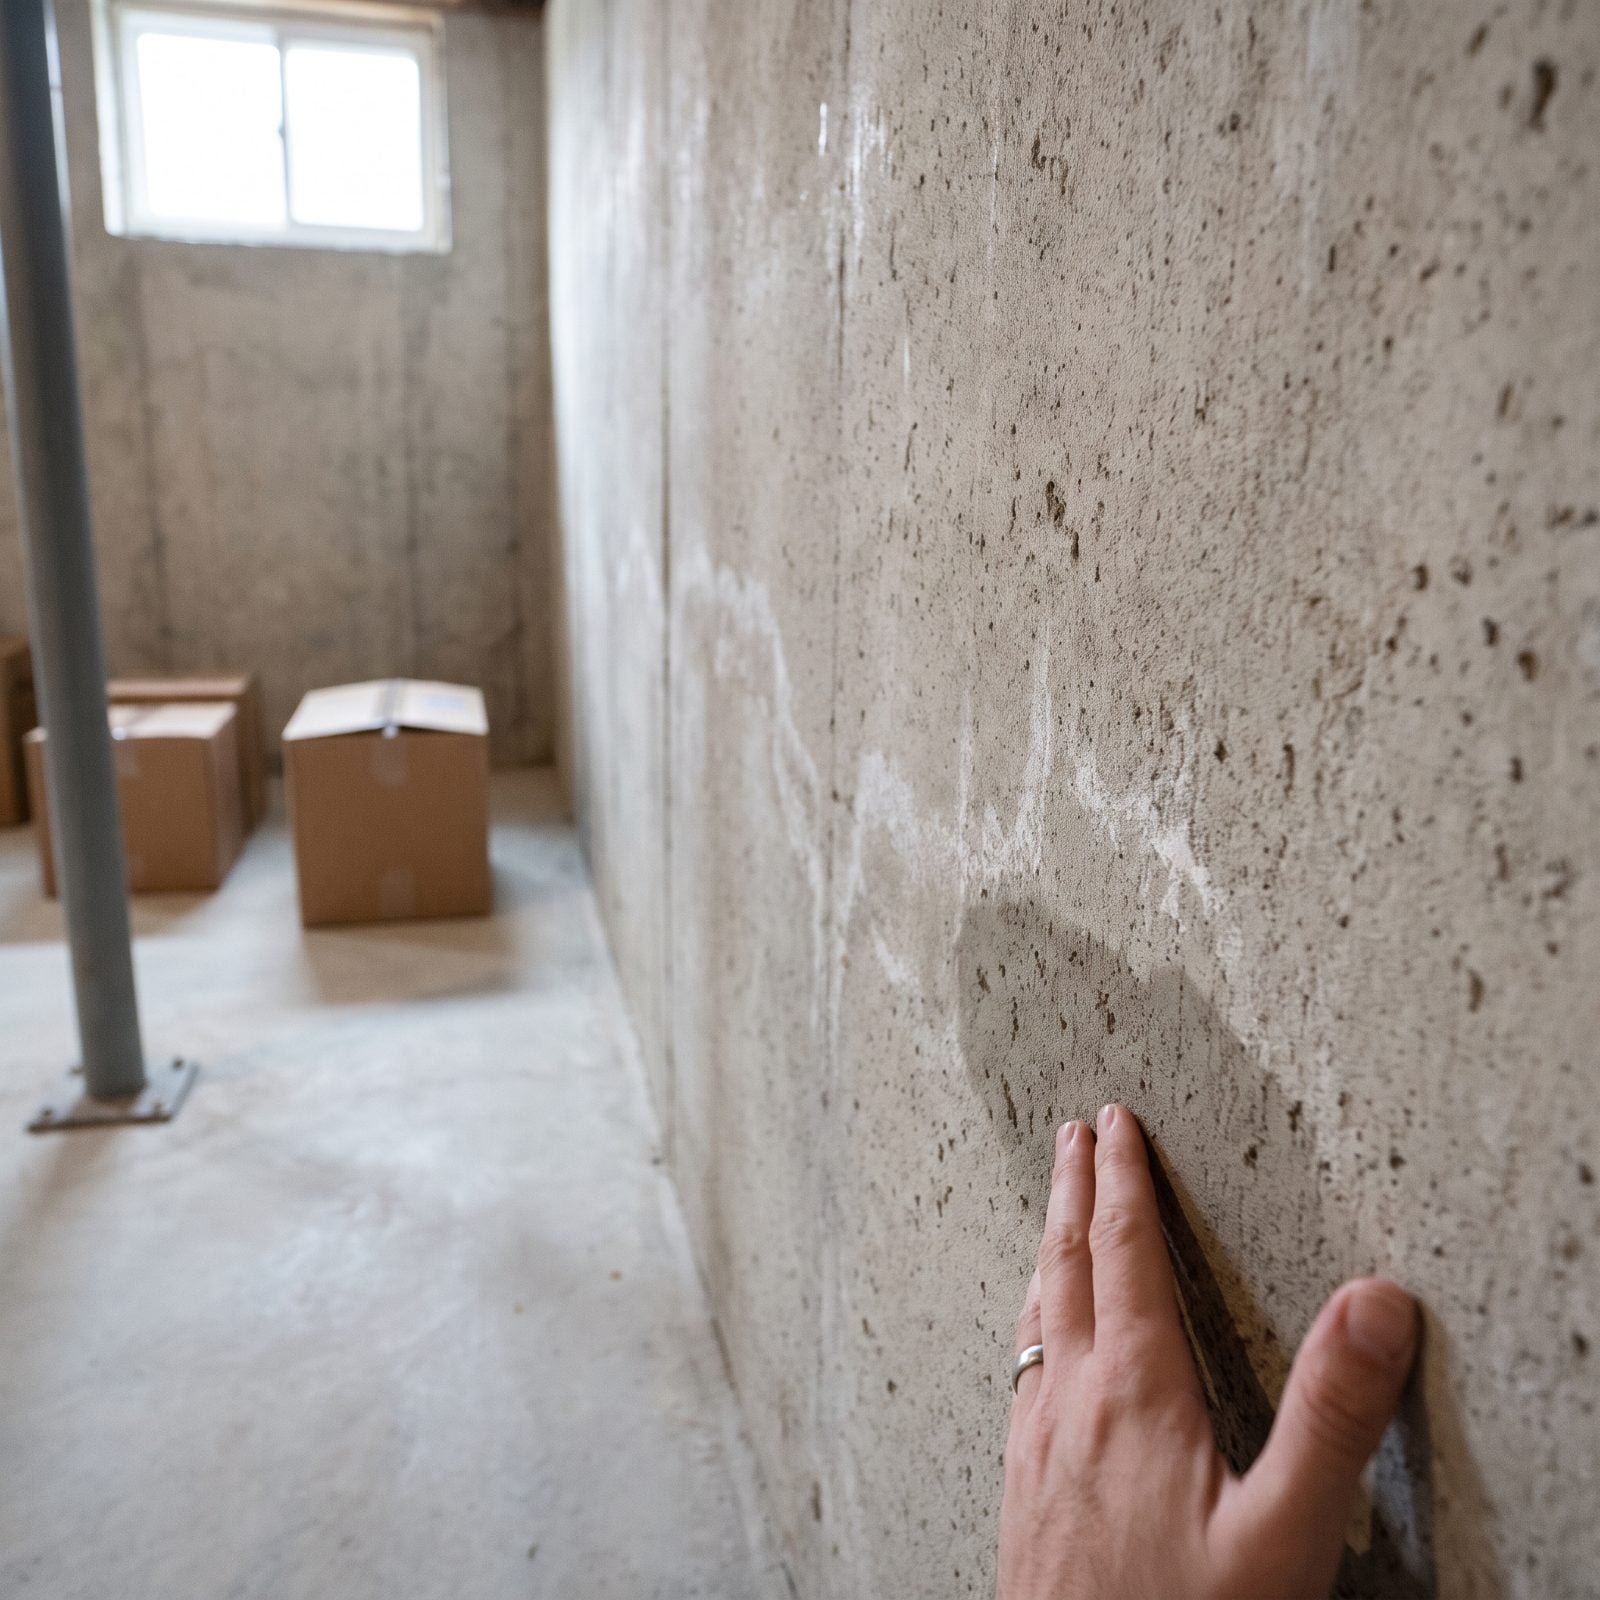
Basements tell on the house. Before you shove boxes against the walls, run your hand across the concrete or block down low, near the floor. You’re feeling for damp, and hunting for a chalky white powder called efflorescence, which is just the mineral residue water leaves behind as it passes through masonry. It means moisture is getting in, even if the wall looks bone dry today.
And sniff. A persistent earthy, musty smell is the honest signal, long before mold shows its face. Your nose catches a water problem your eyes will miss every time.
7. Check The Attic For Active Leaks
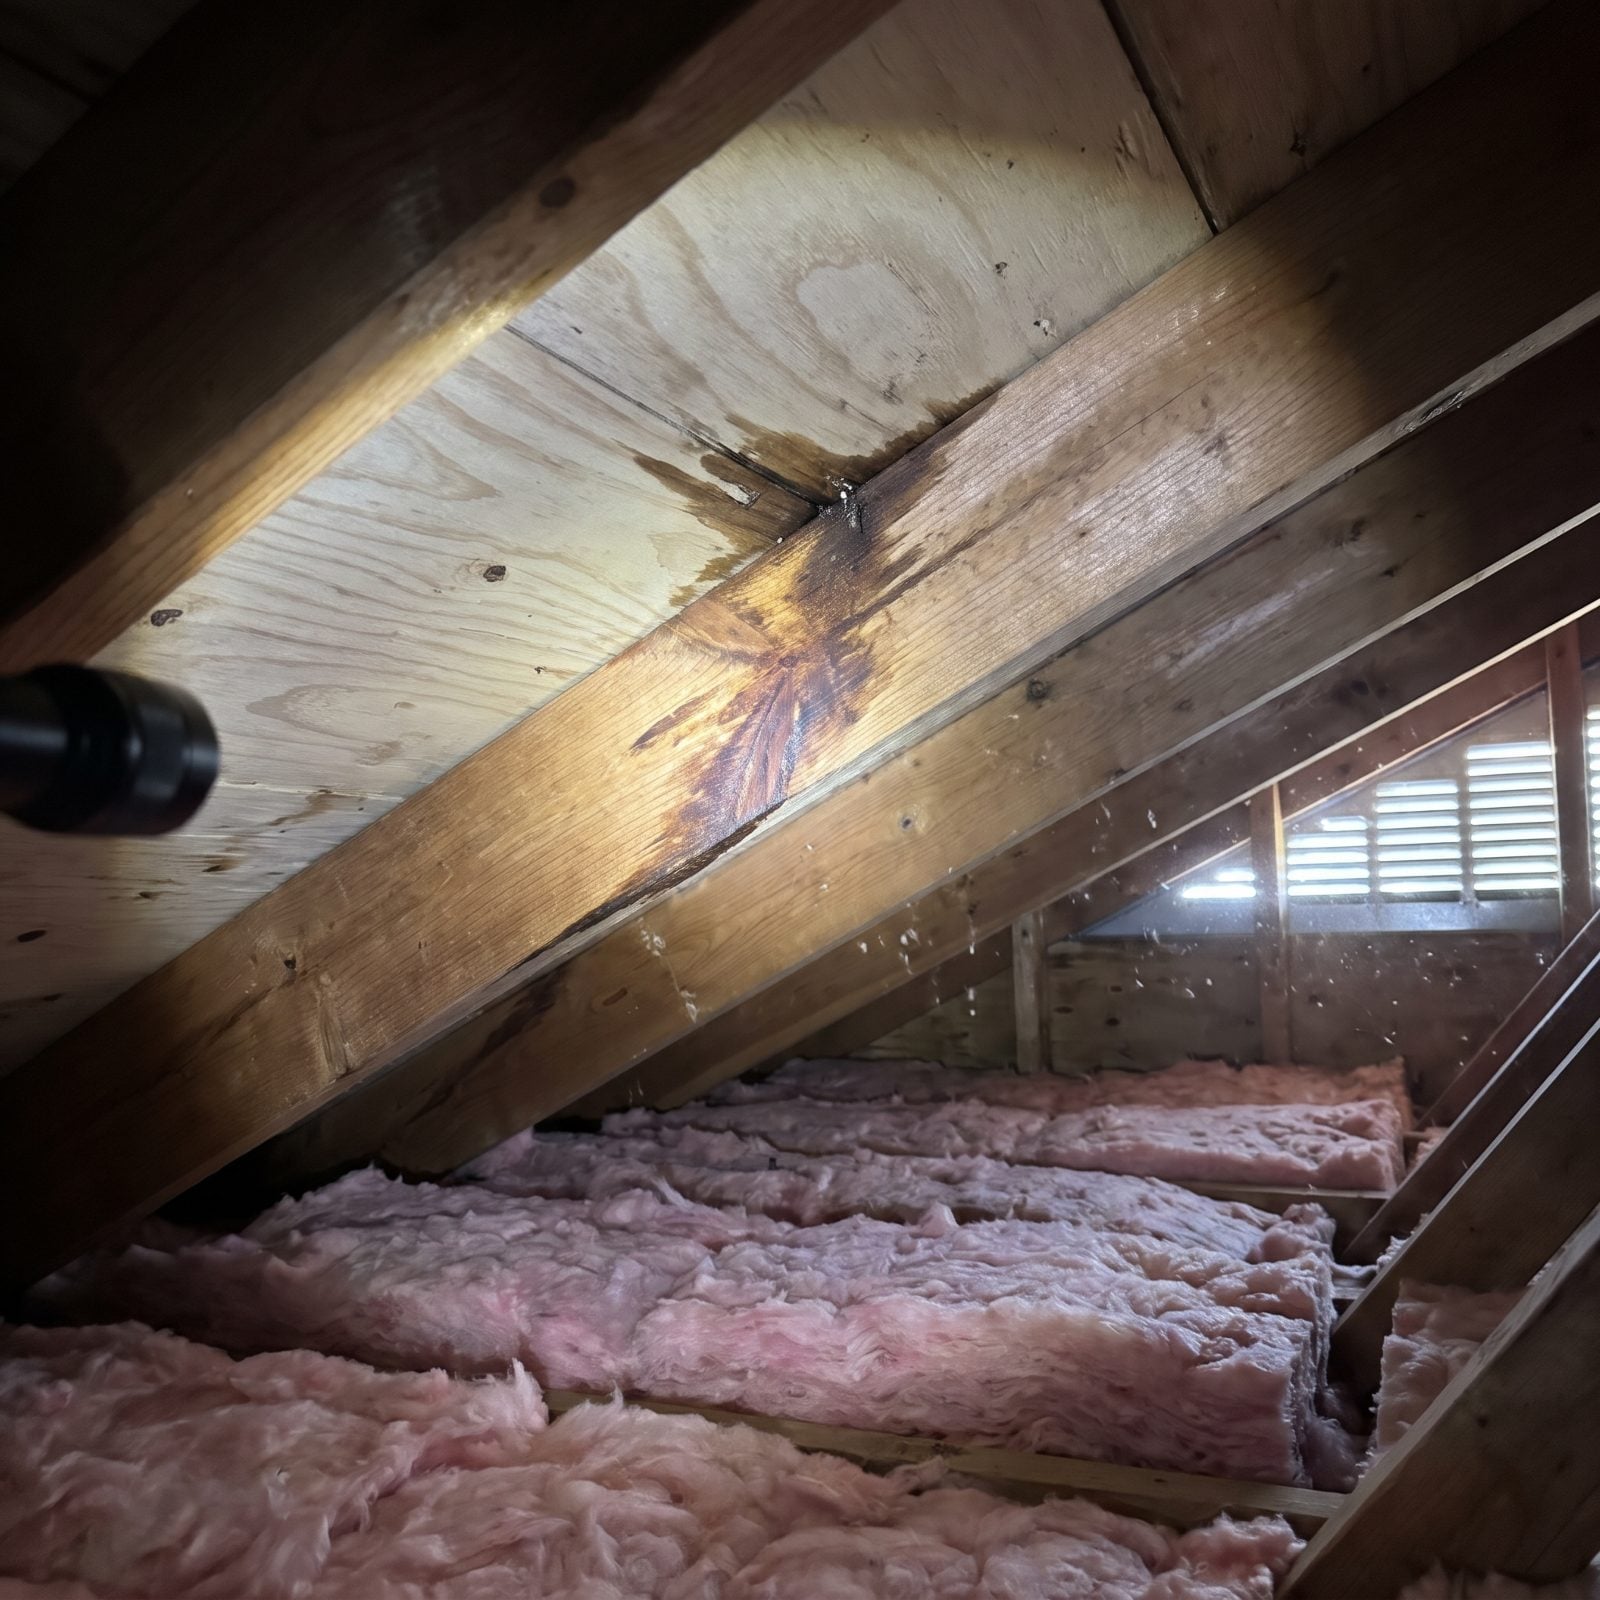
The attic is where a roof confesses. Grab a flashlight and climb up, ideally the day after rain or, better yet, during one. Aim the beam at the underside of the roof deck and along the rafters, hunting for dark streaks, water stains, or the dull grey fuzz of mold. Daylight showing through anywhere but a vent means a hole, and a hole means water.
Press the insulation flat in a few spots. Wet, matted, compressed insulation is water that already came through and settled in. Dry and fluffy means it’s doing its job.
This is the last check before the boxes come off the truck, and it’s the one that keeps you from stacking everything you own under a roof that’s quietly failing. Flashlight, ten minutes, done.
6. Examine The Foundation For Cracks
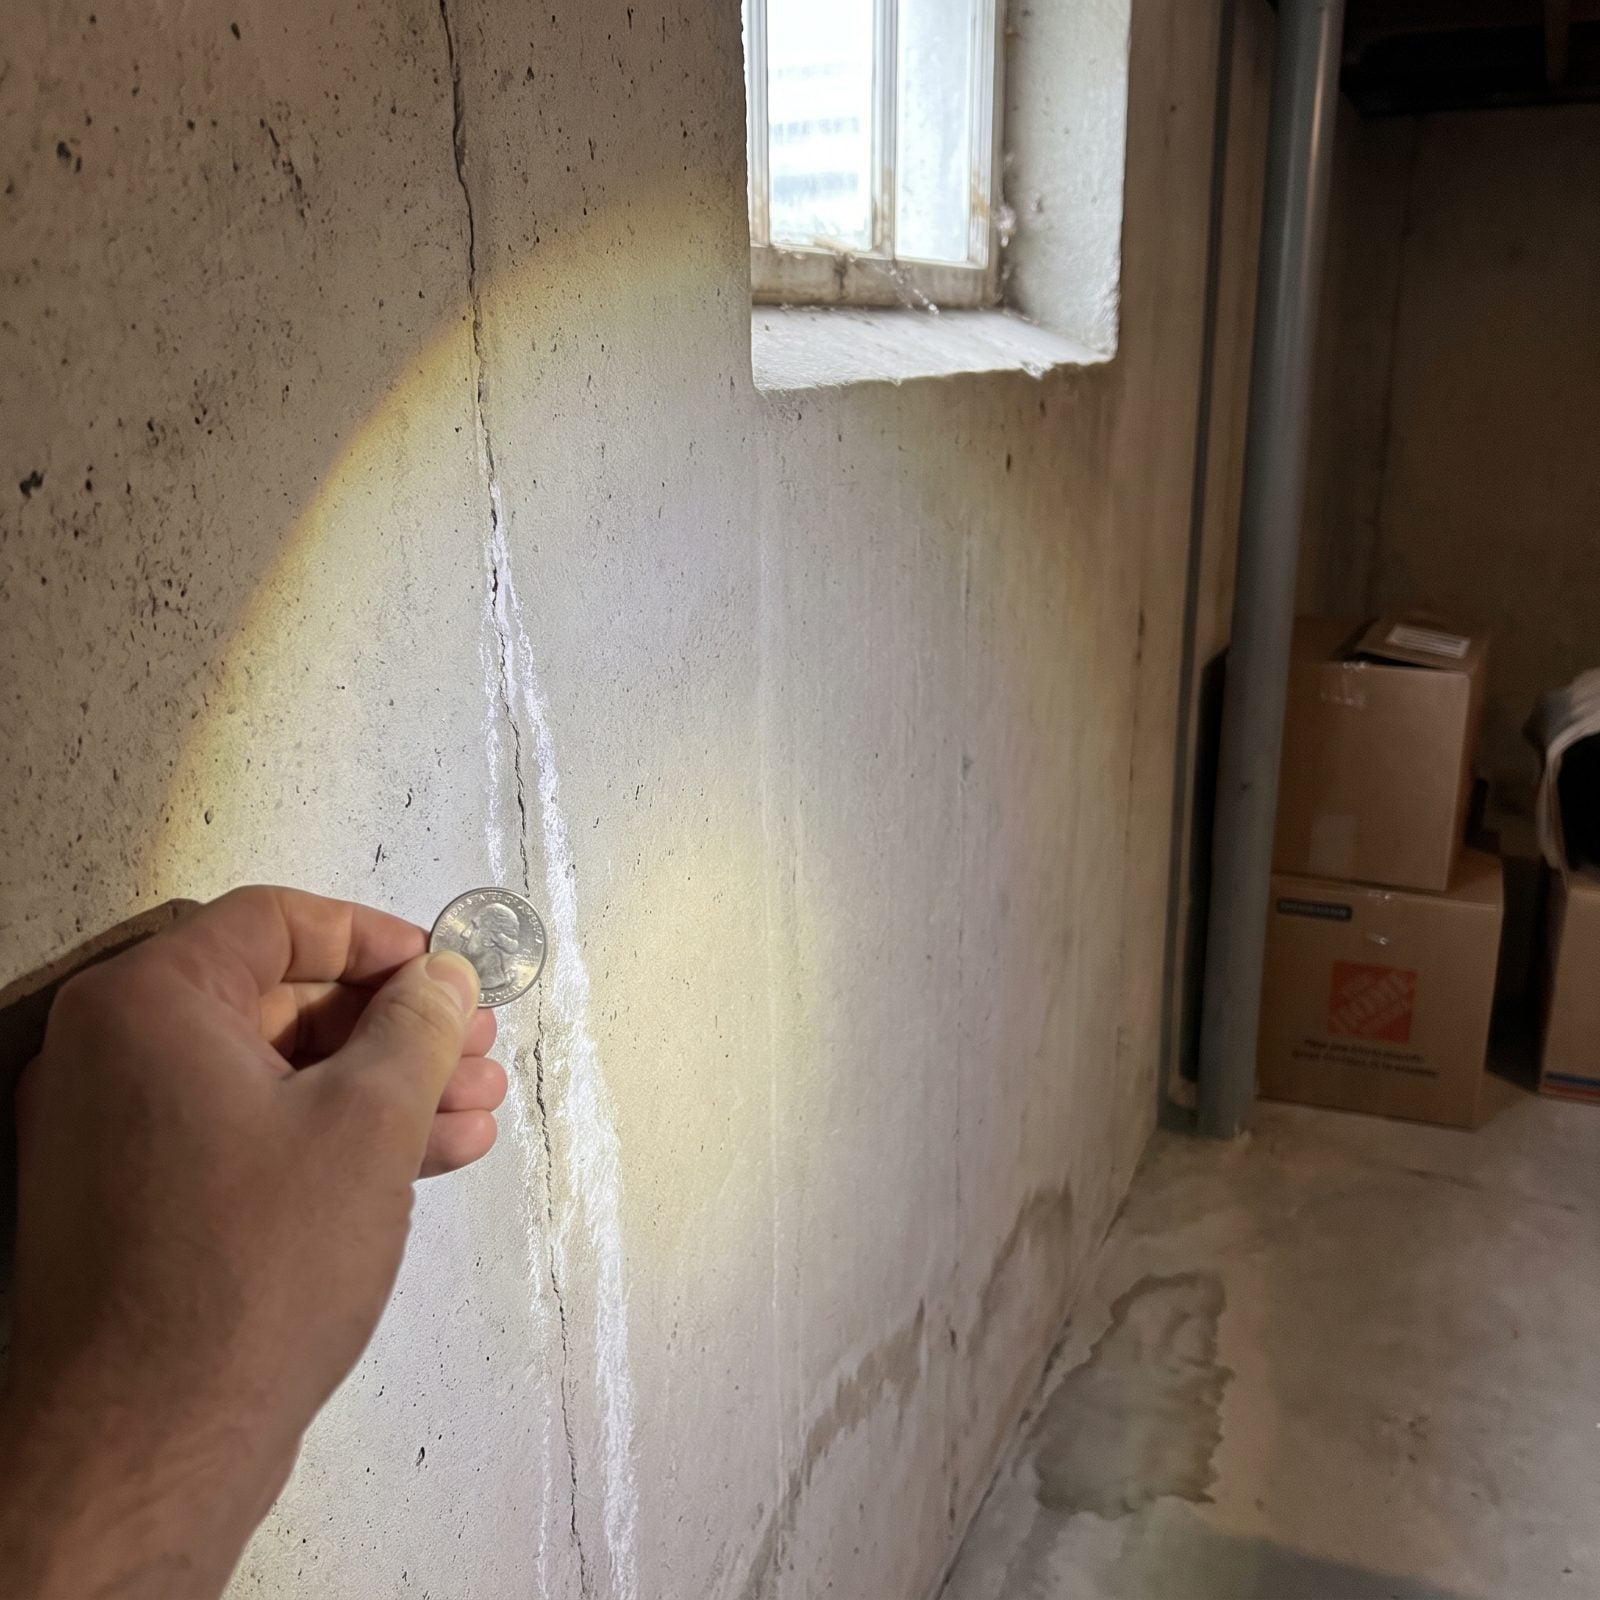
Not every crack means your house is sinking. Hairline vertical ones from concrete curing are normal and boring. The cracks that should make you set down your coffee are horizontal ones, stair-steps through block joints, and anything wide enough to slide a quarter into edge-wise.
Walk the whole perimeter, inside and out, and run a finger along each crack. Rough and dry means it’s old news. But a damp, chalky white deposit means water is moving through, and water is what turns a cheap repair into an expensive one.
5. Look Behind Appliances For Pest Droppings
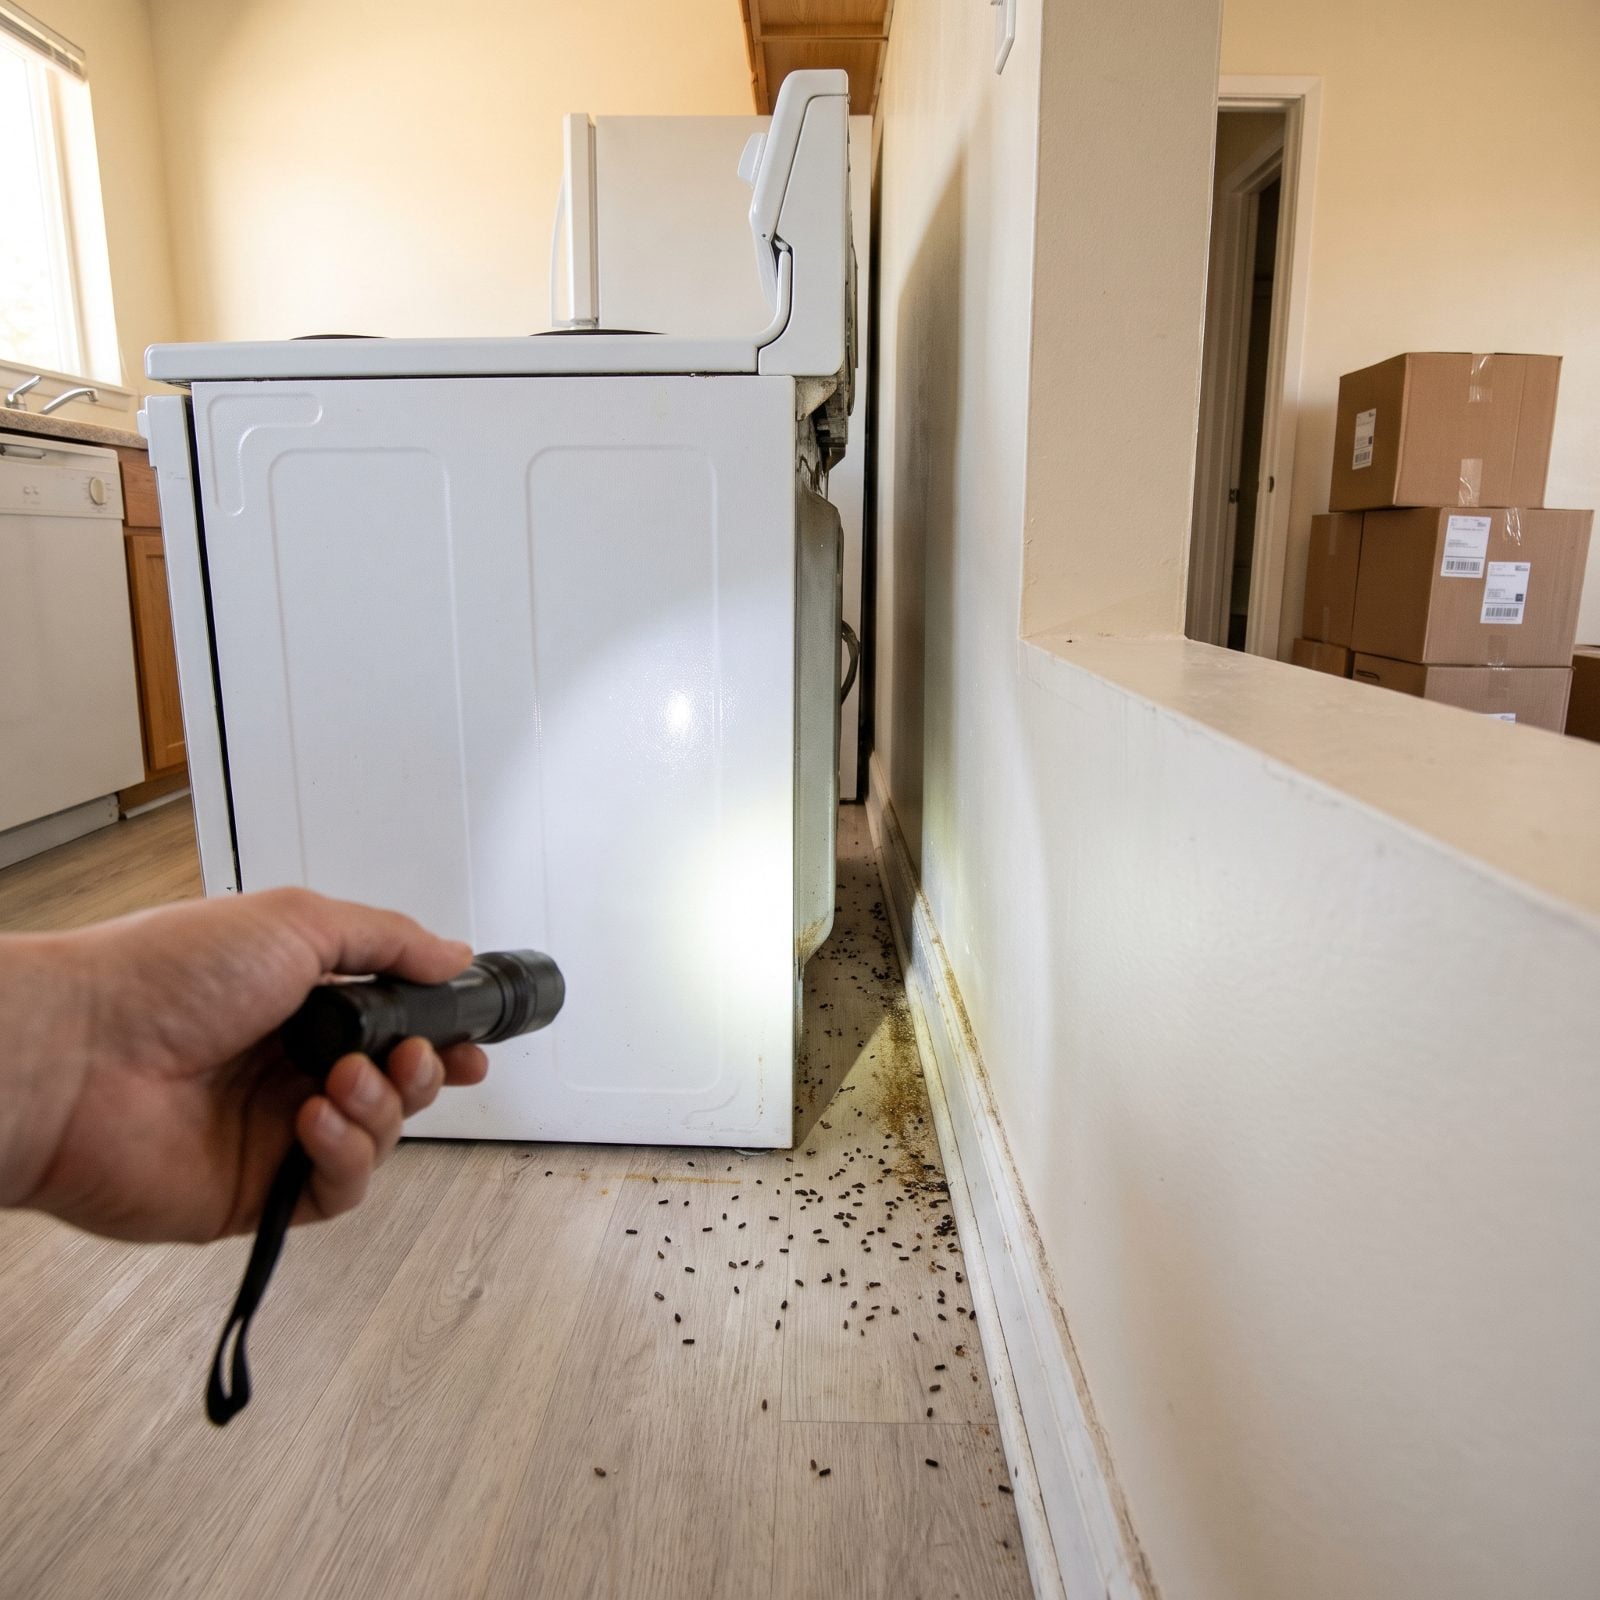
The sellers cleaned the counters. Nobody cleans behind the fridge, and that dark gap is where the honest truth about a house lives — it’s where mice, roaches, and pantry moths set up shop.
Peel back the loose side panel on the range and shine a light down. Dark rice-grain droppings, greasy rub marks along the baseboard, gnawed corners on anything cardboard. While your kitchen is still empty of your own food, this is the cheapest pest inspection you’ll ever run.
4. Inspect Gutters And Downspout Discharge
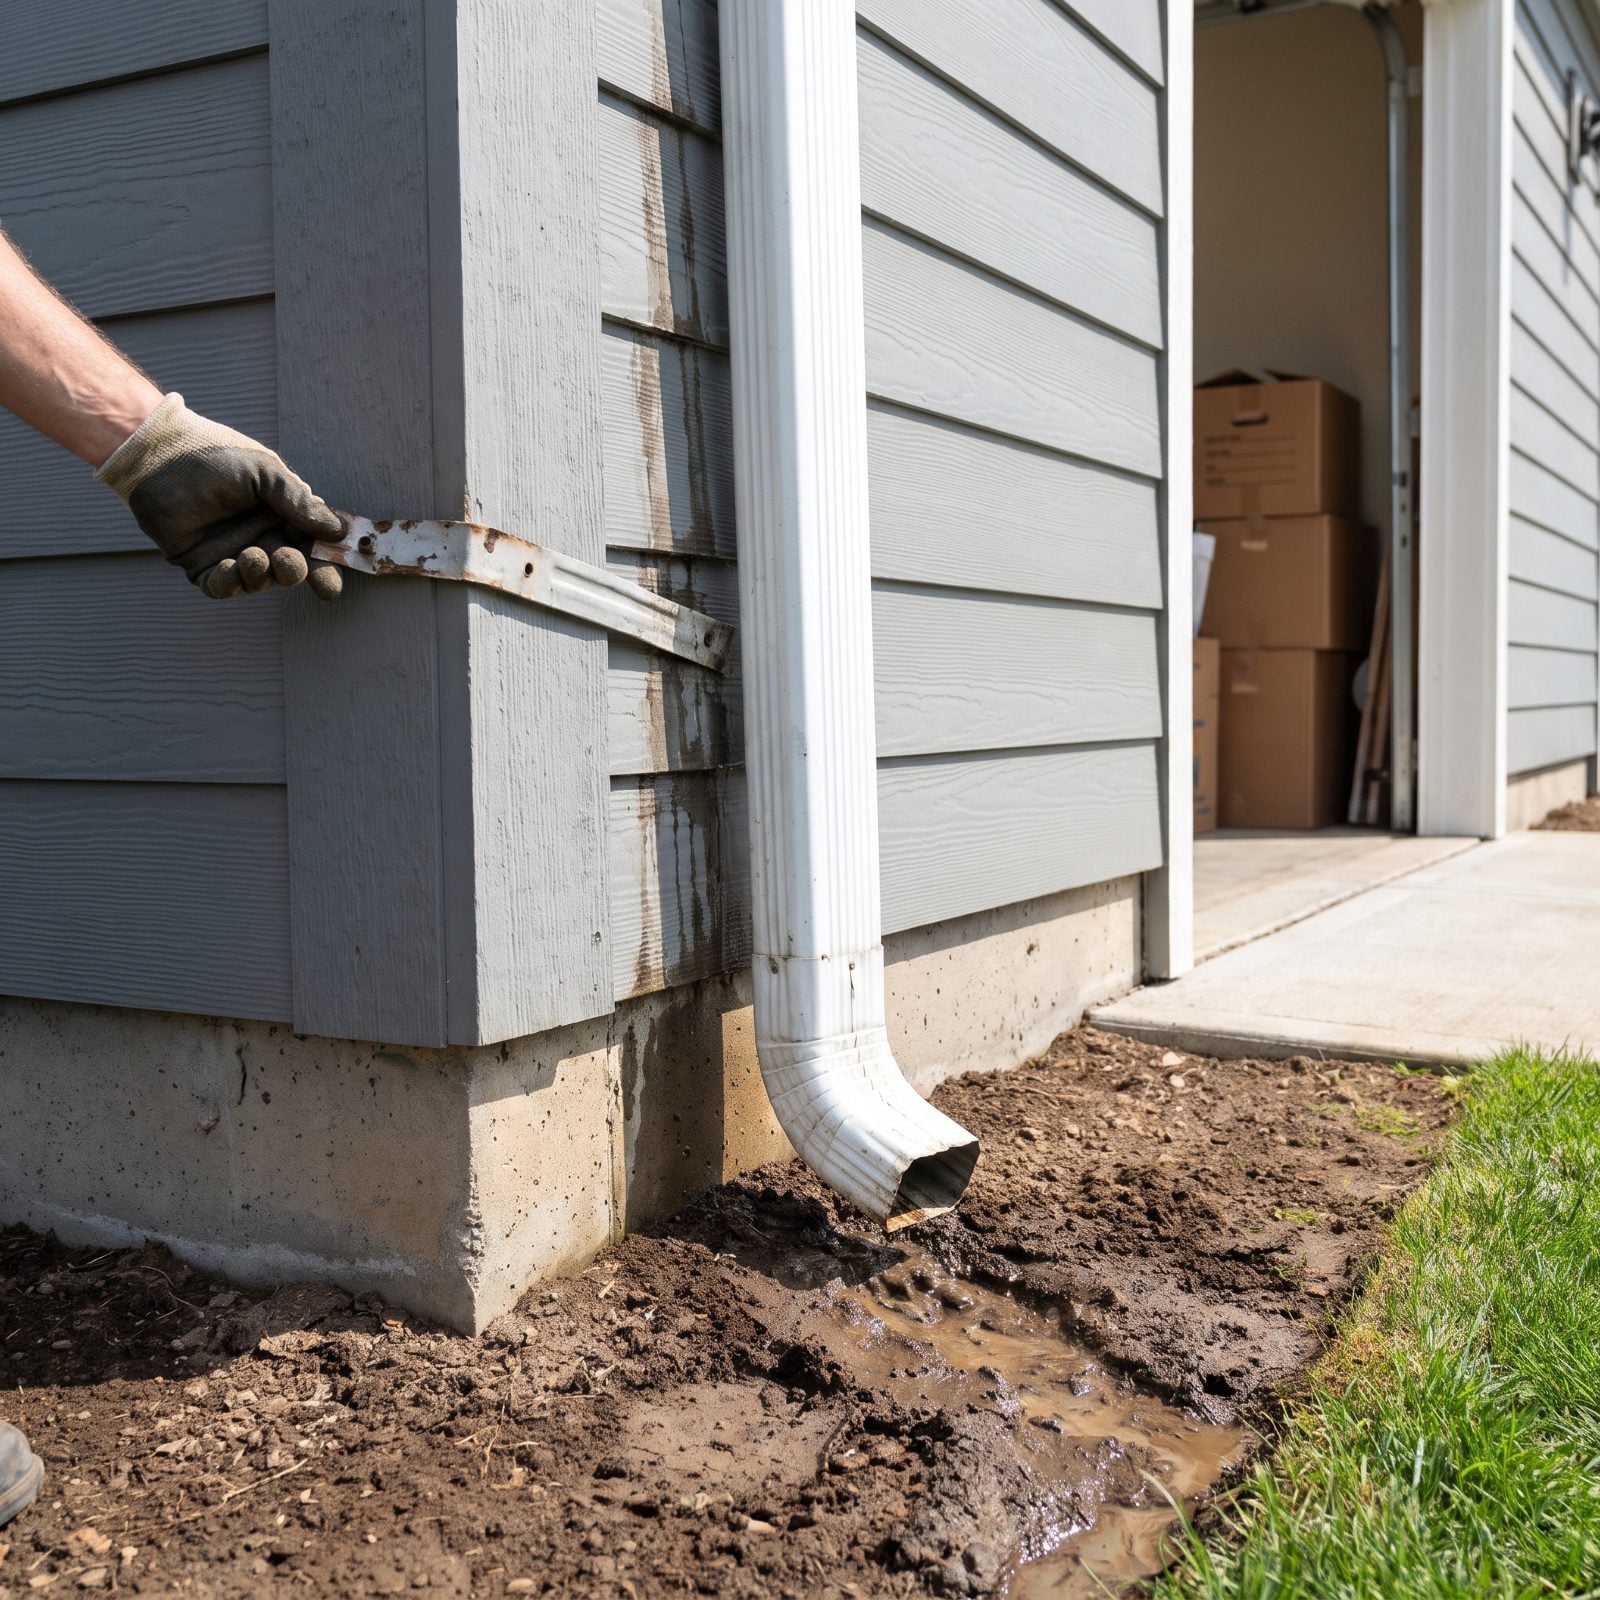
Gutters are the least glamorous part of any house and the part most likely to wreck your foundation. A clogged or disconnected one dumps a bathtub of water next to your basement wall every time it rains.
No ladder needed for the first pass. Look up for sagging runs and whatever’s sprouting from the troughs, then follow each downspout to the ground. The outlet should carry water several feet away from the house, not pool against it.
3. Confirm Grading Slopes Away From Foundations
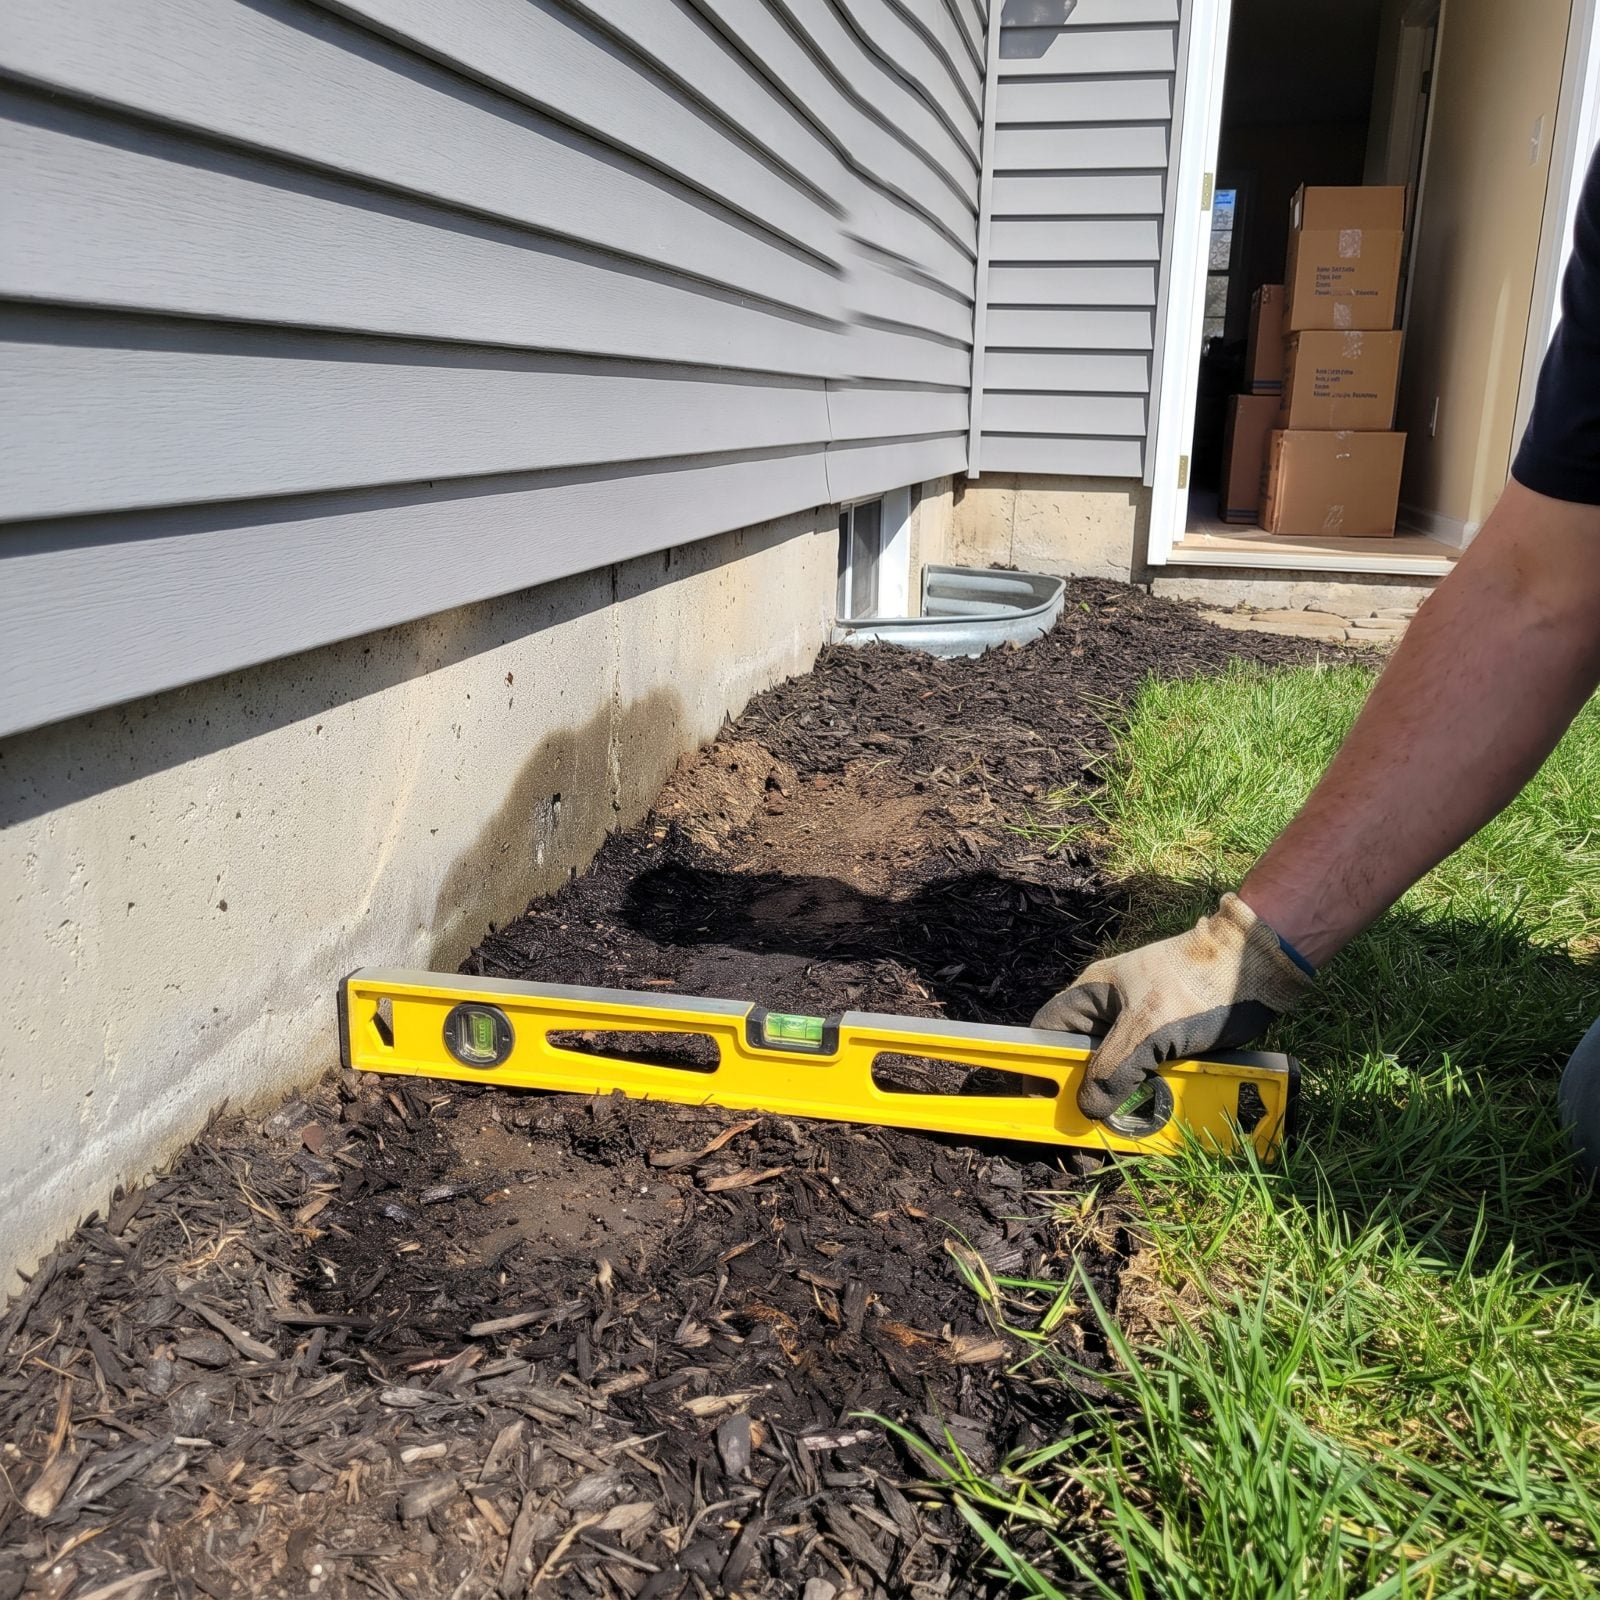
Water runs downhill, and you want it running away from your house. Flat or back-pitched grading is the quiet reason basements leak, and you won’t see it until a heavy rain shows you the problem on your floor.
Stand at each corner and watch which way the ground falls. The soil should drop noticeably over the first several feet out from the wall — pros like to see about six inches of fall within the first ten. Pay attention under decks and patios. And that tidy new mulch bed? Often piled right up against the siding, trapping moisture against everything you don’t want wet.
2. Test Garage Door Auto-Reverse
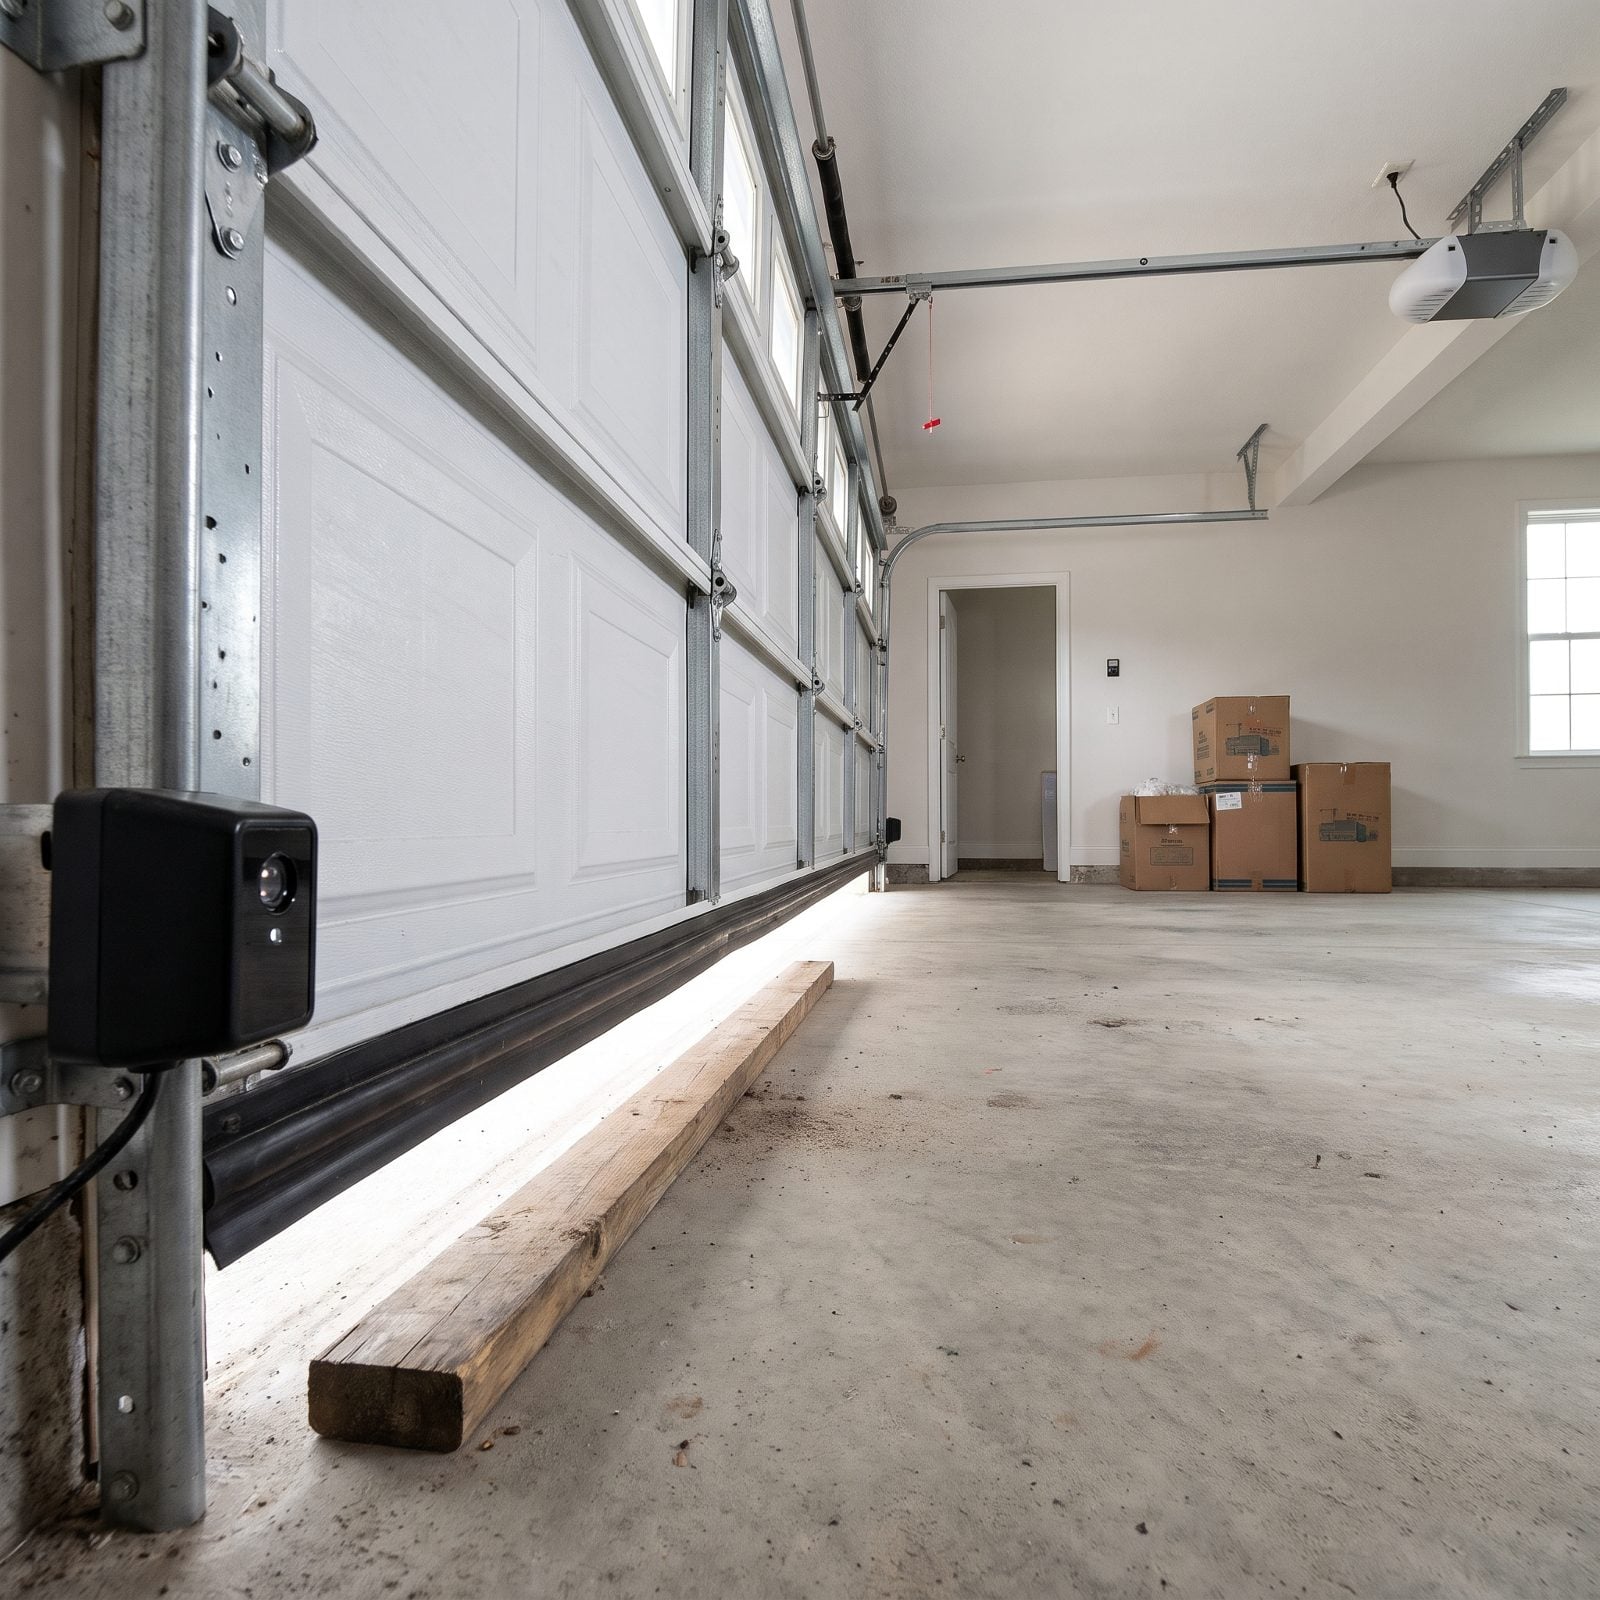
A garage door is the heaviest moving object in most homes, and plenty of them have a safety reversal that quietly stopped working years ago. You find that out the hard way.
Run two quick tests. Lay a flat two-by-four on the floor under the door and hit close — it should hit the wood and reverse immediately. Then raise it and wave your foot through the beam of the low photo-eye sensors as it closes. Again, the door should stop and head back up.
1. Review The Latest Radon Test Results
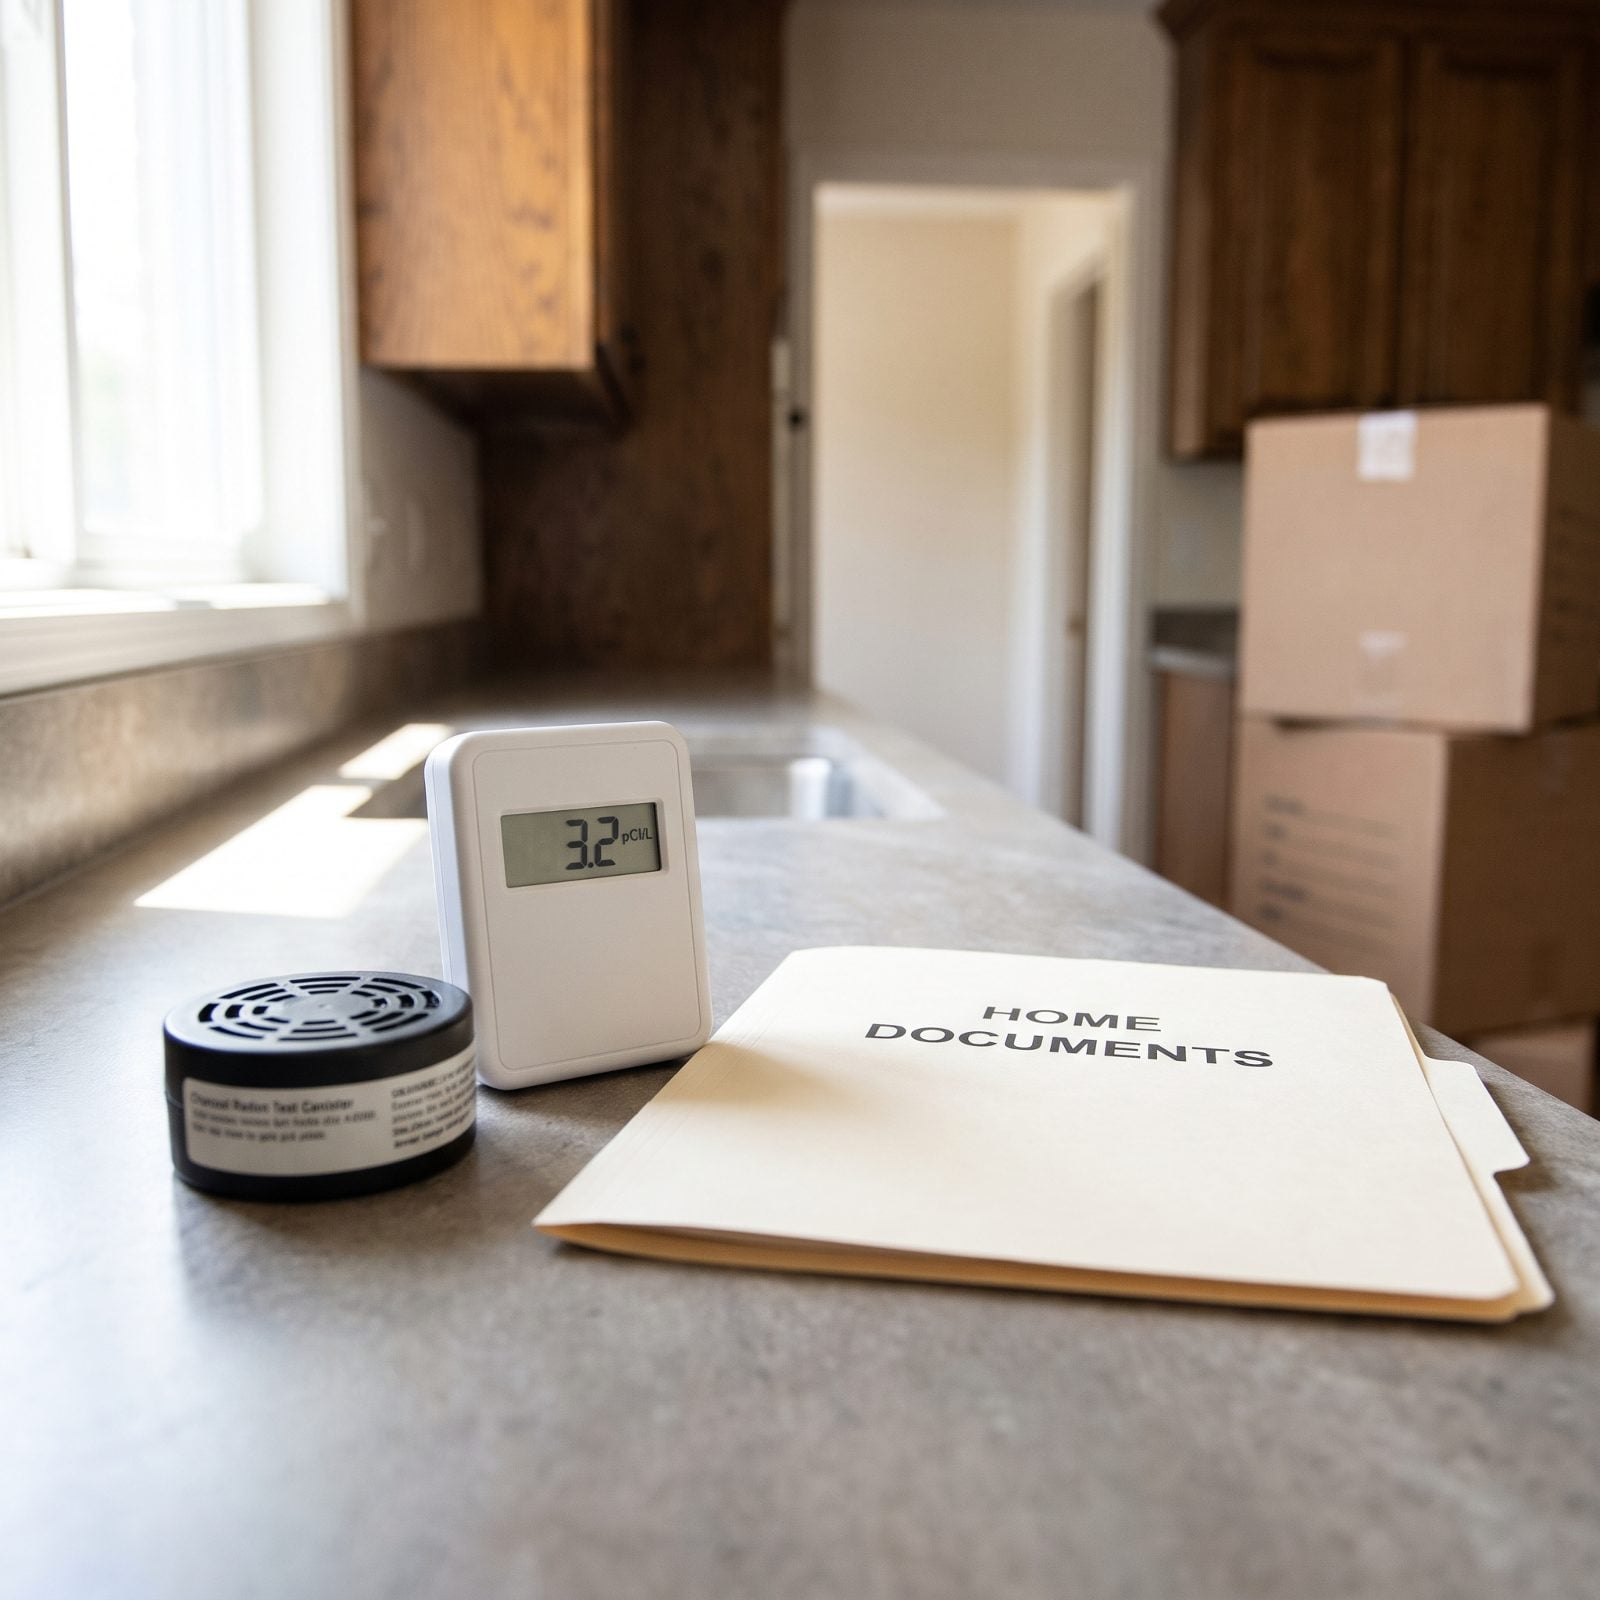
You can’t see it, smell it, or taste it, and it’s the second leading cause of lung cancer in this country. Radon seeps up from the soil into basements and lower floors, and testing is the only way to know your number.
Ask the sellers or your agent for the most recent radon report, then check the date and the result. The EPA action level is 4 picocuries per liter. Above that, you’ll want a mitigation system — a fan and a pipe, usually a fix in the low four figures.
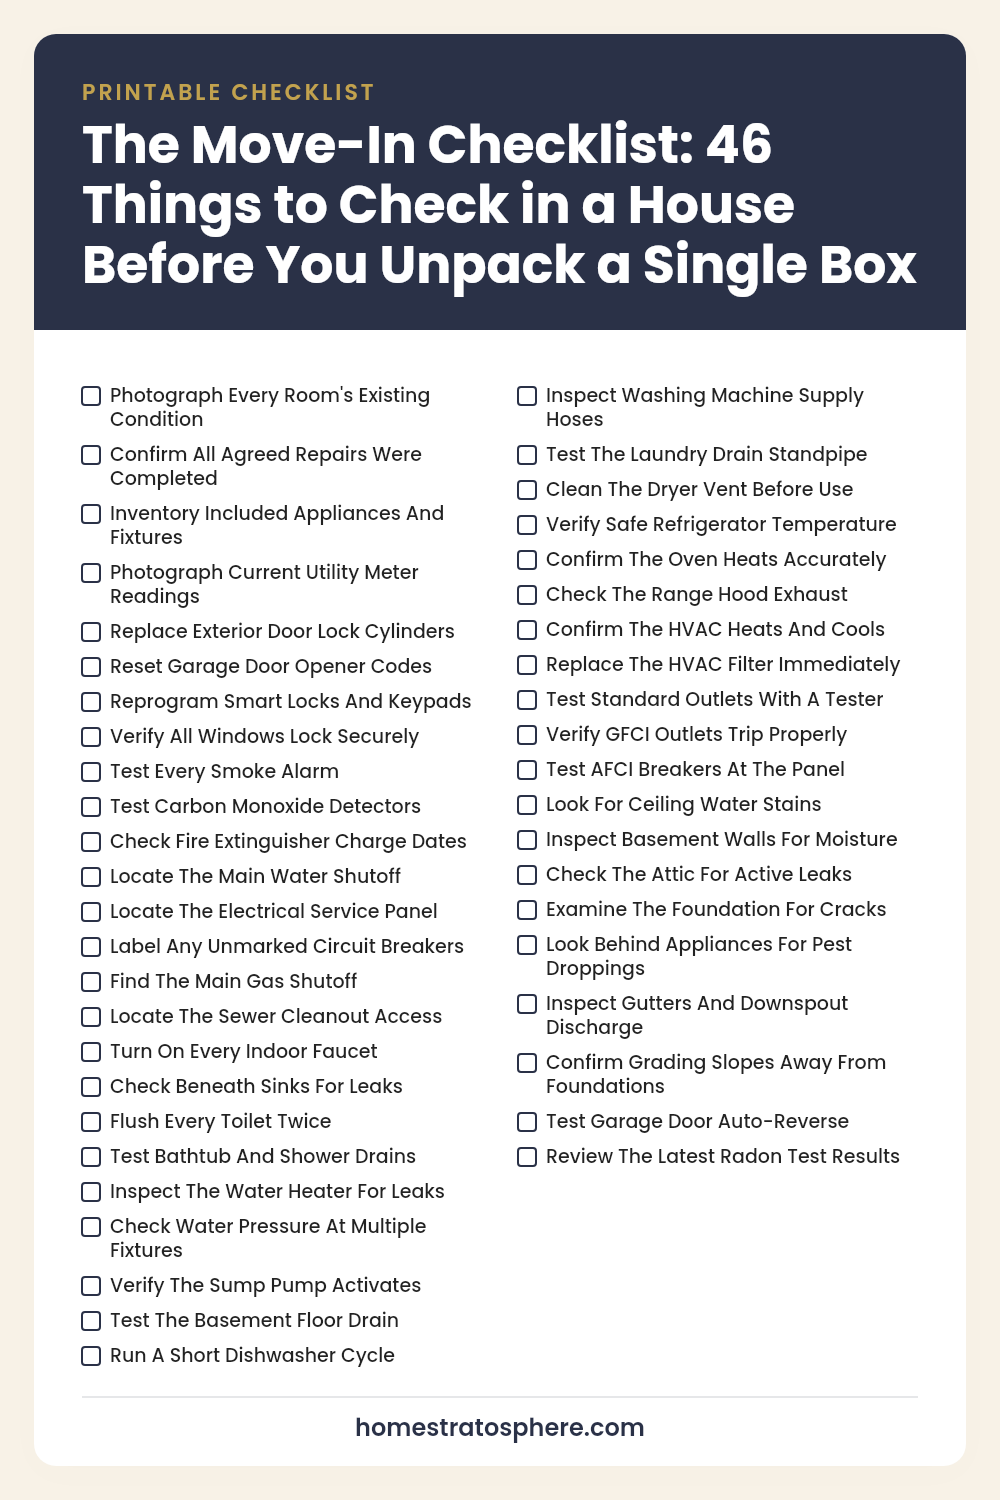
Your Printable Checklist
Save it to Pinterest or print it — every check from the list above on one page.