🔥 Would you like to save this?
Fresh paint hides a lot, and that’s exactly the problem. A weekend, a few cans of cabinet enamel, and your dated kitchen suddenly looks reborn. Then three months later the paint peels off the doors by the range, the drawer edges swell, and a brown stain bleeds through near the sink. Cabinet painting fails slowly, expensively, and almost always in ways you could have prevented. Every mistake below starts with a shortcut that felt perfectly reasonable at the time. Look hard before you crack that first can.
29. Using Wall Primer Instead of Bonding Primer
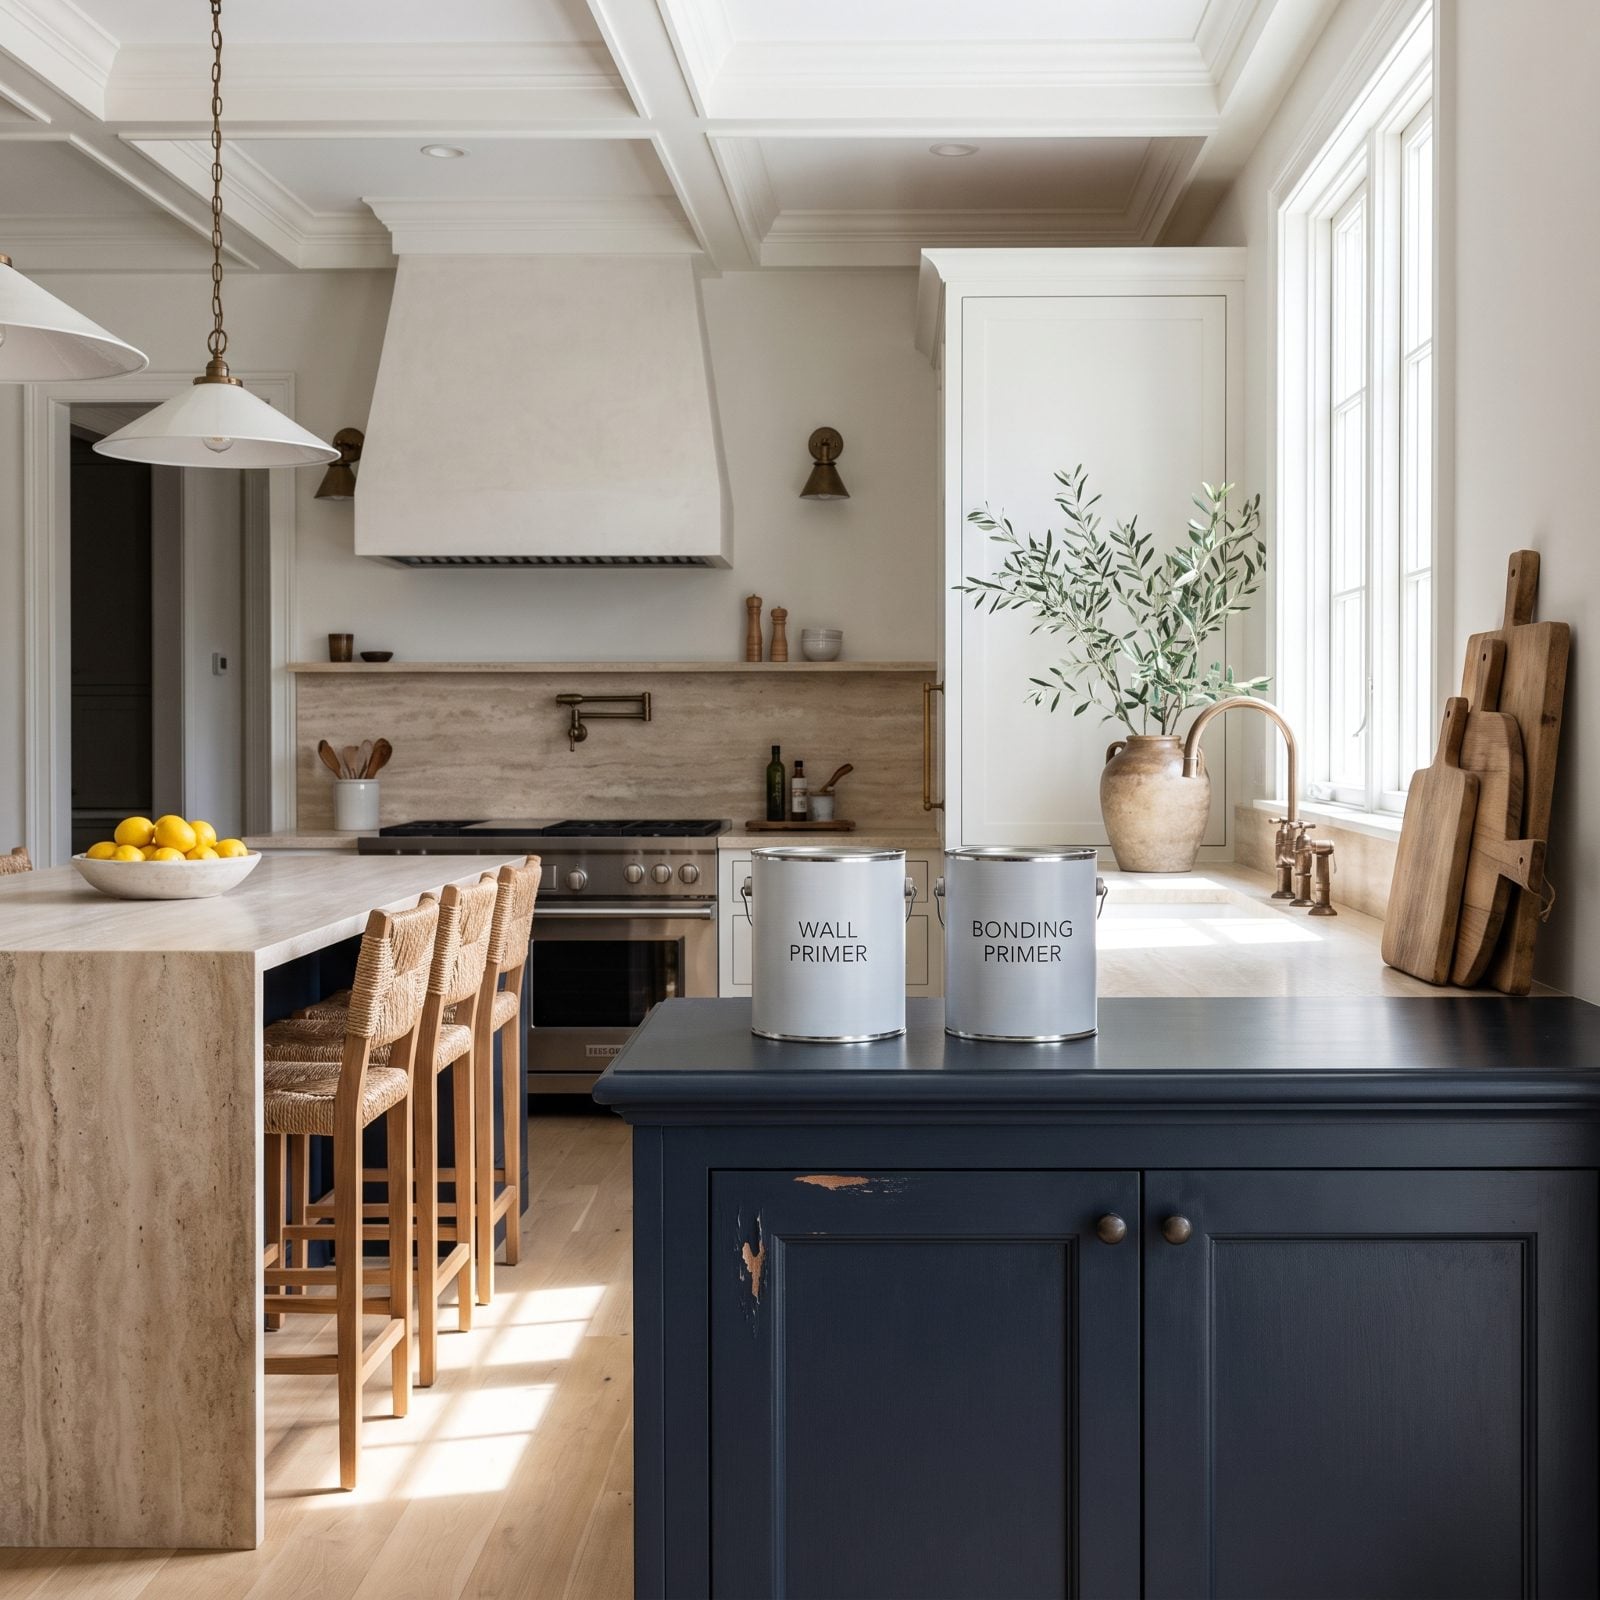
Wall primer is built for drywall, which is thirsty and porous and forgiving. Cabinets are none of those things. Factory finishes are slick and sealed, sometimes coated in a laminate that laughs at ordinary primer, and paint over the wrong base peels off in sheets the first time a wet sponge comes near it.
In order to come up with the very specific design ideas, we create most designs with the assistance of state-of-the-art AI interior design software. Also, assume links that take you off the site are affiliate links such as links to Amazon. this means we may earn a commission if you buy something.
Reach for a bonding primer instead — shellac-based or a dedicated adhesion formula, the kind that says cabinets and laminate right on the can. Cheapest insurance in the whole project. Buy the right one.
A charcoal cabinet color only reads as expensive when it stays put. If you’re chasing that kind of finish, the charcoal kitchen makeover depends entirely on a base coat that grips.
28. Covering Moisture Damage Instead of Fixing the Leak Under the Sink
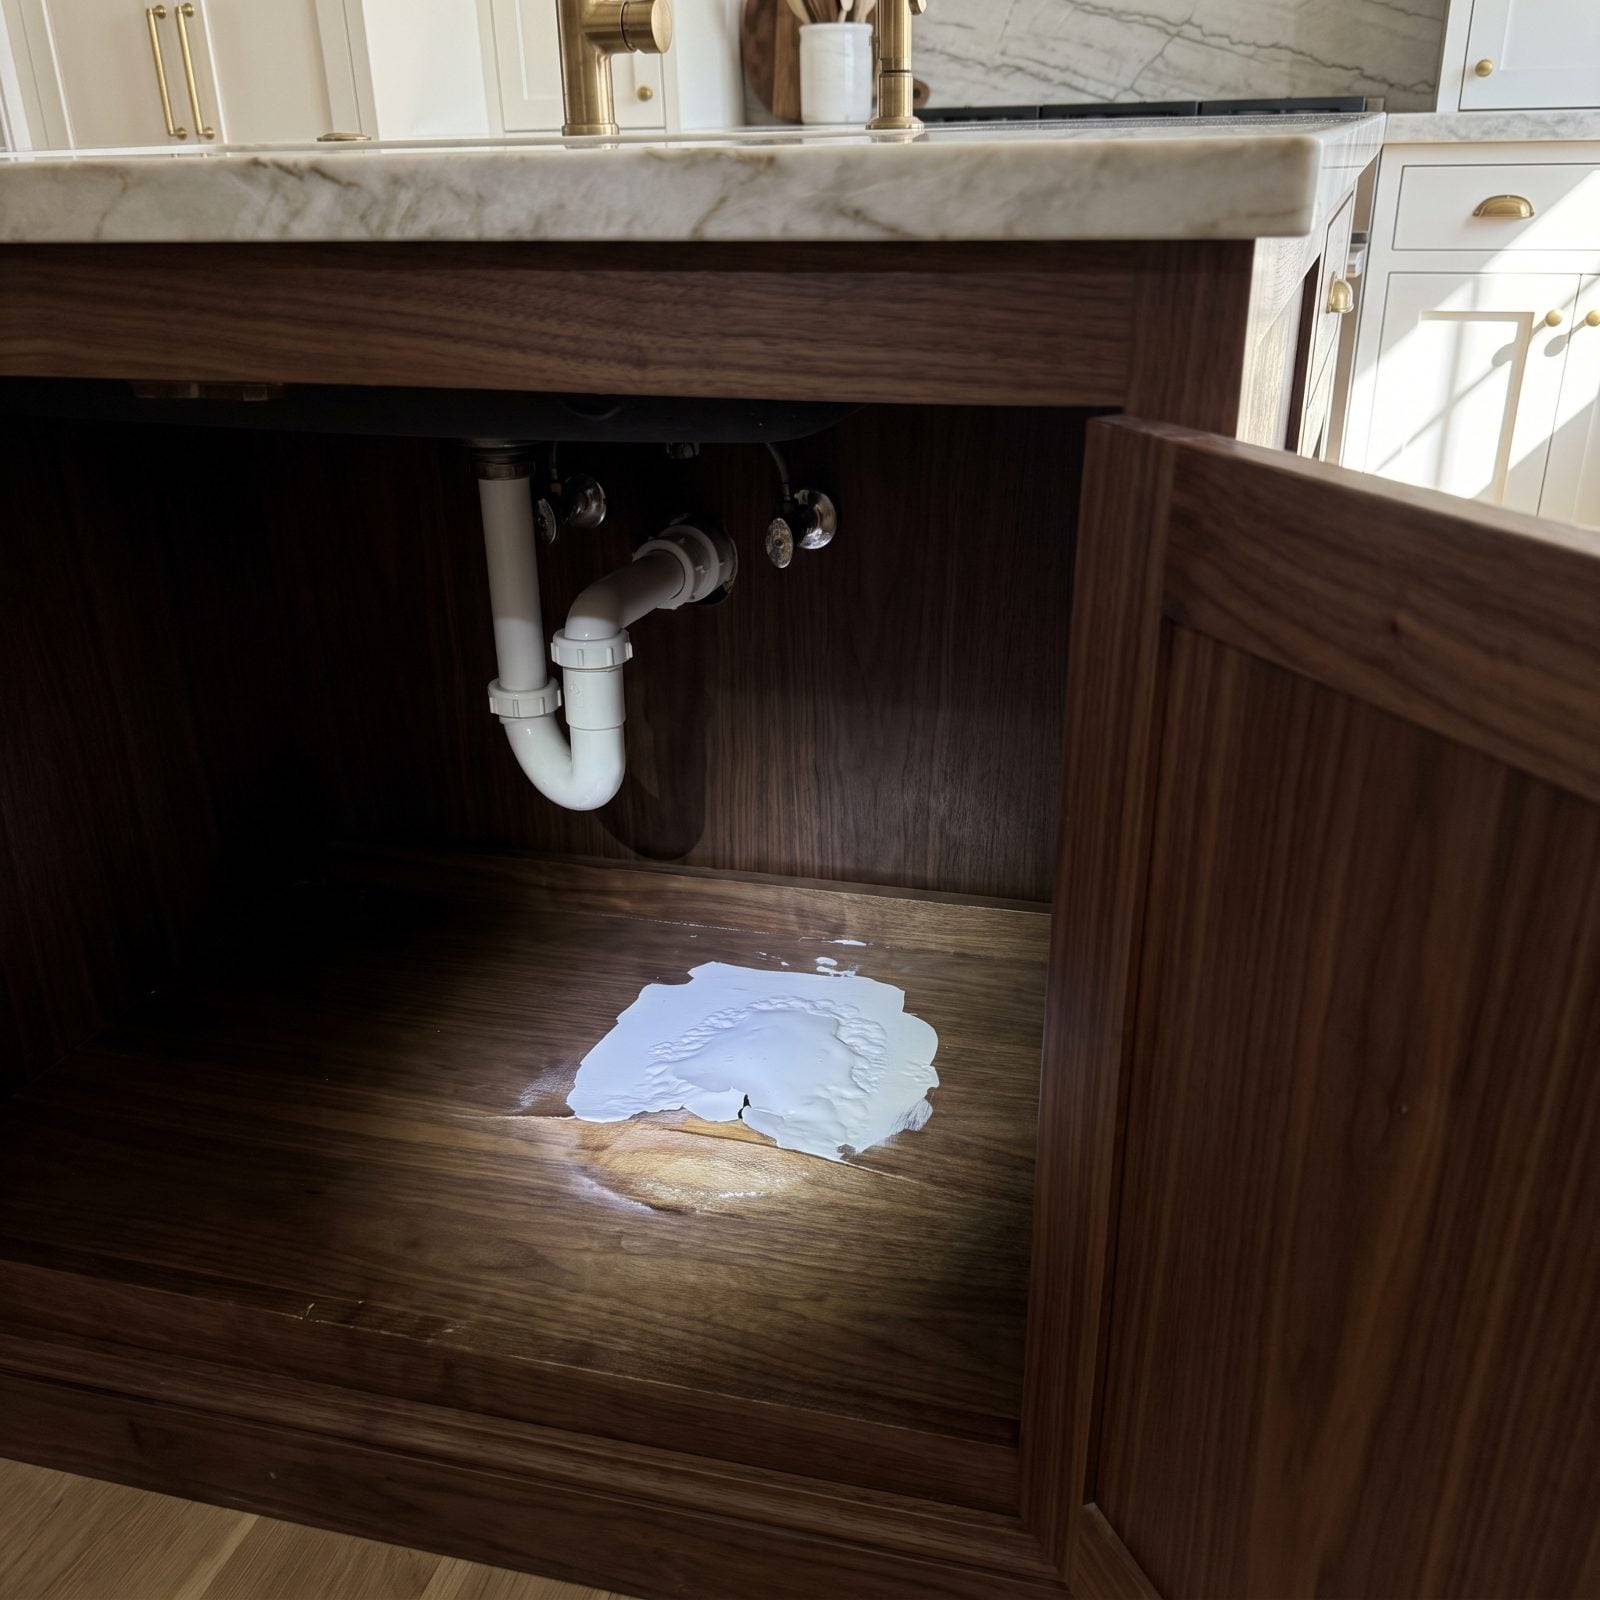
Paint is not a plumber. I’ve watched people spend a whole Saturday rolling enamel onto a sink cabinet while a slow drip kept doing its work underneath the entire time. Six weeks later the fresh coat bubbles from the inside out, and now you’re stripping paint and chasing a leak you could have caught for the price of a wrench.
Open the cabinet and feel the floor with your hand. Spongy, swollen, ringed with brown? The water damage is active right now. Fix the drip, dry it fully, cut out the ruined board and replace it, then seal it. Anything short of that is just decorating a problem.
27. Painting Thermofoil That’s Already Peeling at the Corners
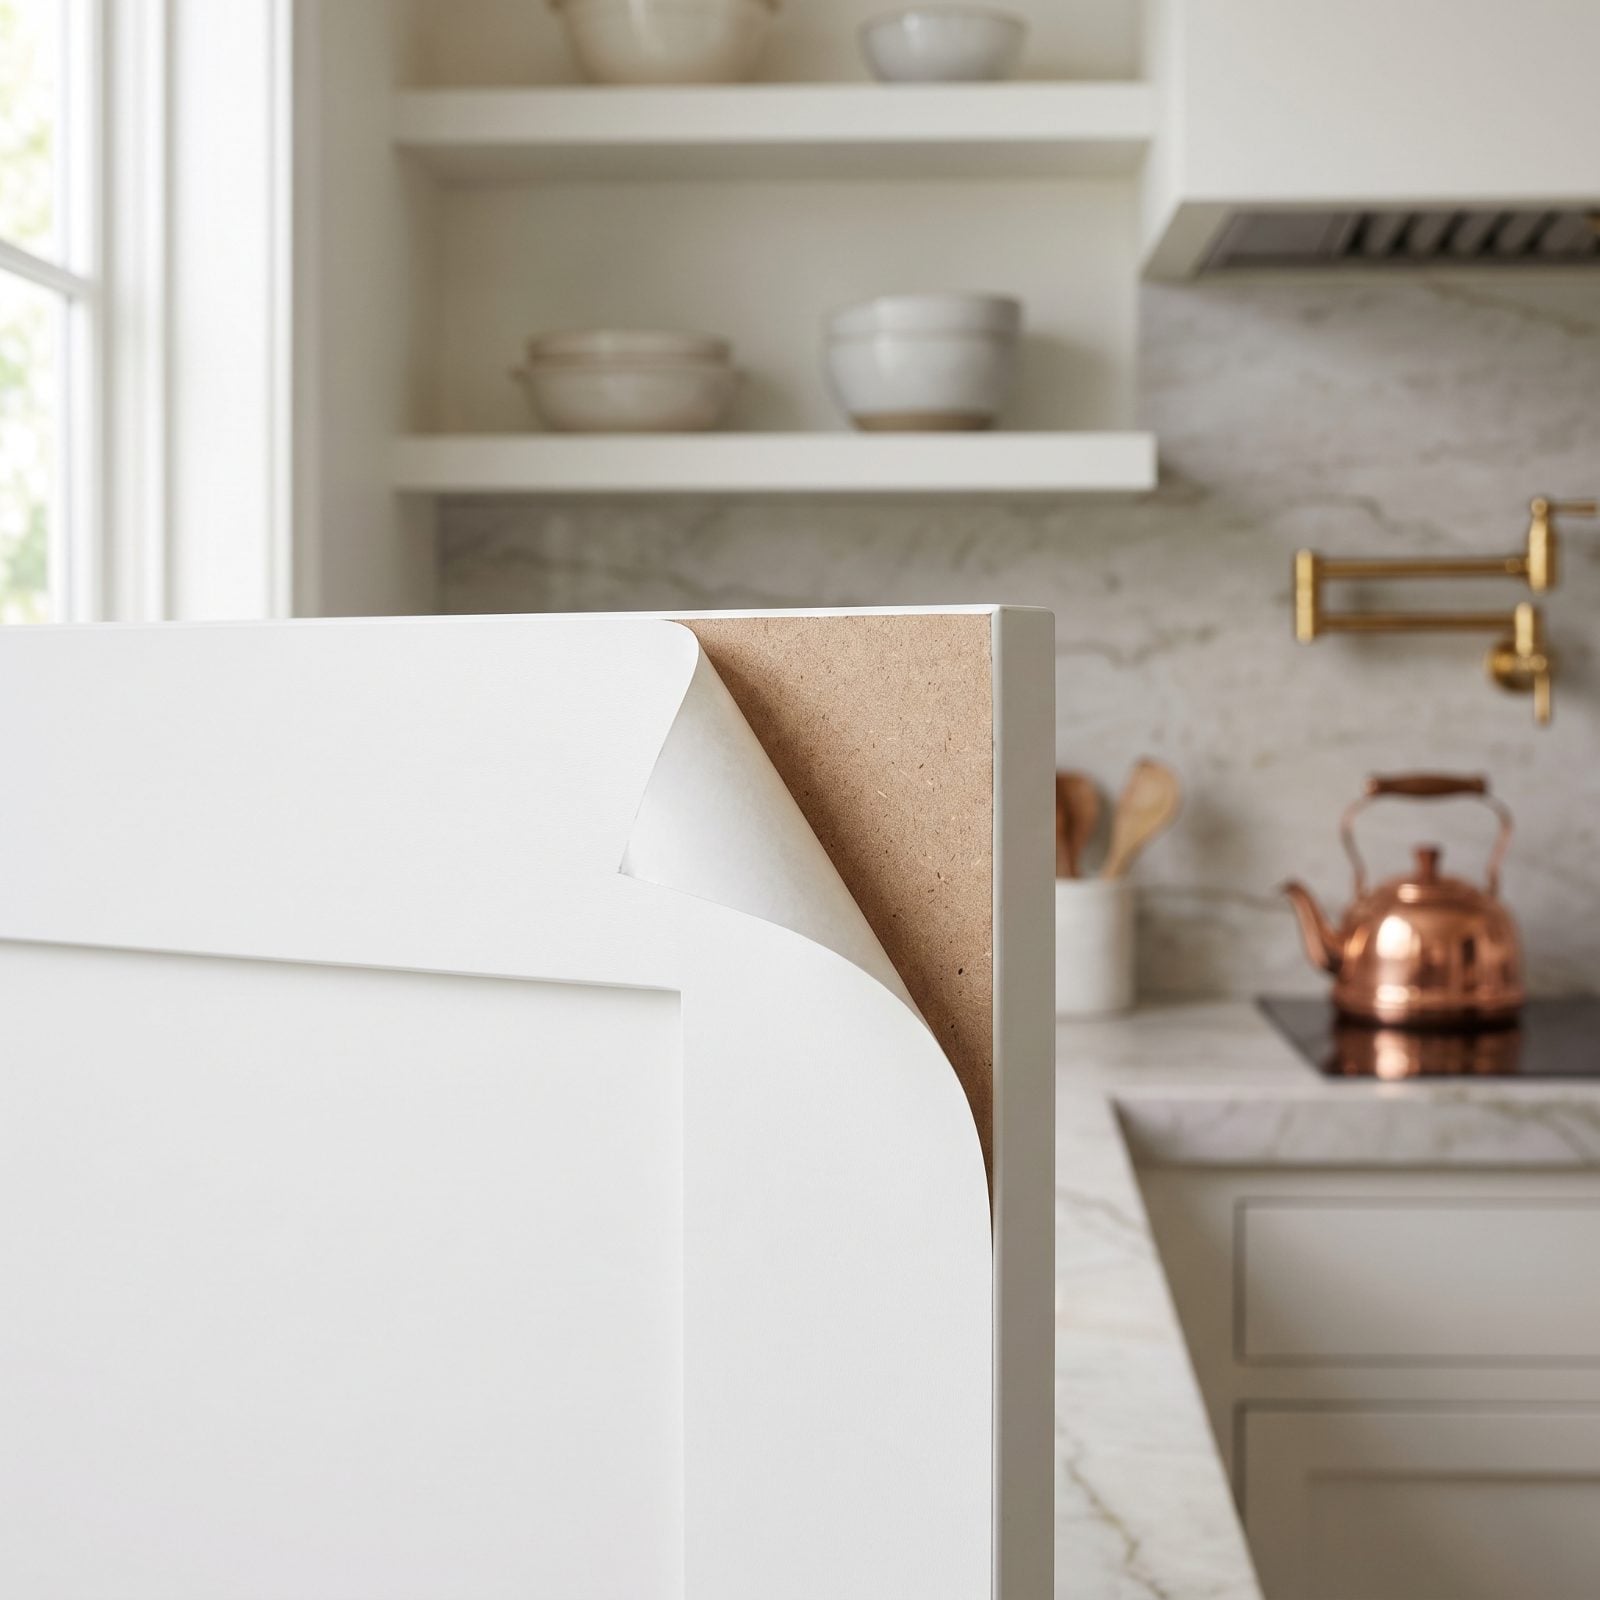
Thermofoil is a plastic skin heat-pressed over MDF, and once it starts lifting, paint won’t glue it back down. Prime and coat all you want. The vinyl underneath keeps separating, and your beautiful finish rides that failing layer straight into the trash.
Heat near the range and dishwasher kills thermofoil first. If the skin is curling, you’re down to two honest options: reface the doors or replace them. Painting a delaminating thermofoil door is like ironing a shirt that’s already ripped down the seam.
26. Painting Damaged MDF Without Sealing the Swollen Edges First
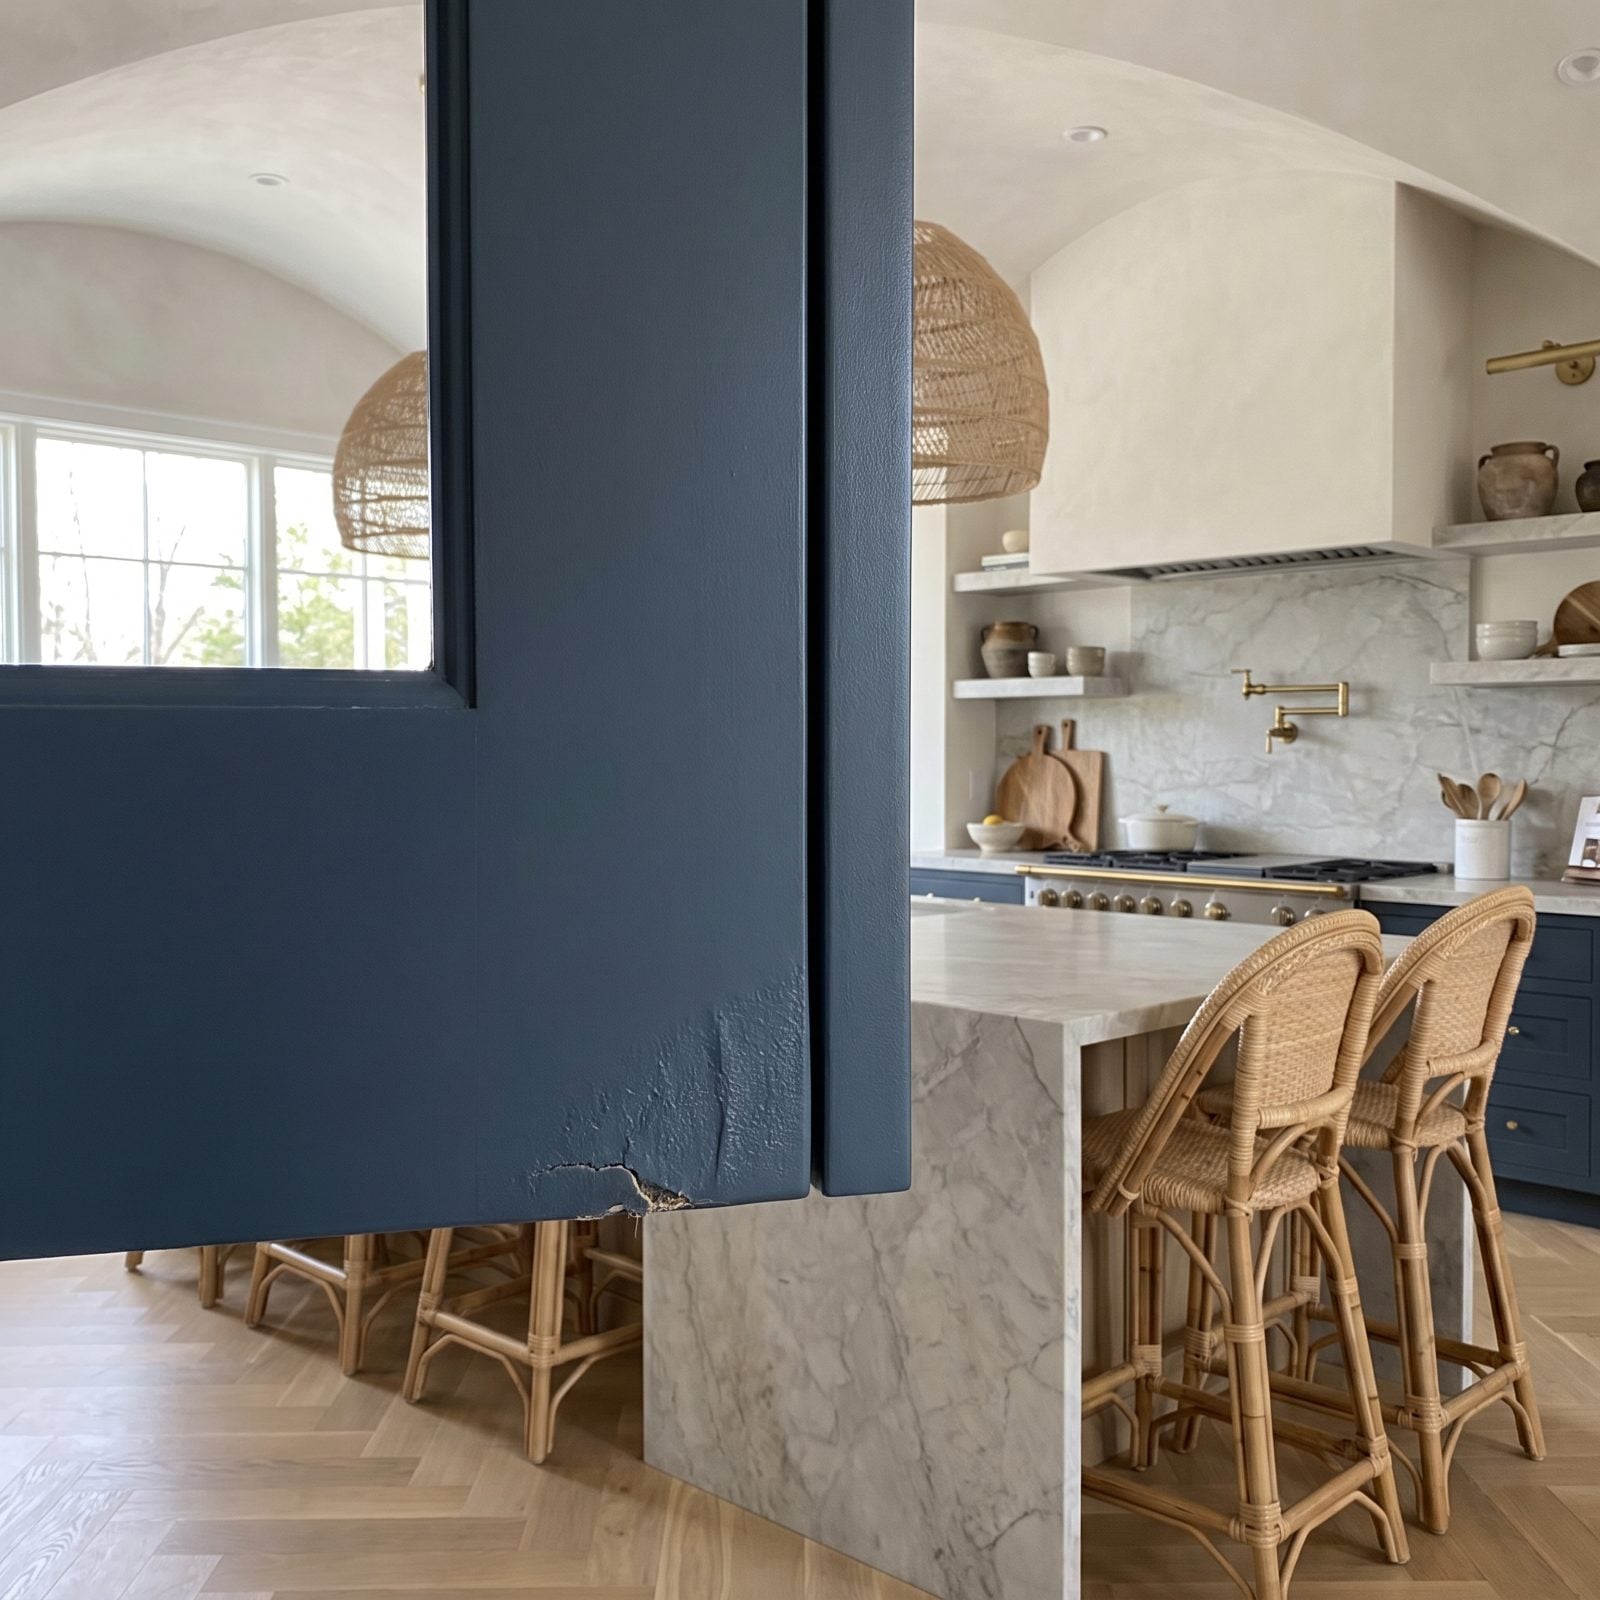
MDF drinks water like a sponge and never gives it back. Once an edge swells it stays swollen, and paint straight over that fuzzy fibrous bulge cracks along the seam within a season.
The fix is boring, but it holds. Sand the raised fibers back as flat as they’ll go, then hit the raw edge with a shellac-based or oil sanding sealer before anything else touches it. The sealer locks the fibers down and stops future moisture from re-swelling them. Skip that step and you’ve painted over a wound that’s still open.
25. Painting Over Cooking Grease Around the Range
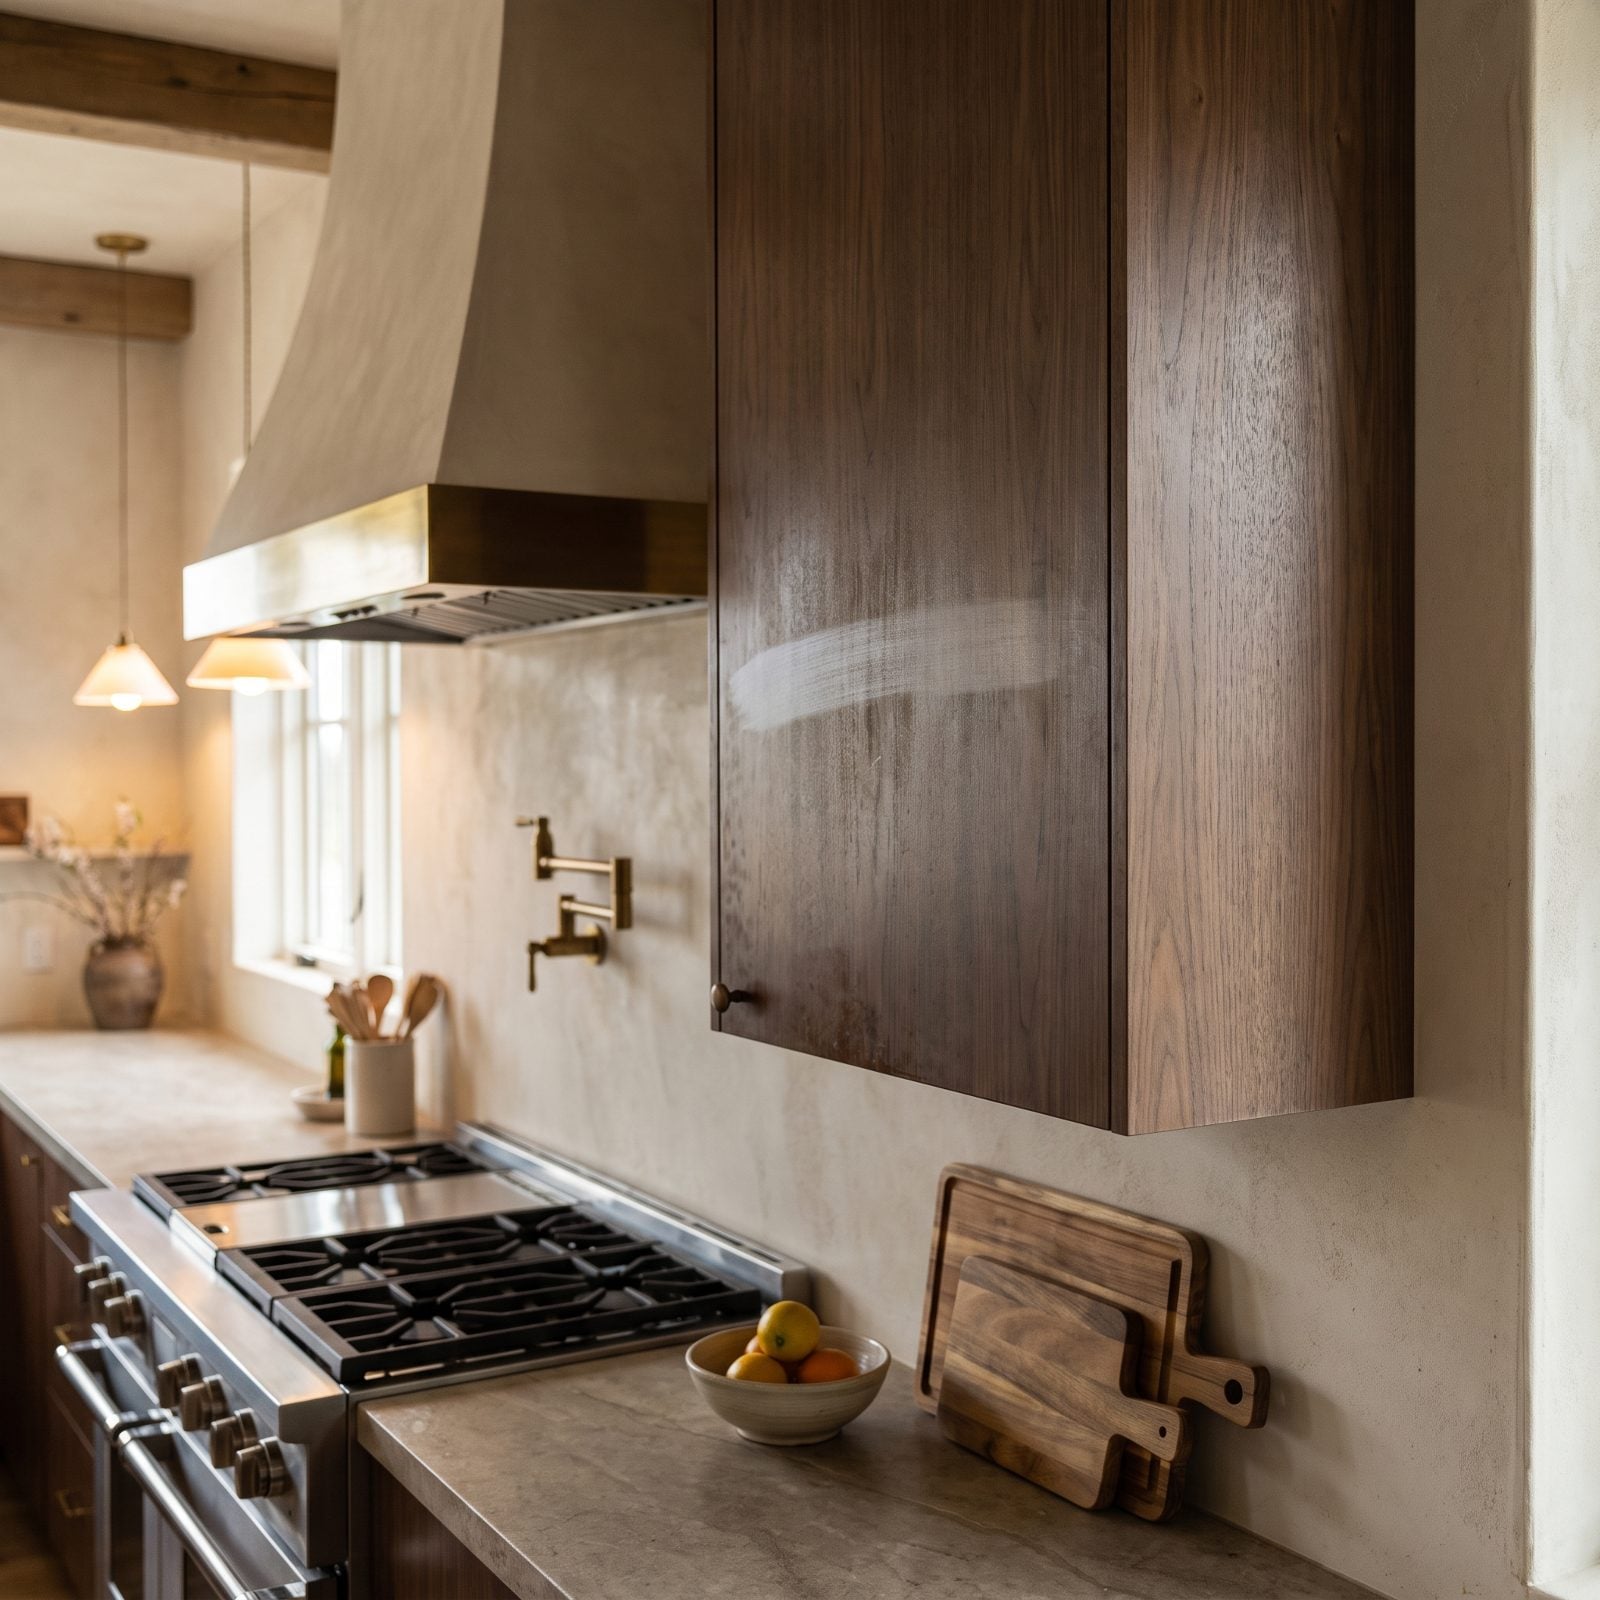
The doors around your range have soaked up a fine film of airborne cooking oil for years. You can’t see it, but your paint can. It hits the grease, beads up into little craters called fisheyes, and no number of second coats will bury them.
Degrease first, and degrease harder than you think you need to. A strong TSP substitute or a dedicated cabinet cleaner, a clean-water rinse, then a bonding primer. This is the number one reason DIY cabinet paint fails around the stove.
24. Painting Over a Loose or Peeling Existing Finish
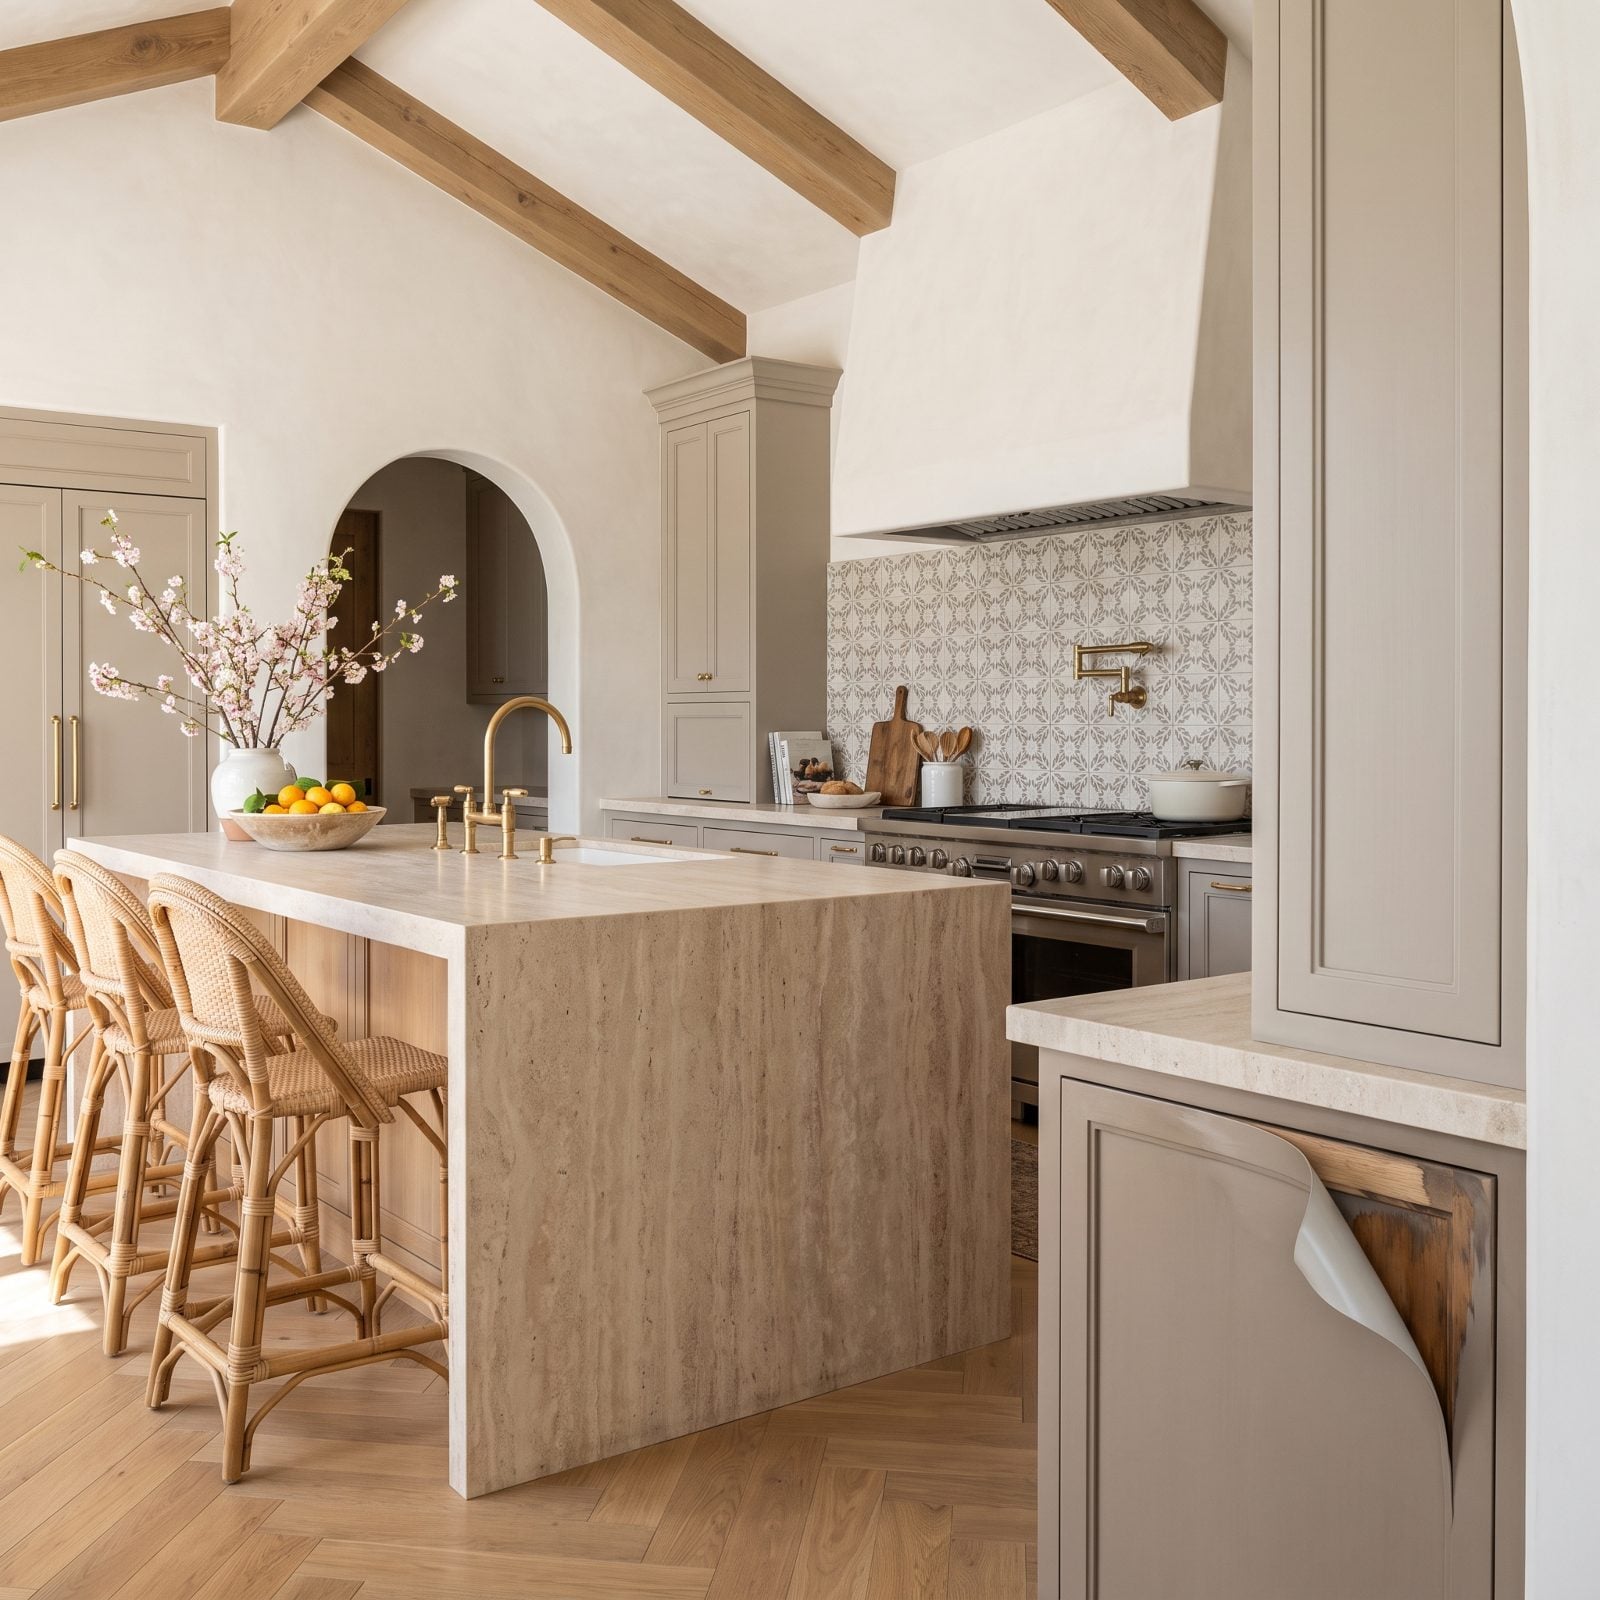
New paint is only as strong as whatever it’s sitting on. Roll a fresh coat over a finish that’s already letting go and you’ve just added weight to a layer about to drop. When the old stuff peels, it drags your work down with it.
Scrape every loose edge back to something solid, then feather-sand the transition until you can’t feel the ridge with a fingertip. Prime the bare spots before your topcoat. Tedious? Absolutely. But no shortcut here survives daily kitchen use.
23. Skipping the Adhesion Test on a Finish You Can’t Identify
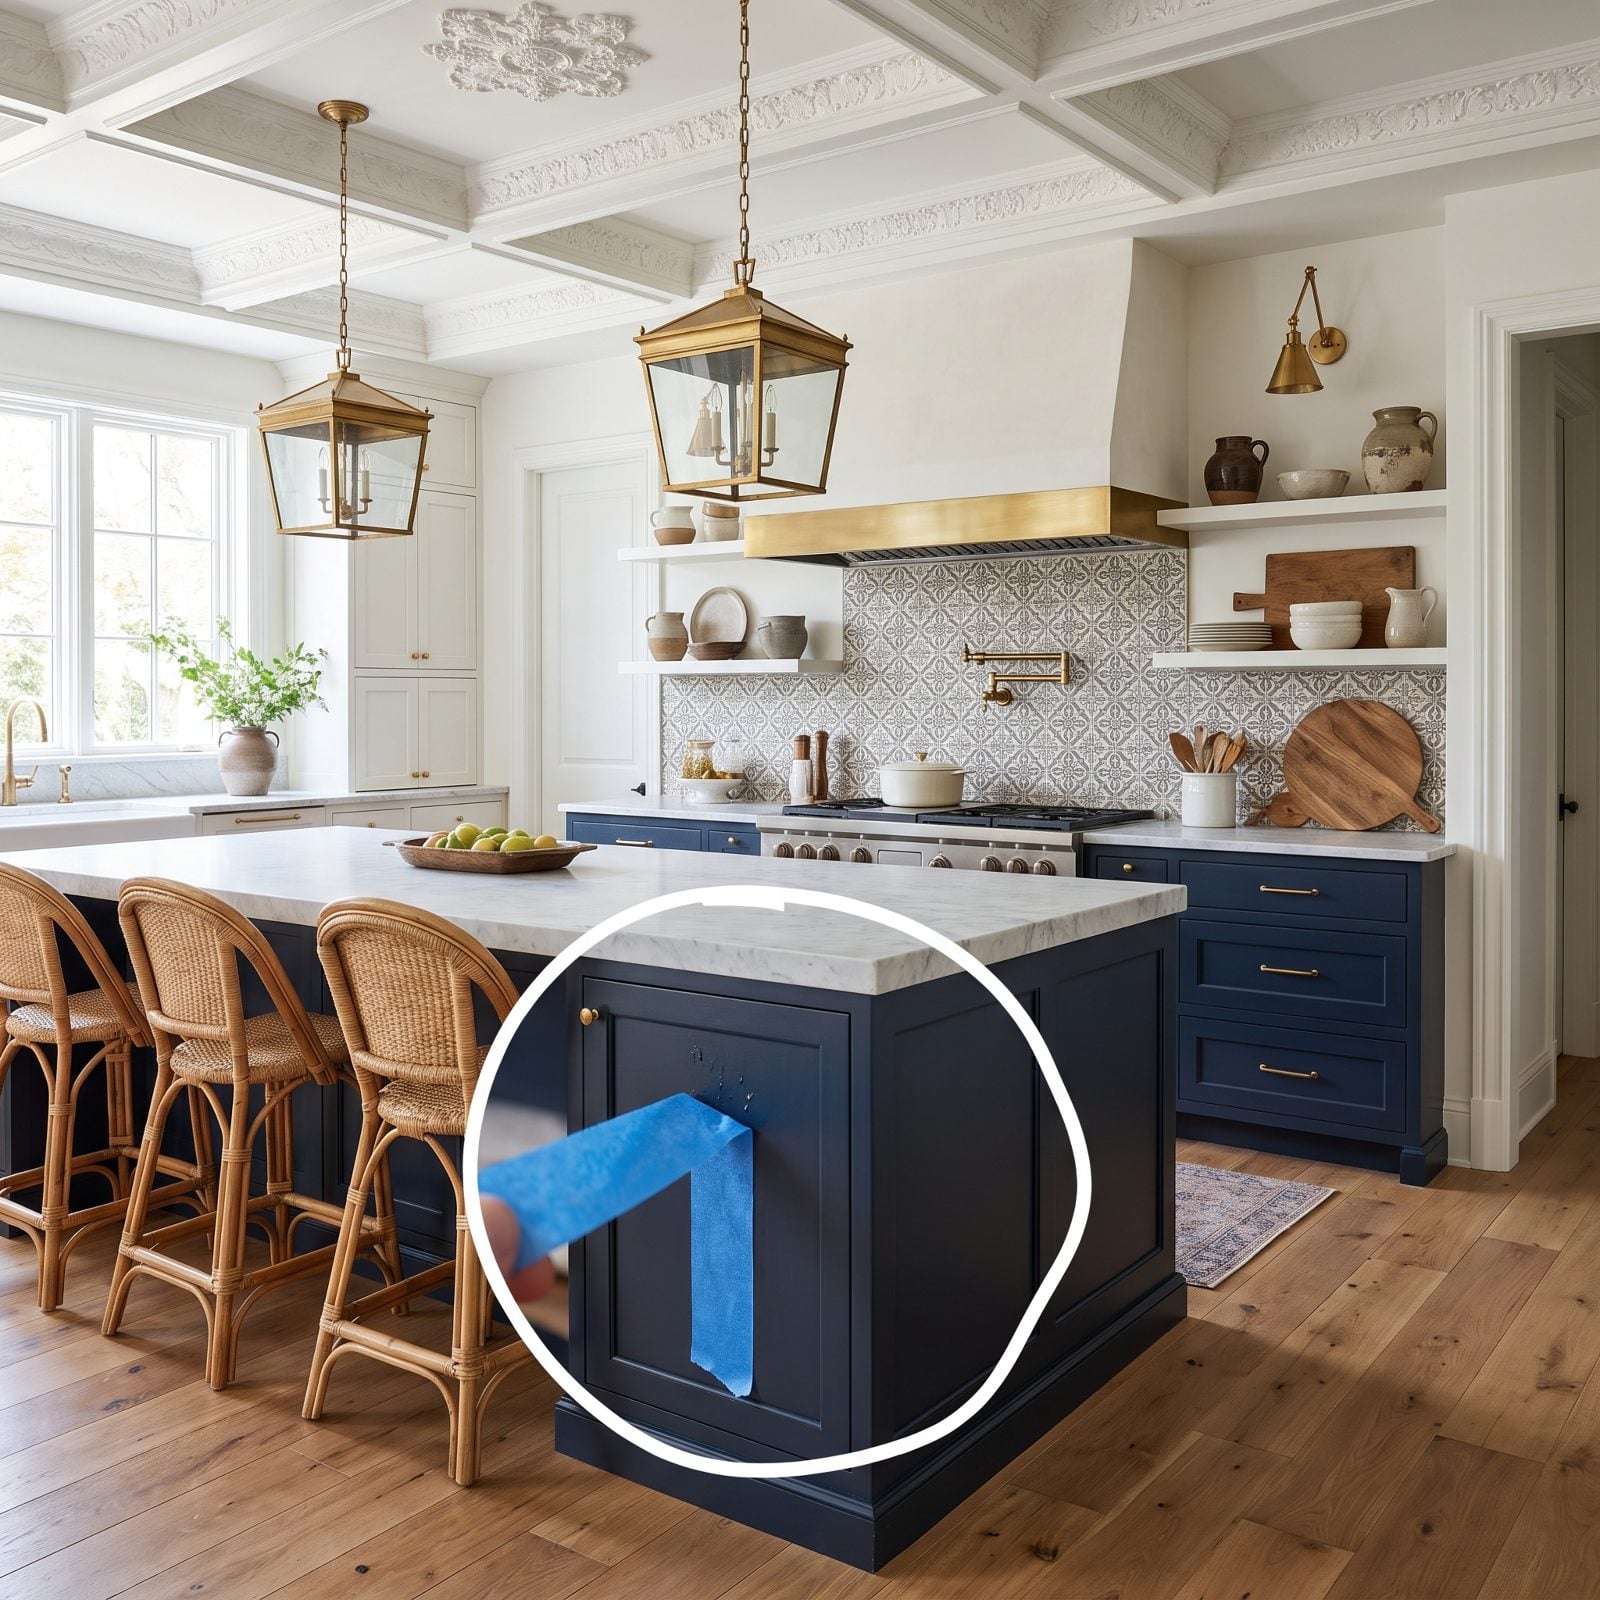
You inherited the kitchen with no idea whether the doors wear conversion varnish, catalyzed lacquer, or some slick factory coating that laughs at ordinary primer. Guessing is how you find out the hard way, three coats deep.
So do the test. Score a small crosshatch grid in a hidden corner, press painter’s tape firmly over it, then rip it off. Paint flecks on the tape mean that surface needs a bonding primer or a deglosser before you commit. Five minutes now, or a full redo later.
22. Leaving the Doors Hanging While You Paint Them
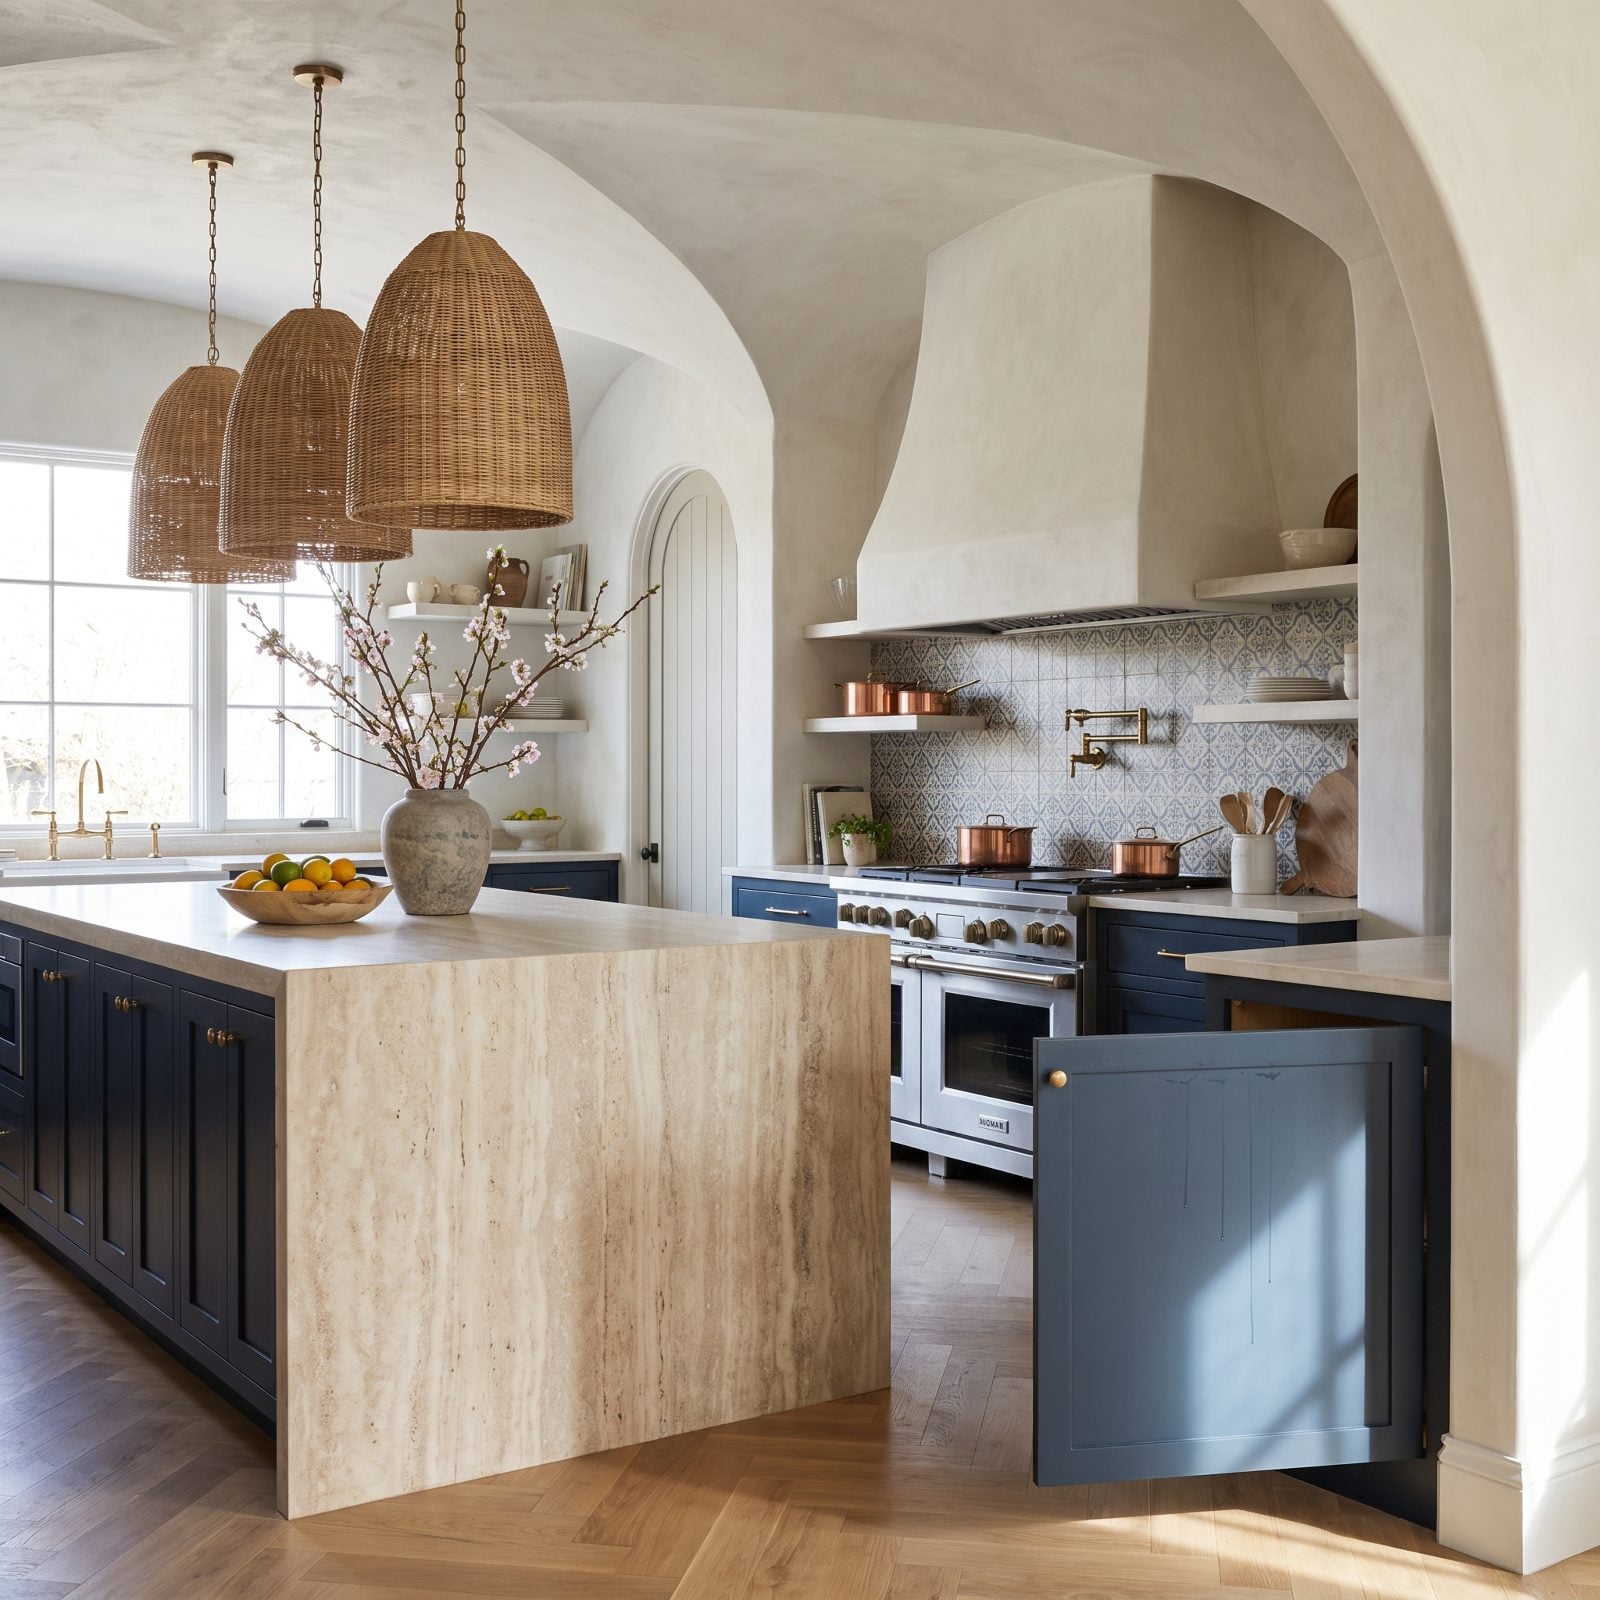
Gravity always wins. Paint a hanging door and the wet coat sags into thin vertical runs, pools along the bottom rail, and gums up the hinge area you can’t quite reach. From two feet away it passes. In raking window light it reads like melted candle wax.
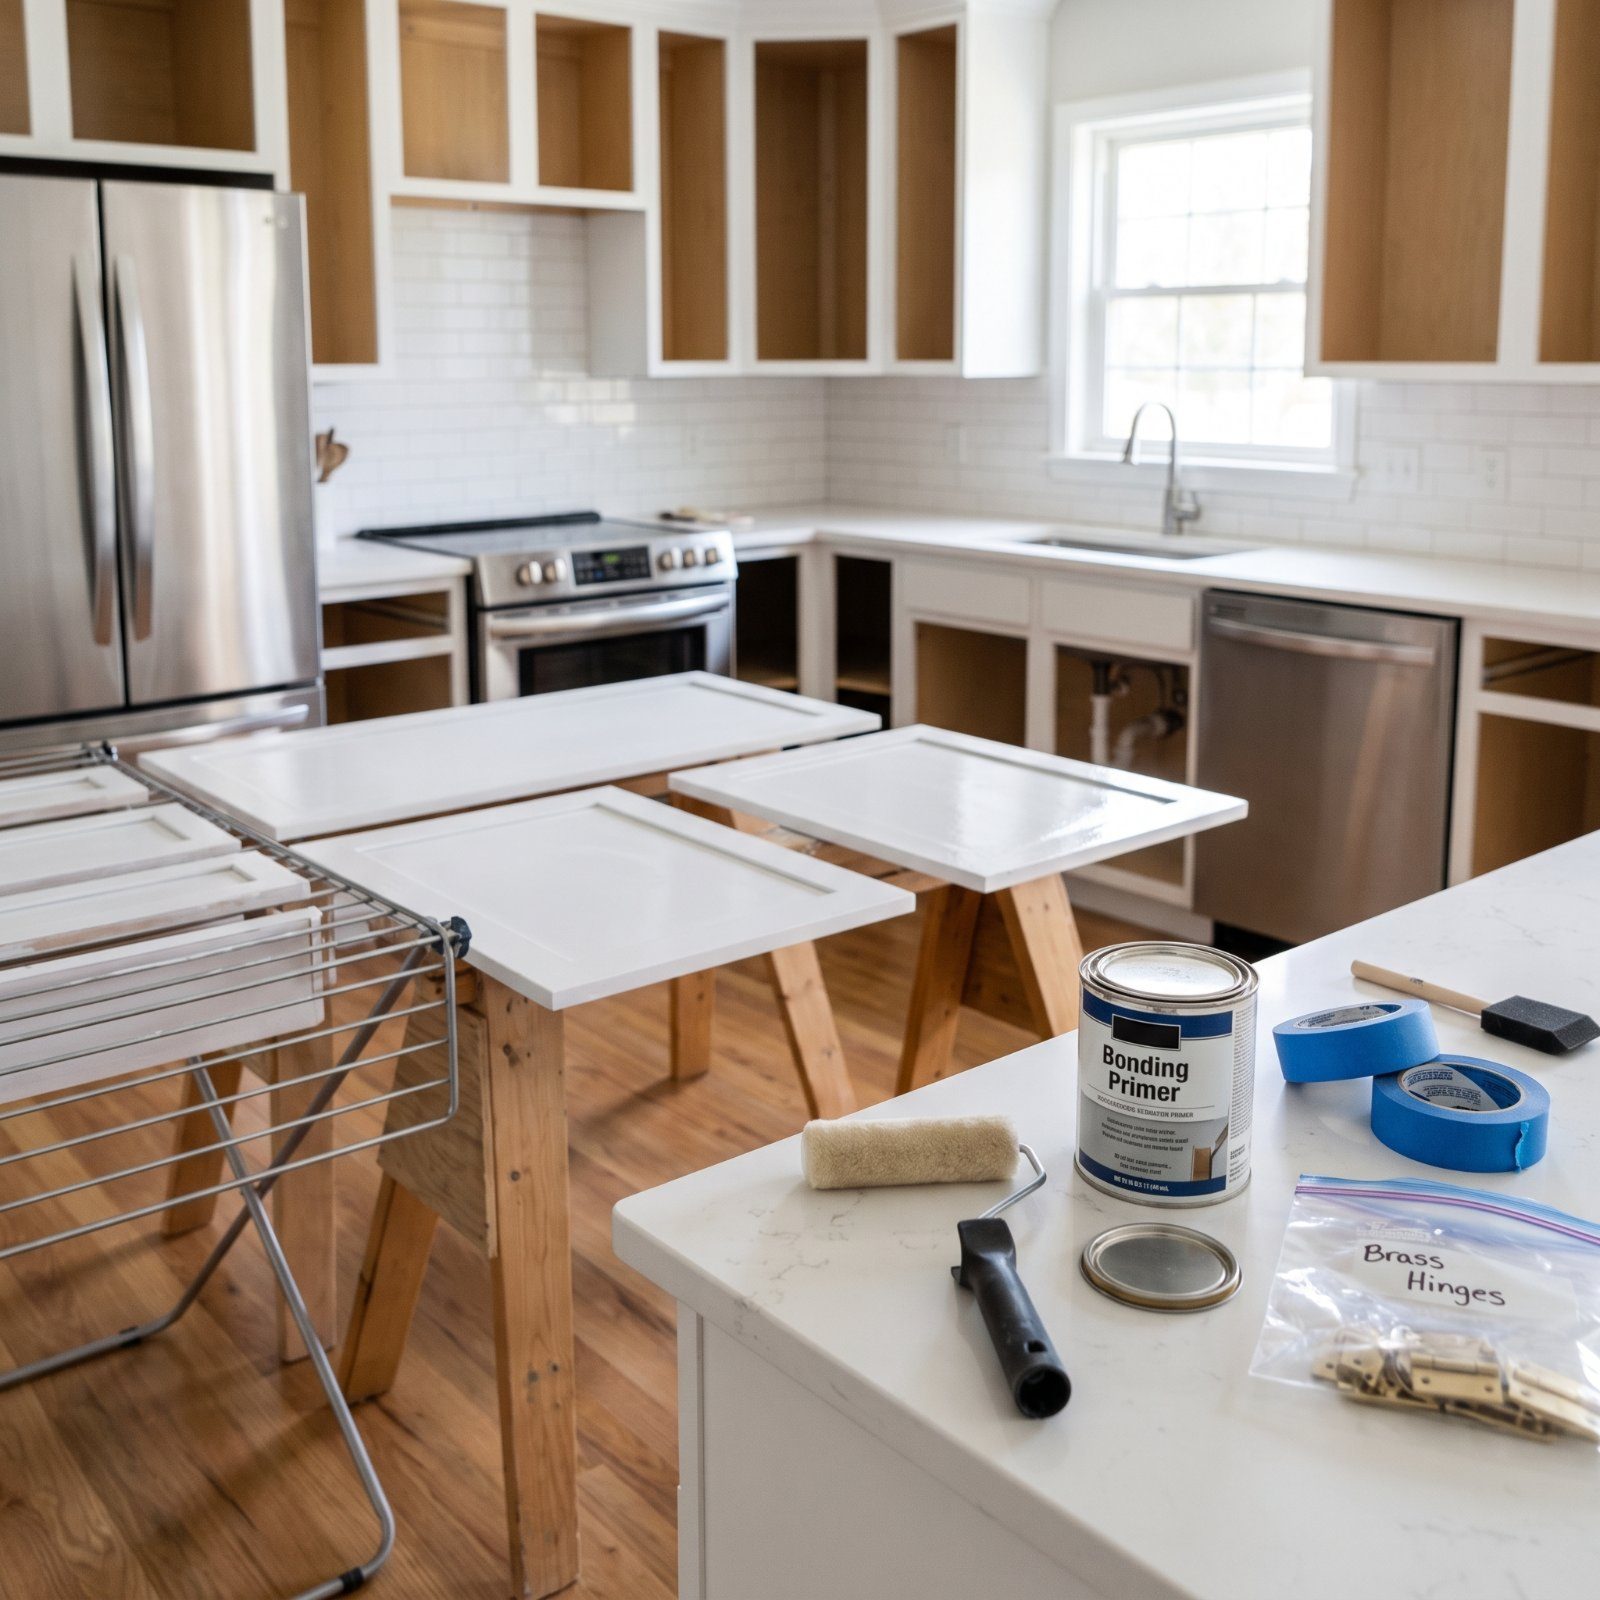
Take the doors off. Lay them flat on painter’s pyramids or a rack and coat them horizontal, where the paint levels out on its own. More work up front, far less work fixing runs later. Flat is the whole secret to a factory-smooth finish.
21. Not Labeling Every Door, Drawer Front, and Hinge
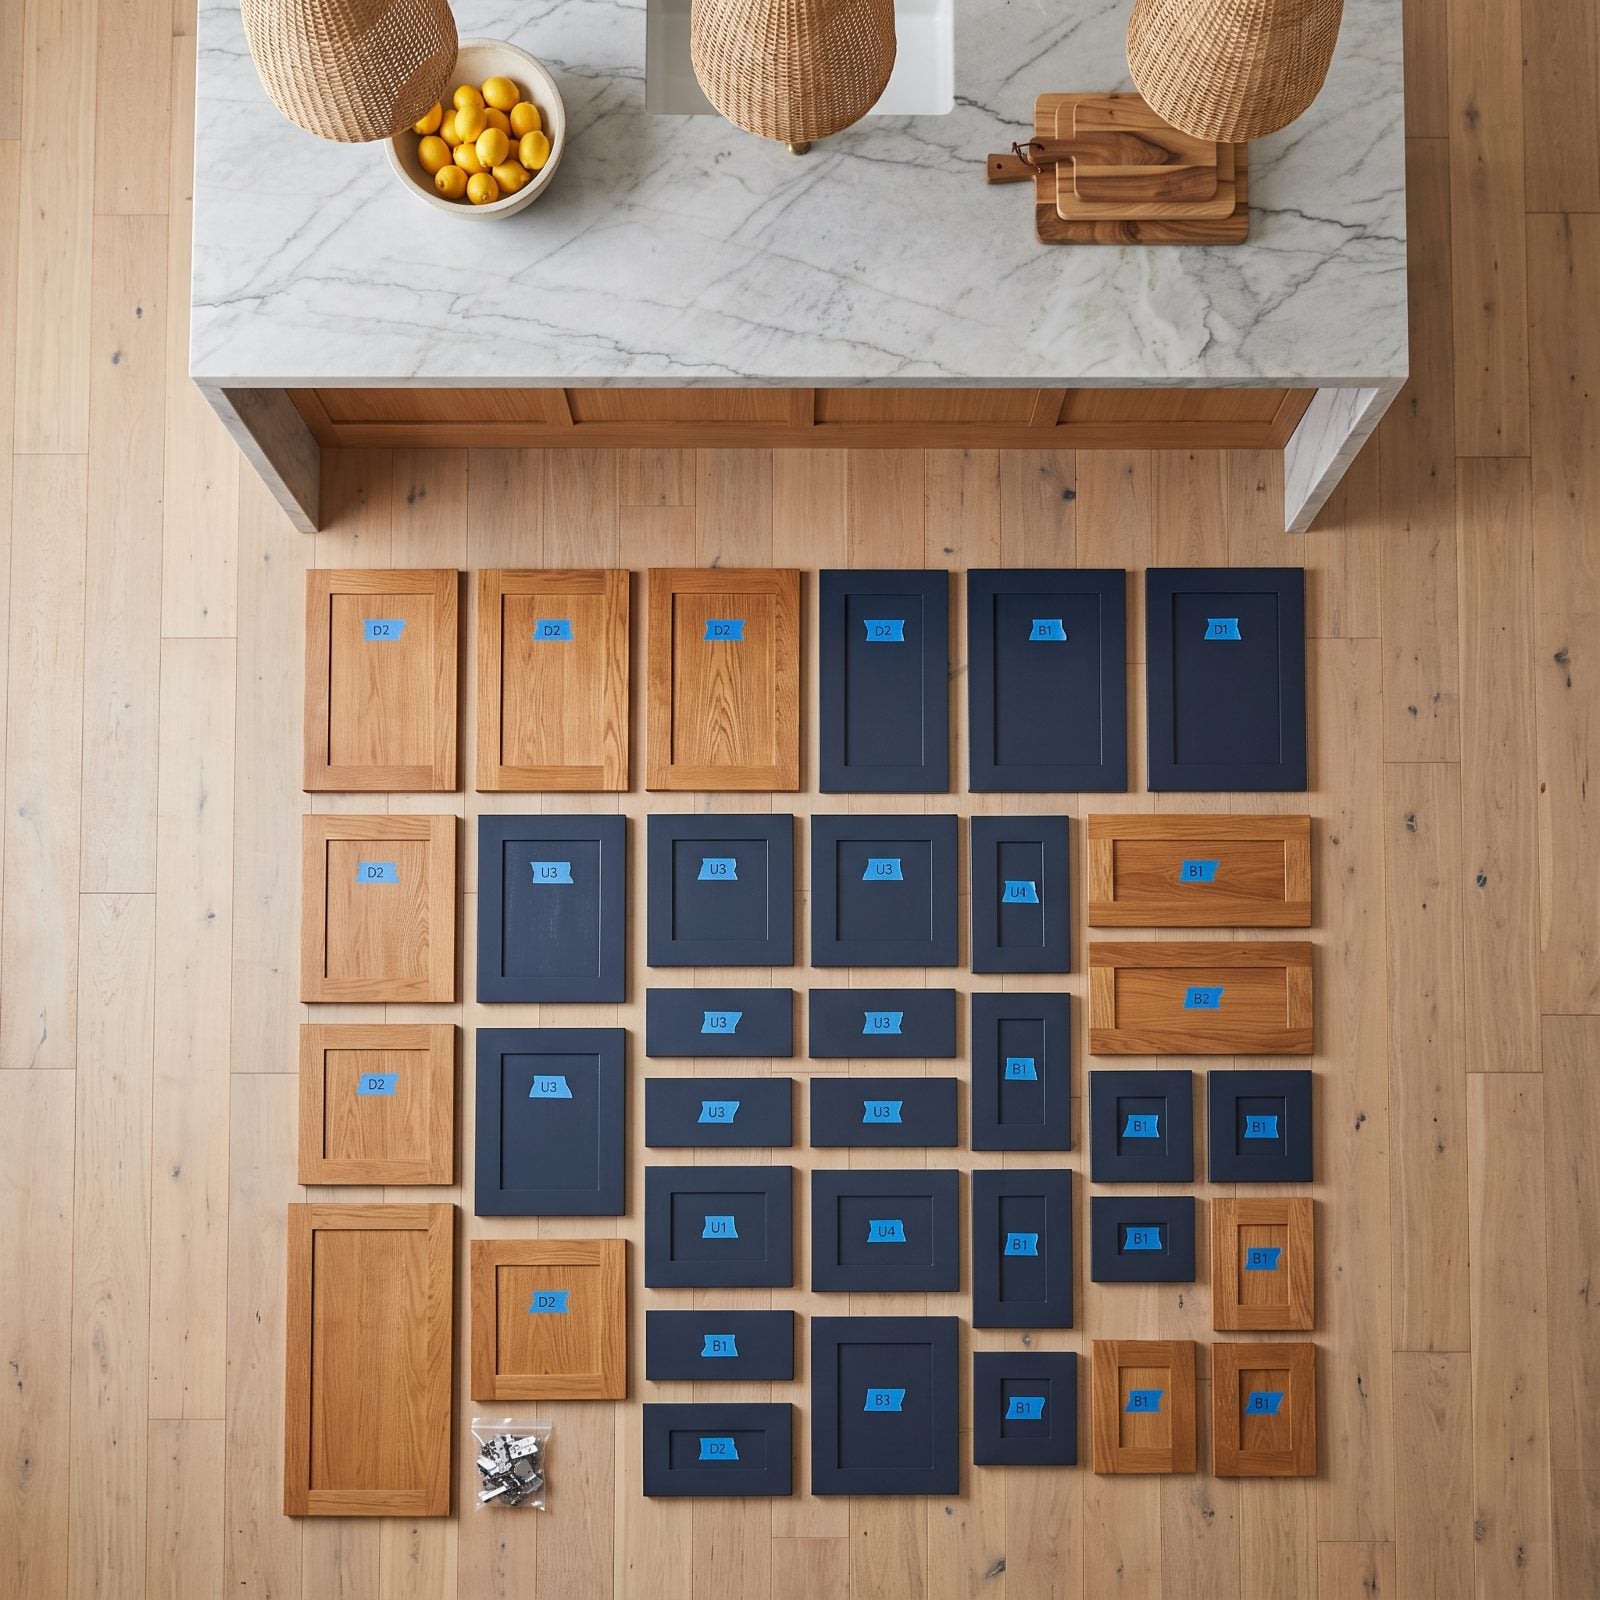
Every door looks identical until you try to put it back. That’s when you discover the hinge holes are drilled a hair differently on each one, the tolerances don’t line up, and you’re standing there at hour six holding a door that fits four openings and none of them well.
Number everything before you take it apart. Little painter’s tape tags on the hinge side, matching numbers written inside the cabinet frame, hinges bagged and labeled per door. Snap a photo of the whole kitchen first, too. A solid staging setup, like the ones in this small garage makeover, makes reassembly painless.
20. Painting Over the Hinges and Handles Instead of Removing Them
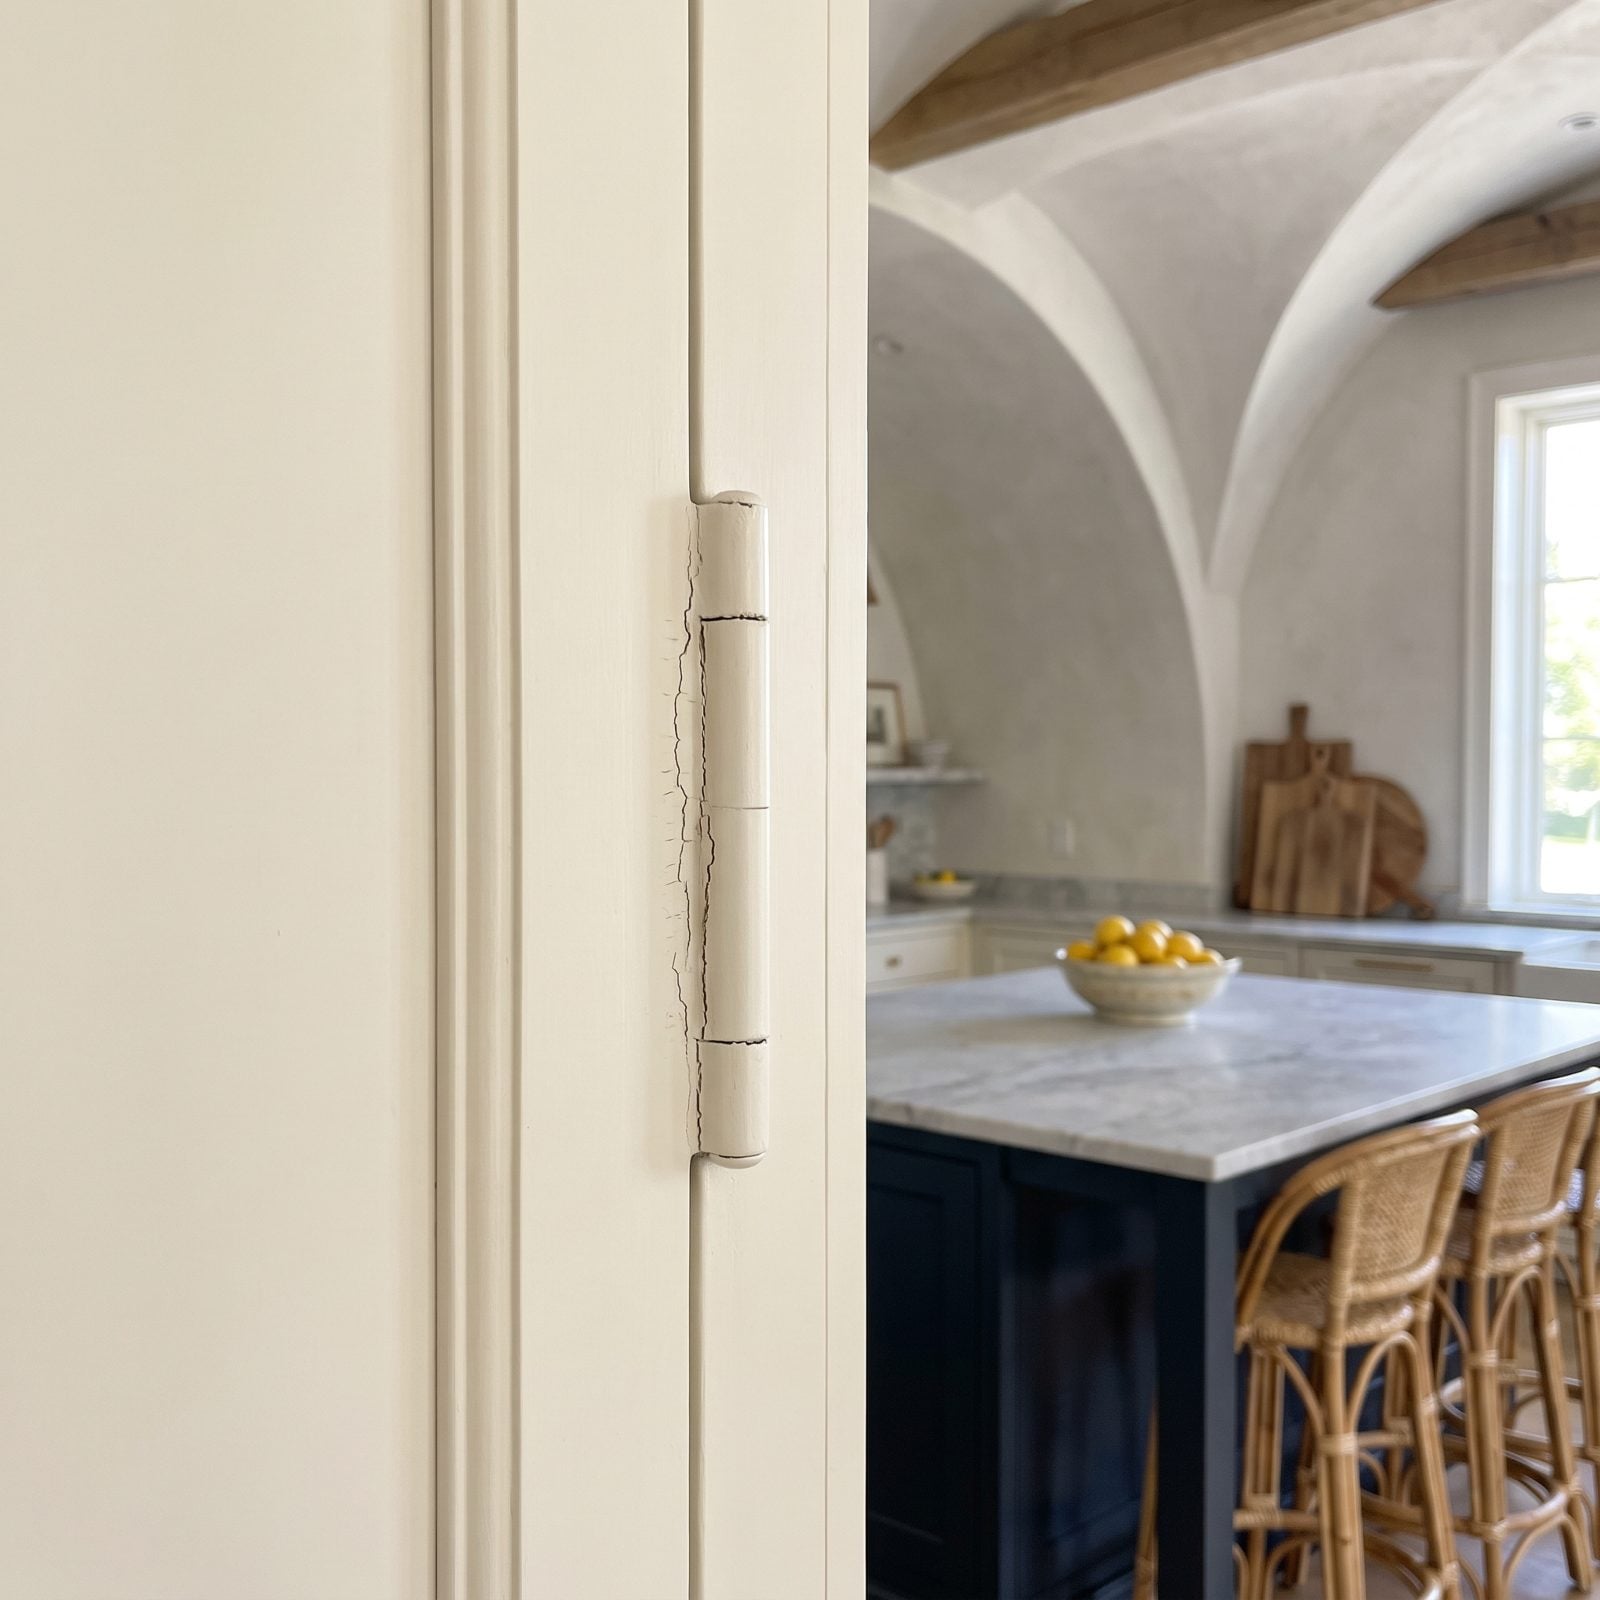
Painting a hinge in place feels efficient. It even looks efficient, for about a week. Then the knuckle flexes every time the door swings, the paint cracks along the joint, and now you’ve got a gummy squeaky hinge and a finish shedding flakes into the drawer.
Pull the hardware, all of it. Paint the doors clean, then reinstall the hinges and handles, or swap in new ones while everything’s already apart. Painted-over hardware is the single fastest way to make a fresh kitchen look like a rushed rental flip.
19. Filling Old Hardware Holes After You’ve Already Primed
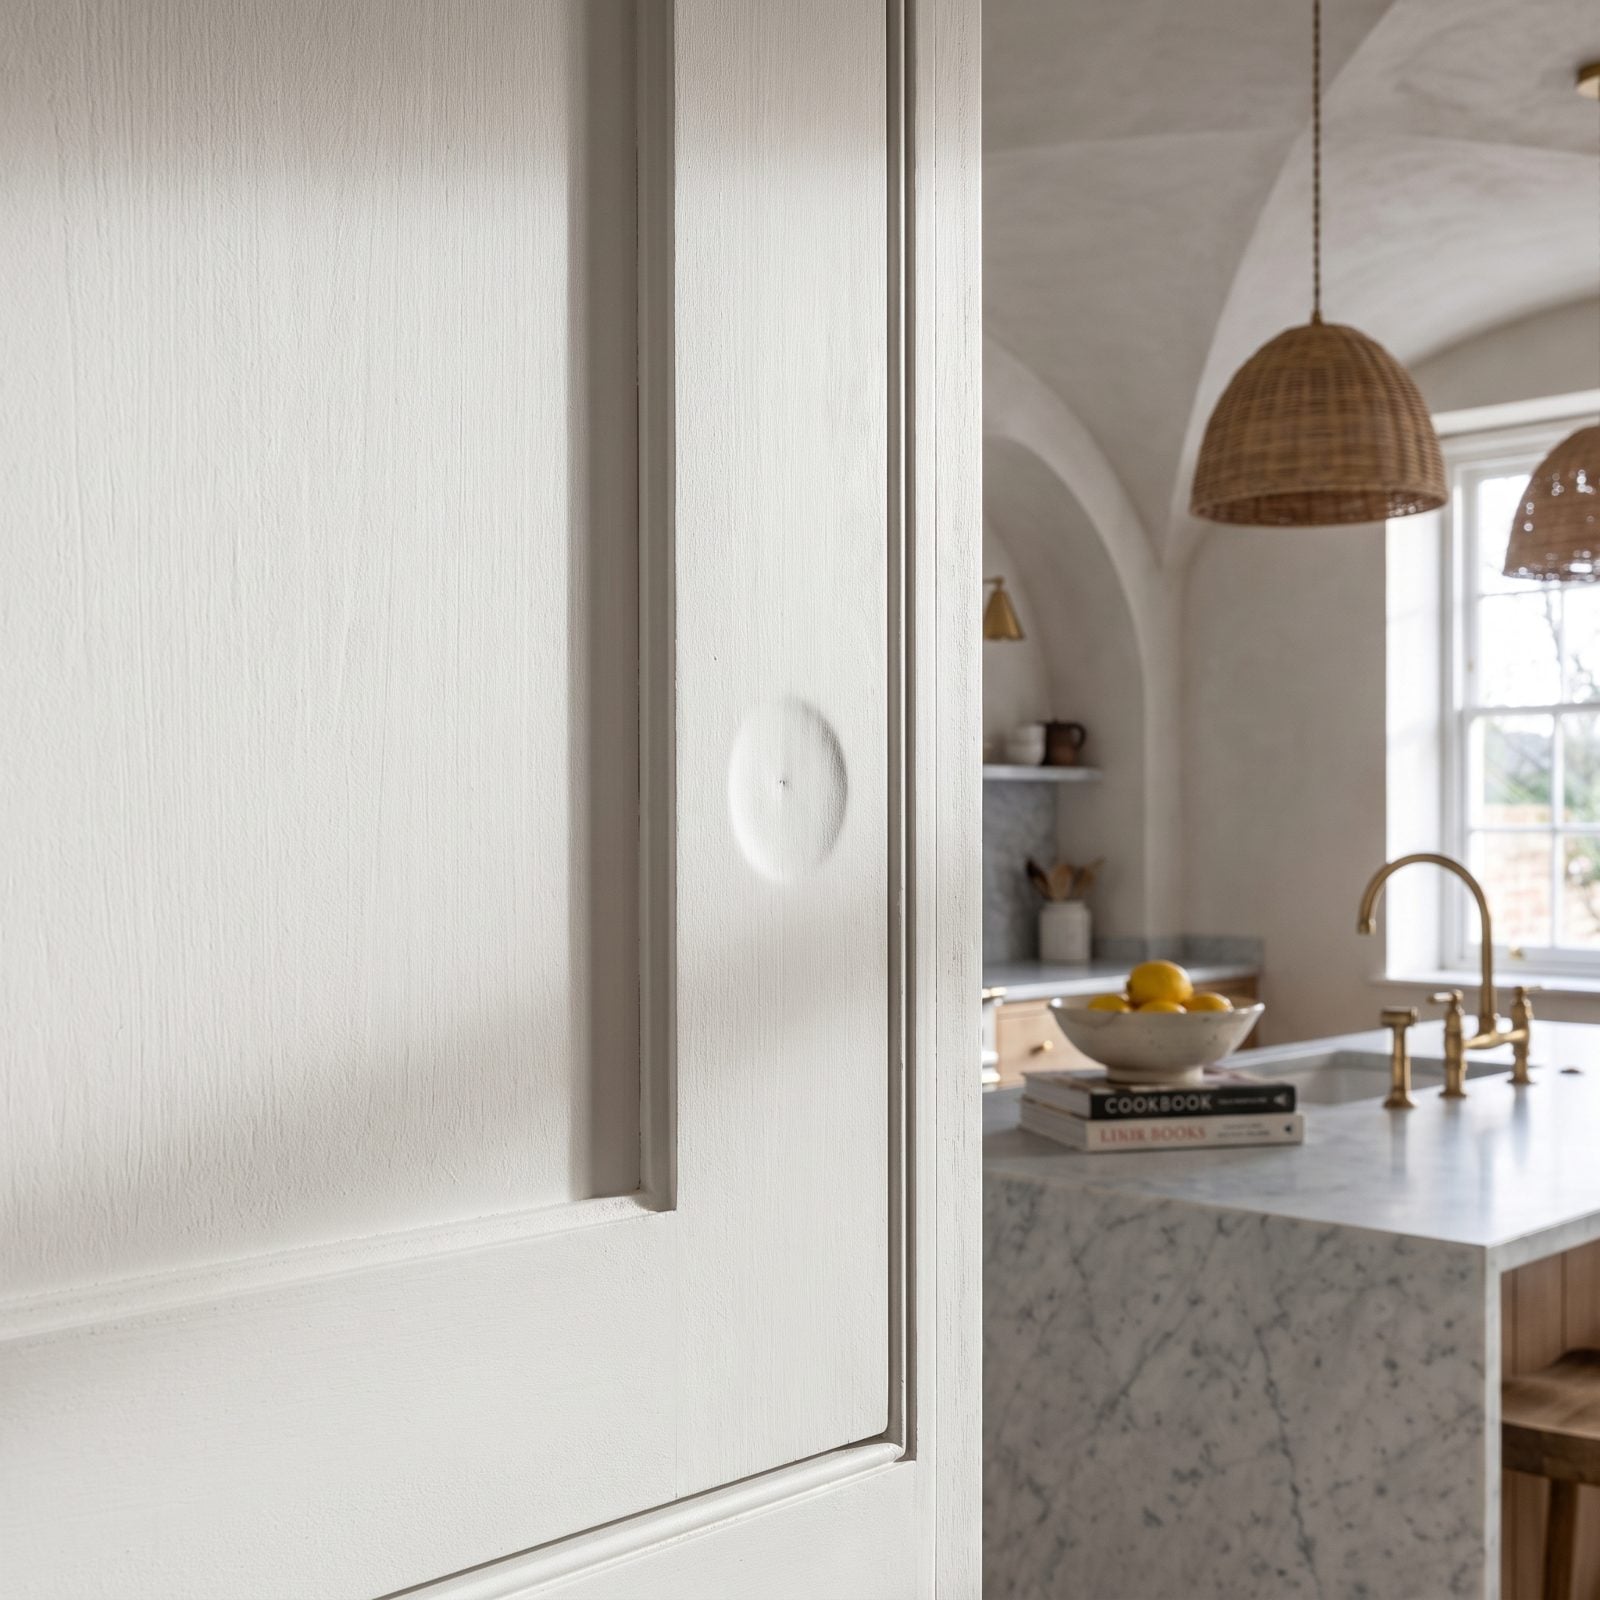
You changed hardware. Good call. But you filled the old holes after priming, and now that patch reads as a faint depressed ring every time light rakes across the door. Filler shrinks as it cures and takes paint differently than the surface around it, so the ghost never fully leaves.
Fill old holes at the very start, before a single coat goes down. Two-part wood filler, overfilled a touch, sanded dead flush, then a spot prime over the repair ahead of your full primer coat. Right order, and the hole disappears. Late, and you’ll be staring at it for years.
18. Leaving Dents and Grain Cracks Unfilled
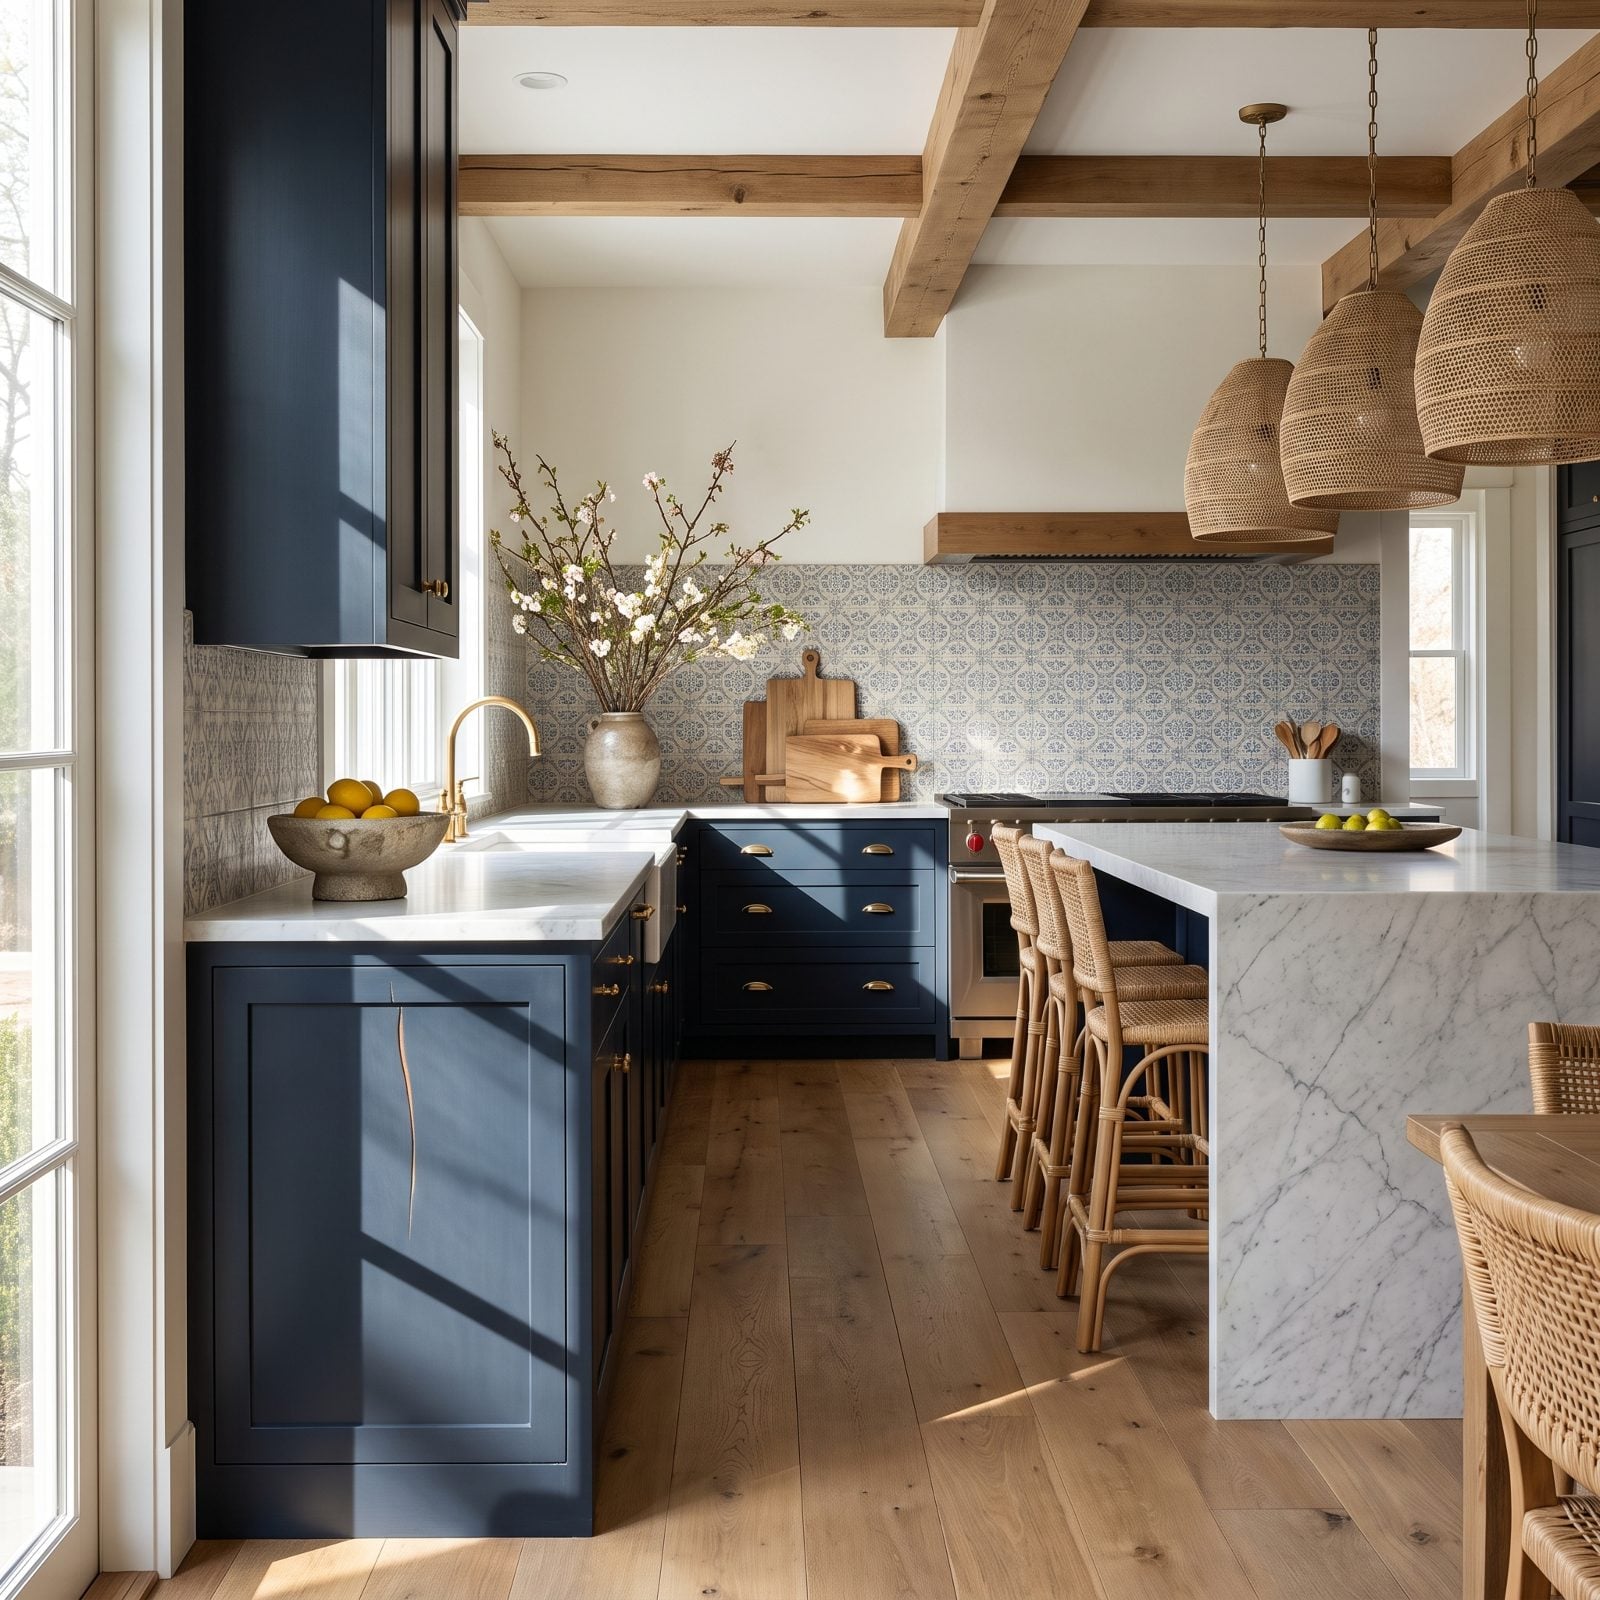
Paint doesn’t hide damage — it magnifies it. Every dent, ding, and open grain crack you skip during prep shows up worse under a fresh coat, because gloss and light do the opposite of what you’re hoping. Where you wanted a smooth field, you get little pockets of shadow.
The fix is simple. Two-part wood filler or a good vinyl spackle, pressed in, sanded flush, spot-primed. Twenty minutes per door, and it saves you from a kitchen that looks patched the second the sun comes through the window.
17. Using Coarse Sandpaper That Gouges the Wood
🔥 Would you like to save this?
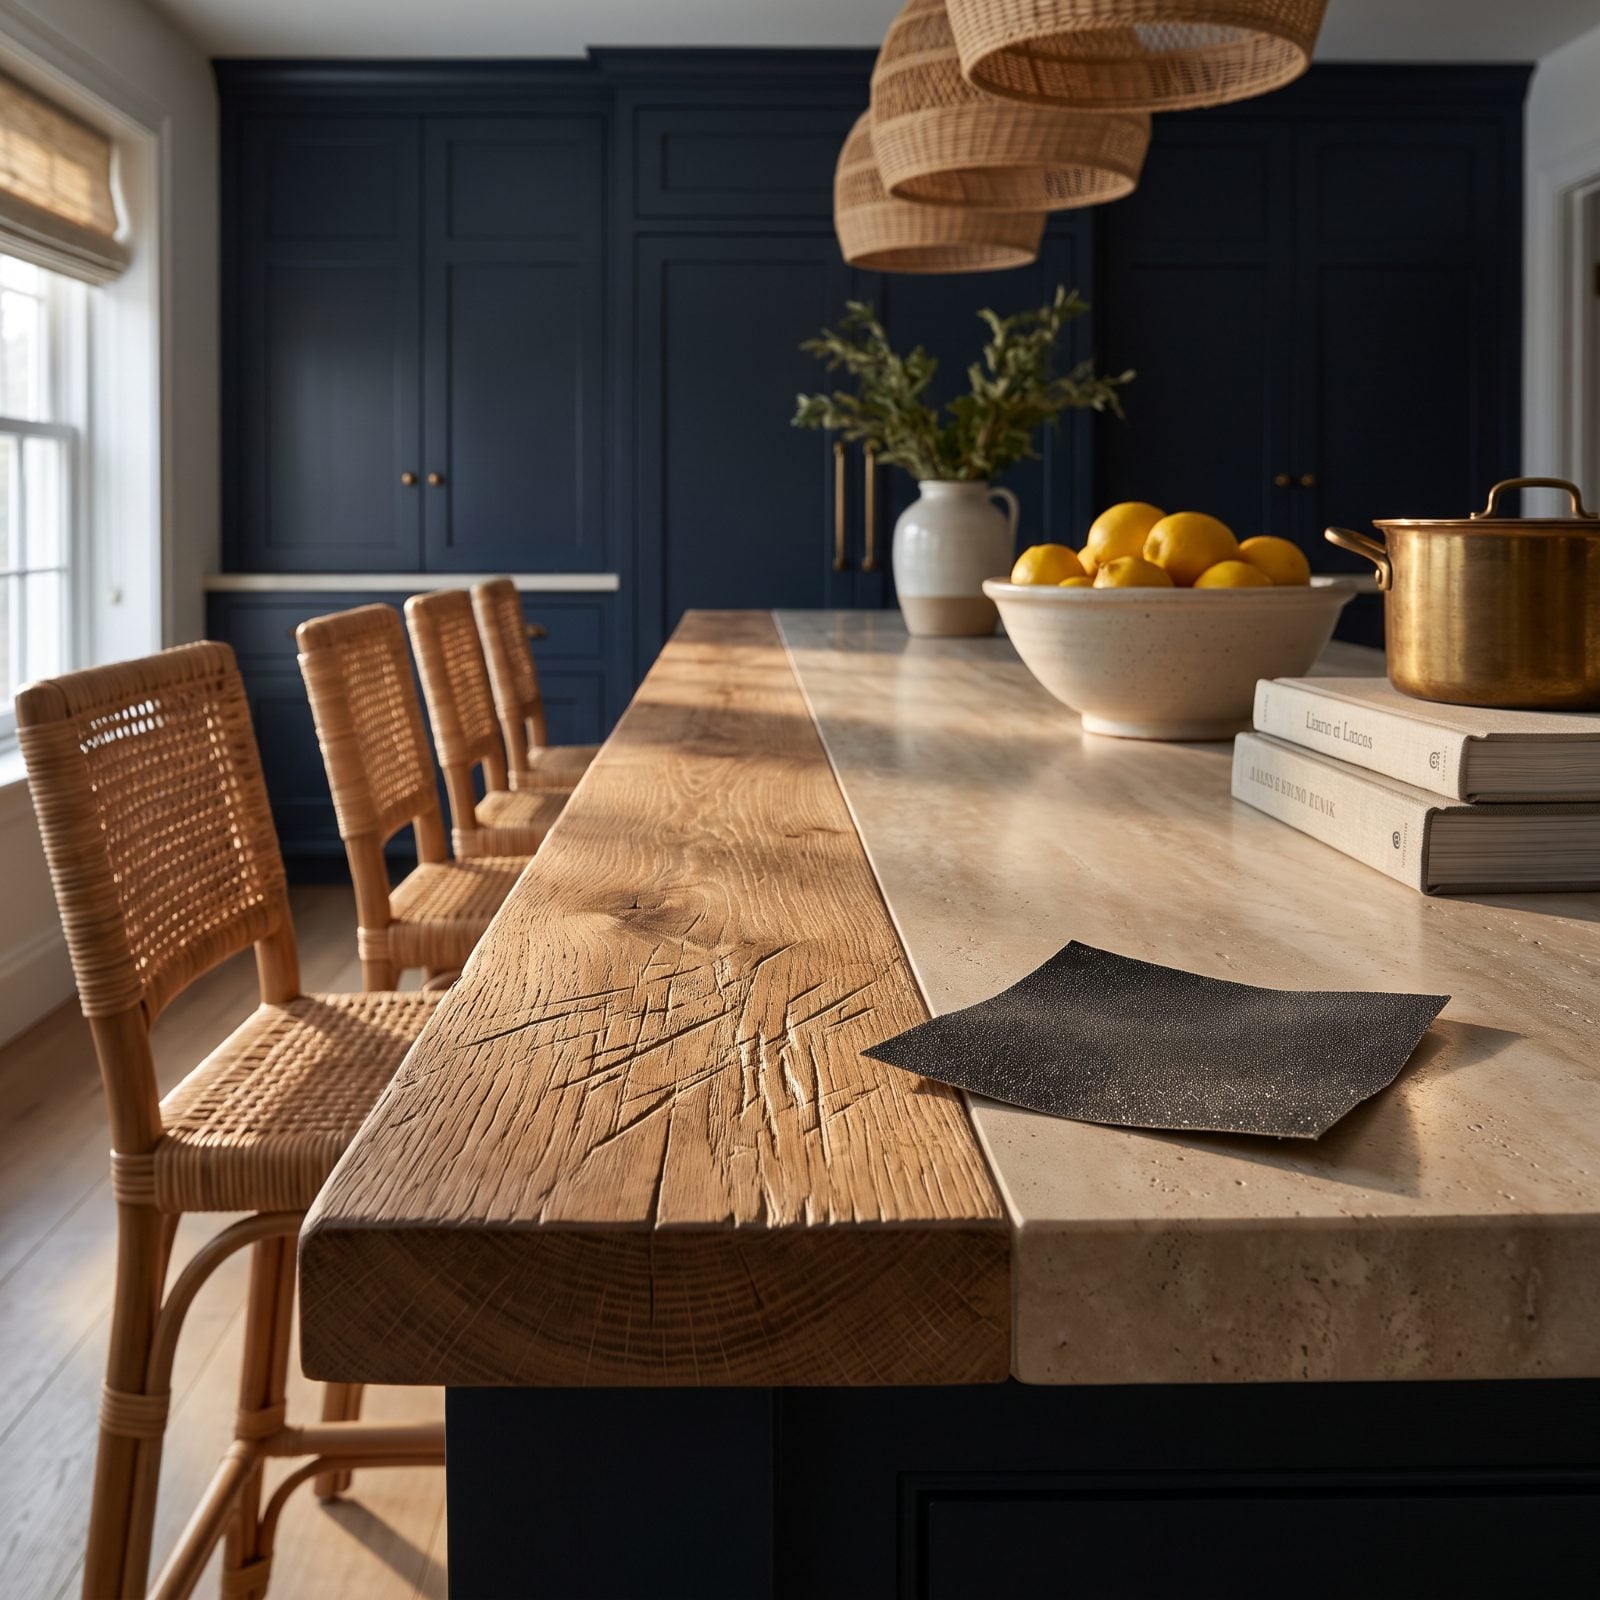
Reaching for 60 or 80-grit because it’s faster is a trade you’ll regret. Coarse paper doesn’t scuff — it carves. Those scratch lines telegraph straight through primer and two coats of paint, and you won’t spot them until the finish is dry, the light is low, and it’s too late to do anything but sand the whole thing again.
Start at 150, finish at 220. You’re not stripping down to bare wood, just knocking off the sheen so the primer grabs. A light hand beats a heavy grit every time.
16. Sanding Without Cleaning Away the Dust
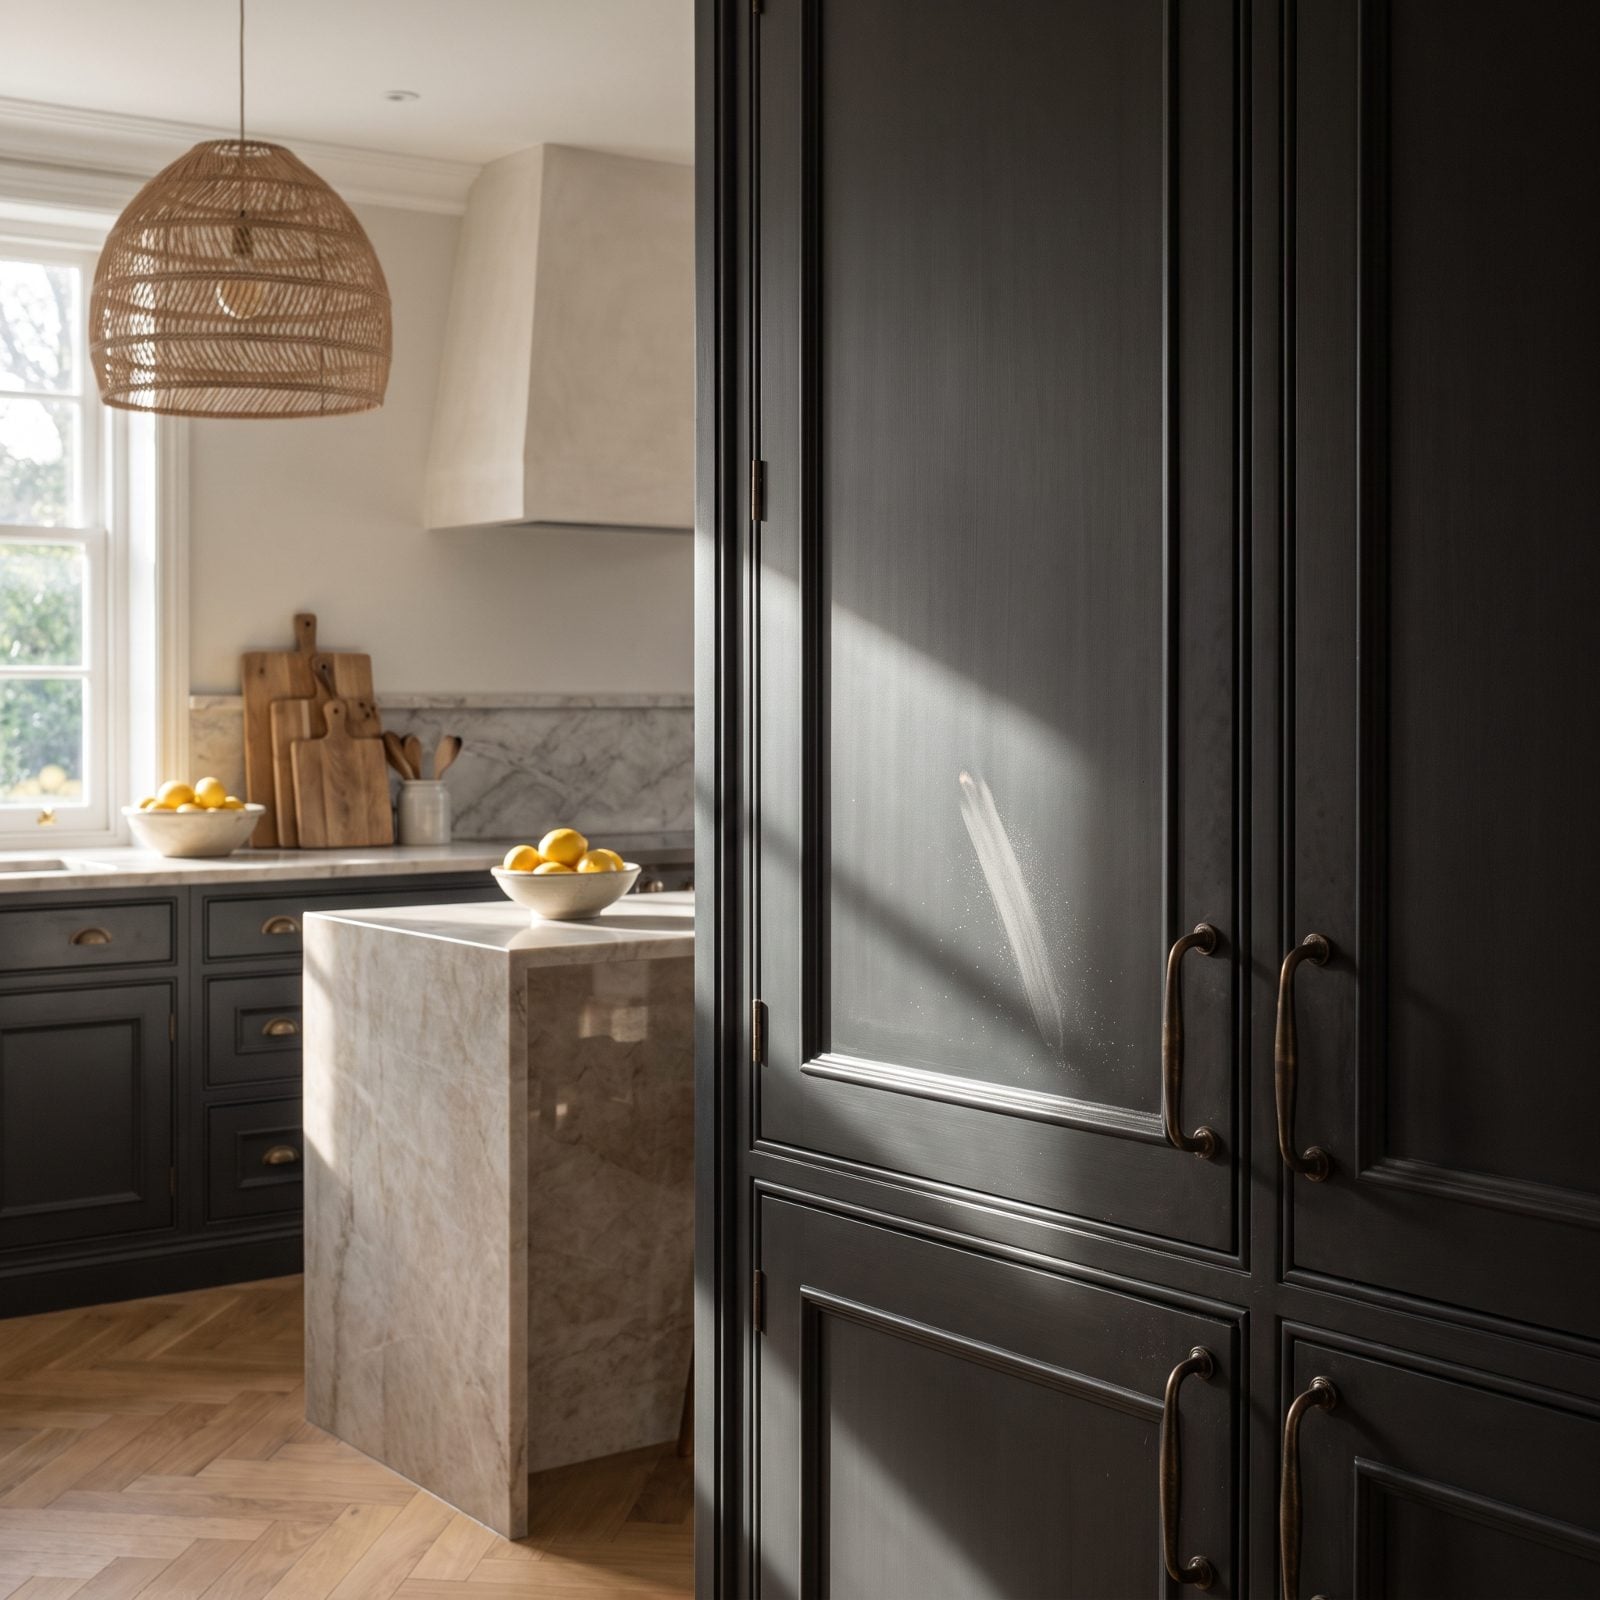
You sanded beautifully. Then you painted over a fine layer of your own dust, and now the surface feels like sandpaper and looks like it too. I’ve done this — once, in a rush, at nine at night, telling myself the dust was basically nothing.
It’s not nothing. It’s dozens of tiny bumps the paint faithfully coats and hardens into place. Vacuum first, then wipe every surface with a tack cloth or a microfiber dampened with denatured alcohol. Five minutes of wiping. Skip it and you’re buying yourself a whole recoat.
15. Ignoring Tannin Bleed on Oak or Cherry
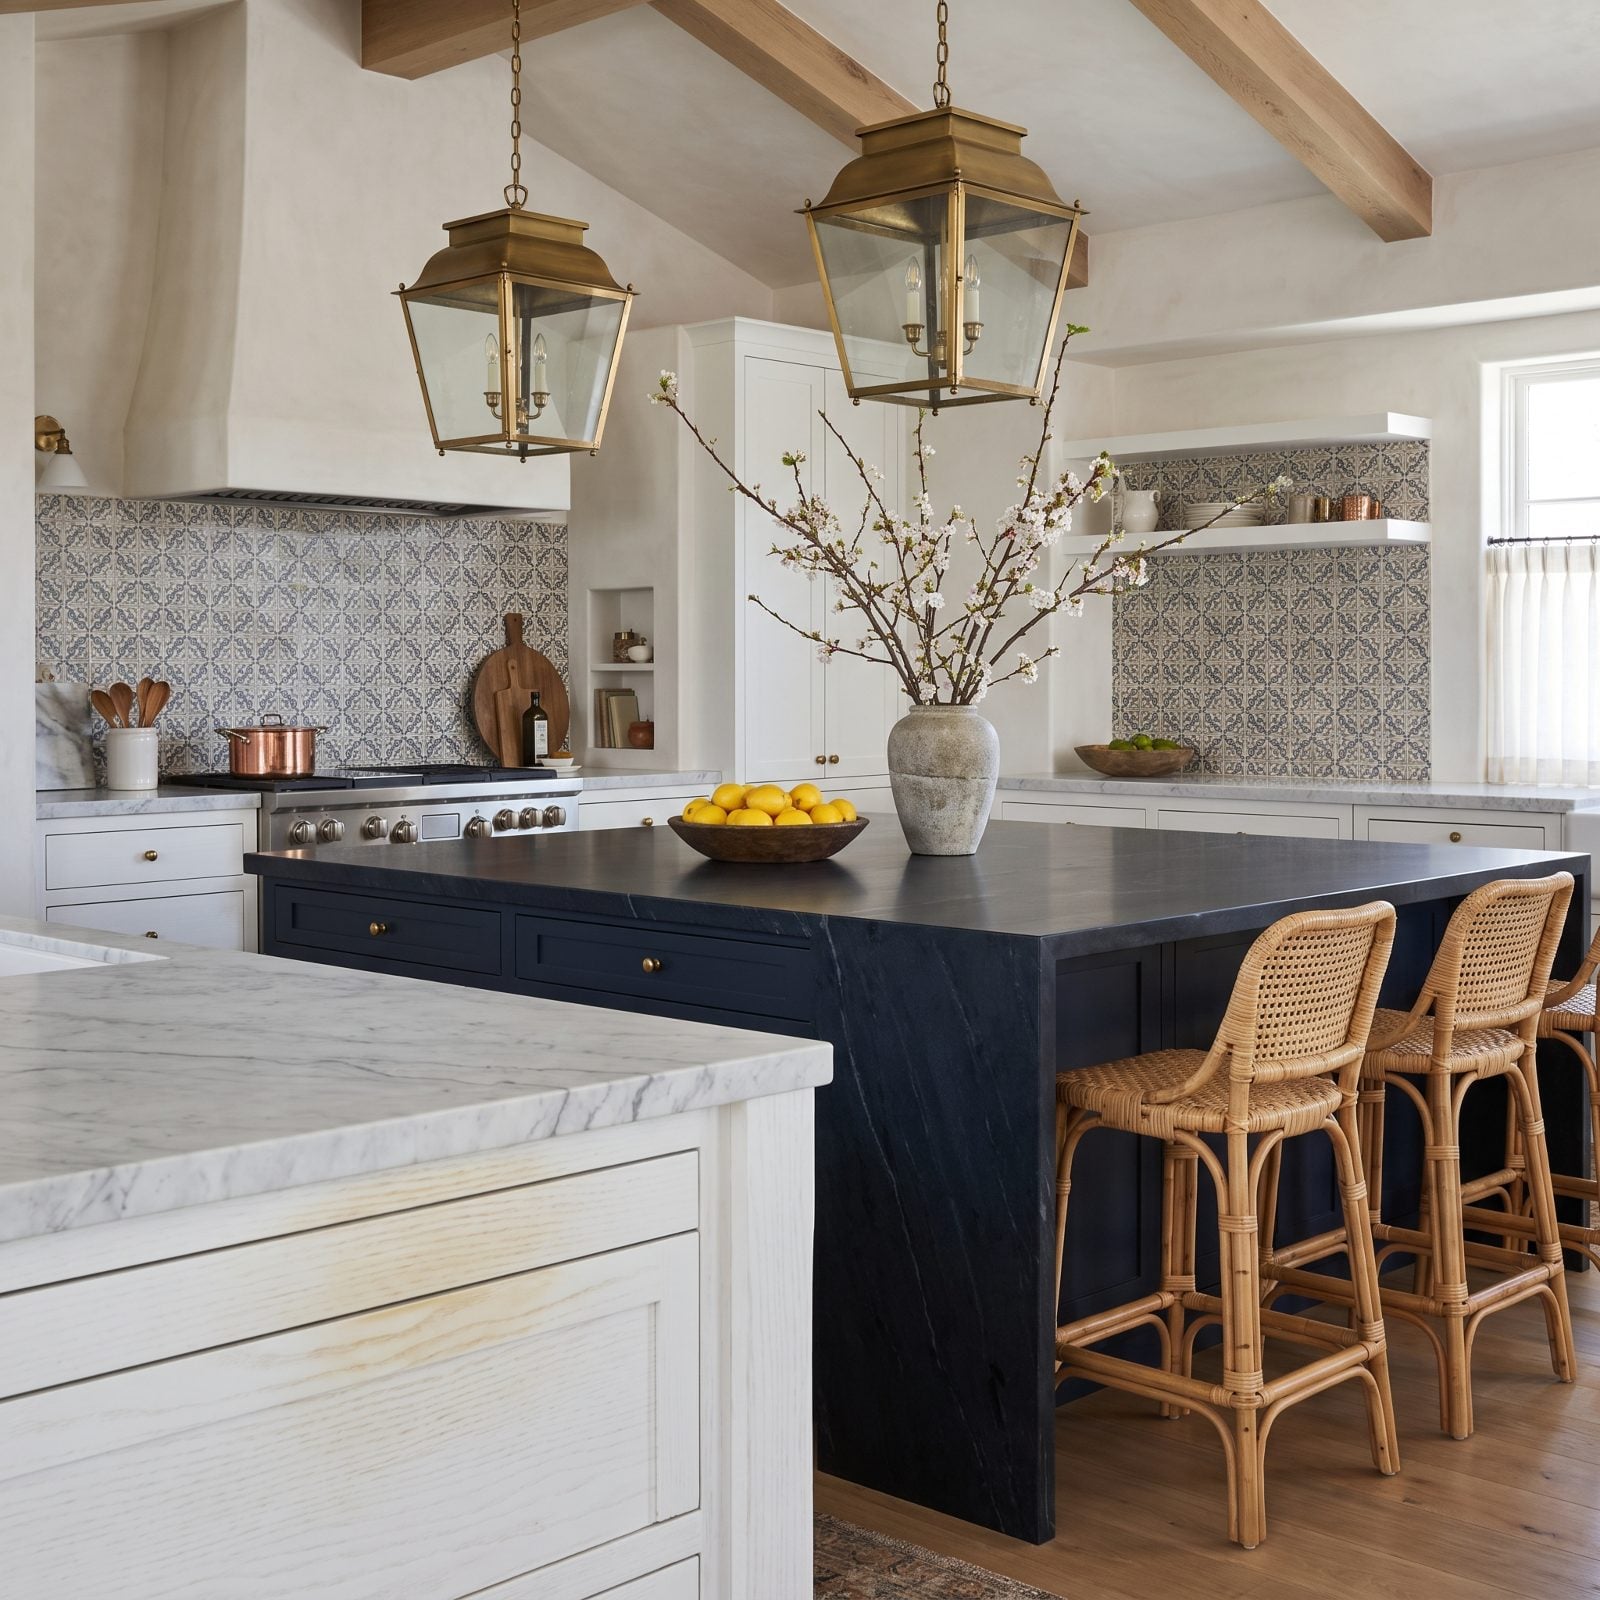
Oak and cherry hold a grudge. Their tannins migrate straight up through water-based primer and paint, blooming into yellow and pink stains that surface days later, usually right after you’ve congratulated yourself and rehung the doors.
The only reliable block is a shellac-based primer, BIN white being the classic. It seals the wood so the tannins can’t travel. Skip it on oak and you’ll be repainting, guaranteed. I learned this on a set of red oak doors that turned my crisp white the color of weak coffee within a week.
14. Using Silicone Caulk Where Paint Cannot Adhere
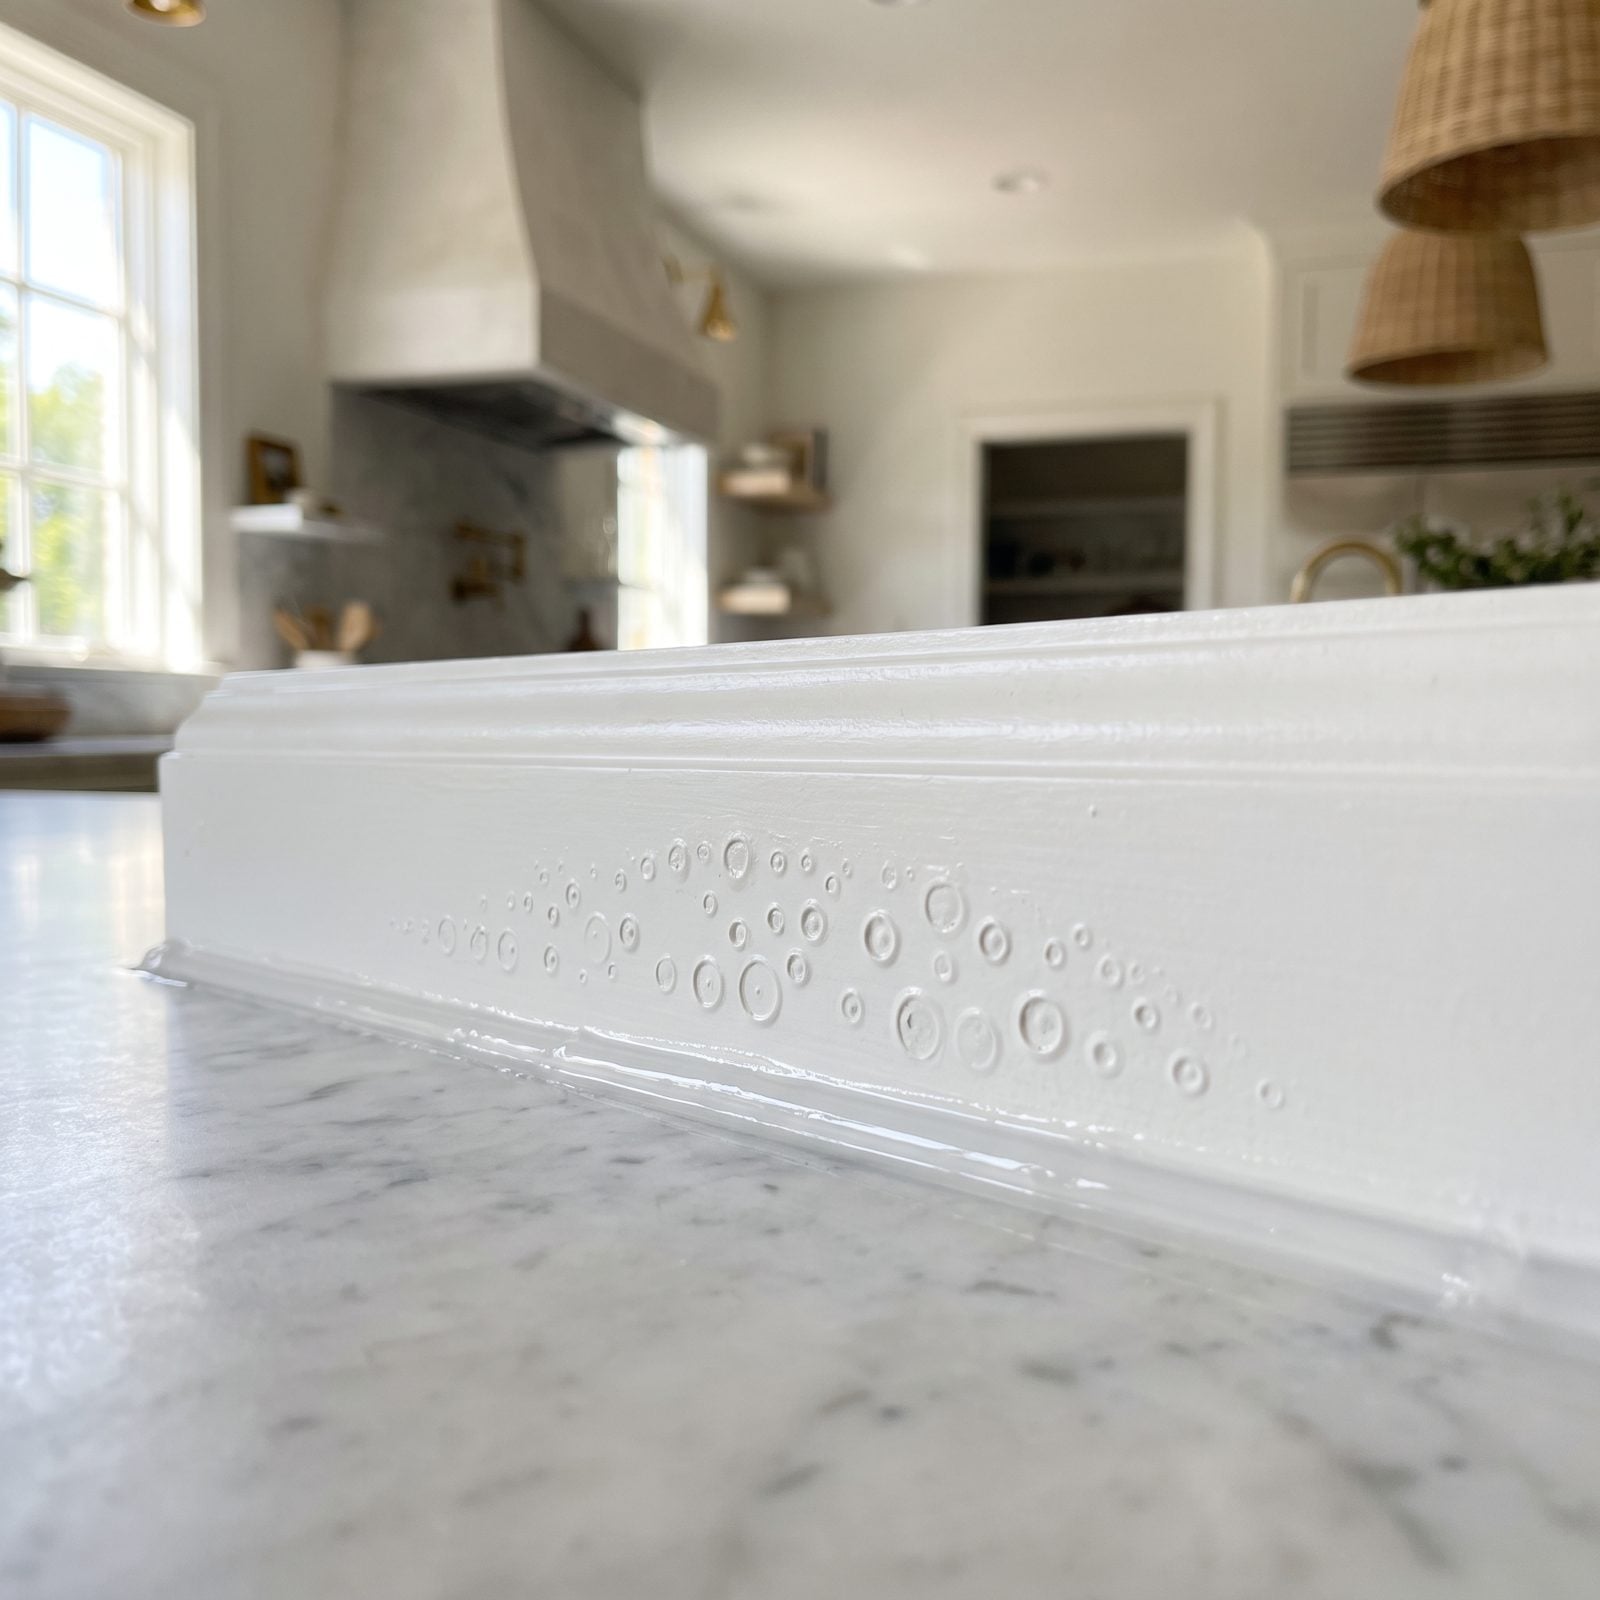
Paint hates silicone. It won’t stick, no primer changes that, and you end up with a glossy rubber stripe running through your matte cabinets that no number of coats will cover. It just beads up and slides off.
The fix is boring and correct: paintable acrylic latex caulk, sometimes labeled siliconized acrylic. It flexes enough, it takes paint like a champ, and it tools smooth with a wet fingertip. Already got silicone in a seam? You’ll have to dig it all out first. Every last bit.
13. Caulking Door Panels That Need Room to Move
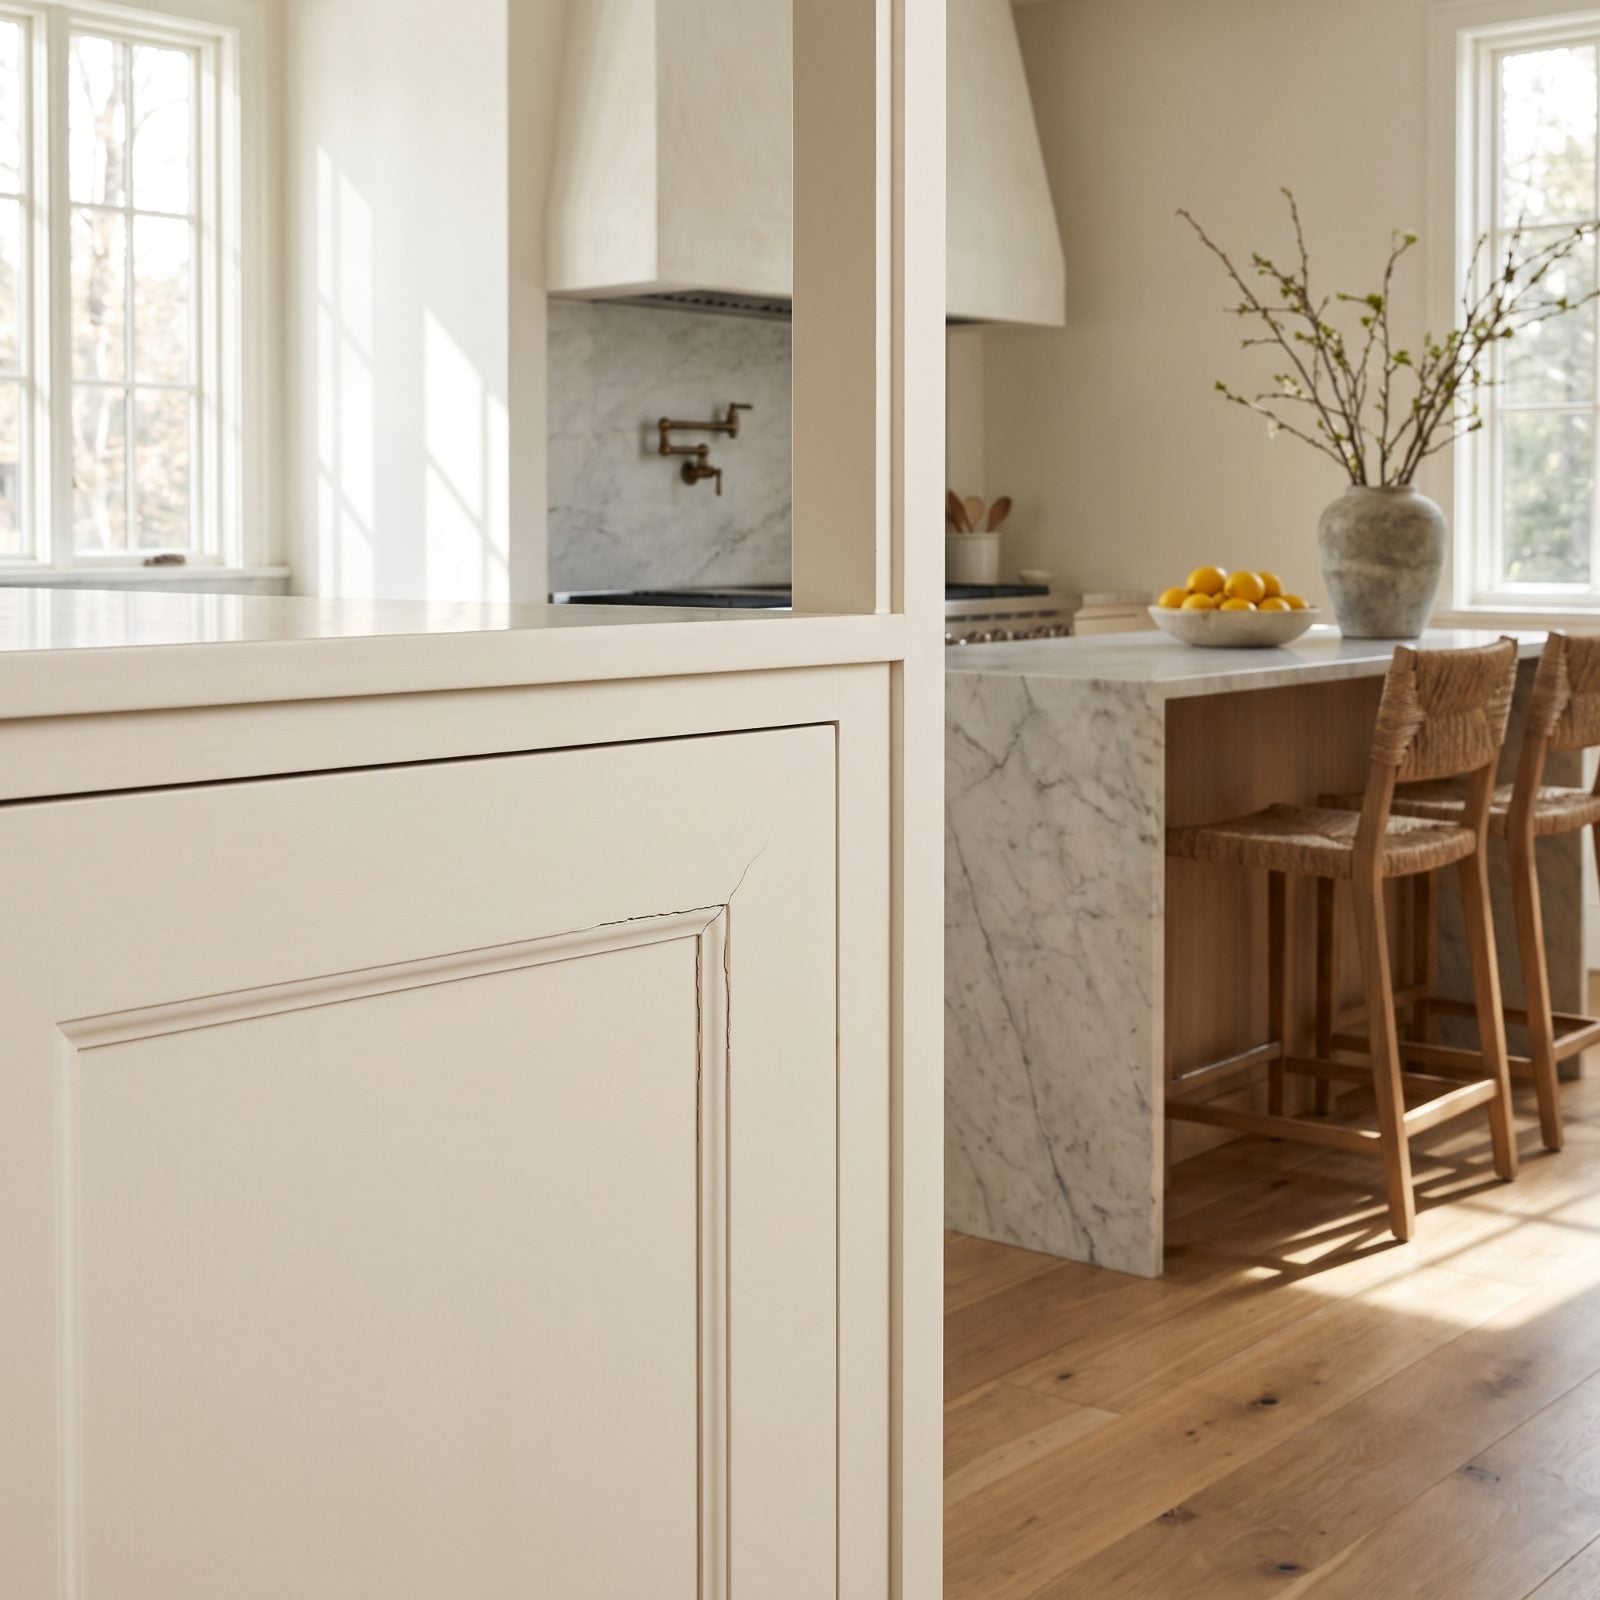
Wood moves. It swells in summer, shrinks in winter, breathes with your kitchen’s humidity, and a raised center panel is designed to float inside its frame so it can do exactly that. Fill that gap with caulk and you glue the whole thing rigid.
Then the seasons turn, the panel tries to move, the caulk won’t let it, and the paint cracks in a tidy rectangle around the panel. It looks like a mistake because it is one.
Leave the panel gaps alone. Caulk the face-frame joints and the seams that don’t flex. Let the panel float.
12. Choosing Ordinary Wall Paint for High-Touch Cabinets
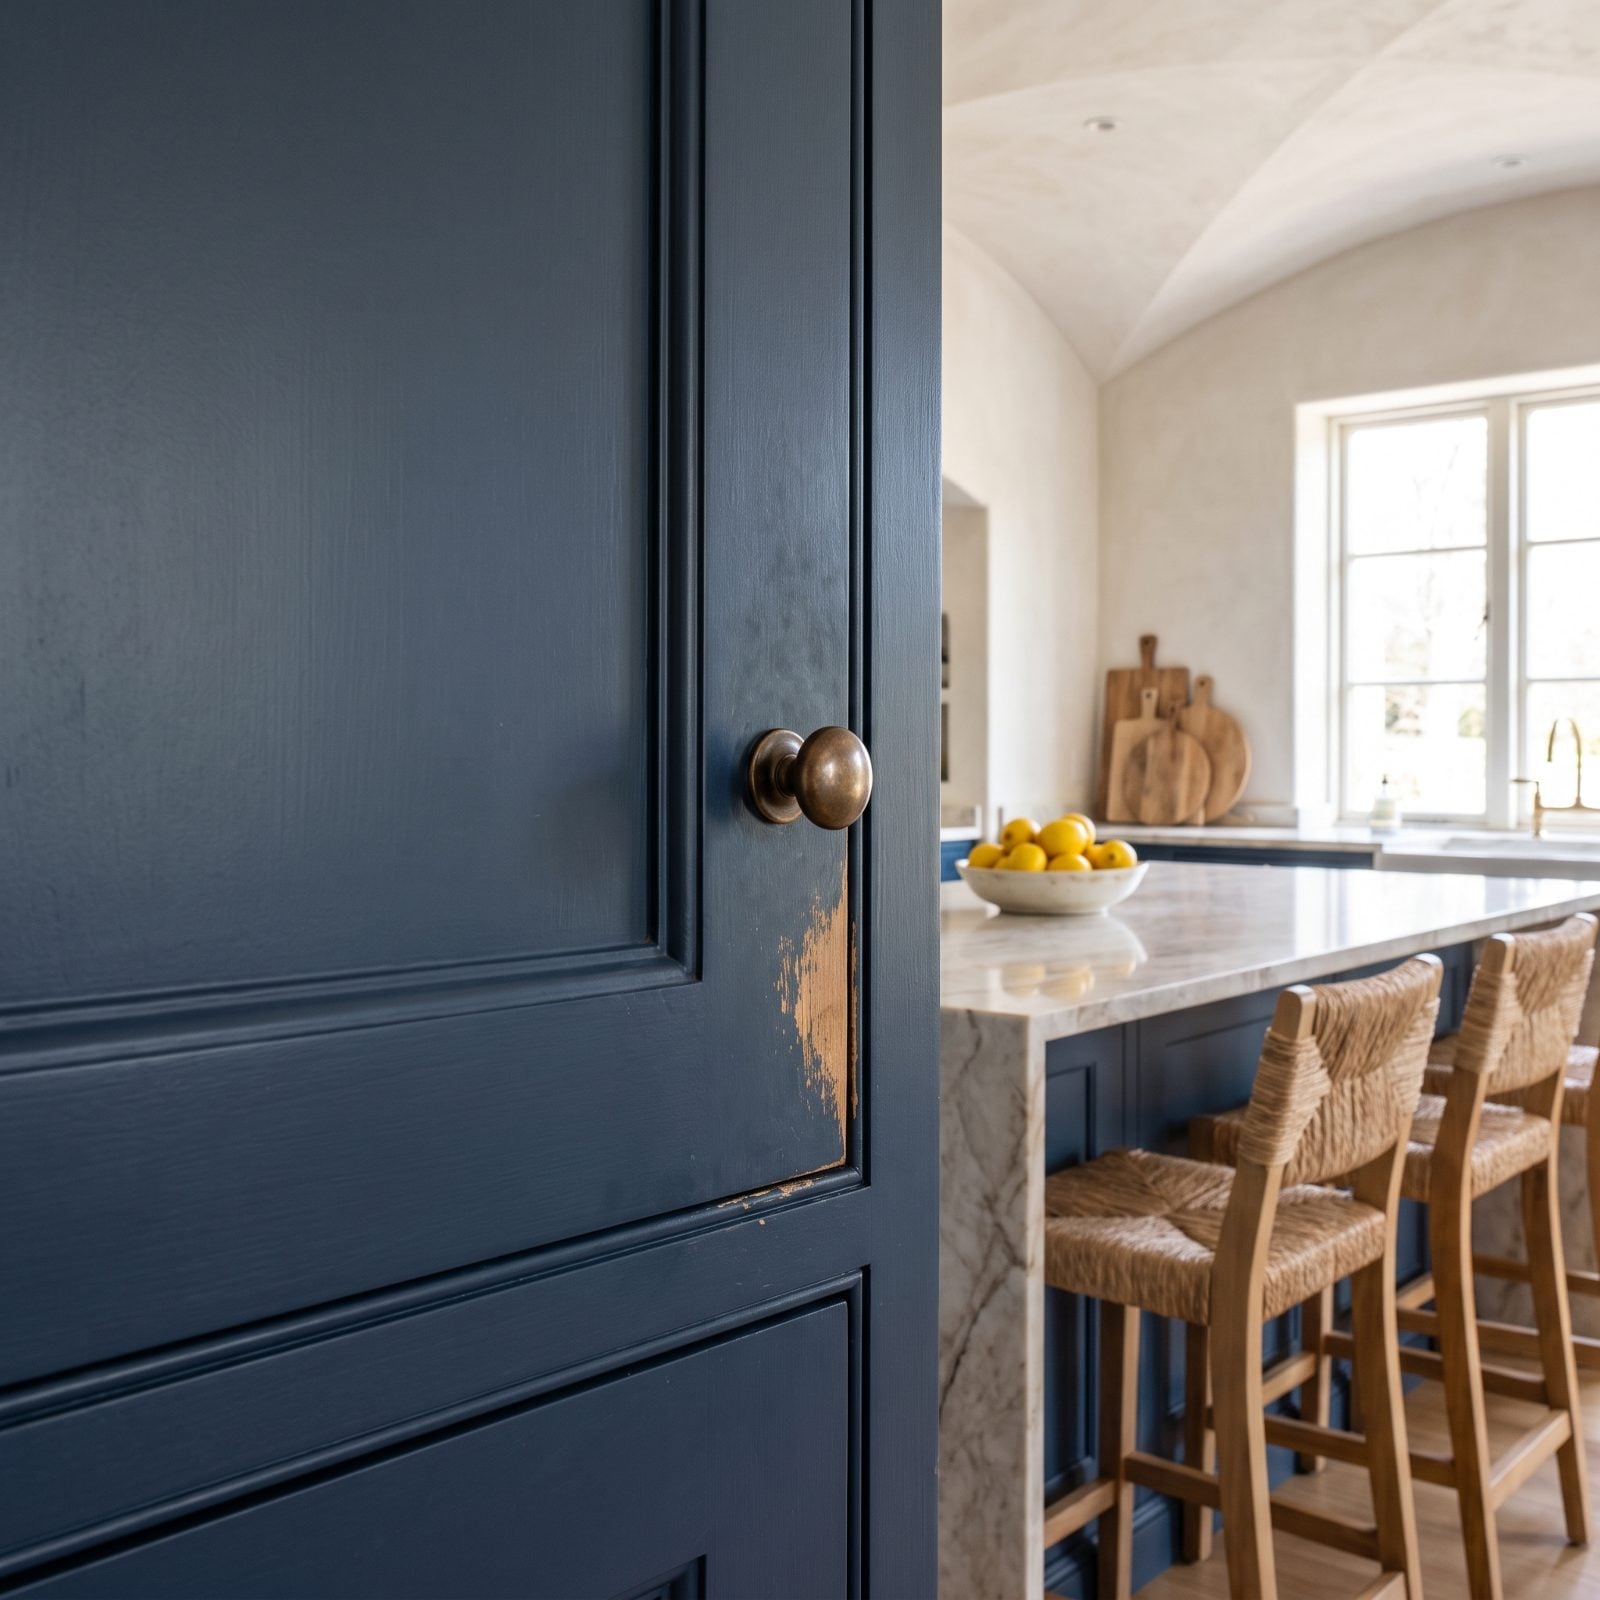
Standard wall paint is soft, meant for a surface nobody touches. Put it on a cabinet and within months the areas around the pulls go dull, scuff, and hold every fingerprint like evidence. It never cures hard enough to take the abuse.
What you want is a purpose-built cabinet and trim enamel — an alkyd or waterborne formula that levels out brush marks and dries to a durable film. Satin or semi-gloss. It costs more per can and it’s worth every dollar, because the alternative is repainting your busiest surfaces in a year.
11. Choosing Color From a Tiny Swatch Without Testing It in the Kitchen
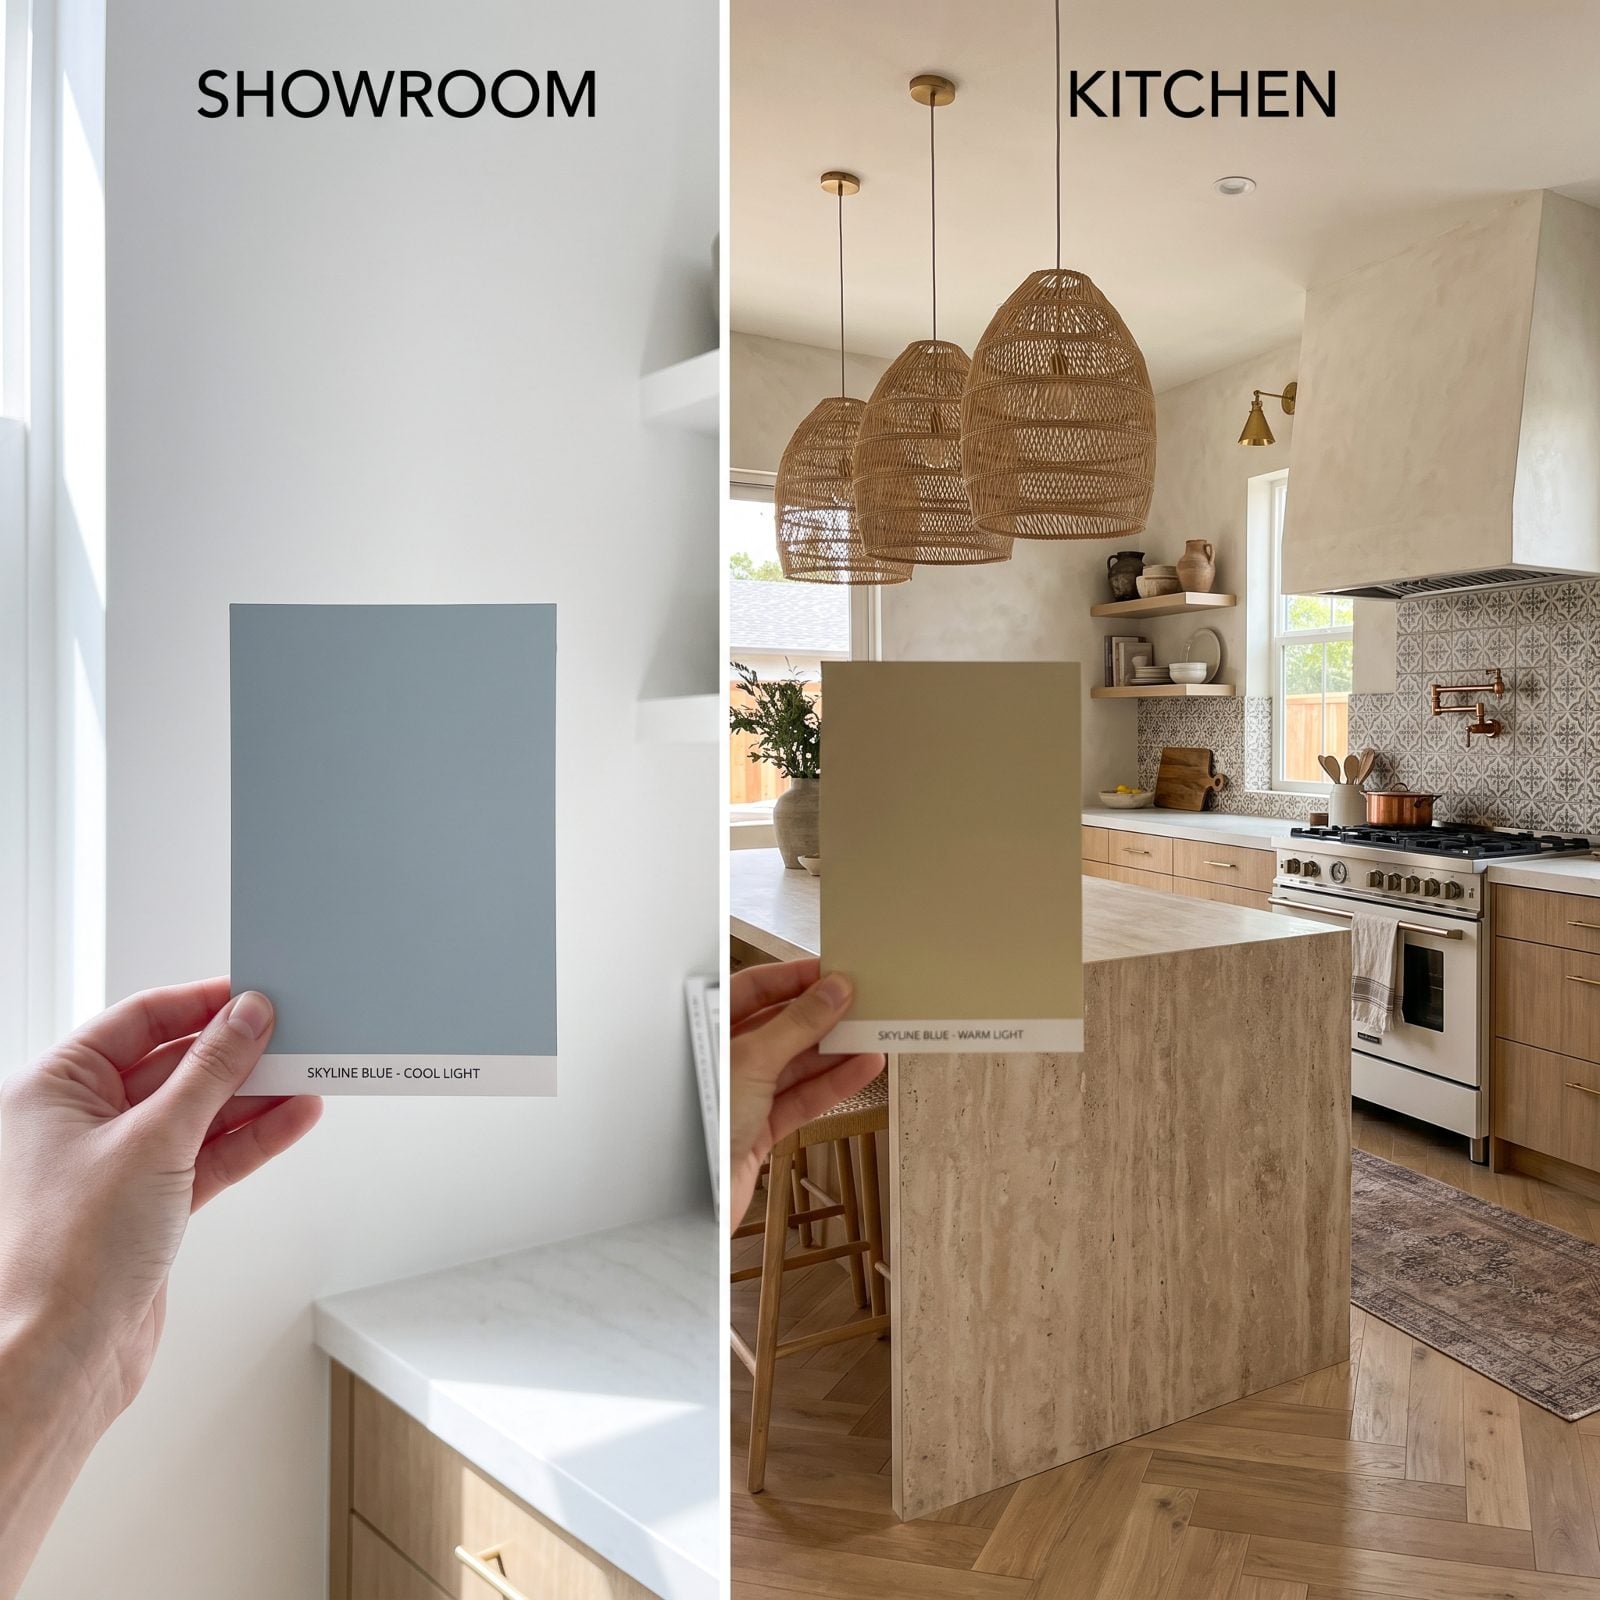
That chip in the store is lying to you. Not on purpose — but the fluorescent showroom light, the tiny sample size, the white card framing it, all of it changes how your eye reads the color. The soft greige that looked perfect turns green under your warm kitchen bulbs, or your north window pulls the warmth out and leaves you with cold gray.
So paint a big sample board, at least a foot square, two coats, and move it around the kitchen. Look at it at breakfast, at dinner, under the lamps at night. Color is light. What you’re really choosing is how a pigment behaves in your specific room.
10. Using a Fuzzy Roller That Leaves Heavy Stipple
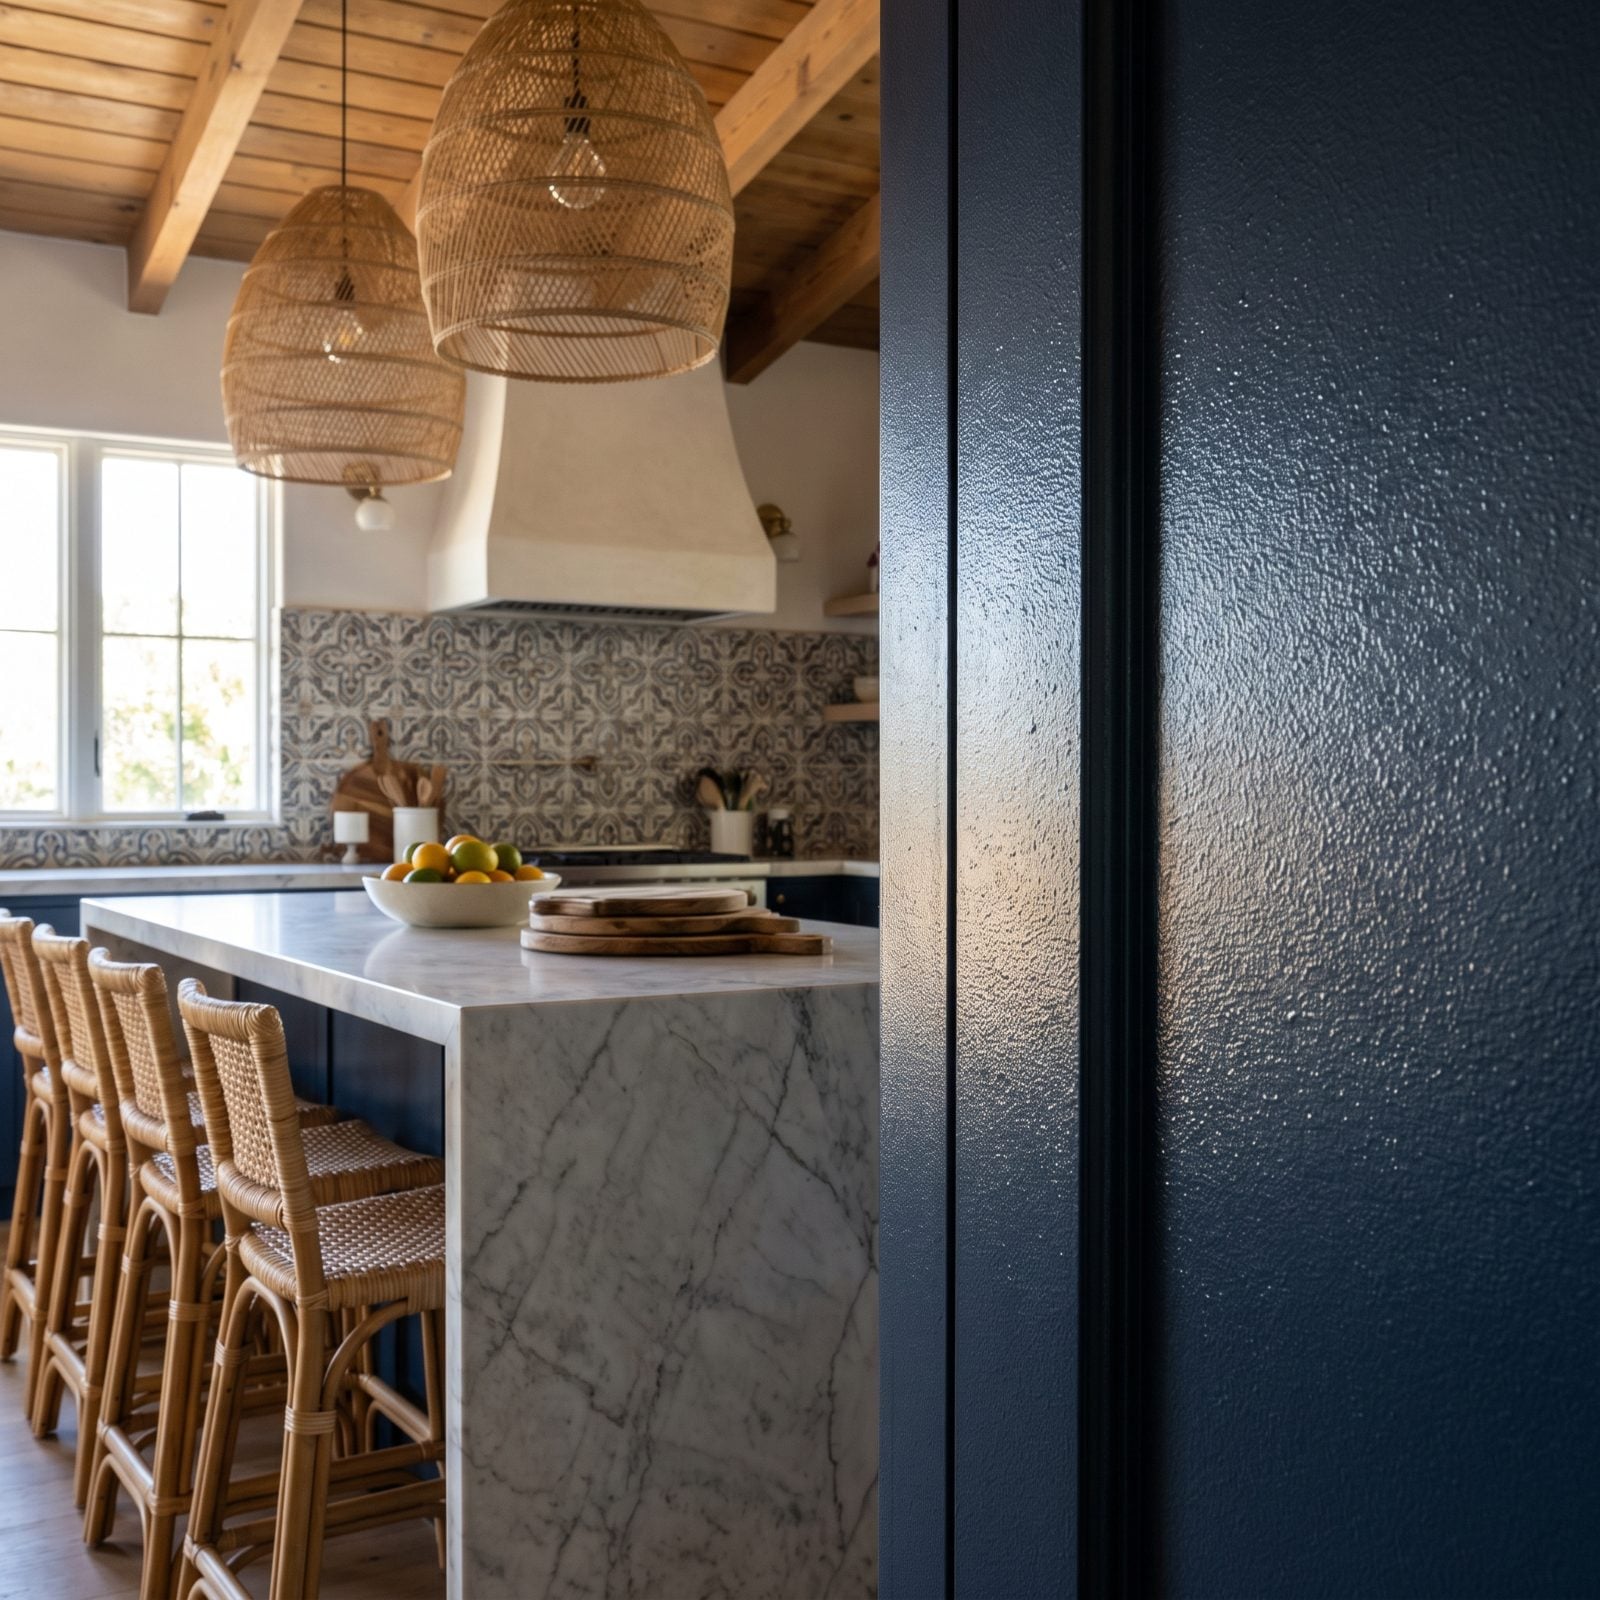
A thick fluffy roller is fine for a wall you view from six feet away. On a cabinet you touch daily and see up close, that same nap leaves an orange-peel stipple that reads as amateur the moment light rakes across it sideways.
Go with a high-density foam roller or a microfiber mini in a very short nap, then tip off each coat with a light pass of a quality brush to knock down the texture. Or spray it. Thin coats, patience, and the right roller separate doors that look factory-finished from doors that look rolled in a hurry.
9. Using a Cheap Brush That Sheds Bristles Into Every Coat
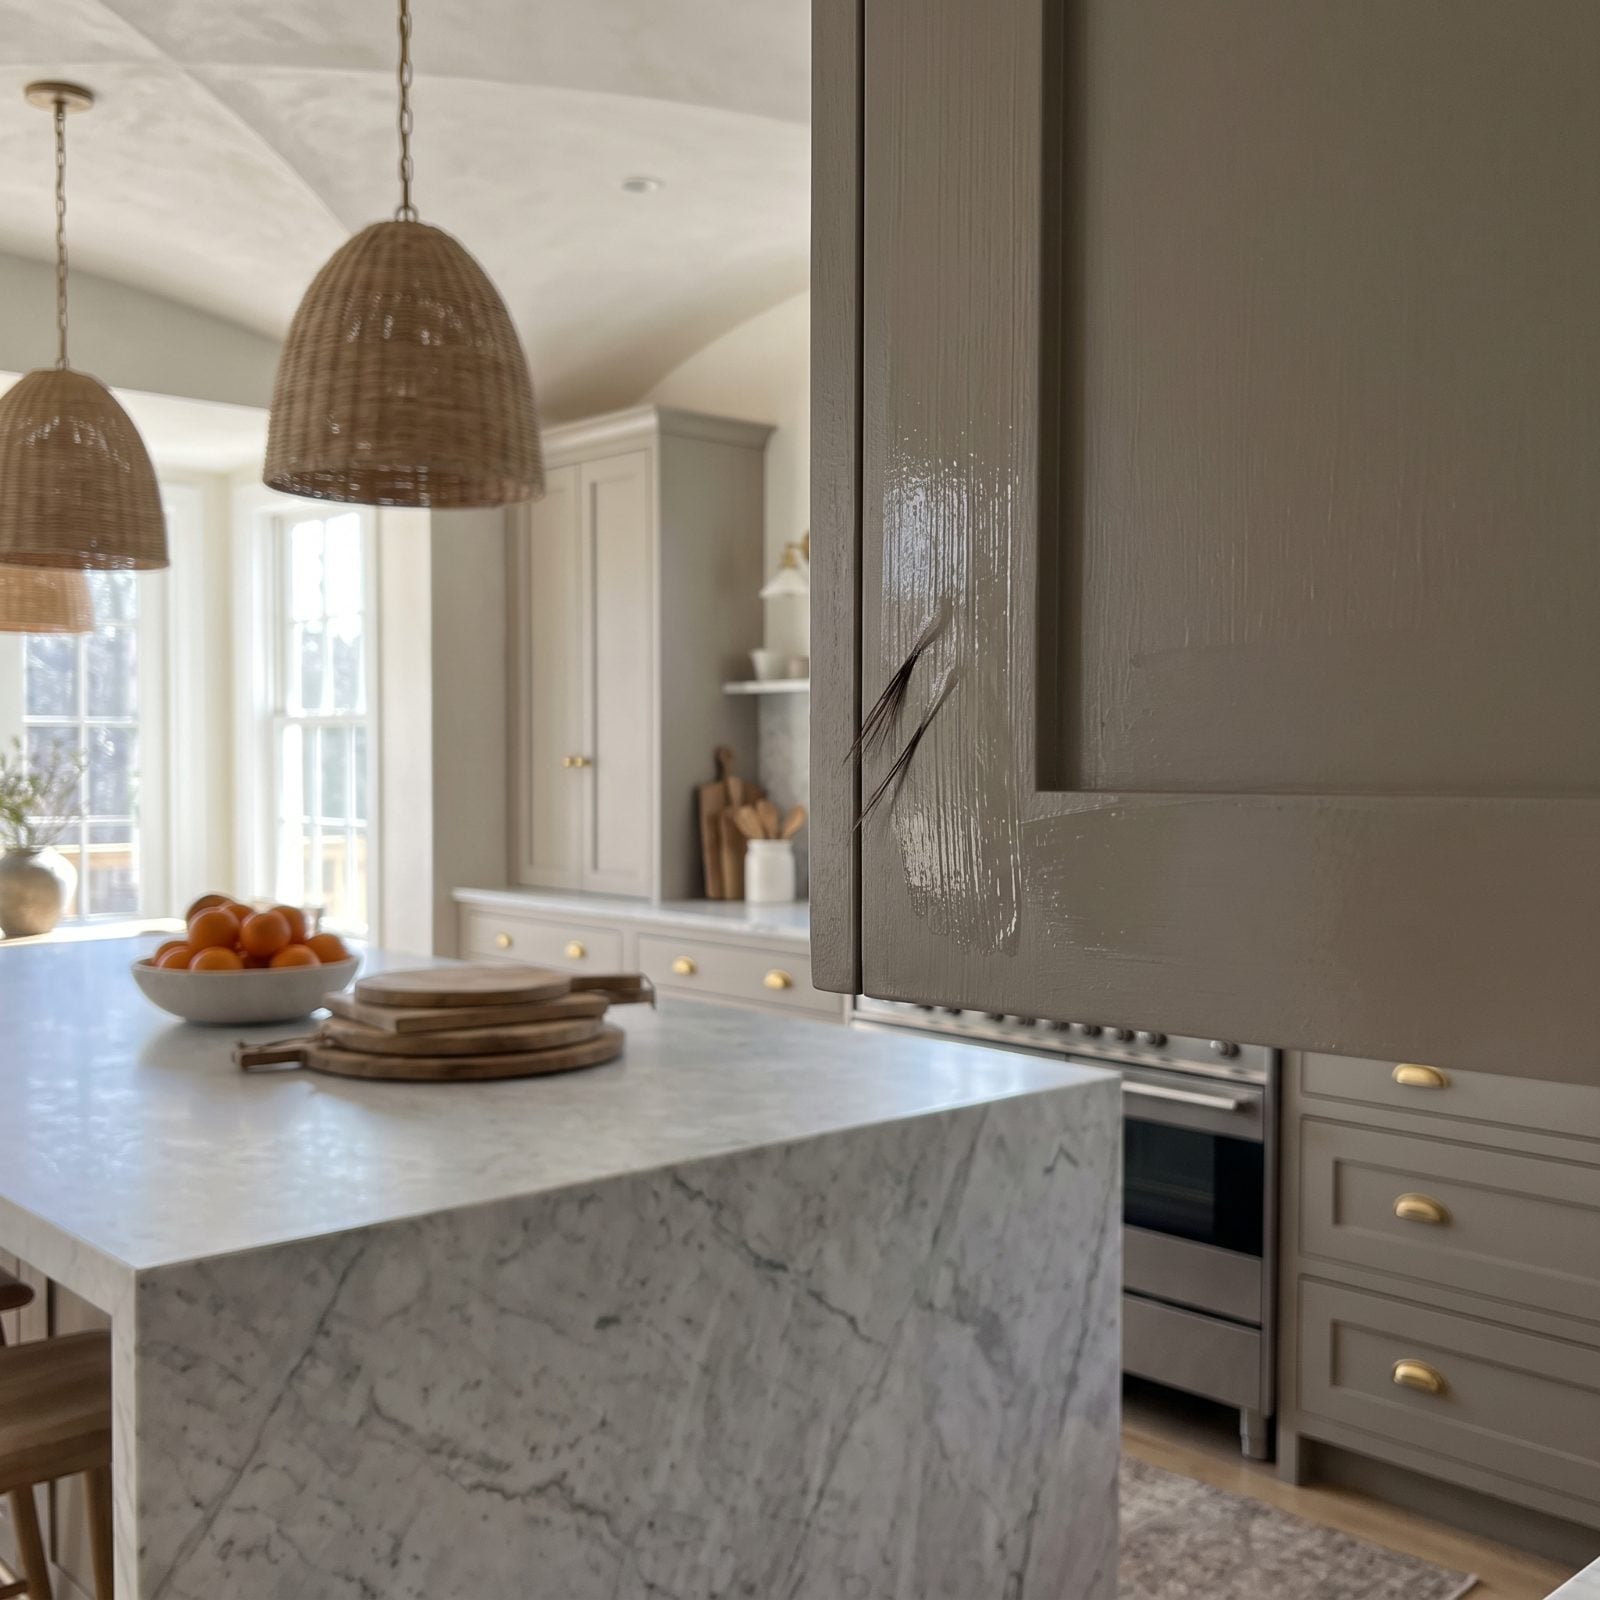
A five-dollar chip brush will cost you the whole door. Those loose natural bristles let go mid-stroke, settle into the wet film, and dry there like little fossils you won’t notice until the light hits right — usually after everyone’s gone home and you’re standing back admiring the work.
Spend on a quality synthetic brush built for waterborne enamels. A tapered nylon-poly blend holds an edge, lays paint flat, and keeps its hairs to itself. I ran cheap brushes for years and picked bristles out of drywall paint like it was normal. It isn’t.
8. Spraying Without Straining the Paint First
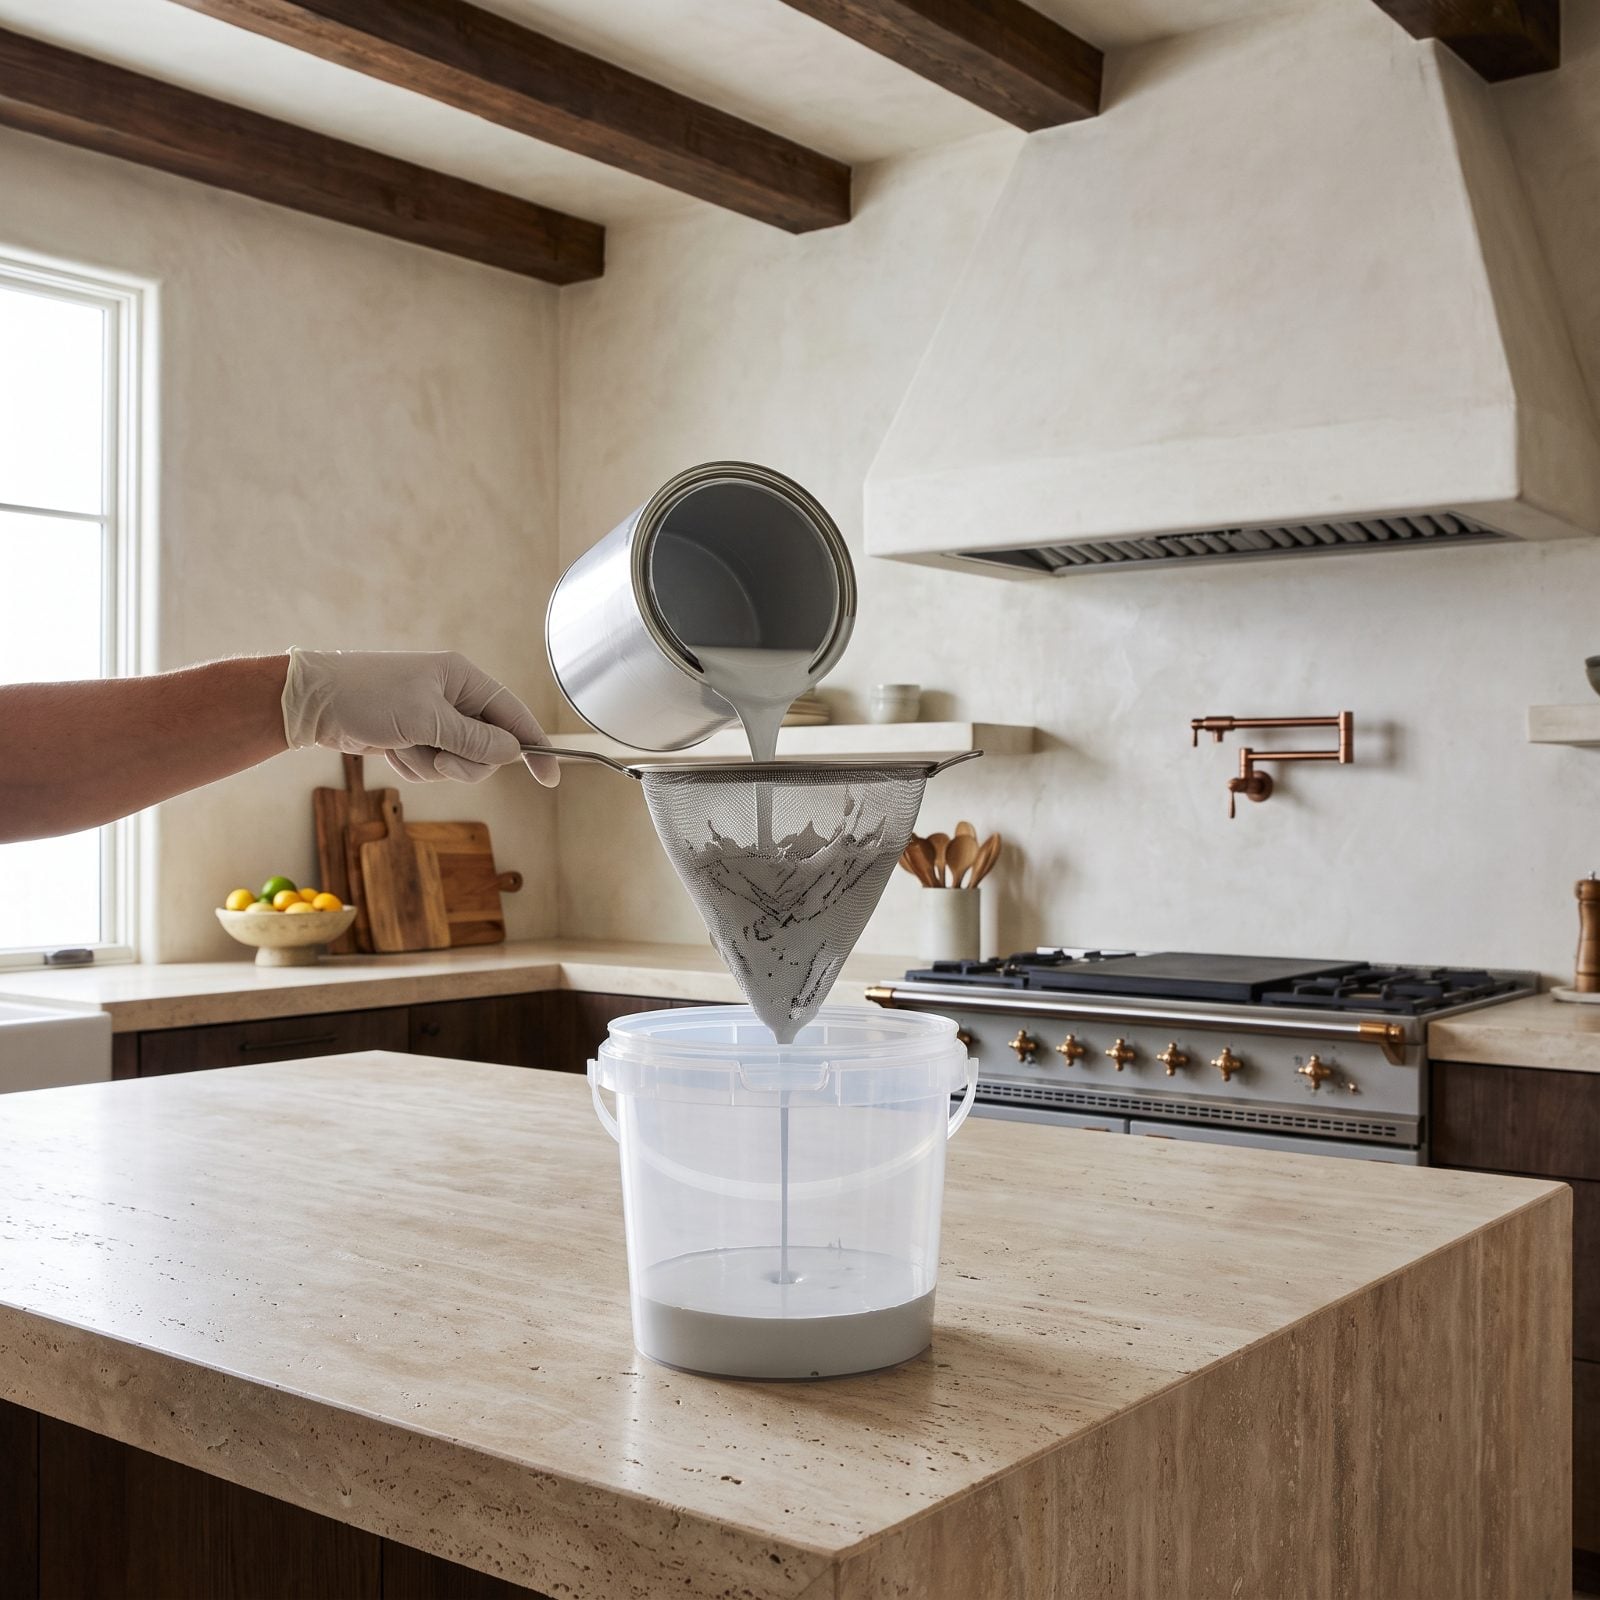
Paint skins. Even a can you opened yesterday grows a thin film and tiny cured chunks around the rim, and sending that through a sprayer gets you spitting, clogs, and specks embedded across a panel you thought was flawless.
Strain every batch through a fine mesh cone filter into your cup. Takes thirty seconds. Skipping it feels like paranoia right up until you’re sanding a whole door back down.
7. Spraying Doors Upright and Chasing Runs Down the Panel
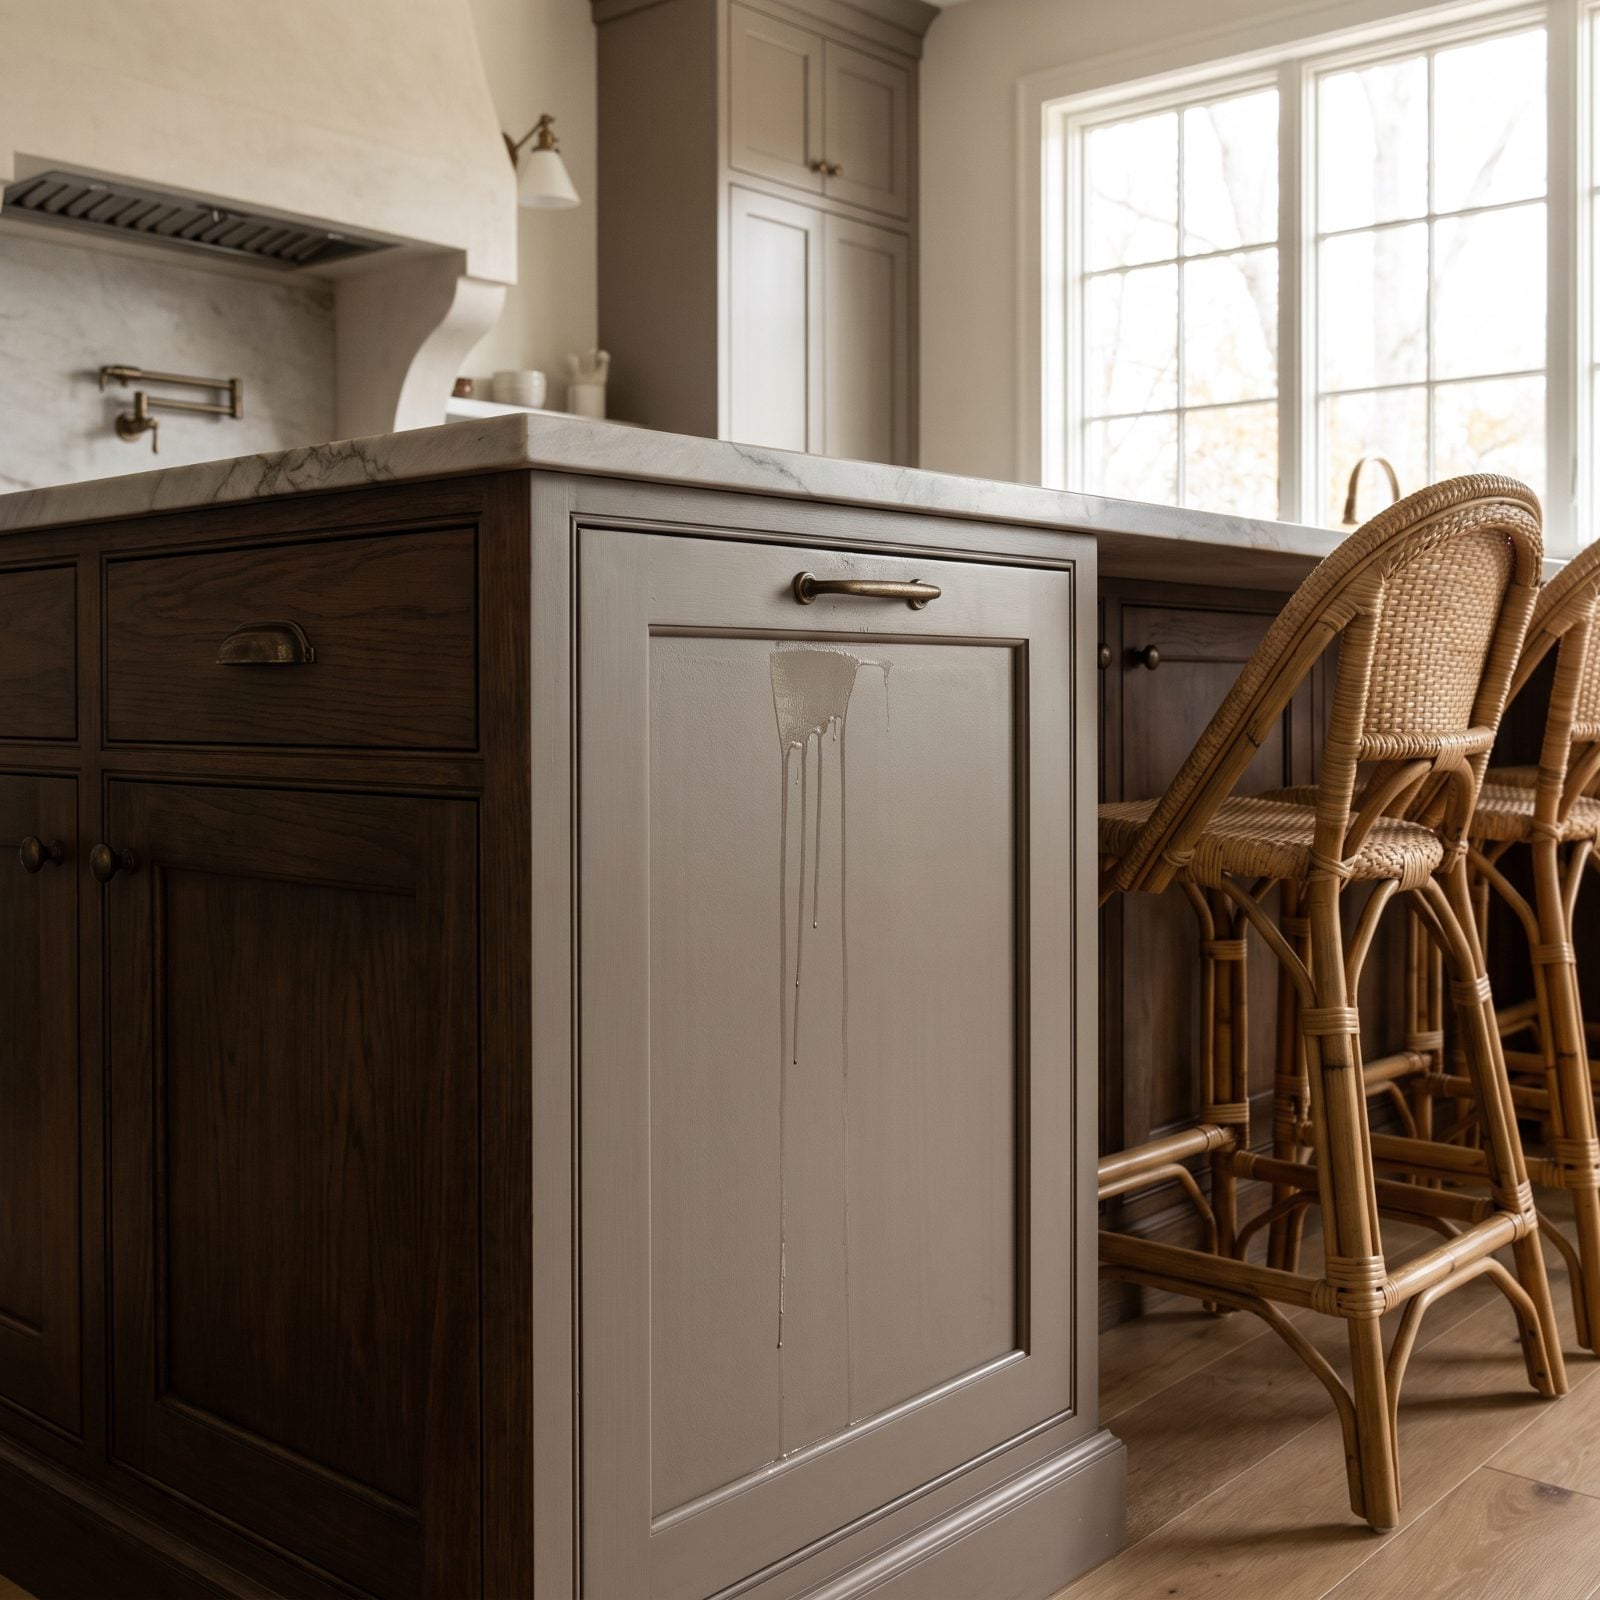
Gravity always wins when you spray a door standing up. Paint that goes on wet and heavy starts sliding the second you turn your back, and by the time it flashes over you’ve got fat vertical runs pooling at the bottom rail.
Lay doors flat on a rack or on painter’s pyramids. Spray the horizontal surface, let it set, then move on. Flat means the wet coat has nowhere to travel.
6. Piling On One Thick Coat Instead of Several Thin Ones
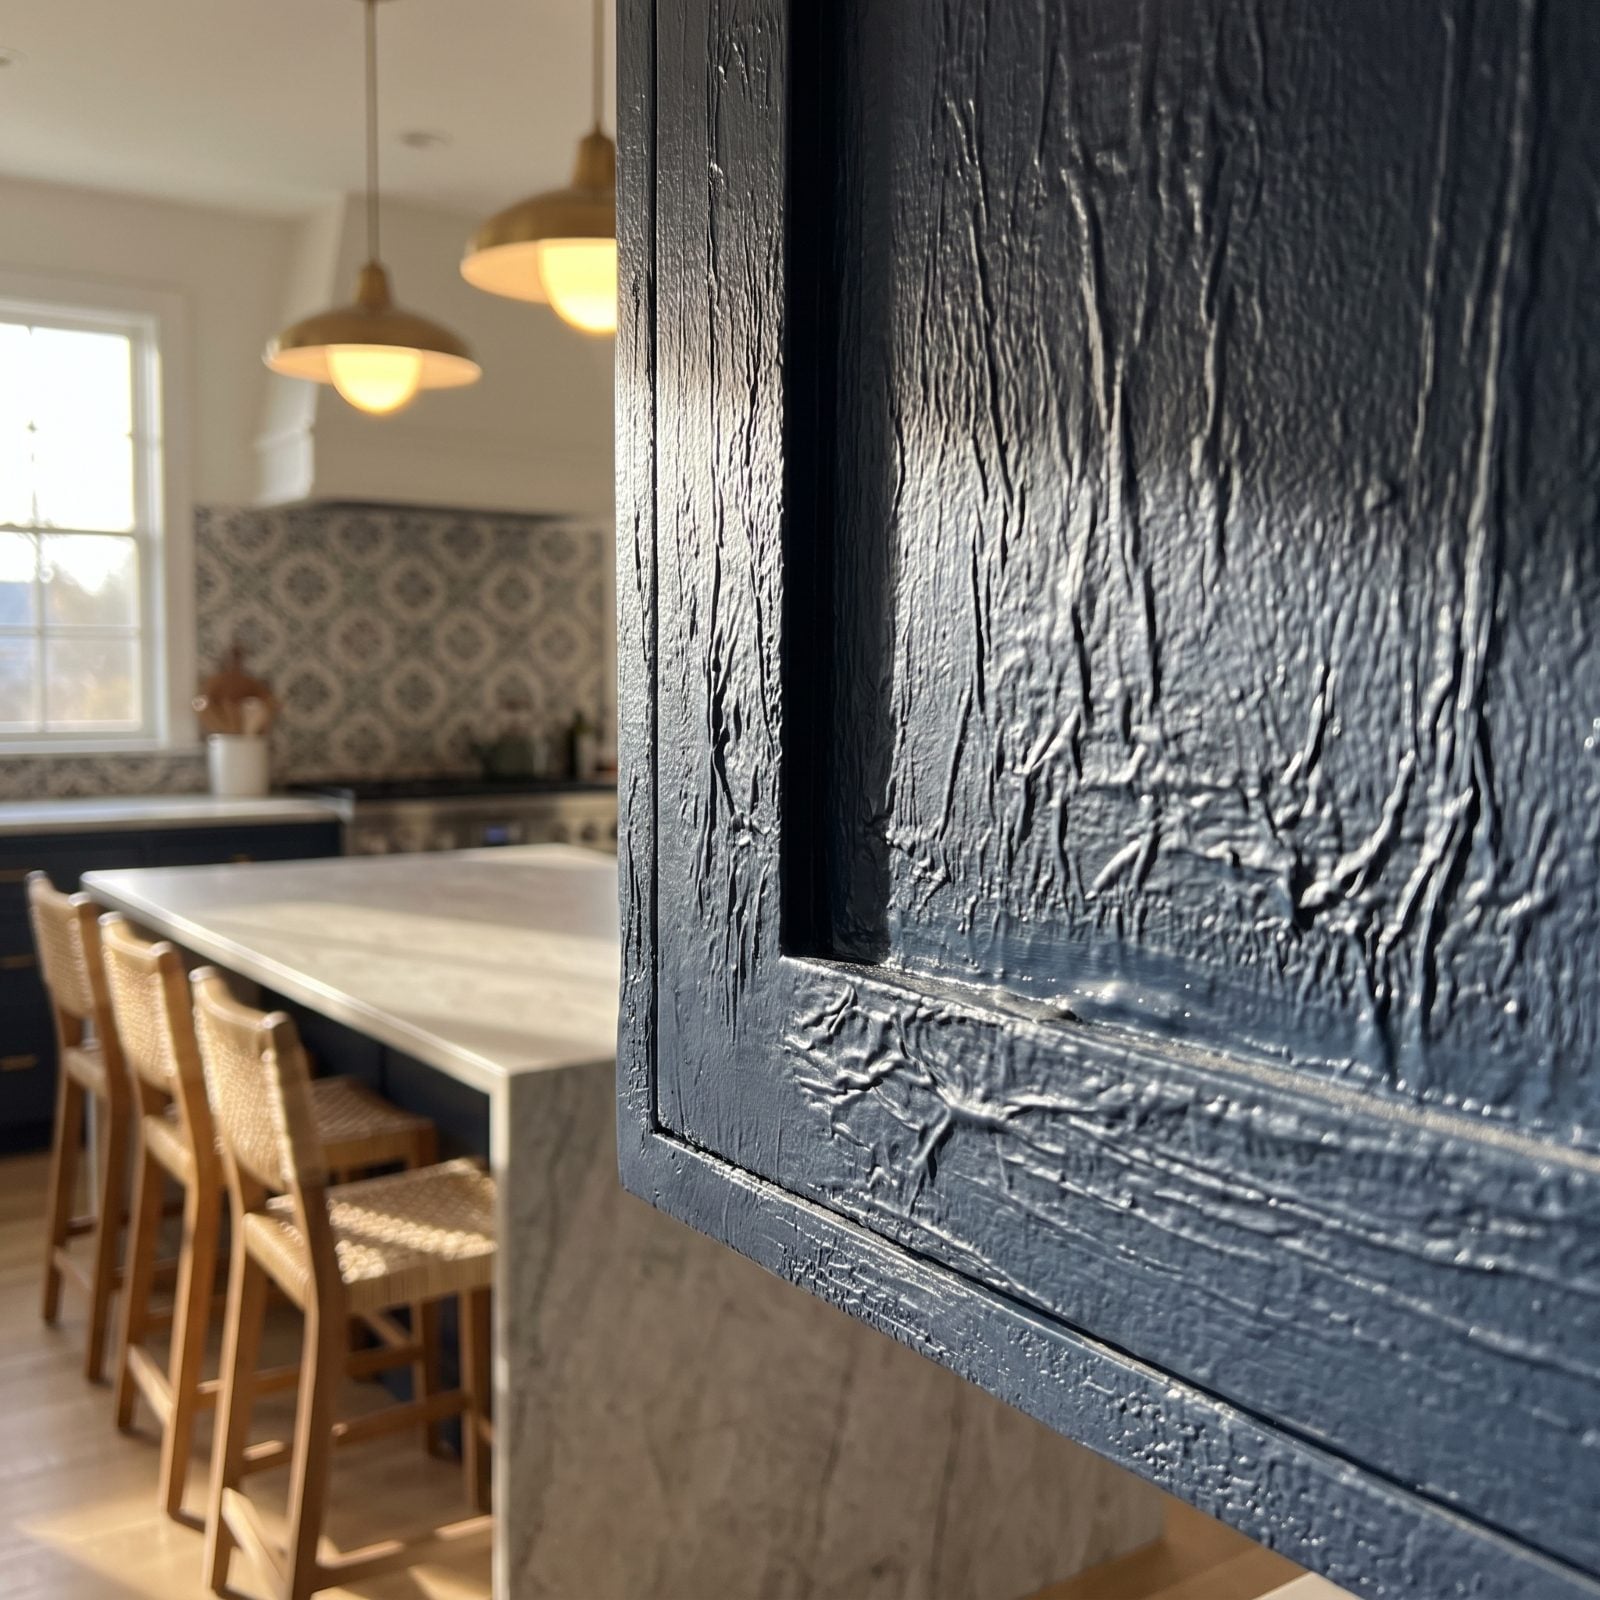
One heavy coat feels efficient. It isn’t. Thick enamel skins on top while the paint underneath stays soft, and that gap is where you get sags, wrinkling, and a surface that won’t harden for weeks — right about the point a charcoal kitchen makeover quietly goes sideways.
Two or three thin coats, each sanded lightly and given real dry time, build a harder, glassier film than any single pass ever could. Slower wins here.
5. Painting in Cold Rooms or High-Humidity Weather
🔥 Would you like to save this?
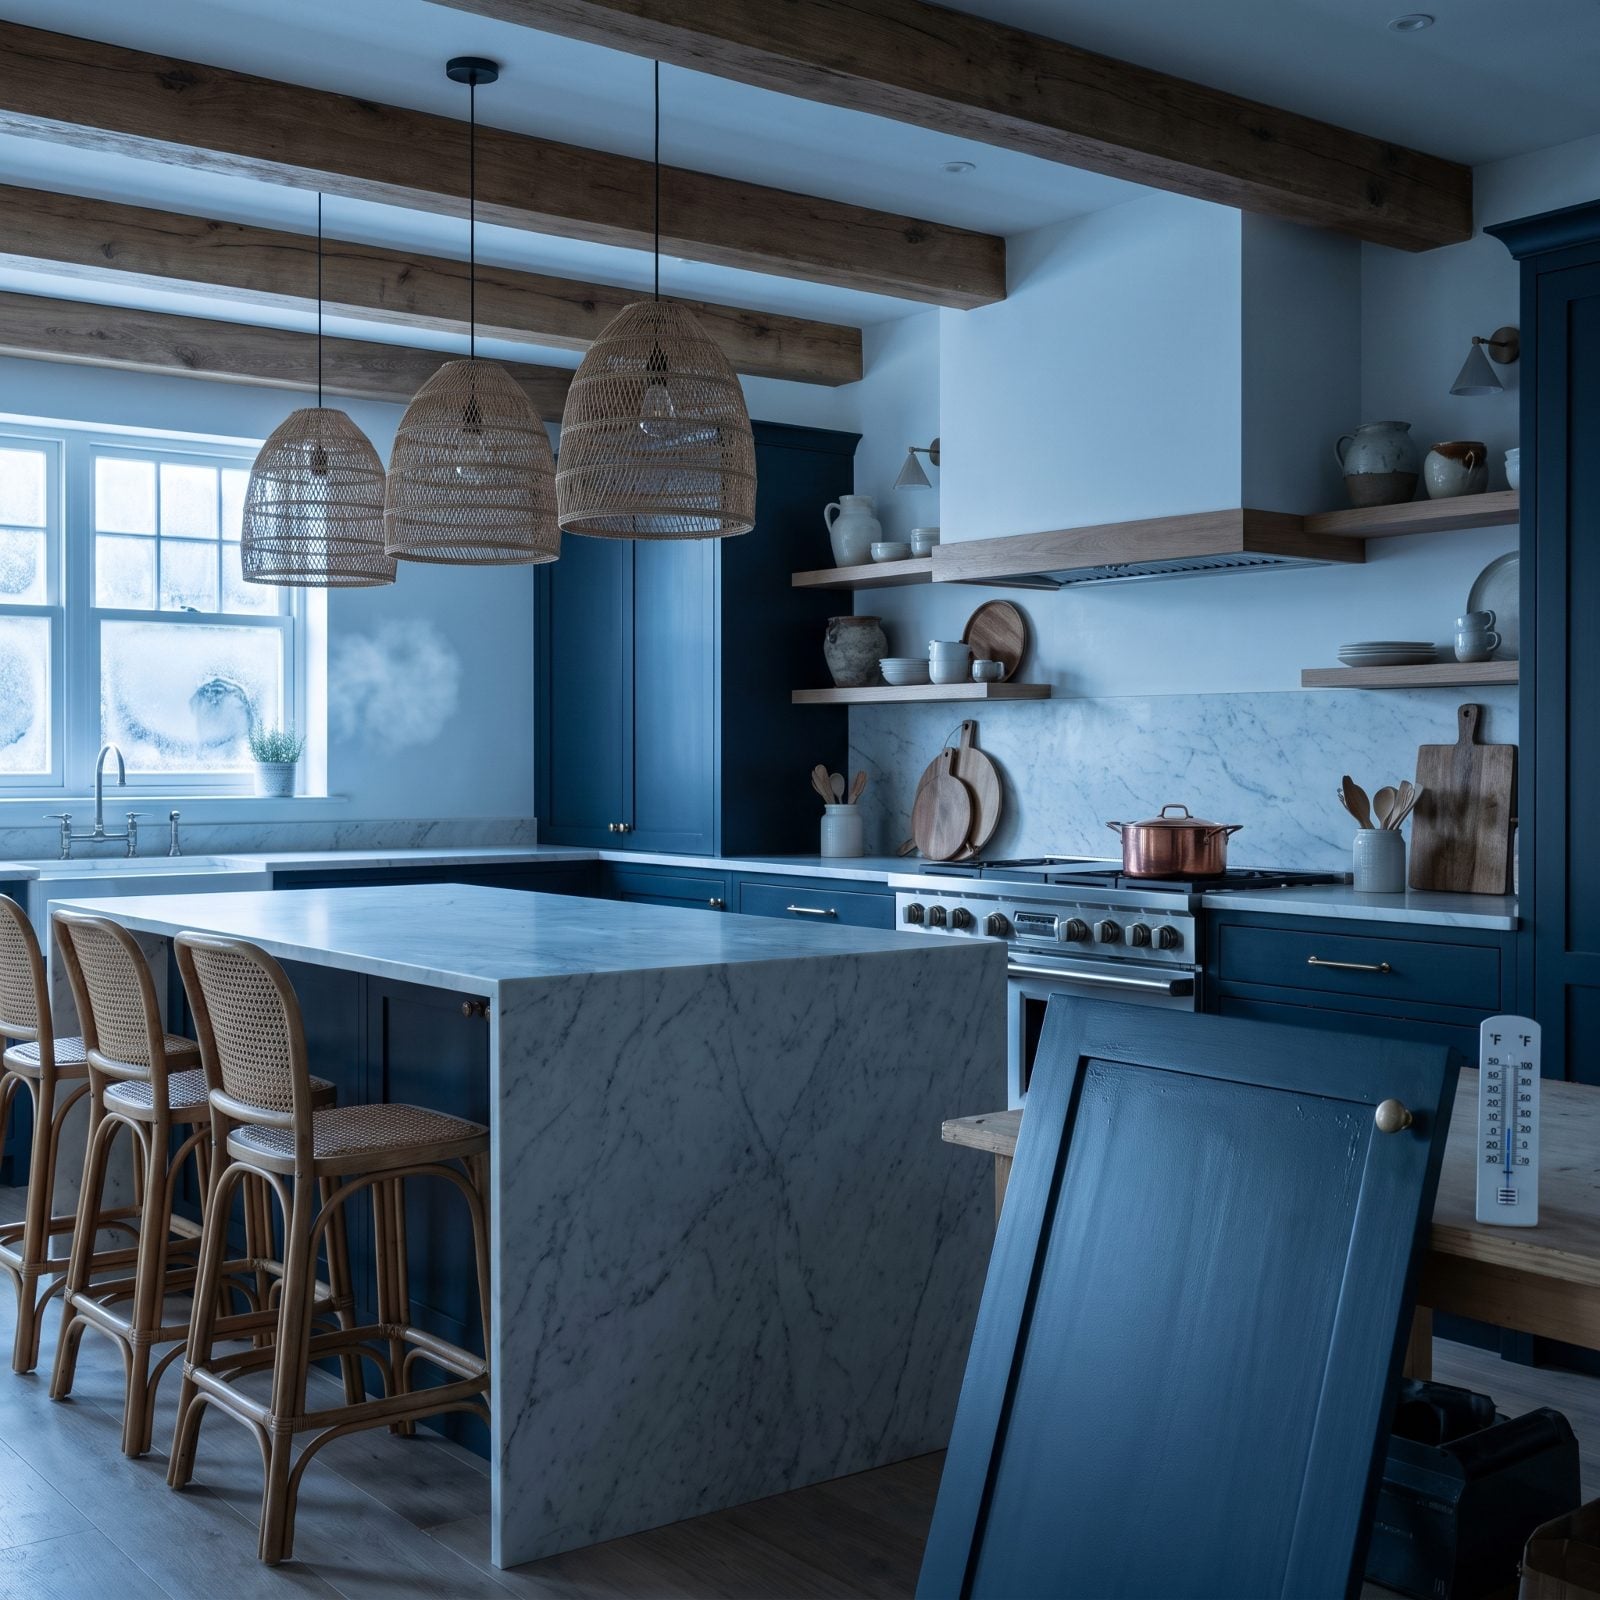
Enamel has opinions about weather. Too cold and it won’t coalesce, staying soft and gummy for days; too humid and you get blushing, that cloudy milky haze that wrecks a dark color especially. Either way the finish never quite hardens.
Most waterborne cabinet enamels want a fairly narrow band of warmth and low humidity to cure right. A cheap hygrometer settles the argument.
I’ve painted doors in a chilly garage in October and paid for it — they stuck to the felt bumpers weeks later. A small garage makeover with a space heater and a dehumidifier would’ve saved me the redo.
4. Letting Airborne Dust Settle Into a Wet Finish
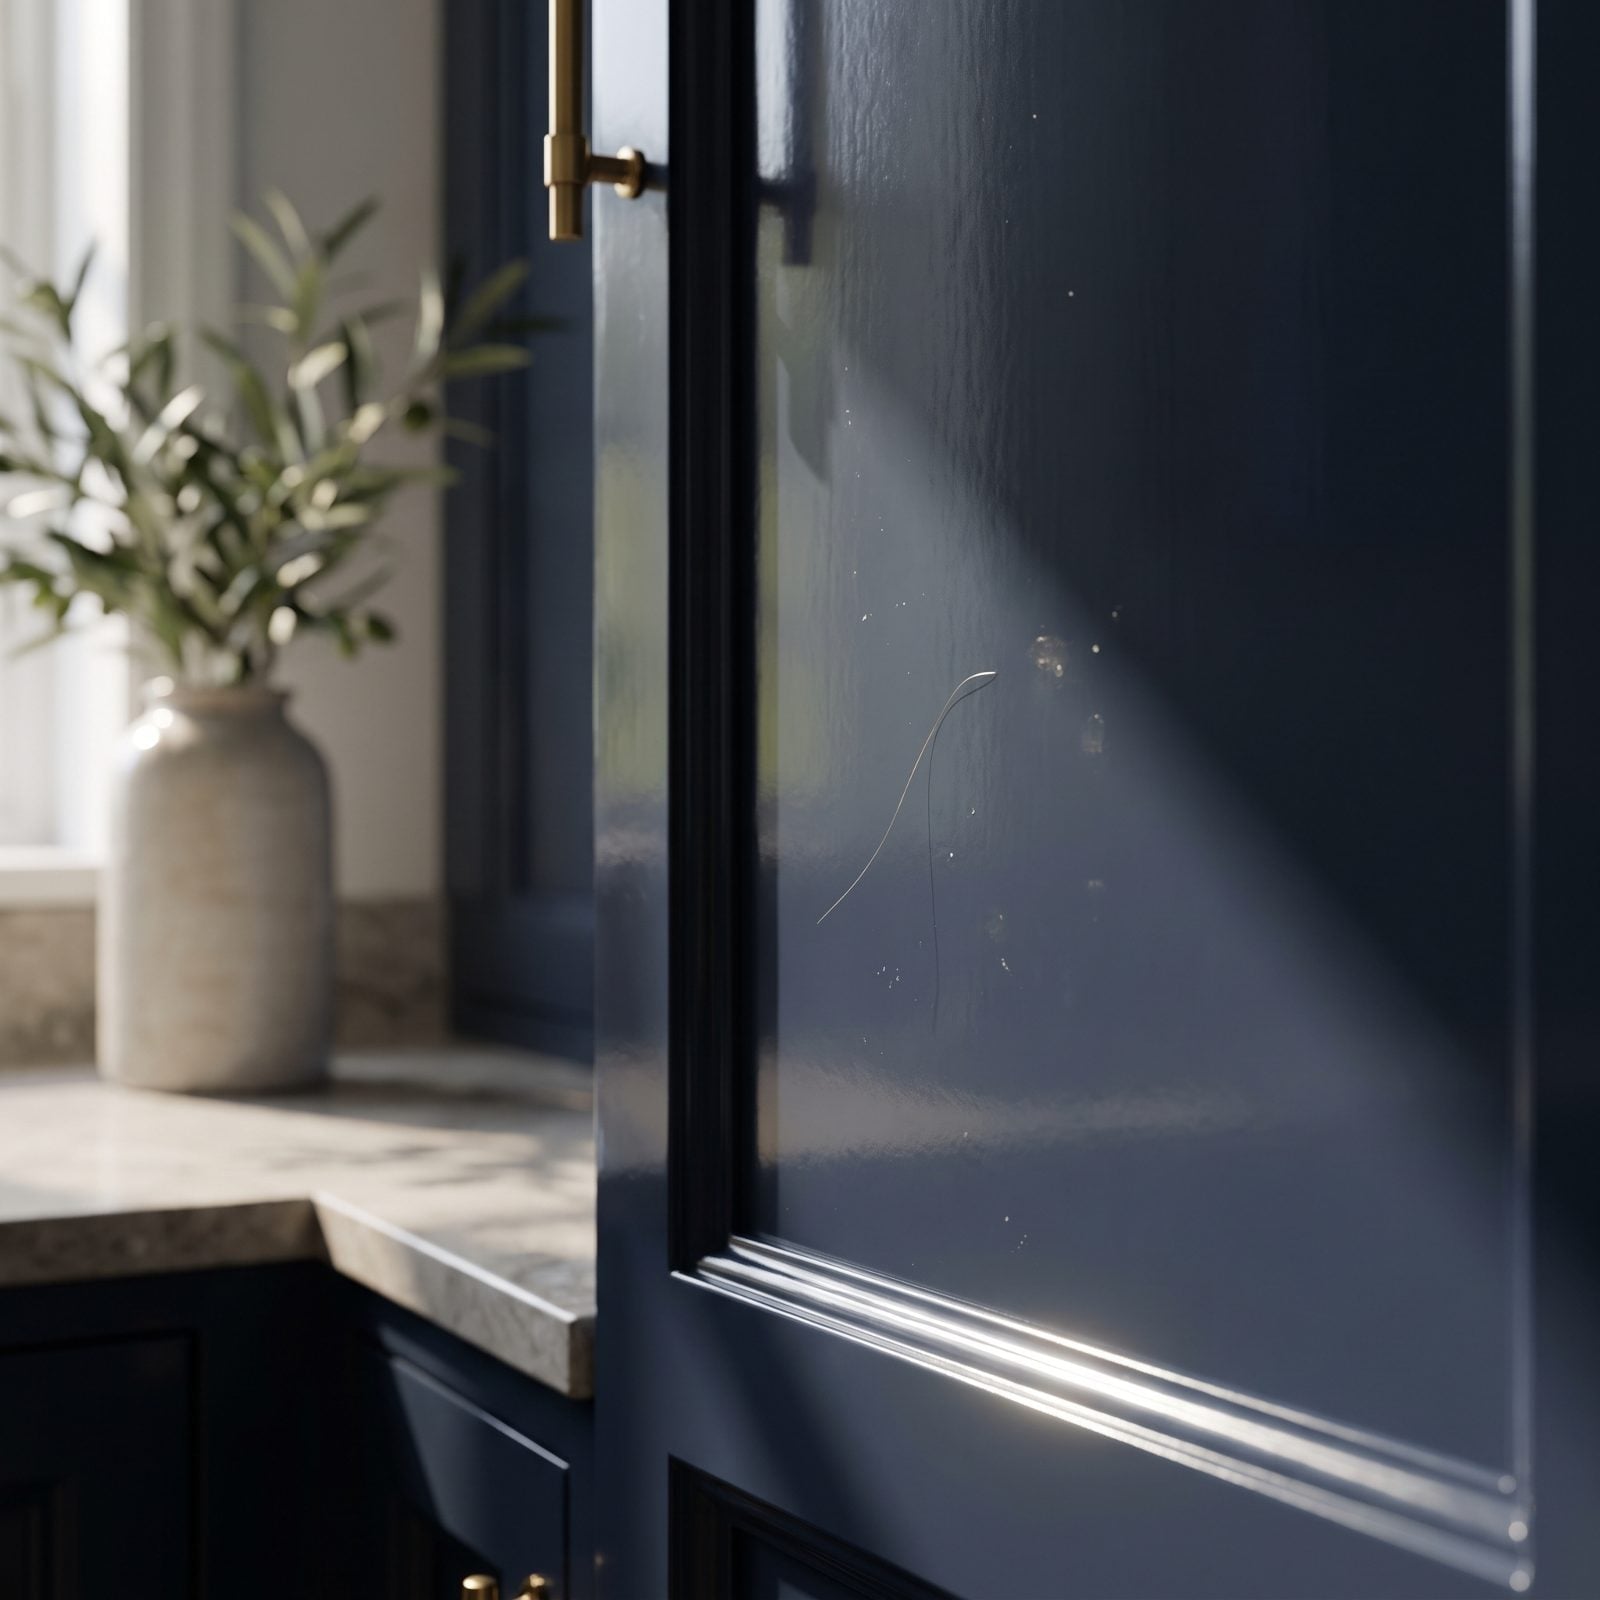
Dust is the assassin of a good enamel job. It floats in from nowhere, lands in the wet film, and sets into a permanent bumpy texture you can feel with your palm — and a high-sheen finish shows every last grain.
Wipe every surface with a tack cloth right before you spray, vacuum the room, and let the air settle for ten minutes before you start. No sweeping. No fans kicking up grit.
Once it’s dry, get down at eye level with a light and run your hand over it. The specks you feel now are the ones you fix before the next coat locks them in for good.
3. Working Under Flat Lighting That Hides the Drips
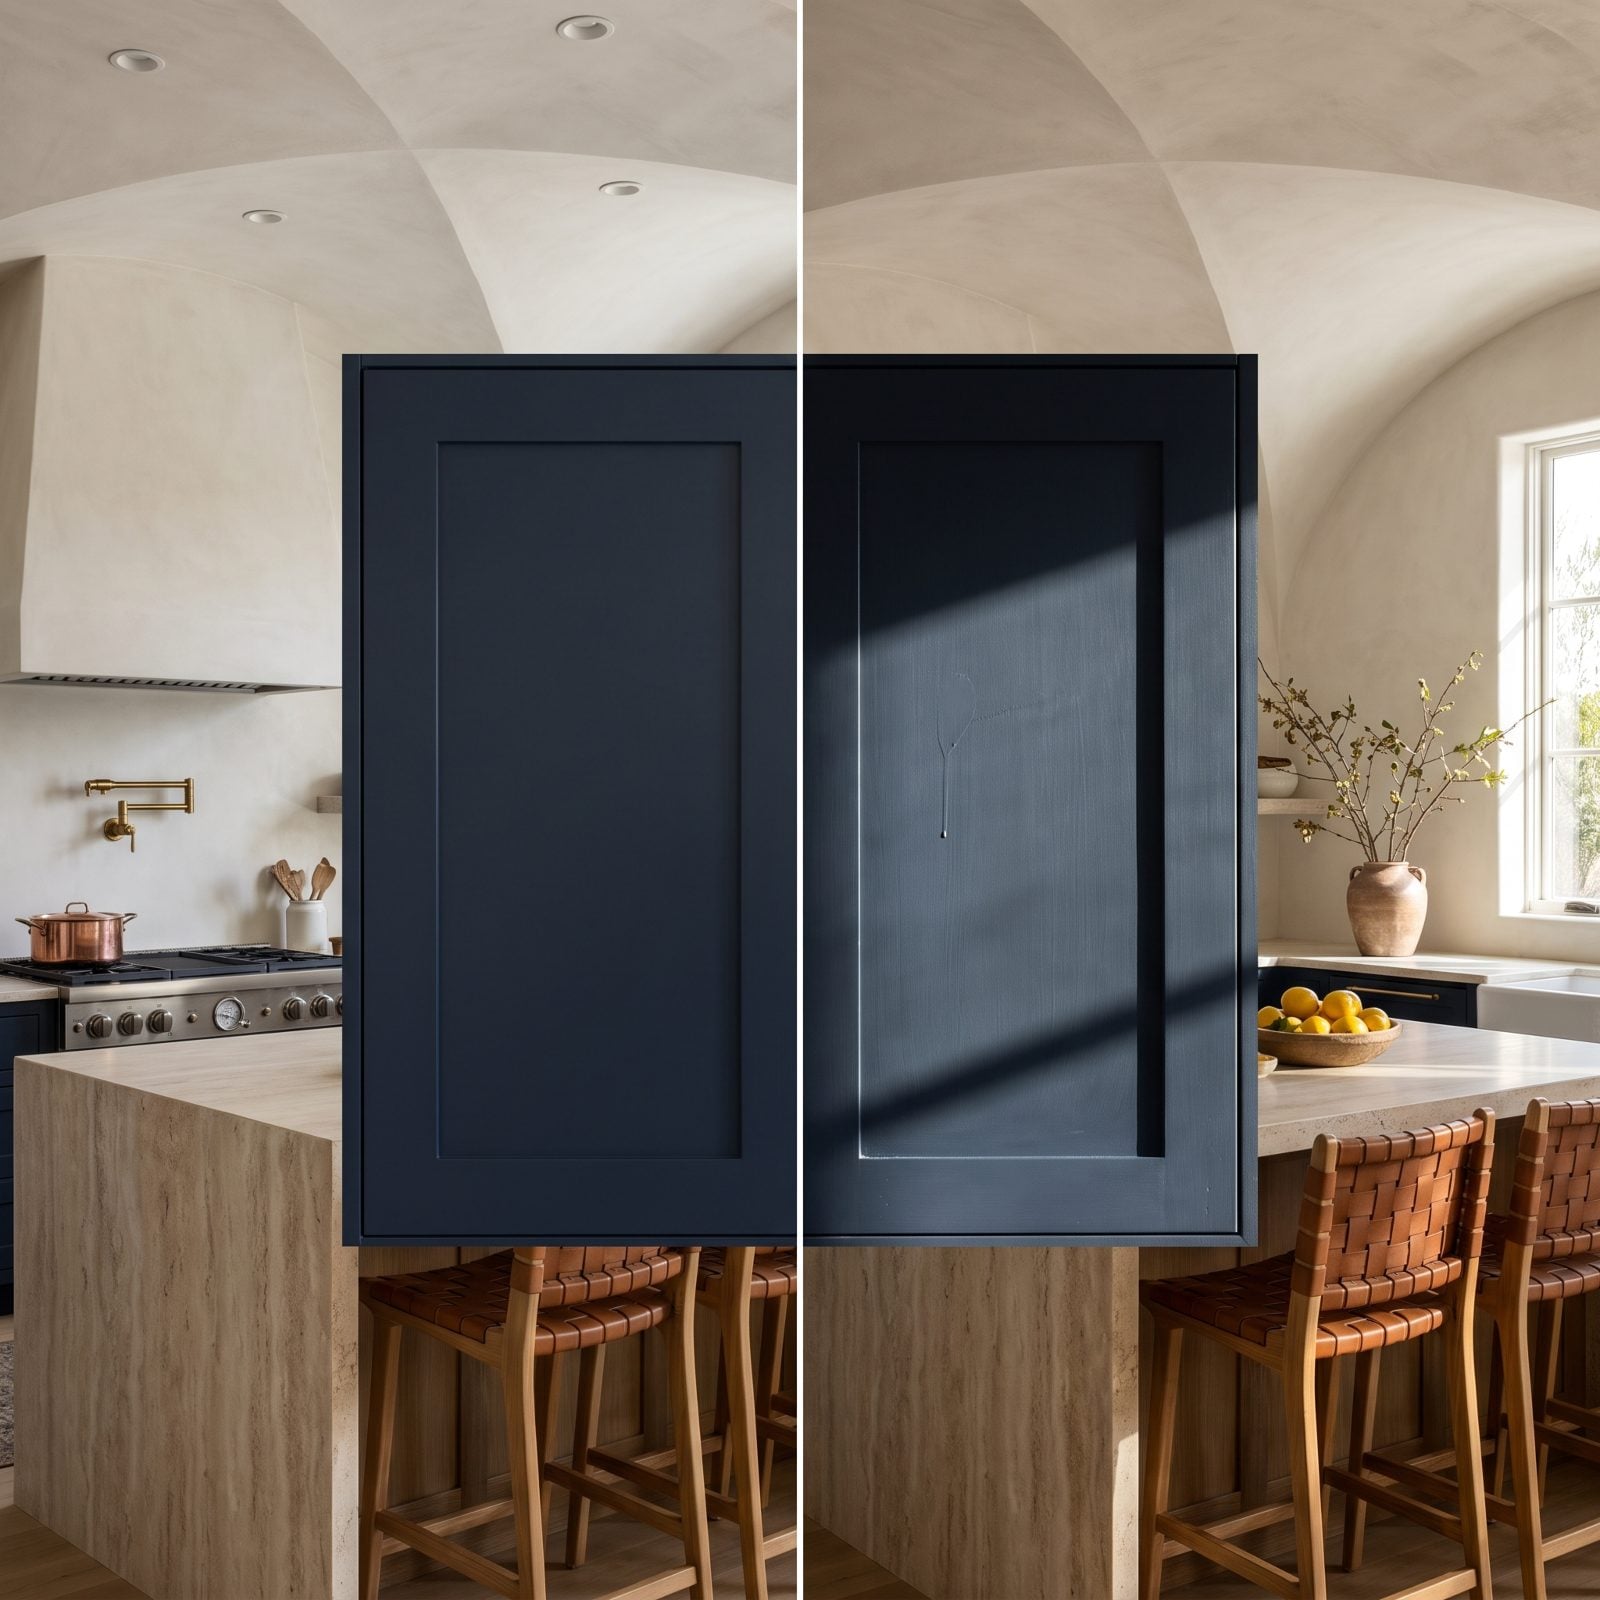
You can’t fix what you can’t see. Lighting that sits directly overhead throws no shadow across the surface, so drips and roller lines vanish while you’re painting and come roaring back once the door is hung and daylight rakes across it.
Set up a portable LED work light low and to the side. That angled beam turns every ridge and sag into an obvious shadow while the paint is still wet enough to correct. Good task lighting on a green garage makeover isn’t vanity — it’s quality control.
2. Letting Paint Pool in the Inside Corners of Shaker Panels
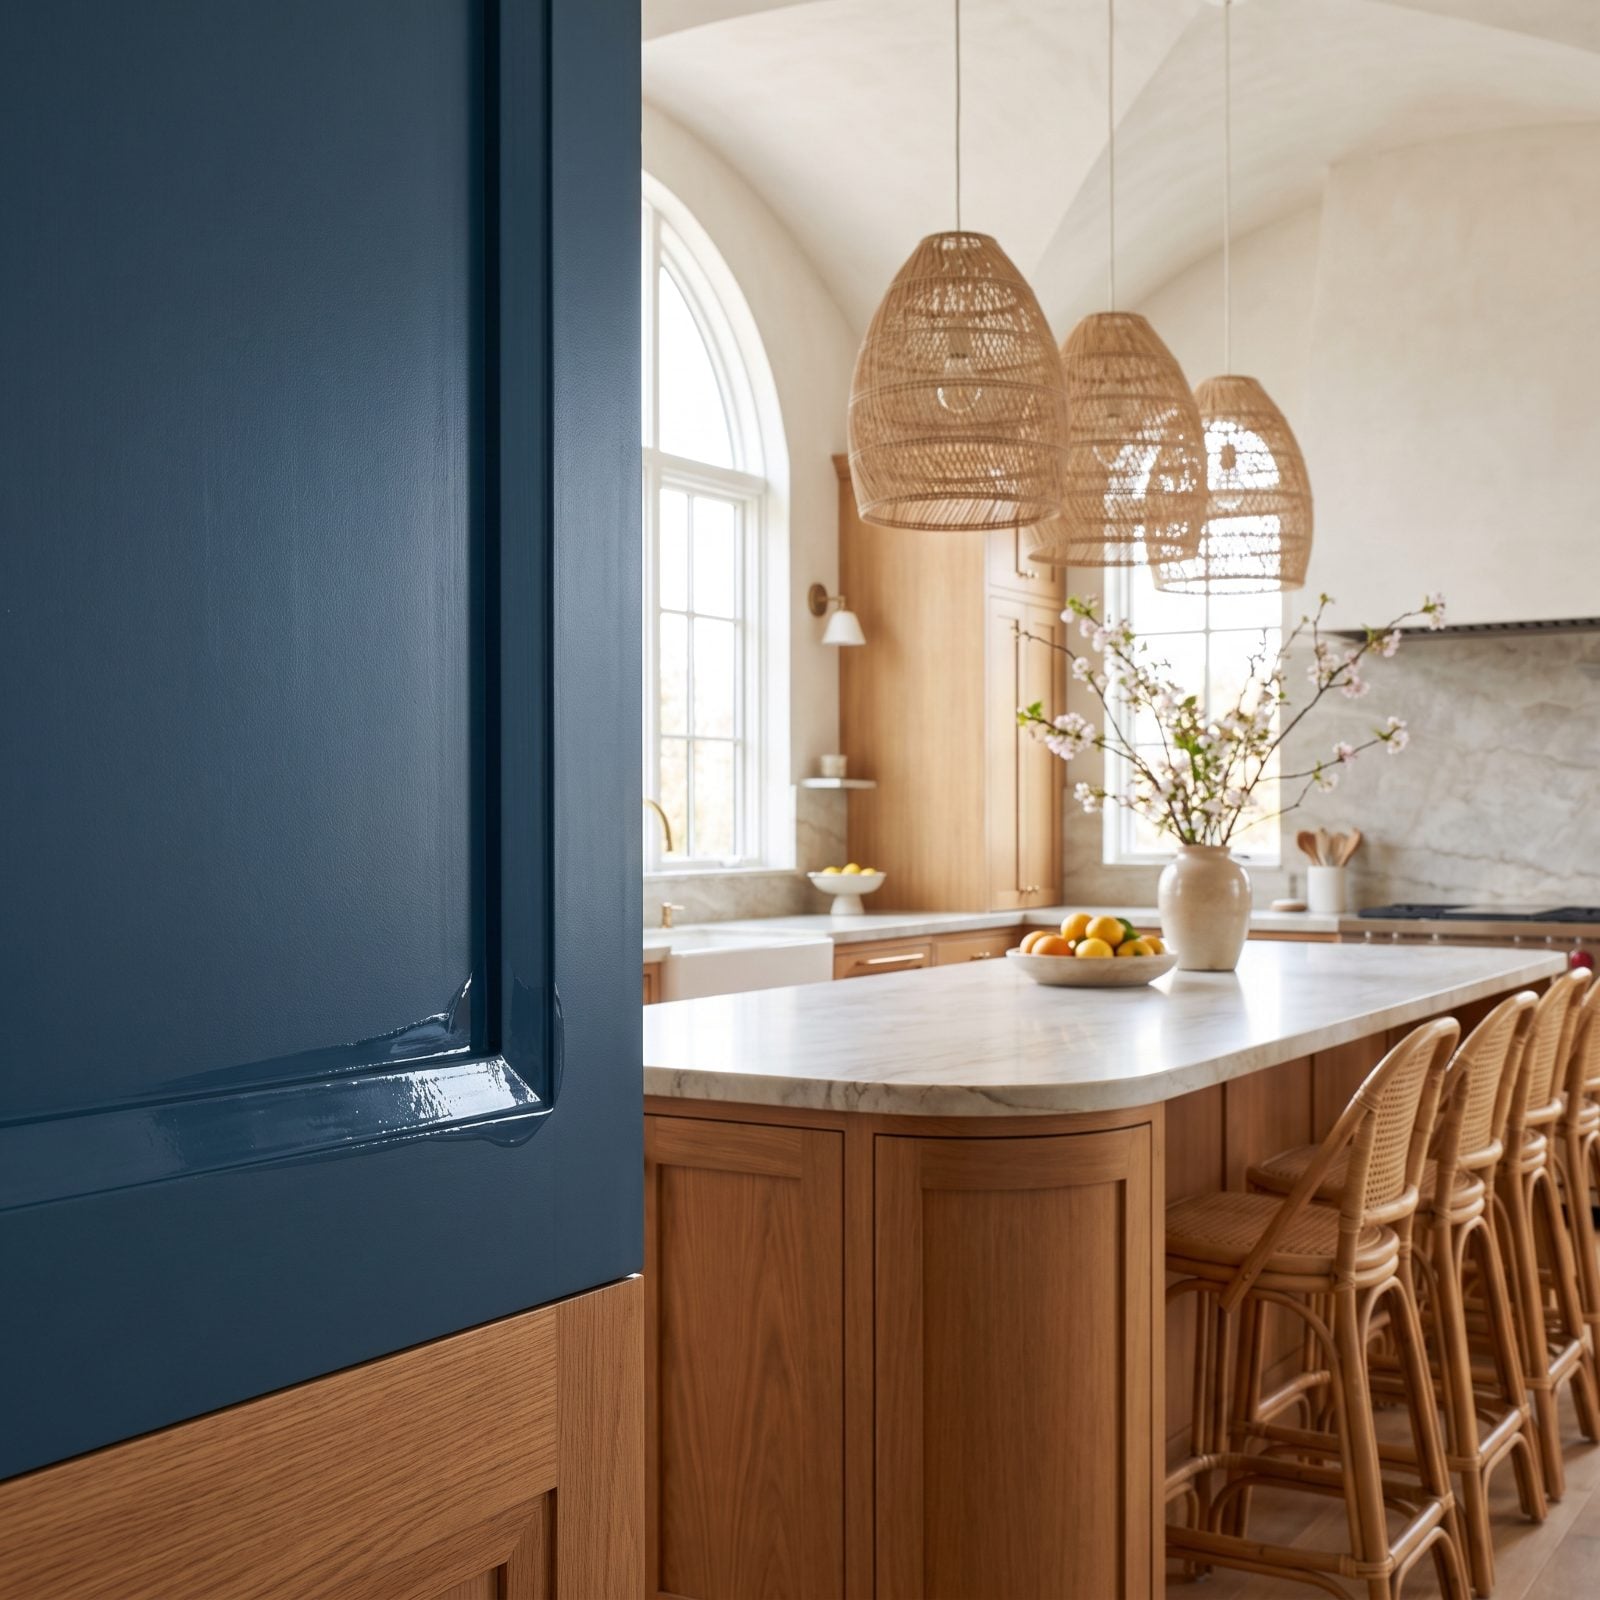
Shaker doors are mostly right angles, and paint loves to collect in every one of them. Brush or spray too much into those inside corners and it pools, wrinkles, and dries into a shiny ridge that grabs your eye the moment the door swings onto its hinges.
Hit the profiles and corners first with a light pass, then feather the excess out onto the flat before it can gather. A dry chip brush, or a quick swipe with a detail brush, pulls the pooled paint right out of the recess.
1. Treating Dry-to-Touch Paint Like It’s Fully Cured
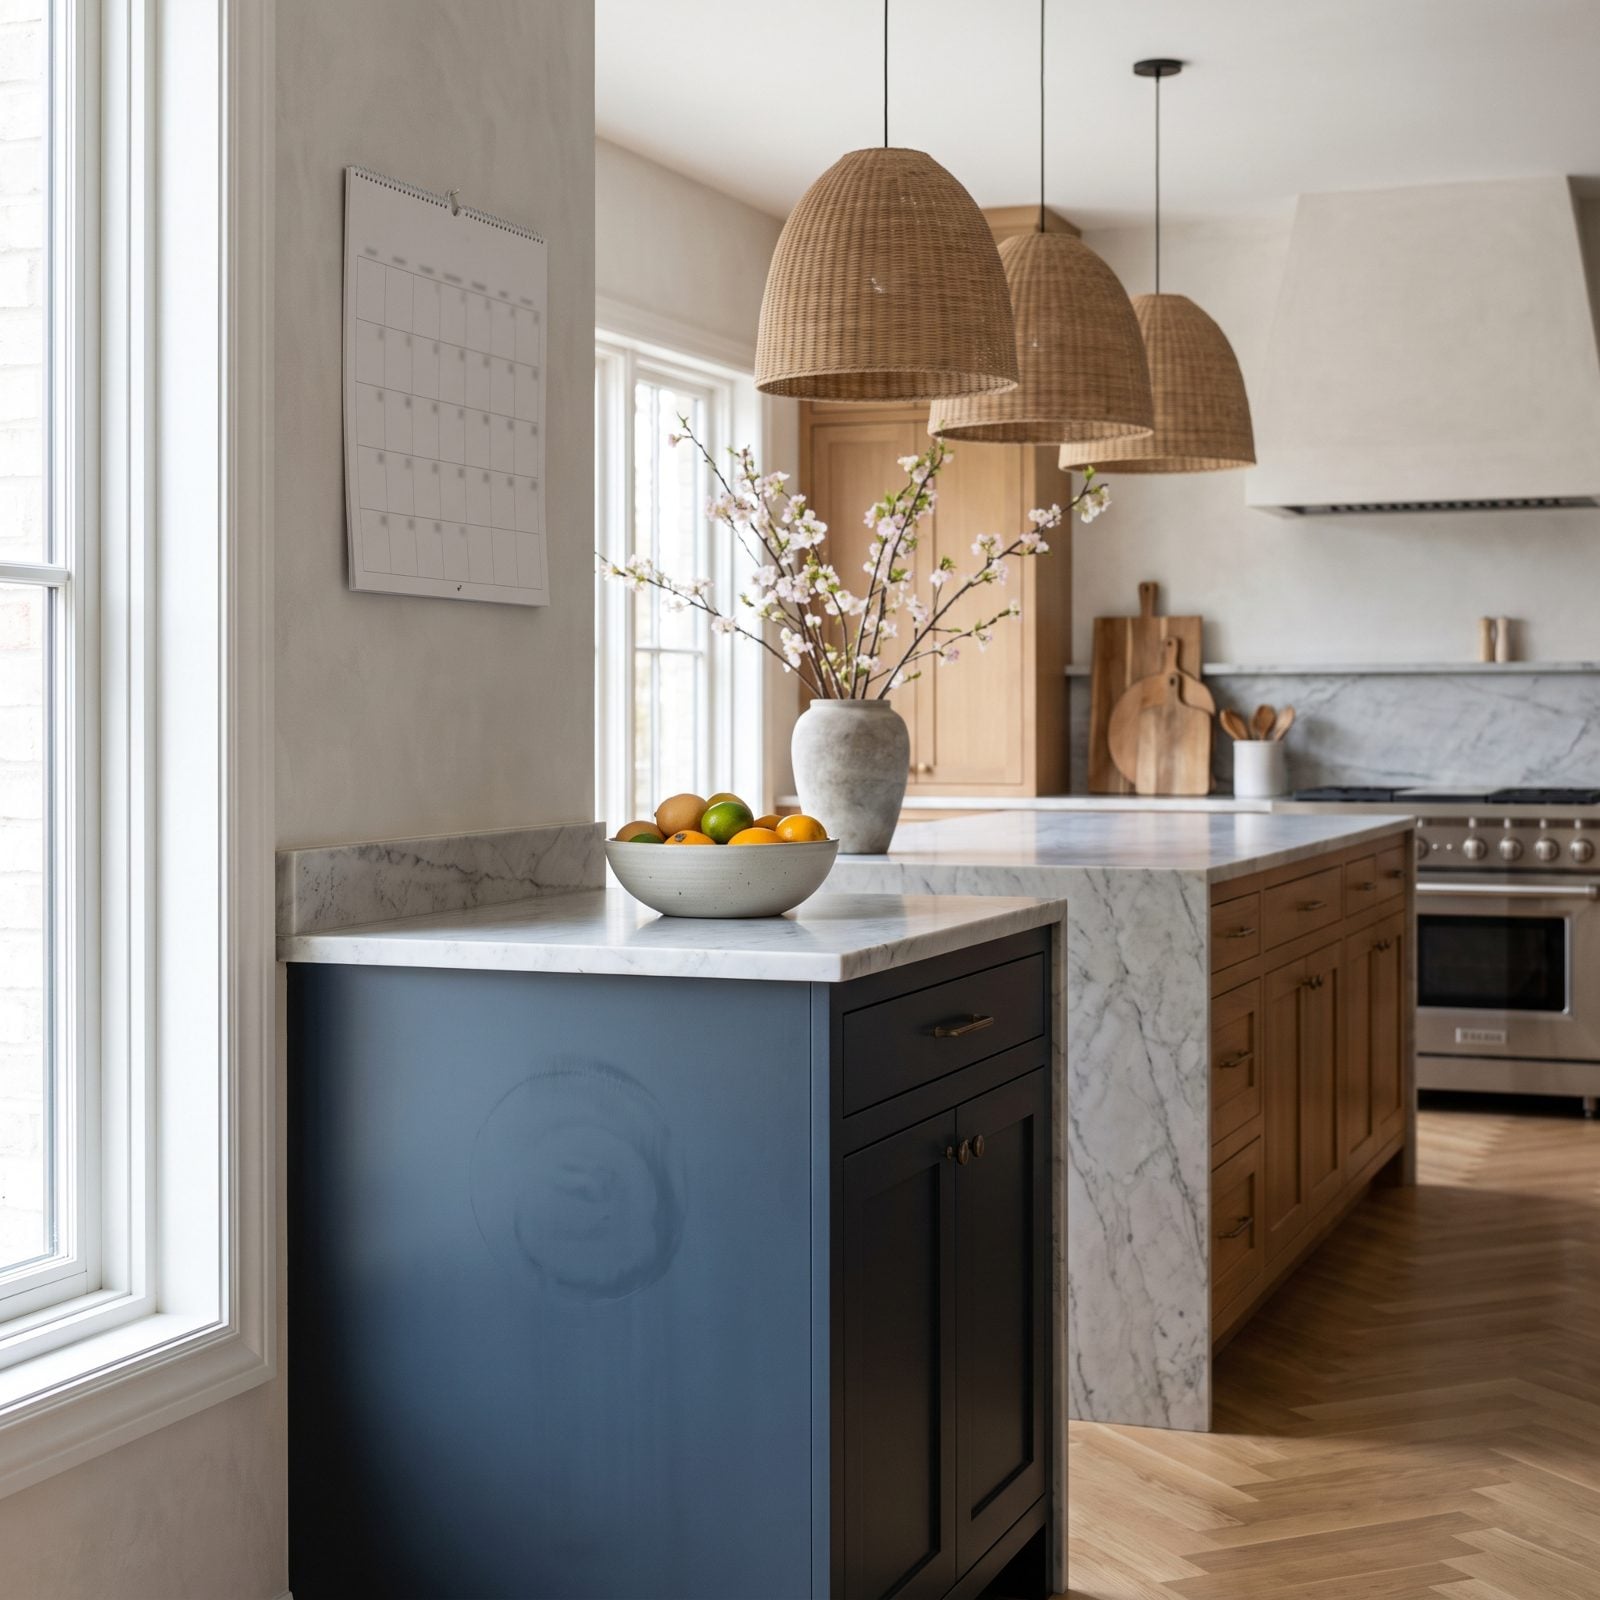
Dry to the touch and fully cured are weeks apart. Waterborne enamel feels hard in a day but keeps hardening for a few weeks as the film crosslinks, and rushing it gets you door edges that stick together, felt bumpers welding themselves to the finish, and fingerprints pressed into what looked done.
Let doors hang or lay flat without stacking, and go easy on them. No slamming, no scrubbing, no packing dishes back in on day two.
The best cabinet job I’ve seen was ruined in one afternoon by someone loading the pantry back up before the paint had a week to harden.
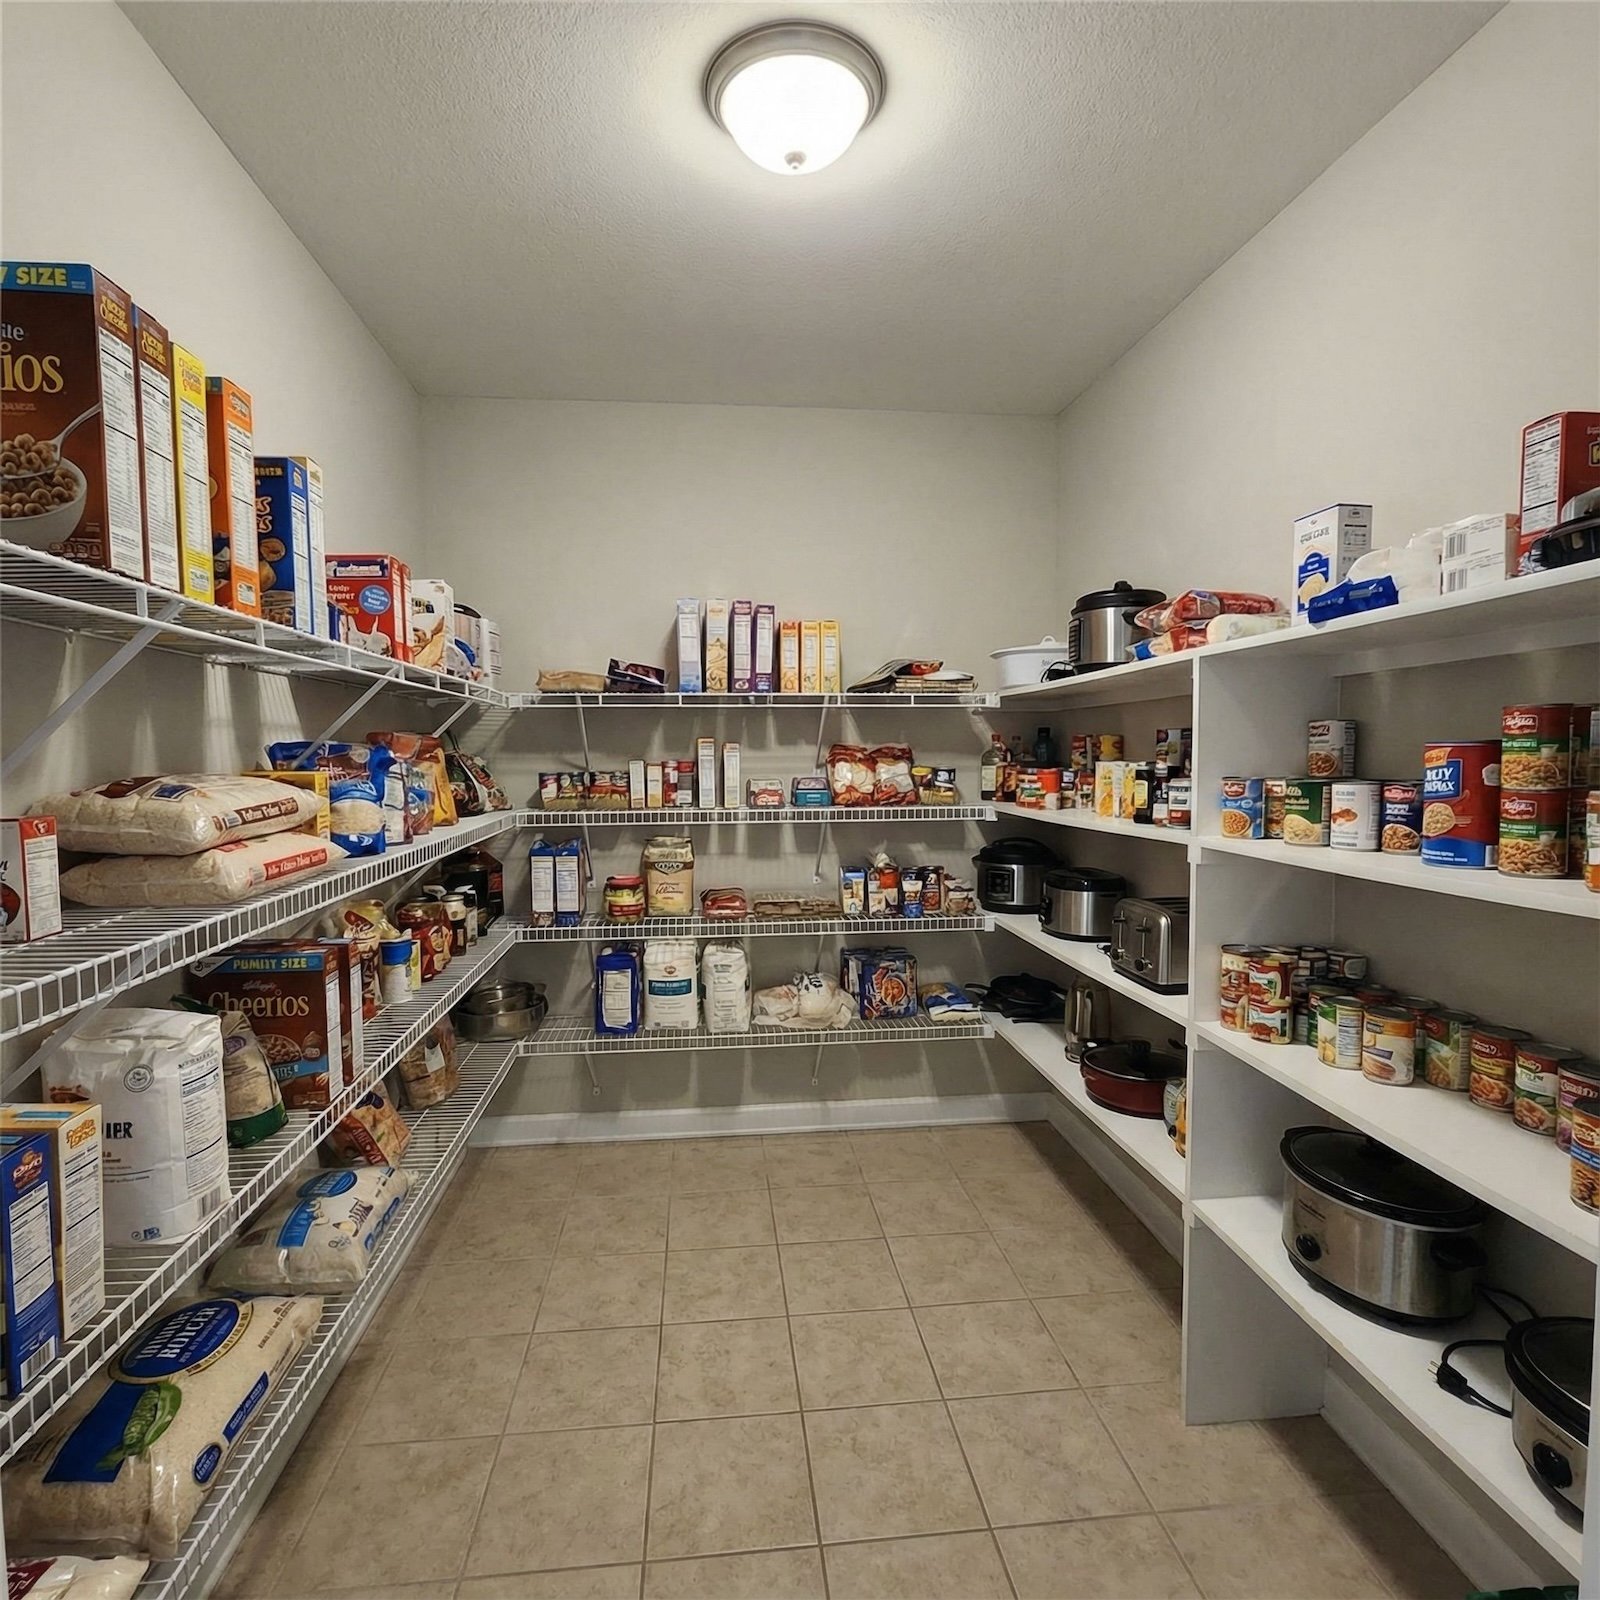
Patience is the last coat, and it’s free. It’s the whole difference between a real vintage pantry makeover and one that chips at the first tug of a drawer. Alright — go find something else to do for two weeks.