🔥 Would you like to save this?
Every December one house on the block makes everyone slow down, and not in a good way. Lights fighting each other, cords swinging in the wind, a roofline that stops three feet short of the corner for no reason anybody can explain. Most of these disasters aren’t about taste. They come down to ten small decisions made in the cold with numb fingers and a staple gun. Fix them before you climb the ladder, and your house stops being the cautionary tale.
Mixing Warm White and Cool White Lights Without Realizing How Different They Look
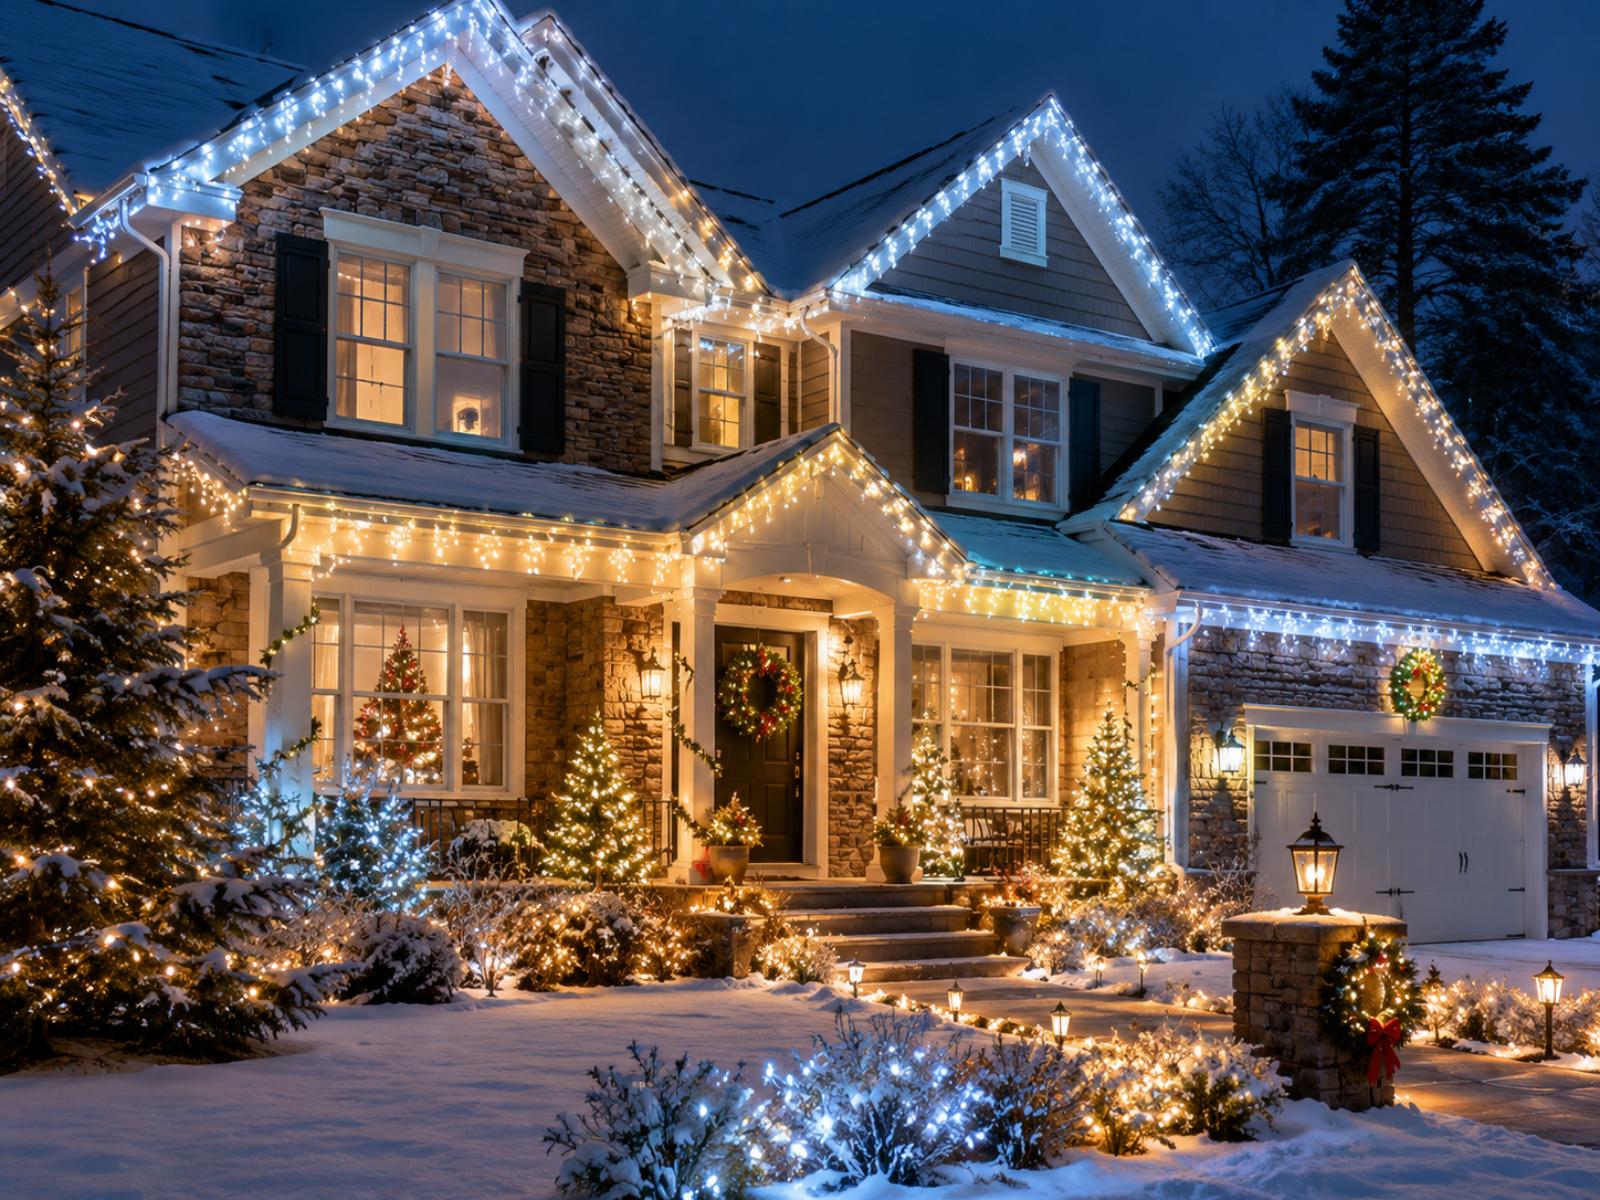
This one gets people every year because the boxes look identical in the store. “White” is not a color. It’s a whole argument. Warm white sits around 2700K and glows like candlelight, while cool white runs 5000K and up and reads like a parking lot at 2am.
In order to come up with the very specific design ideas, we create most designs with the assistance of state-of-the-art AI interior design software. Also, assume links that take you off the site are affiliate links such as links to Amazon. this means we may earn a commission if you buy something.
Mix them on the same house and your eye catches the seam instantly. Half your roof looks cozy, half looks like a walk-in freezer. Pick one temperature and commit. Warm white flatters brick, wood, and anything with a bit of history. Cool white can work on stark modern facades, but it’s a bold choice, not an accident.
Using Five Different Types of Lights on the Same House
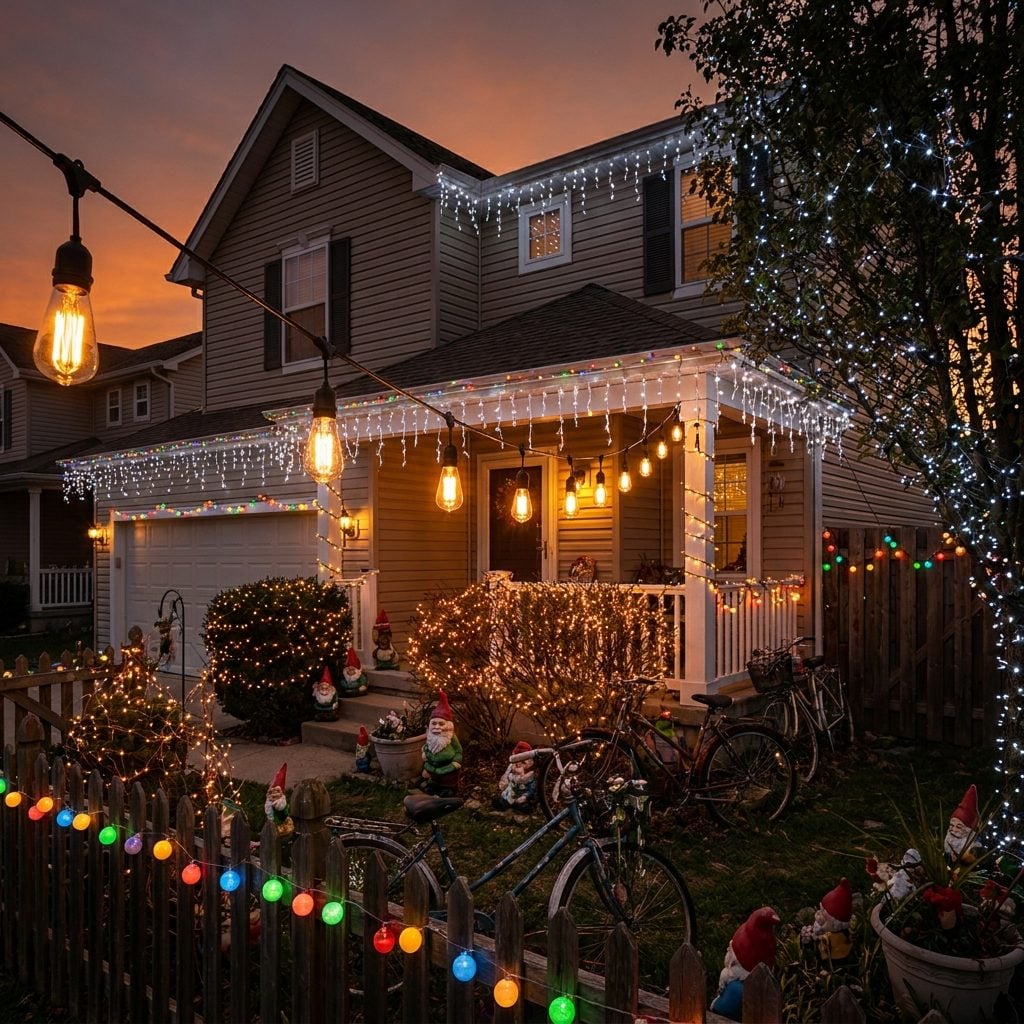
Fat C9 bulbs on the roof, fairy lights on the windows, icicle drips over the porch, a net light thrown at a bush, rope light spiraled up a column. Each one is fine on its own. Together they look like a clearance bin threw up on your house.
Good outdoor lighting works like a good outfit, where you repeat a shape, a size, a rhythm and give the eye something to grab onto. When every surface speaks a different language, there’s no melody, just noise.
Pick two bulb styles, tops. One for the big structural lines, one accent for detail. That’s the whole rule.
Outlining Every Single Edge Until Your House Looks Like an Airport Runway
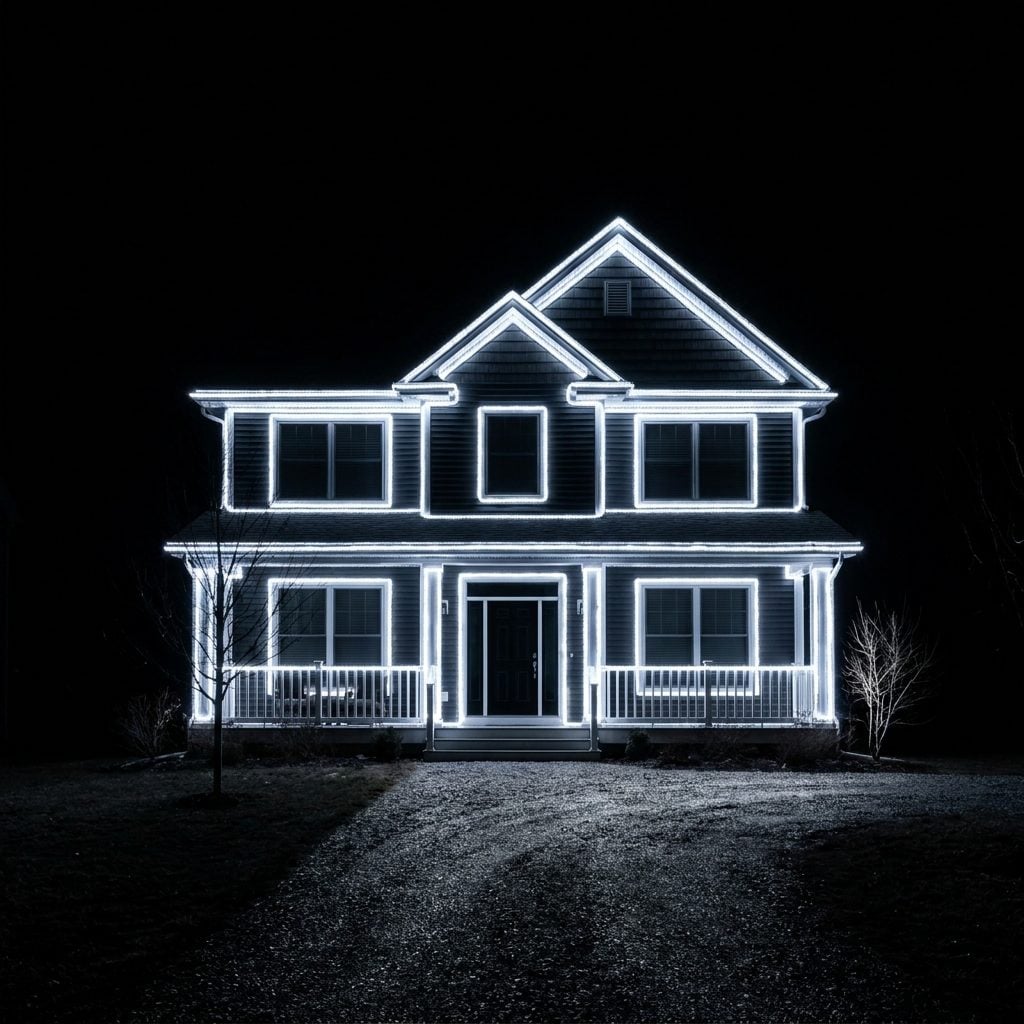
There’s a moment where holiday lights tip from festive into an air-traffic-control situation, and it happens when you outline everything. Roofline, sure. But then the windows. And the door. And the garage. And the corner boards. And the downspouts.
Now your house is a glowing wireframe, a coloring book that got filled in with a single marker. The building disappears under the outline, and nobody can tell where the pretty part is because it’s all lit up equally.
Restraint reads as taste. Light the roofline OR the windows, not both plus everything else. Let some parts stay dark so the lit parts mean something.
Hanging Lights Without Checking That Every Strand Works First
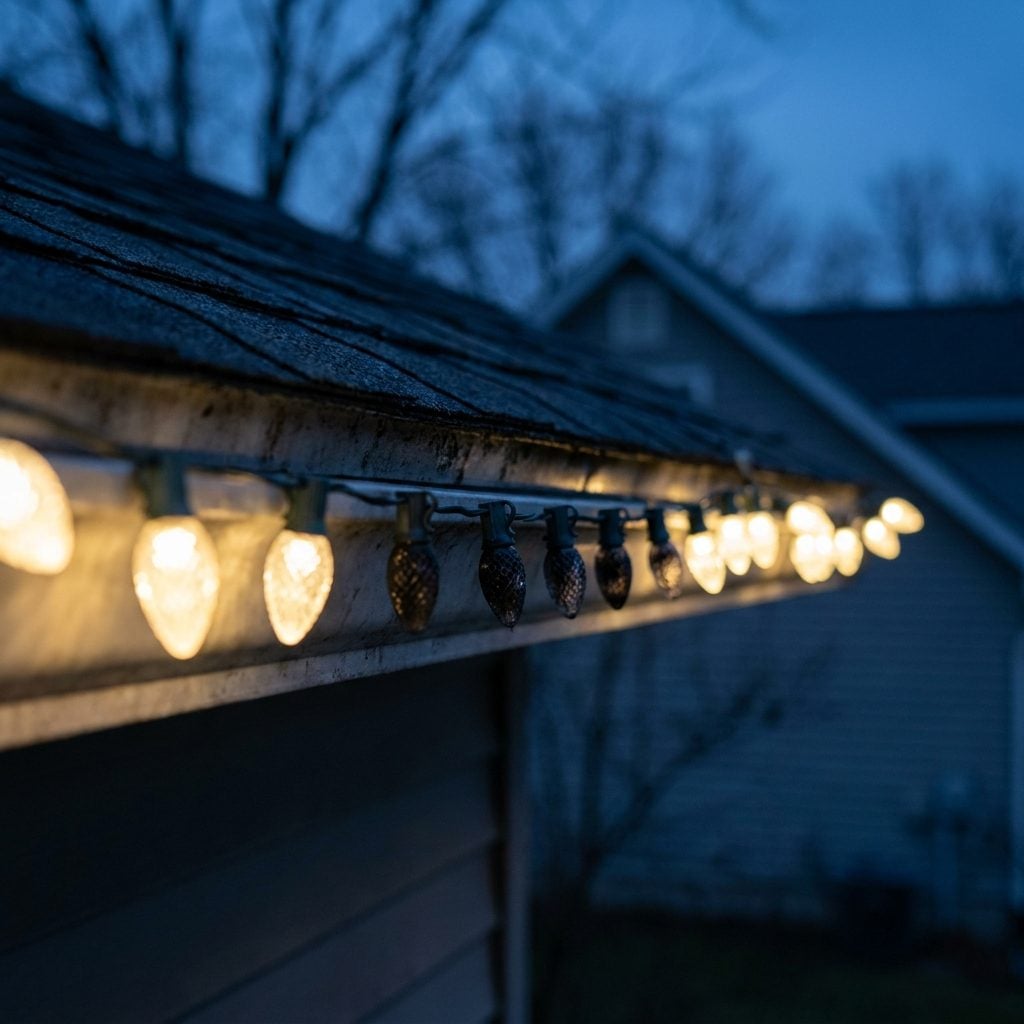
You climbed the ladder. You stapled the whole run. You plugged it in. And there’s a three-foot dead spot right in the middle of the roofline, exactly where you can’t reach without hauling the ladder back out in the dark.
I’ve done this. Every year the box from last December has at least one strand that died in storage. Test everything on the ground first, plugging in each strand and checking each section, then replace the dead ones before a single staple goes in. Ten minutes on the driveway saves you an hour of teeth-gritted ladder work later.
Using Too Few Lights and Leaving Awkward Dark Gaps
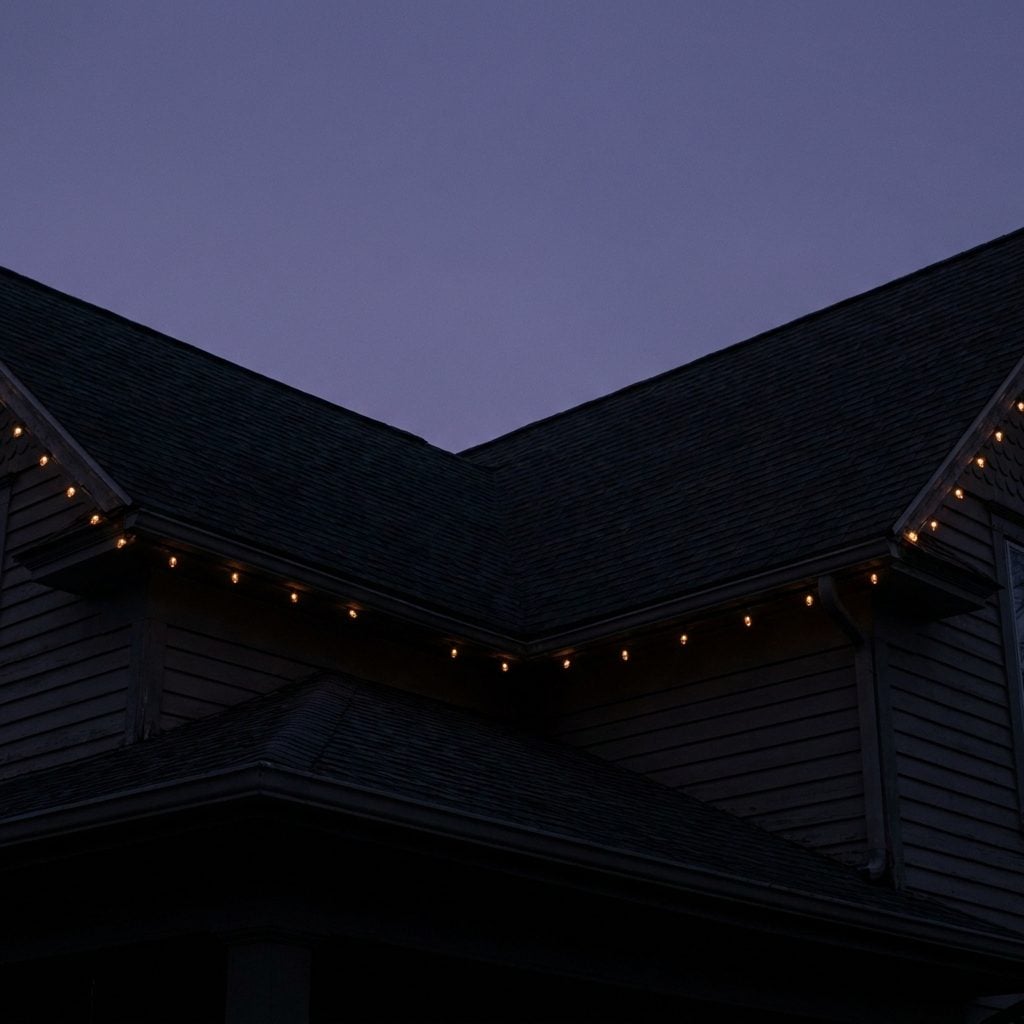
Nothing says “I ran out of budget in November” quite like a roofline with lights spread thin as a comb-over. Big dark gaps between bulbs. A strand pulled taut trying to cover twice the distance it was made for.
Sparse lights don’t read as minimalist. They read as unfinished, because the eye fills in the dark spaces and takes them for absence rather than intention.
Measure your runs before you buy. Then buy more than you think you need, because you’ll always want a denser line than the strand delivers.
Using So Many Lights That You Completely Lose the Shape of the House
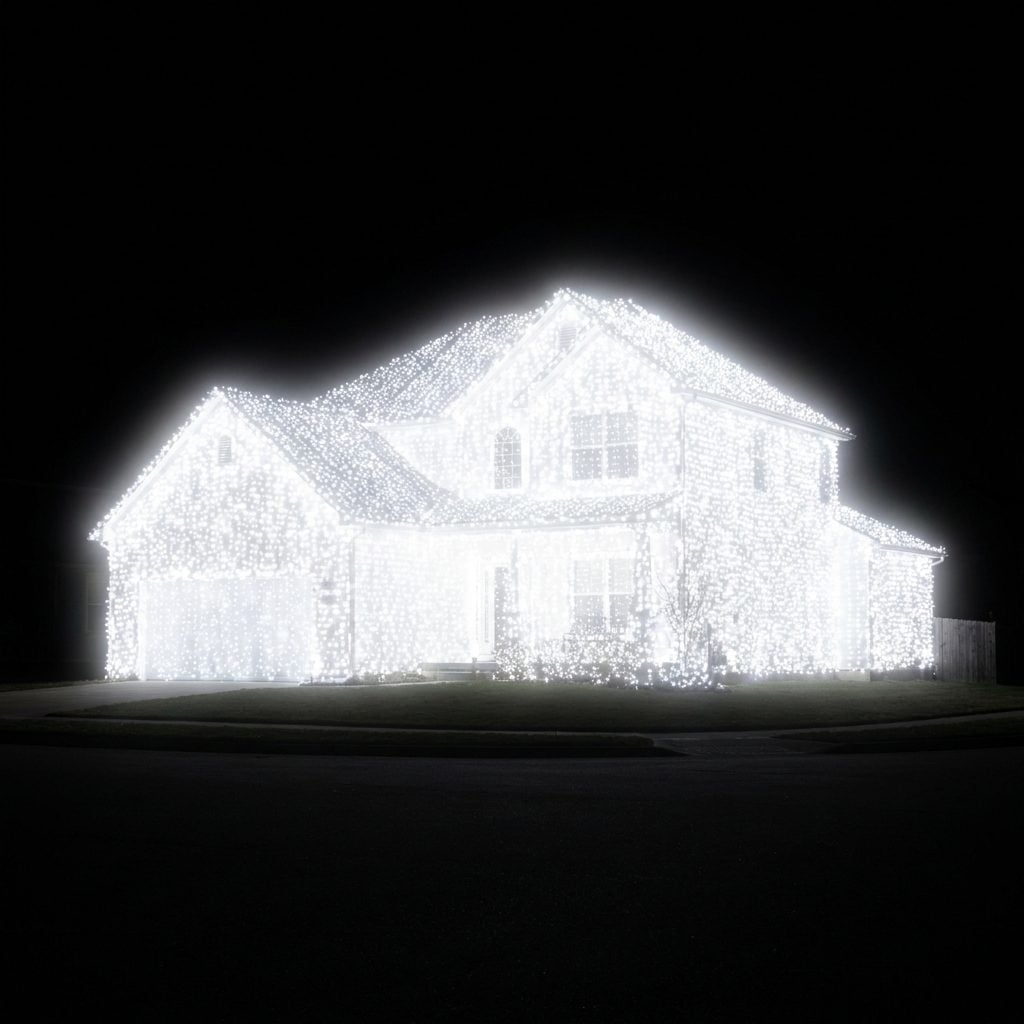
The opposite failure, and just as bad. Past a certain point, more lights stop adding cheer and start erasing the house entirely, until the rooflines blur and the windows vanish and you’ve built a glowing haystack where a home used to be.
The best-lit houses are the ones where you can still read the architecture at night. The lights trace the good bones. They don’t bury them.
Stopping a Roofline Strand Before the Corner and Leaving an Obvious Dark Gap
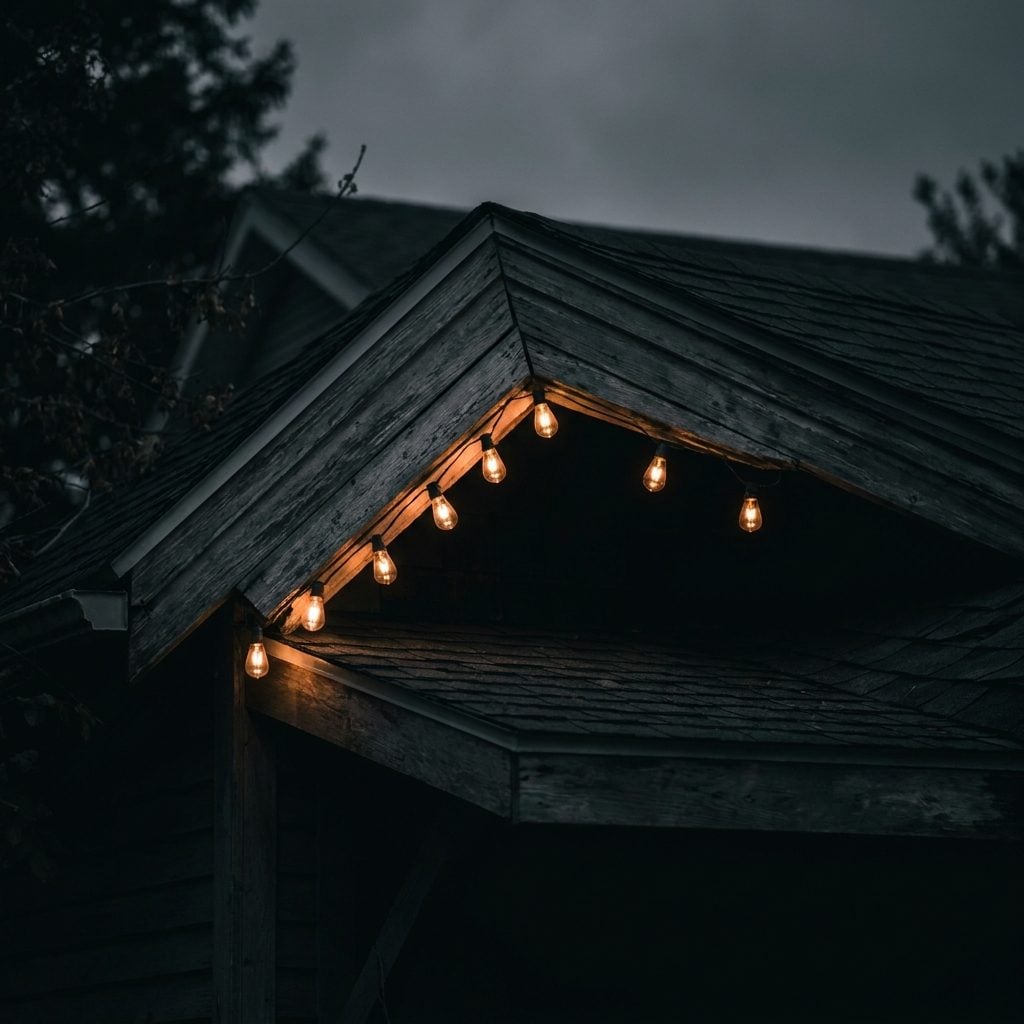
A tiny mistake that ruins the whole thing. The strand runs beautifully along the main roof, then stops eighteen inches shy of the corner, and that last little dark stub is all anybody sees.
Corners are where the eye naturally lands, because that’s where the line changes direction. A gap there reads as a slip even from the street. Run the light all the way to the edge, wrap the corner, and let it die where the roof actually ends. Buy the extra foot of strand. Cheapest fix on this whole list.
Letting Extension Cords Dangle Down the Front of the House
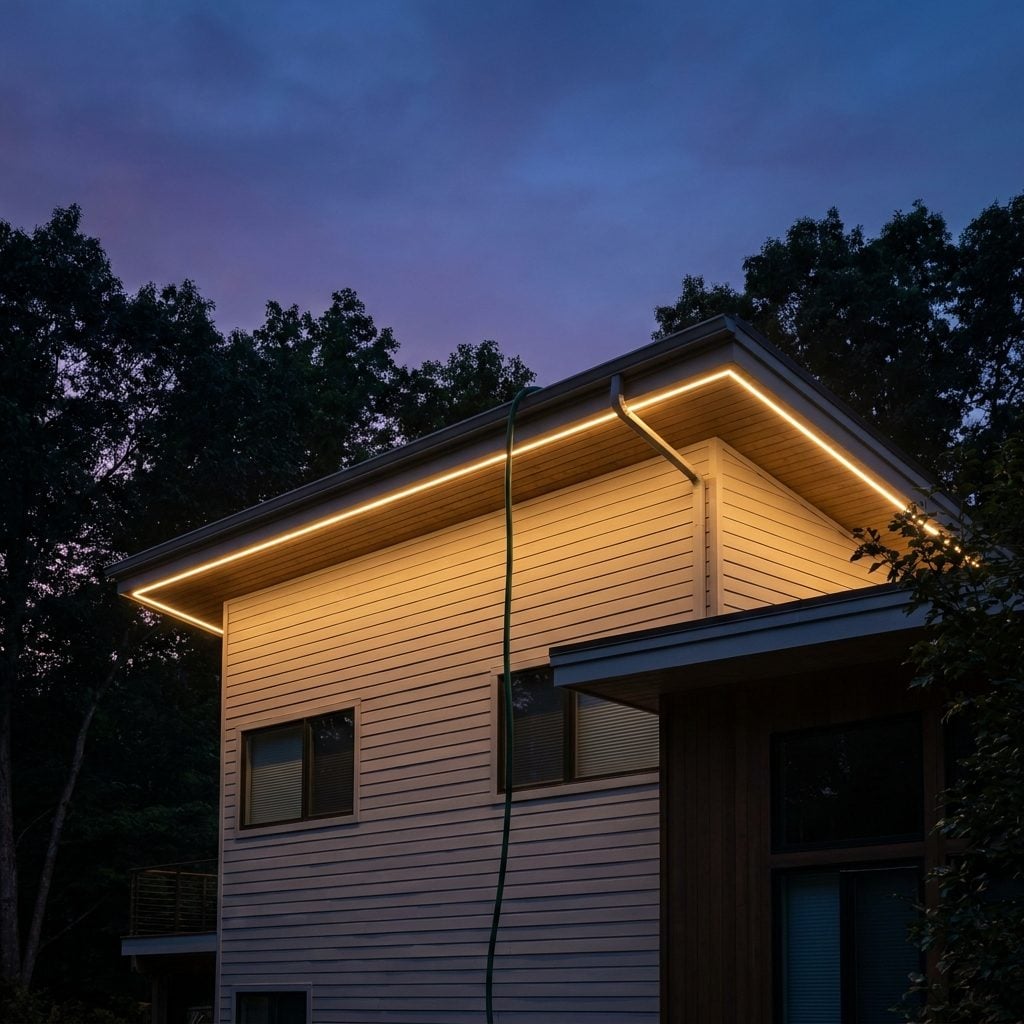
You spent an hour getting the roofline perfect, and then a fat green cord swings straight down the middle of the house to reach the outlet. Every neighbor’s eye rides that line right to the ground.
Cords should be invisible, or close to it. Run them along the gutter, tuck them behind a downspout, drop them down a corner where trim hides them. A cord that follows an existing vertical line disappears, while one dangling free in open siding announces itself.
Running Bright Extension Cords Across Siding Where Everyone Can See Them
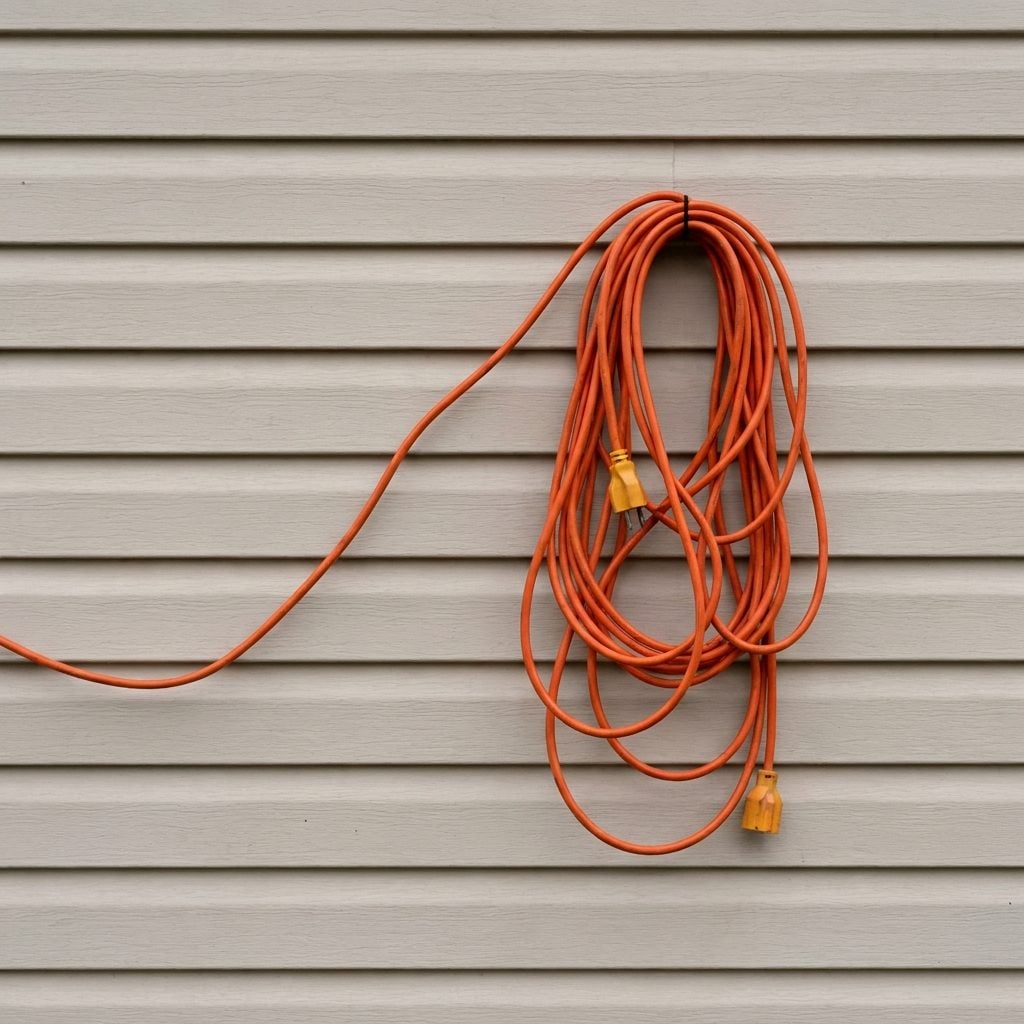
Bright orange contractor cord across pale siding is a crime scene. That cord is built to be seen on a job site so nobody trips on it, which is the exact opposite of what you want on the front of your house.
Color matters. Green cords vanish against shrubs and dark trim, and brown or white cords disappear against siding and fascia. Match the cord to whatever it crosses. And run them in straight, deliberate lines, never a lazy diagonal that screams afterthought.
Using Indoor Extension Cords Outside
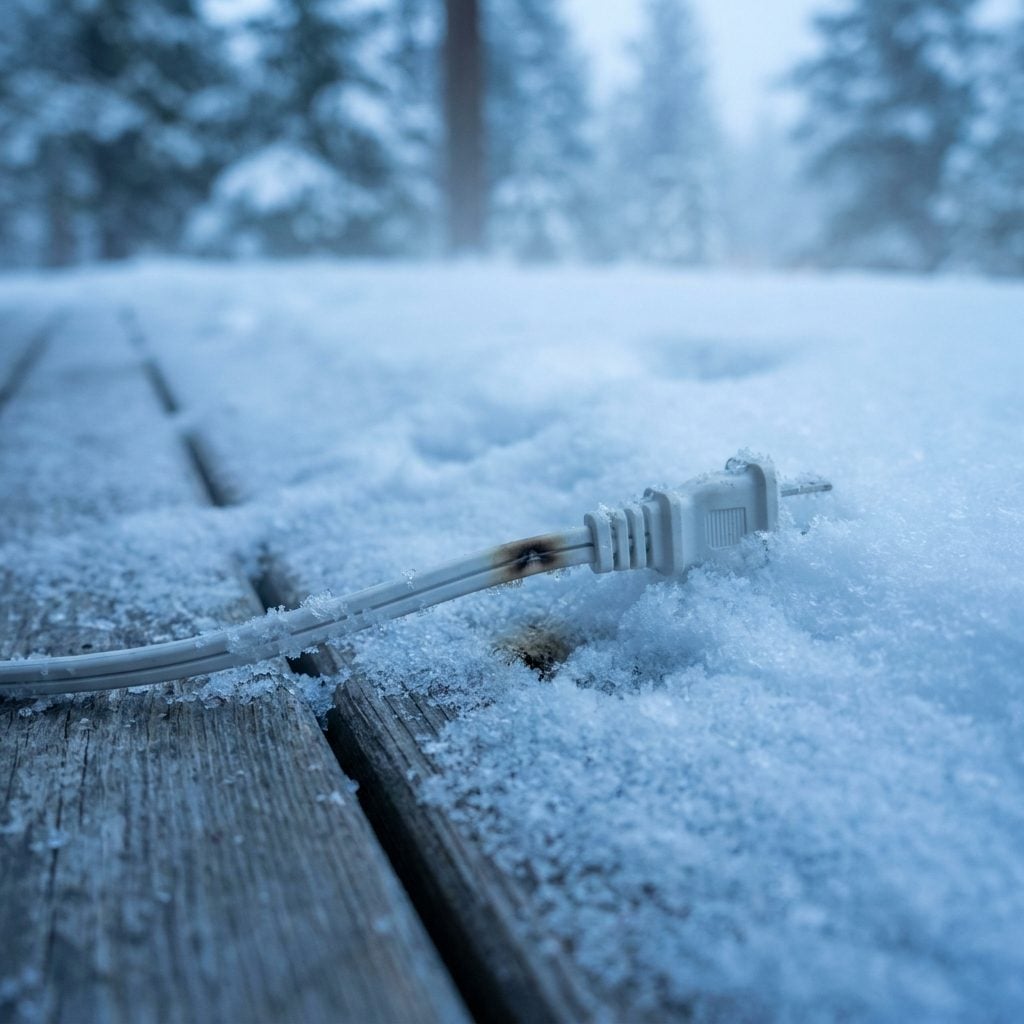
This one isn’t about looks. It’s about your house not catching fire.
Indoor cords, the thin flat ones meant for a lamp, aren’t rated for cold, wet, or the load a light display pulls. Water gets in. The insulation cracks in the freeze. You’ve turned a holiday display into a genuine hazard, and the outlet under the front door tells everyone you cut a corner.
Use outdoor-rated cords marked for exterior use, keep the connections up off wet ground, and cap any exposed plug junction. Boring advice. The kind that keeps your house standing to light up again next year.
Connecting More Light Strands Than the Manufacturer Recommends
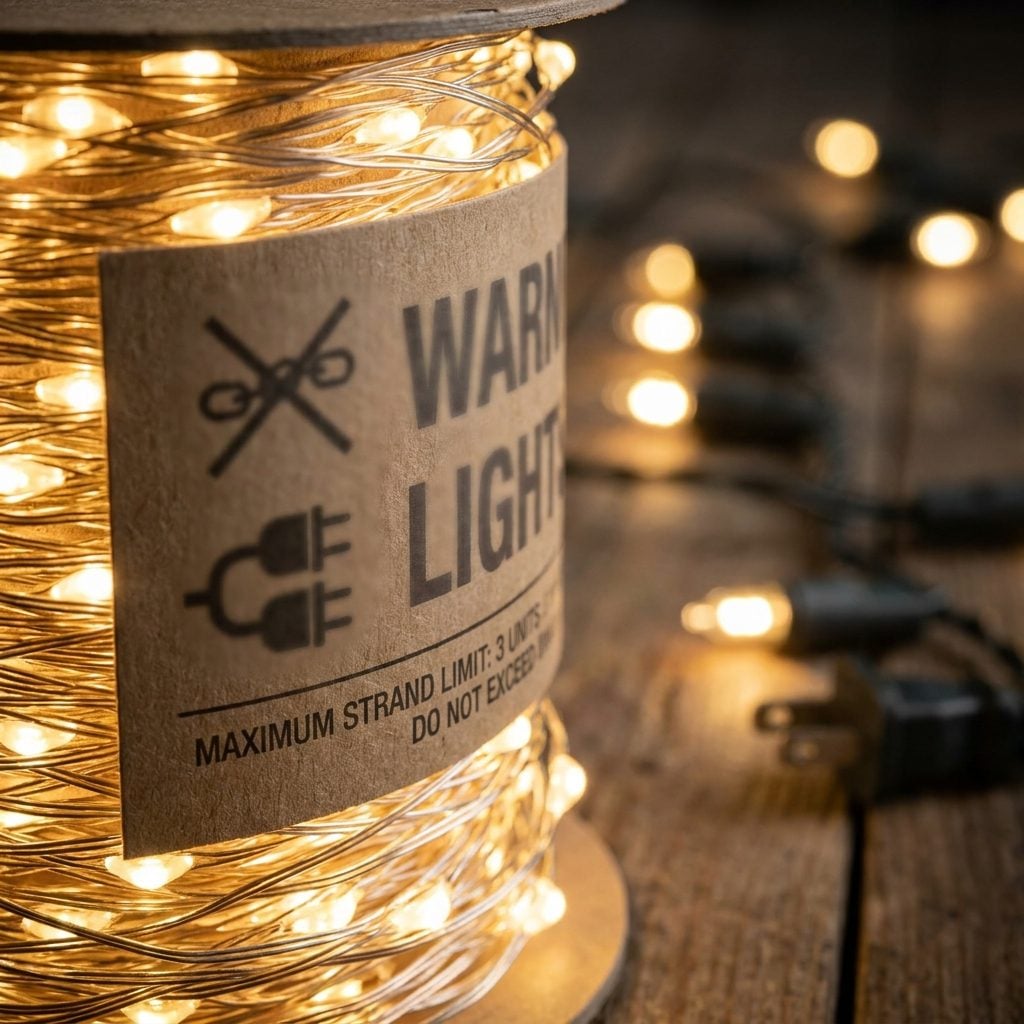
The box tells you the maximum number of strands you can safely link, and that little printed number is not a suggestion. It’s the point where the wire gauge stops carrying the current and the plug at the far end starts running warm.
String six sets when the label says three, and you’ve built yourself a slow-motion problem. Dimming bulbs at the end of the run are the first tell. A warm connector is the second. And the third? A tripped breaker on a freezing December night, in the dark, in your socks.
Newer LED strands let you chain far more together because they sip power instead of gulping it. Still running old incandescent minis? Respect the limit or switch. Your future self, standing outside with a headlamp, will thank you.
Plugging the Entire Display Into One Outlet and Hoping for the Best
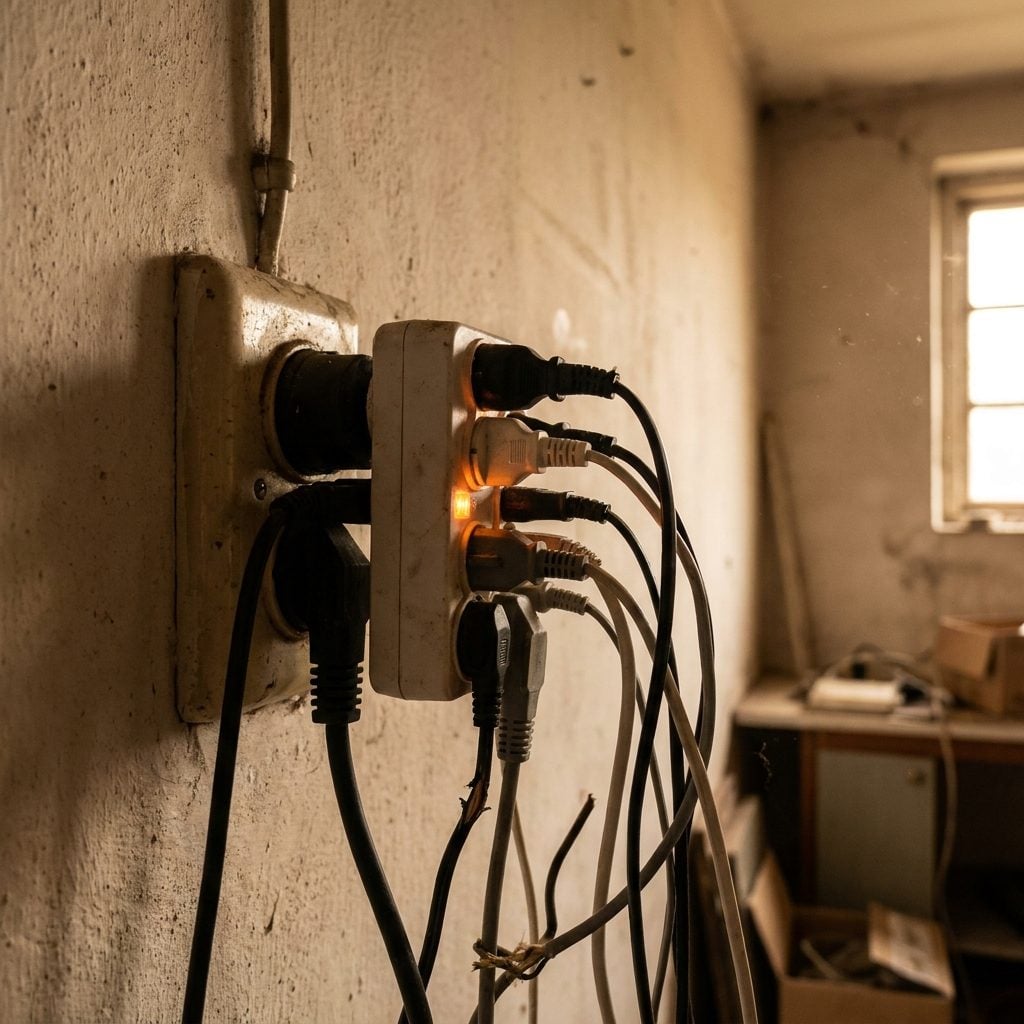
One outlet. Twelve strands. A splitter that looks like an octopus having a bad day. You’ve seen this house.
Every outdoor receptacle sits on a circuit rated for a specific load. Pile the whole display onto a single plug and you’re asking one breaker to power what should be spread across three or four. It works right up until the moment it doesn’t, which is usually the night you have people over.
So map your display before you buy a single splitter. Split the load across separate circuits, run a couple of heavy-gauge outdoor cords to different sides of the house, and let each one carry a fair share. Less elegant to plan, sure. A lot more elegant than a dark yard.
Skipping GFCI-Protected Outlets for Outdoor Christmas Lights
🔥 Would you like to save this?
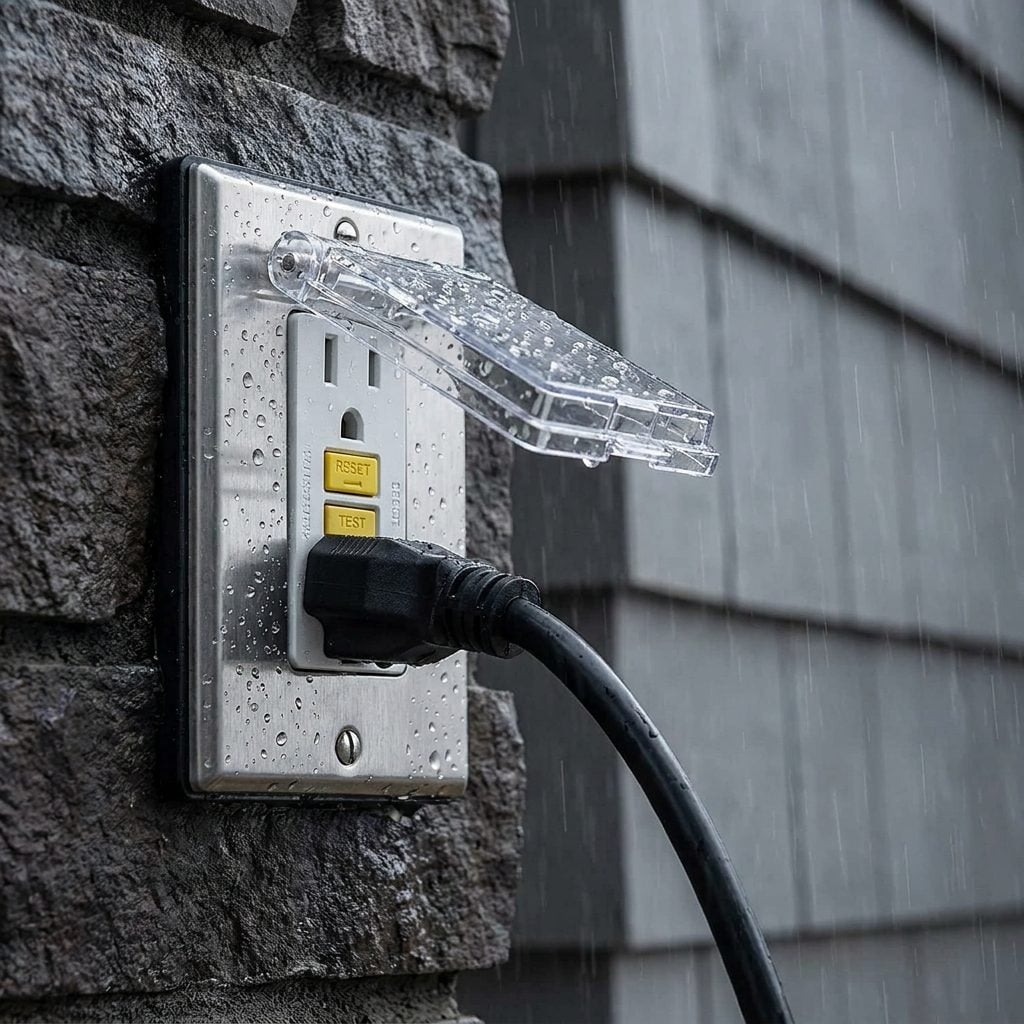
Water and electricity outdoors is exactly why GFCI outlets exist. A ground fault circuit interrupter watches for current going somewhere it shouldn’t, like through you, and cuts power in a fraction of a second.
Plug your holiday display into a regular unprotected outlet and you’ve skipped the one device designed to save your life when rain, snowmelt, or a nicked wire meets a metal downspout. Every outdoor receptacle installed in recent decades should already be GFCI. Older homes often aren’t.
No outlet outside? Use a portable GFCI adapter that plugs in first, then take your cord. It costs less than a nice wreath. Push the test button before you trust it.
Leaving Electrical Connections Sitting Directly on Wet Ground

Snow melts. Sprinklers you forgot to shut off run. Rain pools where the yard dips. And there sits your cord connection, in the puddle, doing its quiet electrical thing.
A connection lying on the ground is the weak point in the whole display, so keep every plug junction off the wet earth. Hang it on a hook, drape it over a fence rail, or seal it inside a small weatherproof connection box made for exactly this.
Here’s a cheap trick that works: loop the two connected cords into a drip loop so water runs down and away from the plugs instead of into them. Elevate, cover, point it downward. Simple habits, dry December.
Using Staples or Nails That Can Damage the Light Wires

Grabbing the staple gun feels efficient. It’s a trap.
A staple driven over a light wire pinches the insulation, and pinched insulation is where shorts, exposed copper, and tiny arc points are born. Nails through wire do the same damage. You won’t spot it from the ground either. You’ll find it next year when a whole section refuses to light.
Use plastic light clips made for the job. They snap onto gutters, shingles, and fascia, hold the wire without crushing it, and pop off in spring without leaving holes. A bag of a hundred costs a few dollars.
- No punctures in your roof or trim.
- No crushed wires waiting to fail.
- Faster takedown, because nothing’s fastened permanently.
Climbing Onto a Wet, Frosty, or Snow-Covered Roof to Hang Lights
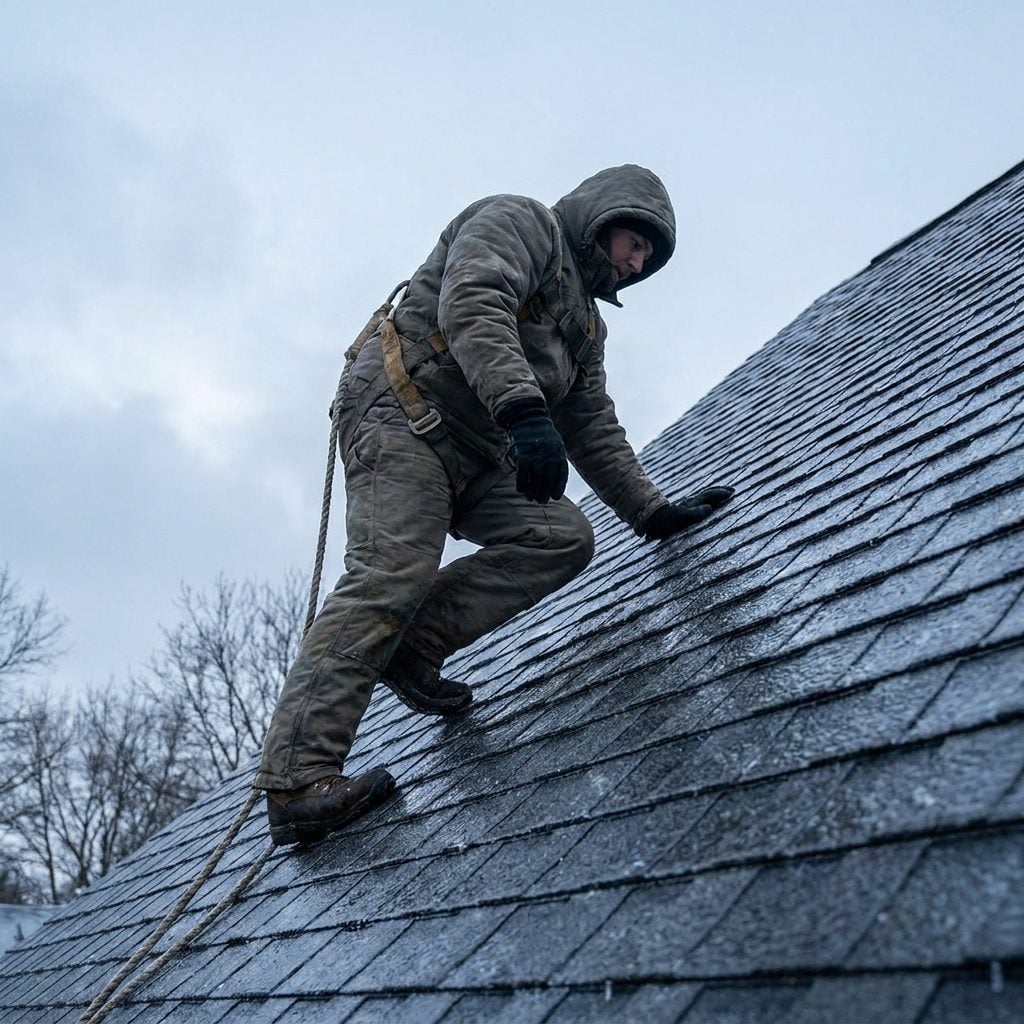
A frosted shingle has roughly the traction of a bowling lane. You do not find this out gradually. You find it out all at once.
Roofs are the single most dangerous part of holiday decorating, and cold weather turns a manageable slope into a slide. Wait for a dry, above-freezing day. Better yet, hang everything from the ground with an extension pole and light-hanging attachments, or clip along the gutter edge from a ladder instead of walking the roof at all.
Nobody driving past can tell whether you risked your neck at the ridgeline or stood safely below. The lights look identical. Your December looks a lot better with all your bones intact.
Leaning a Ladder Against Gutters That Weren’t Designed to Hold Your Weight
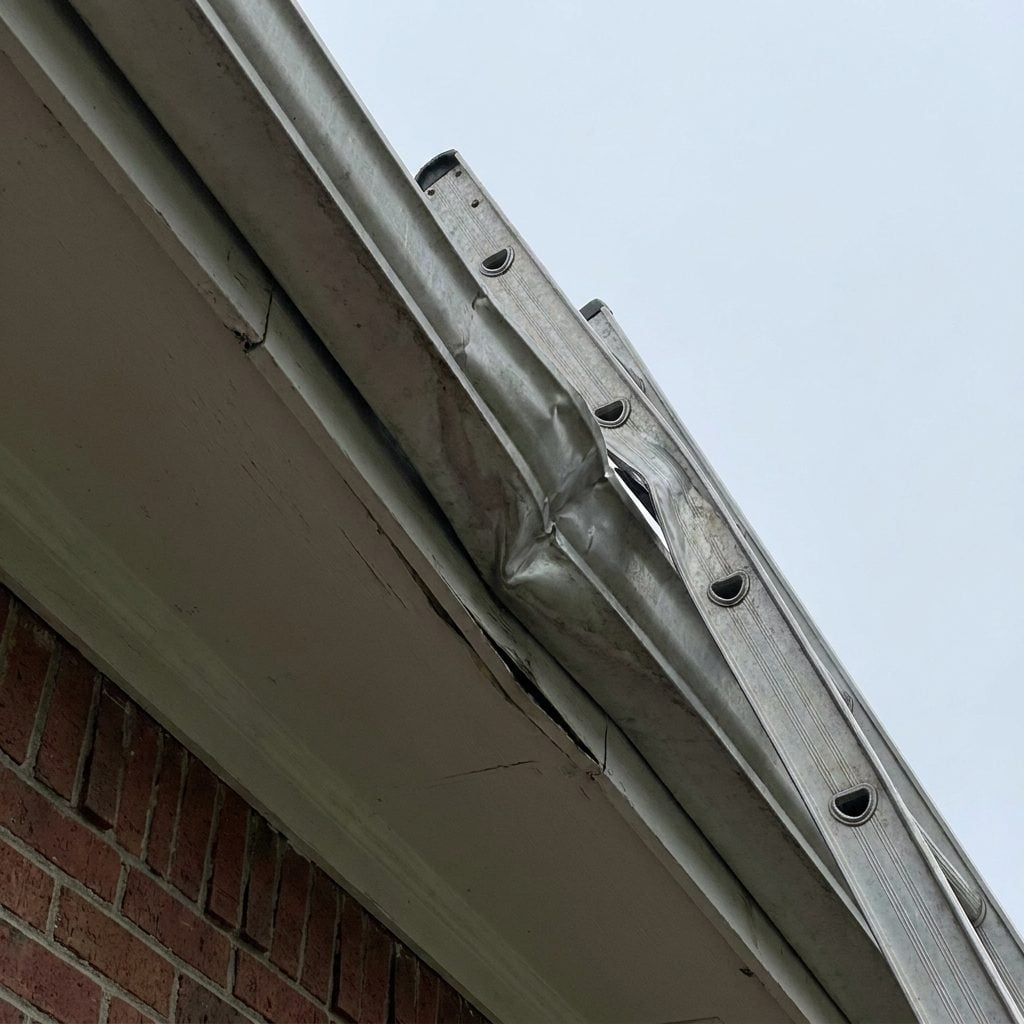
Gutters carry water. That’s the whole job. They’re thin aluminum hung on brackets, and nobody ever engineered them to take a ladder plus a person plus a box of lights.
Lean hard against one and it bends, pulls loose, or crimps just enough to pool water and leak next spring. Worse, the ladder can shift while you’re up there. That’s the part that ends badly.
Use a ladder stabilizer, sometimes called a stand-off, which is a curved bar that clamps to the top of the ladder and rests against the wall or roof edge instead of the gutter. It spreads the load and gives you a wider, steadier base. Twenty dollars keeps your gutter straight and your feet where they belong.
Trying to Hang Second-Story Lights Alone

Second-story work is where solo confidence meets gravity, and gravity wins the argument every time.
Up high, you need someone footing the ladder, handing you strands so you’re not overreaching, and there if something goes wrong. Overreaching is the specific killer. The moment your belt buckle passes the ladder rail, you’re one small shift from a fall.
Get a second person. Not to admire your work, but to keep the base planted and pass you the next section so you never lean out. And if nobody’s around? That’s the day you stay on the first story and call the tall stuff a project for next weekend.
Hanging Lights Before Measuring the Roofline
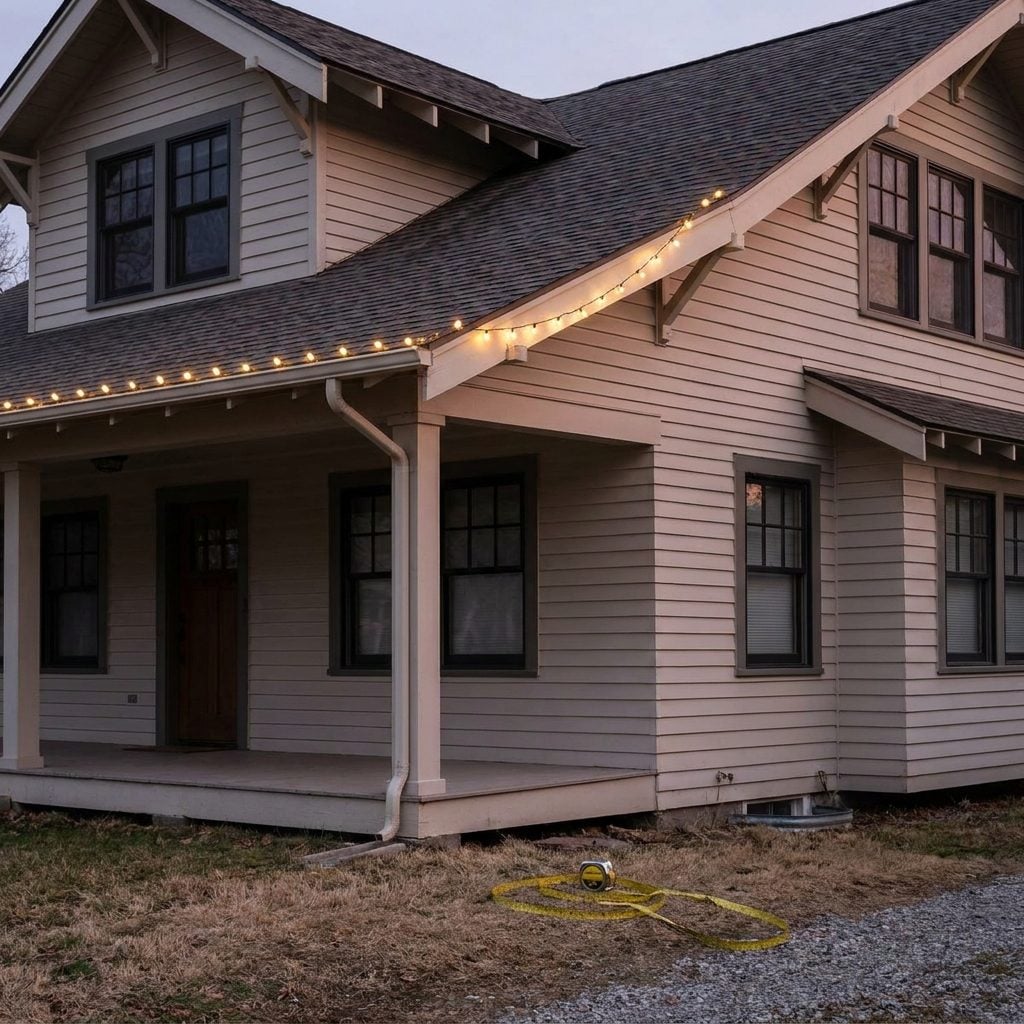
Guessing the length is how you end up with a bright, cheerful strand that stops dead three feet short of the corner. Now the whole front reads as unfinished, and that gap is the only thing your eye goes to.
Measure the exact run you’re lighting before you buy anything. Every stretch of gutter, every peak, every wrap around a column. Add it up, then shop to that number.
A tape measure and five minutes save you a second trip to the store on the busiest shopping weekend of the year, standing in the light aisle trying to remember whether you needed forty feet or sixty.
Buying Exactly Enough Lights With Nothing Extra for Peaks, Corners, and Mistakes
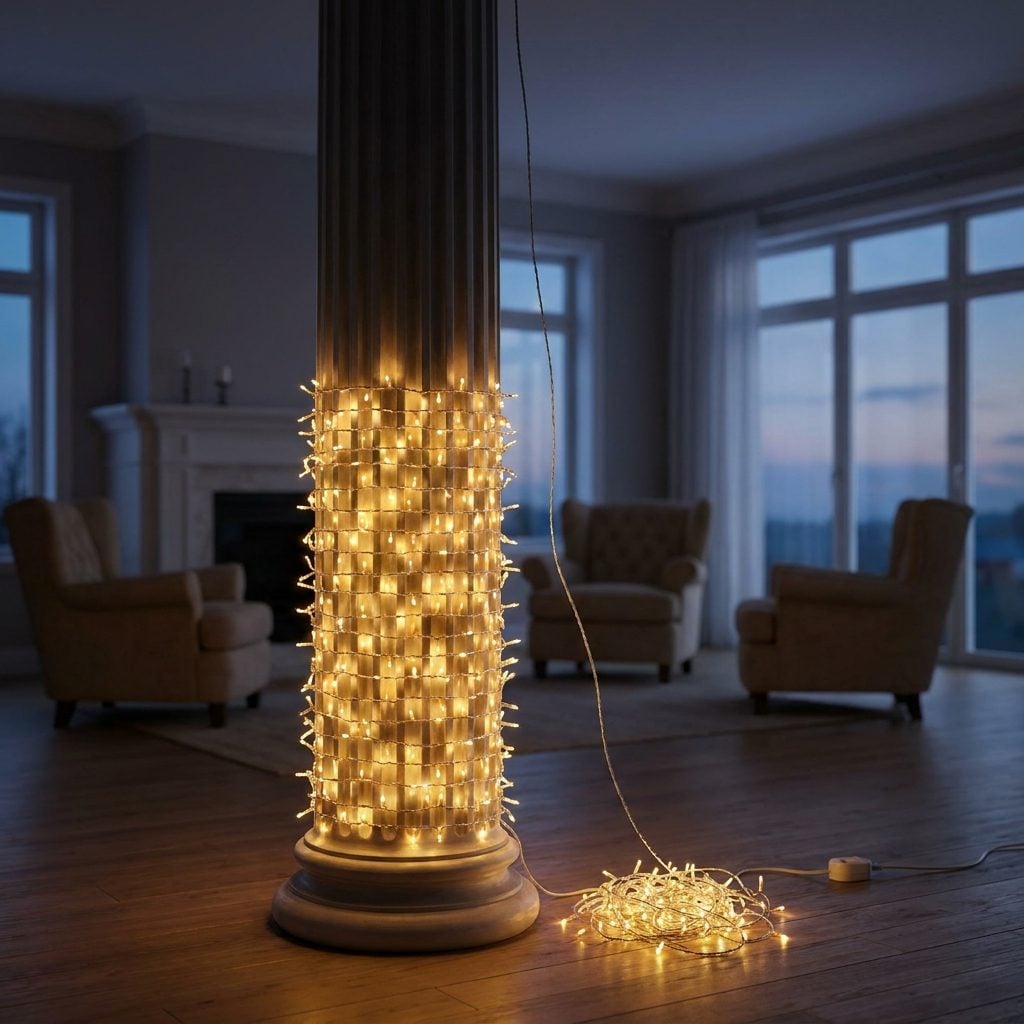
Peaks eat more strand than you think. Corners want extra to turn cleanly. Wraps around columns swallow length by the foot. And a strand will fail on you, usually the one buried in the middle of a run.
Buy a good bit more than your measurement says, roughly a fifth on top. That cushion is the difference between a display that reaches every corner and one that limps to a stop with the front peak left dark.
The spare set matters even more after the holidays. Store your extras with the rest, and when a strand dies mid-December, you’re swapping it in ten minutes instead of driving to a picked-over store.
The best-looking houses on the street aren’t the ones with the most lights. They’re the ones that finished the job, every edge lit, nothing trailing off into the dark.
Starting at the Wrong End and Discovering the Plug Is Nowhere Near the Outlet
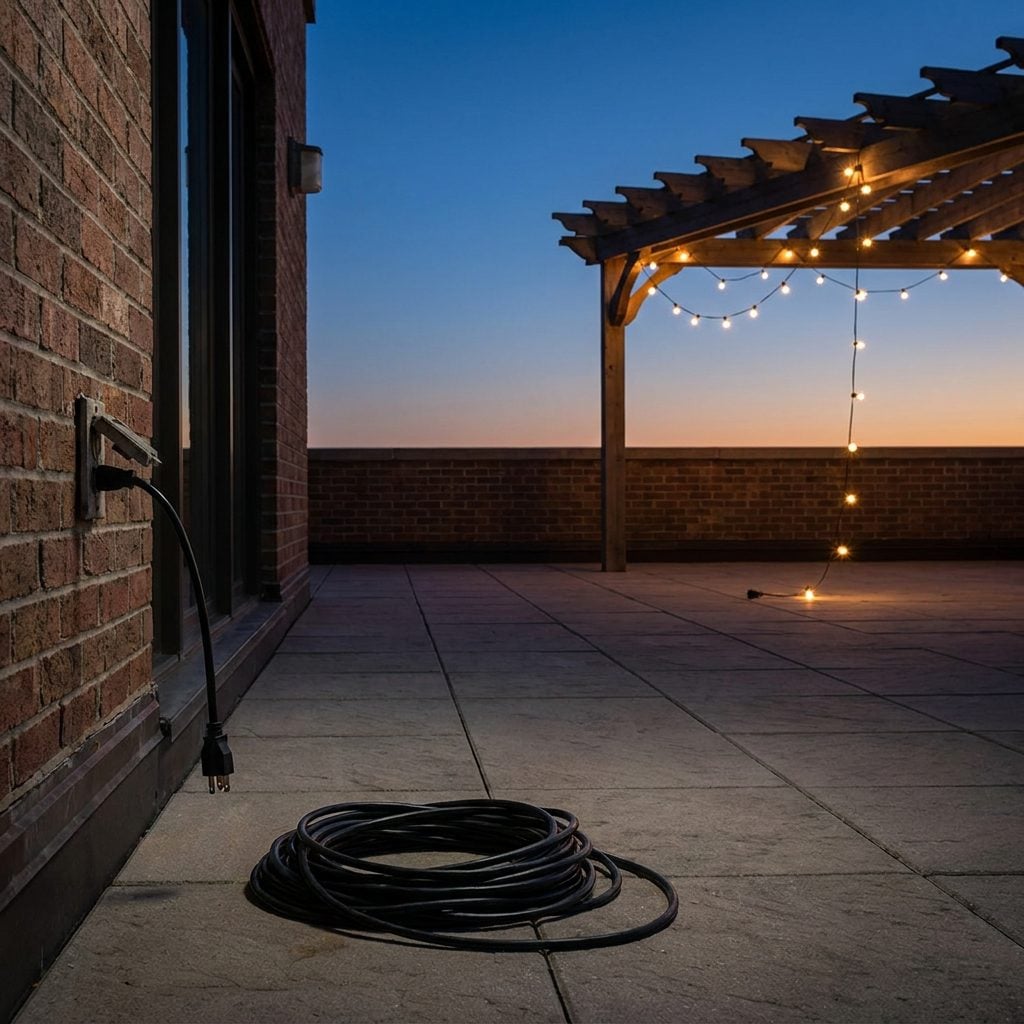
Every string of lights has a male plug on one end, and it needs to reach the outlet. Sounds obvious. You’d be amazed how many people hang the whole run, step back to admire it, and realize the plug is stranded at the opposite corner of the house from the only outdoor outlet.
Now you’re draping an orange extension cord across the porch like a tripwire, or worse, taking the whole thing down to flip it. Plan the plug end before you climb the ladder. Find your outlet, then work outward from there so the connection lands where the power actually lives.
Hanging Icicle Lights Without Straightening Them First
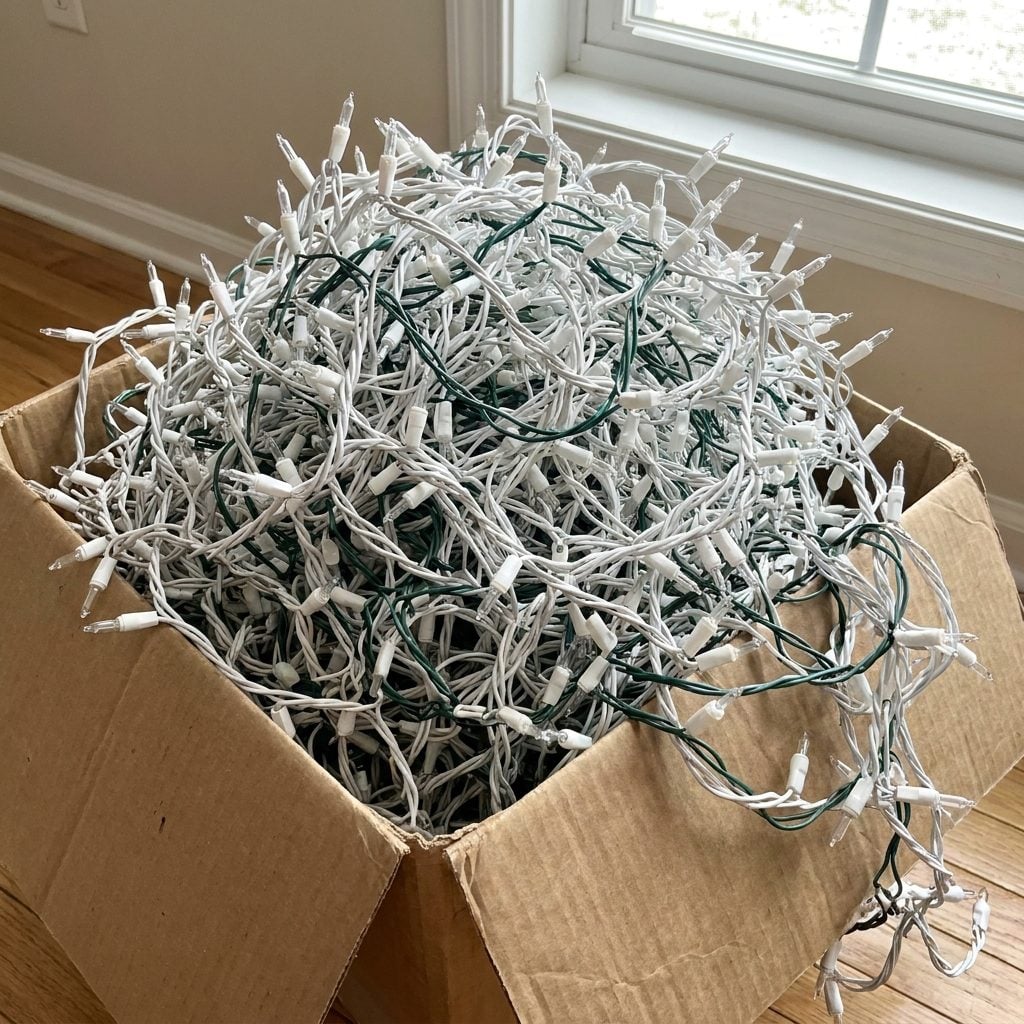
Icicle lights come out of the box looking like a plate of spaghetti — drops tangled, twisted, and stuck to each other. Hang them like that and you get a jagged, chaotic mess that reads cheap from the curb no matter how much you paid.
Lay the whole strand out on the driveway. Run your fingers down each drop and separate them so they fall clean and vertical. Ten minutes, and it’s the difference between a crisp, dripping-icicle effect and a bird’s nest bolted to your gutter.
I skipped this once and hung a full house before I noticed. Had to redo the whole front. Lay them flat first.
Letting Roofline Lights Sag Instead of Creating Clean, Consistent Lines
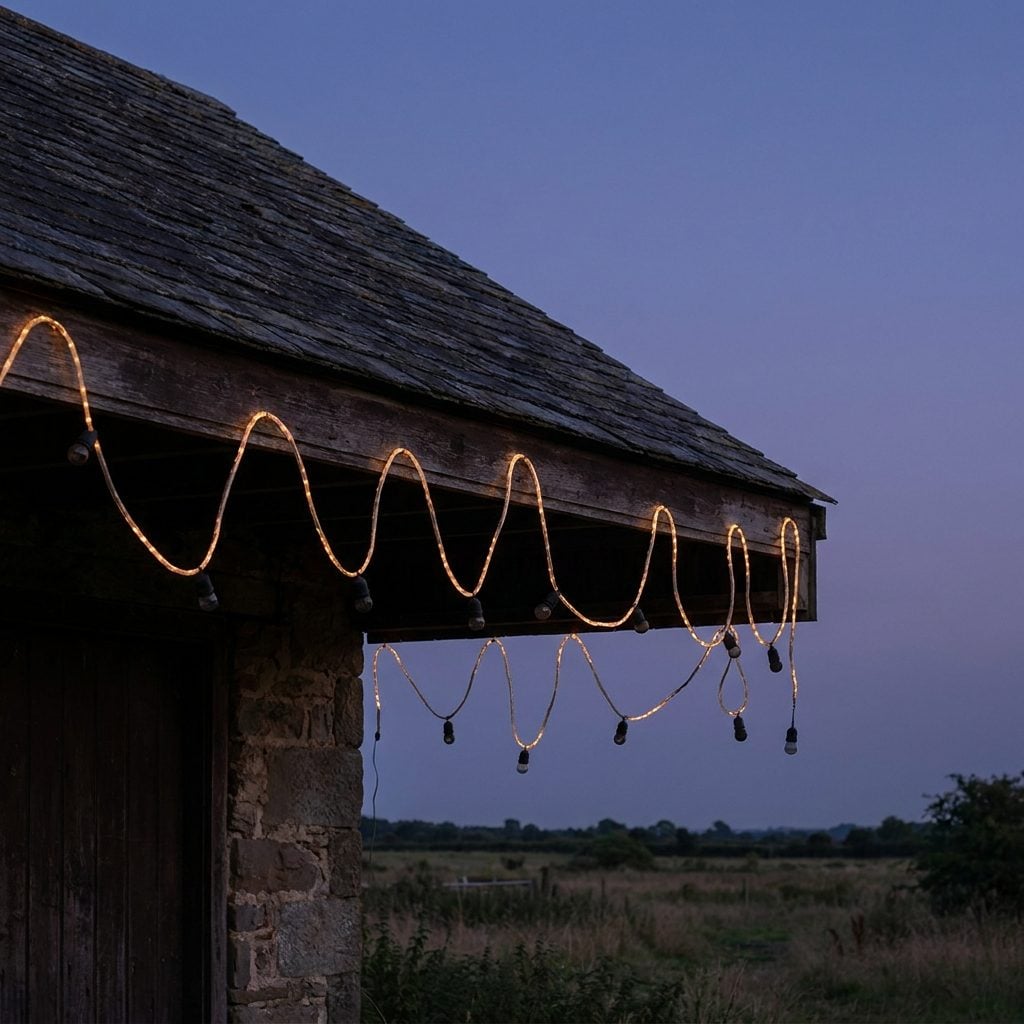
A sagging roofline is the fastest way to make an expensive display look like an afterthought. The eye reads a droopy swoop as sloppy, even from across the street. Clean, taut lines that trace the roof edge read as intentional.
It all comes down to the clips. Use ones that grip the shingle or the gutter and hold the strand tight against the edge, not the kind that let the wire hang loose between attachment points. Space them close enough that the wire never dips.
Using Cheap Clips That Leave Bulbs Pointing in Random Directions
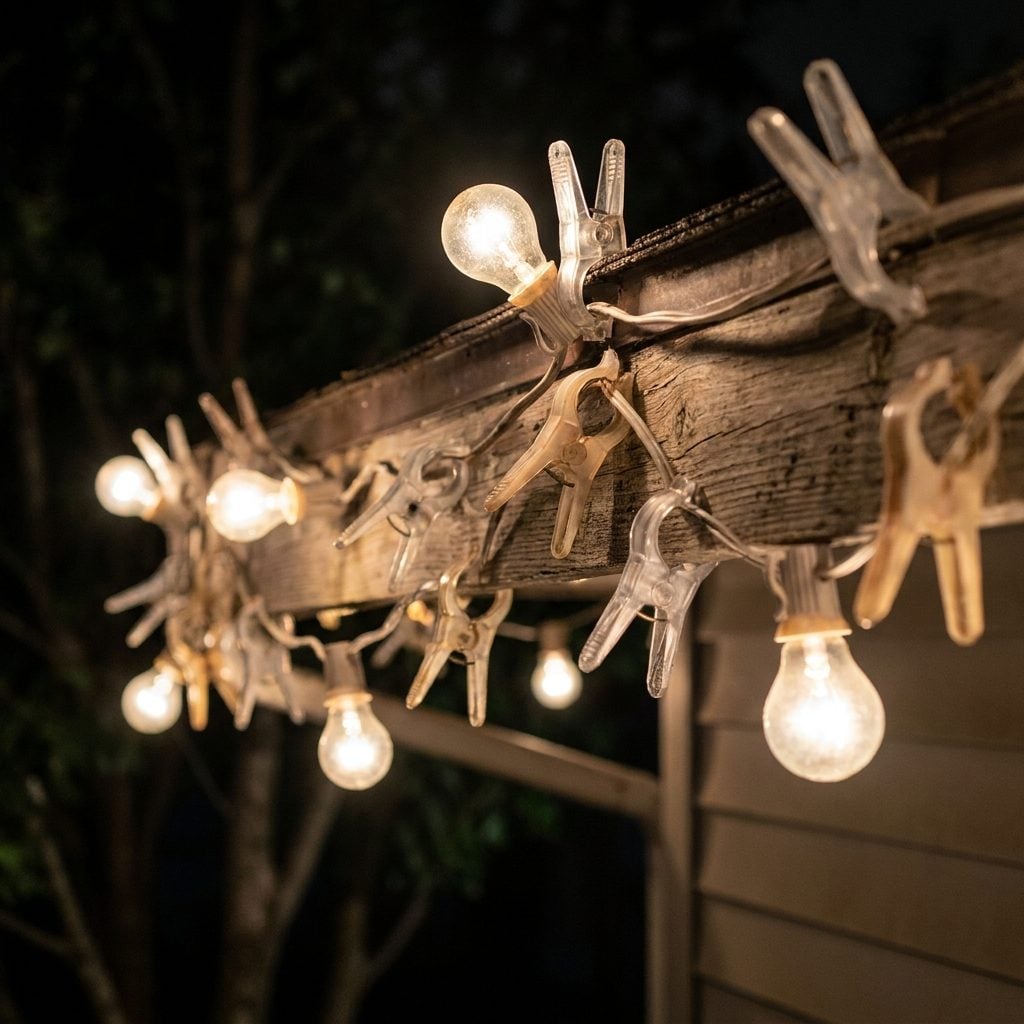
The dollar-store clips are a trap. They hold the wire but do nothing about the bulb, so half your lights end up aimed at the sky, at the wall, or straight into the neighbor’s window. From the curb it looks like static on an old TV.
Buy the all-in-one bulb clips that grip the shingle and cradle the socket so every bulb faces the same way. Uniform direction is what separates a professional install from a rented-a-ladder-and-winged-it one.
Using Different Bulb Spacing on Adjacent Rooflines
🔥 Would you like to save this?
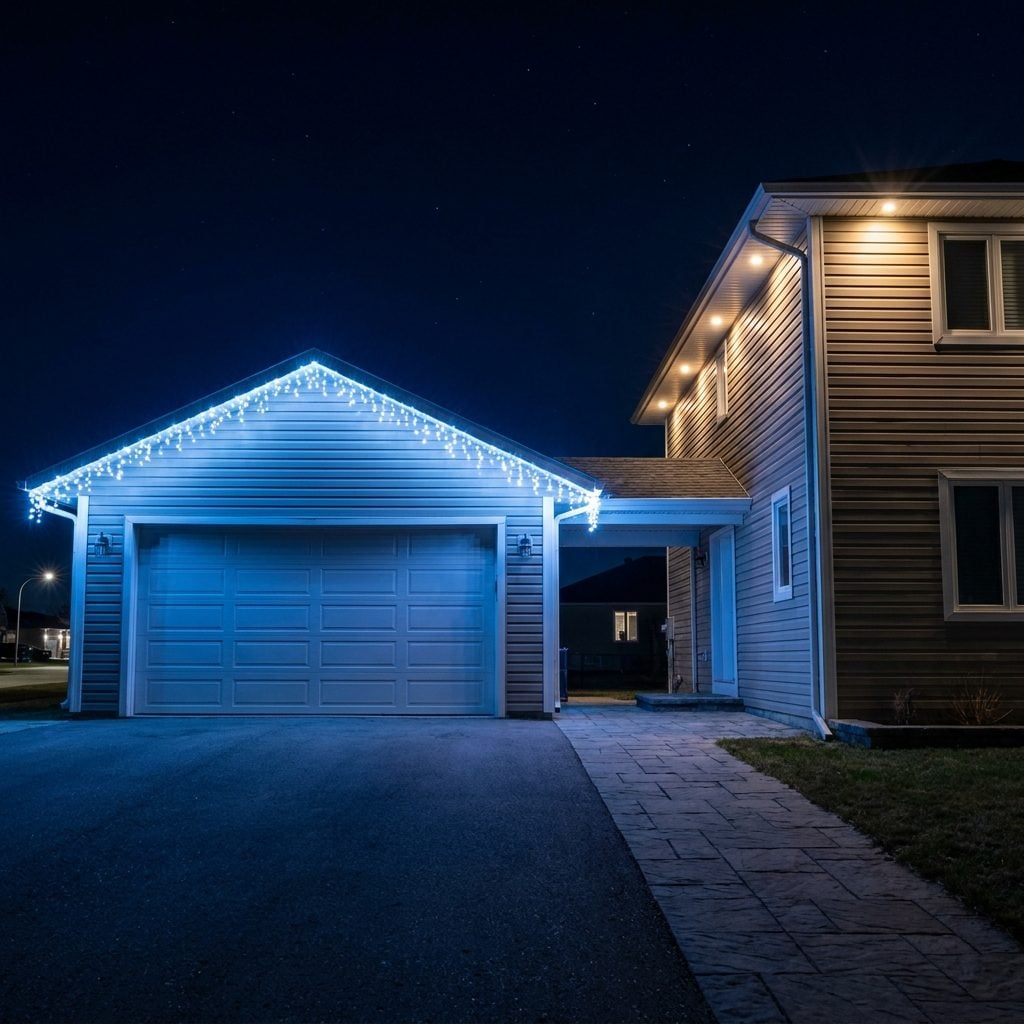
Say your garage roofline gets a bulb every twelve inches and the main house gets one every eighteen. On their own, each looks fine. But side by side where they meet? Your eye clocks the mismatch instantly and can’t unsee it.
Consistent spacing across every run is one of those details nobody notices when you get it right, and everybody notices when you get it wrong. Measure your intervals. Use a length of tape or a marked stick as a spacer so every bulb sits the same distance from the last.
Buying Lights in Different Years and Discovering the Whites Don’t Match
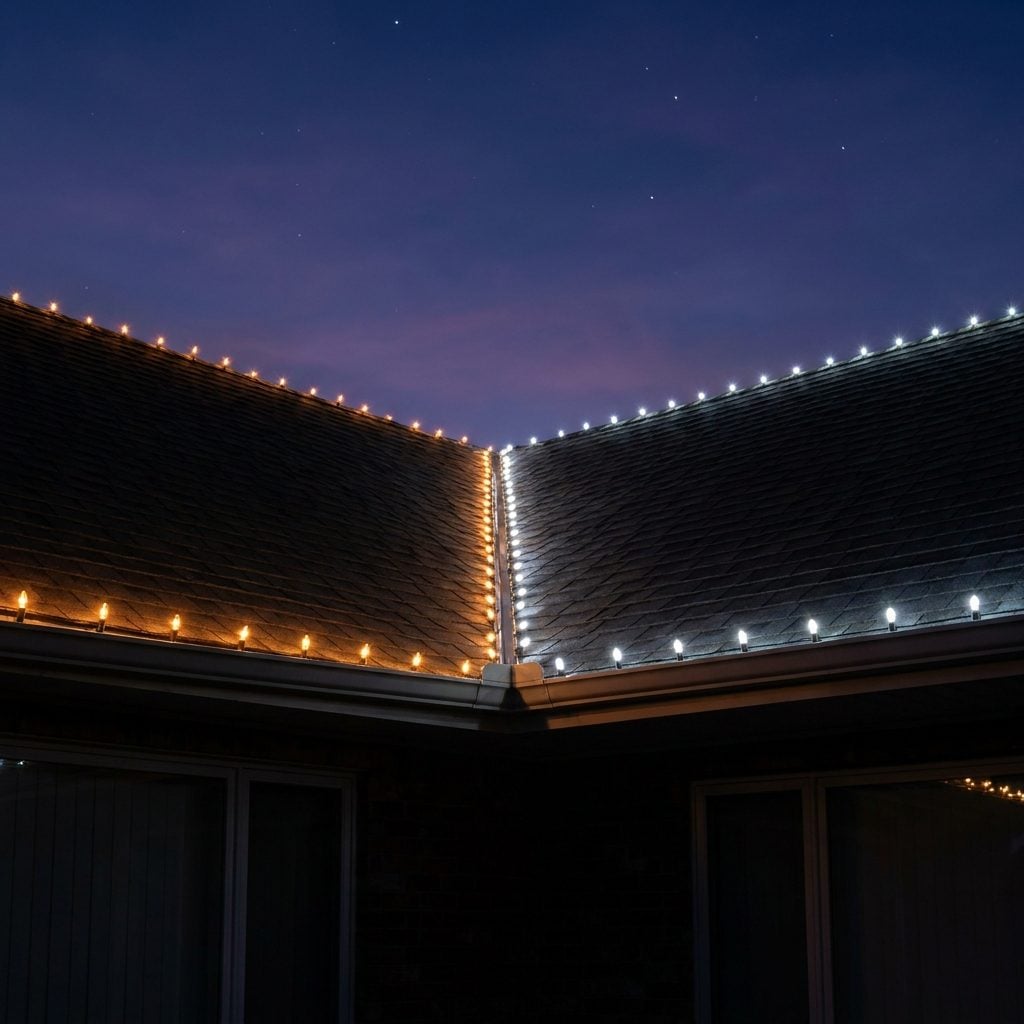
There is no such thing as “white.” There’s warm white, which glows amber and cozy. There’s cool white, which reads blue and clinical. And there’s pure white sitting somewhere in between. Mix them and your house looks like it can’t make up its mind.
This bites the people who add a strand or two each year without checking the box. LED tech shifts between production runs, so last year’s warm white and this year’s warm white might not be the same white at all.
Pick a temperature and commit. Love the cozy candlelit look? Buy warm white and only warm white. Jot the Kelvin number in a note on your phone so you’re buying the same thing every December.
Waiting Until December to Find Replacement Lights That Match Your Existing Ones
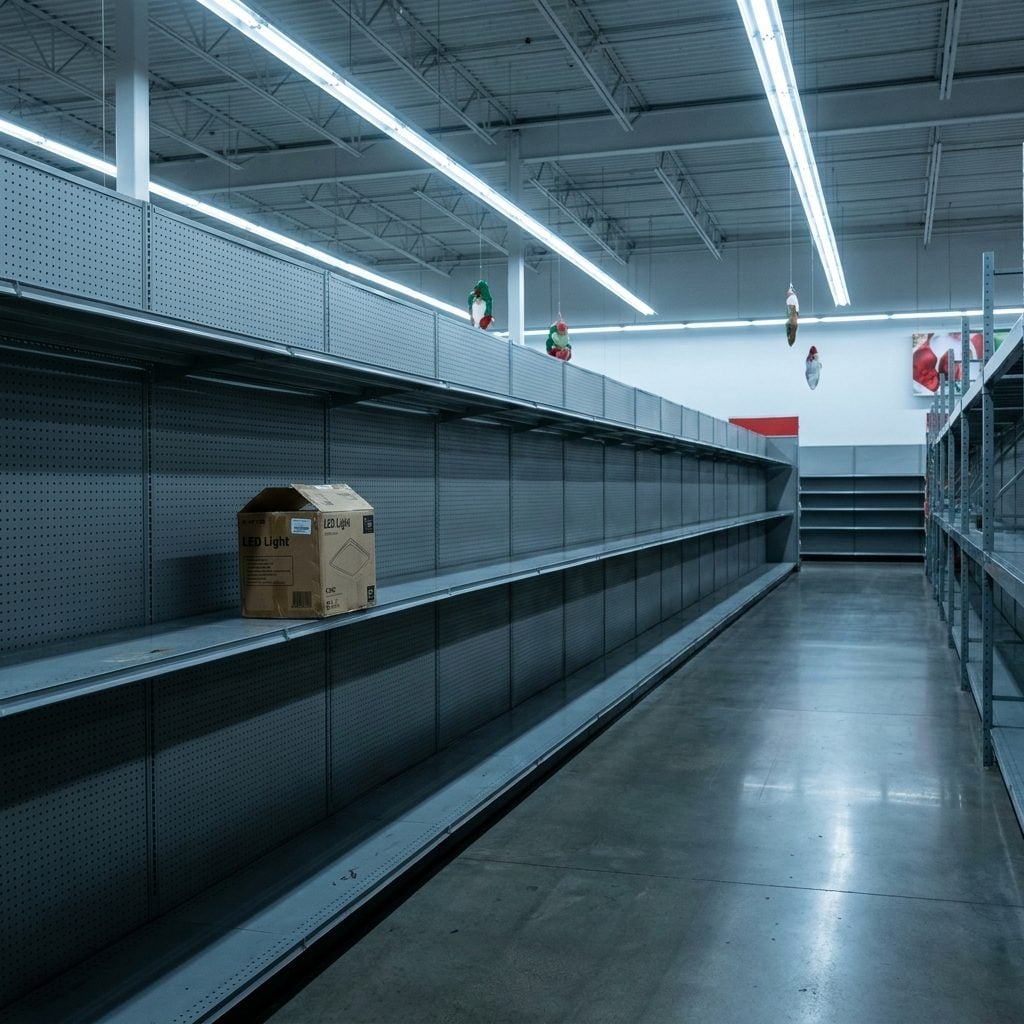
A quarter of your strand burns out. You drive to the store in December to grab a matching set. Every shelf is picked clean, and the one box left is a slightly different shade or spacing. Now your repair is visible from space.
Buy your backup strands in the off-season — ideally the same day you first buy the display — and store them with the rest. Same batch, same color, same year. When a section dies, you swap in an exact match instead of a close-enough one.
Using Colored Lights Without Choosing an Actual Color Palette
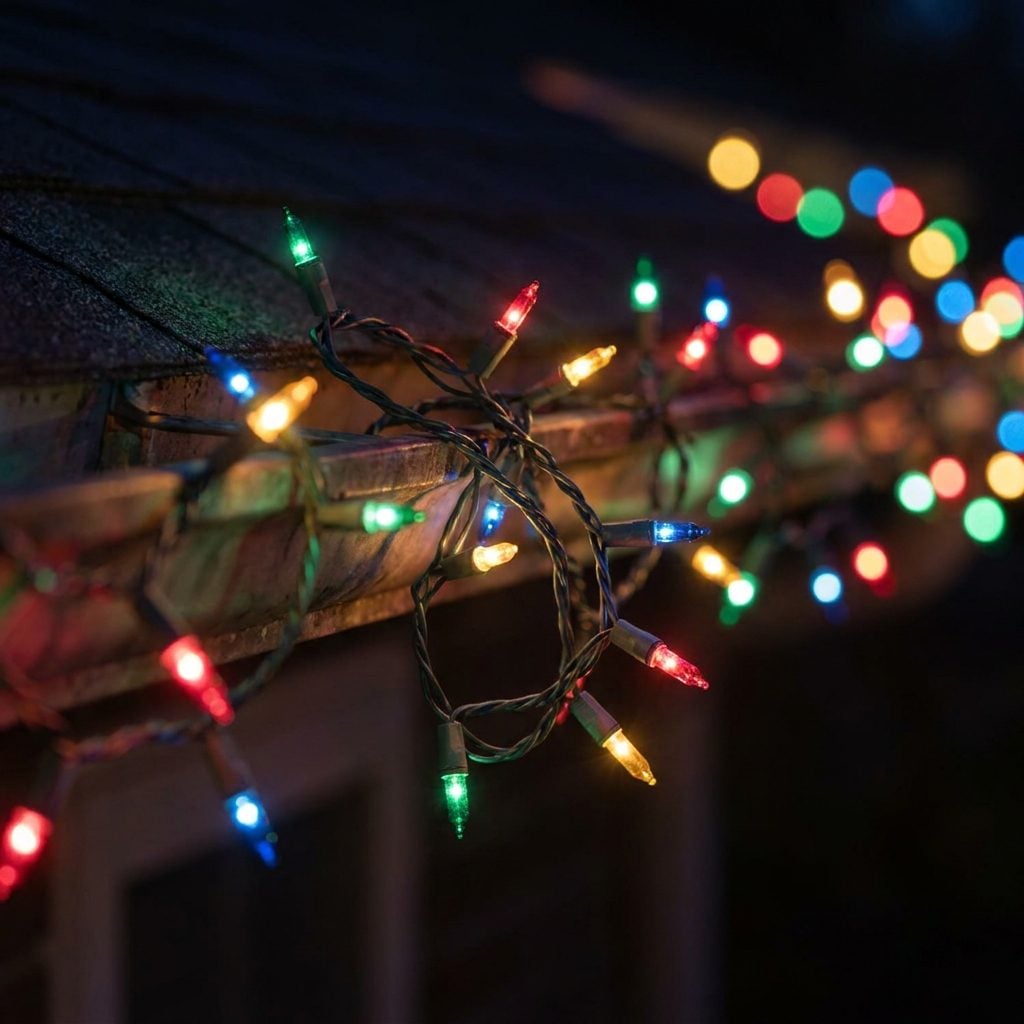
Colored lights aren’t the problem. Colored lights with no plan are. A strand that jumps red, green, blue, yellow, orange every four inches reads as visual noise — the outdoor equivalent of a room where every wall got painted a different color.
Choose two or three colors and stick to them. Warm white with deep blue. Red and warm white. Green, gold, and white. A restrained palette looks deliberate, and deliberate is what separates a home that looks decorated from one where the lights seem to have decorated themselves.
Combining Every Christmas Color Because They’re All Technically Christmas Colors
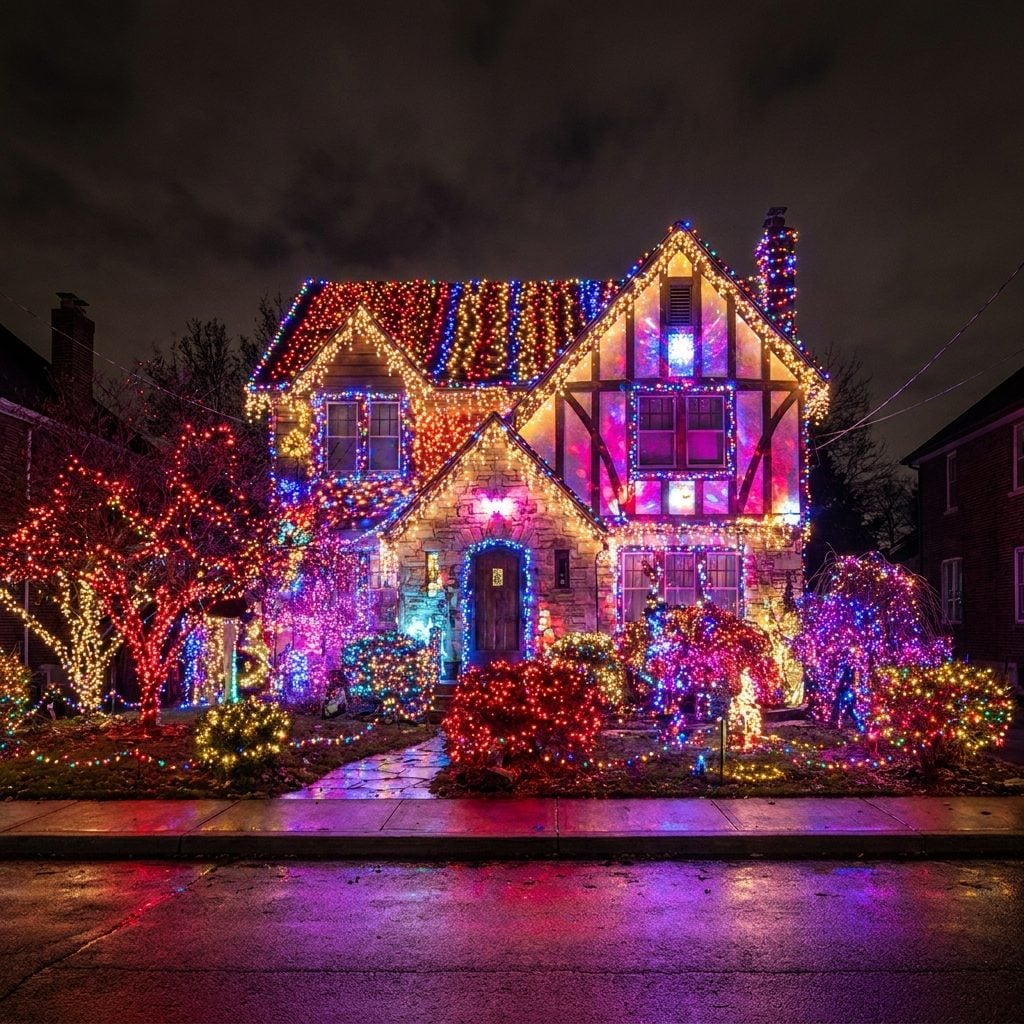
You know the house. The one where red, green, gold, silver, blue, purple, and hot pink all showed up to the same party and nobody’s in charge. Every color technically belongs to Christmas somewhere, so the logic goes — throw them all up.
Trouble is, when everything is a Christmas color, nothing feels intentional. Your eye has nowhere to rest. Pick a lane. Traditional red-and-green, an all-white elegant look, a cool blue-and-silver winter theme — any of them beats the everything-at-once approach.
Making Every Decoration Equally Bright So the Display Has No Focal Point
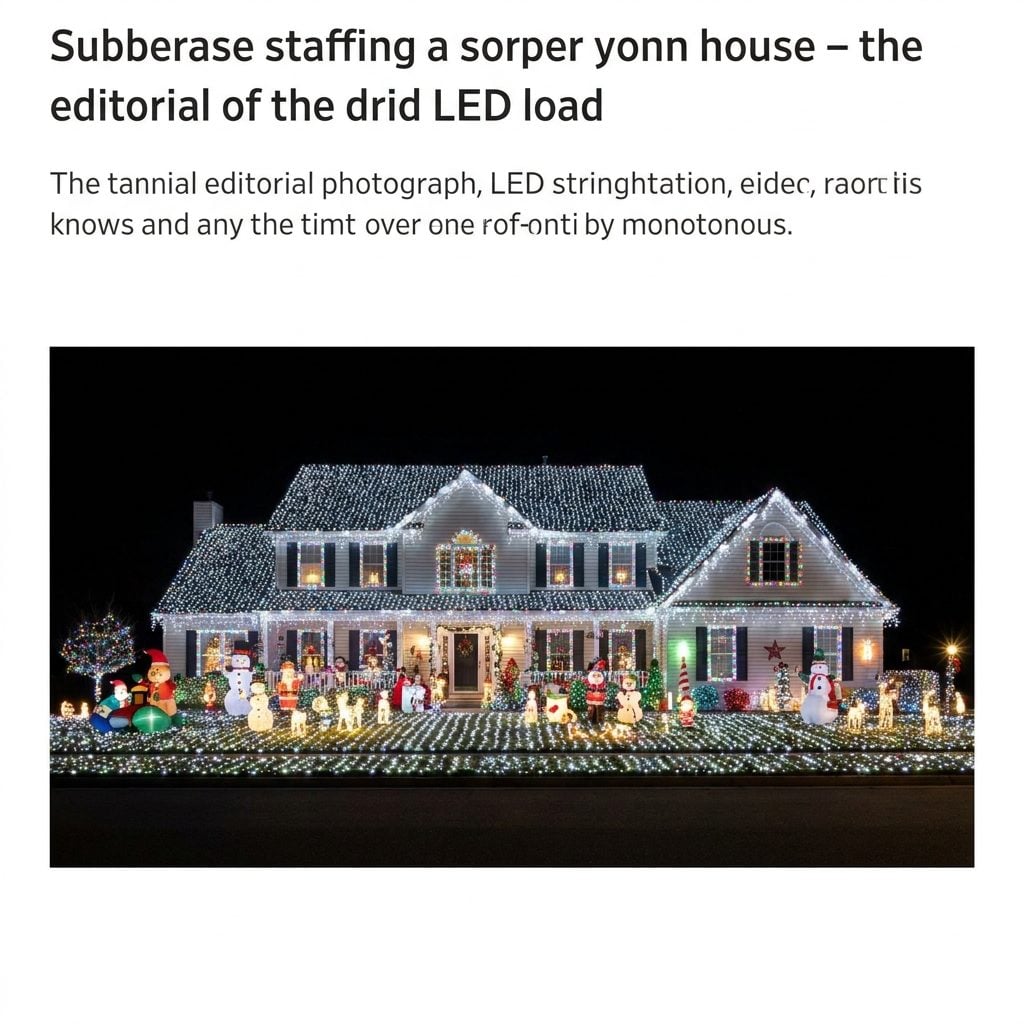
When every element blazes at maximum brightness, the eye has no idea where to land. A giant glowing blob isn’t a focal point. It’s a wall of light.
Good displays have a hierarchy: one hero element, brighter and bolder, with everything else supporting it. A single lit tree, a big illuminated wreath, or a beautifully wrapped entry can anchor the whole yard while quieter roofline lights frame it.
Light your yard the way you’d light a room. You don’t crank every lamp to full and call it design — you build layers, and one thing leads.
Making the Front Door the Darkest Part of the Entire Display
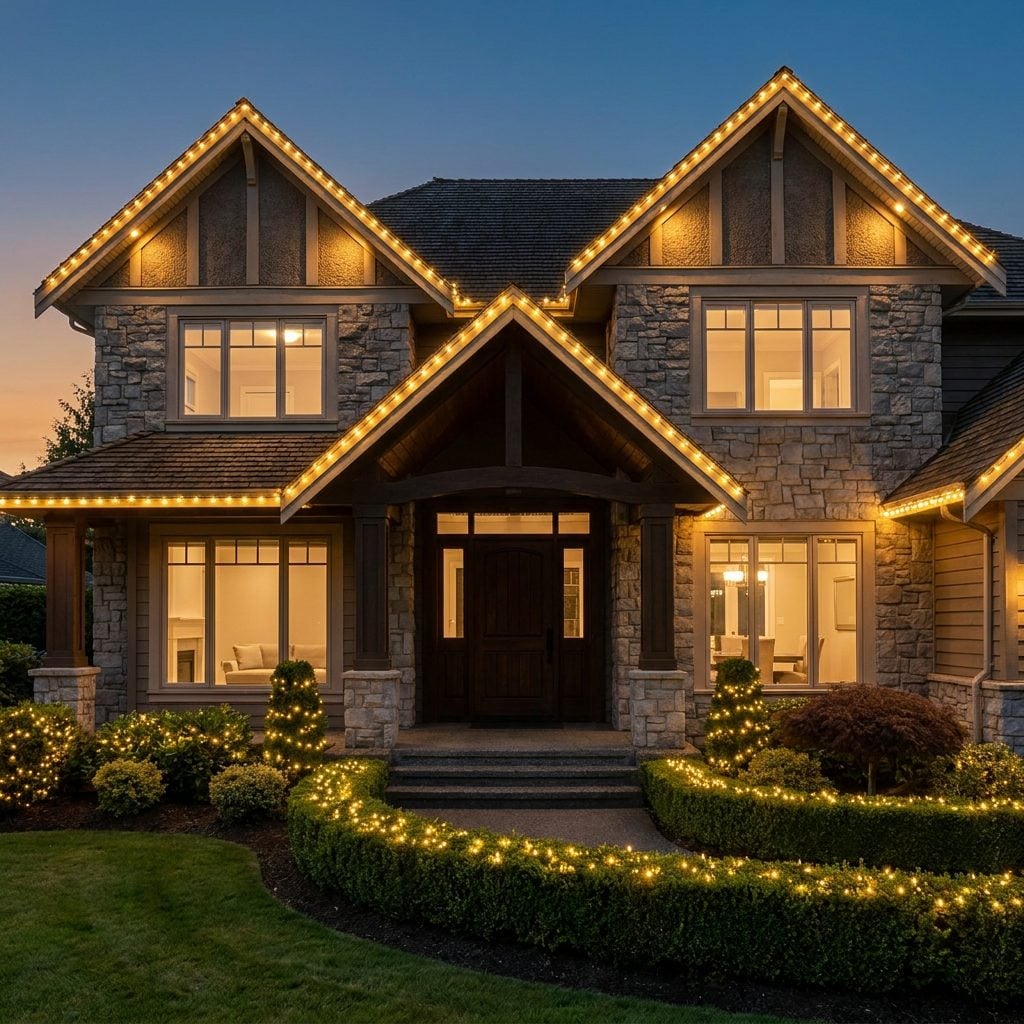
Your front door is where every guest’s eyes land first, so leaving it dark is like framing a portrait and blacking out the face. I did exactly this for two winters before a neighbor gently pointed it out.
Hang a lit wreath, flank the door with mini trees, or run string lights along the frame. A warm white lit wreath anchors the whole facade in about thirty seconds of effort, and honestly it’s the single highest-payoff thing you can do out there. The entrance should be the brightest point on the house, not the one spot that vanishes into shadow.
Lighting the Garage More Dramatically Than the Front Entrance
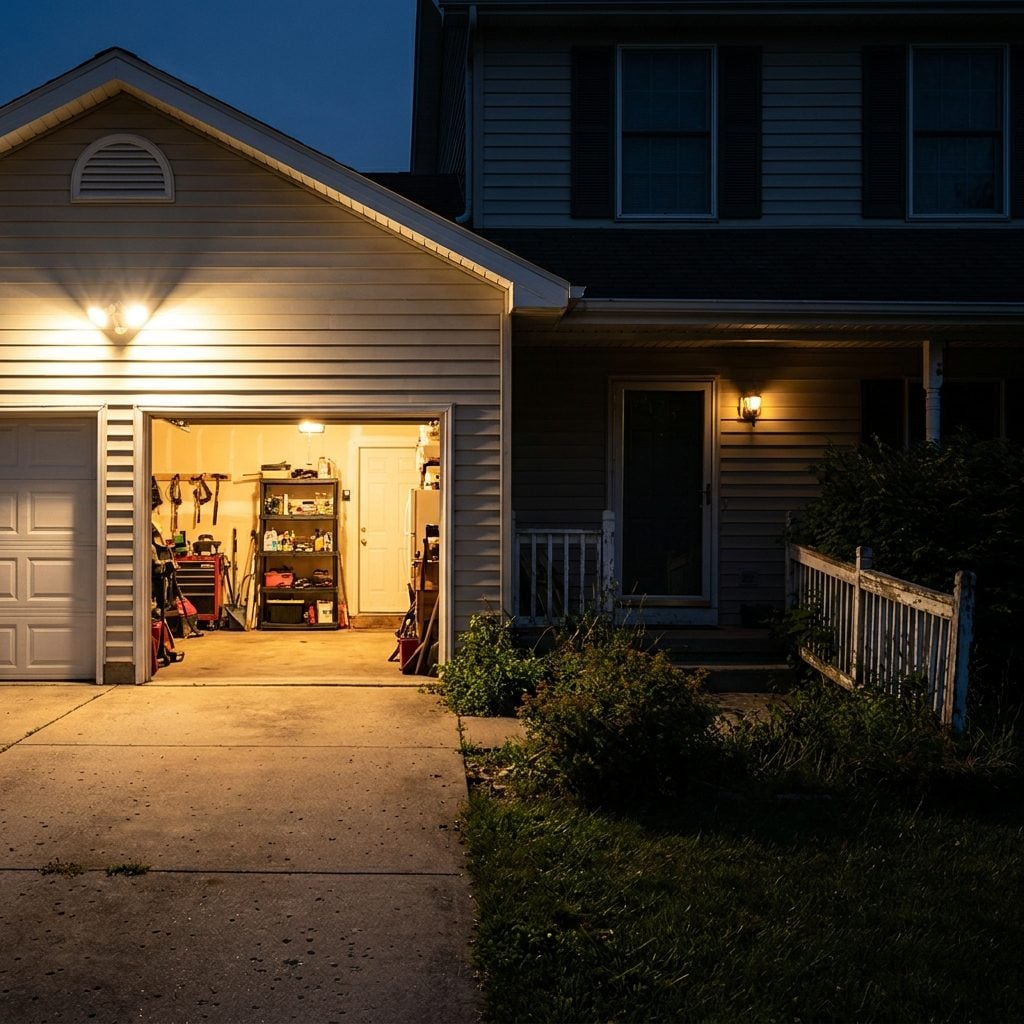
This is a ranking problem. When the garage out-glows the entrance, you’ve told the whole street that the most important part of your house is where the cars sleep.
The garage is a huge flat surface, so of course it’s tempting to load it up. Don’t. Keep garage lighting subtle, a soft outline at most, and pour your best effort into the path to the front door instead.
Picture your display as a sentence. The entrance is the subject. The garage? A comma.
Ignoring Your House’s Architecture Instead of Using Lights to Emphasize It

Your house already has good lines. The gables, the porch columns, the roof peaks. Lights are meant to trace those lines, not fight them.
Random strands slapped across a wall look like static. Run warm white lights along every roofline, wrap the porch columns, follow the peak of the gable, and the house glows like it was built for the season. You’re not adding decoration so much as underlining what’s already there.
Walk to the curb during the day and squint. The strongest architectural lines you see are exactly where the lights belong.
Decorating Only One Side of a Symmetrical House
🔥 Would you like to save this?
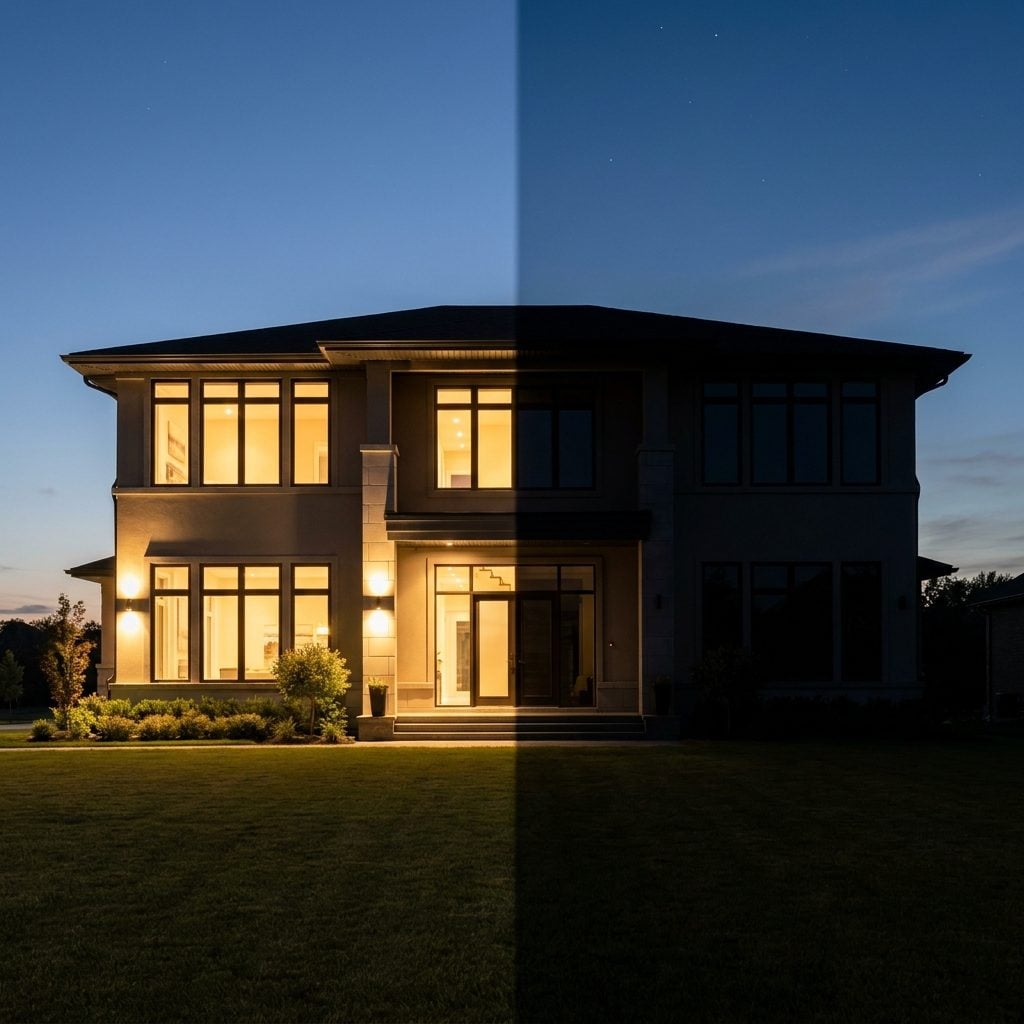
A symmetrical house wants to be treated symmetrically. Light one side and leave the other bare, and you’ve built a display that looks like you ran out of extension cords halfway through the afternoon.
Whatever you do on the left, mirror on the right: same window outlines, same mini trees, matching topiaries by the door. Symmetry is the entire reason a Georgian or colonial facade feels calm and stately, so honor it.
If your budget only stretches to one side, do less on both instead. A modest balanced display beats a lopsided grand one every single time.
Outlining Windows Inconsistently So the House Looks Half-Finished
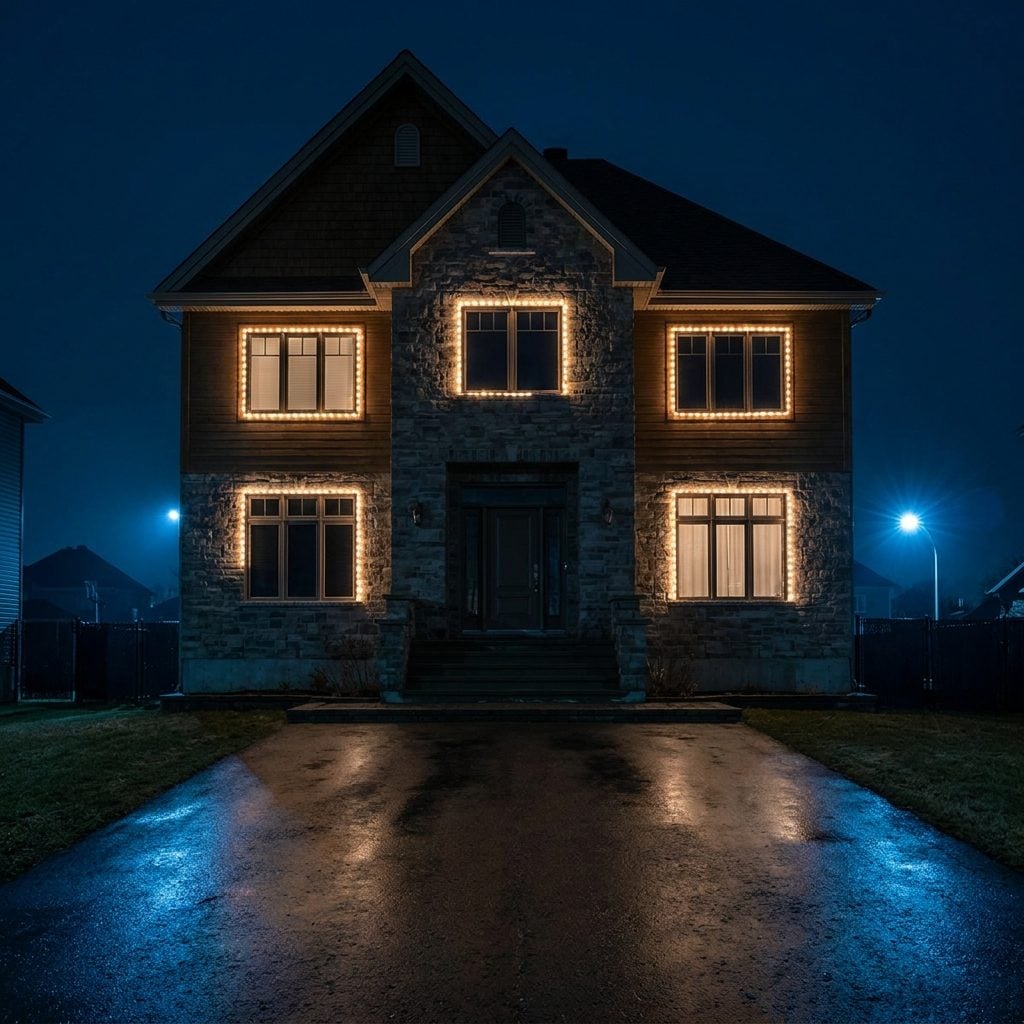
Outlining windows is a strong move when you do all of them. Do half, and every dark window becomes a missing tooth in the smile.
Pick a rule and stick to it. Outline every window on the front, or none of them. If lighting all of them is too much, choose the windows that share a floor or a matching pattern so the eye reads intention rather than randomness.
And tape those strands tight to the frame. A drooping outline undoes all the crispness you were going for.
Ignoring Trees and Shrubs While Putting Every Light on the House
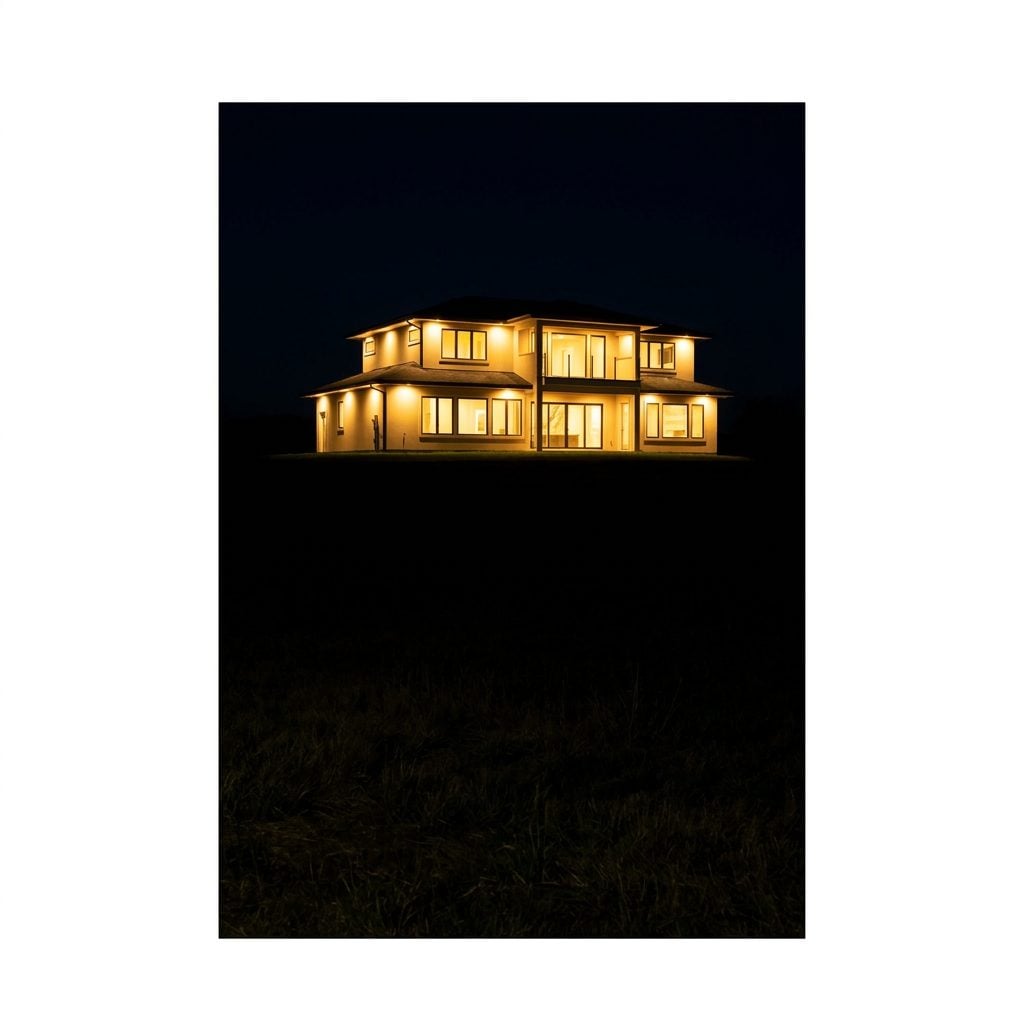
All your lights are on the house and none in the yard. The result floats, a bright box hovering over a black lawn.
Landscape lighting gives the display feet to stand on. Wrap the yard tree, drape net lights over the foundation shrubs, line the walkway, and suddenly the whole scene has depth, a foreground and a background instead of one glowing plane.
A well-lit light living room pulls the same trick indoors, layering light at different heights so nothing feels stranded. Same principle out here.
Wrapping Tree Trunks So Loosely the Lights Look Like They Were Thrown On
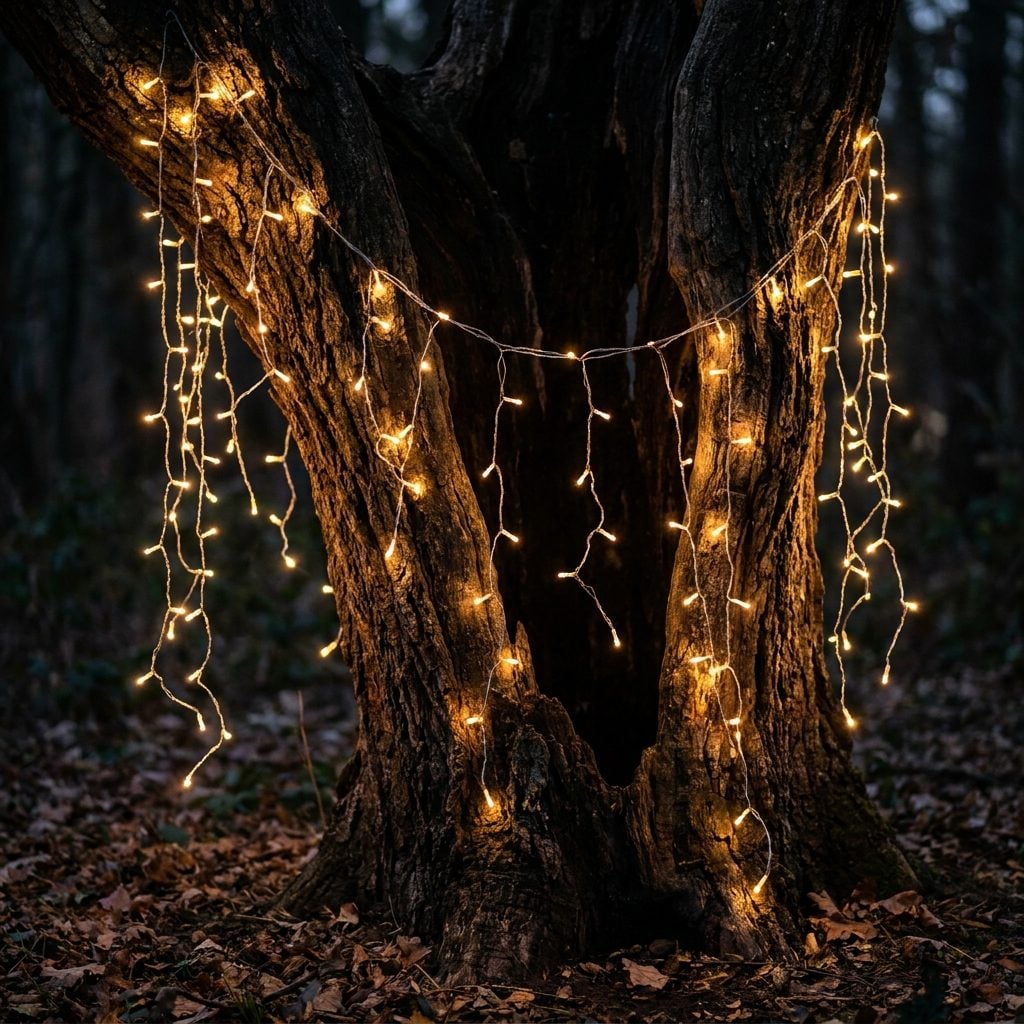
Loose wrapping is the fastest way to make an expensive tree look cheap. Wide gaps of dark bark between drooping strands read as lazy from fifty feet away.
Wrap tight and wrap close. Aim for a few inches between passes, keep the strand snug against the bark, and work steadily from the base up. It takes longer, sure. It also separates a display that looks professional from one where the lights got tossed at the tree and stuck wherever they landed.
I will die on this hill: a tightly wrapped trunk is worth twice the effort of a sloppy one.
Covering Every Shrub With a Different Color of Net Lights
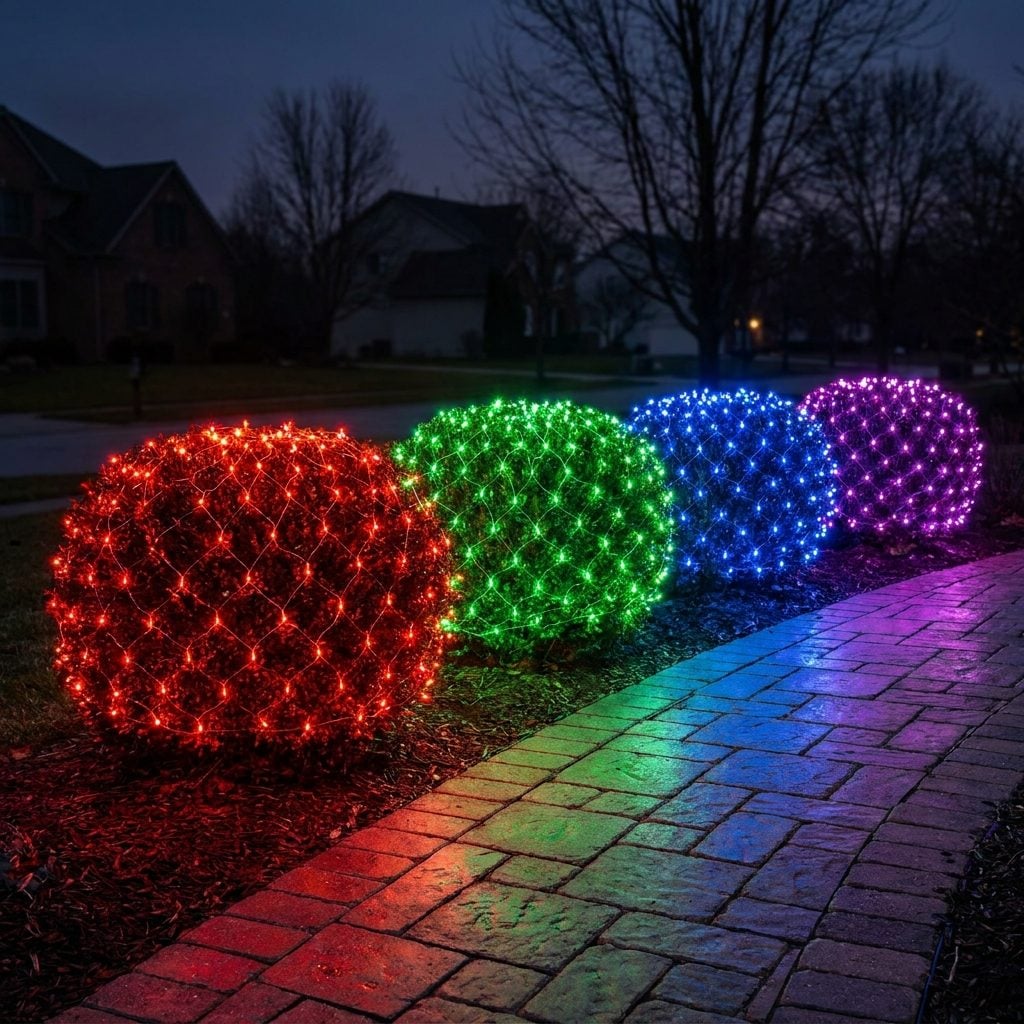
Five shrubs, five colors, one visual headache. When every bush glows a different hue, the eye has nowhere to rest and the whole planting bed turns into noise.
Pick one color story and commit. All warm white for a classic look, or all the same cool blue for something more modern. Craving color? Use it as an accent, since one red bush among warm whites reads as intentional, while a full rainbow reads as a clearance-bin accident.
Using Net Lights That Are Too Small and Leave Half the Bush Dark
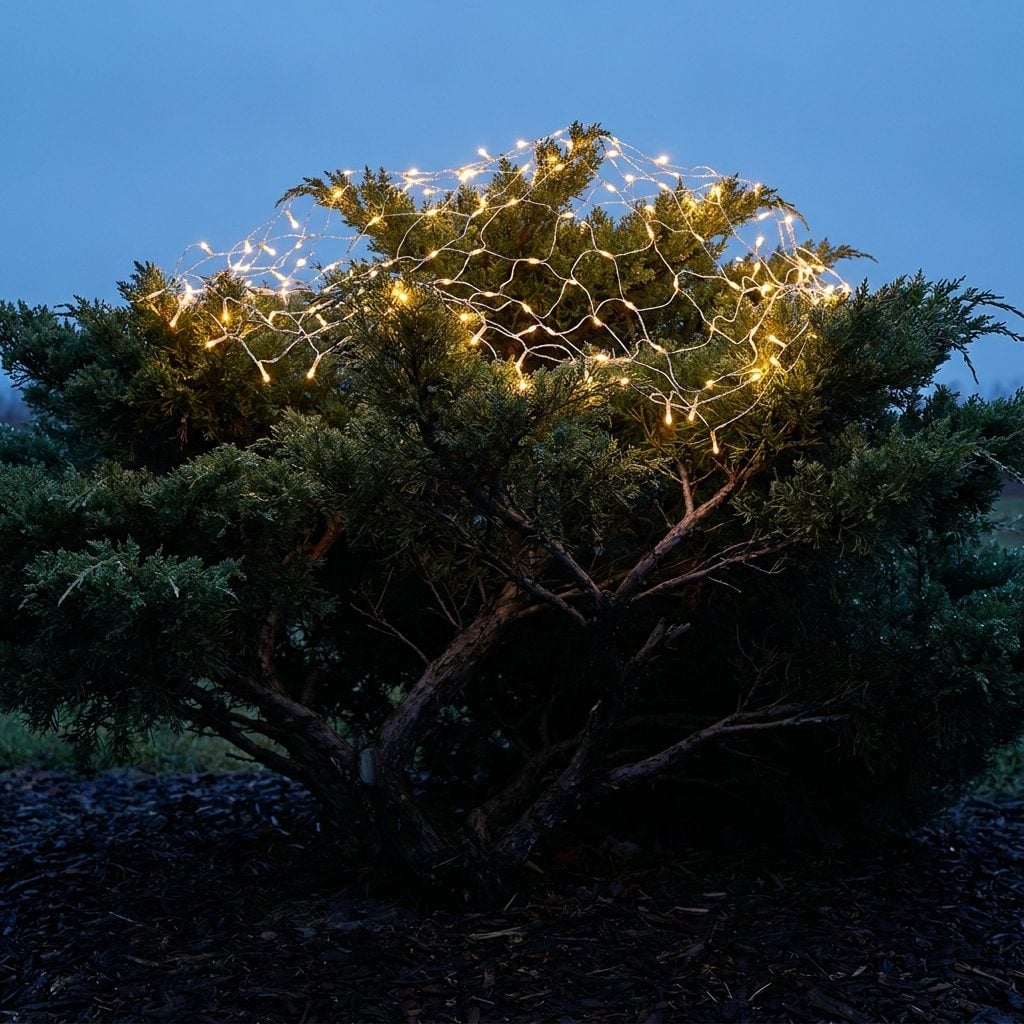
An undersized net light is a hat on a bush that needed a blanket. The top glows, the bottom disappears, and the shrub looks half plugged in.
Measure your shrubs before you buy. Net lights are sold by coverage area, and rounding down leaves you with dark gaps you’ll stare at all December. Size up rather than down, then drape the net all the way to the ground so light reaches the base.
Two properly sized nets on a big shrub beat one that strangles the crown and abandons everything below it.
Putting Giant Inflatables in Front of the House You Just Spent Hours Lighting
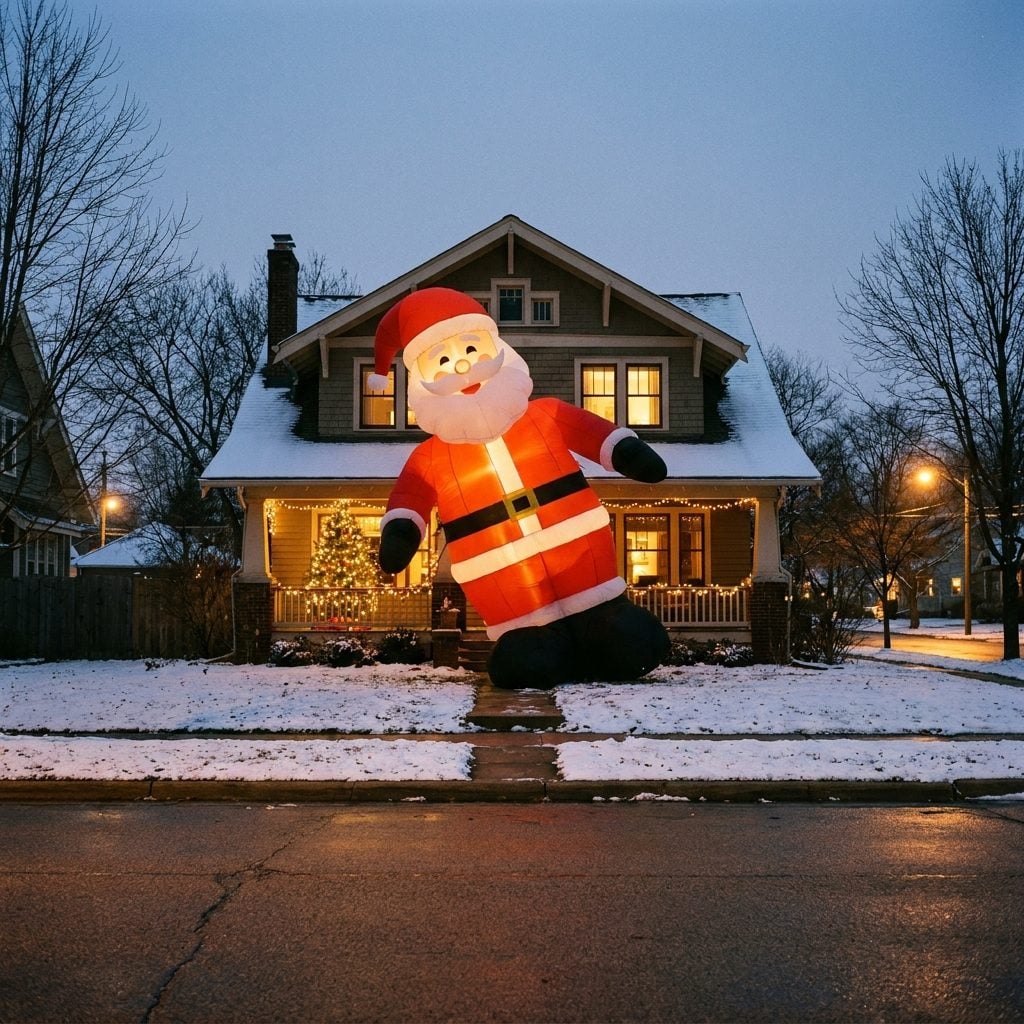
You spent all afternoon lighting the house, then parked a twelve-foot inflatable Santa right in front of it. Now nobody can see your work.
Inflatables aren’t banned. They’re just greedy for space. Keep them off to the side, scale them down, and never let them block the lit facade you sweated over. One well-placed inflatable can be charming, but a lawn full of them turns your careful display into a backdrop nobody looks at.
The best displays have a hero. Decide whether it’s the house or the plastic snowman, because it can’t be both.
Using So Many Inflatables That Your Yard Looks Like a Christmas Clearance Aisle

One inflatable snowman is charming. Nine of them, elbow to elbow, wobbling and half-deflated, turn your lawn into a fire-sale bin nobody wanted to sort through. The problem isn’t the inflatables themselves — it’s the density. When every figure touches its neighbor, the eye can’t land on any single thing, so the whole yard reads as visual static.
Blow-up figures are big, and big things need breathing room. Give a snowman two feet of empty grass on each side and he becomes a display. Wedge him between a penguin and a snow globe and he becomes clutter. I’d honestly rather see three well-spaced pieces than a dozen fighting for the same square yard of lawn.
And can we talk about the sagging? A blow-up figure that’s lost half its air isn’t festive. It looks defeated, slumped over like it gave up around midnight. Keep the fans running, keep the count low, and let each one have its moment.
Mixing Elegant Roofline Lights With Cartoon Characters, Projectors, Inflatables, and Flashing Decorations
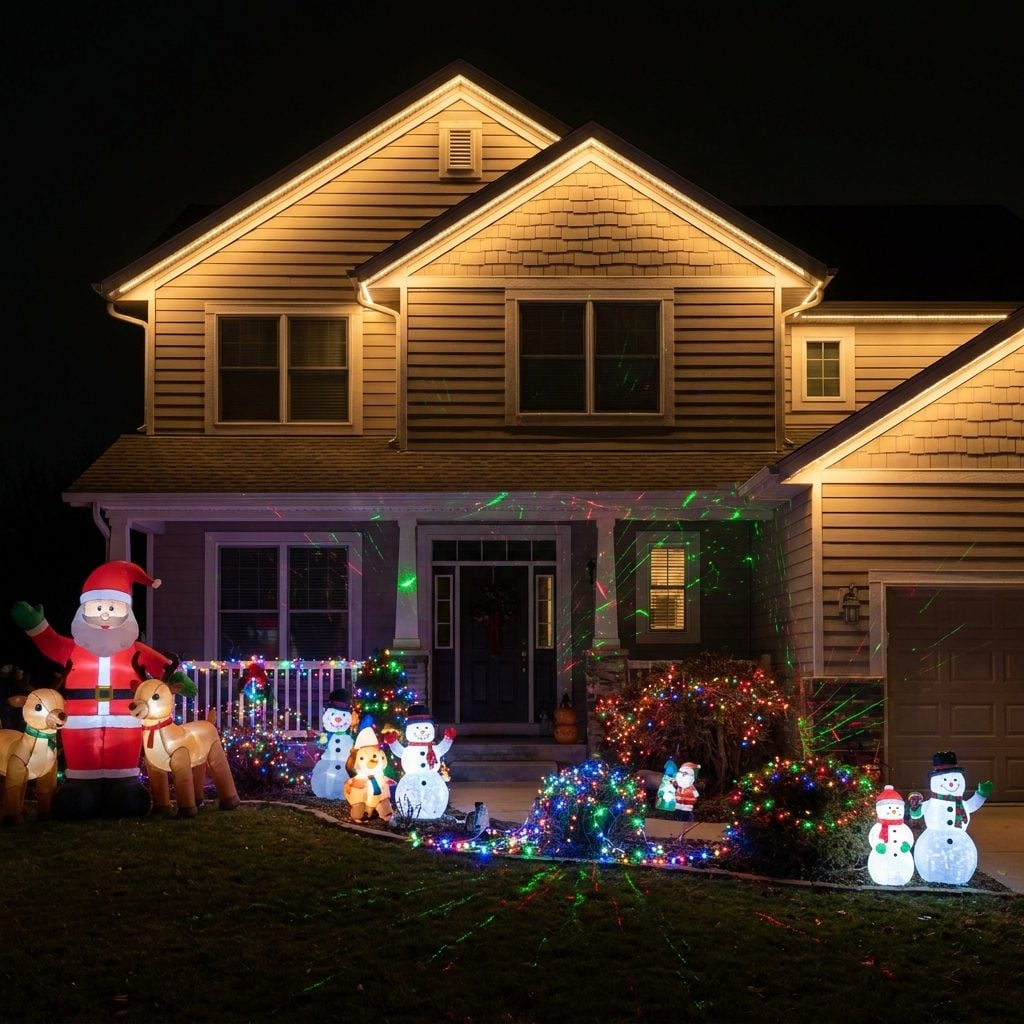
You did the hard part right. Those crisp warm-white bulbs traced along the eaves look genuinely elegant — and then you buried them under a cartoon Santa cutout, a spinning laser, two inflatables, and a net light strobing over one lonely bush.
Here’s the tension nobody warns you about: refined lighting and cartoon decor speak completely different visual languages. One is quiet and architectural. The other is loud and primary-colored. Stack them on the same facade and they don’t blend into something better — they cancel each other out, and all that careful roofline work vanishes into the noise below it.
Pick a lane. If you’re going elegant, commit to it and let the clean lines carry the whole show. If you want the goofy, joyful, kid-pleasing chaos, own that too. What sinks a display is the half-measure, where the eaves say gala and the yard says garage sale.
Using a Laser Projector as a Substitute for an Actual Lighting Plan

Laser projectors sell a fantasy: stake it in the grass, flip a switch, done. Twenty seconds of effort and your whole house glows. Except it doesn’t glow — it speckles.
The trouble is a projector throws dots, not shape. It scatters pinpoints across a flat wall and calls it decoration, but there’s no outline, no warm glow, nothing that traces the roofline or frames a window. Your house ends up looking like a gray box with the measles, and the dots bunch up in some spots and thin out in others because the beam never lands evenly on a real facade.
Use one as an accent if you like — a little extra sparkle over the shrubs, sure. As the entire plan, though? It reads cold and clinical, more like a store’s anti-theft grid than anything festive. Warmth comes from actual strands doing actual work along the edges of your house.
Setting Every Strand to a Different Flashing or Chasing Pattern
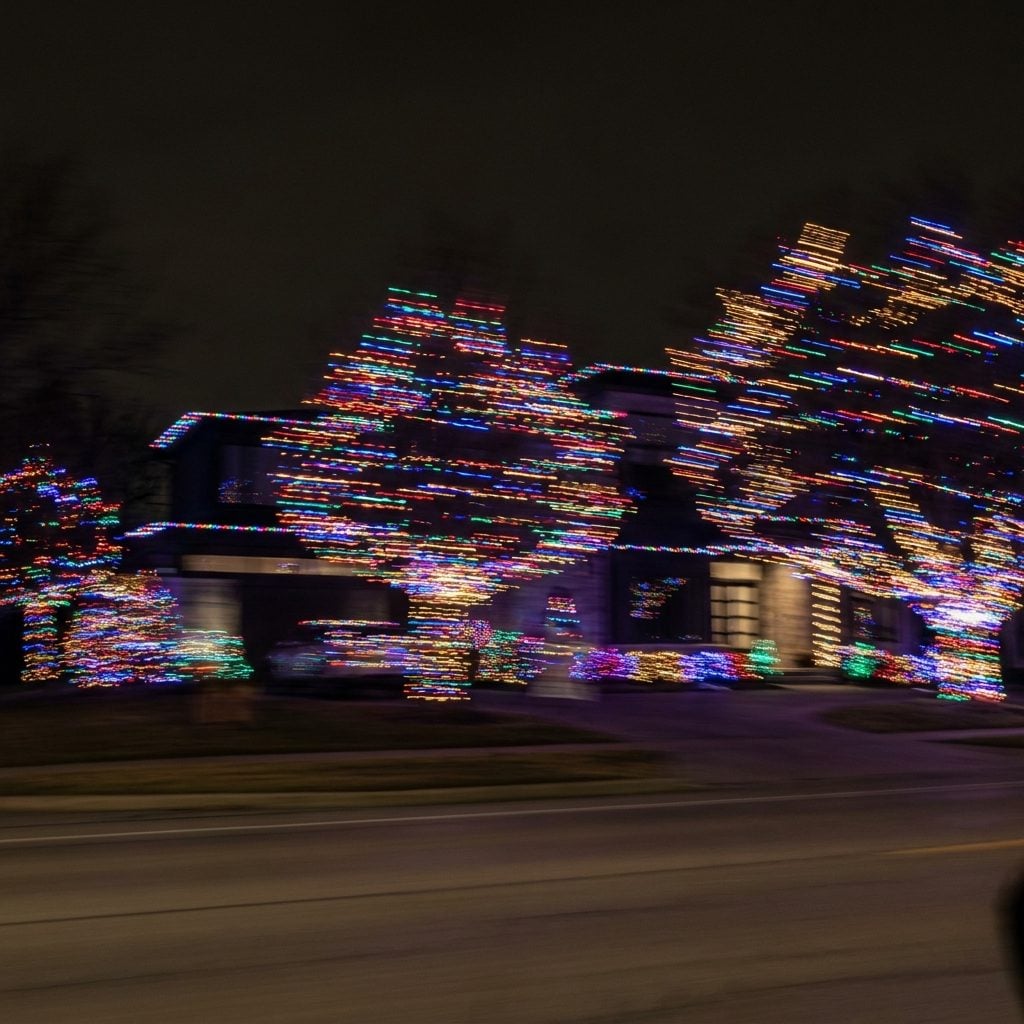
Modern light strands come loaded with settings — chase, strobe, fade, twinkle, random blink, rainbow cycle. The temptation is to give each strand its own. And I get it, why let all that programming go to waste?
Because the result is anarchy. Your roofline chases left while your porch strobes and your bushes fade in slow waves and your tree spins through a rainbow, all on separate clocks, none of them aware the others exist. There’s no shared rhythm, so your eye has nowhere to rest. It just bounces around the facade looking for a beat that never comes, and after ten seconds the whole thing feels exhausting rather than magical.
Sync everything to one mode, or, better yet, leave most of it on a steady glow and let a single element do the moving. A house where one tree gently twinkles against calm, still light around it reads as festive. A house where everything moves at once reads as a malfunction.
Choosing Flashing Patterns That Make the House Look More Like a Casino Than Christmas
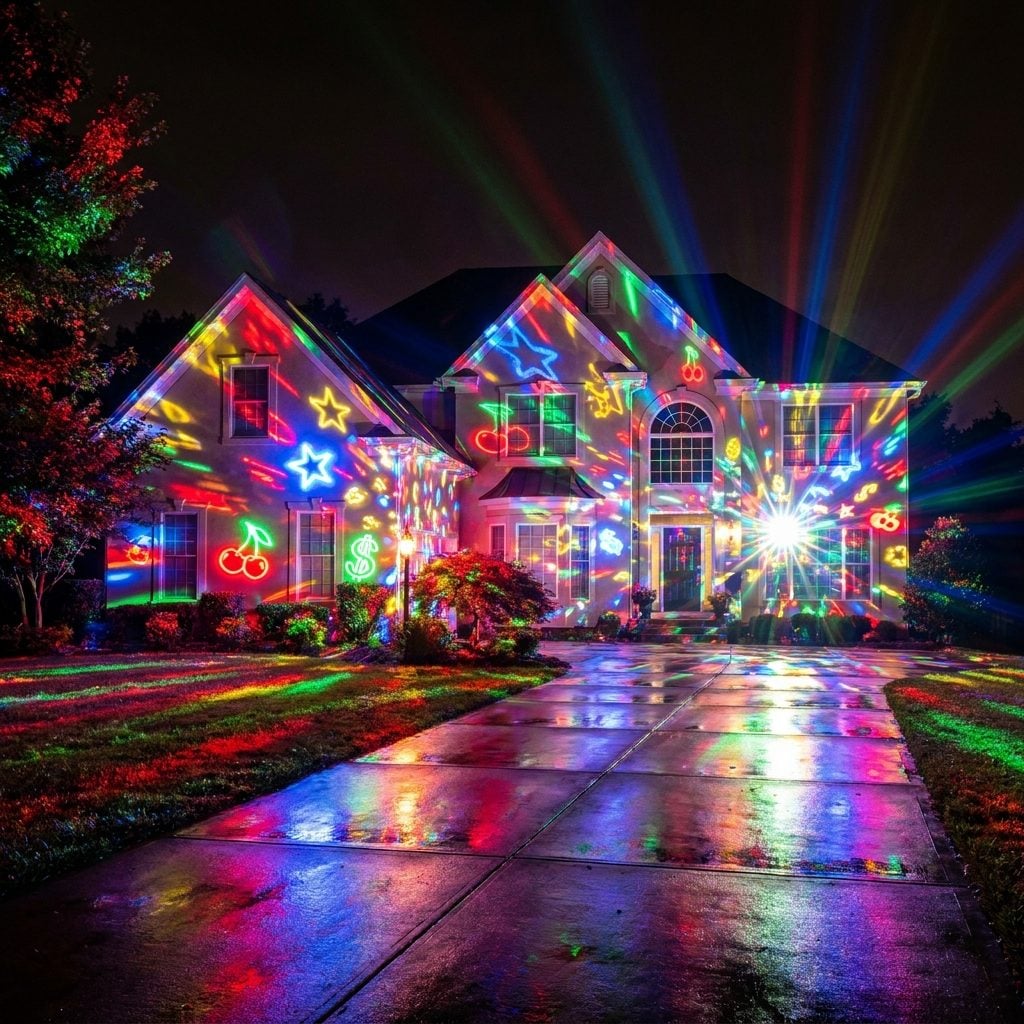
There’s a specific flavor of overkill where a house stops looking like Christmas and starts looking like a slot machine had a breakdown. Hot magenta, electric blue, acid green, blazing orange, all fast-flashing in sequence, with a rope-light arch over the walkway blinking like it’s about to pay out. Somewhere in there a holiday was supposed to happen.
Neon saturation is the culprit. Those colors are so intense and non-traditional that they overwhelm any sense of warmth, and once they start strobing in quick sequence the whole thing tips from cheerful into overstimulating. Instead of a cozy glow that makes people slow down as they pass, you’ve built a marquee that makes them squint and speed up.
Christmas colors have a softness to them for a reason. Warm whites, deep reds, forest greens — they invite you closer. Casino neon pushes you away. If your display would look at home on the Vegas Strip, it has wandered a long way from the front porch.
Ignoring Scale and Putting Tiny Decorations Across a Huge Two-Story House
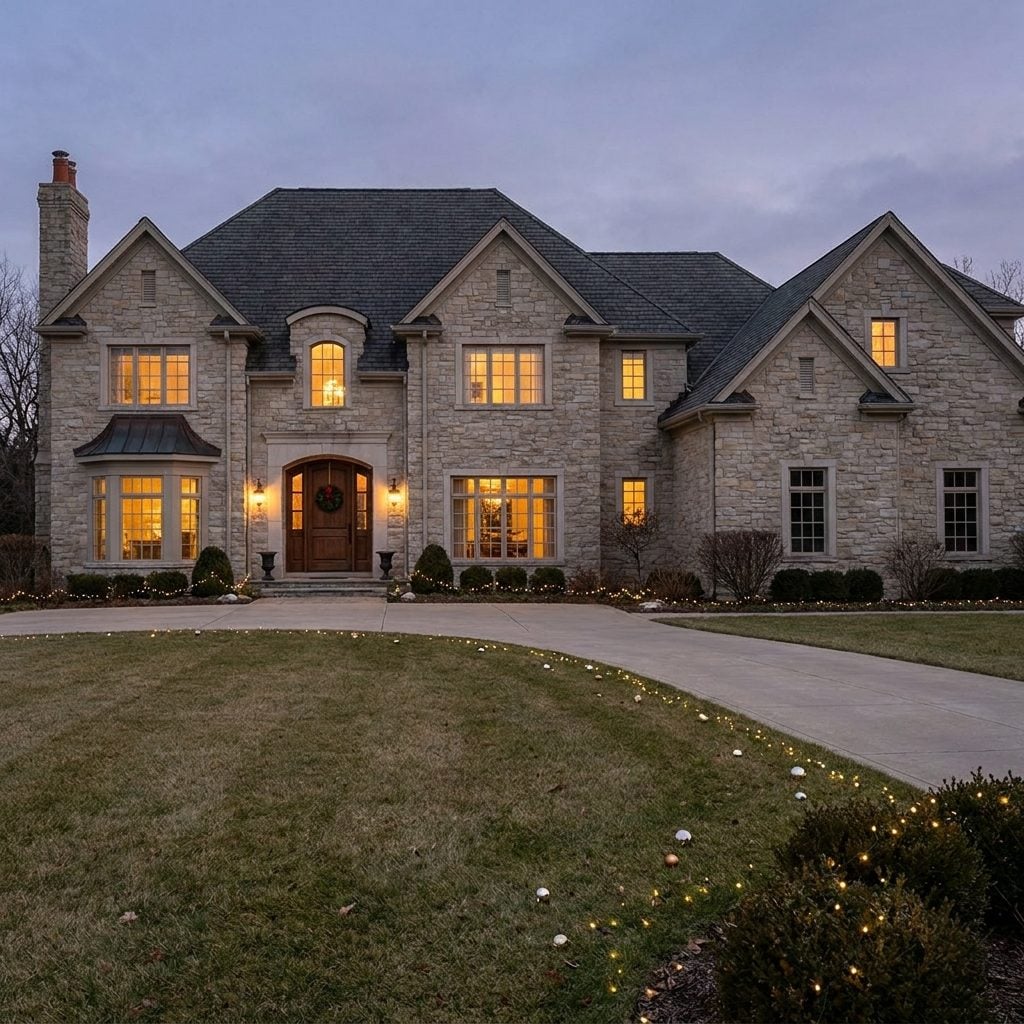
Scale is the quiet mistake, the one people don’t see until a friend gently points it out. You hang the wreath you’ve always used and string the lights you’ve always strung, then step back and wonder why the house looks bare.
A three-story facade with columns and tall windows is a massive canvas. A single thin strand tracing only the lower porch leaves two whole dark stories looming above, and a two-foot inflatable snowman planted in the middle of a sweeping lawn just looks lost, marooned on all that grass. That wreath sized for a normal front door? On a grand entry it shrinks to the size of a bathroom mirror.
Big houses need big gestures — full roofline runs across every floor you can reach, wreaths and bows scaled up to match the door, props grouped so they hold their own against the architecture. The decorations don’t have to be numerous. They have to be proportional. A few oversized pieces beat a scattering of small ones lost in the dark.
Trying to Use Every Christmas Decoration You’ve Collected Over the Last 20 Years
Two decades of holidays leaves you with a garage full of stuff, and there’s a powerful urge every December to put all of it out. The faded plastic candy canes from your first apartment, the vintage lit-up Santa face, the newer LED reindeer, the wire-frame sleigh, that inflatable that’s seen better years. Deploying the entire archive at once feels generous. It looks like a hoard.
The real giveaway is color temperature. Old incandescent bulbs have gone dim and yellow with age, while your newer LEDs blaze a cool crisp white, and when they sit side by side on the same porch the mismatch is jarring — like two different decades arguing across your lawn. Add in clashing styles and faded plastic next to fresh glitter and the whole thing loses any thread of coherence.
I know it’s hard. Every piece has a memory attached, and retiring the candy canes from 2003 feels like a small betrayal. But a display needs an edit. Choose a palette, choose an era, and let the rest stay boxed up for a year when it fits.
Leaving a Jungle of Visible Wires, Stakes, Clips, and Extension Cords Across the Yard
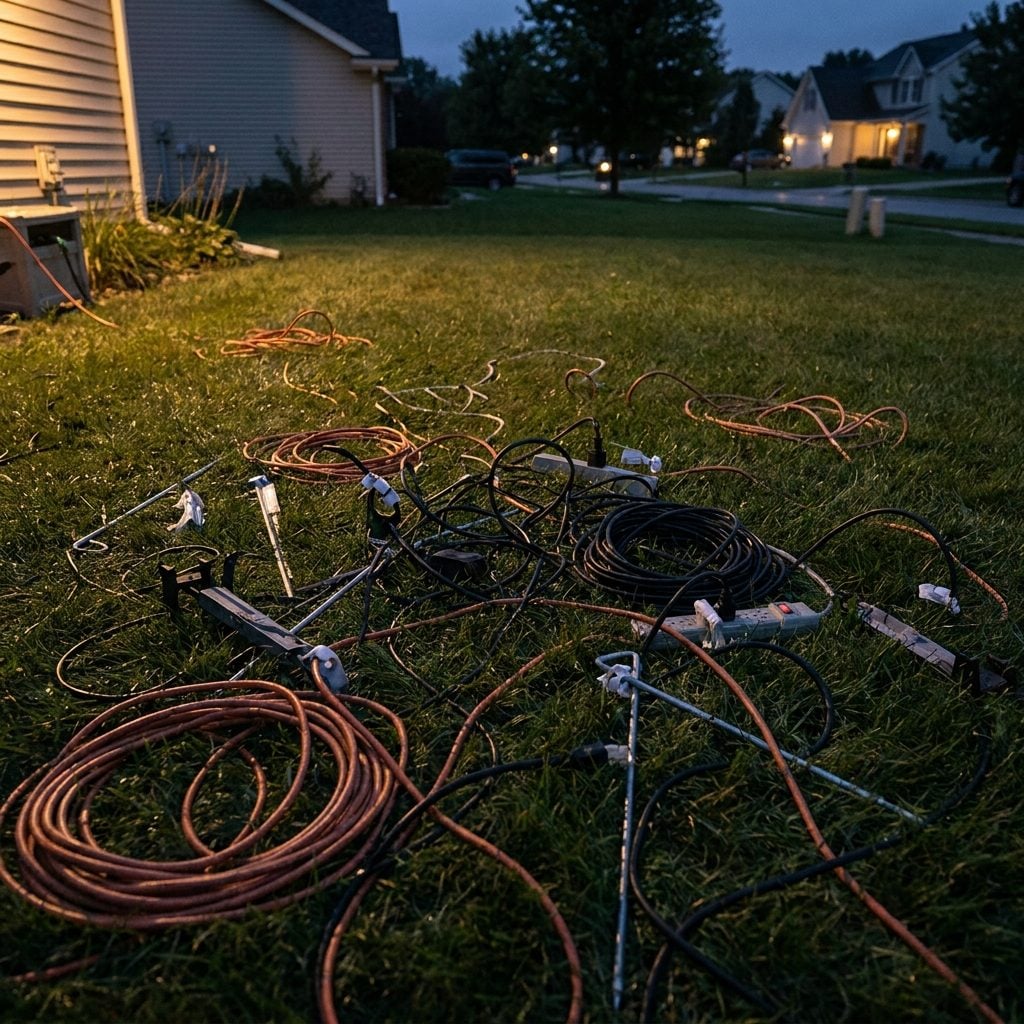
You can nail every light, choose the perfect palette, space the props beautifully — and undo all of it with one bright orange extension cord snaking across the middle of the lawn.
Cord management is the unglamorous part everyone skips. Green wire looping over frosty grass, clips dangling loose off the gutter where they popped free, ground stakes leaning at drunken angles, three adapters crammed into one outdoor outlet feeding a pile of overloaded power strips. In daylight it’s an eyesore. At night the cords catch just enough glow to announce themselves.
There’s a safety piece here too, since overloaded outlets and cords running through slush aren’t just ugly. Run wires along the base of the house, tuck them under mulch or into the grass line, use the right outdoor-rated cords, and hide the power hub behind a shrub. The magic of a display depends on not seeing how it works.
Forgetting to Put the Lights on a Timer and Leaving Them Blazing All Night
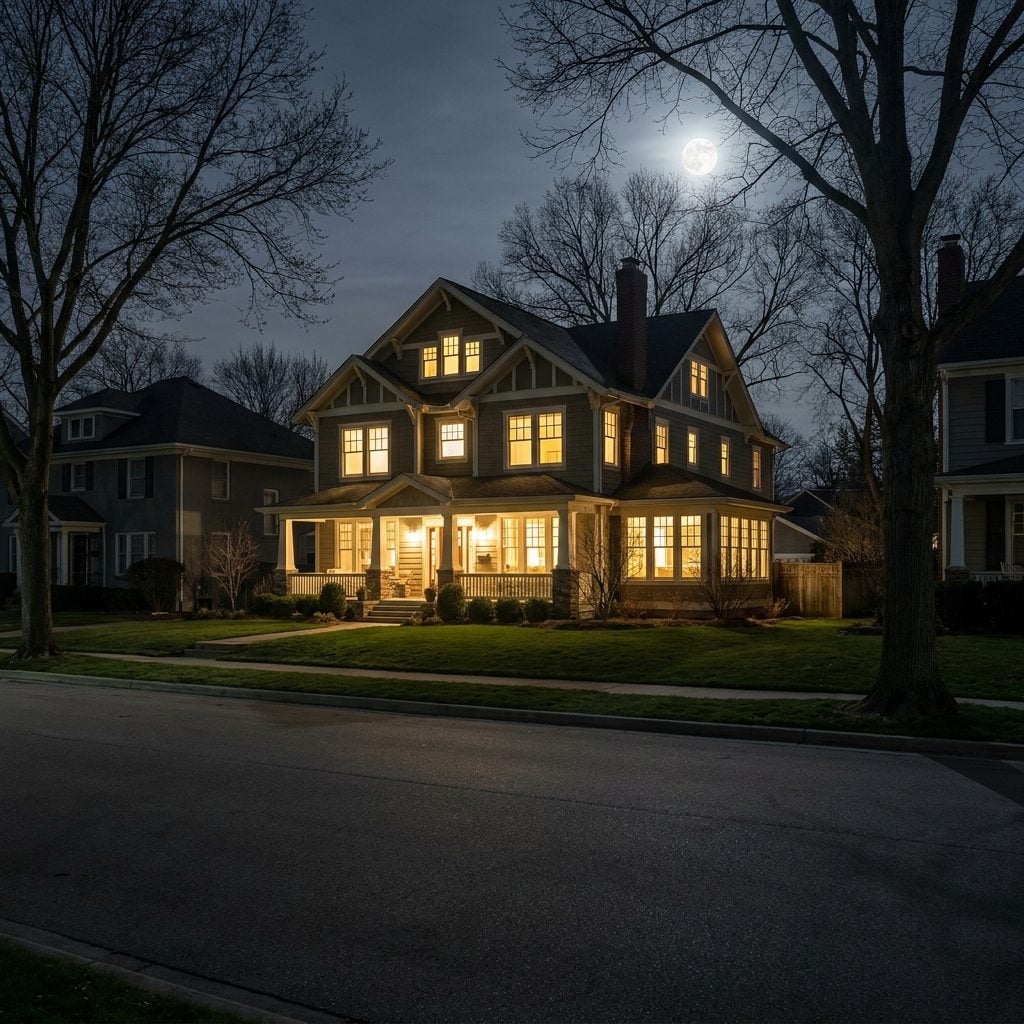
At three in the morning, nobody is admiring your lights. The street is dark, every neighbor asleep, and your house is still blazing away at full brightness like it’s expecting company. It looks less festive than lonely — the one thing awake on a block that clocked out hours ago.
A cheap timer solves this in about four minutes. Set the display to come on at dusk and shut off around eleven, and it does the thinking for you every single night. No timer means you’re either running downstairs in the cold to flip a switch or, more likely, forgetting entirely and leaving everything on till dawn.
The waste adds up on your power bill, and lights left blazing while the whole street sleeps do wear on the neighbors, whether they say so or not. Lights that glow when people can enjoy them and rest when they can’t just feel considerate. That’s the difference between a display and a nuisance.
Forgetting to Step Across the Street and Look at the Whole Display Before Calling It Finished
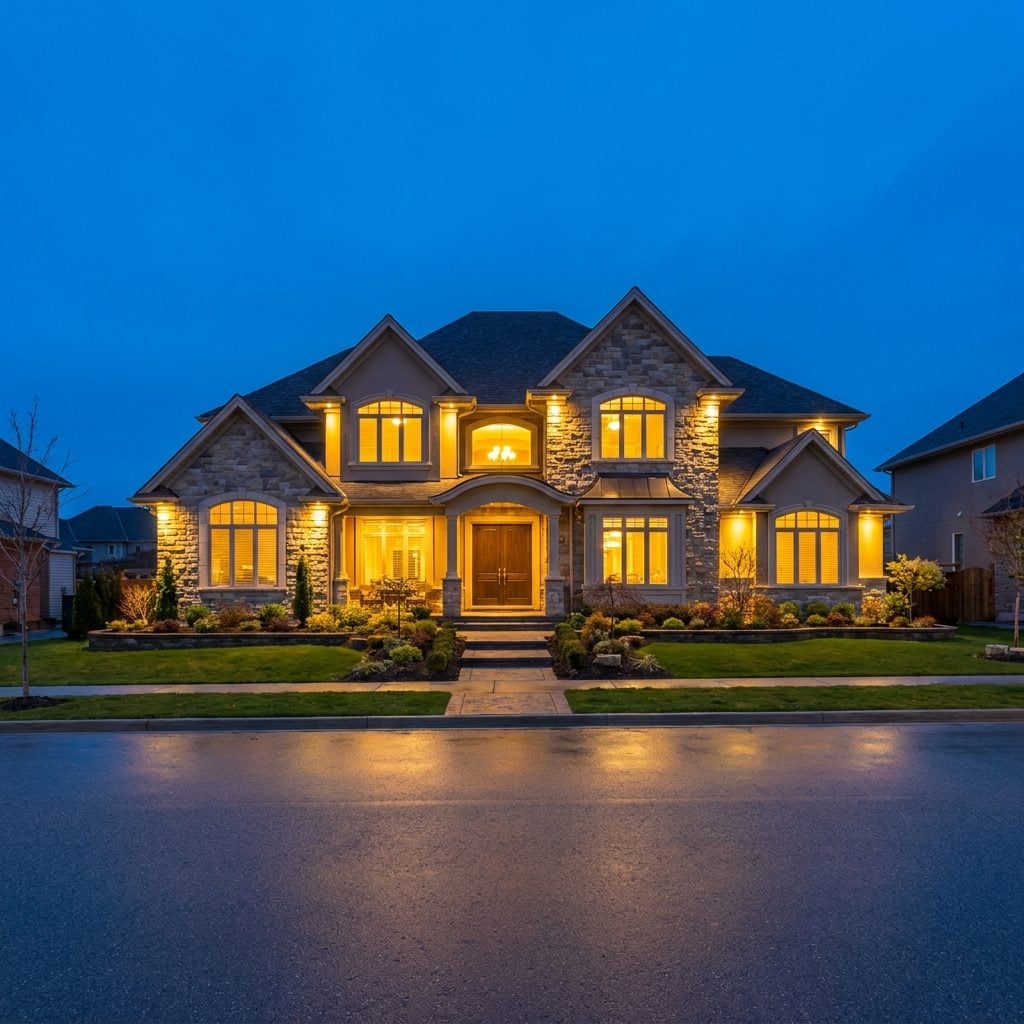
You spend hours up on the ladder, working inches from the gutter, and from that close everything looks great. Then someone drives by and sees a completely different display than the one you thought you built.
Distance tells the truth. Cross the street, turn around, and suddenly you spot the dead strand that quit halfway across the roofline, the porch that’s blazing on one side and dim on the other, that whole dark patch by the garage you never lit because you couldn’t see it from the ladder. Up close you’re focused on one clip at a time. From the curb, the eye takes in the whole thing and every gap and lopsided run jumps right out.
So before you pack up and call it done, walk to where your neighbors and the passing cars actually see it. That’s the only view that counts. Fix the gaps, balance the sides, and let the display be judged from the one spot everyone else will judge it from anyway.